Ssiptang
forum member
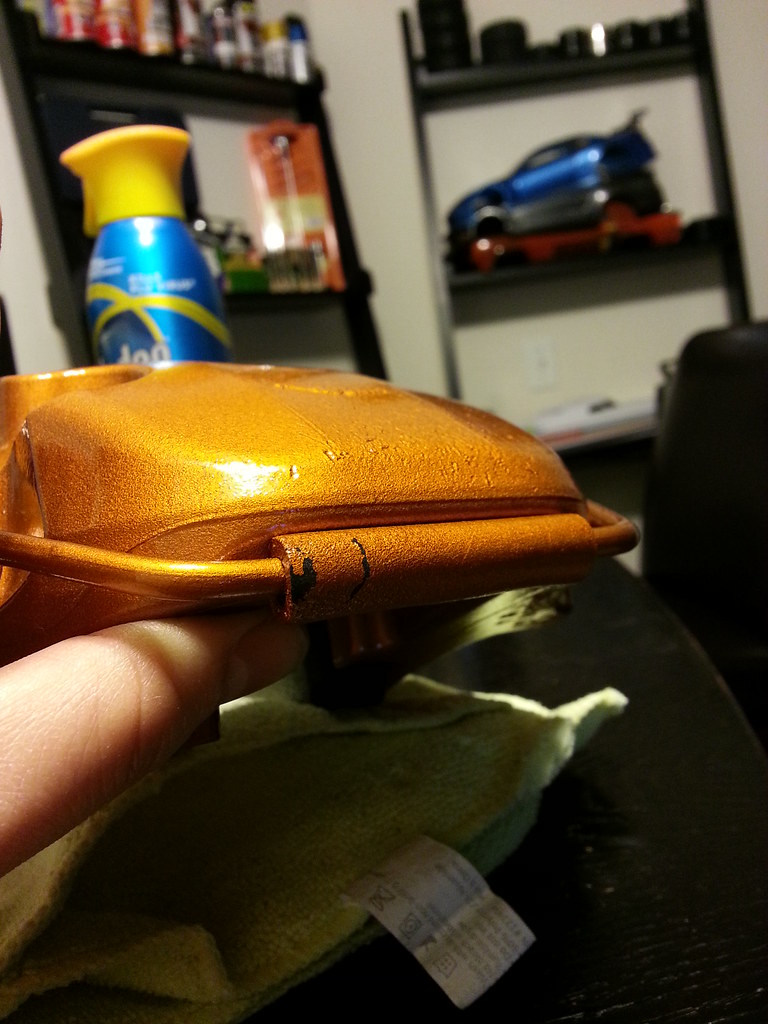
I bought a used brembo kit from this guy on facebook and turns out he wasn't very honest with the description of its condition. His "surface scratch only" calipers were beat to shit. Paint was flaking off, scratch every where, dust boots were all burnt. But I didn't ask for the refund and decided to rebuild it myself because I got it for so cheap.
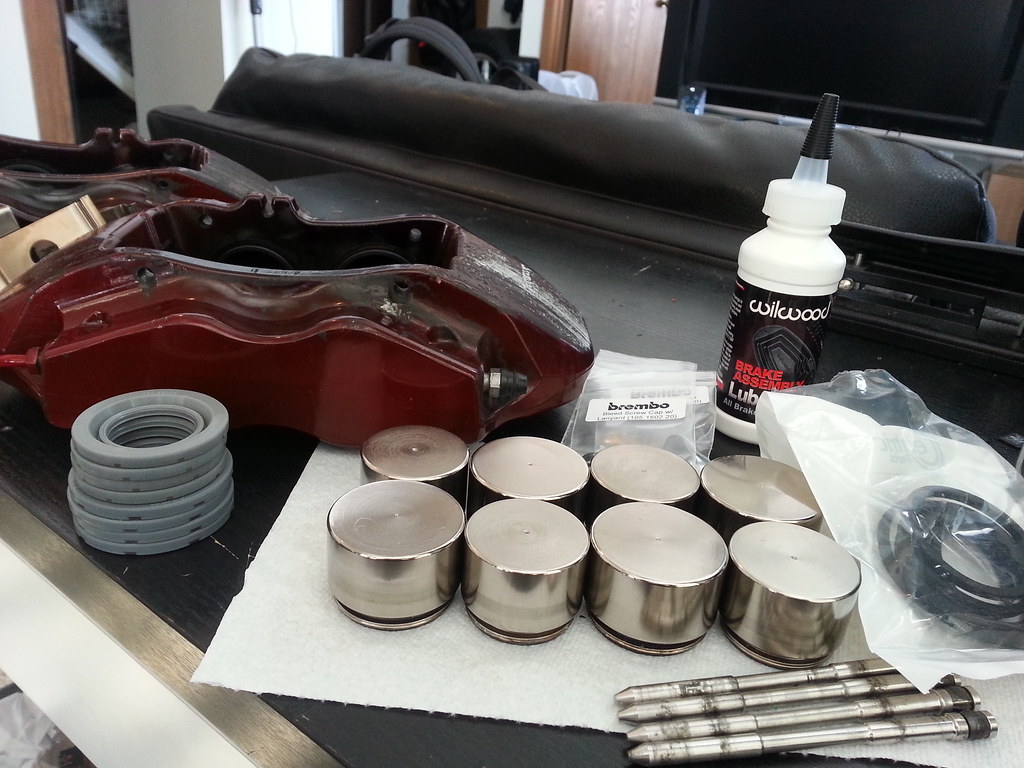
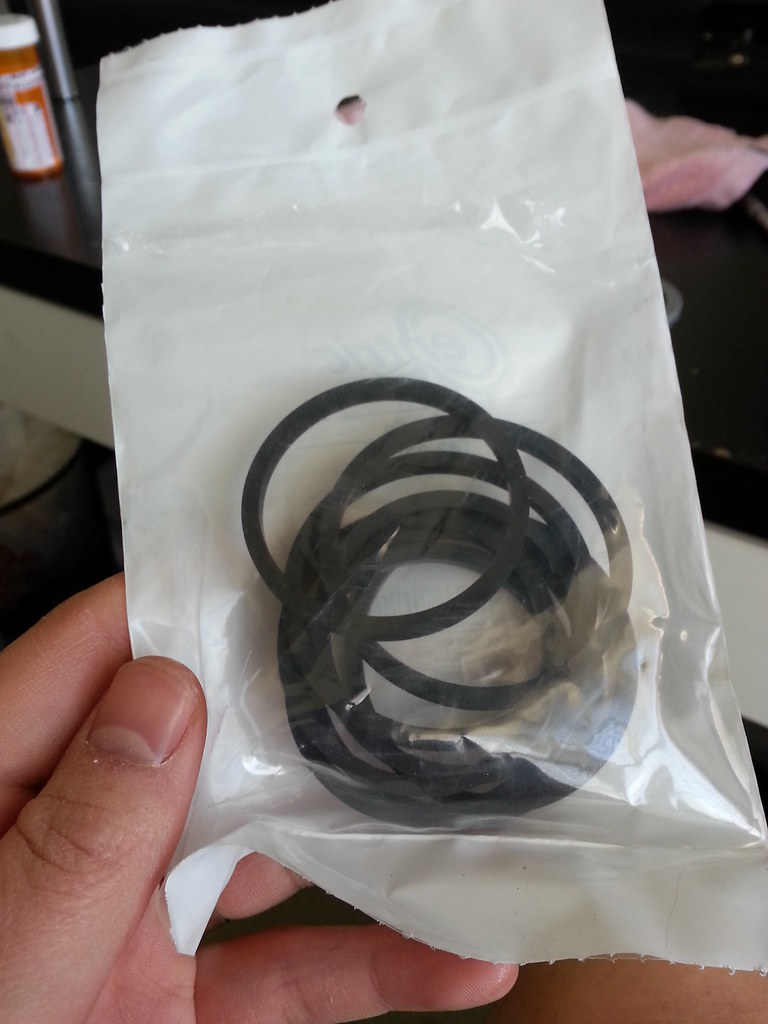
1. First, took all the pistons out, cleaned them thoroughly and bought some rebuild kits from zeckhausen racing. The rebuild kit only had 8 dust boots and 8 rubber seals and the damn thing was $120
Oh I didn't use any air gun to pop the pistons out. I just used my fingers to pull them out slightly and pried them out carefully with flathead screwdriver.
2. Sand blasted.
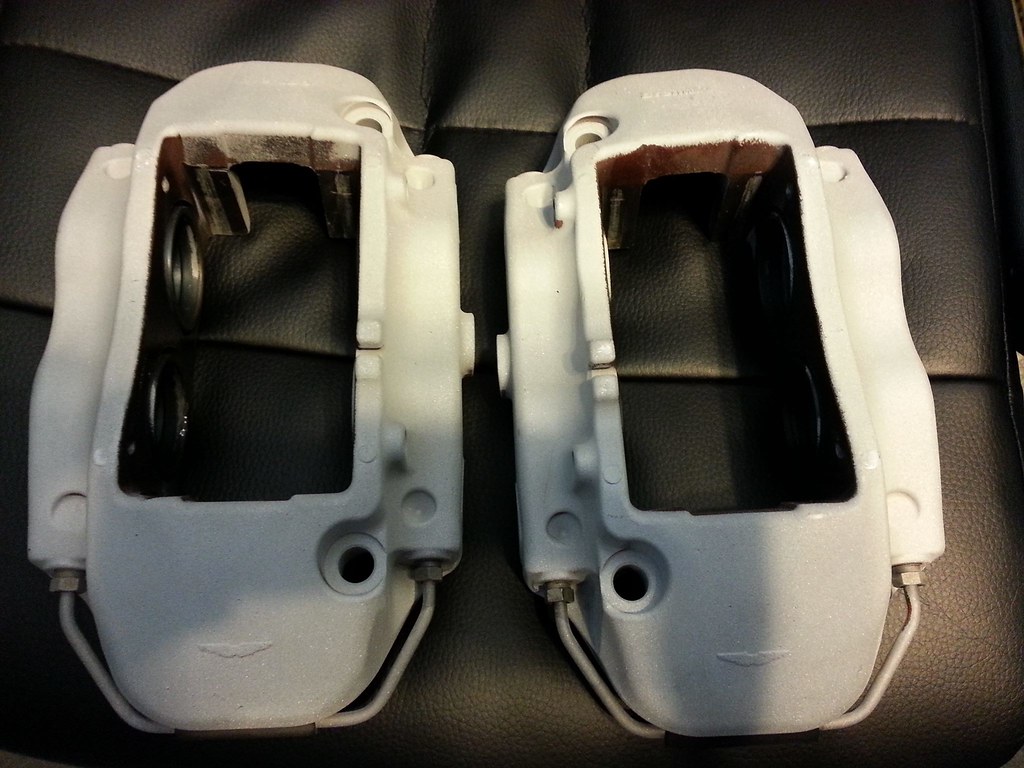
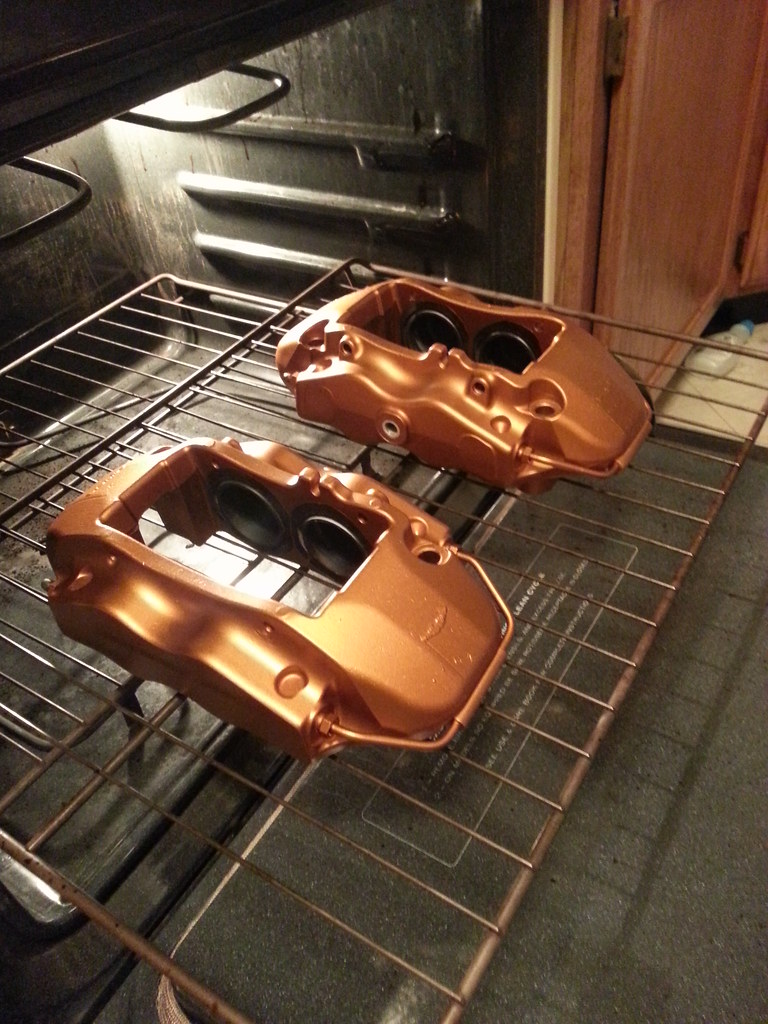
3. Carefully mask all the necessary area. After a full can of VHT burnt copper.
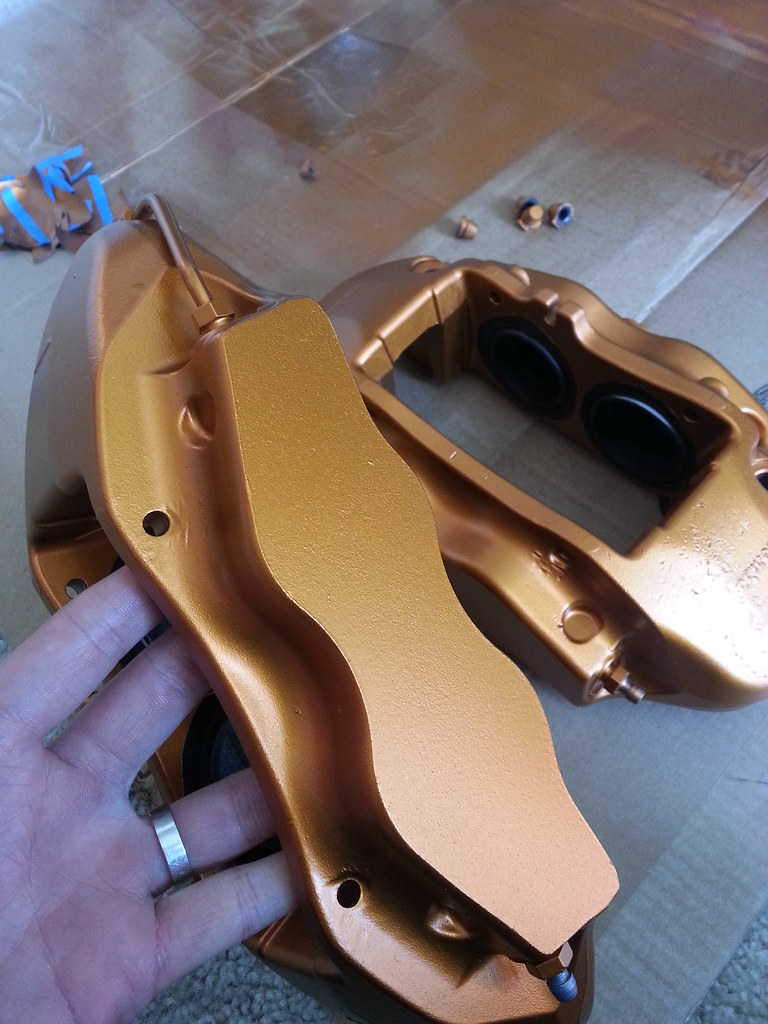
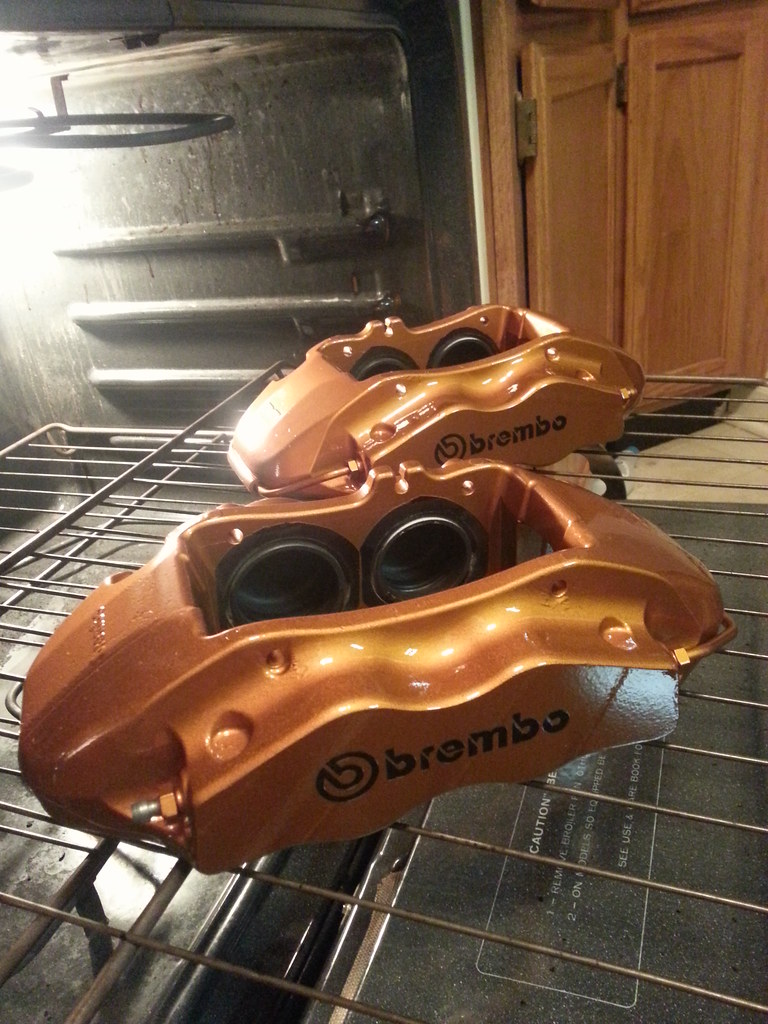
4. Baked them @ 200 for 30 min. ***if you are just painting the caliper, you don't have to take off the rubber caps or piston seals and all that. The fluid inside and those seals, caps are designed to withstand much higher heat than 200. I took them out because I'm rebuilding it but I still left the rubber pad on cross over tube. 200 degree did nothing to them.
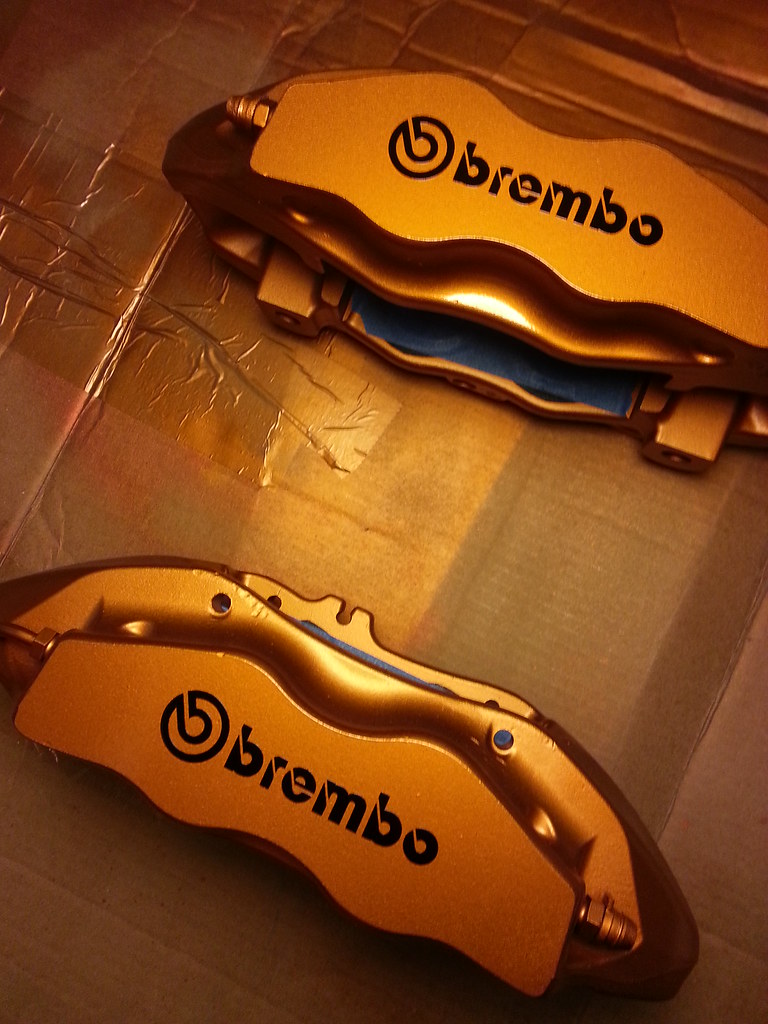
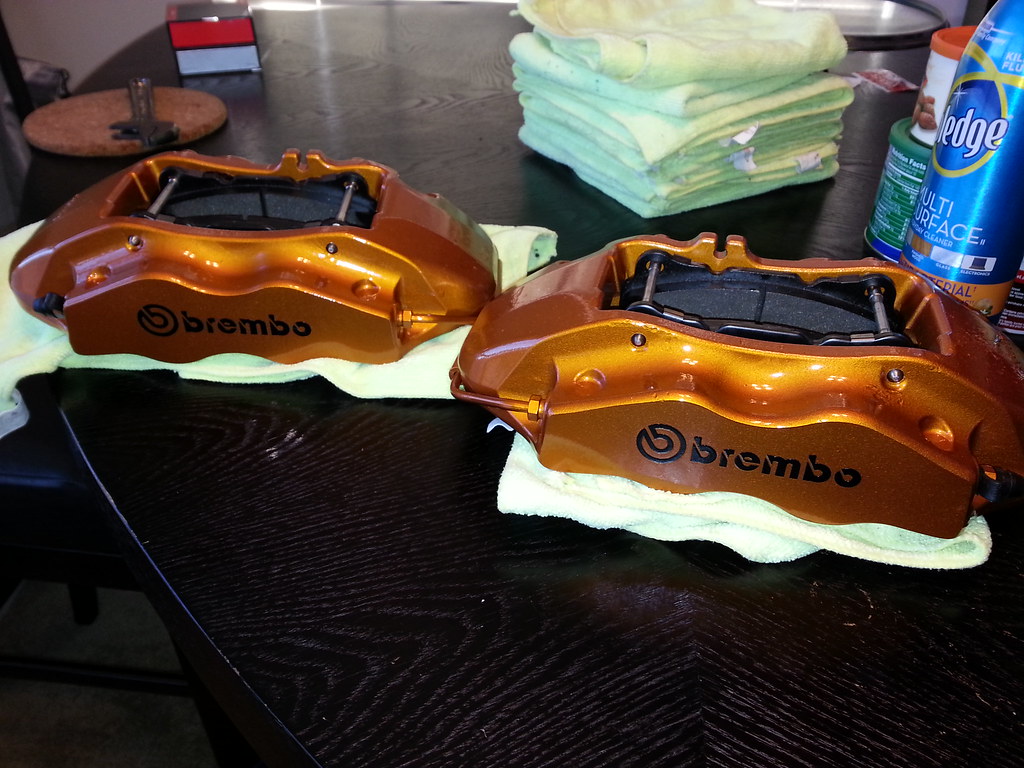
5. Applied decals. You can really see the color pop after baking.
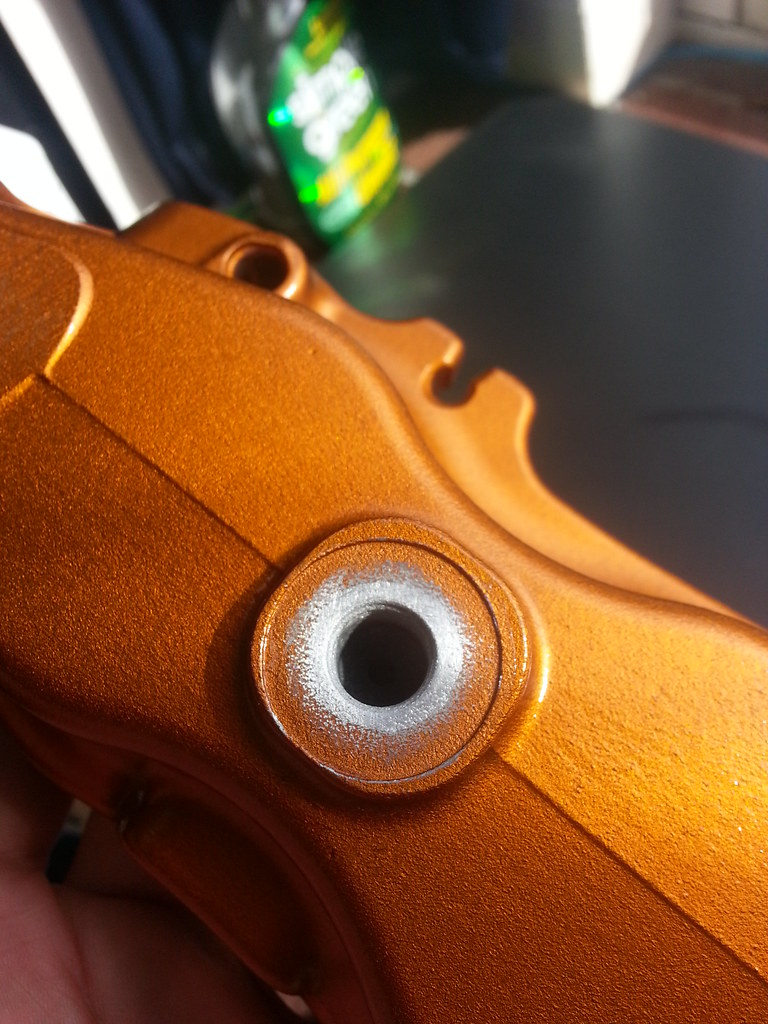
6. Make sure to smooth out the area where copper washer will be sitting on. Mine was pitted from sand blasting so I used very fine sand paper to smooth it out.
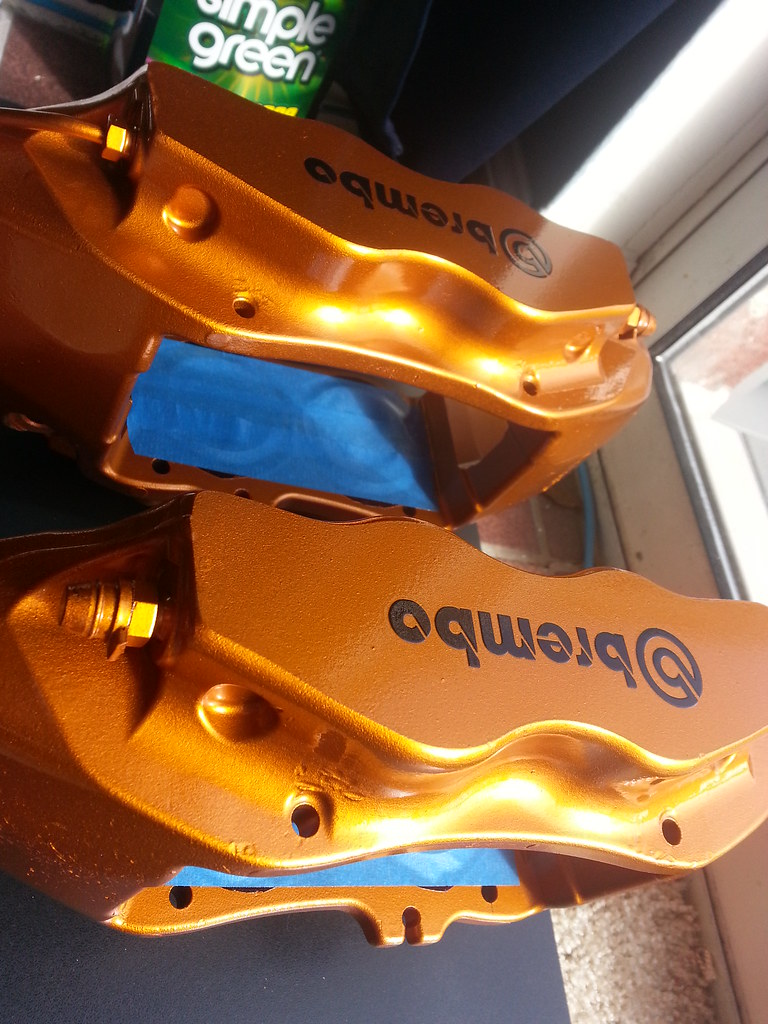
7. After a full can of VHT caliper clear coat.
8. Bake them again for an hour @ 200.
9. Clear coat is hard as rock after cool down.
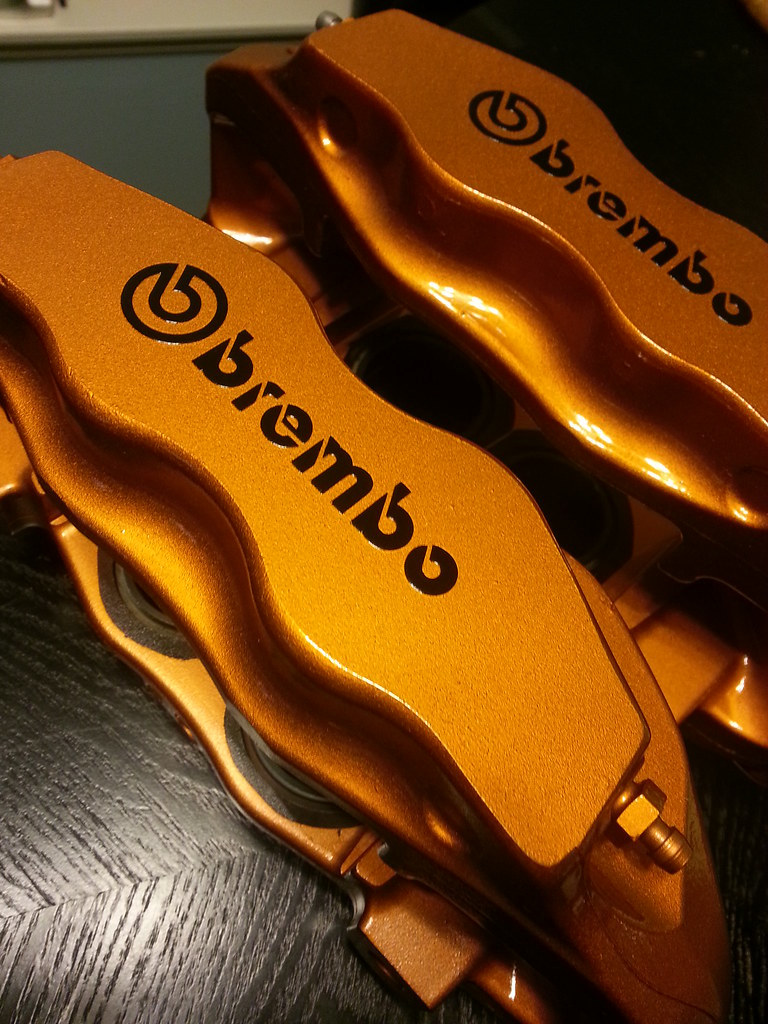
*** Following morning, I noticed that the paint got noticeably darker for some reason... I wish it would stay the way it was last night. It really popped. But now it really does look "burnt" copper. Oh well its too late. I'm not doing this shit again lol... I probably applied either too much paint or too much clear coat. Or too much baking..
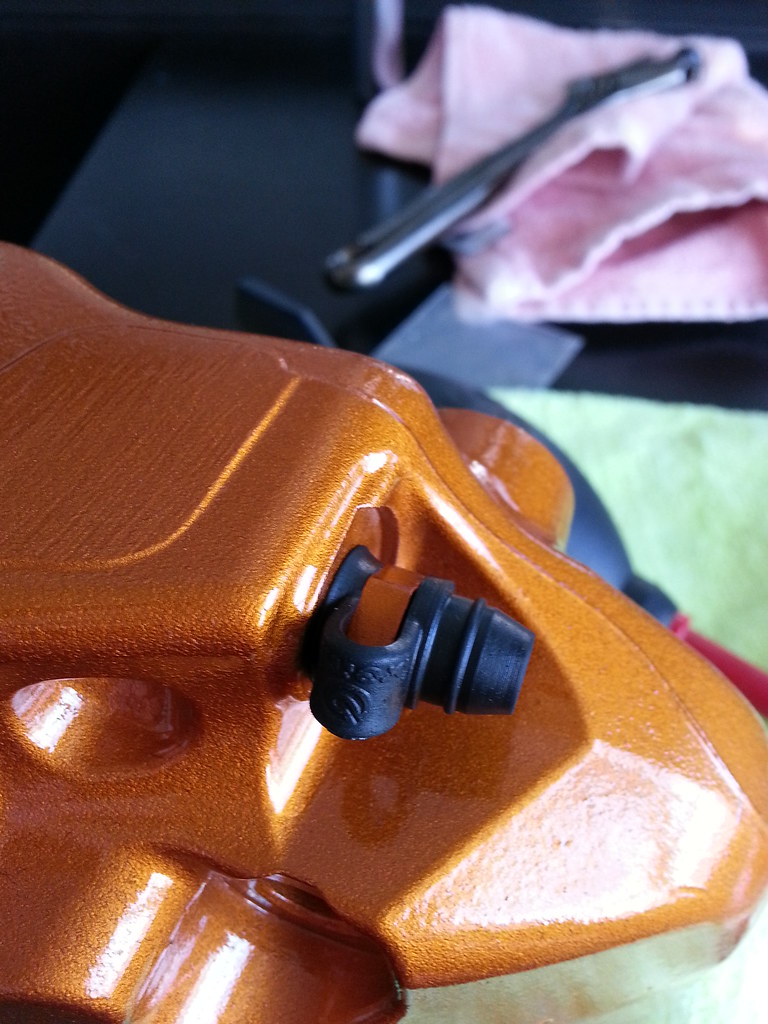
10. Put the new brembo bleeder screw cap with lanyard. They were about $2 from kurveygirl.com They were the cheapest. Part number 105.1502.20(for bike) or 05.1502.20(for car). They are same thing.
11. I decided to re-use my seals because the new ones were little loose around the piston. I'm not sure if its supposed to be like that but I didn't feel comfortable so i re-used the seals that were in the calipers. They looked fine and fit perfectly around the piston.
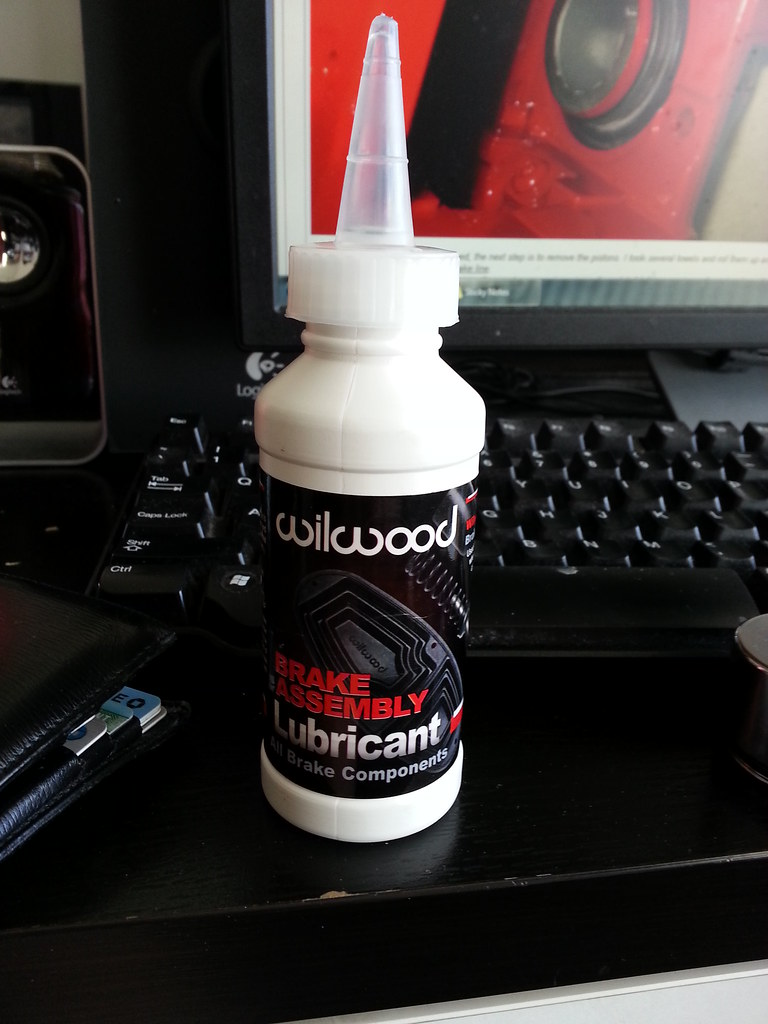
12. Apply assembly lube(about $8 from jegs) around seals and dust boots.
13. Put the dust boots back on and pull them down to see make sure it is sitting properly. I didn't bother cleaning the inside and pad contact area. Seemed pointless.
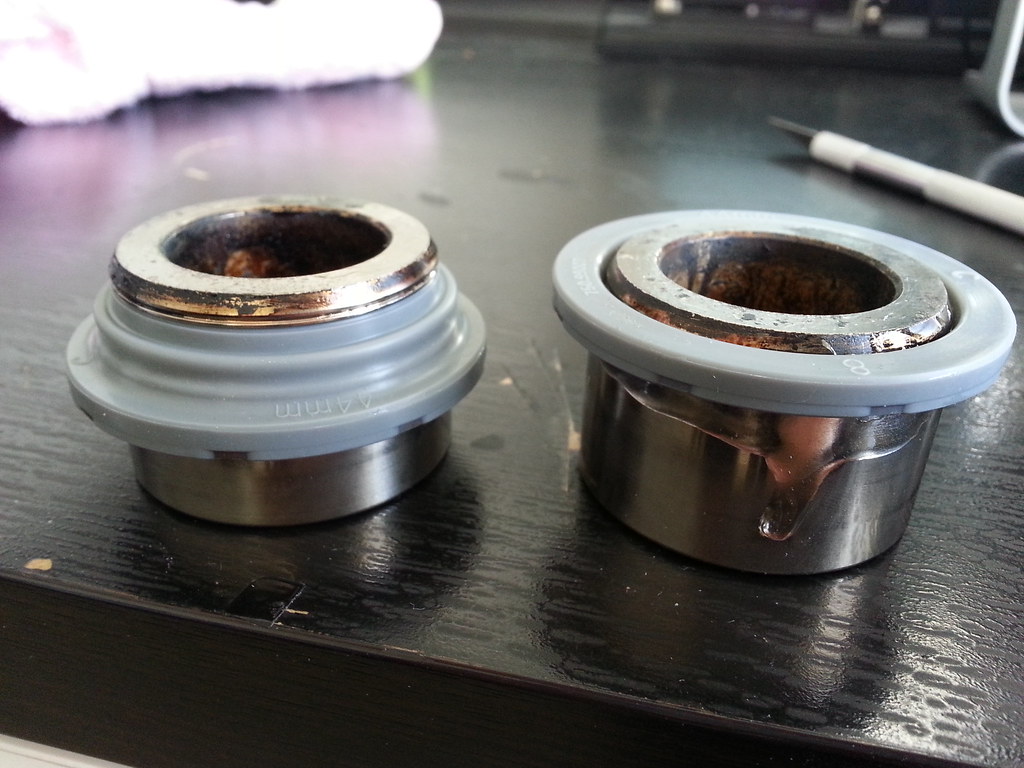
14. Apply more lube around the piston. I went crazy with this thing.
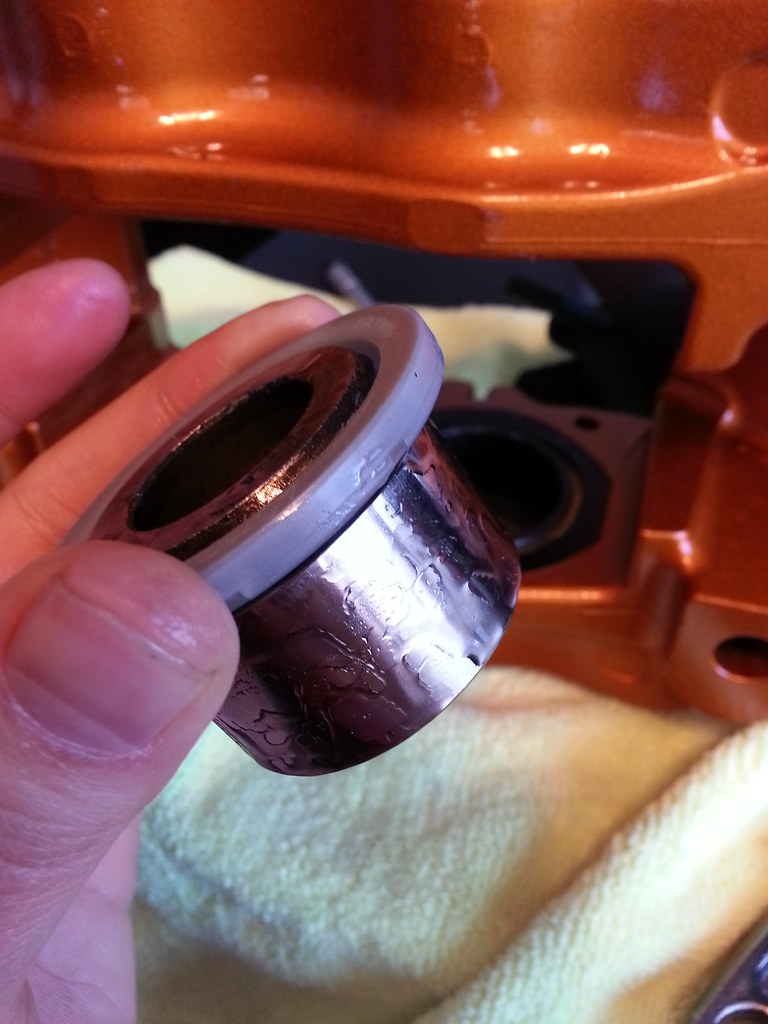
15. Carefully insert the pintons and pop the dust boots back in.
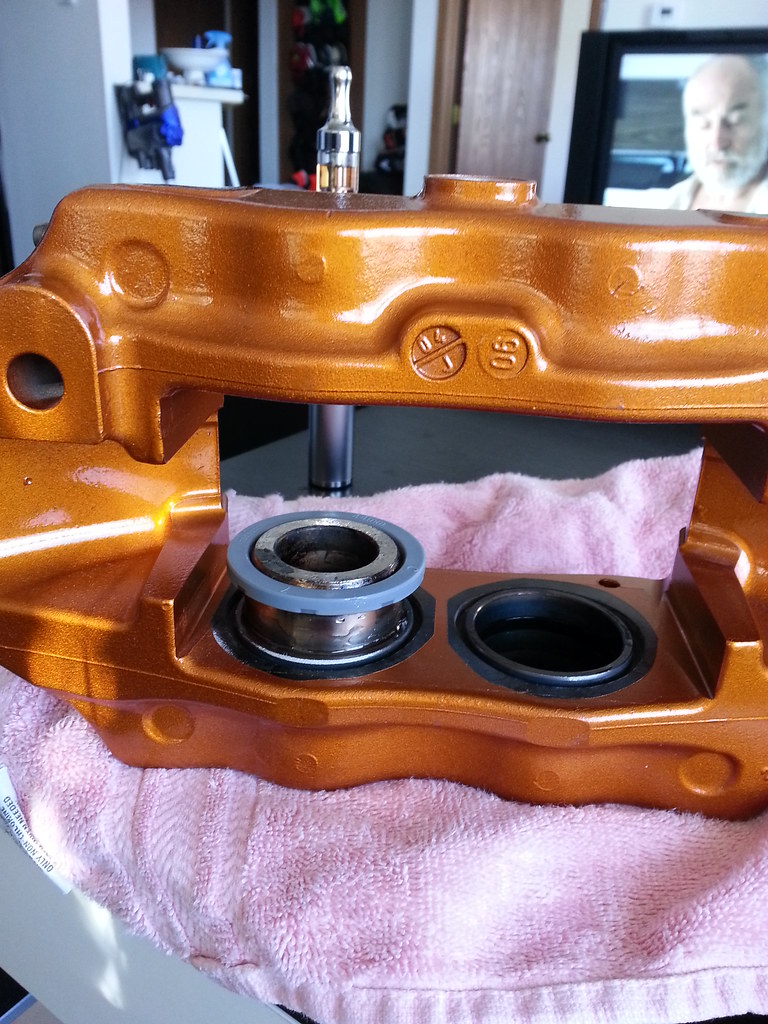
16. All done.
17. Little test fitting. This is how its gonna look after installing them.
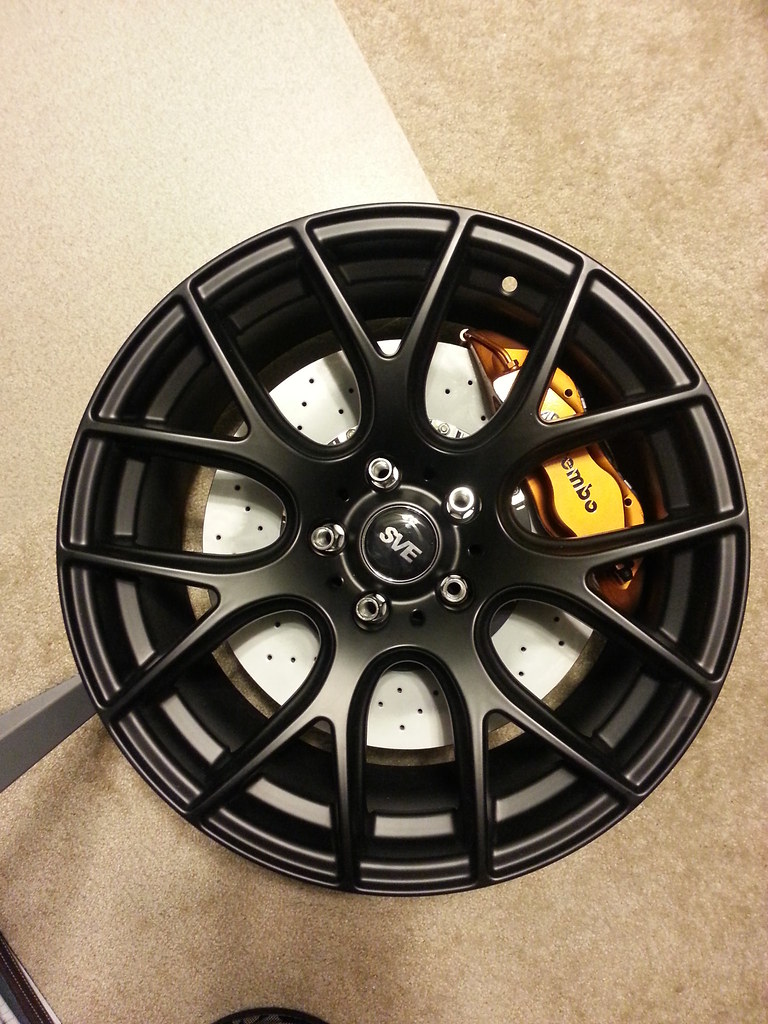
I will post more pictures when I'm done installing them. I still have to wait for the replacement bolts for the bracket and SS lines.
1. First, took all the pistons out, cleaned them thoroughly and bought some rebuild kits from zeckhausen racing. The rebuild kit only had 8 dust boots and 8 rubber seals and the damn thing was $120
Oh I didn't use any air gun to pop the pistons out. I just used my fingers to pull them out slightly and pried them out carefully with flathead screwdriver.
2. Sand blasted.
3. Carefully mask all the necessary area. After a full can of VHT burnt copper.
4. Baked them @ 200 for 30 min. ***if you are just painting the caliper, you don't have to take off the rubber caps or piston seals and all that. The fluid inside and those seals, caps are designed to withstand much higher heat than 200. I took them out because I'm rebuilding it but I still left the rubber pad on cross over tube. 200 degree did nothing to them.
5. Applied decals. You can really see the color pop after baking.
6. Make sure to smooth out the area where copper washer will be sitting on. Mine was pitted from sand blasting so I used very fine sand paper to smooth it out.
7. After a full can of VHT caliper clear coat.
8. Bake them again for an hour @ 200.
9. Clear coat is hard as rock after cool down.
*** Following morning, I noticed that the paint got noticeably darker for some reason... I wish it would stay the way it was last night. It really popped. But now it really does look "burnt" copper. Oh well its too late. I'm not doing this shit again lol... I probably applied either too much paint or too much clear coat. Or too much baking..
10. Put the new brembo bleeder screw cap with lanyard. They were about $2 from kurveygirl.com They were the cheapest. Part number 105.1502.20(for bike) or 05.1502.20(for car). They are same thing.
11. I decided to re-use my seals because the new ones were little loose around the piston. I'm not sure if its supposed to be like that but I didn't feel comfortable so i re-used the seals that were in the calipers. They looked fine and fit perfectly around the piston.
12. Apply assembly lube(about $8 from jegs) around seals and dust boots.
13. Put the dust boots back on and pull them down to see make sure it is sitting properly. I didn't bother cleaning the inside and pad contact area. Seemed pointless.
14. Apply more lube around the piston. I went crazy with this thing.
15. Carefully insert the pintons and pop the dust boots back in.
16. All done.
17. Little test fitting. This is how its gonna look after installing them.
I will post more pictures when I'm done installing them. I still have to wait for the replacement bolts for the bracket and SS lines.
Last edited: