AnotherS197GT
Serial Valve Dropper
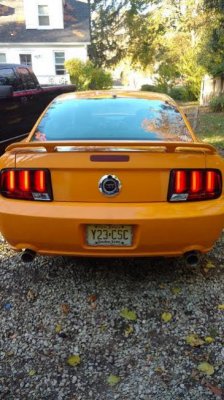
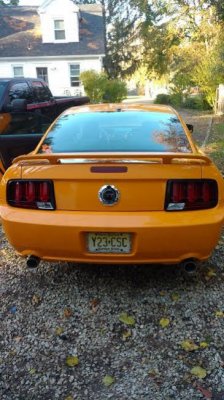
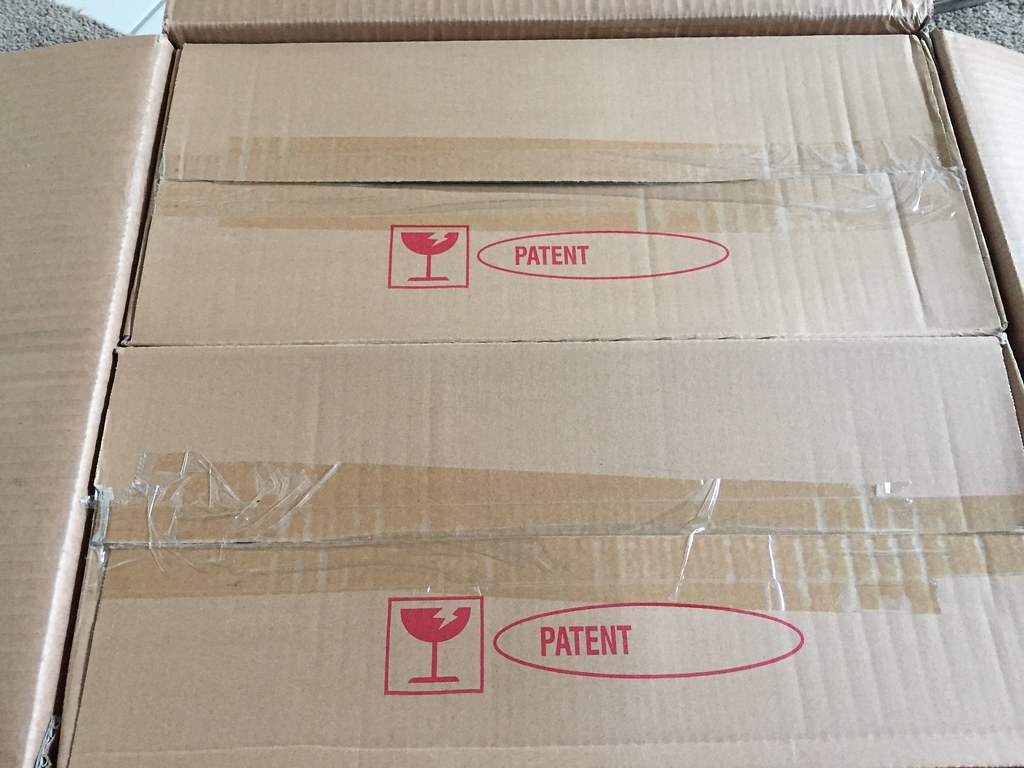
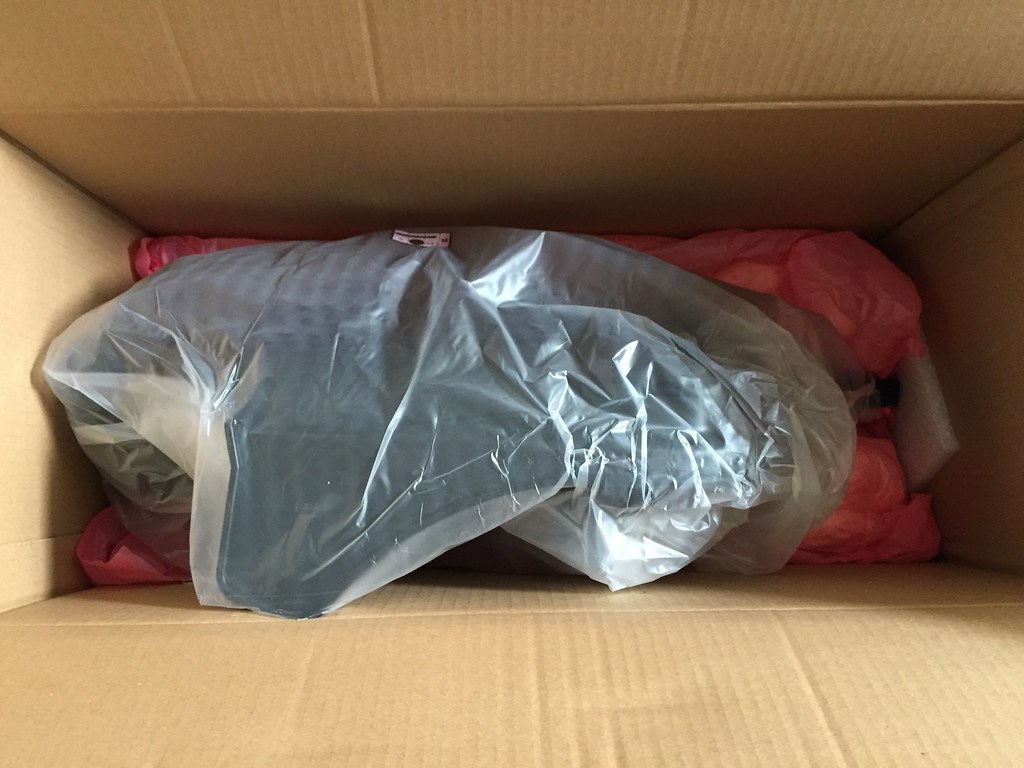
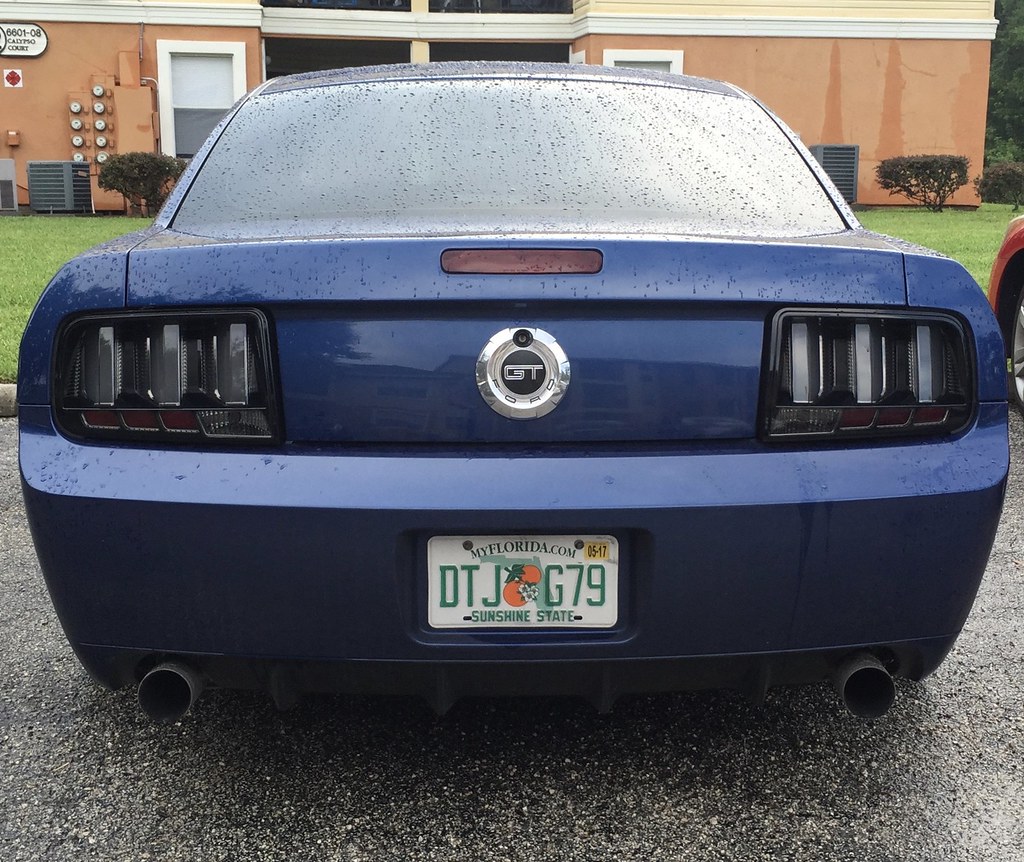
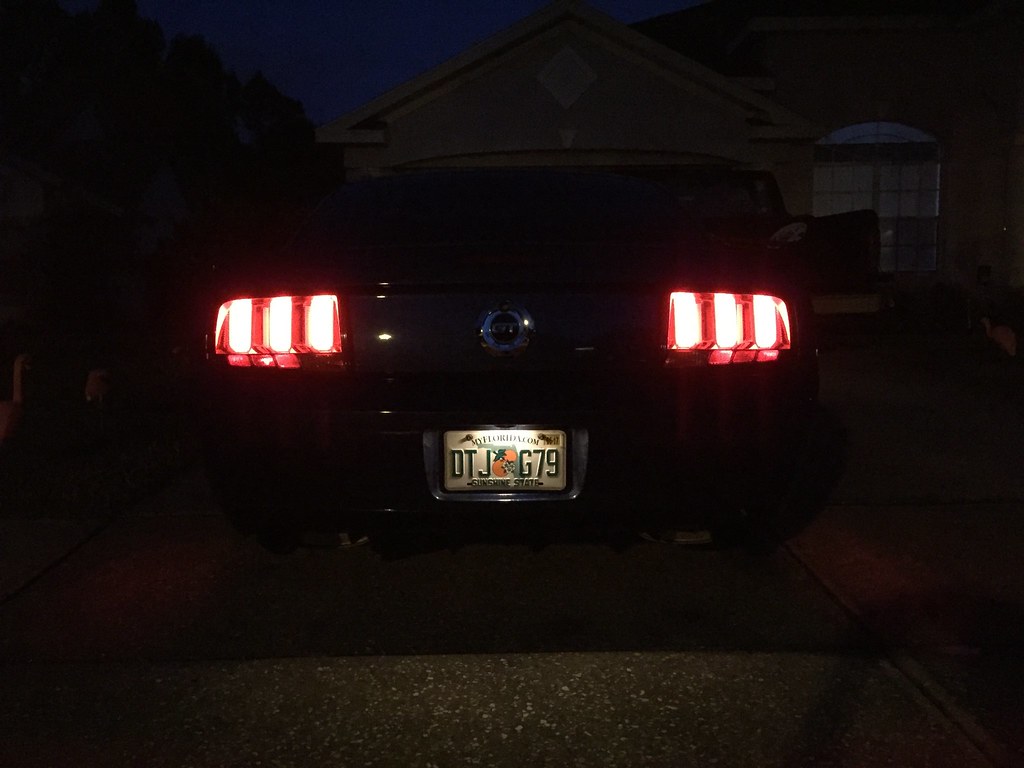
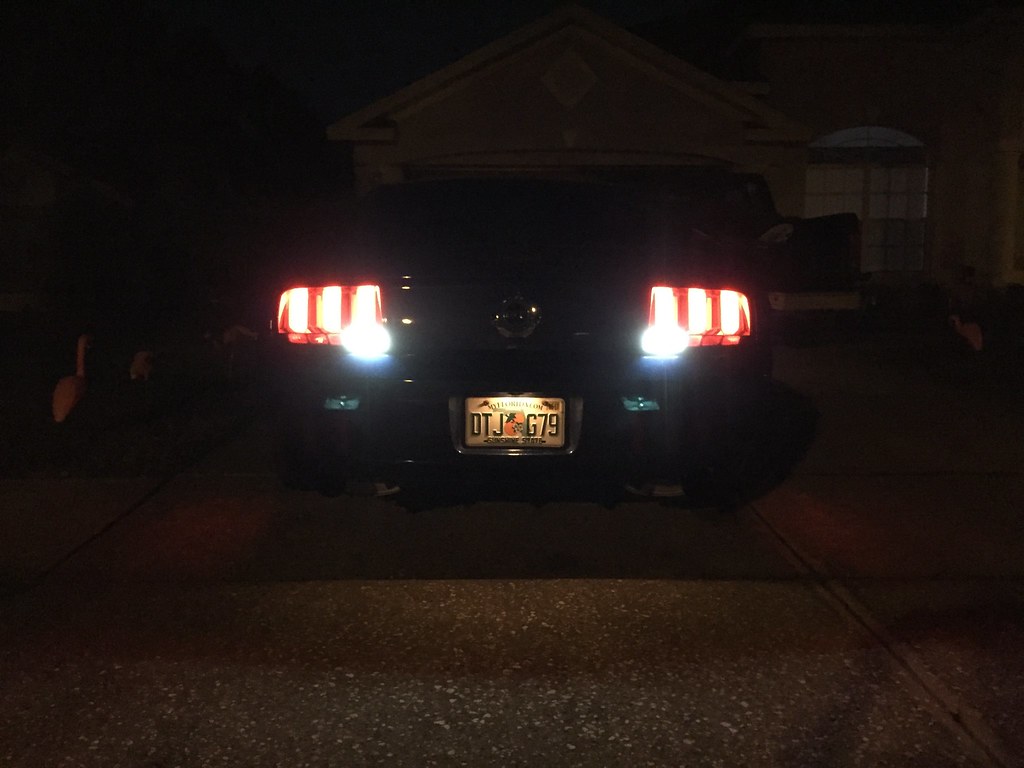
These are a direct replacement for your OEM tail lights. They come complete with their own wiring harness and sequential LEDs. The only things you need to reuse from your stock lights are the reverse light bulbs and the retaining nuts. The lights come packed insanely well and look even better!
Link to the lights:
http://www.americanmuscle.com/raxiom-smoked-vector-tails-whitediff-0509.html

Tools Needed:
10mm socket
Ratchet
Trim Removal Tool or Screwdriver
1-2 Beers
Open a beer
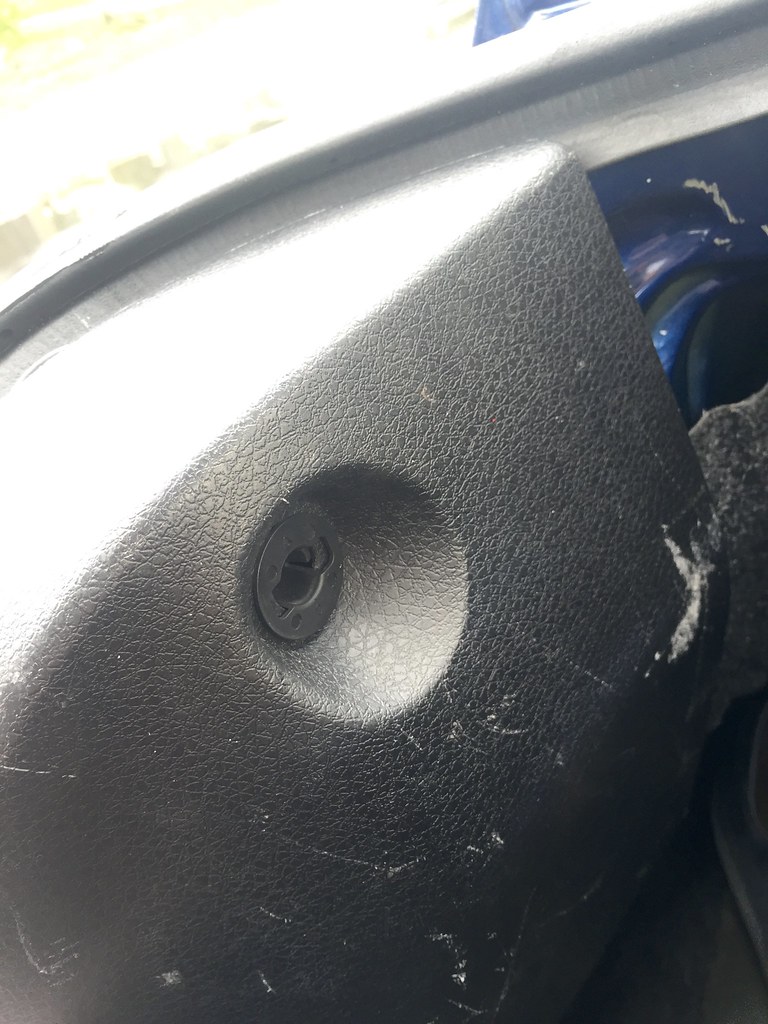
Open the trunk, remove the trunk mat, and remove the interior trim panel. There are two plastic screws and 4 push pins that hold the trim panel in place.
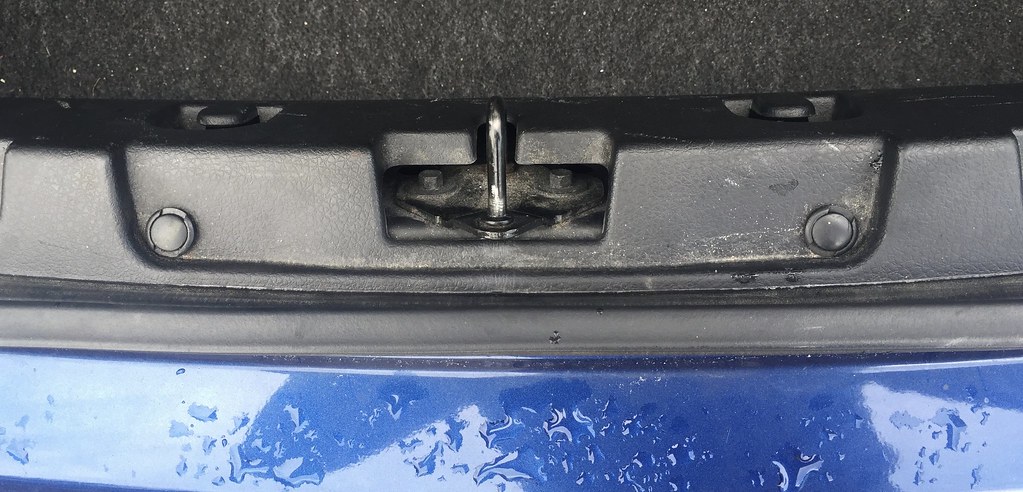
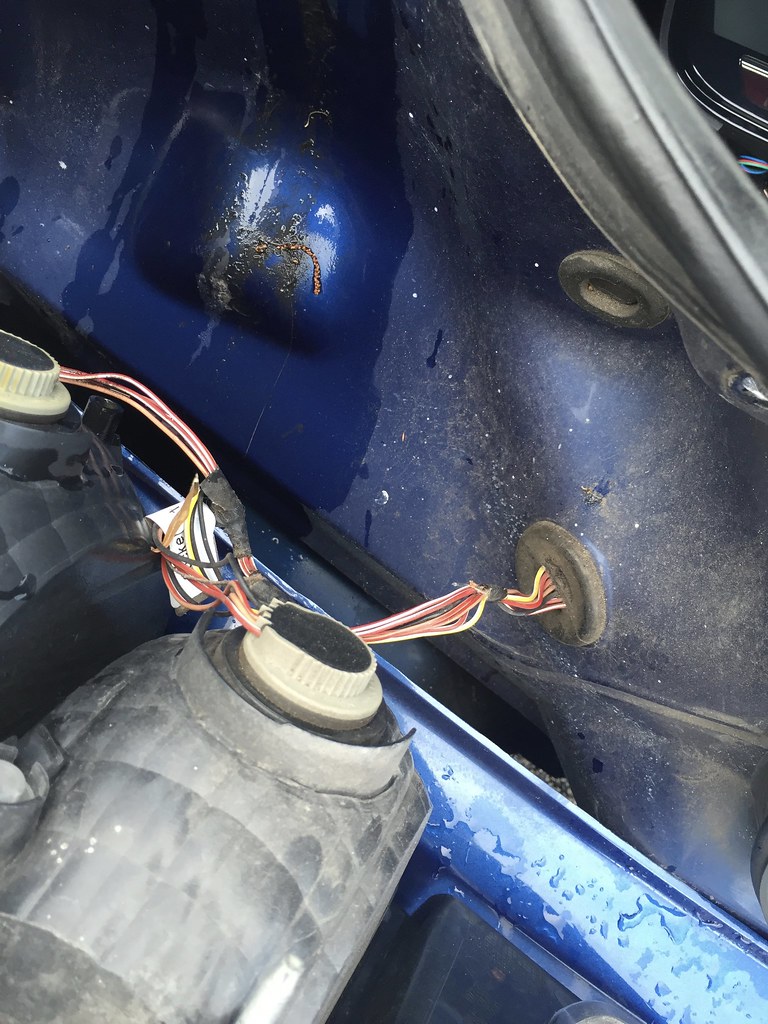
Once the trim panel has been removed, remove the 3 lamp mounting nuts on the drivers side.
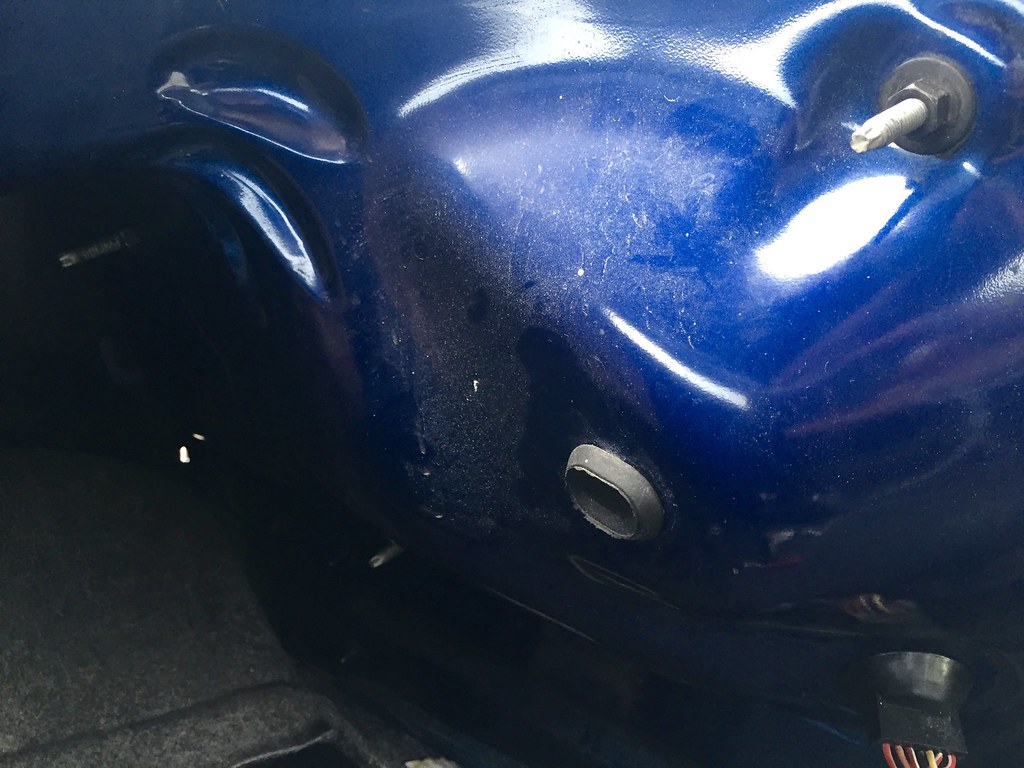
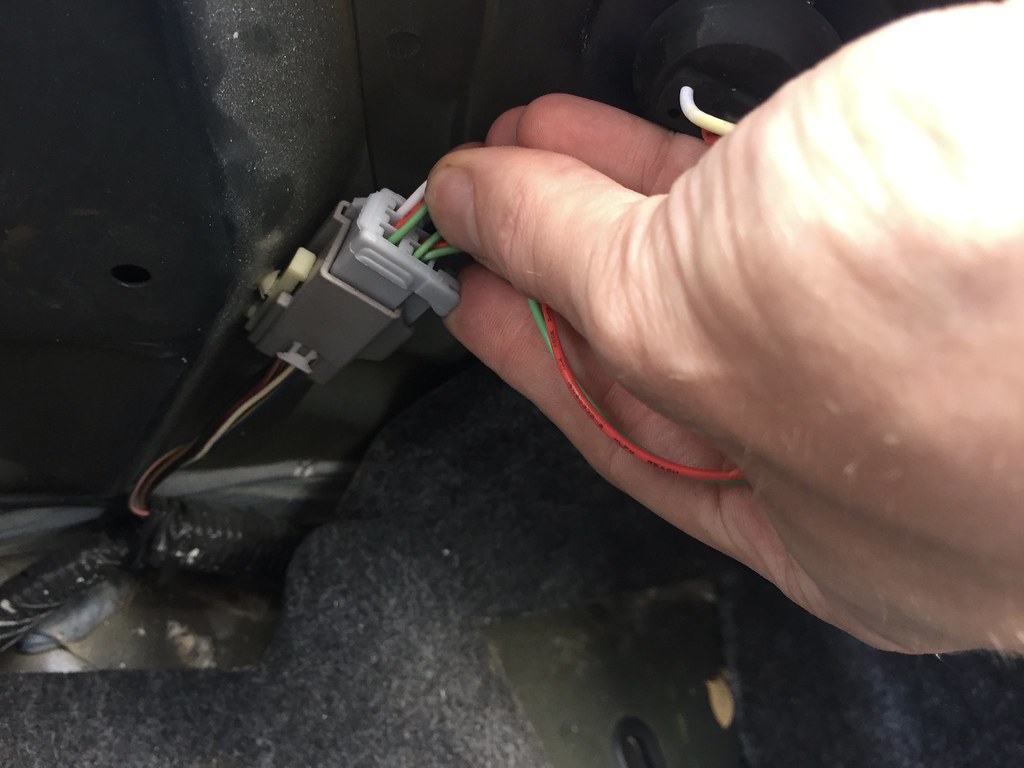
Disconnect the wiring harness, pull the lamp assembly out, and gently pull the wiring harness through the hole in the body.
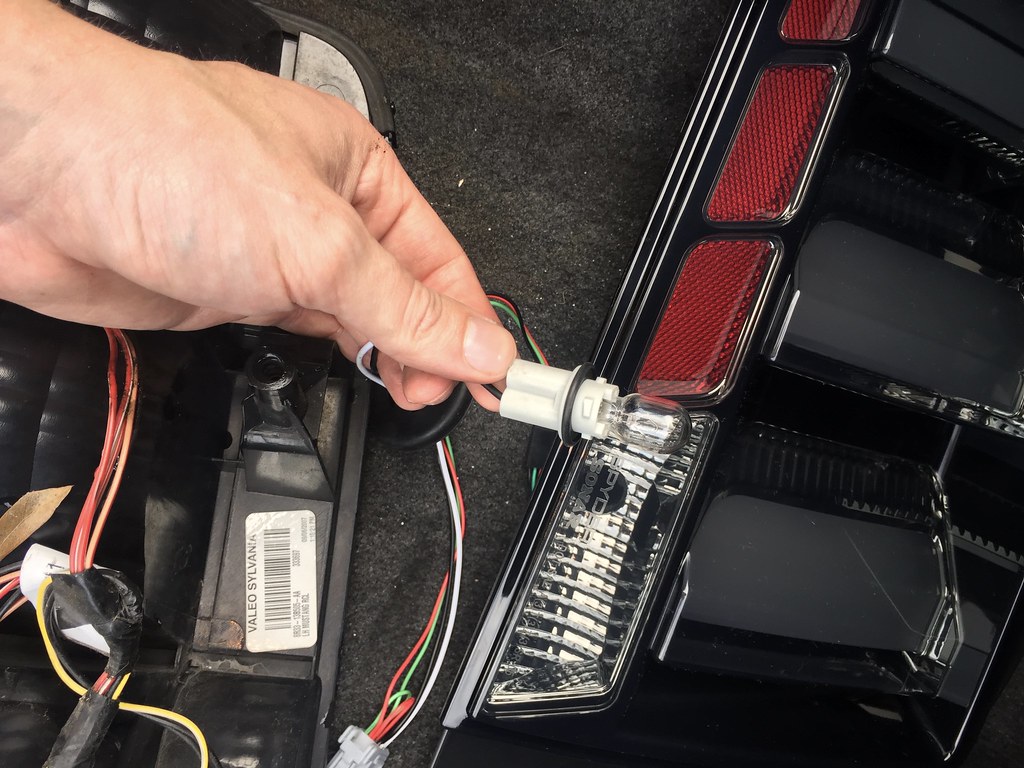
Remove the reverse bulb from the factory lamp assembly and transfer it to your new Vector tail light.
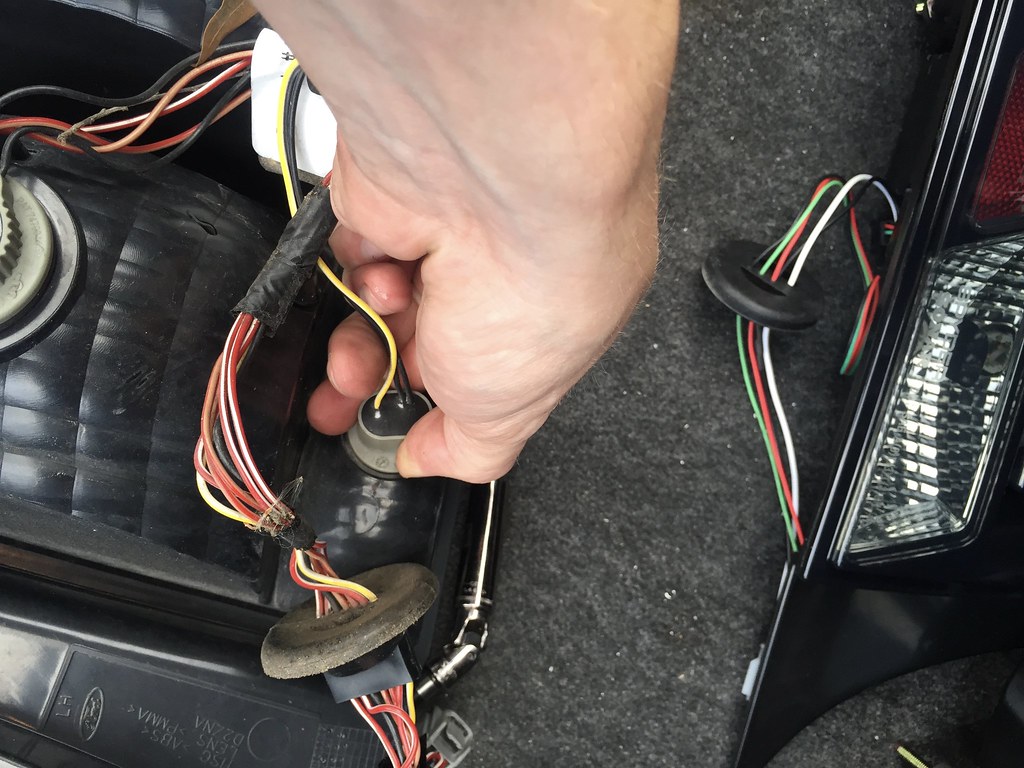
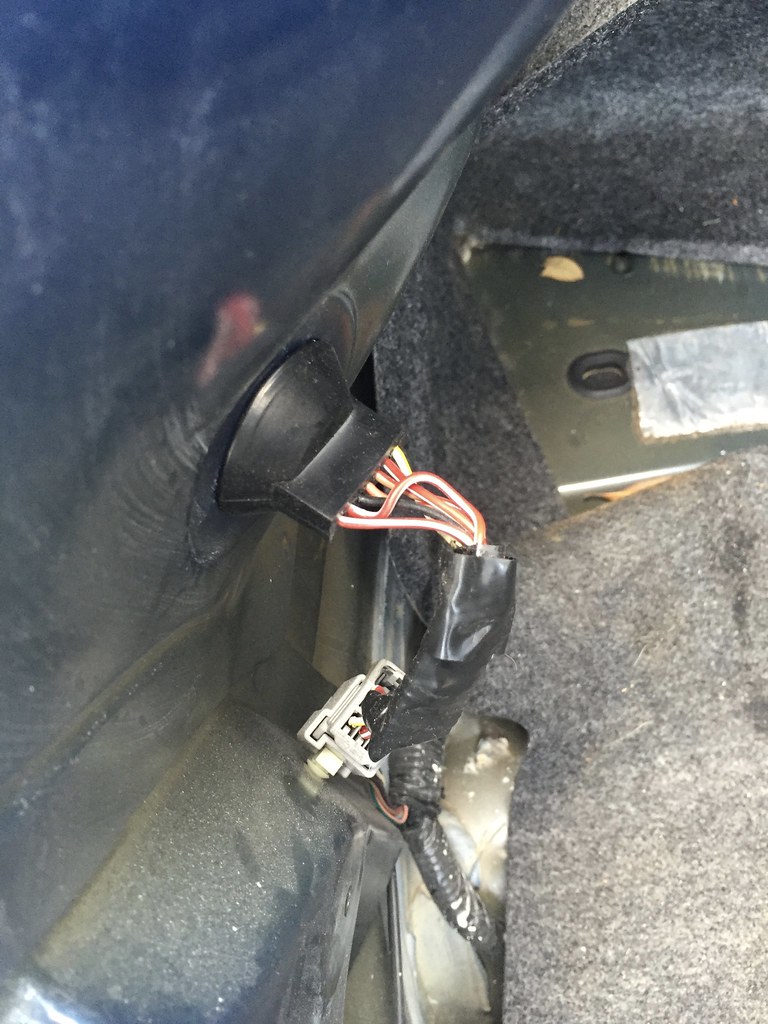
Pull the Vector wiring harness through the hole in the body. Be sure to fully seat the grommet, or you may get water intrusion. Connect the wiring harness to the body harness.
Position the Vector light so that the 3 mounting studs line up, and push them through the body. Fasten the lamp in place with the 3 mounting nuts you removed, torquing to 6 Nm. These just need to be snugged, so don’t overdo it!
Repeat steps 3-7 for the passenger side. If you have a Shaker 1000, removal of the subwoofer assembly may be necessary for access to the retaining nuts.
Reinstall your trim panel, place the trunk mat back in the car, open your other beer, and admire your work!
Link to the lights:
http://www.americanmuscle.com/raxiom-smoked-vector-tails-whitediff-0509.html
Tools Needed:
10mm socket
Ratchet
Trim Removal Tool or Screwdriver
1-2 Beers
Open a beer
Open the trunk, remove the trunk mat, and remove the interior trim panel. There are two plastic screws and 4 push pins that hold the trim panel in place.
Once the trim panel has been removed, remove the 3 lamp mounting nuts on the drivers side.
Disconnect the wiring harness, pull the lamp assembly out, and gently pull the wiring harness through the hole in the body.
Remove the reverse bulb from the factory lamp assembly and transfer it to your new Vector tail light.
Pull the Vector wiring harness through the hole in the body. Be sure to fully seat the grommet, or you may get water intrusion. Connect the wiring harness to the body harness.
Position the Vector light so that the 3 mounting studs line up, and push them through the body. Fasten the lamp in place with the 3 mounting nuts you removed, torquing to 6 Nm. These just need to be snugged, so don’t overdo it!
Repeat steps 3-7 for the passenger side. If you have a Shaker 1000, removal of the subwoofer assembly may be necessary for access to the retaining nuts.
Reinstall your trim panel, place the trunk mat back in the car, open your other beer, and admire your work!