2011 GT vert rebuild

travelers

Senior Member
Joined
Apr 6, 2007
Posts
3,028
Reaction score
79
Location
Eastern Pa
It goes on the stud at the top right corner of the engine cover behind a black plastic wire support.
 

LikeabossTM

forum member
Joined
Sep 30, 2015
Posts
870
Reaction score
413
It goes on the stud at the top right corner of the engine cover behind a black plastic wire support.
I guess I was communicating poorly. I needed the location for the OTHER end of that wire.

It was surprisingly difficult to find an image online but I finally did. This is the wire I was asking about, and for posterity and future adventurers, it terminates on the vertical bolt on the PCM bracket.

8e0047a7c6094ed043e8e623f1c688c3.jpg
 

LikeabossTM

forum member
Joined
Sep 30, 2015
Posts
870
Reaction score
413
With the ground to the PCM bolt taken care of, all engine re-installation and wiring is complete. I moved on to the cats/h-pipe install.

Nothing special going on here, but I figured a couple of pics might help another installer with only one set of hands. The trans jack adapter I'd made was just right to hold up the rear of the h-pipe. But the front was still a bit of a hassle to get up and bolt down, so I ran a tie-down strap around and under from the shock tower. This held the front up to with a couple of inches of the manifolds, making lifting one side at a time and spinning the nuts on a breeze.

I just re-used the original three piece crush gaskets with a bead of high-temp exhaust sealant on each face. $7 for the sealant vs $40 for new gaskets. Will keep an ear on the joints and grab a new set of gaskets if it leaks.

c81cccc8f3b55ffbeb8a4e85b95c2a4e.jpg


c7af3c33225756996d643dfd4dc172ef.jpg
 

LikeabossTM

forum member
Joined
Sep 30, 2015
Posts
870
Reaction score
413
Fresh oil in and almost ready to fire up from an engine bay perspective (still need to reinstall dash, column, etc too).

Thermostat won't be in at the dealer for a coolant clean/flush/fill until Thursday. It's back-ordered and coming from Edmonton!

fd3bbb598255374f692d727bcf3dc7fa.jpg
 

ValK

Junior Member
Joined
Jan 28, 2017
Posts
25
Reaction score
0
Location
Calgary, AB
Where are you located boss? I'm in Airdrie. I just noticed you mentioned Edmonton.
 

LikeabossTM

forum member
Joined
Sep 30, 2015
Posts
870
Reaction score
413
I pulled the mid-pipes and mufflers from the 2014 this evening. With only jackstands on the rear frame and the jack working the differential, I had to drop the rear end way down to get the mid-pipes snaked out forward over the axles.

This meant pulling the lower shock bolts and the panhard bar upper brace bolt, as well as the rear subframe convertible braces, in order to drop the rear-end way down. The only tricky bit was reaching the upper subframe brace bolts that go vertically up into the pan. There's no way to get a socket into the gap right by the bolt heads due to the angle-iron like brace right beside the gas tank straps. You have to put about a foot and a half of extension on the ratchet and slip the socket in down low and then slide up into the gap to mate with the bolt head.

Once I figured that out, it was easy peasy lemon squeezey.
 

LikeabossTM

forum member
Joined
Sep 30, 2015
Posts
870
Reaction score
413
Started installing the dash this morning. I decided to leave the 2014 dash wiring in as is, I believe that'll be better. The RCM and HVAC pin diagrams are the same between the 2011/2014, and other than wire color differences the only things that changed for the SJB pins were inconsequential. Things like the 2011 had the HID pins unused, the defrost relay fuse was repurposed for heated mirrors in 2014, and there's an amp wiring difference (which makes sense, cuz I'm using the 2014 audio system, which is different).

Should have it ready to battery up and diagnose computers/check for codes this evening.

f59f7ef81351c5eaae1f40a79cf391be.jpg
 

LikeabossTM

forum member
Joined
Sep 30, 2015
Posts
870
Reaction score
413
The dash, steering column, and associated wiring is installed and connected.

Turned it over for a second (starter only, not started). The security seems happy. Lots of errors like low brake tire fluid, tire pressure sensor fault, no radio (maybe APIM mismatch), but big milestone!
 

LikeabossTM

forum member
Joined
Sep 30, 2015
Posts
870
Reaction score
413
Radio is good. After double-checking the diagrams it didn't make sense. So I figured I'd do a fuse check on the boxes and lo and behold f39 in the SJB was blown - the radio fuse...

...popped a new one in and it powered up and functions a-ok now.
 

ValK

Junior Member
Joined
Jan 28, 2017
Posts
25
Reaction score
0
Location
Calgary, AB
Nice job. Can't wait to see it running. This makes me want to find a damaged 14 to swap drivetrain and interior into my 05. But I bet I might as well just sel mine and buy a 14. Probably be same monies... by the end of it.
 

LikeabossTM

forum member
Joined
Sep 30, 2015
Posts
870
Reaction score
413
Cleaning up the pinch weld scrapes from removing the windshield this morning. Figure I should do it while it's still warm out.

Hit the spots with a file and sandpaper to remove some newly formed rust, then primer. I'll throw some U6 touch-up over that, even though the car will ultimately get a fresh paint job with a brighter red.

bf6c139a4ece73dca94c441ea6819b6e.jpg
 

LikeabossTM

forum member
Joined
Sep 30, 2015
Posts
870
Reaction score
413
Thermostat and gasket came in, so I;

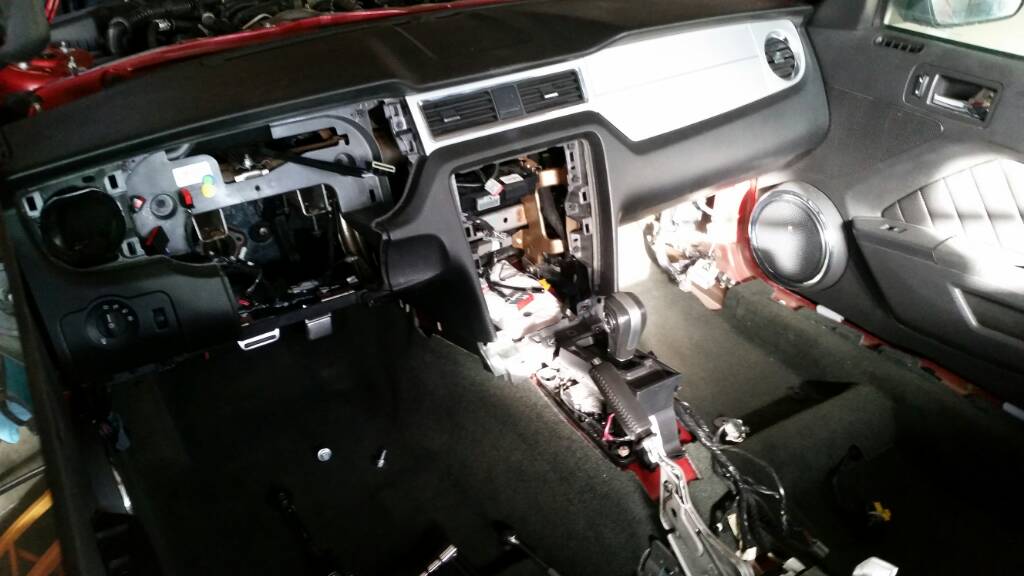
-pulled the coil pack plugs, coil packs and plugs.
-disconnected the injector plugs
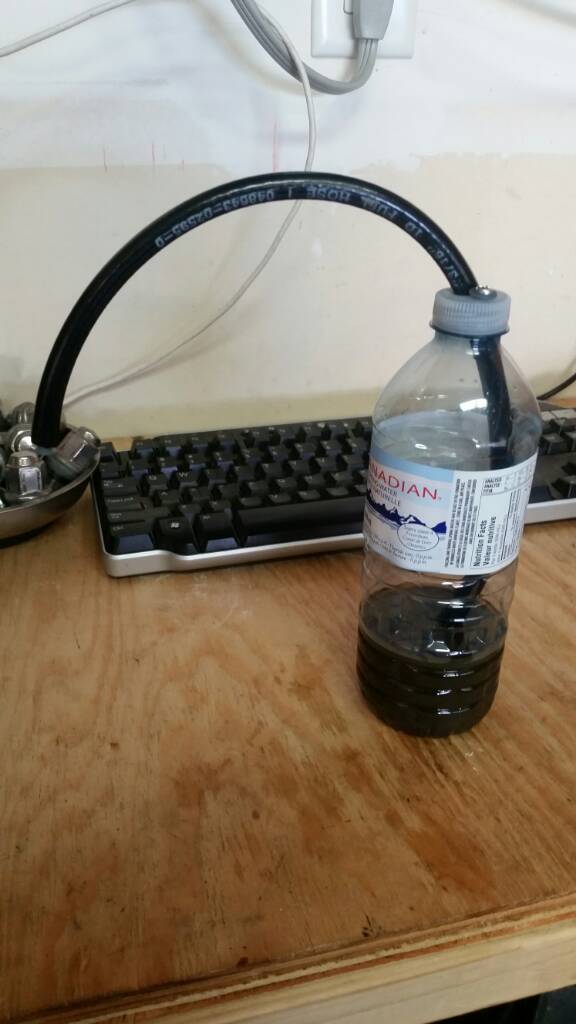
-filled cooling system with distilled/coolant
-cranked the starter a couple of times for about 15 seconds each time to get the oil into the system (checked through oil cap each time to see oil on timing chain)
-reinstalled plugs, coil packs, and hooked up coil pack and injector plugs
-crossed my fingers
-hit the starter one more time

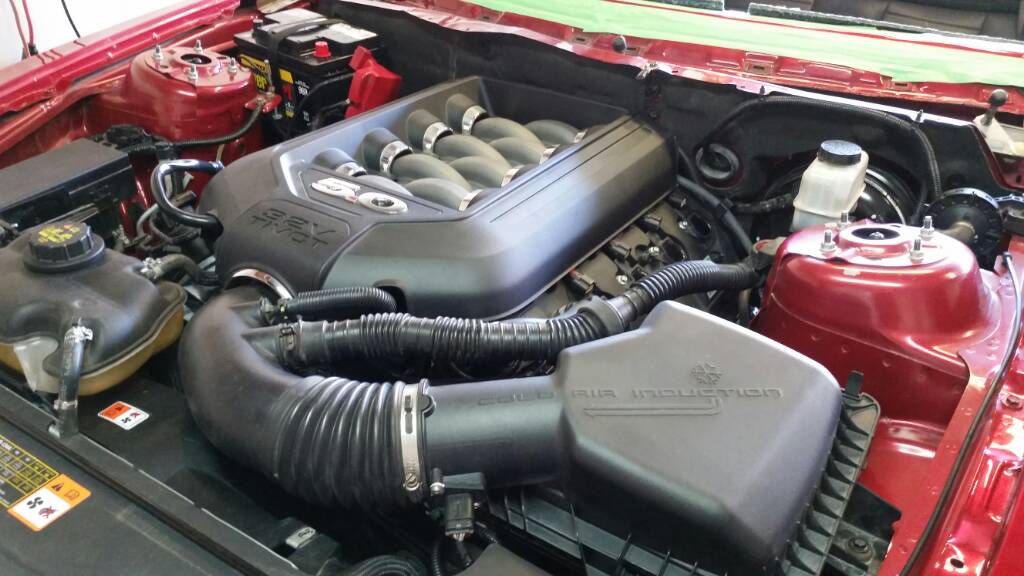
Fired up within one rev! Old gas and oil in the cylinders, SMOKEY, and, LOUD with no exhaust on beyond the h-pipe.

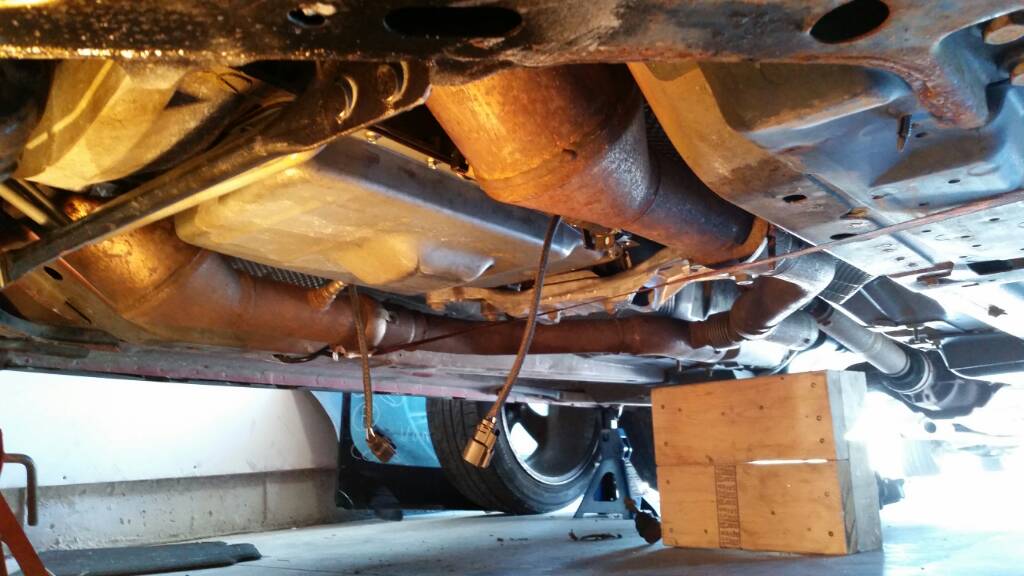
I only ran it for about 45 seconds as I have a grating sound coming from the cat area. I suspect something between the block and the trans housing is rubbing (flexplate/TC/shield), but I'm not positive. I'll have to rig the rest of the exhaust on the ground so I can hear better after I get down on the floor and poke around. I'll have to check trans fluid too, I didn't think I lost more than a pint but I could be underestimating. It really sounds like sheet/thin metal rather than bearing screech.

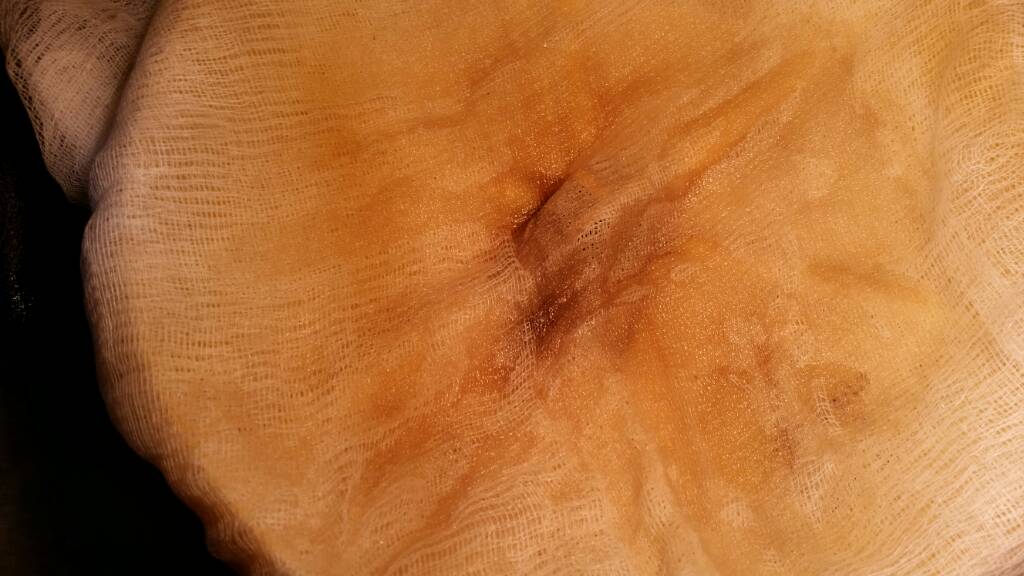
Engine oil is at the bottom of the x-hatch after running it and filling the passages/filter, but nothing worrisome. It's nice and light still too, no milkiness.

Hopefully the grating sound is OUTSIDE of the block, Eheheh.
 

LikeabossTM

forum member
Joined
Sep 30, 2015
Posts
870
Reaction score
413
Update, the grating was the TC stud ends rubbing the plate between the engine/trans. I bent the plate back a little at the bottom, as it seemed to be cocked toward the trans down low. Better, but not perfect.

After putting it in fwd and reverse a few times the sound disappeared.

I'm waiting for the oil to drain fully through some cheesecloth so I can eyeball any droppings. I'll check that and then settle in for a pats win. Checking the trans fluid level can wait till tomorrow.
 

LikeabossTM

forum member
Joined
Sep 30, 2015
Posts
870
Reaction score
413
The drained oil looks good, nothing but net. This is after both the pan and filter contents were dumped through it.

Spun a new filter on and filled it up with a fresh load of oil. Will give this round 5k before doing it again.

4ecd964aaac62f65ce495fff0adcad73.jpg
 

LikeabossTM

forum member
Joined
Sep 30, 2015
Posts
870
Reaction score
413
Did a clean/flush/fill on the coolant. Was going to make my own cleaner with some barkeepers friend and coolant (vc-1 is 2% oxalic acid and 8% coolant, 90% water), but the Vc-1 was only ten bucks and they had it in stock, so I went with the ford product. After letting it circulate for 15 minutes and draining, it took three more distilled water fills and flushes to dilute what was left to virtually clear. Final fill was with distilled and Prestone 'longer life' which meets ASTM D33006 - the same standard Ford calls for with their Motorcraft Orange.

After that I re-checked and topped up the trans. It needed another litre, which it couldn't take without running it through the gears warm first (checking cold had the level at the top of the fill hole).

Finally, bled the ABS module and the rest of the brakes, enlisting the help of a local 12 year old to pump while I cracked the fittings and checked for air. Took almost a pint when all was said and done - might have been a little less but I let it run clean after some dark fluid came out of the left rear.

Ten bucks to the kid, and nothing for my home made up-cycled bleeder jar.

f287848d50e4551dda4e9c43461fc9dc.jpg
 

LikeabossTM

forum member
Joined
Sep 30, 2015
Posts
870
Reaction score
413
Ran a few more routines today, KOEO and KOER, as well as the misfire monitor relevel. I'm still in limp mode with a dash wrench, I believe the DTC that's causing it is that the fuel pump can't communicate with the RCM because I still have the fuse for the supplemental restraints system pulled. The few other DTCs are related to disconnected modules such as the seat heaters, etc.

Also had to replace the trans solenoid strategy in the PCM to match the one that's labelled on the newish 2014 trans. That went off without a hitch and should prevent any shift strategy mismatches.

Tomorrow I think I'll wheel up and back out of the garage so that I can put my ladder up to retrieve the front bumper that I've got stored hanging up above the garage door.
 

Support us!

Support Us - Become A Supporting Member Today!

Click Here For Details

Sponsor Links

Banner image
Back
Top