continued from above
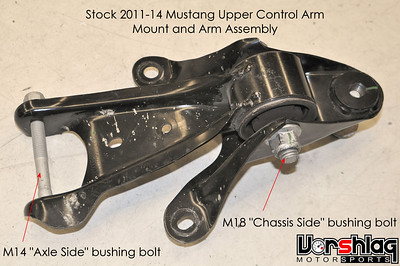
The various UCA designs on the S197 Mustang are a sticky subject. The OEM piece (below left) has a big rubber bushing at the axle and as well as the upper mount for the UCA itself. These are pretty soft bushings because they need to PIVOT quite a bit on the sold rear axle suspension, so they have a lot of bushing slop that can cause axle tramp, change of pinion angle, and slow down the rear suspension reactions to torque changes. If you have read this build thread for a few years you know we tested a variety of aftermarket designs and settled on the spherical UCA design from Multimatic.

This was a $700 arm + mount when new, which is pretty crazy, considering the Whiteline UCA + mount (above right) is
only $242. But.... the current UCA design from Whiteline isn't my favorite solution for this arm. The "elastomer" they use is very firm (like polyurethane) and doesn't allow the arm to pivot, which could lead to premature wear on the axle side OEM rubber bushing (which has to do almost all of the pivoting). We've been hounding WL to release a new design with their Max-C bushing (which I showed from my SEMA 2014 coverage in this thread). Most of the other brands also use a poly bushing upper mount, or a spherical mount, but most of those are even less desirable than the WL unit, due to a number of factors (poor adjustment style, low end materials, and most of all - NOISE). Virtually all of the spherical bearing units we've installed made heinous amounts of noise.
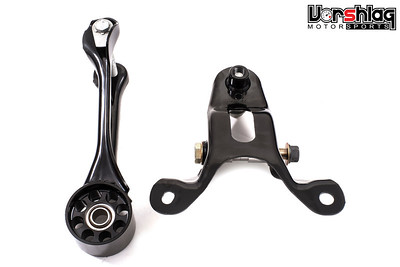
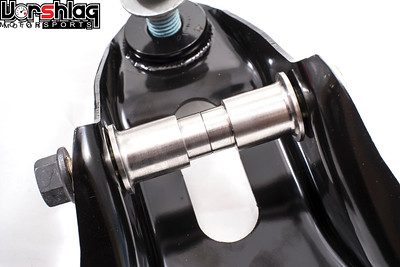
The Multimatic UCA design was elegant and simple. It uses modified, stamped steel OEM arm and upper mount, with a big spherical bushing added inside the end that is made to PIVOT SMOOTHLY, has no rubber to compress or deform, and has worked flawlessly for years in our car. The chassis mount is made to capture the bolt and machined bushings that fit snugly inside the spherical. Sure, it makes a
little bit of noise due to it being all metal, but it works without any bind or slop. But you cannot buy them...
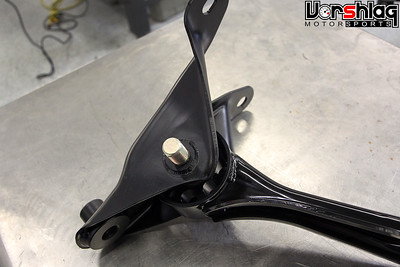
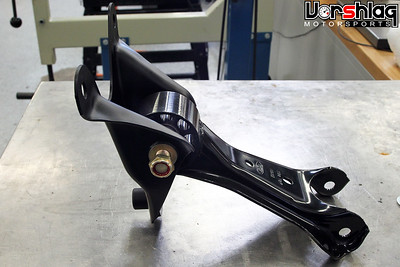
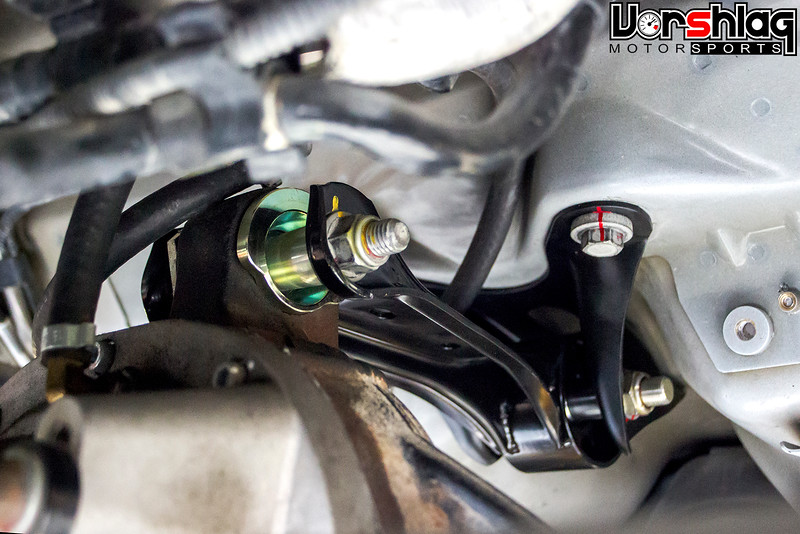
Since Jamie only found half the Multimatic solution, Olof took an OEM 2011-14 GT upper chassis mount and modified it to fit the Multimatic bolt, bushings and arm. This meant cleaning off the powder coating, making a reinforced washer to fit the included (non-OEM sized) bolt, TIG welding them on through the factory holes, and painting it all up.
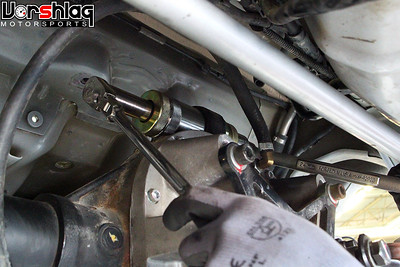
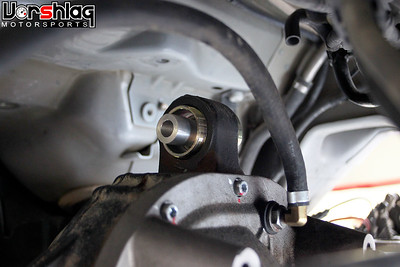
At the other end of the UCA is a rubber bushing in the axle housing, which was cracked and failing. This was pressed out (not fun) and the Steeda housing and spherical bushing were pressed in place (also not fun). Luckily we have a lot of specialty tools for pressing in and out bushings. And it still was a bear to reach everything, with the axle still attached to the chassis. All of this is easier with the axle on a bench, but then you have to disconnect a LOT more stuff + rebleed the rear brakes.
All said and done the install of the Multimatic arm, upper mount, and doing the Steeda busing install was 2.24 hours. On a lift, with all of the right tools, so if you are doing this at home on jack stands, expect it to take 3-4 times as long. Much of that was the R&R of the chassis side bushing, which was a $89 part from Steeda. Its worth it for the UCA, because this has to pivot considerably during axle movement and body roll. Now the upper control arm is
spherical at both ends, and should pivot freely with no bind.
Aftermarket Coolant and Oil Temp Gauge Install
We have been watching the oil and coolant temps on Meeker's Mustang, which makes 633 whp with a supercharged Aluminator 5.0L Coyote based motor. But it has OEM analog gauges, which are barely adequate for a stock 5.0L that is only street driven.
During road course use it is VERY difficult to keep the fluids inside a supercharged engine cool, and we need better data to base the effectiveness of the cooling mods on. To see that data, a pair of aftermarket digital gauges were added for oil and coolant temps, at the hottest points in their systems.
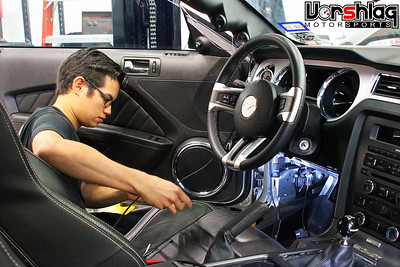
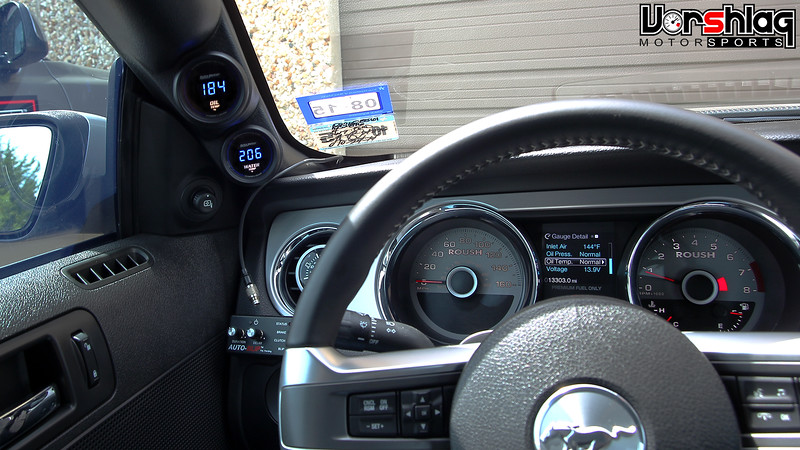
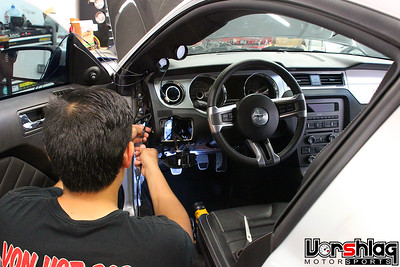
Normally I'm not a fan of digital gauges (hello, 1984 Corvette!) but in this case we wanted to know the numbers with more resolution than an analog gauge, and we've had good results with this brand and style before. Since there wasn't a great place to mount the gauges without hacking up the dash, we picked up a two pod A-pillar mount for 2-1/16" gauges, shown above. We then sourced Autometer Cobalt Series 2-1/16" digital gauges with included electric senders for both the oil and water (Auto Meter 6937 and 6948). These gauges have temperature probes that were somewhat long-ish probes, and just jamming these into the oil or coolant streams would be difficult or cause other issues, so we made the installs a bit custom.
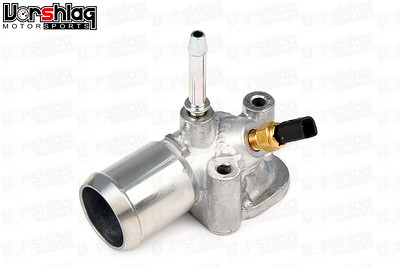
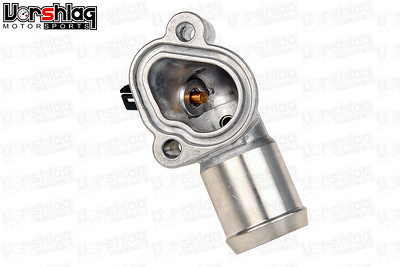
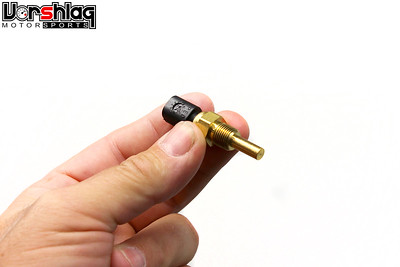
There isn't a great place on the head or block to add an aftermarket coolant gauge sender, so we looked at the cooling system layout and found the "hot side" of the coolant flow coming out of the block, but inside the thermostat (not on the "cool" side of the radiator). We purchased another OEM "Water Outlet Assembly" for a 5.0L motor, as shown above (so it would be perfectly clean and coolant/oil free, unlike the contamination we'd see on the used OEM unit). We also picked up aluminum weld-on bung from Fragola for the 1/8" NPT sensor.
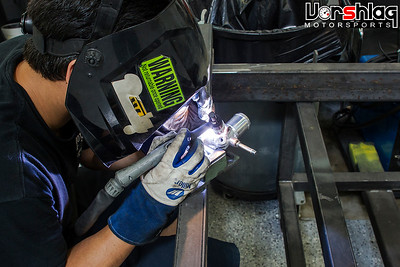
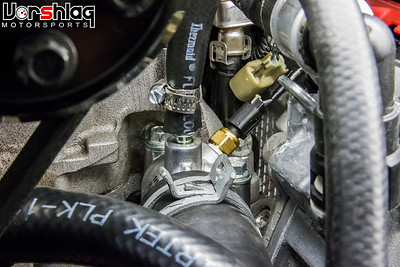
Olof then cleaned, drilled, and TIG welded the bung to this coolant elbow on the motor side of the system, then threaded in the sensor (with Teflon tape) and wired it to the gauge per the instructions. Since this is beyond most folks capabilities, we might offer some more of these "Water Outlet assemblies" pre-made with the weld-bung added for 1/8" NPT coolant gauge senders.
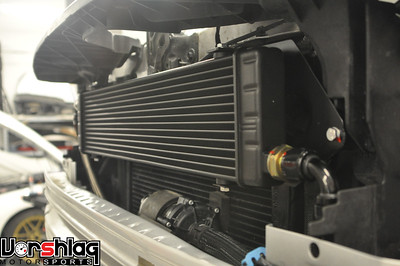
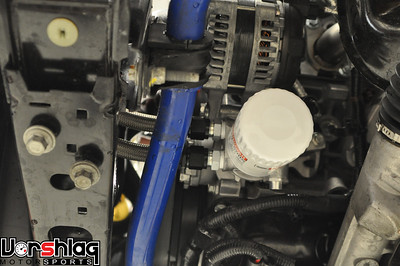
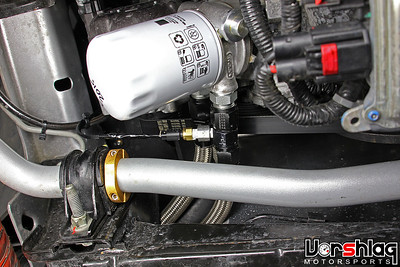
The oil temp system was a bit trickier. We already had a giant Setrab oil cooler on this car, with a thermostatic bypass plate at the oil filter (see both above) for the big -10 AN feed and return lines to the heat exchanger.
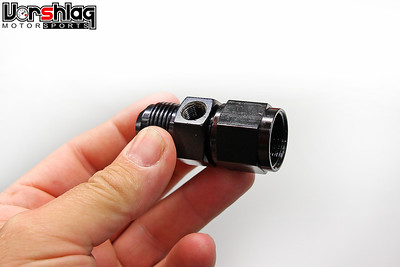
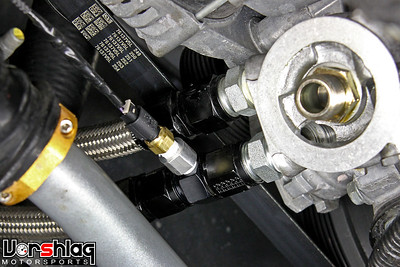
We used another Fragola part to replace the fitting that went into the sandwich plate oil adapter, on the hot side. This -10 AN fitting has an 1/8" NPT threaded hole in the side for a small oil feed line or for temp probe, like we needed. Normally you could just screw that sensor in here, but it could have bottomed out inside the new fitting. Even if it did fit, the probe itself would be stuck right in the middle of the fluid stream and could restrict oil flow.
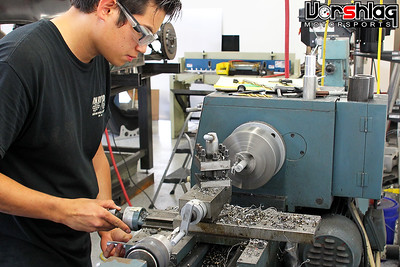
So a thick walled piece of aluminum tube was purchased. Olof chucked this up in the lathe and made a spacer, that was threaded on both ends (1/8" Male NPT into the fitting and 1/8" Female NPT for the sender side) then had two flats machined on it for installation with a wrench. Thank goodness for fabricators and good tools. The sender went into this "stand-off" and the tip of the sensor was right in contact with the oil stream.
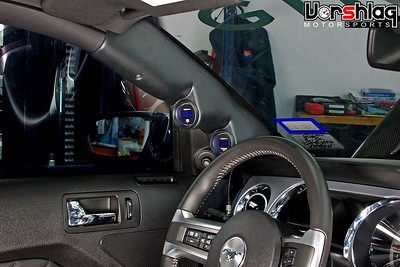
Visibility for the new digital gauges was great, daytime or night. And since the OEM analog temp readouts were just "green/orange/red", after his next track day we will finally have some reliable numbers to critique for coolant and oil temps.
What's Next?
We are still waiting on the rebuilt motor for my TTC 1992 Corvette to return from the engine builder, and time is ticking away. The goal is to have a couple of track events in the car to finish tuning the ride heights and to get some seat time before NASA Nationals East at VIR in September.
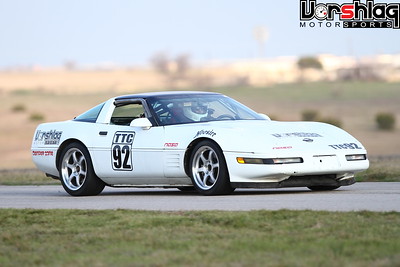
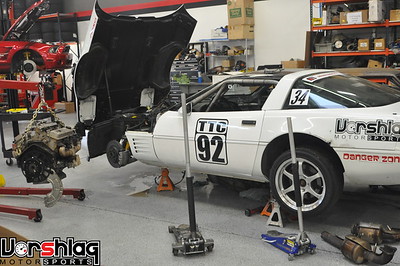
But that car has maybe the rest of this season before its kicked out of TTC class, which we kind of knew going in when we built it in January. It will likely be sold at the end of this season, as it was more of a "fill the gap" car between the red Mustang and our next "halo car" for the shop...

Now that the red GT is gone we can bring a few of the rolling BMW chassis to Vorshlag that have been stored in my home shop for a bit. I will go into more detail when we start the build thread for those cars (again), but basically we are shooting for a 2700 pound BMW E46 chassis, 500 whp LSx engine, 335/345mm Hoosiers, and continue the aero development work we did on the S197. Should be fun.
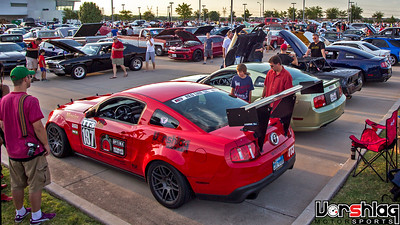
Cars & Coffee Dallas - Saturday July 4th, 2015
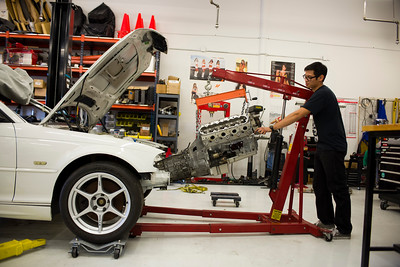
Many of the Vorshlag crew will be at the Dallas C&C event this Saturday and we're bringing some American muscle to celebrate our Independence day! Meeker's Roush will be there, as will Jon's 2006 GT he races in CAM, and a C7 Z06 we've working on today. We will have the LS-swapped Scion FR-S there (above left, which I just test drove for the first time), which is injected with some American muscle.
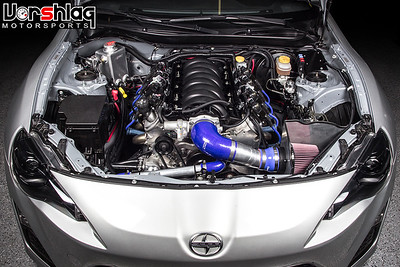
This FR-S LS1 is an "Alpha" build we have been working on for about a year that is nearing completion, and already driveable. The swap kit production will start shortly after the final test drives. If you are in the DFW area this Saturday, come to the show and take a look at what we have on display. We will be parked near the SCCA crowd at the back corner of the giant lot there at Classic BMW in Plano, Texas from 6:30 am until around 11 am.
NOTE: Yes, the Paul's Automotive crew builds awesome race cars, and their S550 is the most legit one I've seen built. Super nice guys, very good drivers as well. And yes, we have been waiting for the pricing on the S550 Body In White. We called the guy in charge of that program about a year ago and he said "it will be 12-18 months before we release the BIY". Paul's crew (and all of the other S550 race cars out now) built that white beast from a showroom delivered, fully equipped S550.
Until next time,


")