AirLift/Rotiform Install Write Up with Lots of Pictures

GallopingFord

I'm Cam - Mr. Indecisive
Joined
Sep 5, 2010
Posts
15,369
Reaction score
10
Location
Northern Virginia
I finally began the install of the AirLift kit on my convertible. I’ve been busy with work but finally got some time to myself to sit back and work in the shop. I’m taking my time with this and enjoying putting it together. I’m OCD so while it could have been done in a day, I wanted to look over everything. I also need to do it little by little since I still have work obligations during the day.

Sorry in advance for the lousy iPhone photos.
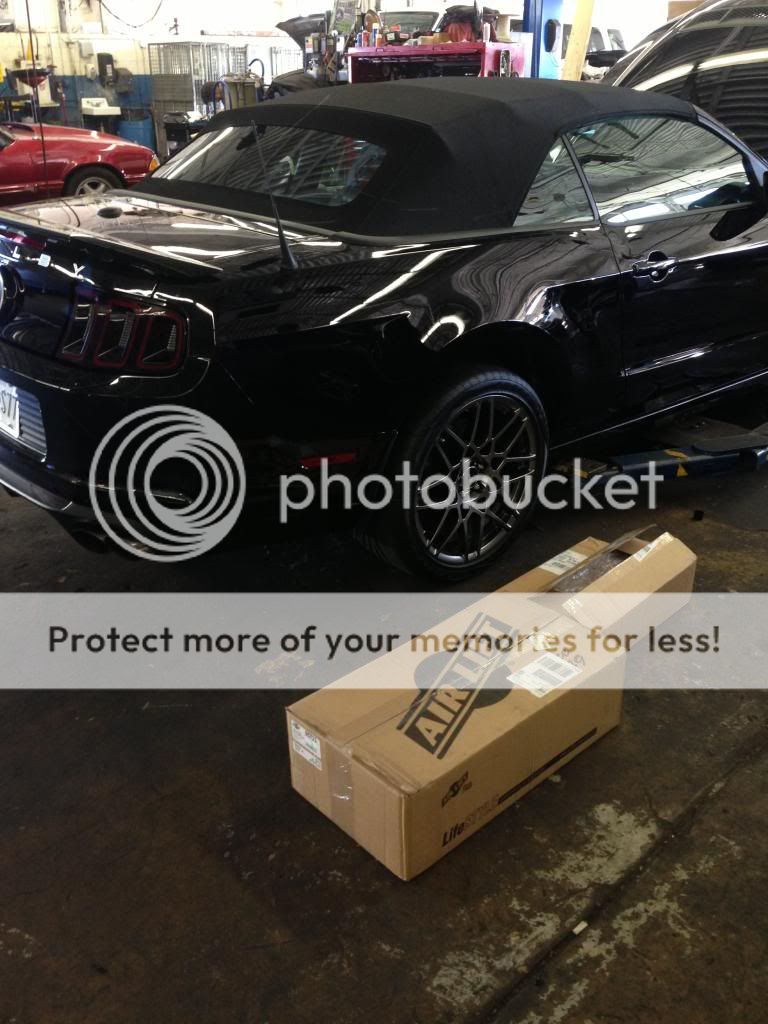
IMG_4236_zps2f204d33.jpg


In this thread I’ll be doing the following:
-Install AirLift Air Suspension Kit with Digital V2 Controller (P/N: 95723)
-Cutting Bump-Stop Brackets/Relocating Bump Stops
-Installing Rotiform BLQ Wheels 20x10/20x12 (Thanks to Neema)

To begin with… the rear end and removing the Bump Stop Brackets

Cleaning her up.
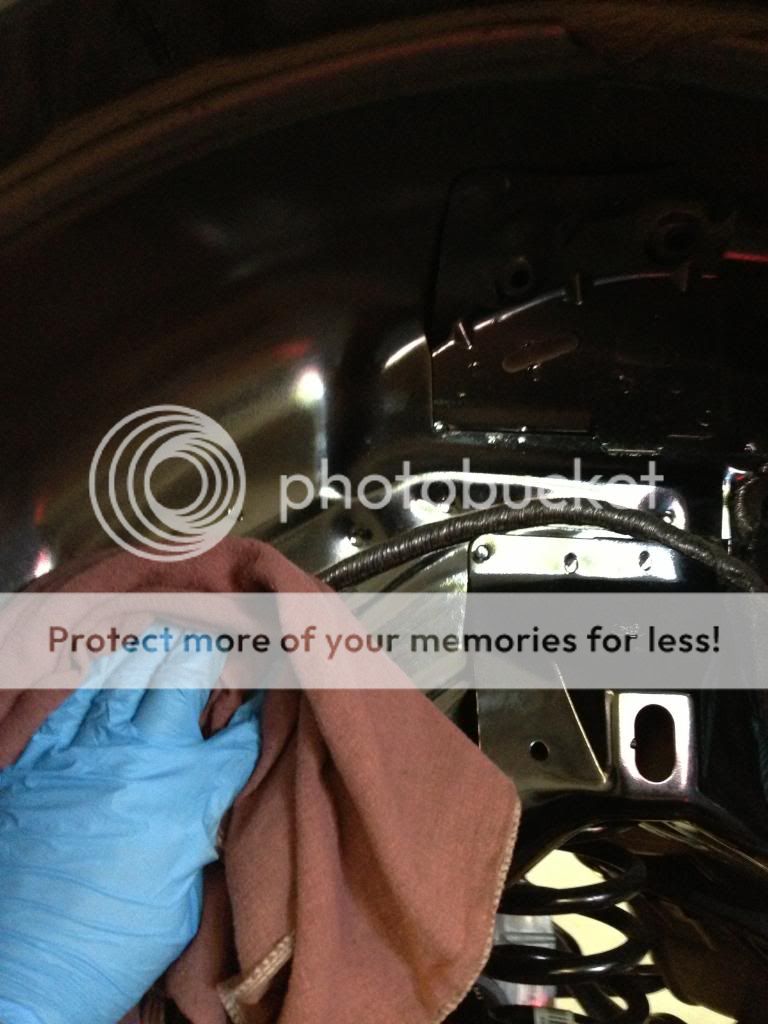
IMG_4237_zpsacb9ee94.jpg


The bracket to be removed.
IMG_4238_zps8efec602.jpg


To lower the axle, you need to remove these fun braces on the convertibles
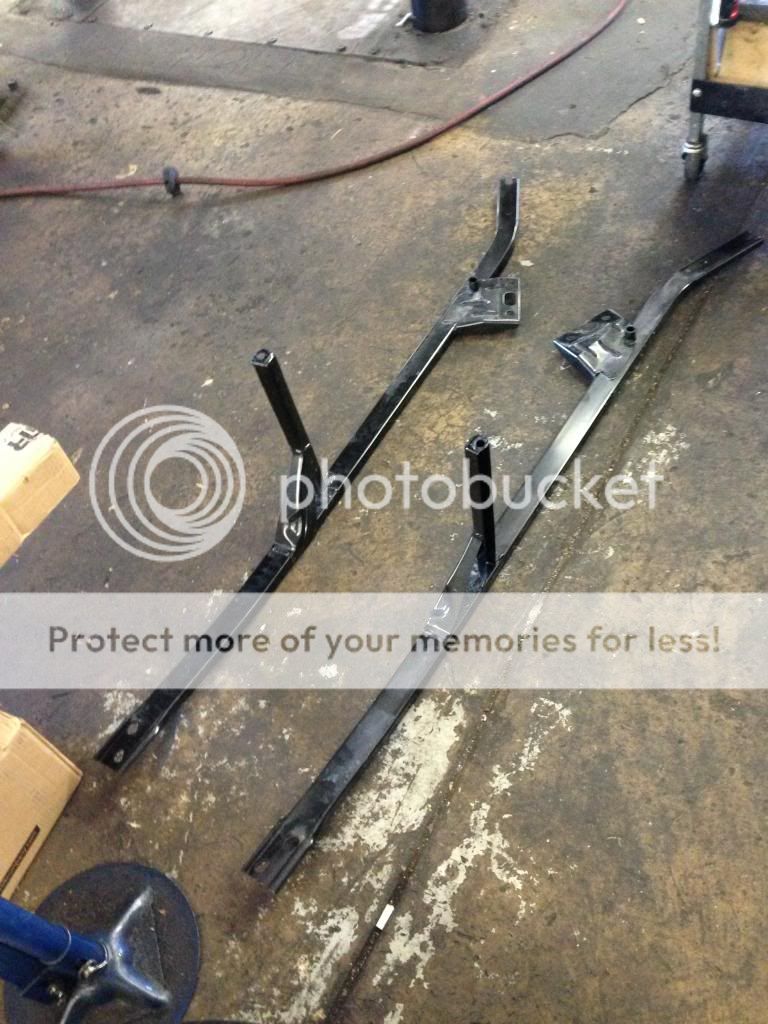
IMG_4240_zpsd43de7db.jpg


IMG_4241_zps8fd1e20b.jpg


You can remove these things two different ways. You can torch it and bang it with a hammer or you can opt for the more surgical procedure. I elected to do it elegantly to give it an OEM appearance as much as possible.


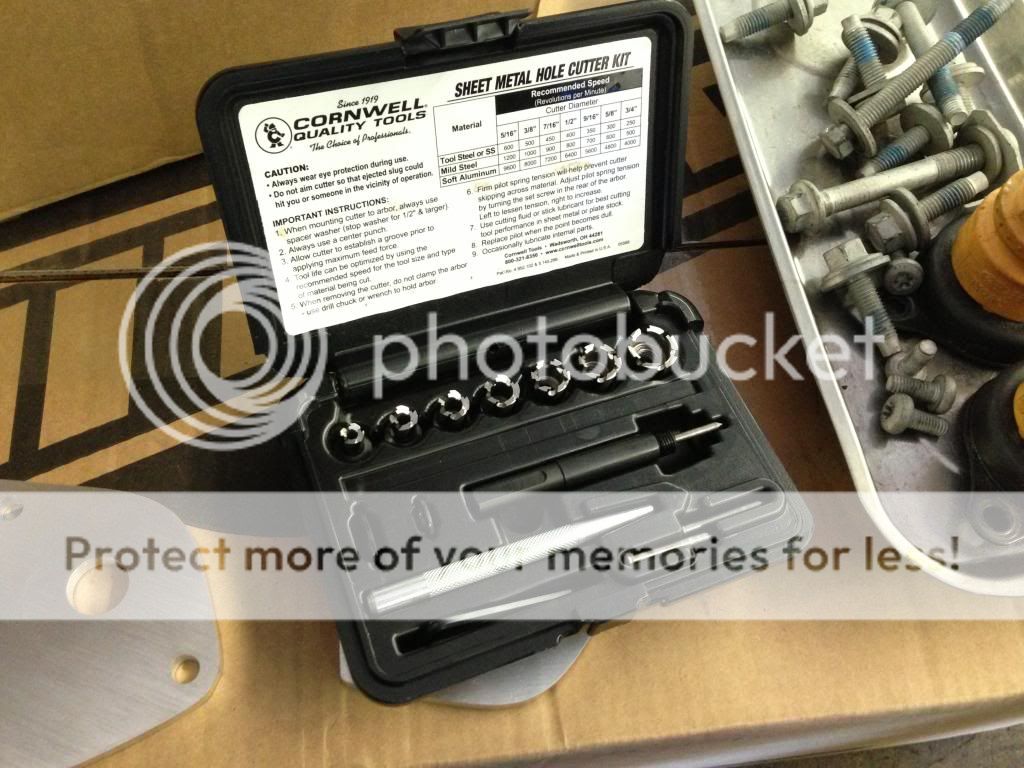
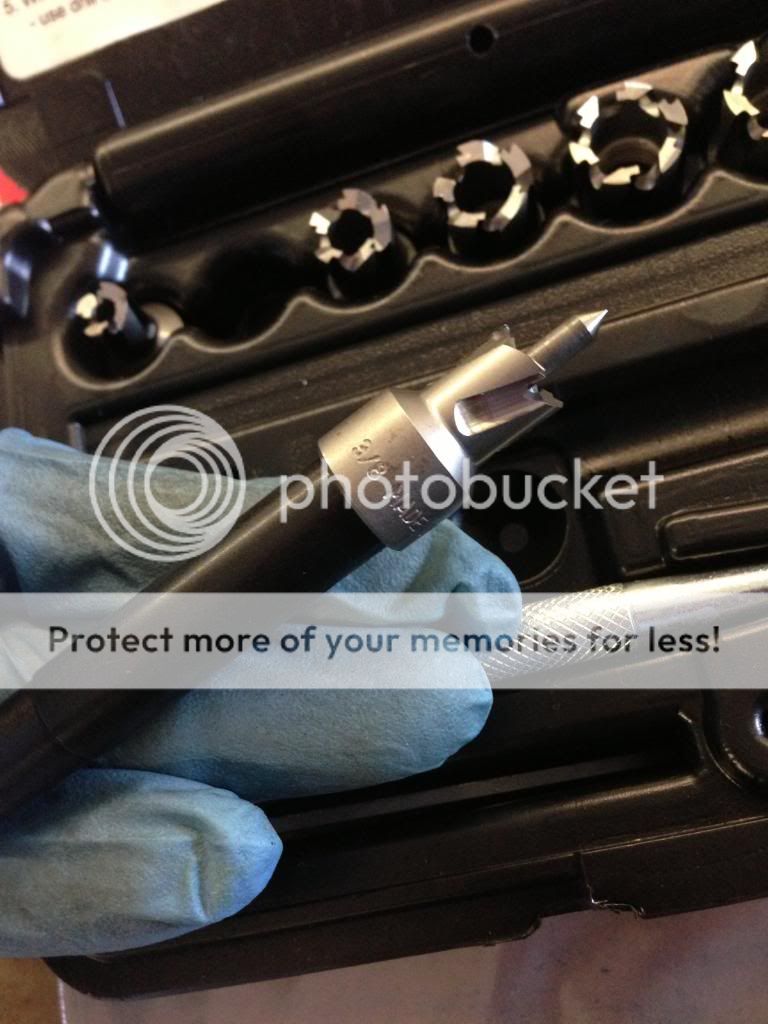
My nifty new spot weld cutting kit.
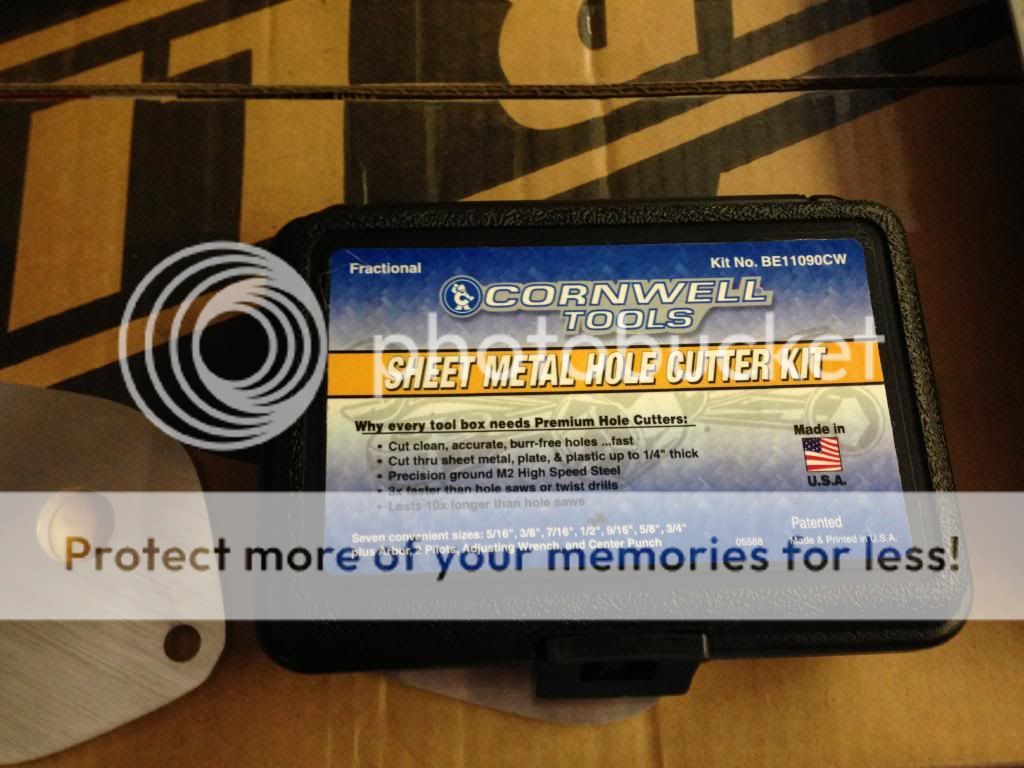
IMG_4245_zps17721fe7.jpg


IMG_4246_zps4cdc6d36.jpg


IMG_4251_zpsc40e82e8.jpg


Here is the bracket again… say your good byes
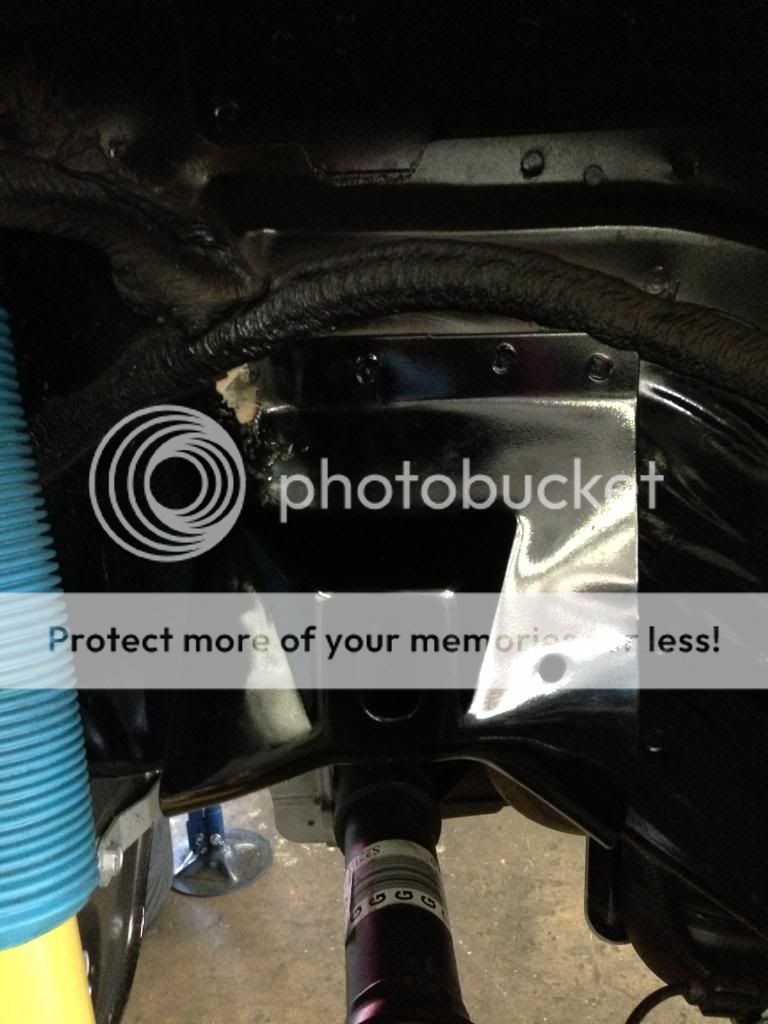
IMG_4253_zpsa7bc1b71.jpg


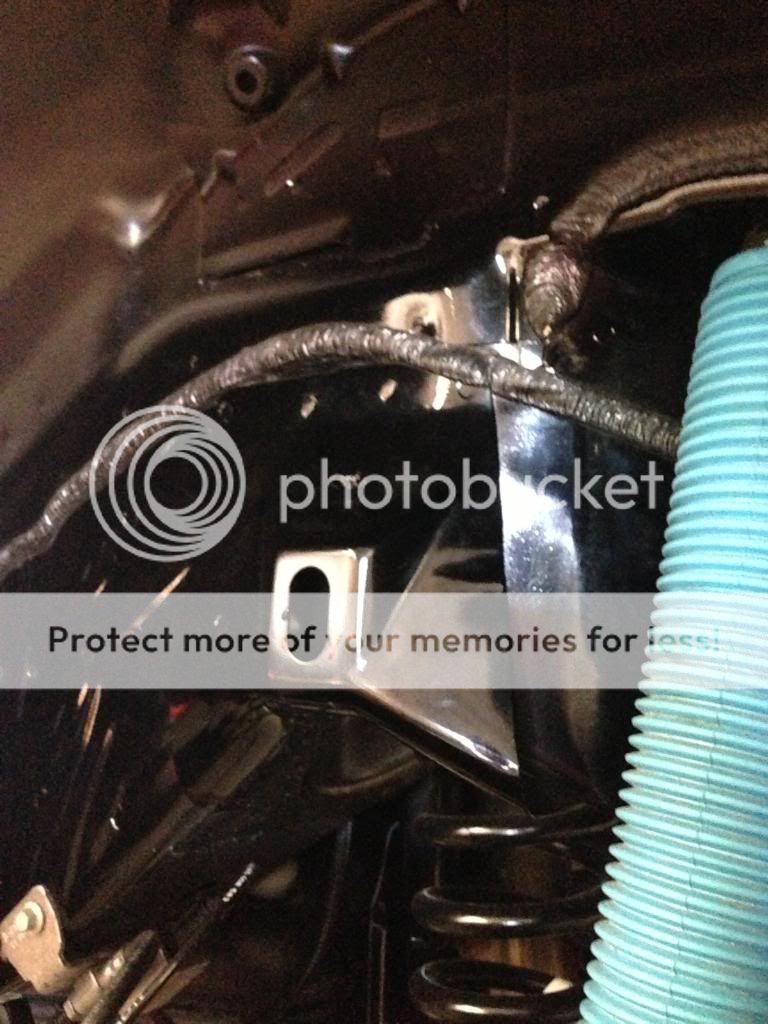
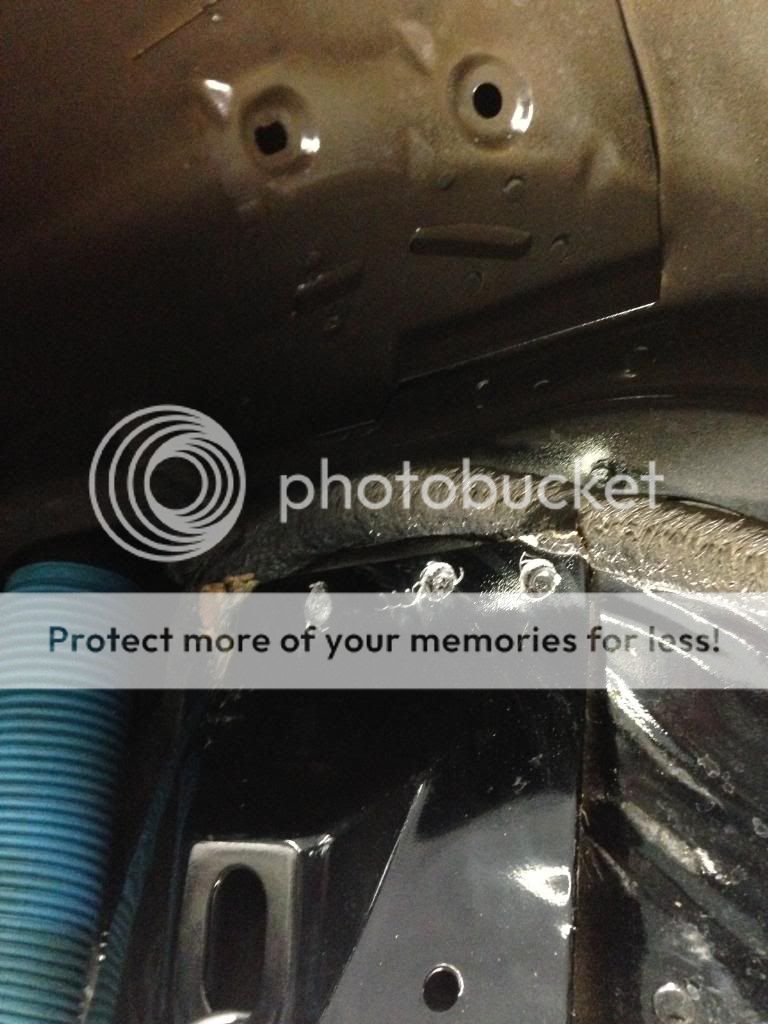
Used a center punch to make it easy to get the drill bit traction. Here it is after a little work. There is 4 Spot welds on the top and 5 on the bottom. The bottom is a bitch.
IMG_4256_zpsa5ba181f.jpg


Fucking bottom.

IMG_4257_zpsb94e977b.jpg


Bracket removed

IMG_4259_zps78dee8de.jpg


IMG_4260_zpsb175ee3a.jpg


IMG_4261_zps1a8fc76c.jpg


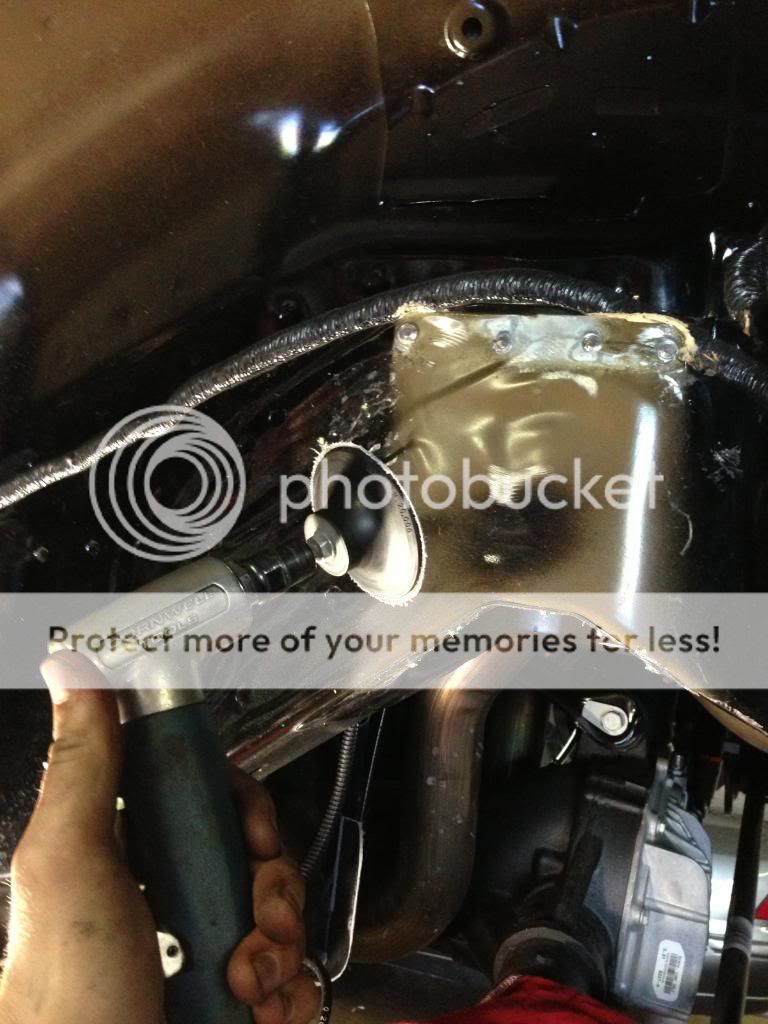
Used compressor wheel to sand down the edges.
IMG_4285_zps33deac27.jpg


IMG_4287_zps0c1c4282.jpg


Then used this.

IMG_4273_zps03816a6f.jpg


IMG_4274_zps084ff69d.jpg


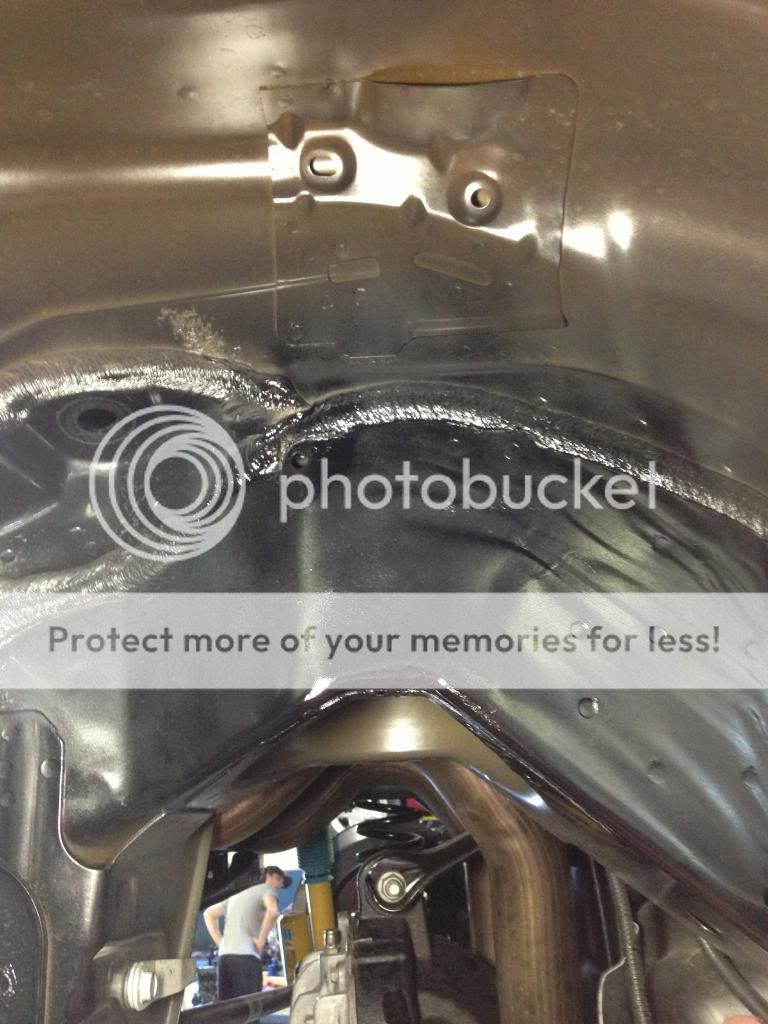
Followed by black gloss paint.

IMG_4276_zps4922e6c6.jpg


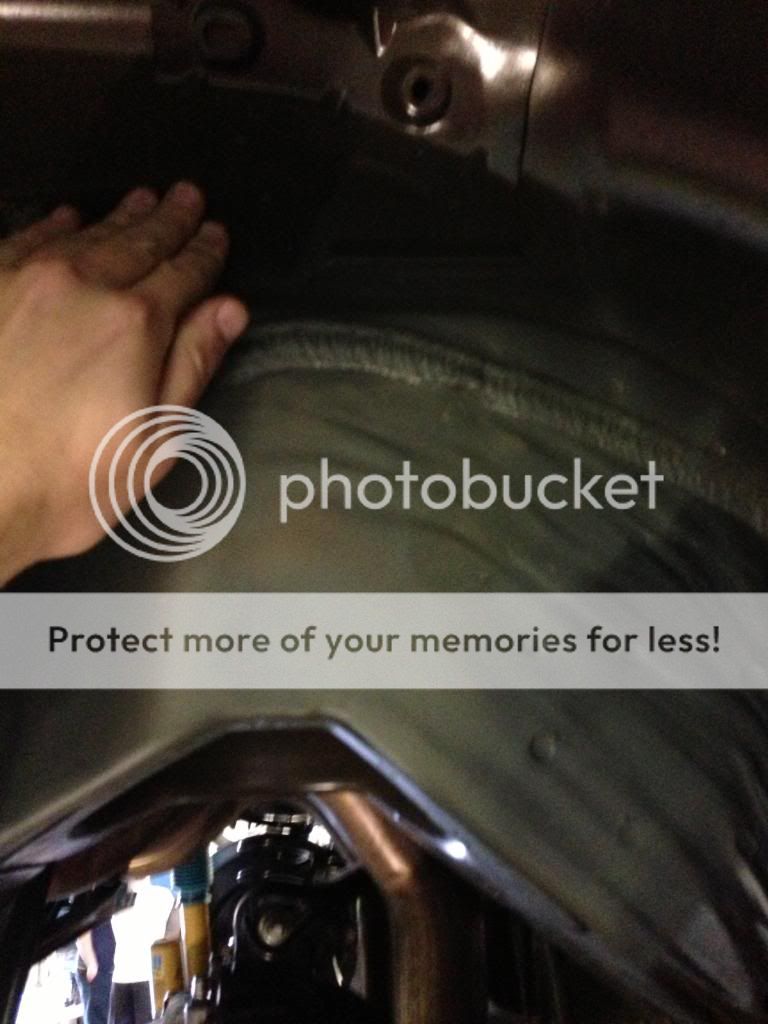
You could never tell there was a bracket there.

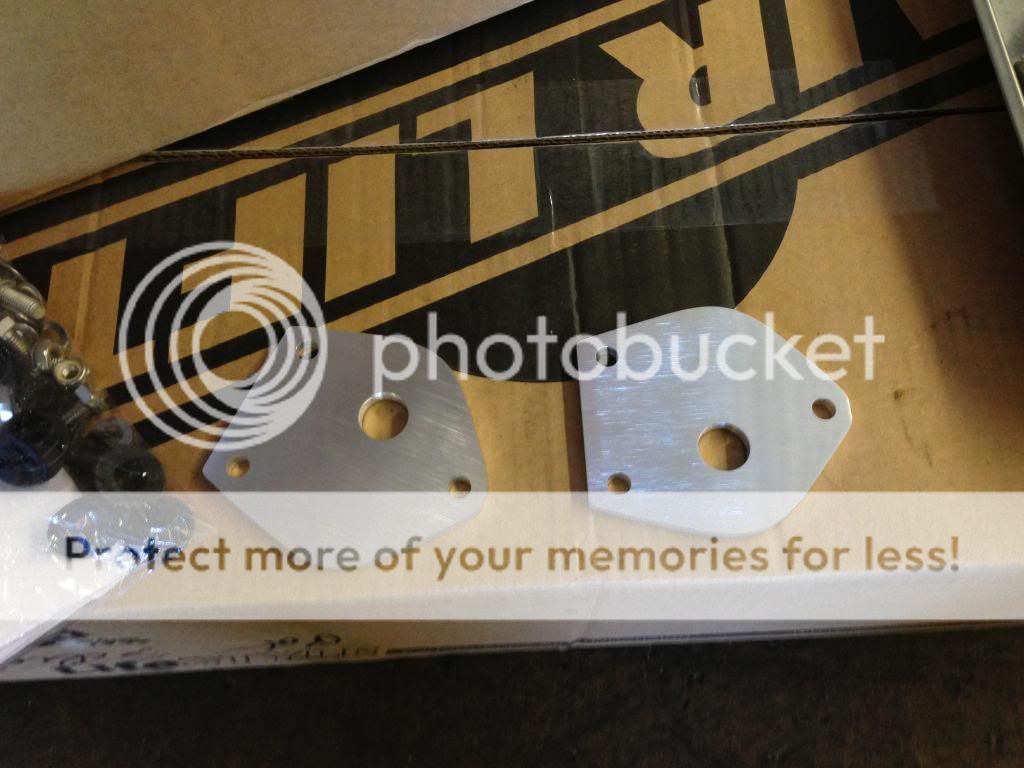
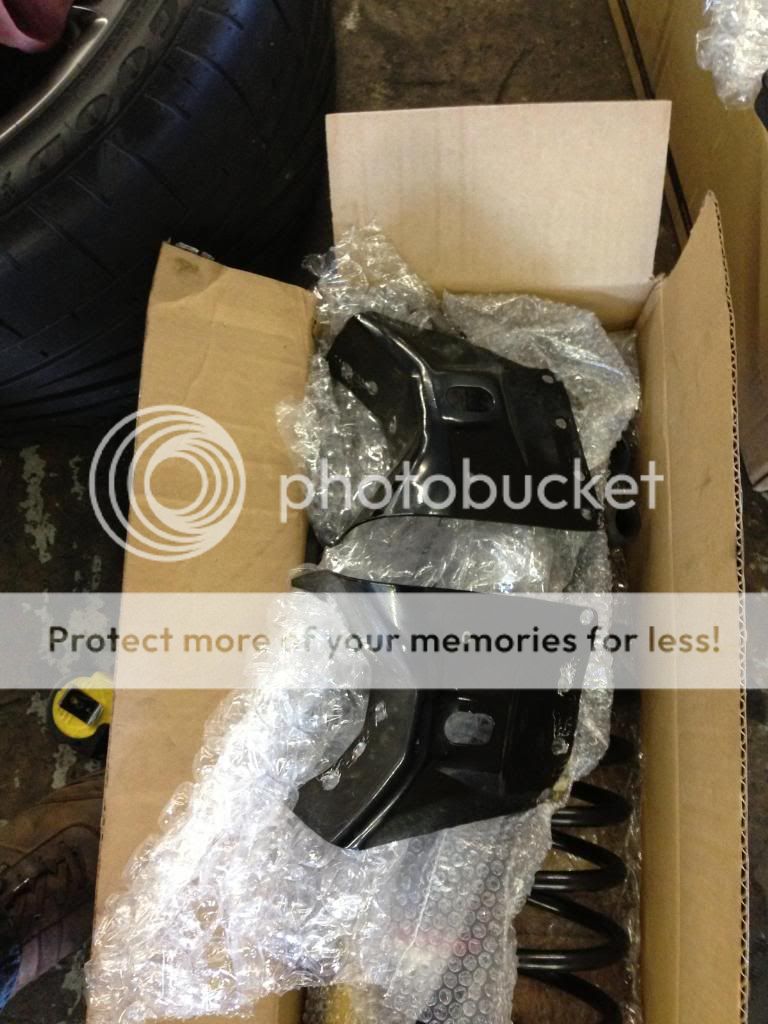
Here are the brackets.
IMG_4284_zps3d203487.jpg
 

GallopingFord

I'm Cam - Mr. Indecisive
Joined
Sep 5, 2010
Posts
15,369
Reaction score
10
Location
Northern Virginia
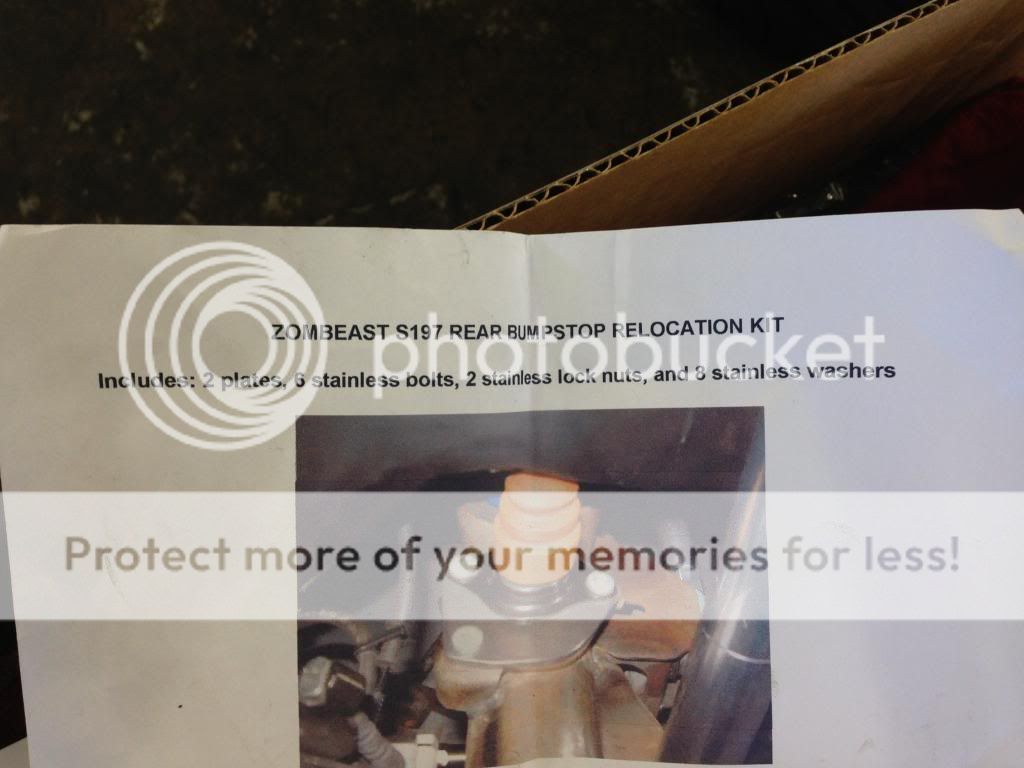
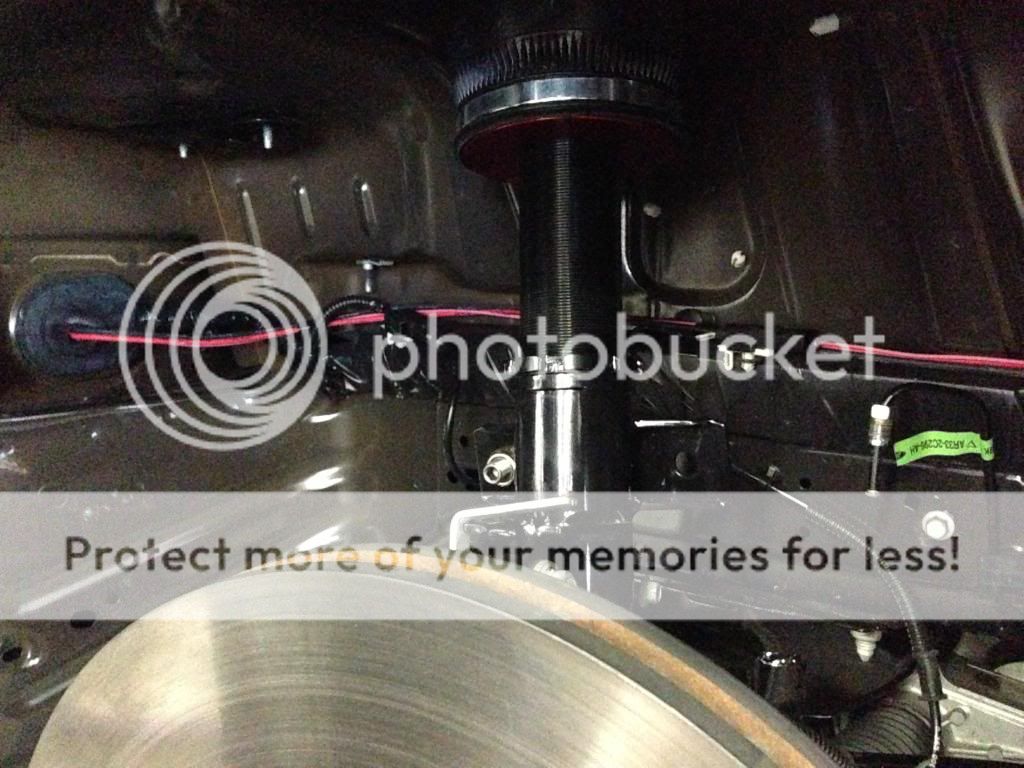
Bump Stop Relocation (Thanks to Neema for hooking me up with this.) This moves the Bump Stops inward for added wheel clearance. The bracket removal and this relocation go hand in hand for added wheel clearance. I need all I can get for 12” width of a wheel.

IMG_4248_zps4c523cd7.jpg


IMG_4244_zps85ee5e52.jpg


Remove bump stops.
IMG_4243_zps915a78f7.jpg


IMG_4247_zpsd0a9b9da.jpg


Then bolt the bumpstop back up on the bolts closest to the middle of the car. I forgot to take a picture of it. I’ll put one up when I can.

Starting the install on the AirLift Kit

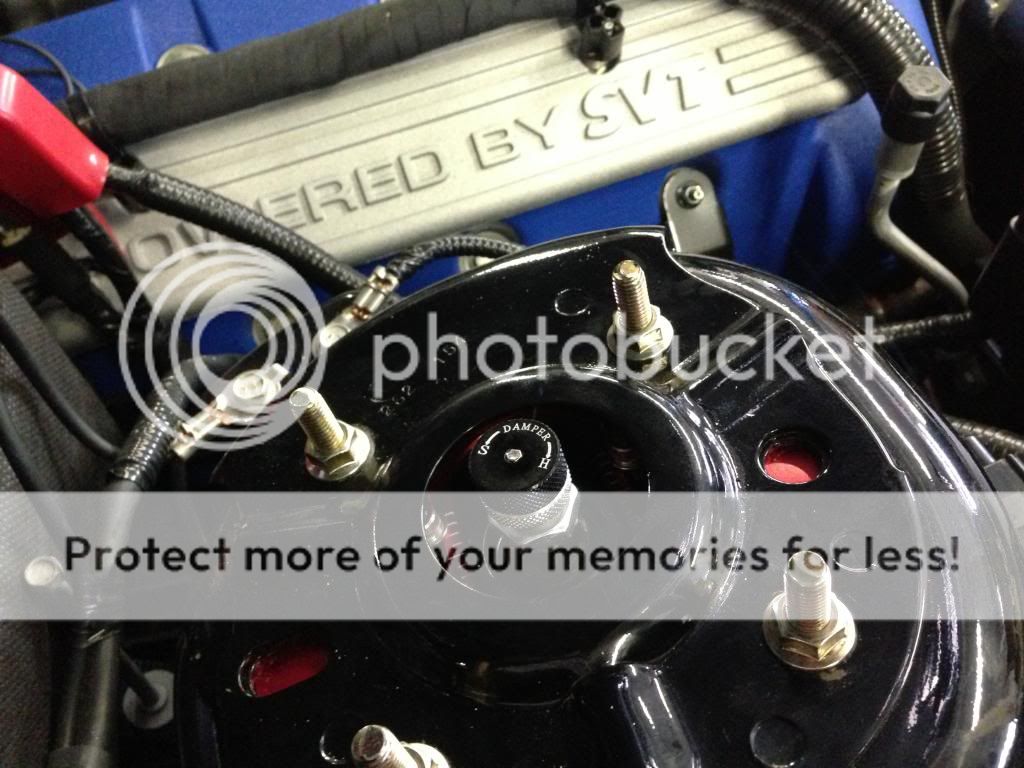
Taking the shocks out, my car has the Performance Package with the two-way electronic adjustable shocks, so I noticed something.

Here is the harness plug for the rear shocks.

IMG_4263_zps84ae4ba6.jpg


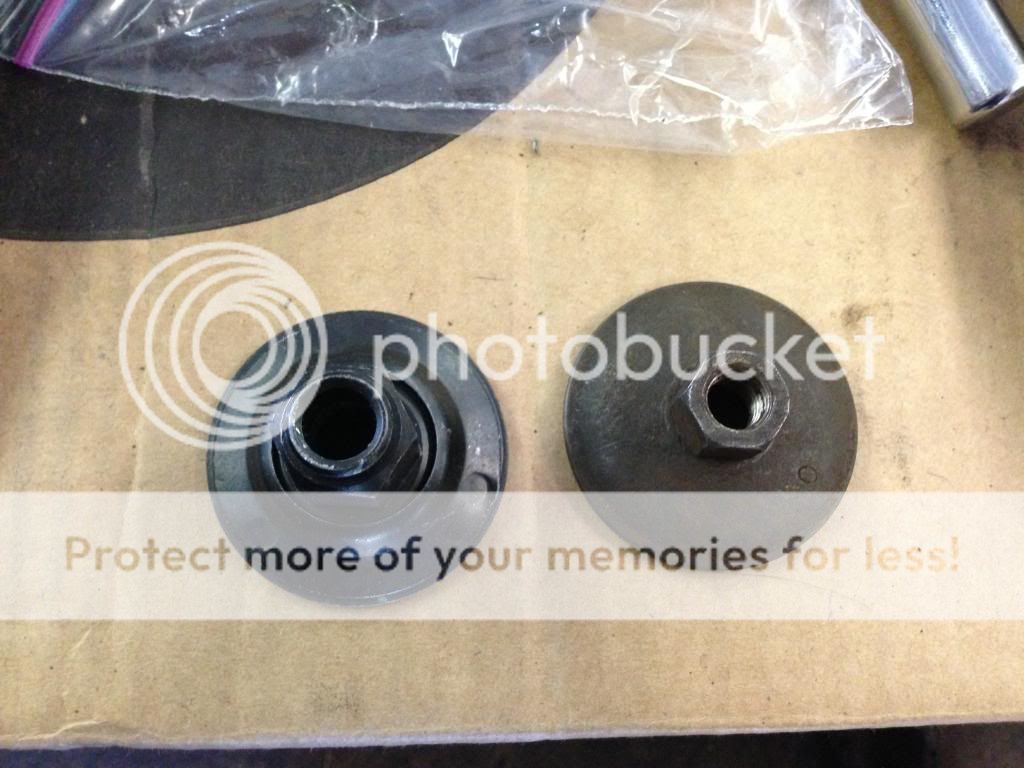
The PP cars have a different upper bolt on the shock so it can clear the input, so this bolt will not work on the AirLift rear shock. I fished around the shop and found something that would make due until the regular GT rear shock bolt shows up.

PP Shock Bolt is pictured on the left.

IMG_4280_zps52e5b4c6.jpg


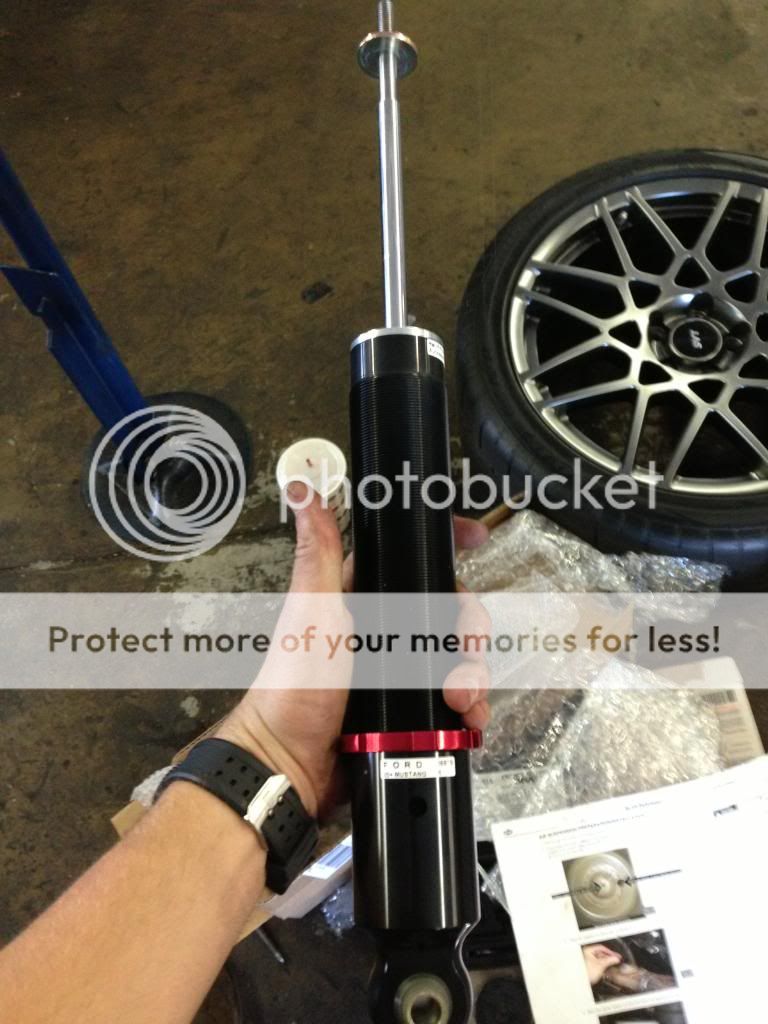
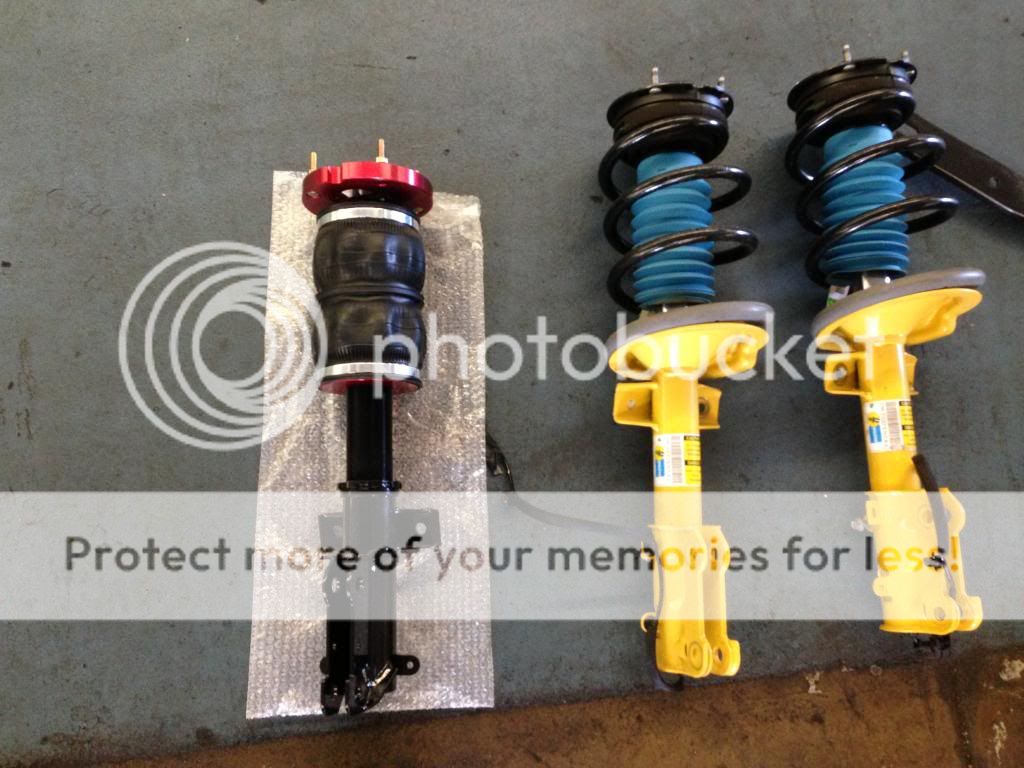
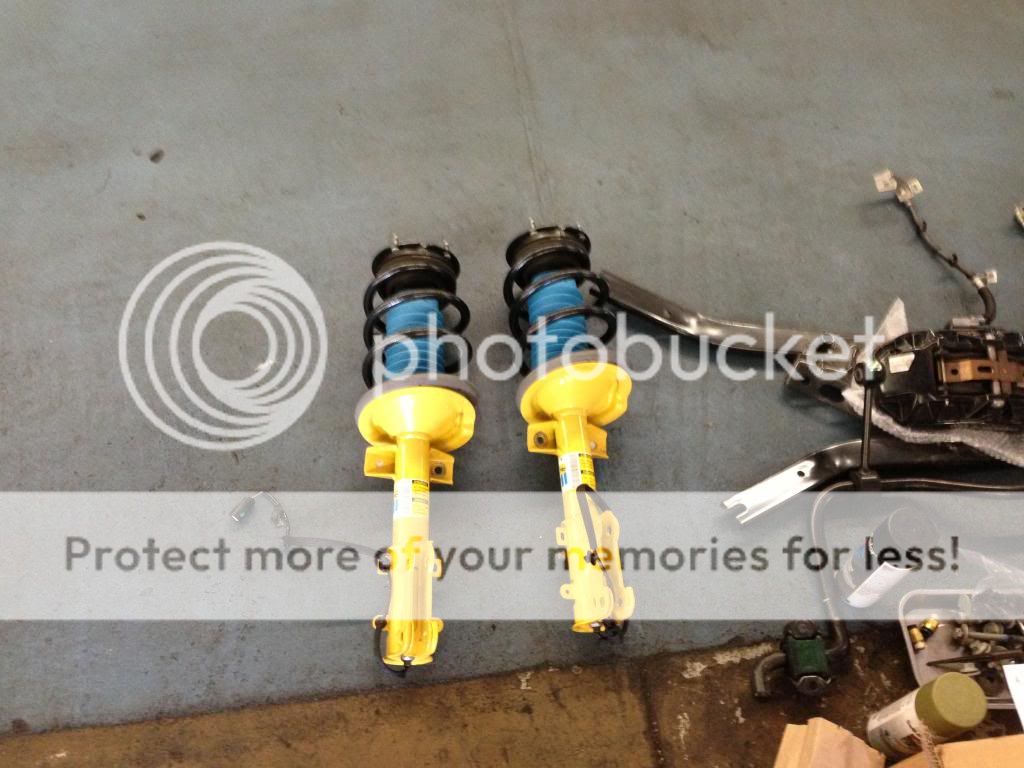
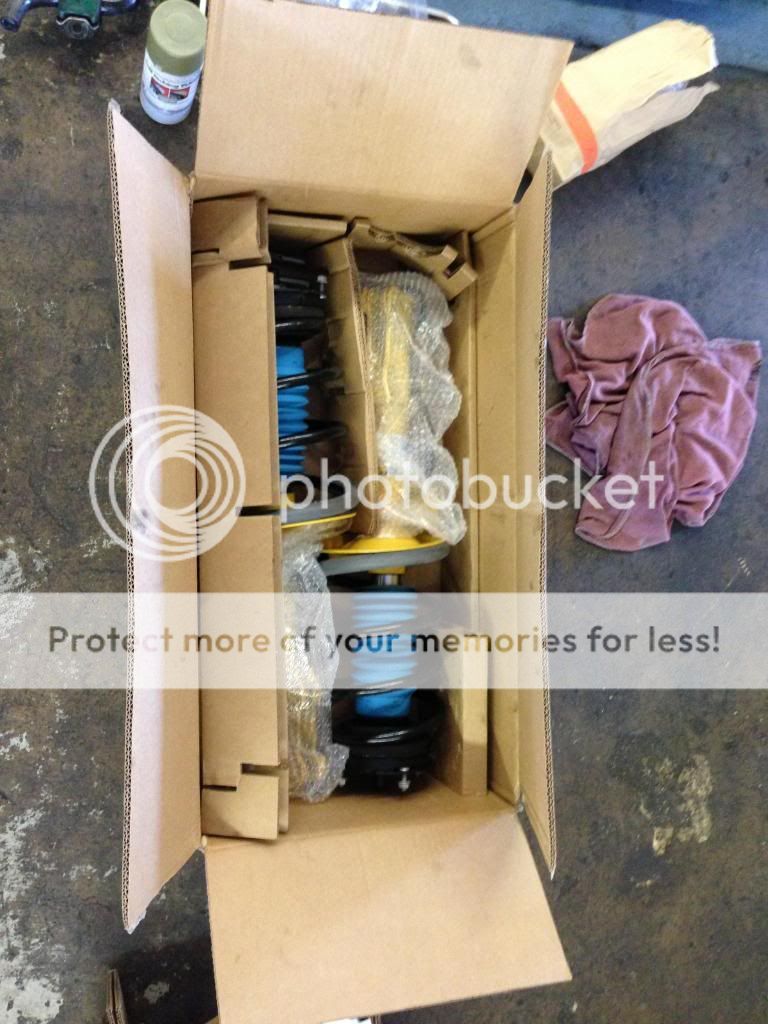
AirLift Shock

IMG_4277_zps4419ac28.jpg


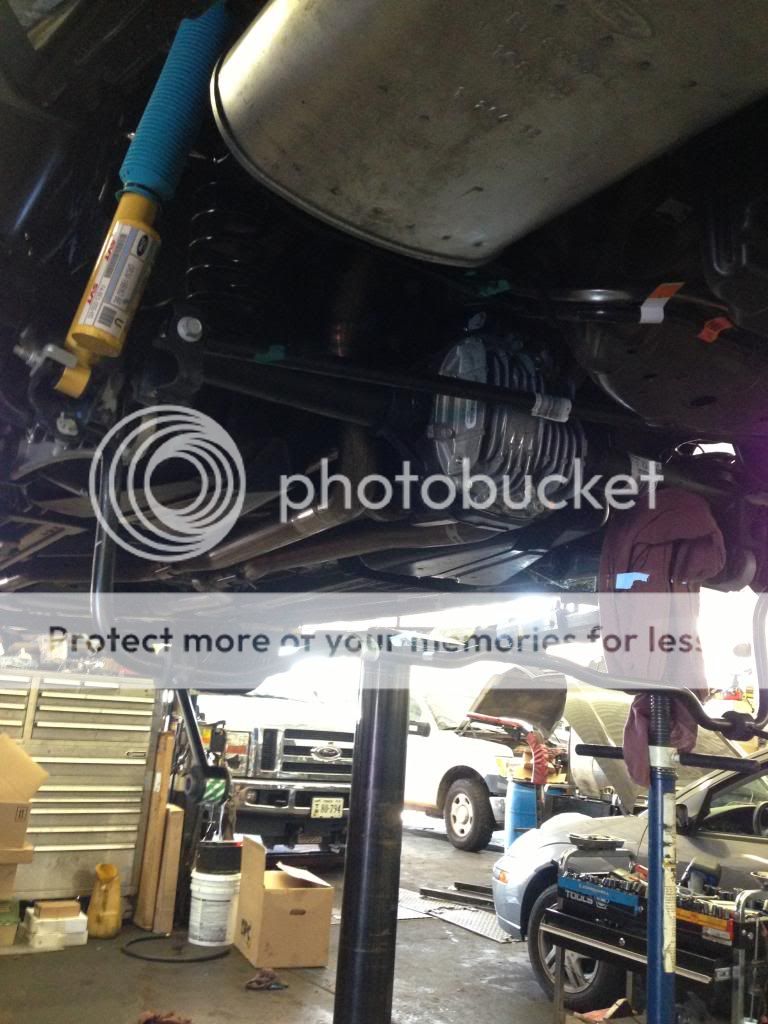
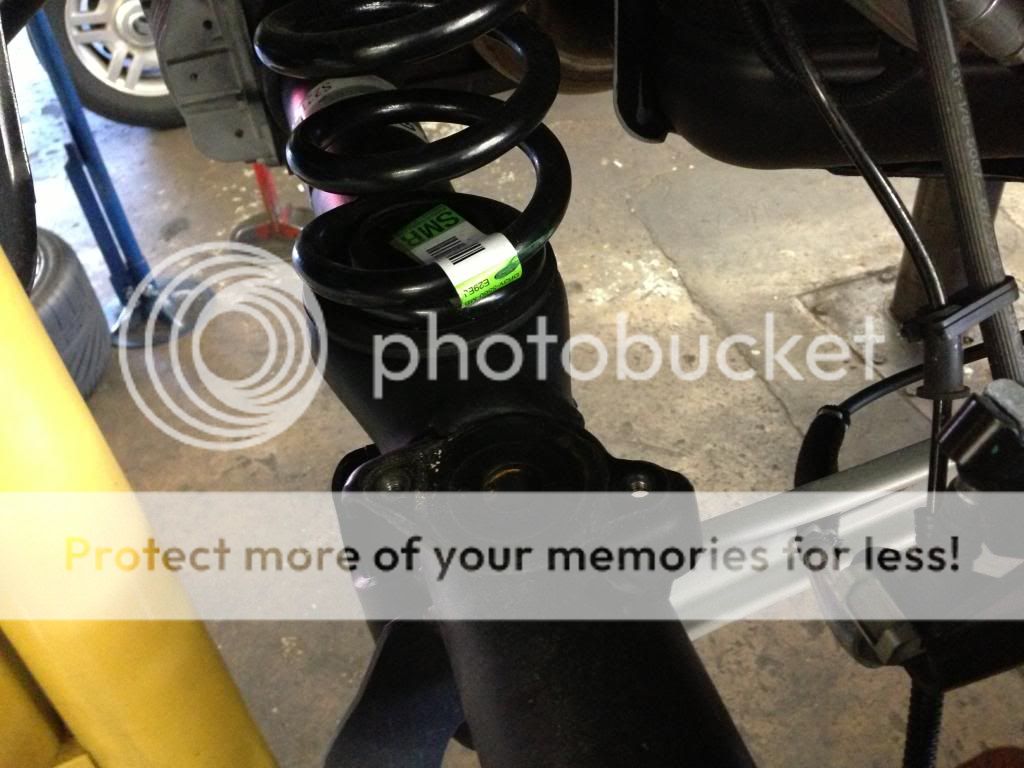
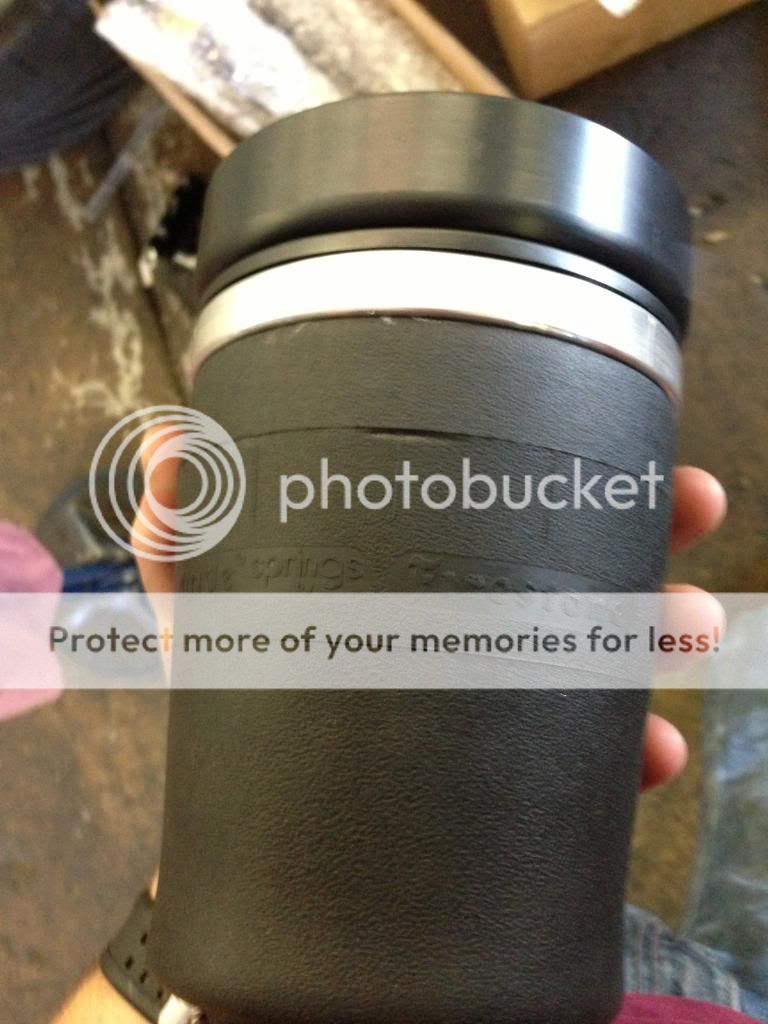
Rear Airbag
IMG_4265_zps1be5a420.jpg


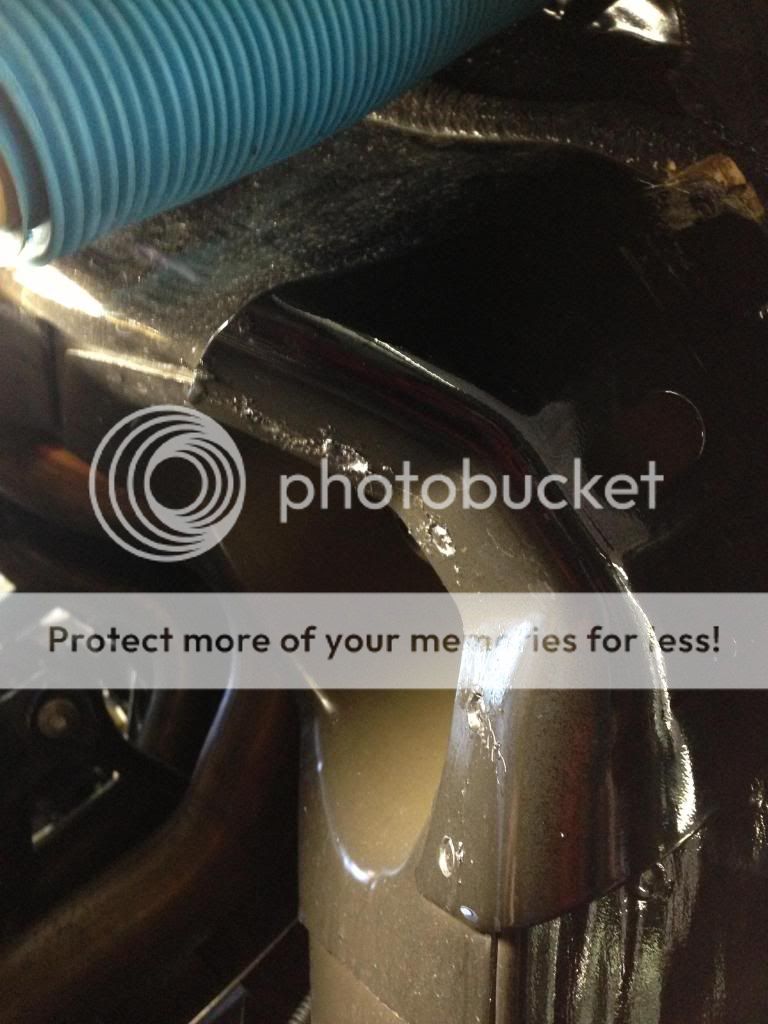
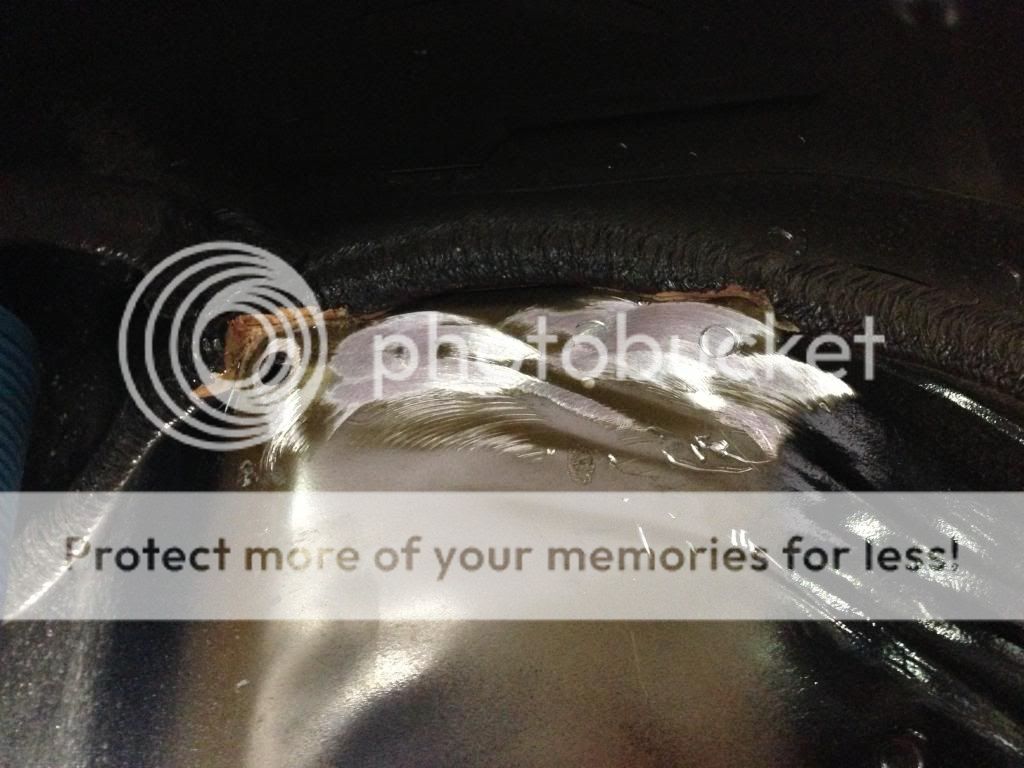
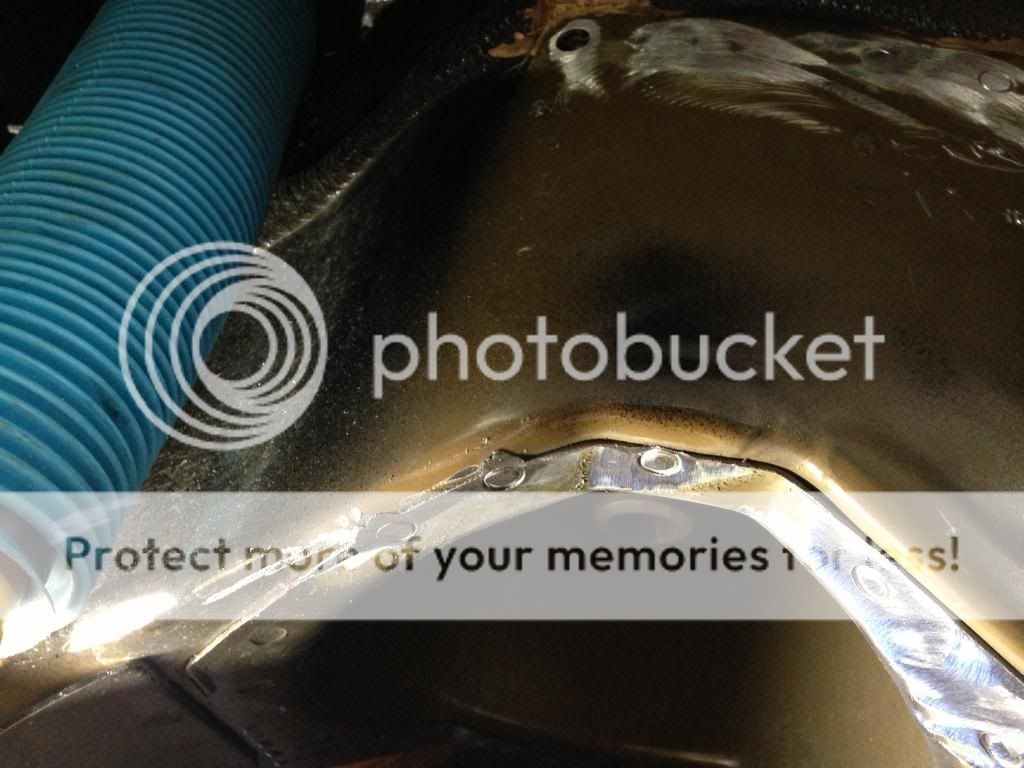
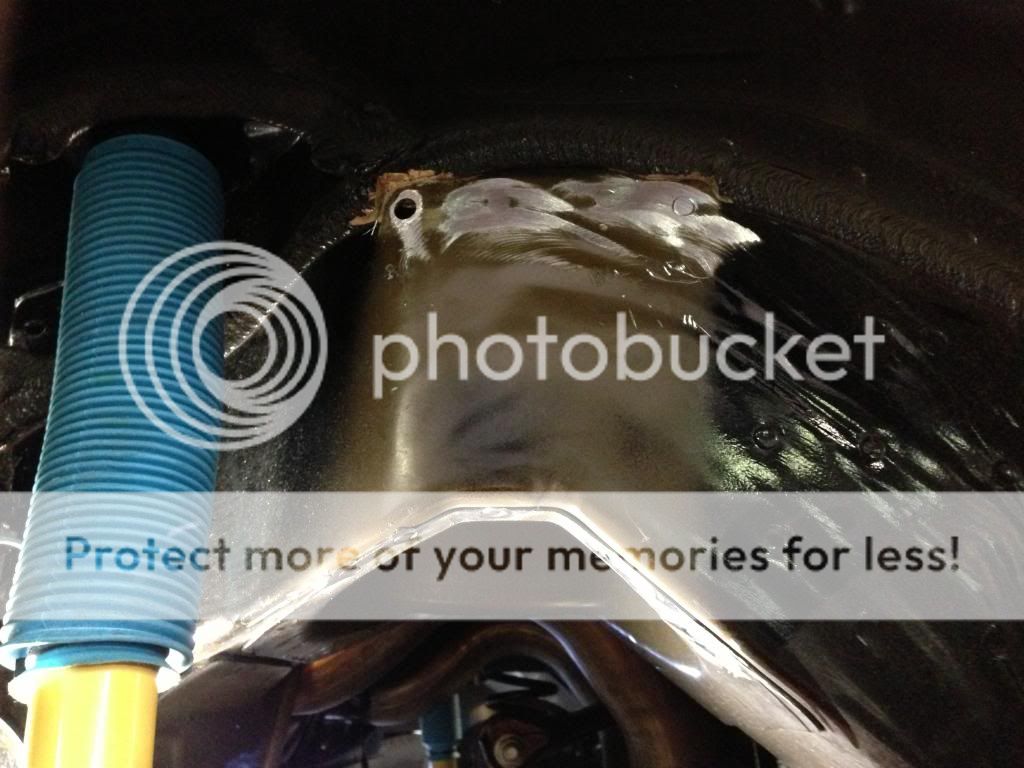
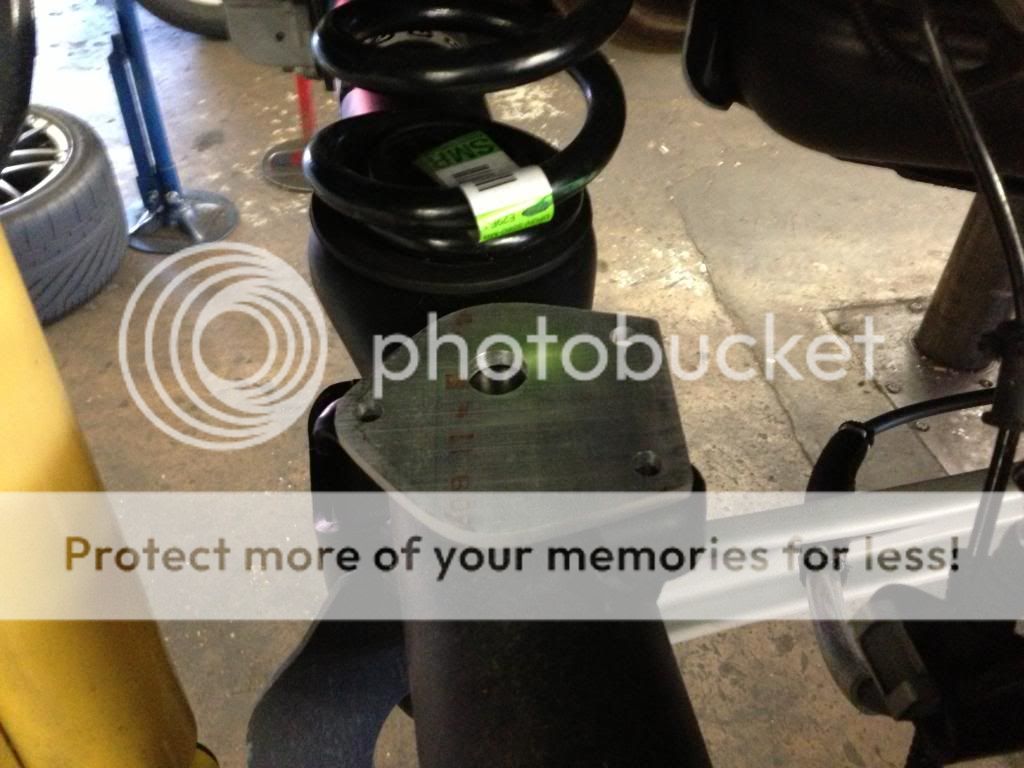
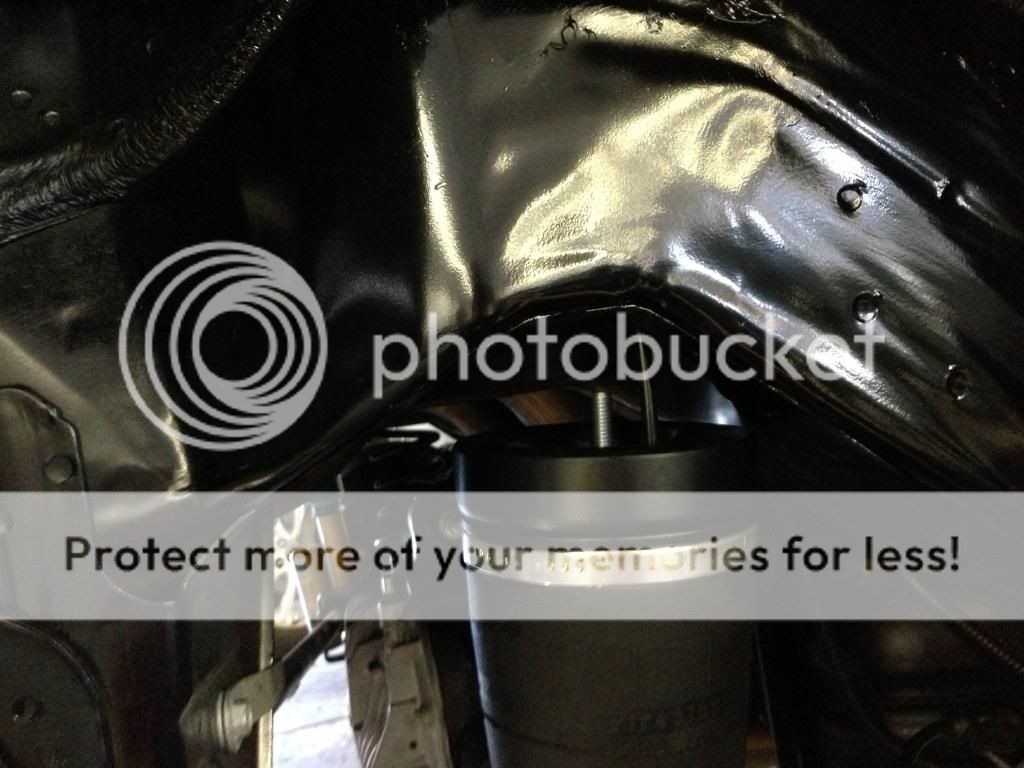
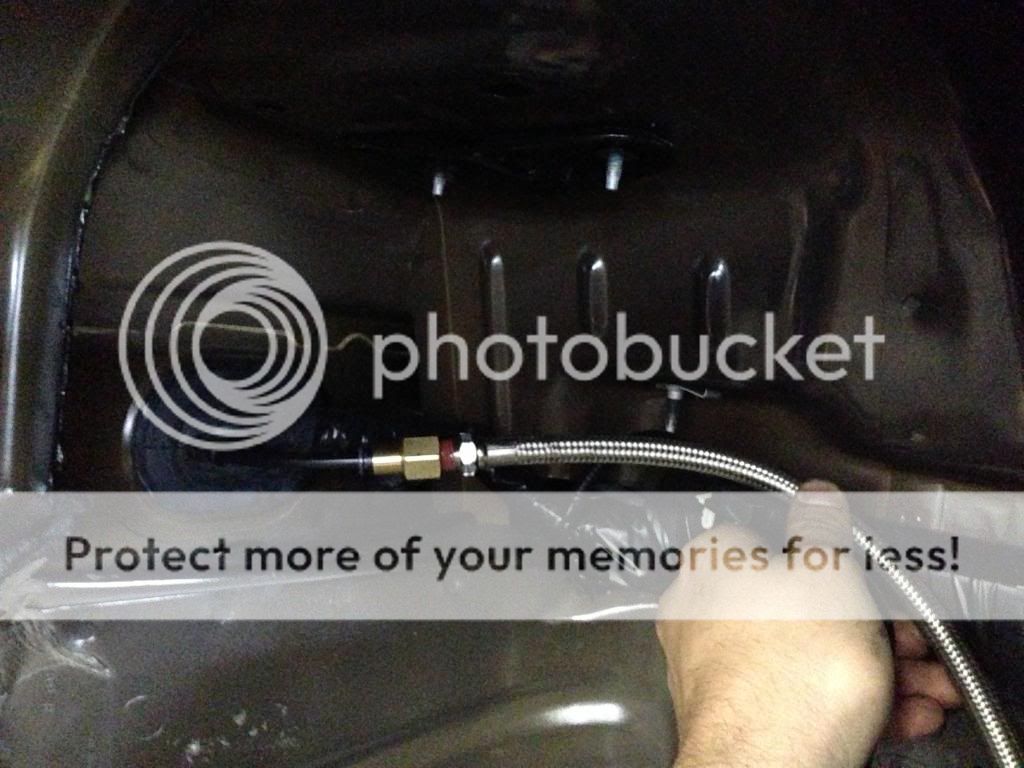
To run air to the rear bag you have to cut a .5” hole 1.375” away from the bolt hole on the upper part of the spring perch. This was a challenge for a convertible since there is added reinforcement brackets that coupes do not have. I had to estimate and cut this hole from the bottom of the car versus the coupe-way-of-doing-it, on the top. In the end, it all came together in holy matrimony.

IMG_4278_zps3dbc978d.jpg


Damn it looks good now.
 
Last edited:

GallopingFord

I'm Cam - Mr. Indecisive
Joined
Sep 5, 2010
Posts
15,369
Reaction score
10
Location
Northern Virginia
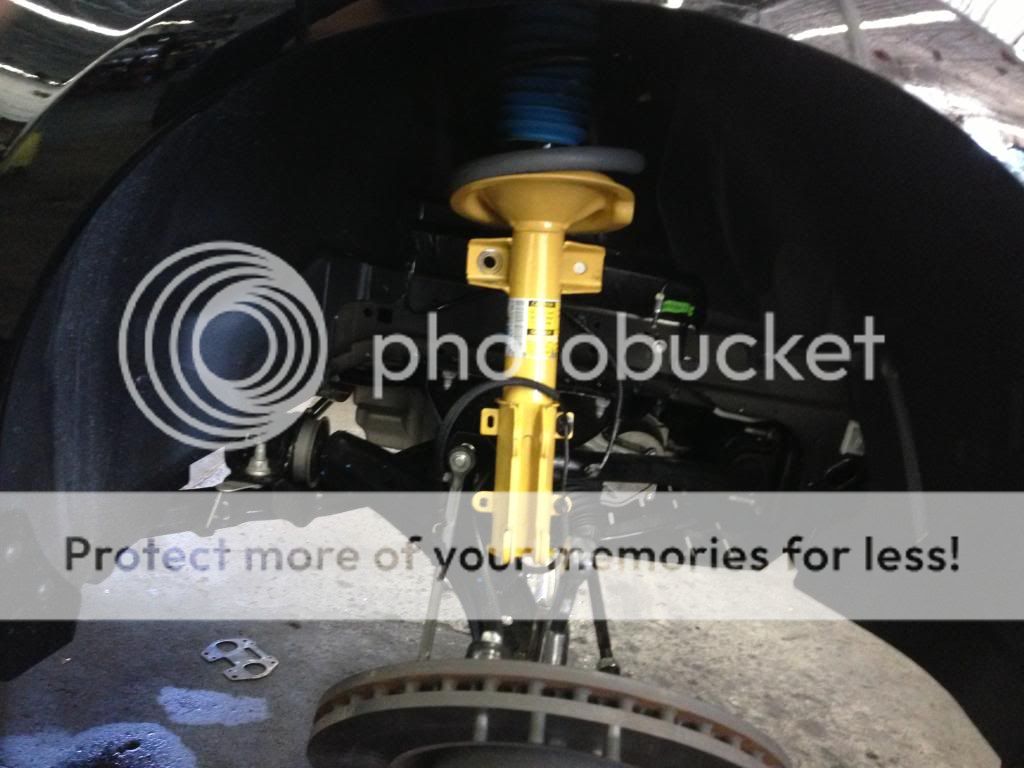
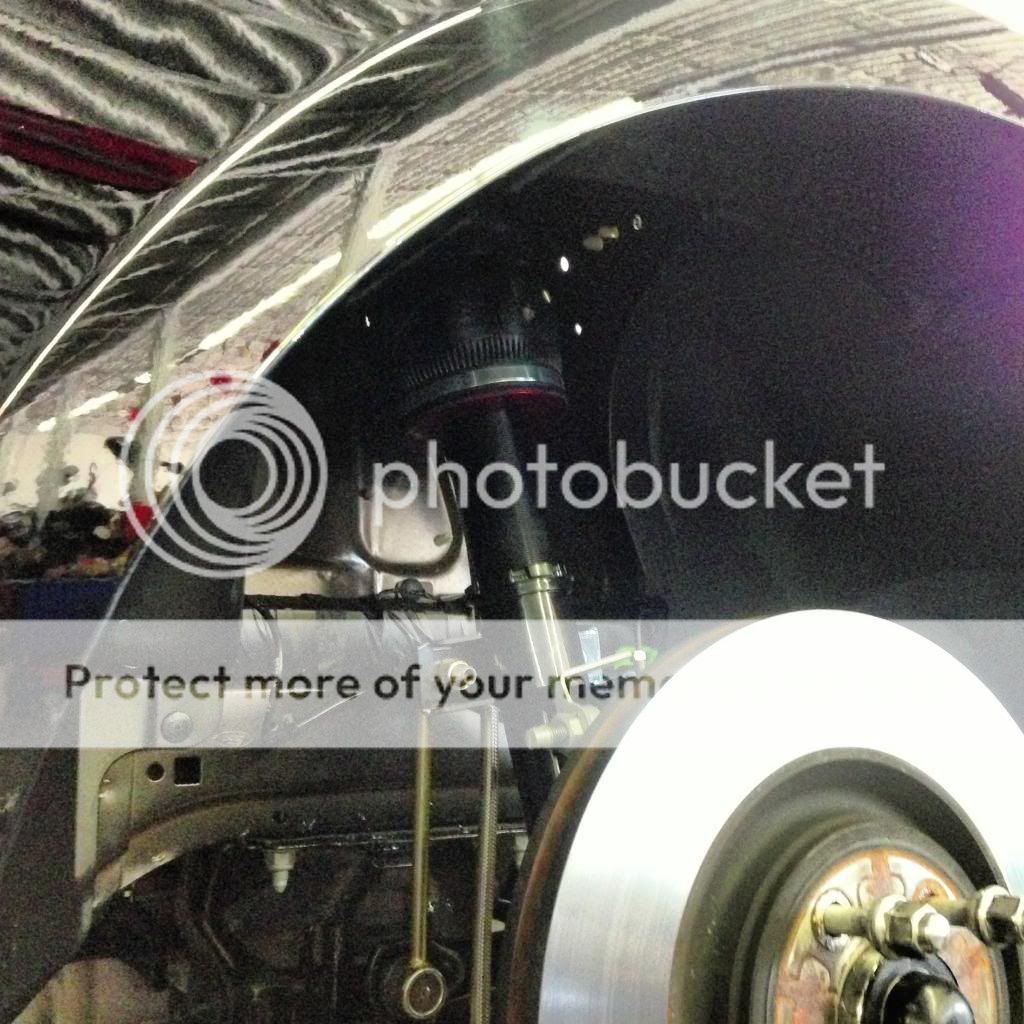
Starting on the front of the car.

IMG_4292_zps5e8e5810.jpg


IMG_4293_zpsf3781169.jpg


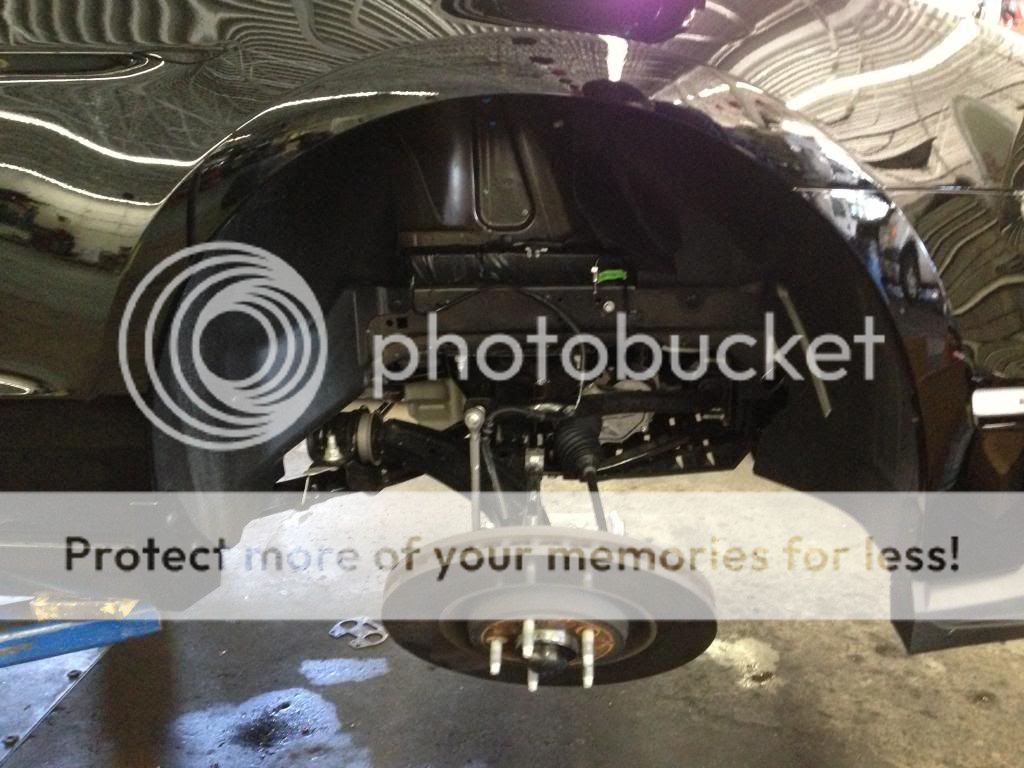
Pretty much disassembled.

IMG_4294_zpse5bf231e.jpg


IMG_4295_zpsa3869767.jpg


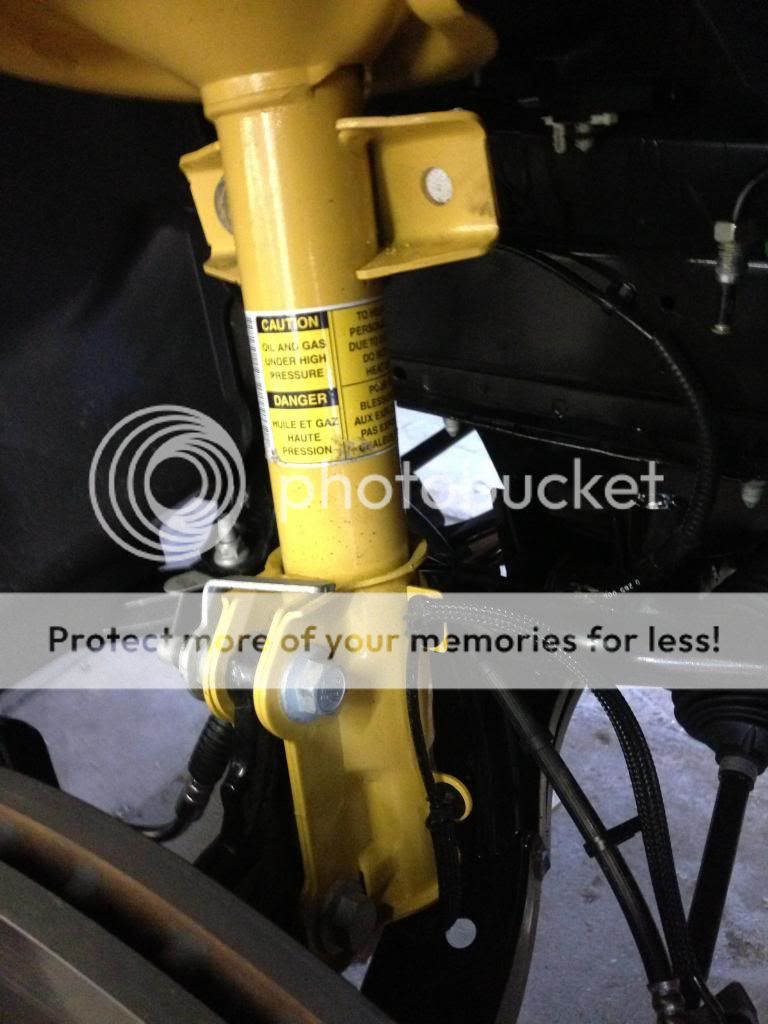
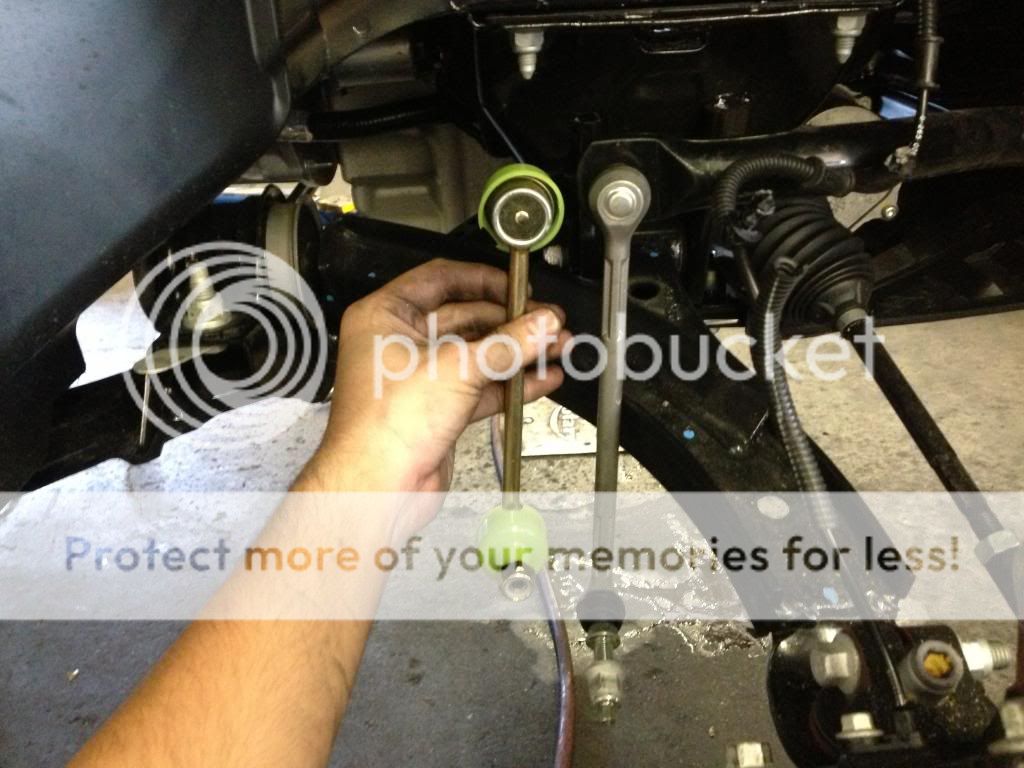
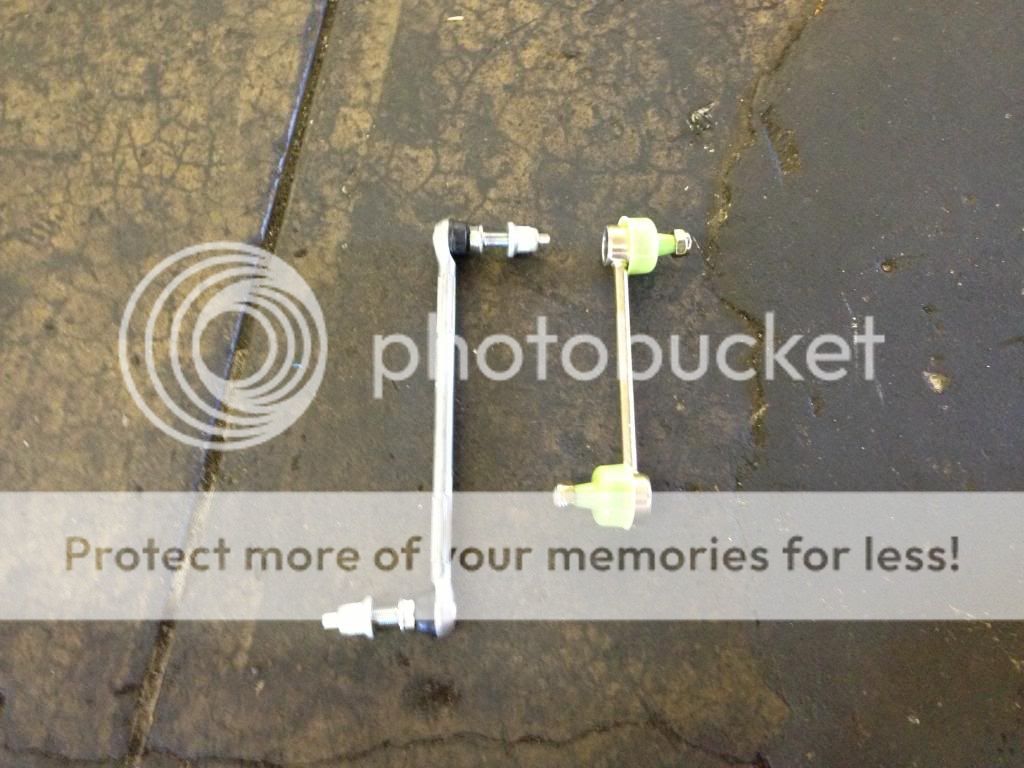
New swaybar endlinks are included with the kit, that are significantly shorter.

IMG_4300_zps87866e83.jpg


IMG_4301_zps09af6fdf.jpg


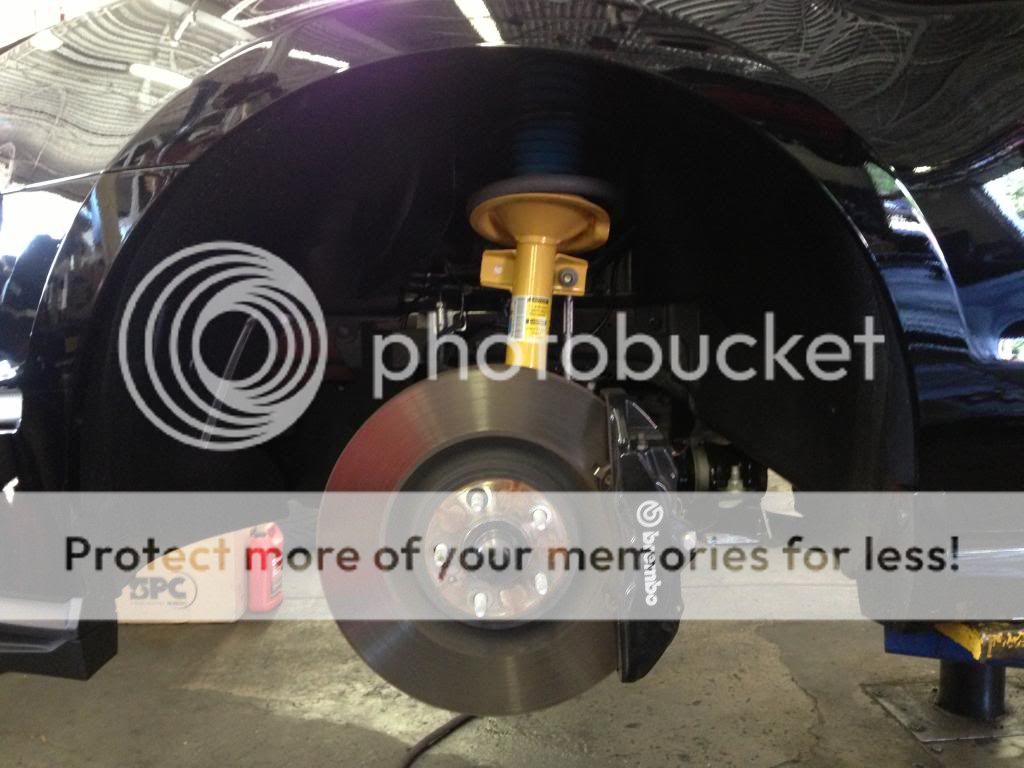
Comparison on front strut.

IMG_4302_zpsab1a09b1.jpg


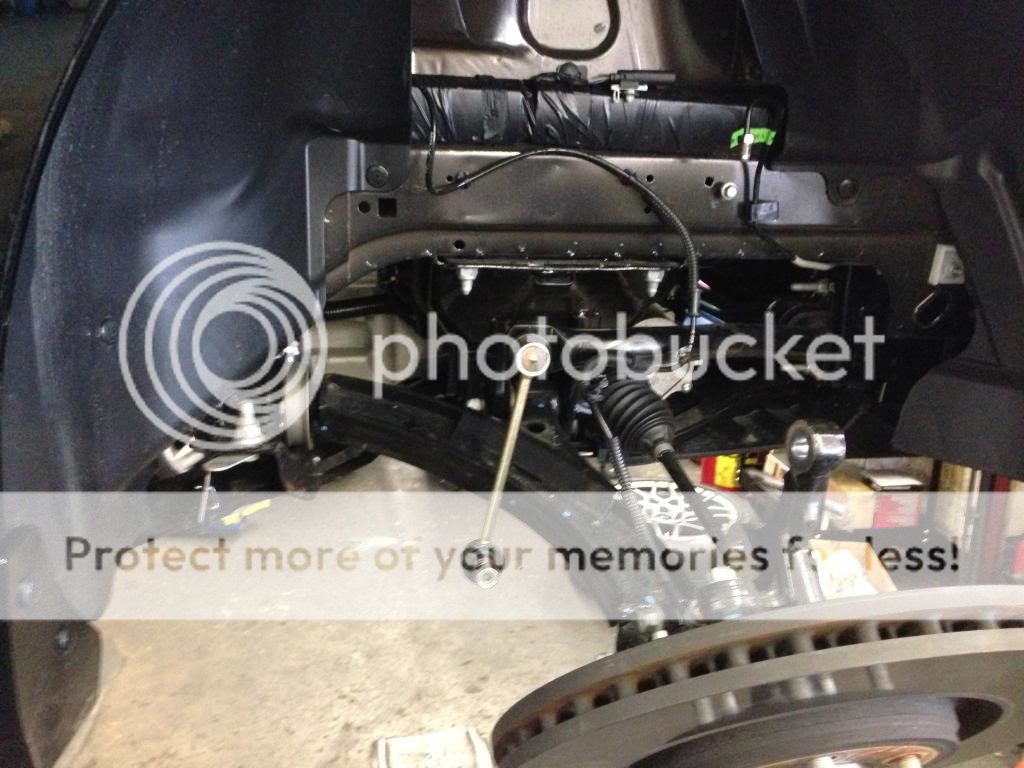
New endlinks installed.

IMG_4304_zps0316fd12.jpg


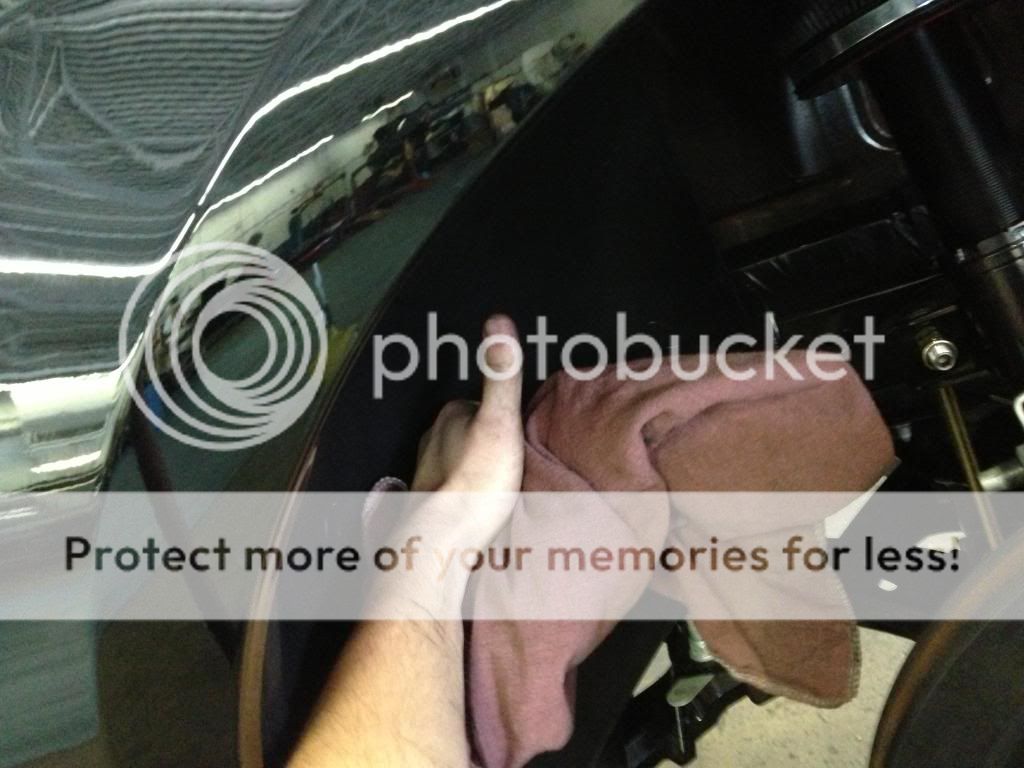
Doing a little bit of cleaning.

IMG_4309_zpscb092b73.jpg


Buttoned up.

IMG_4308_zpsfb1e1039.jpg


IMG_4325_zpsd9706f7e.jpg


Parts stash.

IMG_4312_zpscbe285fa.jpg


IMG_4296_zpsb6a81a81.jpg


IMG_4297_zps924a7acb.jpg


IMG_4307_zps6d6dd325.jpg
 

GallopingFord

I'm Cam - Mr. Indecisive
Joined
Sep 5, 2010
Posts
15,369
Reaction score
10
Location
Northern Virginia
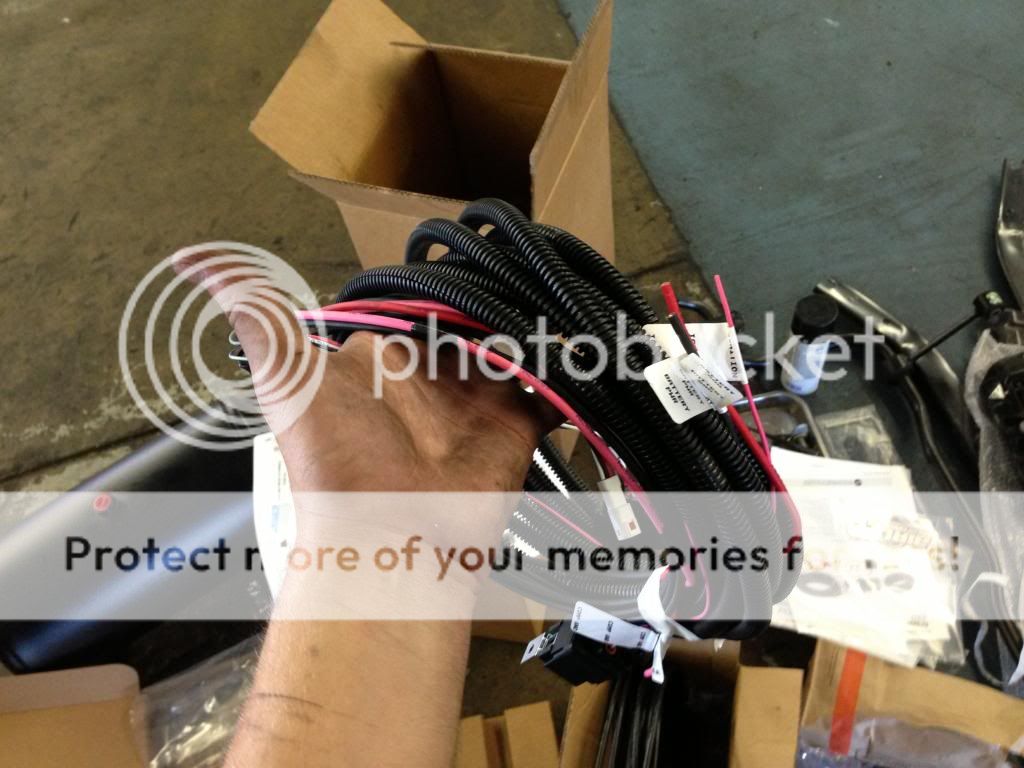
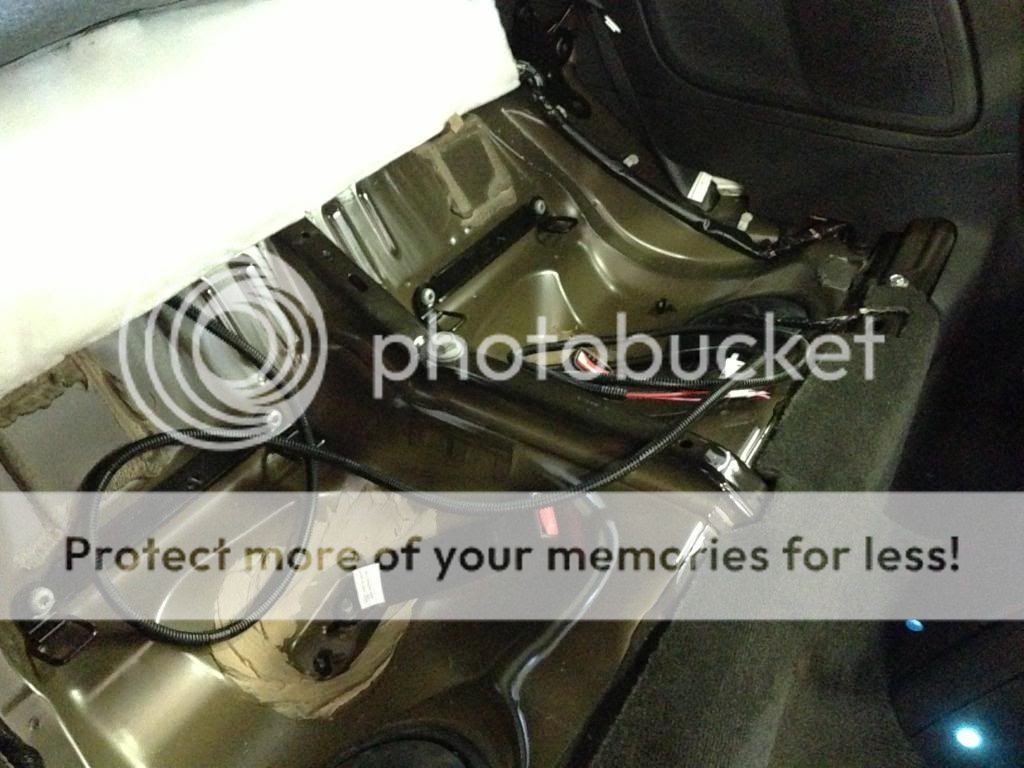
Time to layout the wiring.

IMG_4314_zpsd0cedb35.jpg


IMG_4315_zps884dc231.jpg


IMG_4316_zps7b00560b.jpg


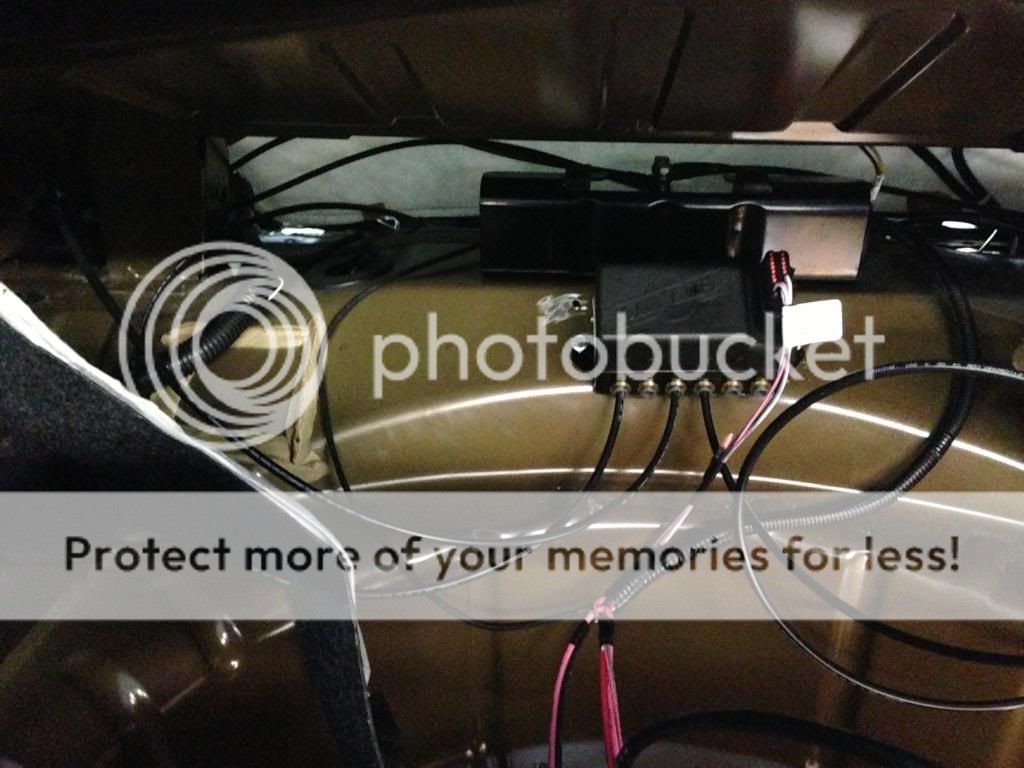
Regulator to be mounted behind the power top motor.

IMG_4318_zpsc0cefab1.jpg


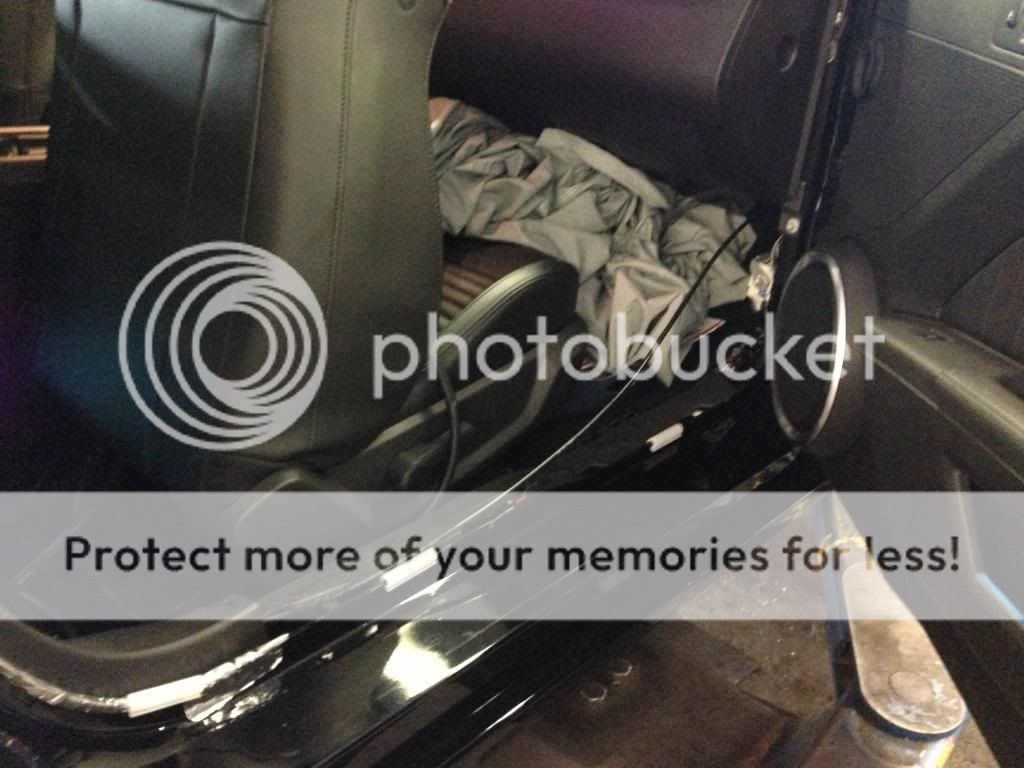
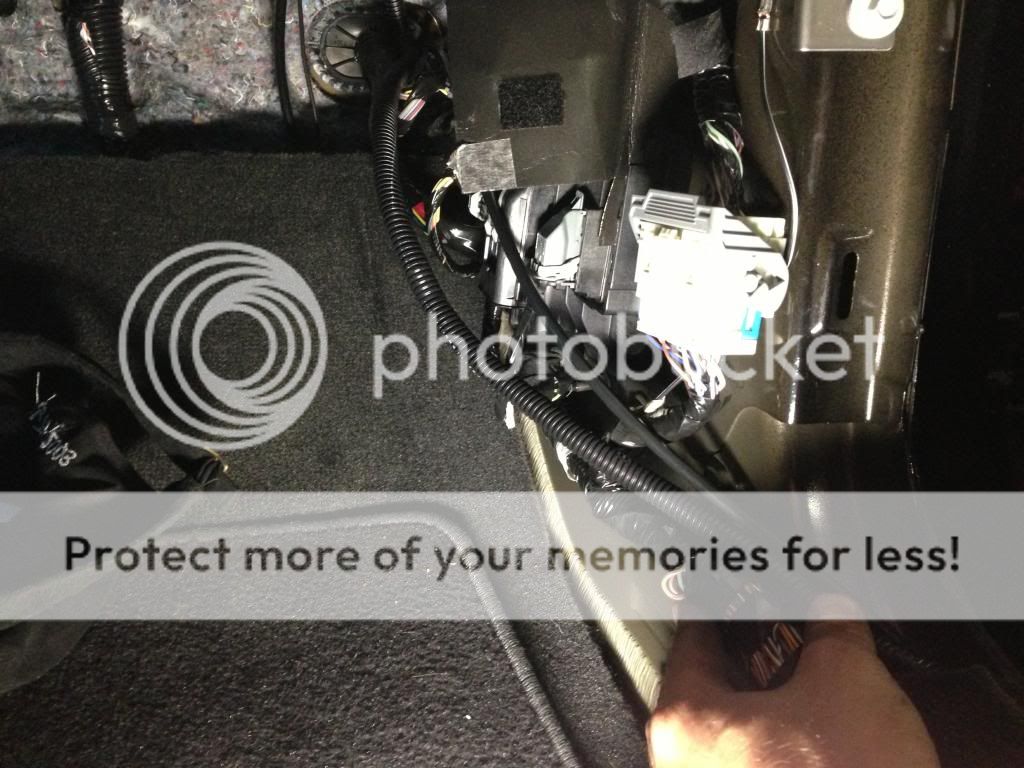
Running airline and power harness down passenger side

IMG_4319_zps77a87831.jpg


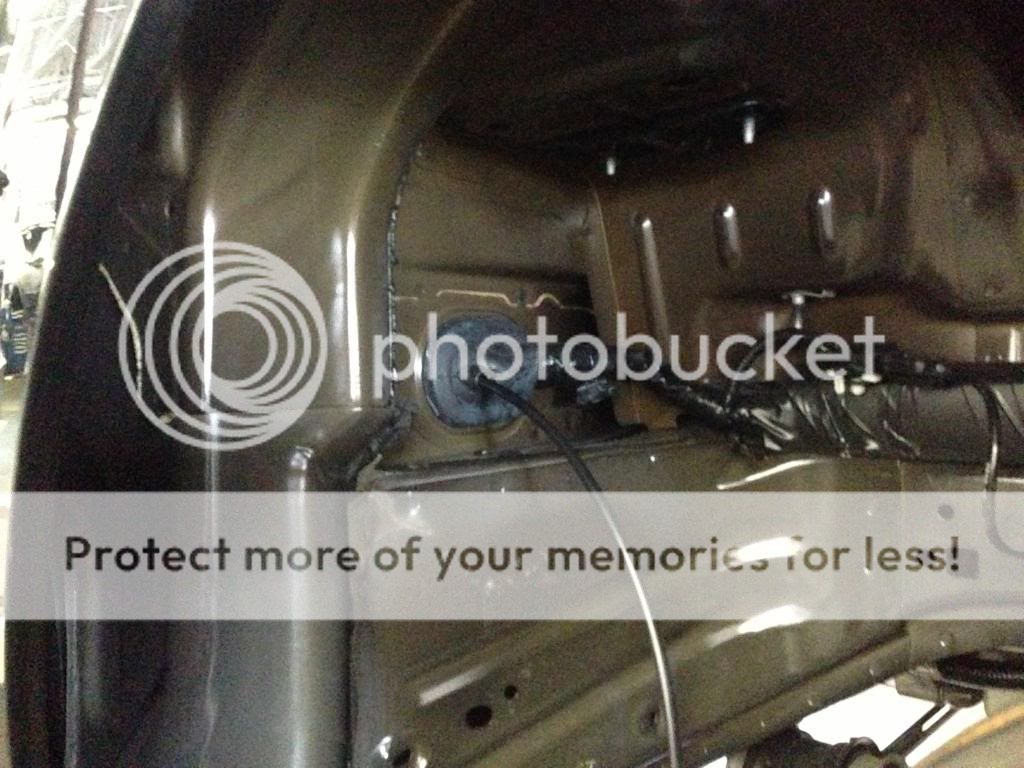
Passenger side grommet hole with air line coming through.

IMG_4321_zps23eff731.jpg


Regulator mocked up with lines

IMG_4324_zpsfa0bc1d0.jpg


Air line from front strut connected

IMG_4326_zps91e0f21c.jpg


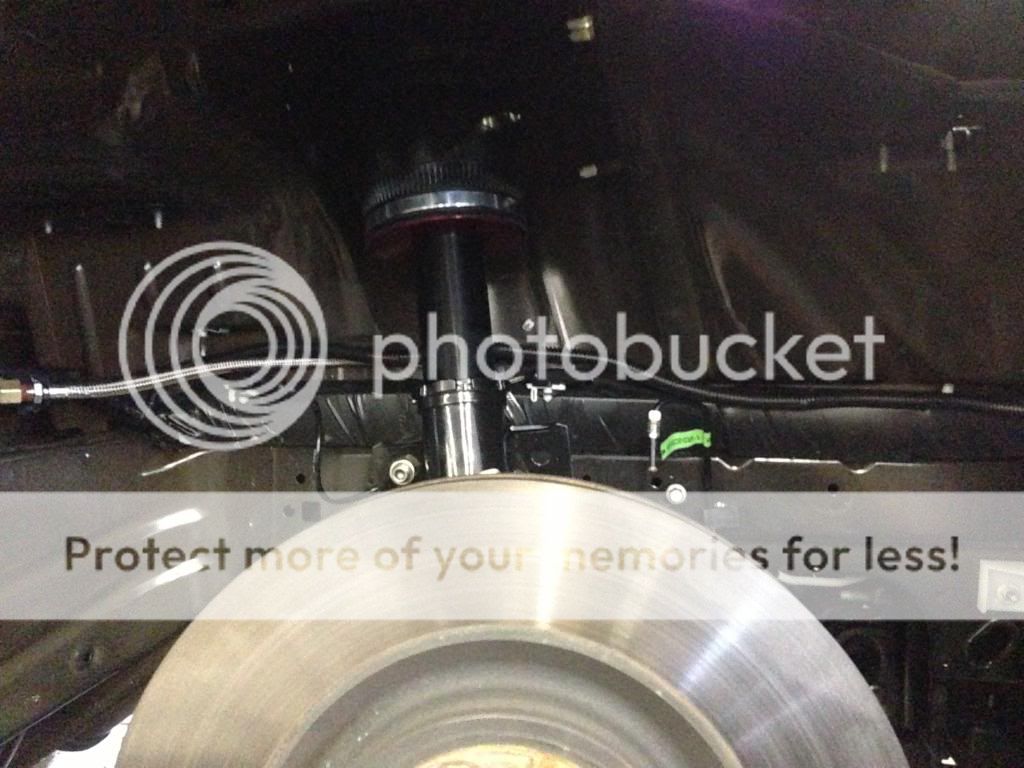
Harness pulled through into wheel well.

IMG_4335_zps7461f53e.jpg


IMG_4328_zps403e5b19.jpg


IMG_4330_zps97dd4374.jpg


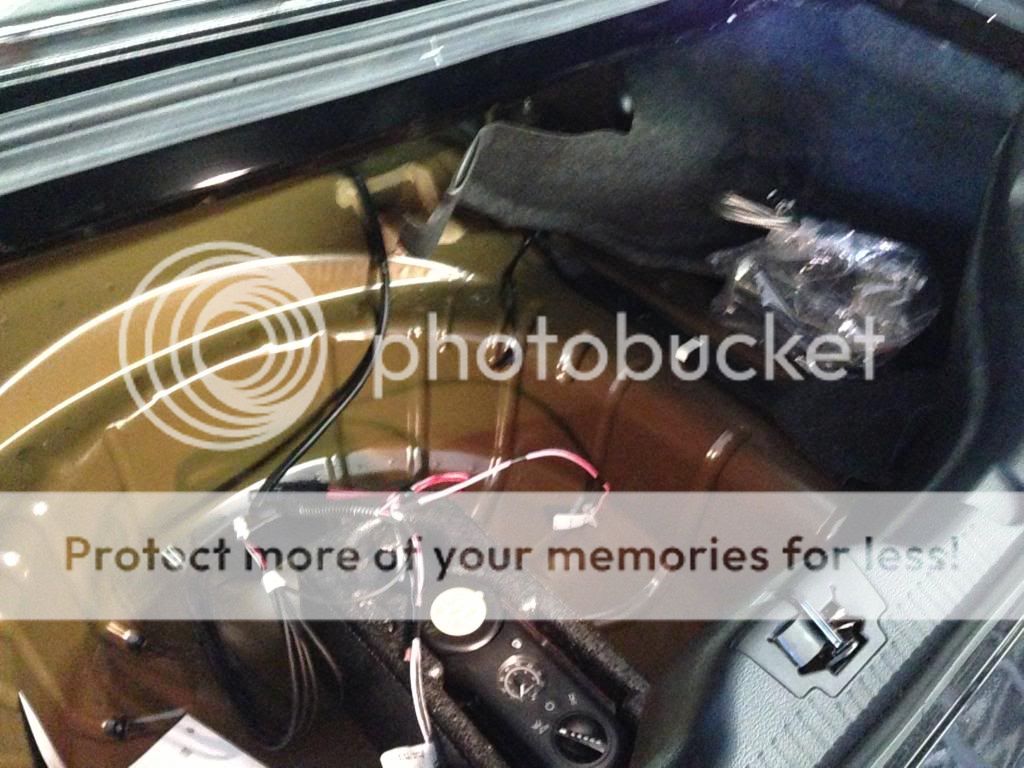
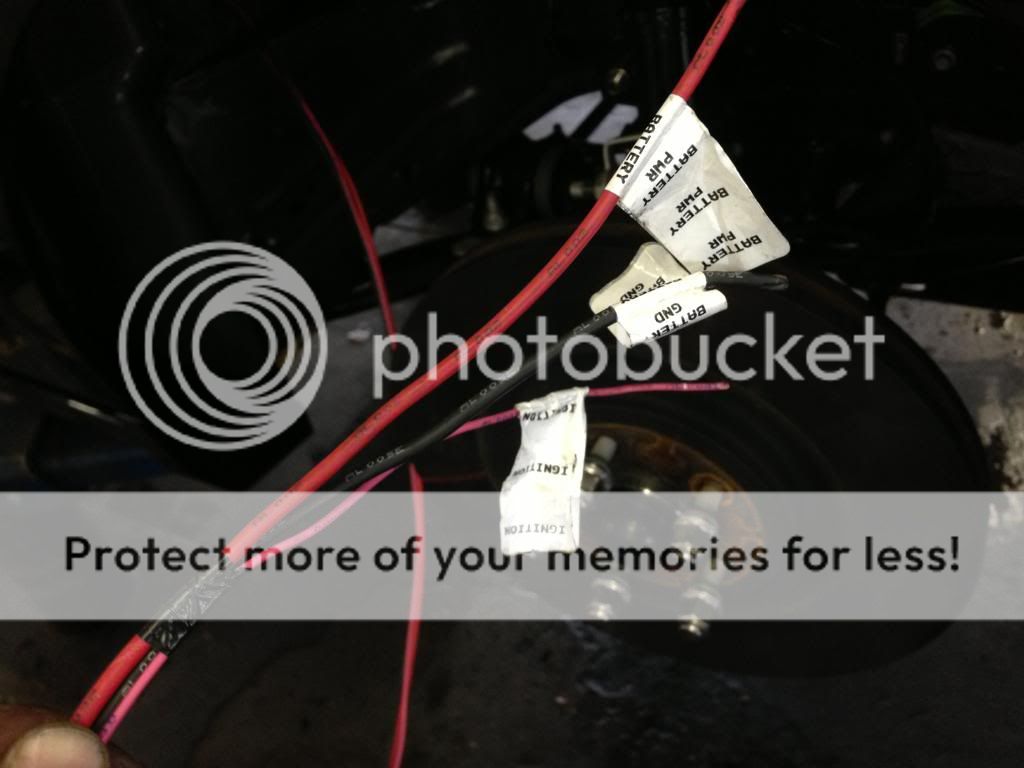
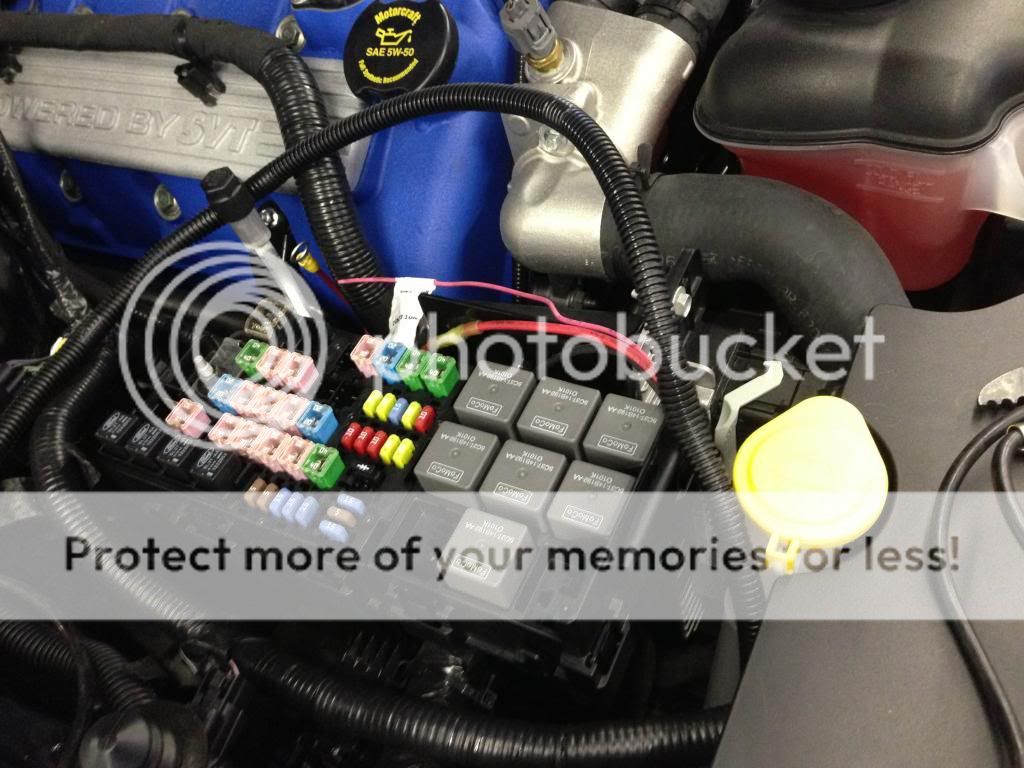
Wiring it into fuse box for battery source and to turn on with ignition on.

IMG_4333_zps32801177.jpg


Putting wrapping back on.

IMG_4334_zpsee89d2d1.jpg


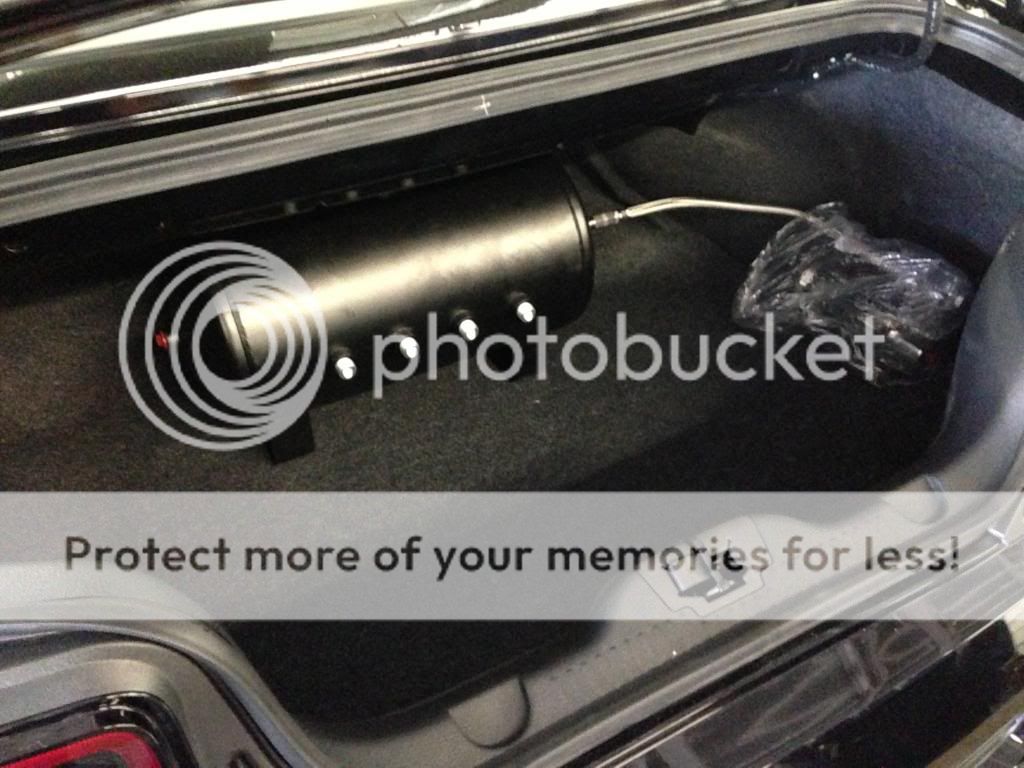
Air tank mocked up

IMG_4317_zpsdbb6c4f1.jpg


And that’s it for this weekend. I’ll be back at it on Monday morning to give it a test run!

IMG_4303_zpscebb9a05.jpg
 

DRock

Senior Member
Joined
Jun 22, 2009
Posts
2,098
Reaction score
2
In for seeing those Roti's on this beast! Excited!!
 

jayman33

Senior Member
Official Vendor
Joined
Feb 24, 2010
Posts
2,454
Reaction score
1
Good work Cam, excited to see the finished product.
 

HellsBells

620/677
Joined
Sep 30, 2010
Posts
5,576
Reaction score
9
Location
SoCal
Cam, I recommend some blue loctite on the rear strut mount nut. I recently noticed mine had completely unthreaded, probably due to vibrations from the compressor.
 

LAStang1234

----------DSL----------
Joined
May 13, 2010
Posts
10,407
Reaction score
63
Location
Little Rock
Nice job Cam! Is there many 13' GT500s out there with Airlift?!

You are probably the only one.
 

GallopingFord

I'm Cam - Mr. Indecisive
Joined
Sep 5, 2010
Posts
15,369
Reaction score
10
Location
Northern Virginia
Cam, I recommend some blue loctite on the rear strut mount nut. I recently noticed mine had completely unthreaded, probably due to vibrations from the compressor.

Upper shock bolt? What about the airbag? I am a little concerned about the lower bolt that hooks the bag to the axle since you don't thread much of it and it appears loose. I guess it's normal though.

Nice job Cam! Is there many 13' GT500s out there with Airlift?!

You are probably the only one.

I haven't seen anyone else do it, but then again I didn't really look. It's kind of counter intuitive with spending the money for the PP option since I know a lot want to keep the shocks/struts (I did at first), but whatever.

I just wanna go low and ride like a caddy!
 

Wes06

forum member
Joined
Jan 21, 2012
Posts
5,383
Reaction score
59
Make sure where you attach it to the axle isn't loose. I had to run a tap through the little black bracket because the bolt was slightly offset to allow the bolt to tighten down completely.
 

GallopingFord

I'm Cam - Mr. Indecisive
Joined
Sep 5, 2010
Posts
15,369
Reaction score
10
Location
Northern Virginia
Make sure where you attach it to the axle isn't loose. I had to run a tap through the little black bracket because the bolt was slightly offset to allow the bolt to tighten down completely.

Once the replacement top shock bolts come in (probably Tuesday), I am going to lower the axle again and retry and tighten them. It's been tricky to get the airline in all the way while its in the spring perch.

I am shooting to start it up tomorrow and do a test run so I can at least move the car off the rack and let it sit to test for leaks.
 

Wes06

forum member
Joined
Jan 21, 2012
Posts
5,383
Reaction score
59
Once the replacement top shock bolts come in (probably Tuesday), I am going to lower the axle again and retry and tighten them. It's been tricky to get the airline in all the way while its in the spring perch.

I am shooting to start it up tomorrow and do a test run so I can at least move the car off the rack and let it sit to test for leaks.
actually i installed the air line for the rears while they were still un-attached at the top, just made it easier to do. Then I had help to push the bag up into the perch while i tightened the nut onto it
 

moostang09

Resident YouTube Guy
S197 Team Member
Joined
Jan 16, 2010
Posts
4,266
Reaction score
2
Location
Mansfield, Tx
Way to go Cam! Happy to see you doing things you enjoy to your car man!

Ill reiterate what others have already said, it's going to be so sick with the airlift and the wheels!
 

javdog07c/s

forum member
Joined
Feb 21, 2011
Posts
287
Reaction score
0
looking forward to seeing another slammed vert, you are going to love the slammed look. find the height you will mostly be driving at and have the car aligned at that height, I drive mine stock height and it rides better then stock.
 
Back
Top