menace07
forum member
Just installed a raptor shift light on my 07 gt. This was just the shift light, not the dual mode with launch rpm. I'm not by any means a master mechanic, but I thought I'd throw up a few pics and hints.
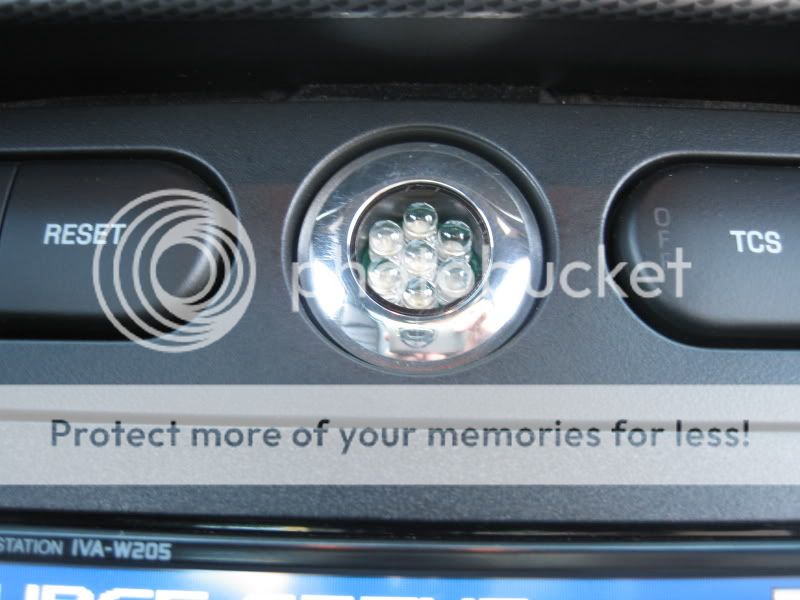
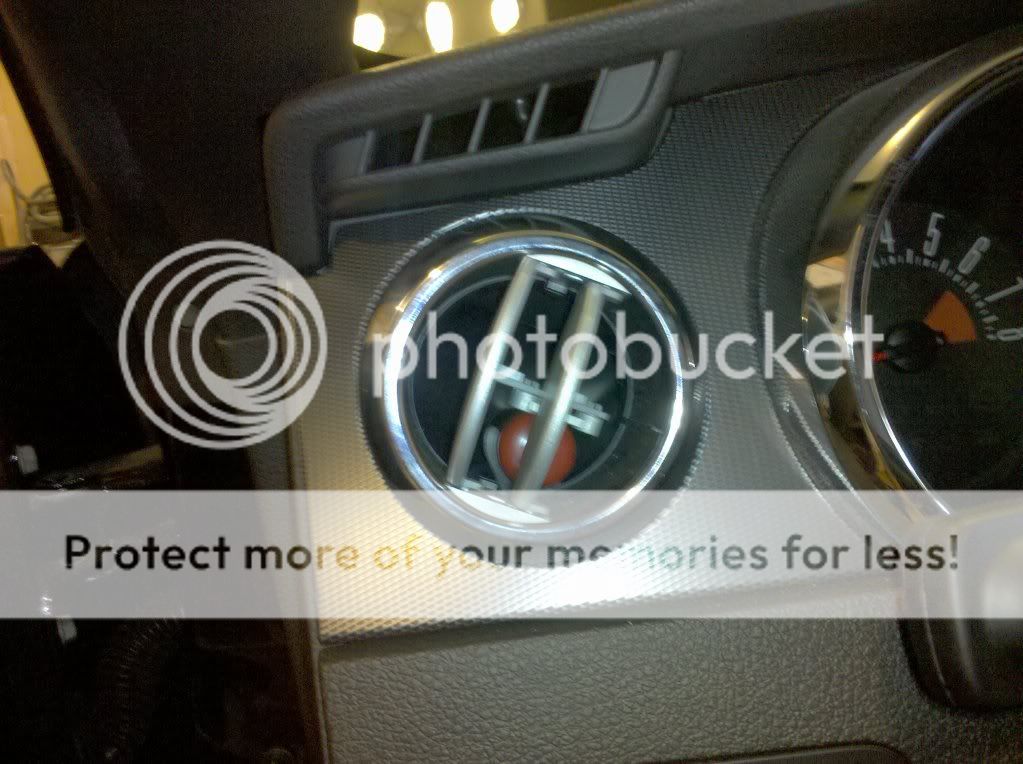
I decided to mount my shift light in the drivers side a/c vent for a slightly stealthy look. It is still very visible with the vents open. Those who already have a raptor can attest to its near-nuclear brightness.
Took the chrome trim ring/vents off by prying gently with a small screwdriver(piece of cake)

Next took the inner plastic tube out by using a small screwdriver to gently pry up the plastic tabs and popped it right out
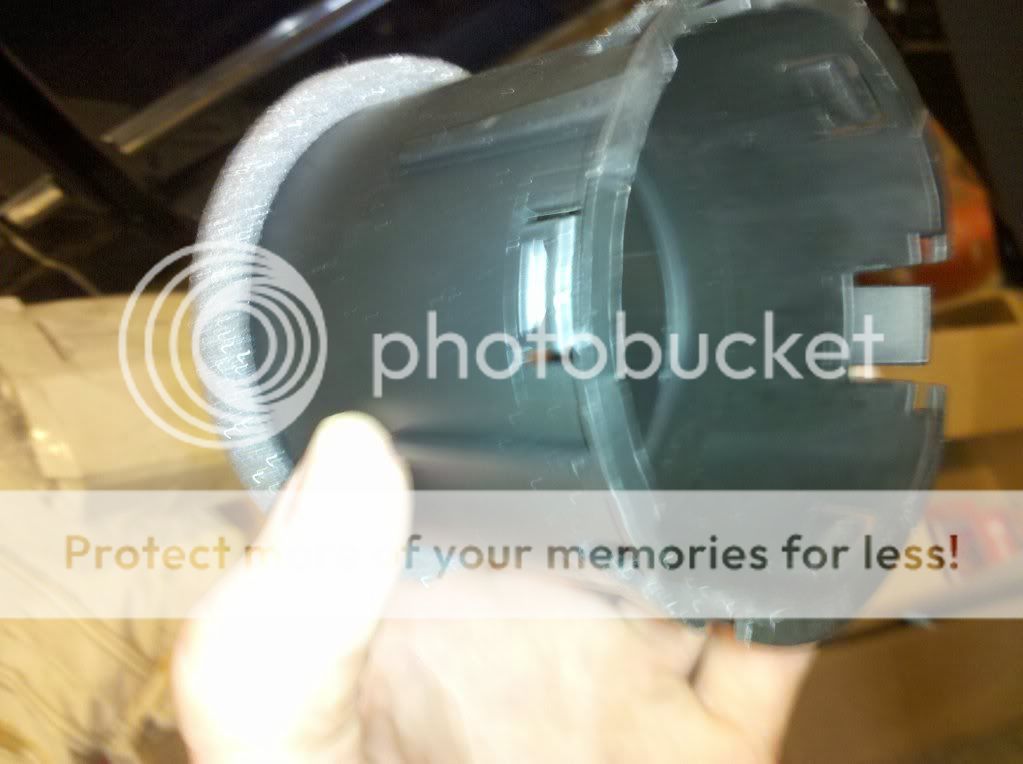
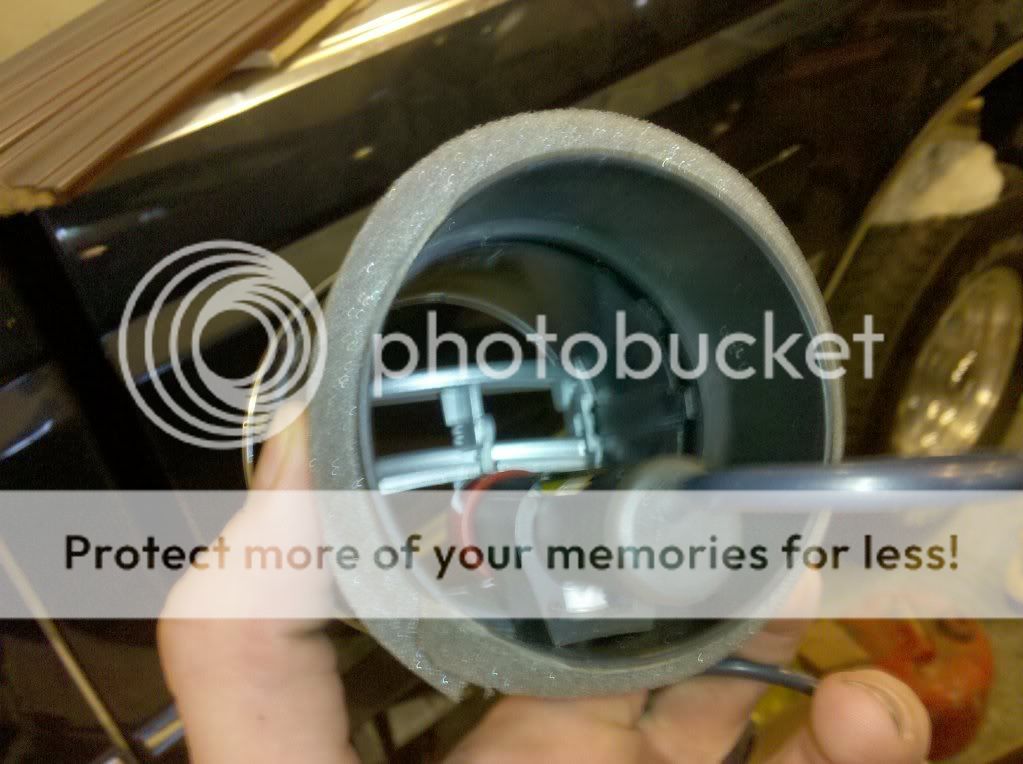
Next i drilled a small hole in the part I just removed in order to feed the raptor wires down below the dash. I also used a small screw to secure the raptor mount inside the plastic tube, taking care to mount it far enough back that the vents would open and close normally.
small hole with wires pushed through
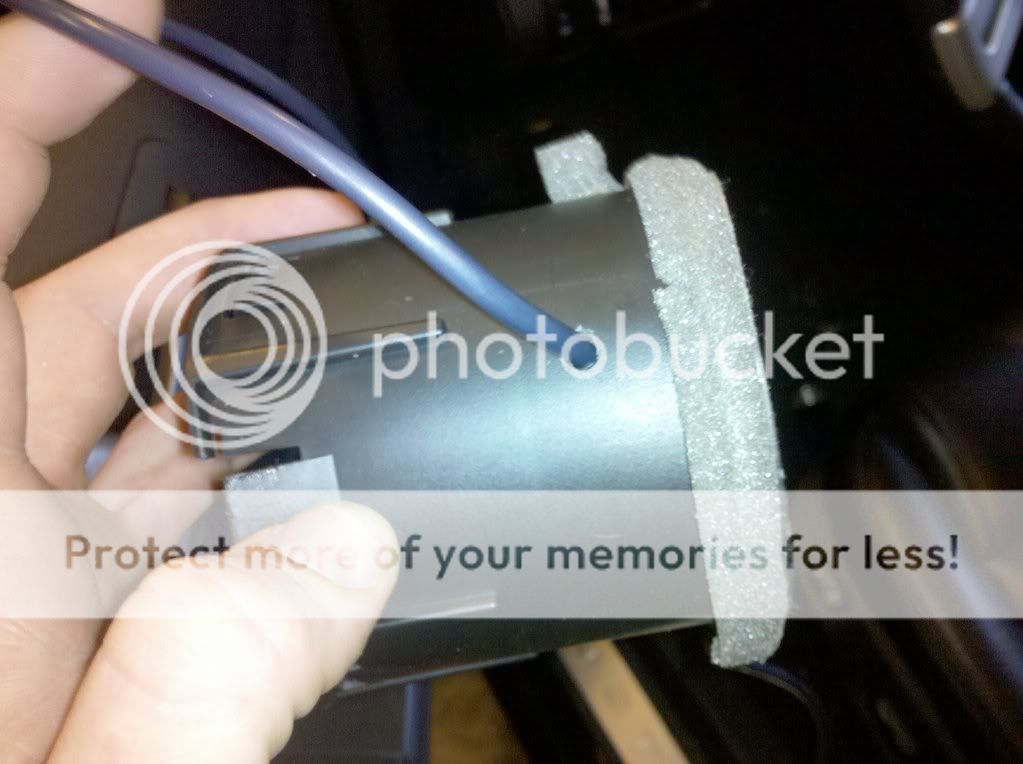
raptor mounted inside
I then fed the excess wiring down into the drivers side foot well and reinstalled the vent pieces.
vent with shift light installed
Next I fed the wires through the grommet located near the clutch pedal. Just poked a hole with a punch then pushed the excess wire through the hole with a flathead screwdriver.
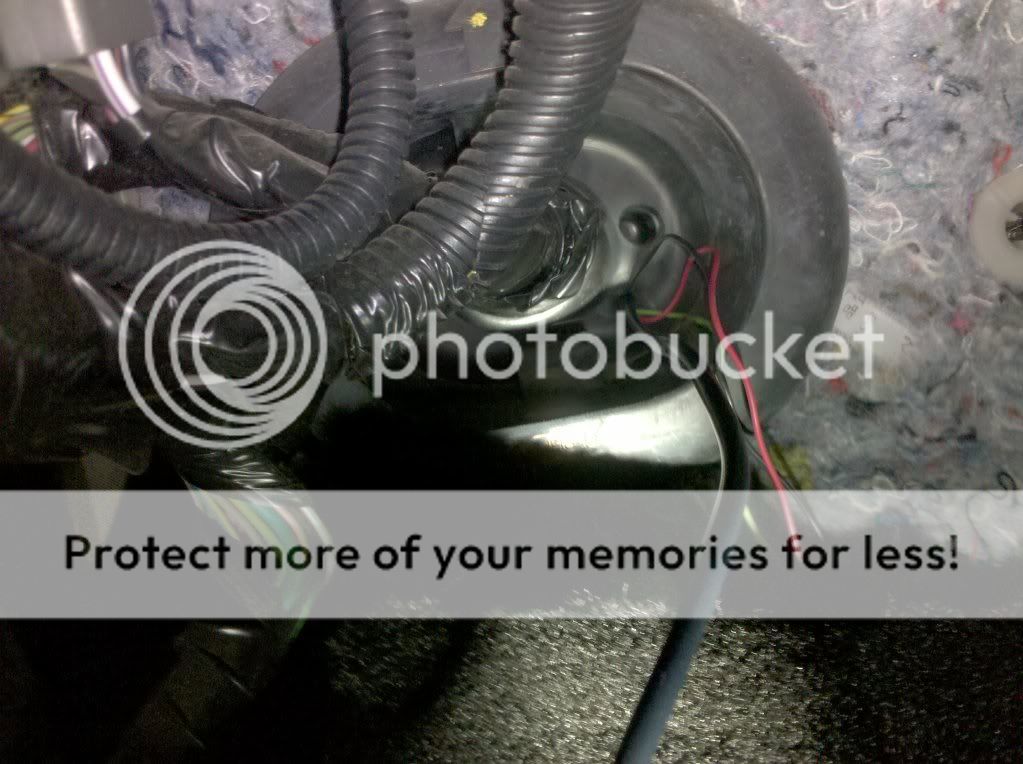
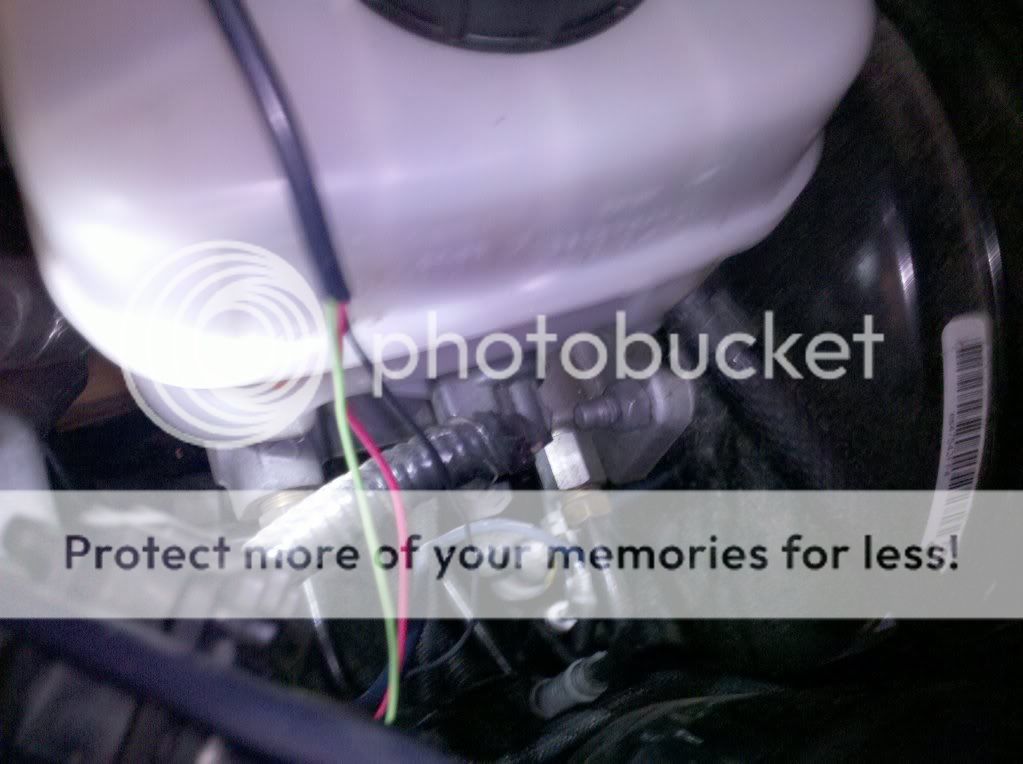
Now for the tricky part...the wires come through below the master cylinder/brake resevoir. I ended up fishing it out from above the engine using a long screwdriver. I've heard some people take the drivers side wheel and inner fender well off to get to it, but I was able to grab it without too much trouble.
heres the area where the wires come out
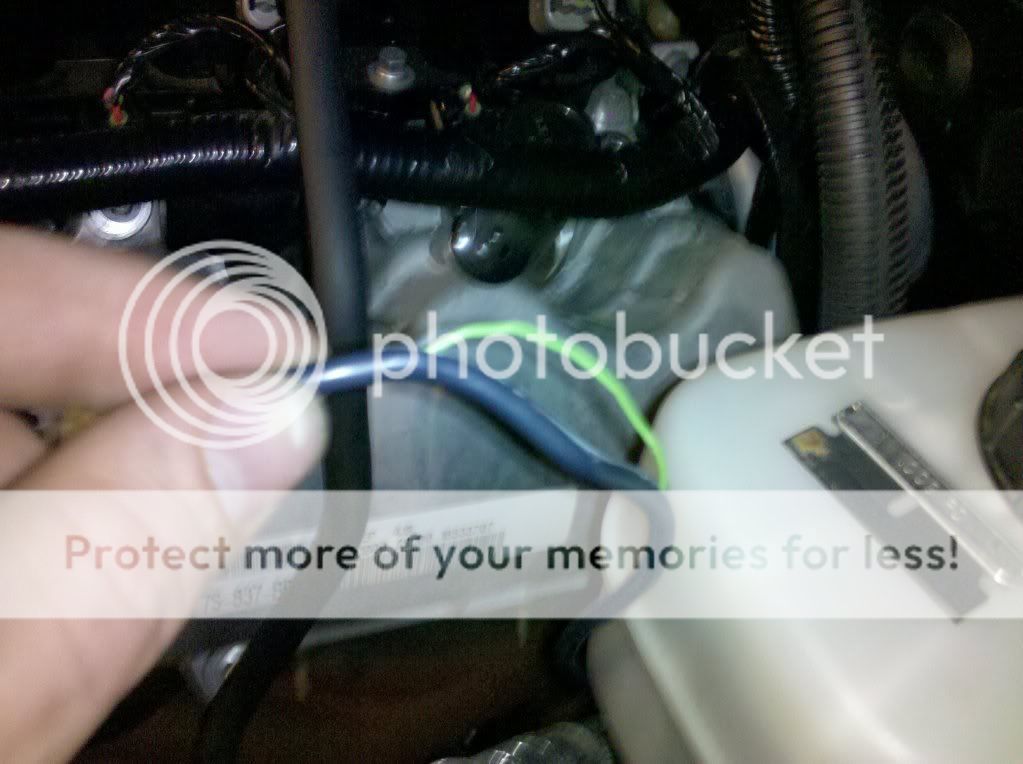
next I ran the wire along existing wiring harness to the drivers side rear coil. I CAREFULLY cut a small slit in the Raptor wire loom to expose the GREEN pick up wire. I made sure I had enough exposed and cut the wire. I then removed some of the electrical tape around the COP to expose the coil wire (white w/ red stripe). I cut away a small piece of the insulation and soldered the green wire to the white wire. Then buttoned everything back up with electrical tape.
Green wire from raptor exposed
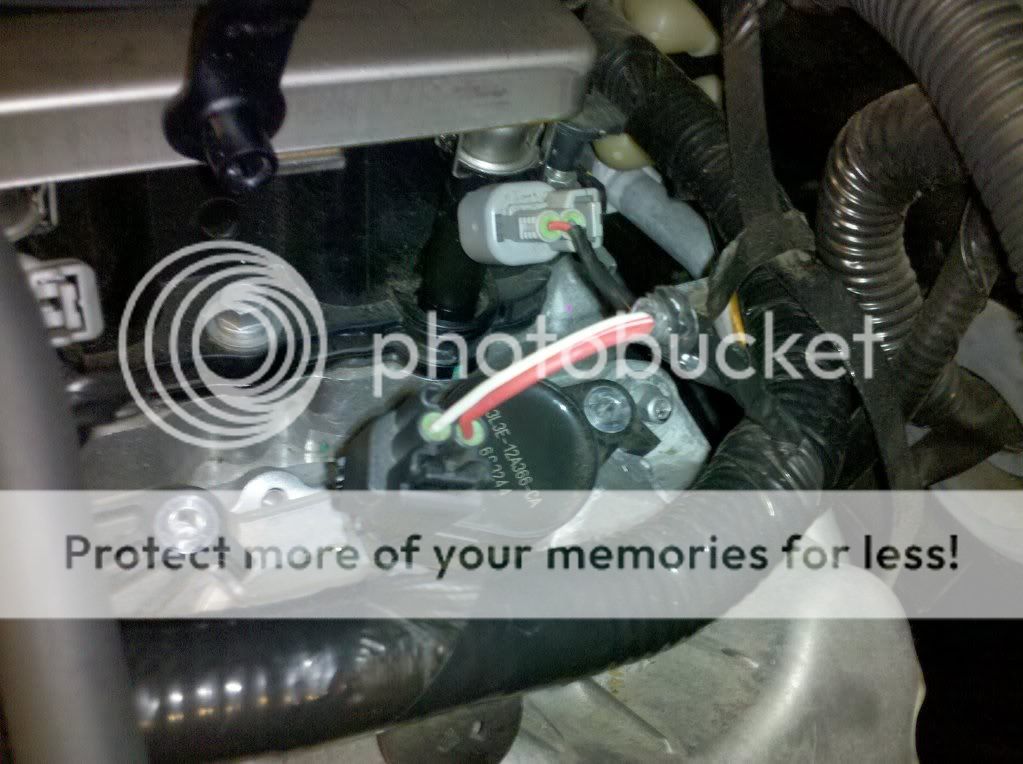
Wires from COP
Next I ran the rest of the Raptor wire loom around the back of the engine and along existing wiring to the fuse box on the passenger side of the engine compartment. There are a couple of ground screws near the fuse box, so pick one and connect the black wire from the raptor to a ground screw.
Finally, connect the remaining red wire to a switched 12v wire going into the fuse box. I needed a second set of hands to turn the key on and off while I tested wires to see which ones only came on with the key. There are a billion wires, but I found one in a bundle of wires going to the outside of the fuse box near the passenger side. I believe it was Green/light green. Expose some of the wire, solder, and patch up with electrical tape.
I used corrugated wire loom and zip ties to keep everything looking factory and protect the wires from the elements.
I decided to mount my shift light in the drivers side a/c vent for a slightly stealthy look. It is still very visible with the vents open. Those who already have a raptor can attest to its near-nuclear brightness.
Took the chrome trim ring/vents off by prying gently with a small screwdriver(piece of cake)
Next took the inner plastic tube out by using a small screwdriver to gently pry up the plastic tabs and popped it right out
Next i drilled a small hole in the part I just removed in order to feed the raptor wires down below the dash. I also used a small screw to secure the raptor mount inside the plastic tube, taking care to mount it far enough back that the vents would open and close normally.
small hole with wires pushed through
raptor mounted inside
I then fed the excess wiring down into the drivers side foot well and reinstalled the vent pieces.
vent with shift light installed
Next I fed the wires through the grommet located near the clutch pedal. Just poked a hole with a punch then pushed the excess wire through the hole with a flathead screwdriver.
Now for the tricky part...the wires come through below the master cylinder/brake resevoir. I ended up fishing it out from above the engine using a long screwdriver. I've heard some people take the drivers side wheel and inner fender well off to get to it, but I was able to grab it without too much trouble.
heres the area where the wires come out
next I ran the wire along existing wiring harness to the drivers side rear coil. I CAREFULLY cut a small slit in the Raptor wire loom to expose the GREEN pick up wire. I made sure I had enough exposed and cut the wire. I then removed some of the electrical tape around the COP to expose the coil wire (white w/ red stripe). I cut away a small piece of the insulation and soldered the green wire to the white wire. Then buttoned everything back up with electrical tape.
Green wire from raptor exposed
Wires from COP
Next I ran the rest of the Raptor wire loom around the back of the engine and along existing wiring to the fuse box on the passenger side of the engine compartment. There are a couple of ground screws near the fuse box, so pick one and connect the black wire from the raptor to a ground screw.
Finally, connect the remaining red wire to a switched 12v wire going into the fuse box. I needed a second set of hands to turn the key on and off while I tested wires to see which ones only came on with the key. There are a billion wires, but I found one in a bundle of wires going to the outside of the fuse box near the passenger side. I believe it was Green/light green. Expose some of the wire, solder, and patch up with electrical tape.
I used corrugated wire loom and zip ties to keep everything looking factory and protect the wires from the elements.
")