Grabber5.sl0w
forum member
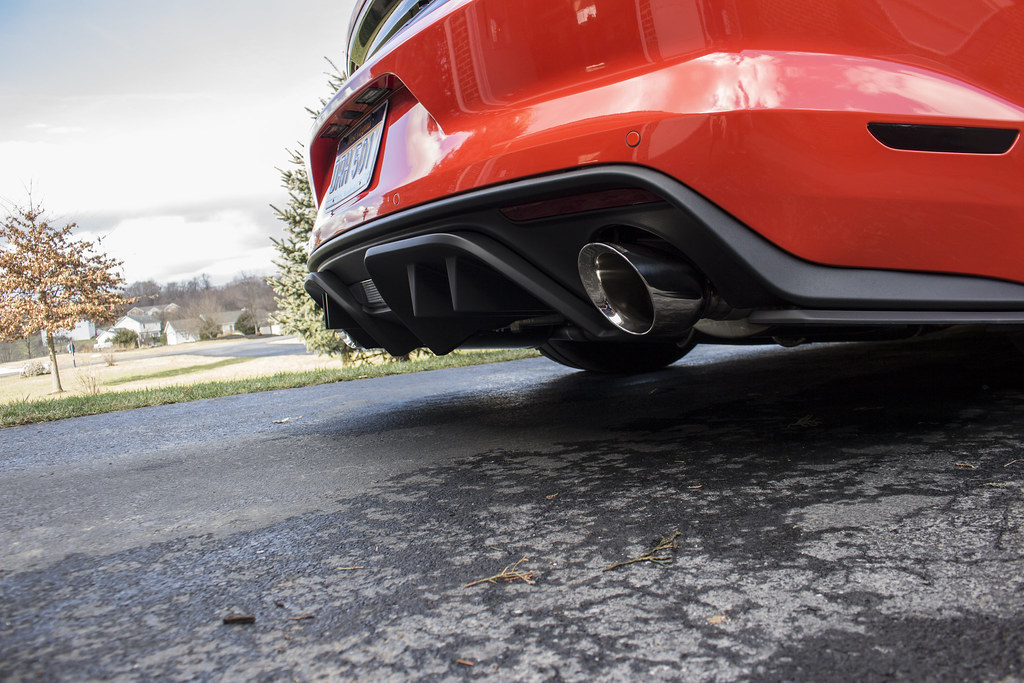
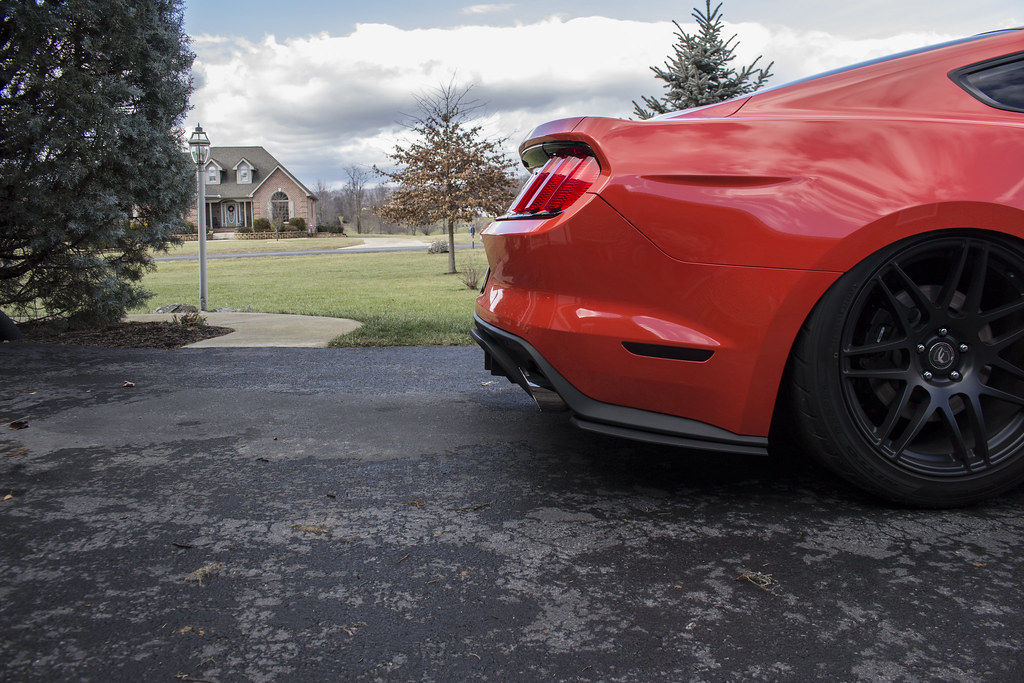
Originally wrote this install guide/review over at 6G, but figured I'd post over here as well for the S550 owners lurking here at S197. First wanted to thank @AMAlexLazarus at AmericanMuscle.com for the really sick deal on the RTR Rear Diffuser. When the diffuser first came out, I really wasn't a fan of it. Even after seeing some other member's pictures I still wasn't too swayed. But decided to bite the bullet and put it on. Absolutely no regrets with this diffuser. It really toughens up the rear of the car and gives it that more aggressive look. Especially when paired with RTR's Side Splitters.
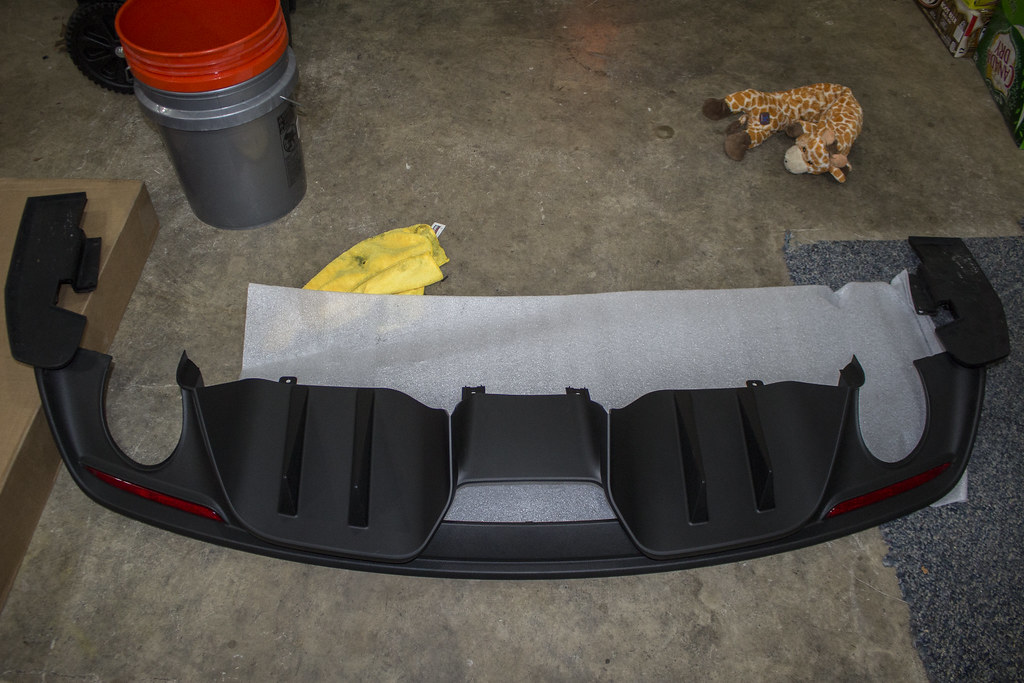
Left OEM and Right RTR Diffuser

Install wasn't too bad, followed along with the directions provided by RTR along with popping over to Whitemare's and Khyber's installs as well. Whitemare pointed out that the 7mm Nut Driver was the key to the install, and man was he right. Without that thing It would have been a lot harder.
Required and Optional Tools:
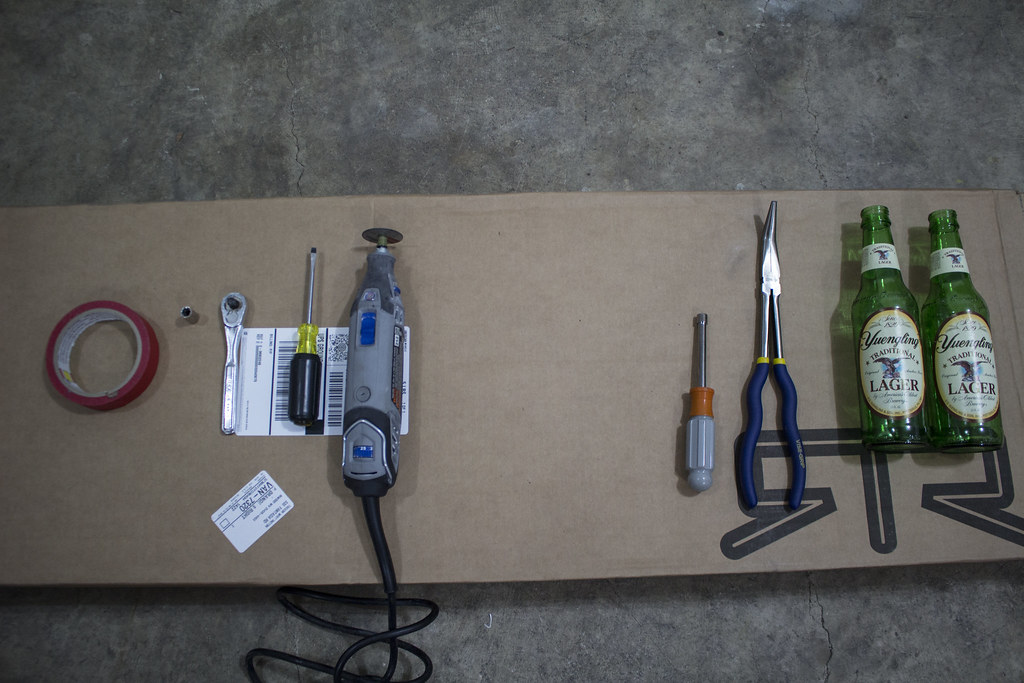
Left Side is required tools for this job:
-Masking/Painters Tape
-7mm 1/4" Socket
-7mm 1/4" Ratchet
-Flat Head Screwdriver
-Dremel Tool w/ Eye Protection
Right Side is Optional but will make the install go as seamless as possible.
-7mm Nut Driver
-Angled Needle Nose Pliers for push pins
-Two Beers of your choice

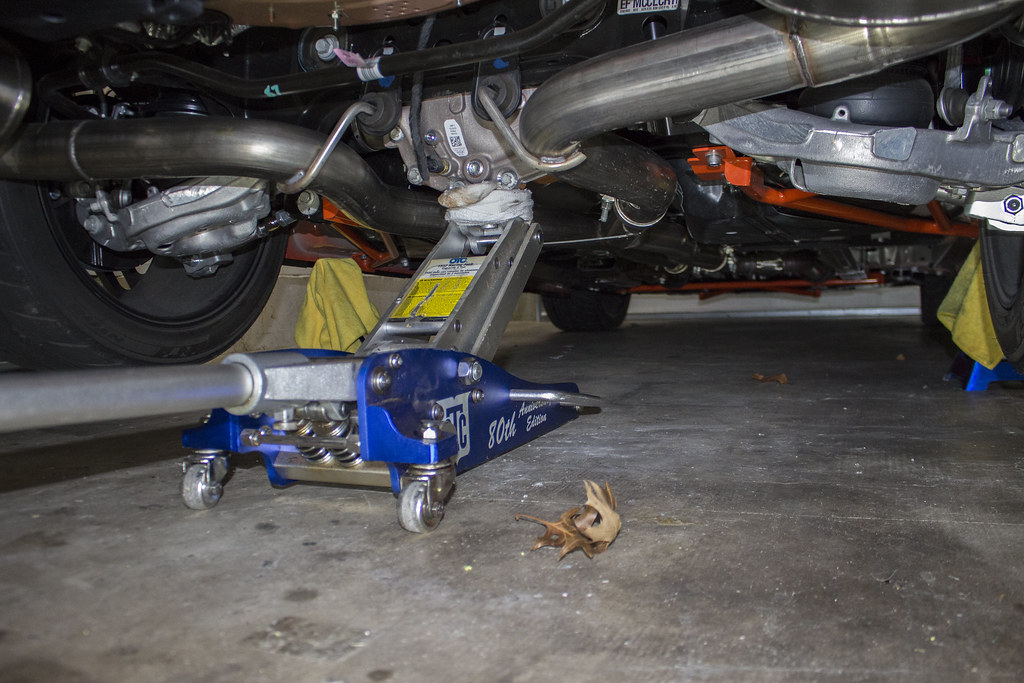
Step 1:
Jack the car up and position it on jack stands.
Step 2:
Remove the lower (2) push pins securing the wheel well to the bumper. This will give you more room to remove 1 of the 3 7mm Screws in Step 2. Repeat on other side.
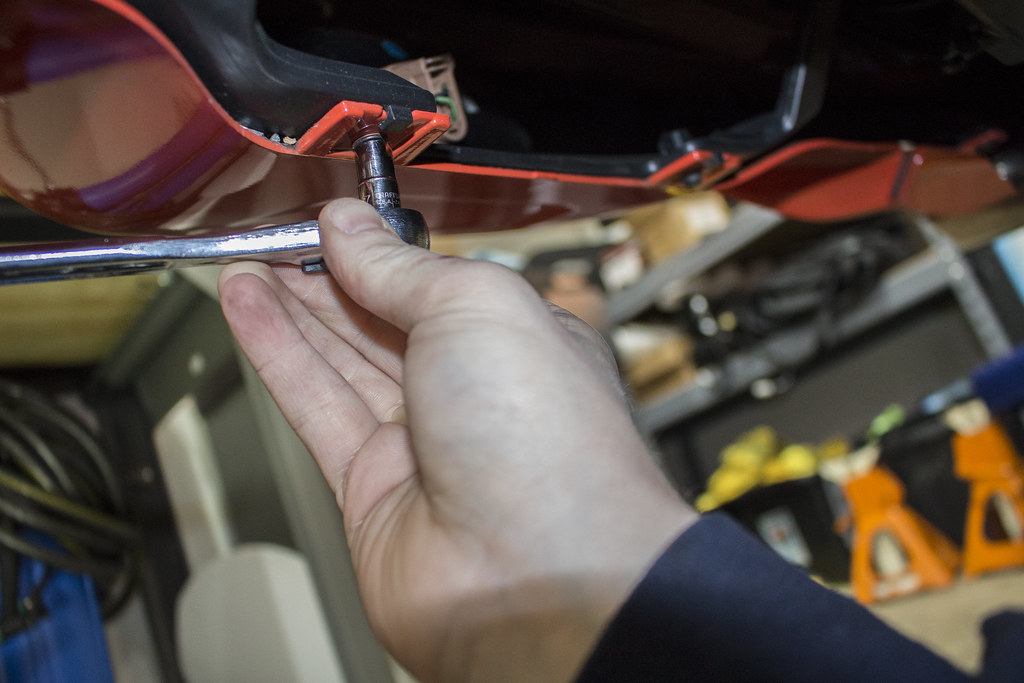
Step 3:
Remove the (3) 7mm screws securing the valence to the rear bumper. Start with the screw closest to the wheel with either the 7mm Ratchet, or preferably with the nut driver that is pictured. The other two can be removed with the ratchet. Repeat on other side.

Step 4:
Remove the (2) push pins securing the side of the valence to the rear bumper. You can use a flat head screw driver, or my preferred angled needle nose pliers. Repeat on other side.

Step 5:
Remove the (2) 7mm Screws below the reverse light securing the painted portion of the rear valence to the bumper.
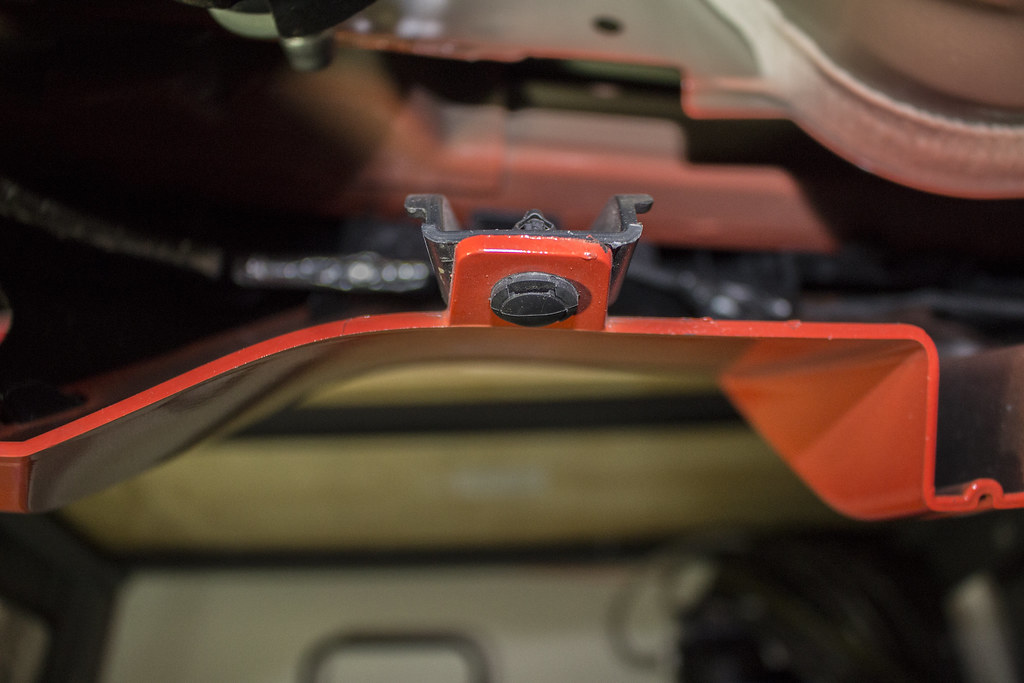
Step 6:
Remove the (2) push pins securing the painted portion of the rear valence to the bumper.
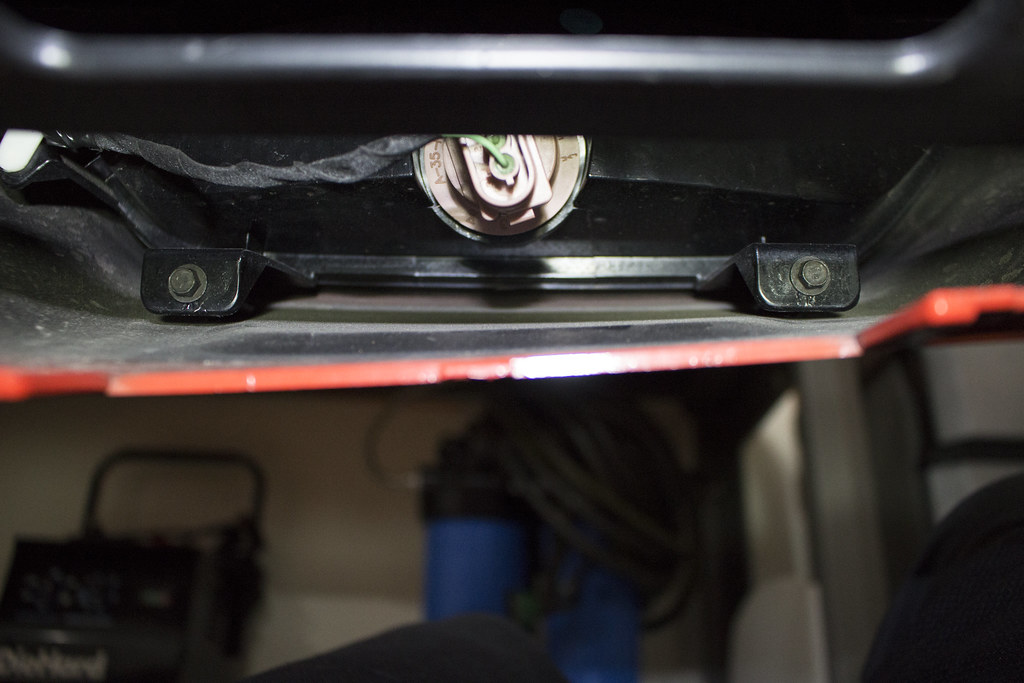
Step 7:
Remove the (4) 7mm screws securing the reverse light to the valence. The bottom ones shown are easy to uninstall with the 7mm ratchet or nut driver. The top two are the hardest and are located over the top of the reverse light. Use your hand to feel for the screws then use the 7mm nut driver to uninstall them.
Step 8:
Remove the reverse light by turning the bulb socket counter-clockwise 90* to remove it. Then remove the white push pin securing the reverse light wire to the reverse light housing. Now pull the reverse light housing out and out of the way.
Step 9:
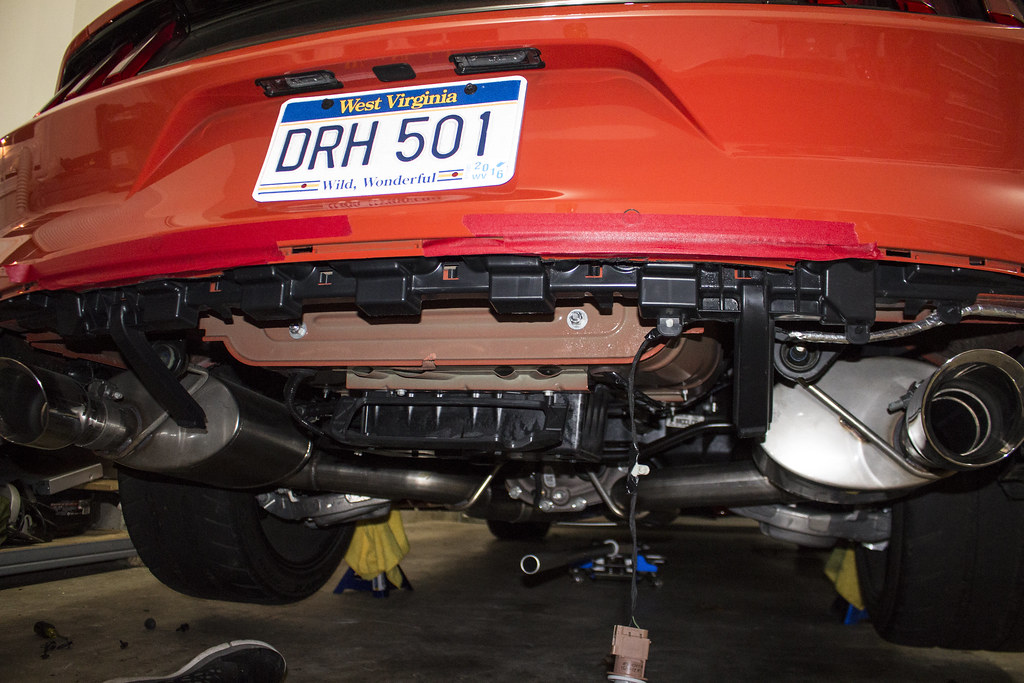
Now that all the screws and pins holding the valence are out of the way, now it's time for the part. Start on the side of the valence by quick-hard pulls with one hand while supporting the bumper with the other. It should make loud "Click" sounds when it frees. Use your hand as a wedge between the valence and the bumper each click of the way.
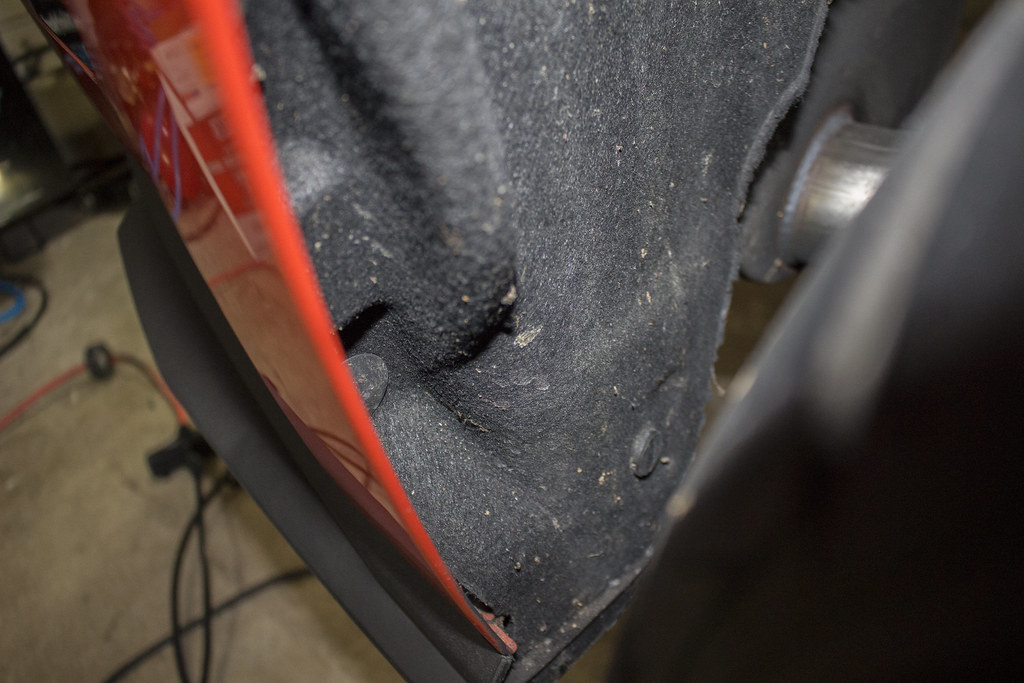
Step 10:
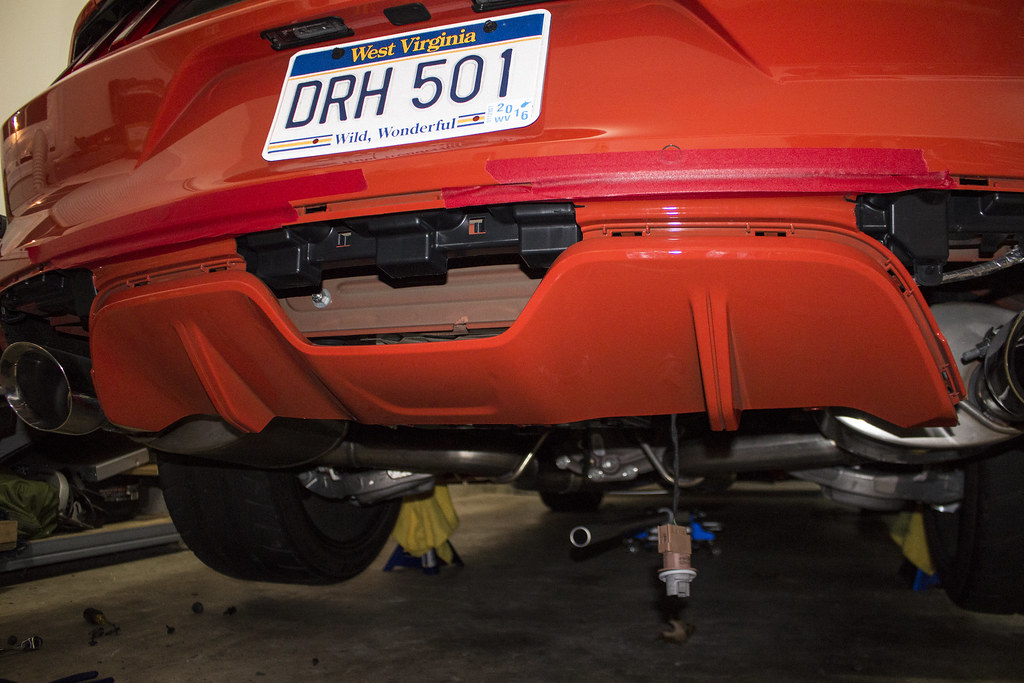
With the rear valence out of the way, place masking tape along the bottom edges of where the bumper connects the painted portion of the rear valence. This will ensure you don't accidentally bump or mare up your factory paint.
Step 11:
Get out your Dremel and cutting wheel and begin cutting right below the masking tape to disconnect the painted portion of the rear valence.
Step 12:
Now take out your new RTR rear diffuser and clip it into the stock rear valence. Every clip should make a fairly loud "Click" to let you know it is clipped into place.
Step 13:
Reinstall the reverse light housing into the rear valence with the (4) 7mm screws.
Step 14:
Place the rear valence on the car and ensure all the clips are in position. Give the top edge of valence a quick, firm force to put the clips into place. Work your way from center to left , then center to right. Each clip will give off a fairly loud "Click" noise to let you know it has been clipped.
Step 15:
Repeat Steps 8-1 in reverse order to reinstall the 7mm screws and push pins. Done!

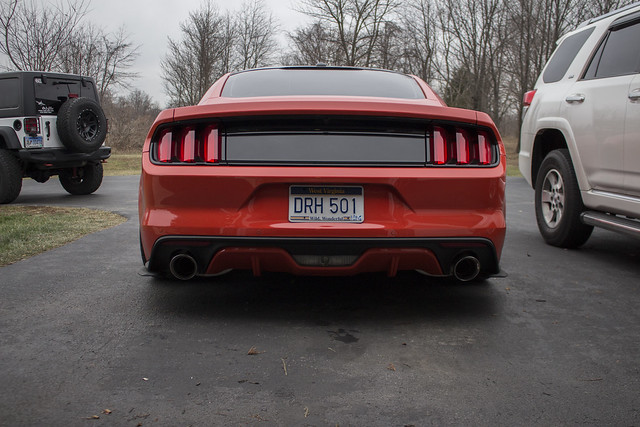
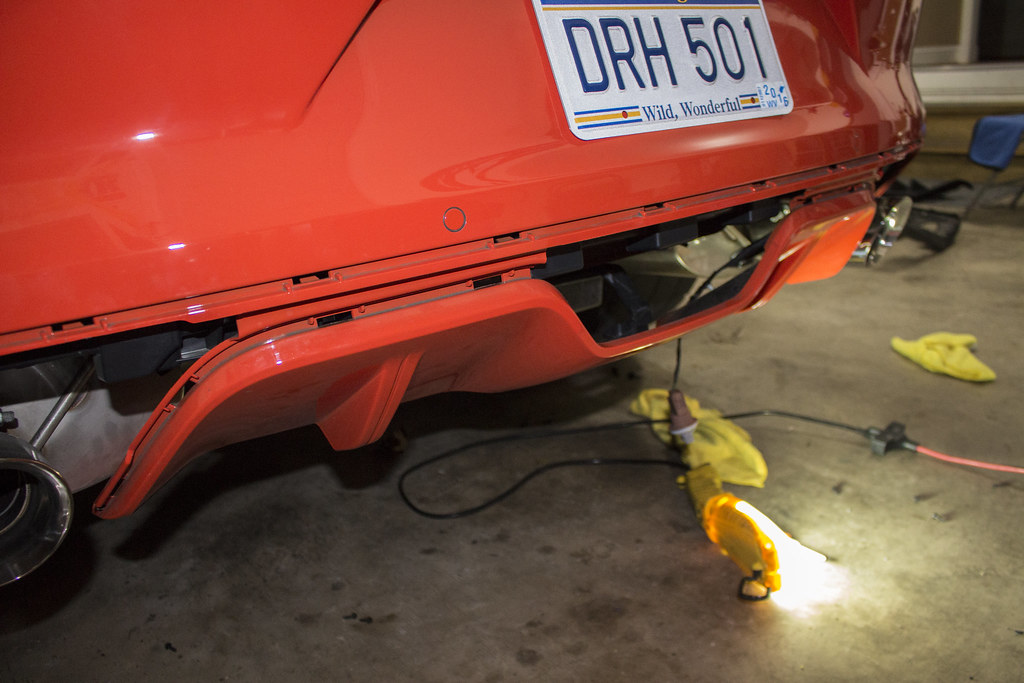
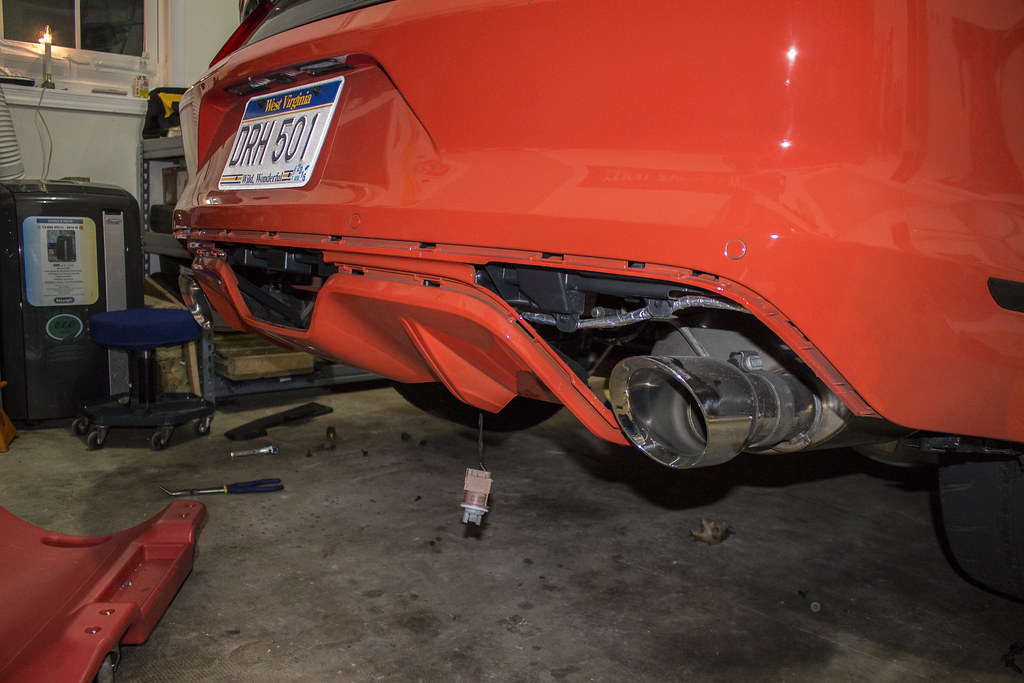
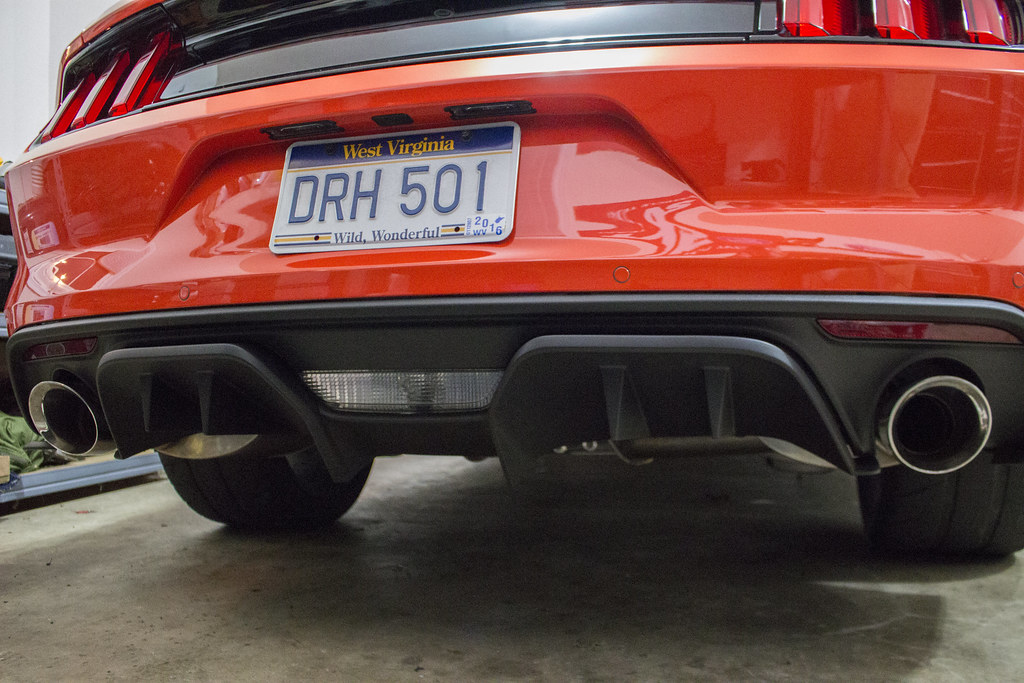
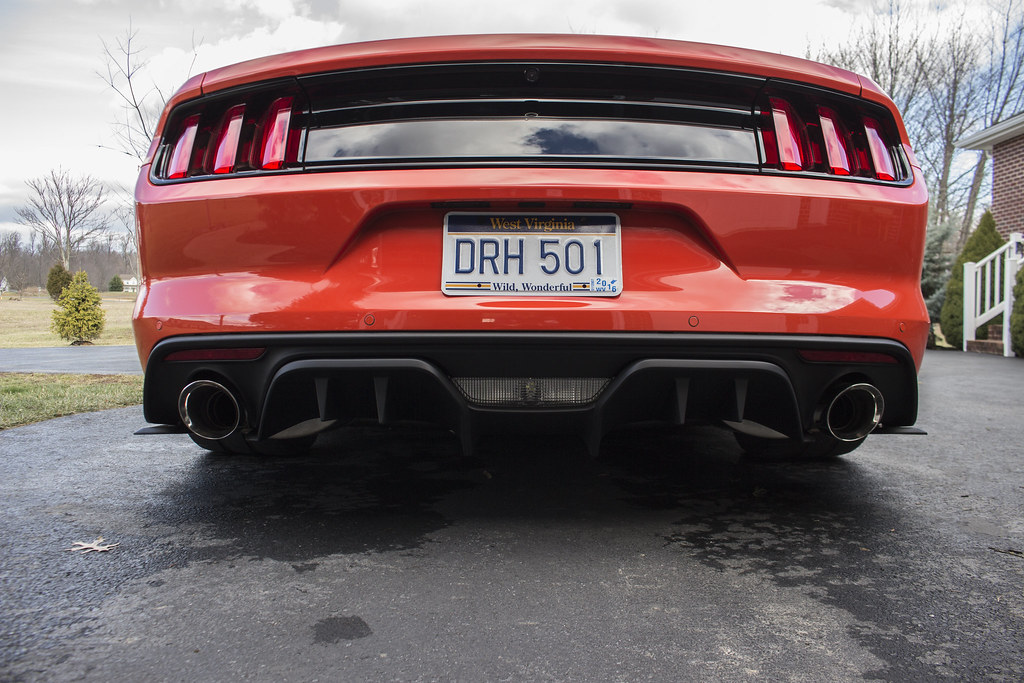
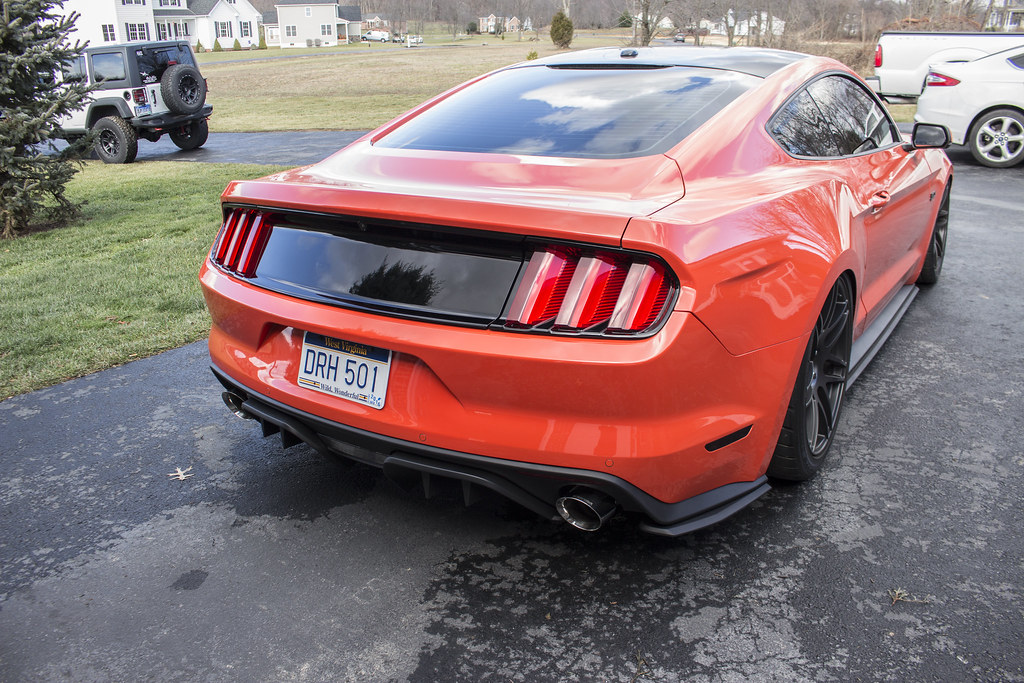
BEFORE Pictures:
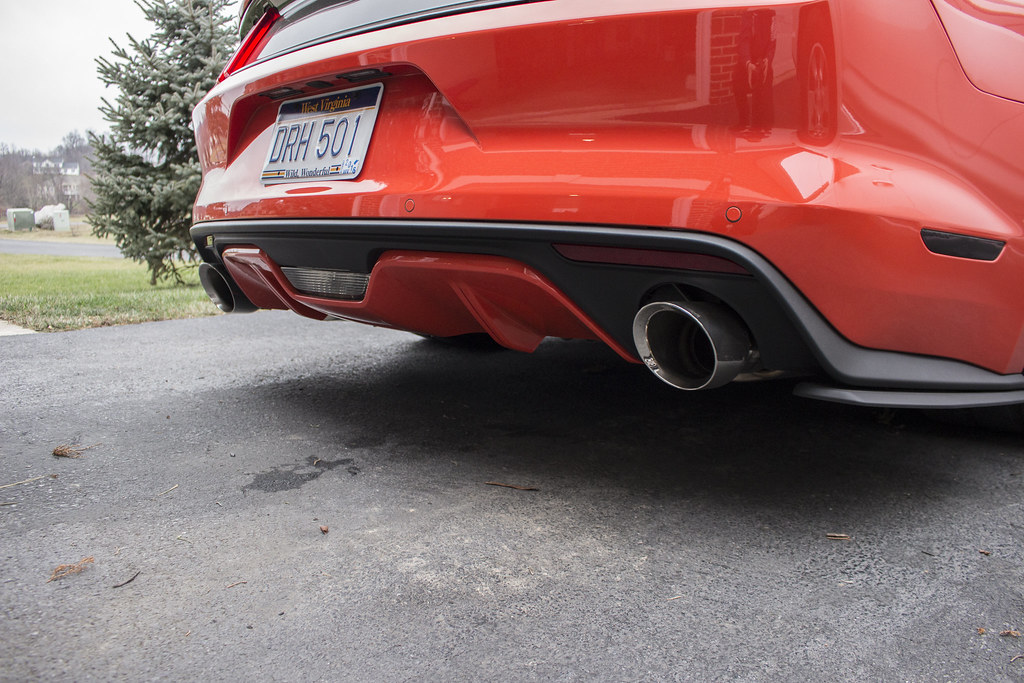
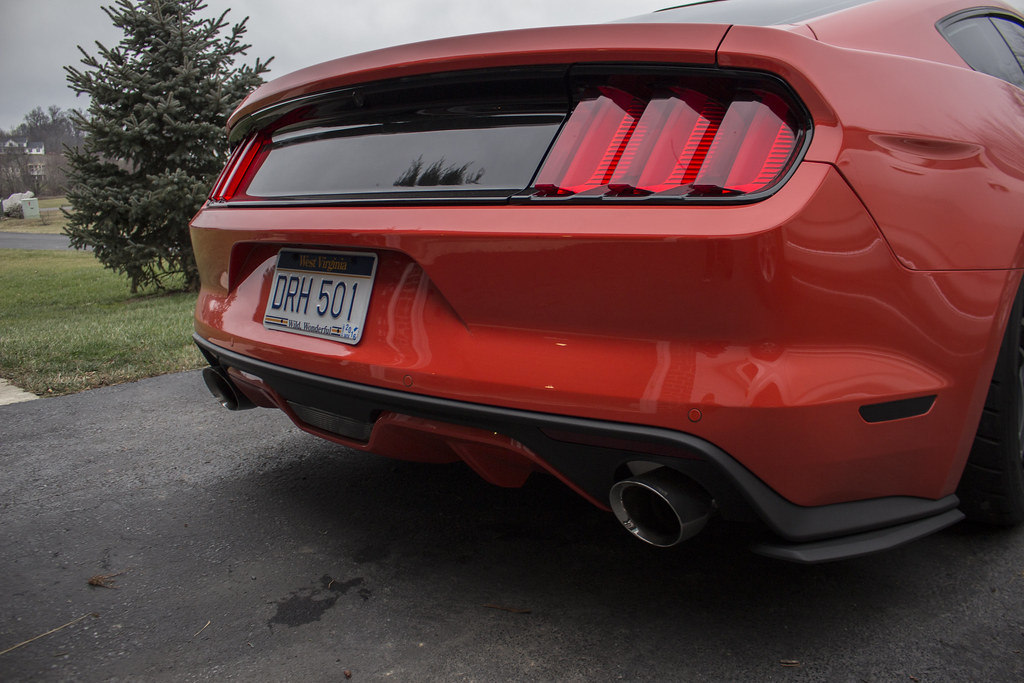
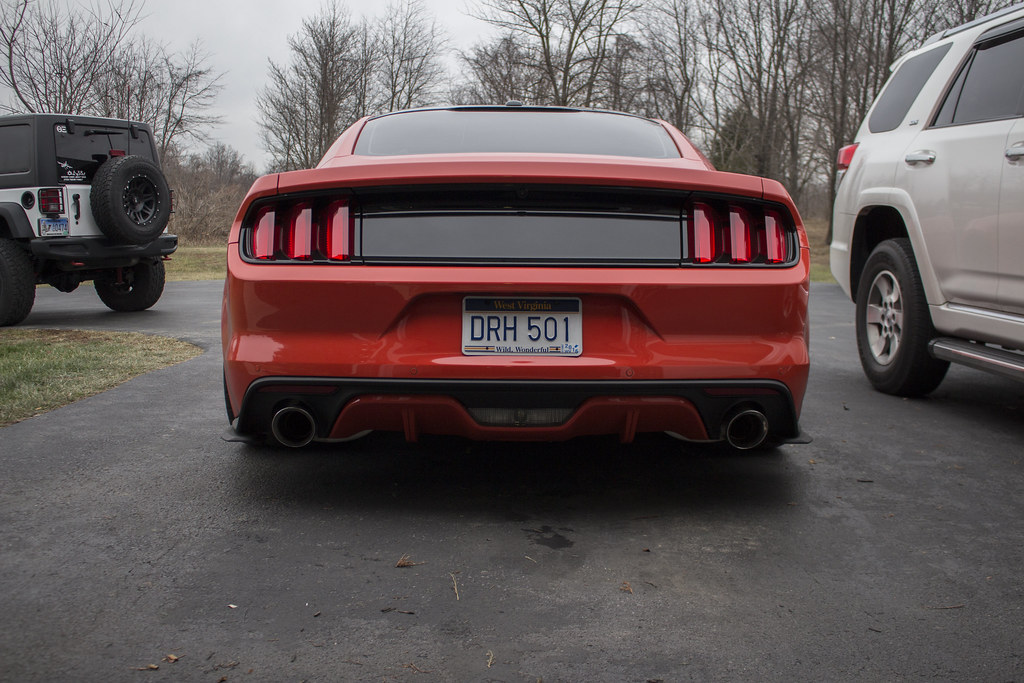
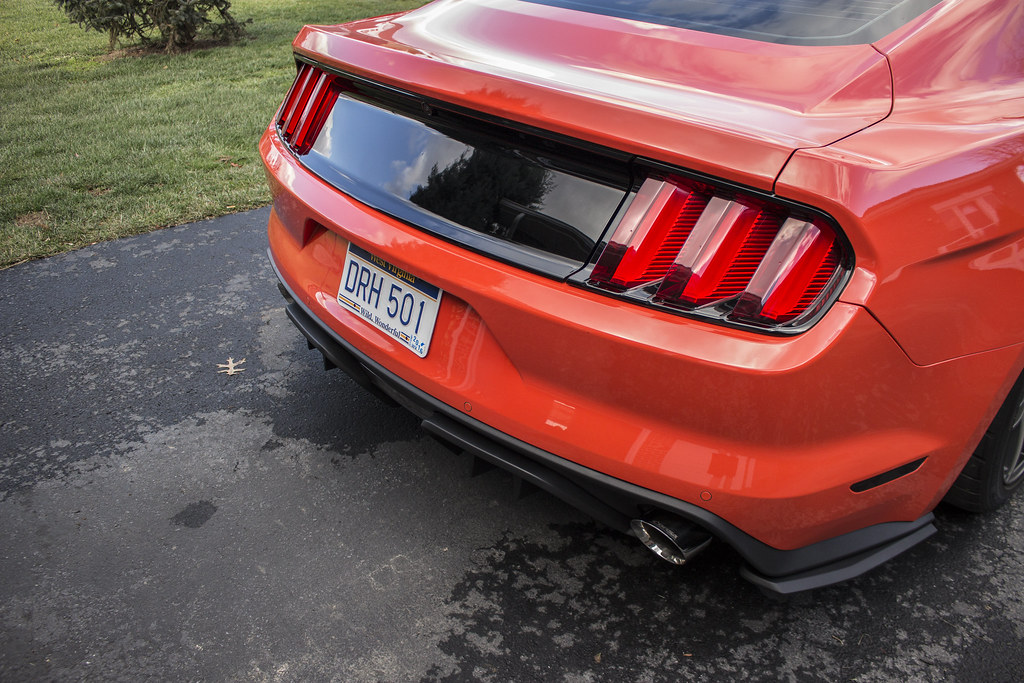
AFTER Pictures:

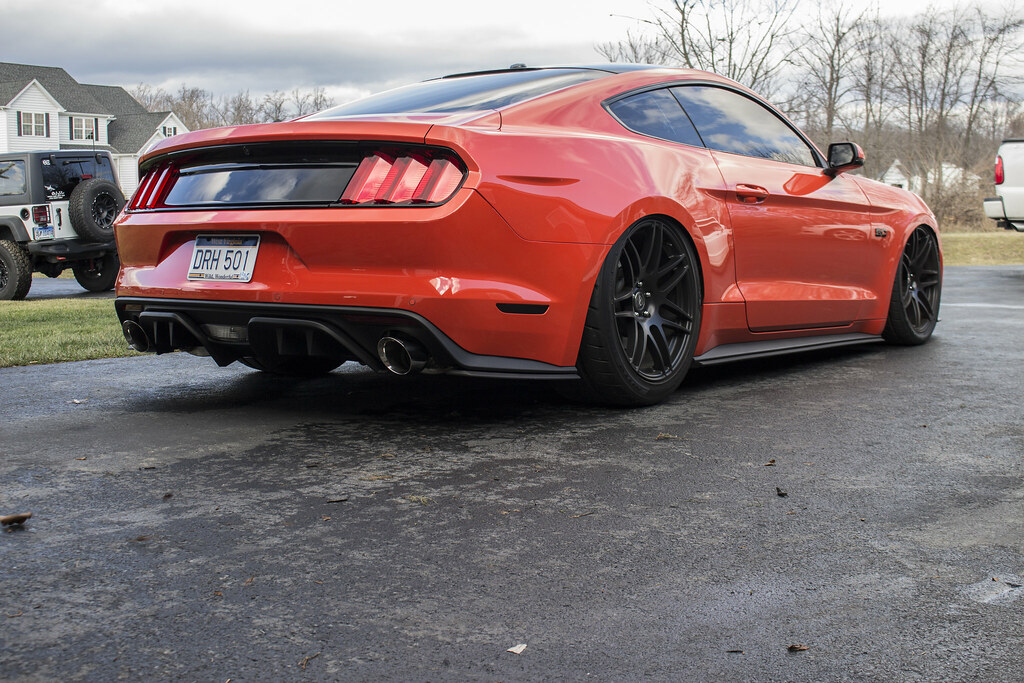
Enjoy!
Left OEM and Right RTR Diffuser
Install wasn't too bad, followed along with the directions provided by RTR along with popping over to Whitemare's and Khyber's installs as well. Whitemare pointed out that the 7mm Nut Driver was the key to the install, and man was he right. Without that thing It would have been a lot harder.
Required and Optional Tools:
Left Side is required tools for this job:
-Masking/Painters Tape
-7mm 1/4" Socket
-7mm 1/4" Ratchet
-Flat Head Screwdriver
-Dremel Tool w/ Eye Protection
Right Side is Optional but will make the install go as seamless as possible.
-7mm Nut Driver
-Angled Needle Nose Pliers for push pins
-Two Beers of your choice
Step 1:
Jack the car up and position it on jack stands.
Step 2:
Remove the lower (2) push pins securing the wheel well to the bumper. This will give you more room to remove 1 of the 3 7mm Screws in Step 2. Repeat on other side.
Step 3:
Remove the (3) 7mm screws securing the valence to the rear bumper. Start with the screw closest to the wheel with either the 7mm Ratchet, or preferably with the nut driver that is pictured. The other two can be removed with the ratchet. Repeat on other side.
Step 4:
Remove the (2) push pins securing the side of the valence to the rear bumper. You can use a flat head screw driver, or my preferred angled needle nose pliers. Repeat on other side.
Step 5:
Remove the (2) 7mm Screws below the reverse light securing the painted portion of the rear valence to the bumper.
Step 6:
Remove the (2) push pins securing the painted portion of the rear valence to the bumper.
Step 7:
Remove the (4) 7mm screws securing the reverse light to the valence. The bottom ones shown are easy to uninstall with the 7mm ratchet or nut driver. The top two are the hardest and are located over the top of the reverse light. Use your hand to feel for the screws then use the 7mm nut driver to uninstall them.
Step 8:
Remove the reverse light by turning the bulb socket counter-clockwise 90* to remove it. Then remove the white push pin securing the reverse light wire to the reverse light housing. Now pull the reverse light housing out and out of the way.
Step 9:
Now that all the screws and pins holding the valence are out of the way, now it's time for the part. Start on the side of the valence by quick-hard pulls with one hand while supporting the bumper with the other. It should make loud "Click" sounds when it frees. Use your hand as a wedge between the valence and the bumper each click of the way.
Step 10:
With the rear valence out of the way, place masking tape along the bottom edges of where the bumper connects the painted portion of the rear valence. This will ensure you don't accidentally bump or mare up your factory paint.
Step 11:
Get out your Dremel and cutting wheel and begin cutting right below the masking tape to disconnect the painted portion of the rear valence.
Step 12:
Now take out your new RTR rear diffuser and clip it into the stock rear valence. Every clip should make a fairly loud "Click" to let you know it is clipped into place.
Step 13:
Reinstall the reverse light housing into the rear valence with the (4) 7mm screws.
Step 14:
Place the rear valence on the car and ensure all the clips are in position. Give the top edge of valence a quick, firm force to put the clips into place. Work your way from center to left , then center to right. Each clip will give off a fairly loud "Click" noise to let you know it has been clipped.
Step 15:
Repeat Steps 8-1 in reverse order to reinstall the 7mm screws and push pins. Done!
BEFORE Pictures:
AFTER Pictures:
Enjoy!