Click Below to Buy Exclusively from American Muscle:
RTR ROCKER SPLITTERS
Disclaimer:
The RTR Rocker Splitters may cause broken neck syndrome to passerby's.
Tools Needed:
T20 Torx Bit
Panel Remover Tool
Optional for use with Roush Winglets: Dremel w/ Cutting Wheel
Difficulty Level:
1 out of 12 Beers
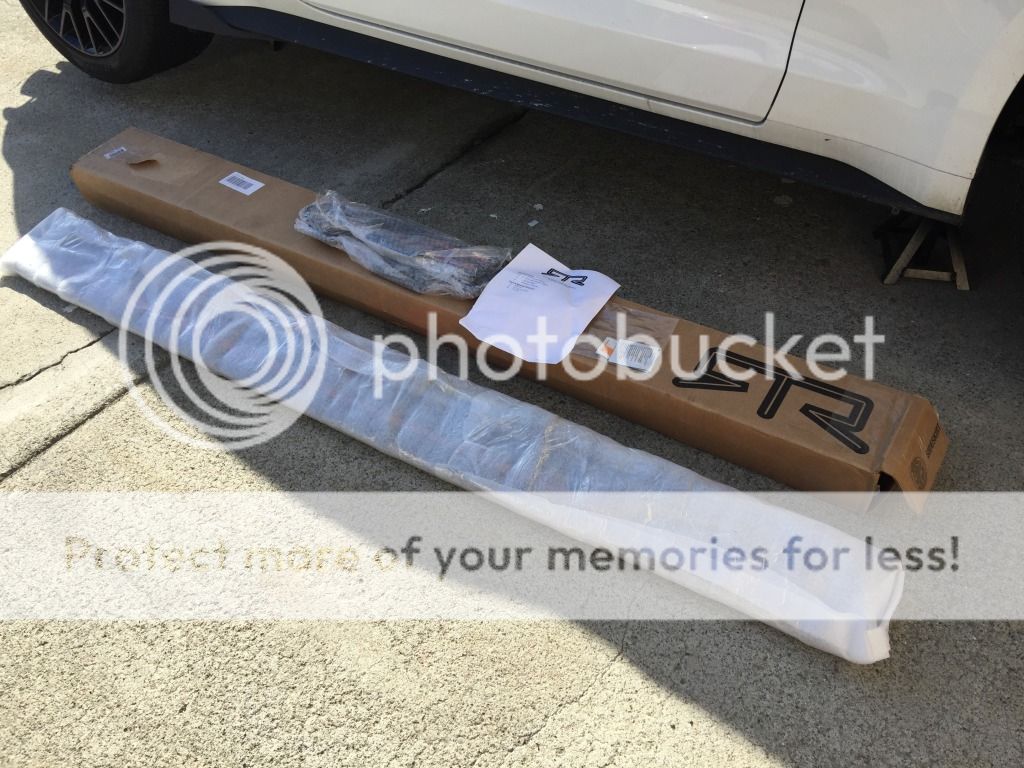
Parts List:
(2) RTR Rocker Splitters
(2) RTR Rear Valance Splitters
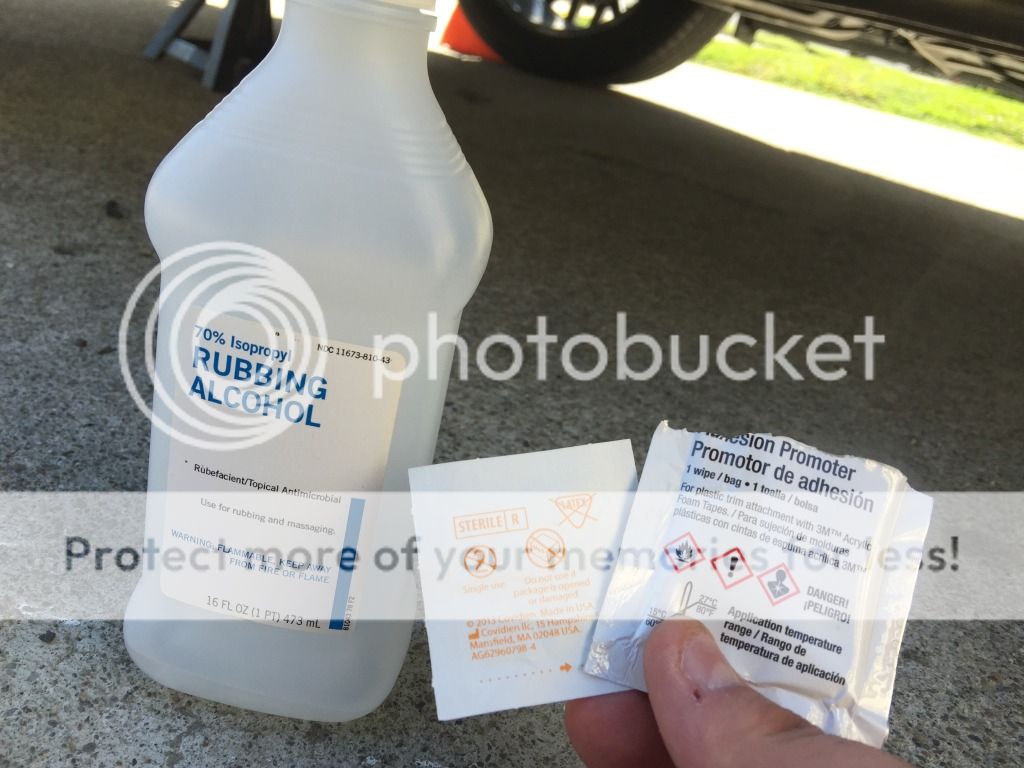
(2) Alcohol Swabs
(1) Adhesive Promoter Swab
Preparation:
Raise the vehicle from the side and place on jackstands.
(Can be done without lifting vehicle if you have AirLift and raise the car, as I found out on the other side)
Video:
>>>Coming Soon<<<
Installation:
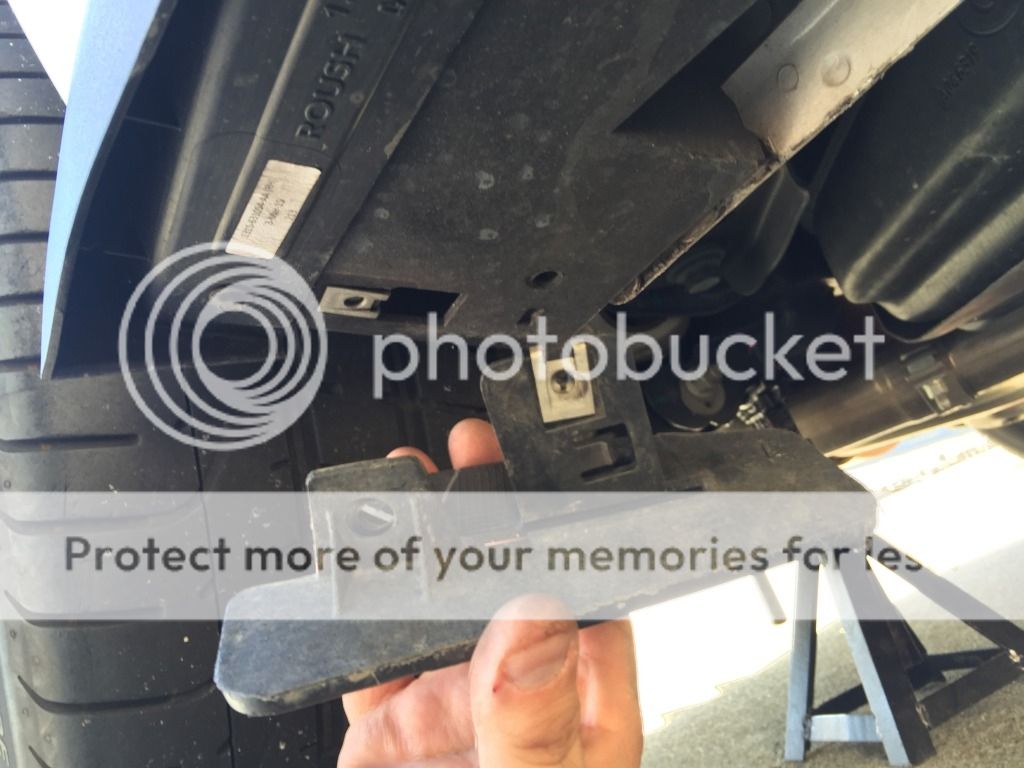
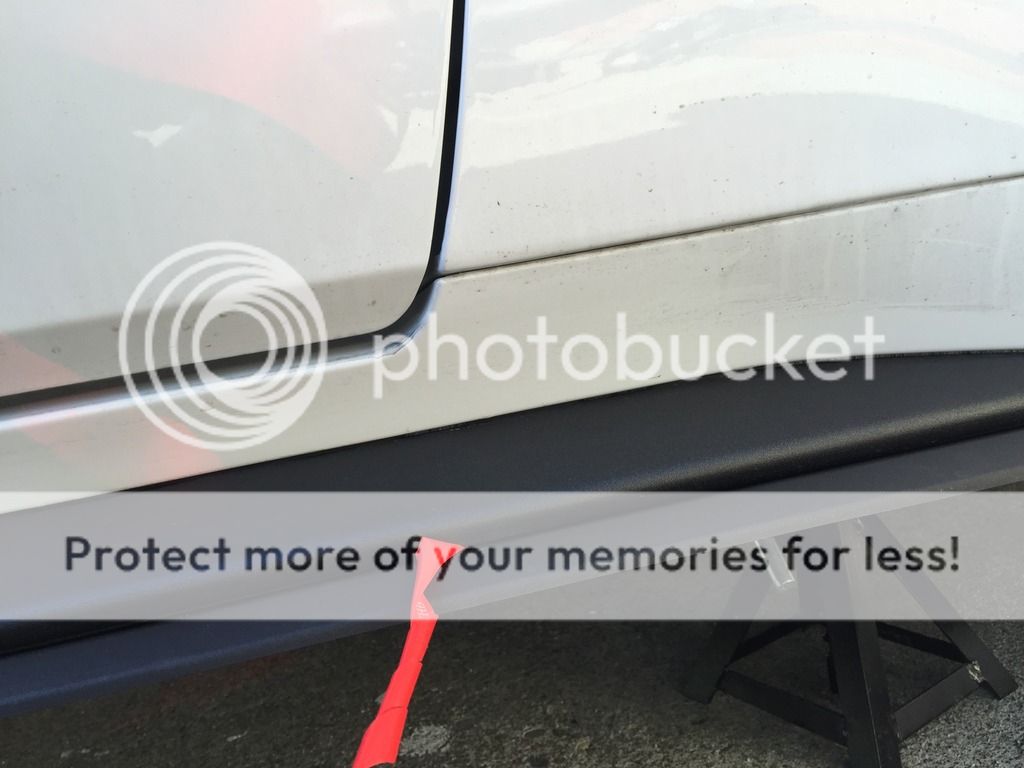
With the side of the vehicle on jackstands, pull out the RTR Rocker Splitters and inspect your parts.

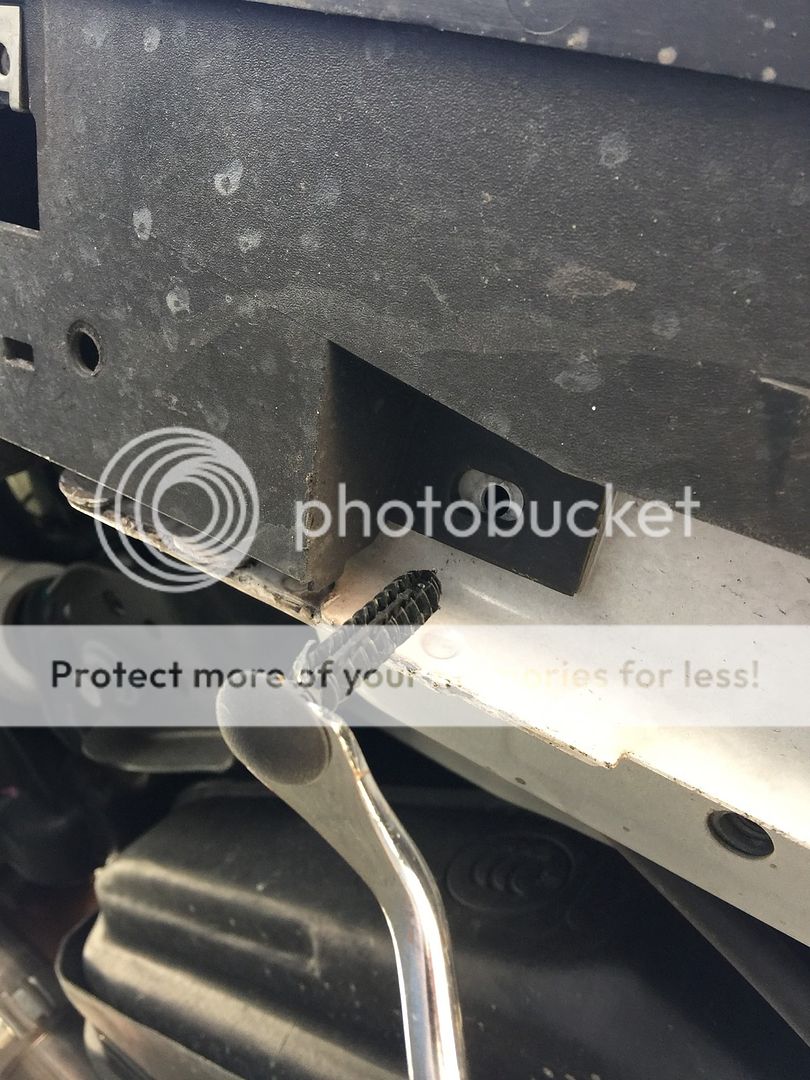
You will need to remove the bottom-most retaining clip toward the front of the rear wheel well. A panel removal tool makes quick work of this. Highly recommend getting a set of these.

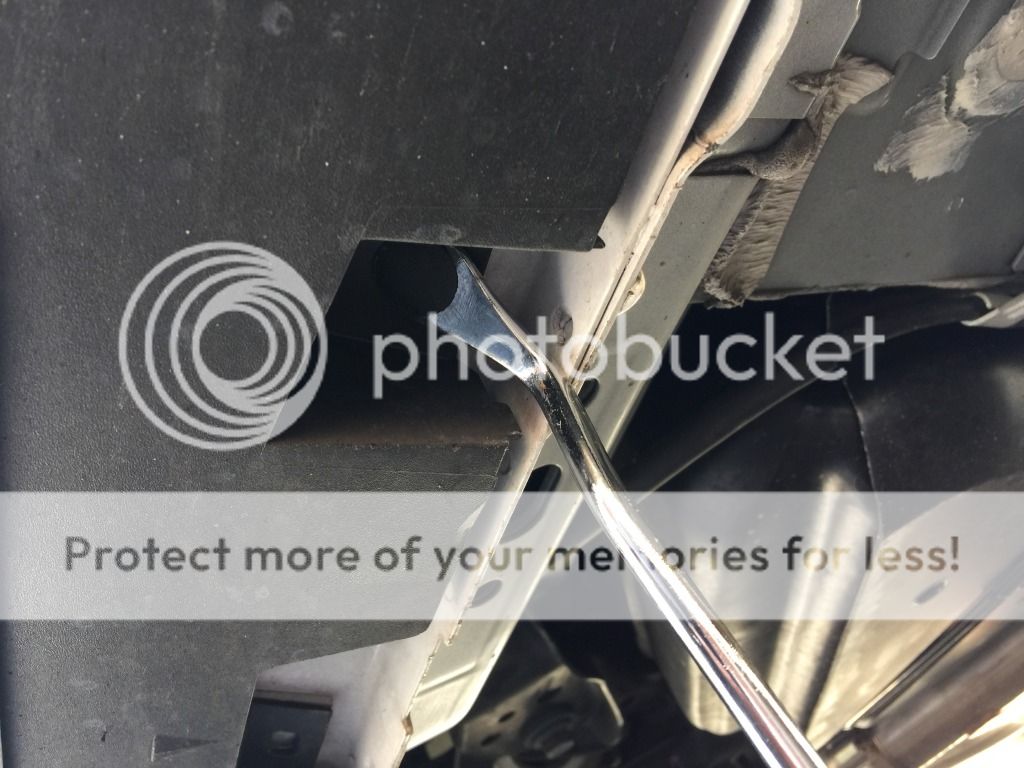
Once you remove the clip, you'll move underneath and remove the (2) screws holding this in with the T20 Torx bit.
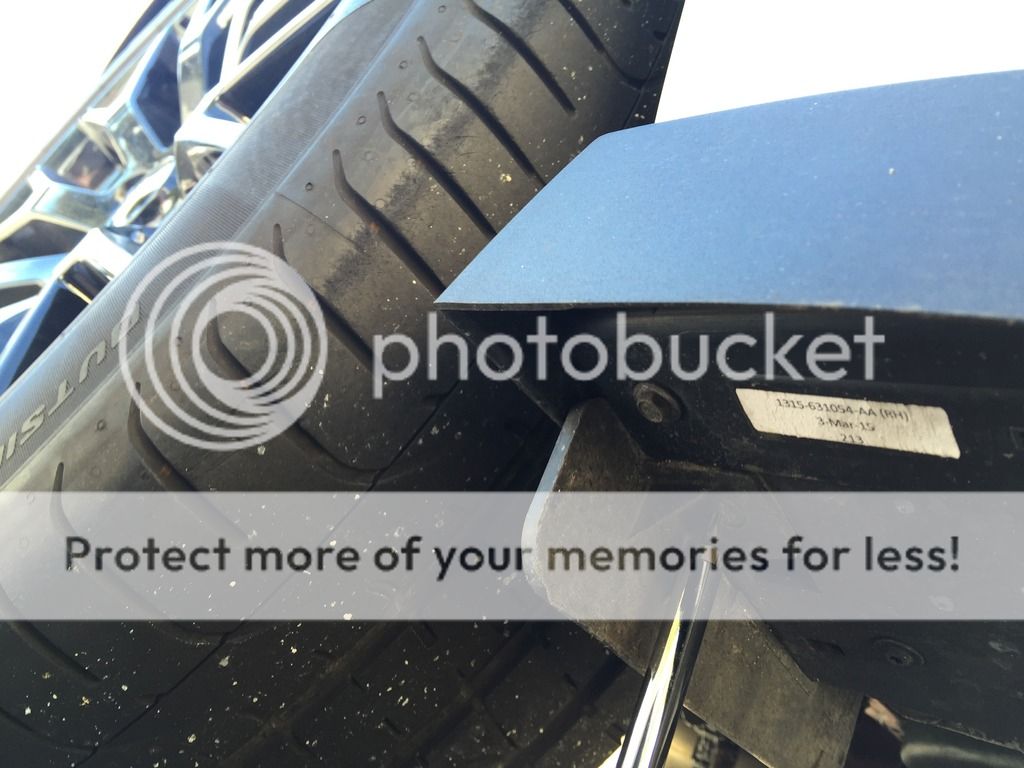
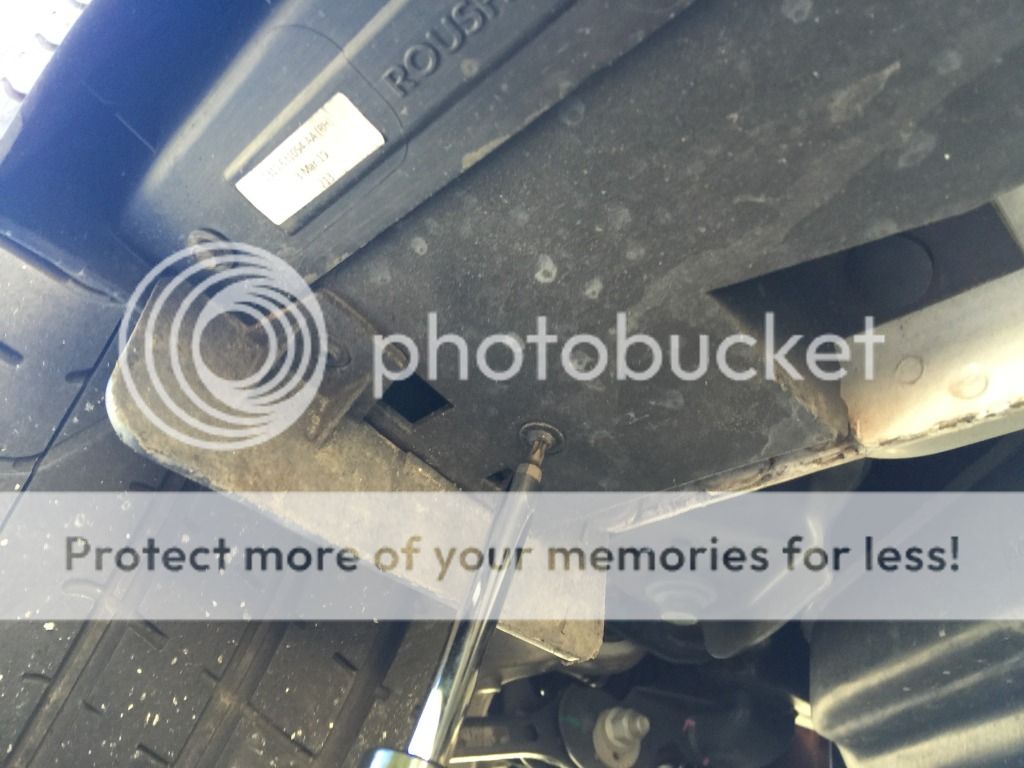
Once you remove the retaining clip and the (2) screws, you can pull this out towards the driveshaft to remove it.
Now you are ready to move along side the rocker and remove the (8) retaining clips utilizing the panel removal tool. These suckers are nice and long.
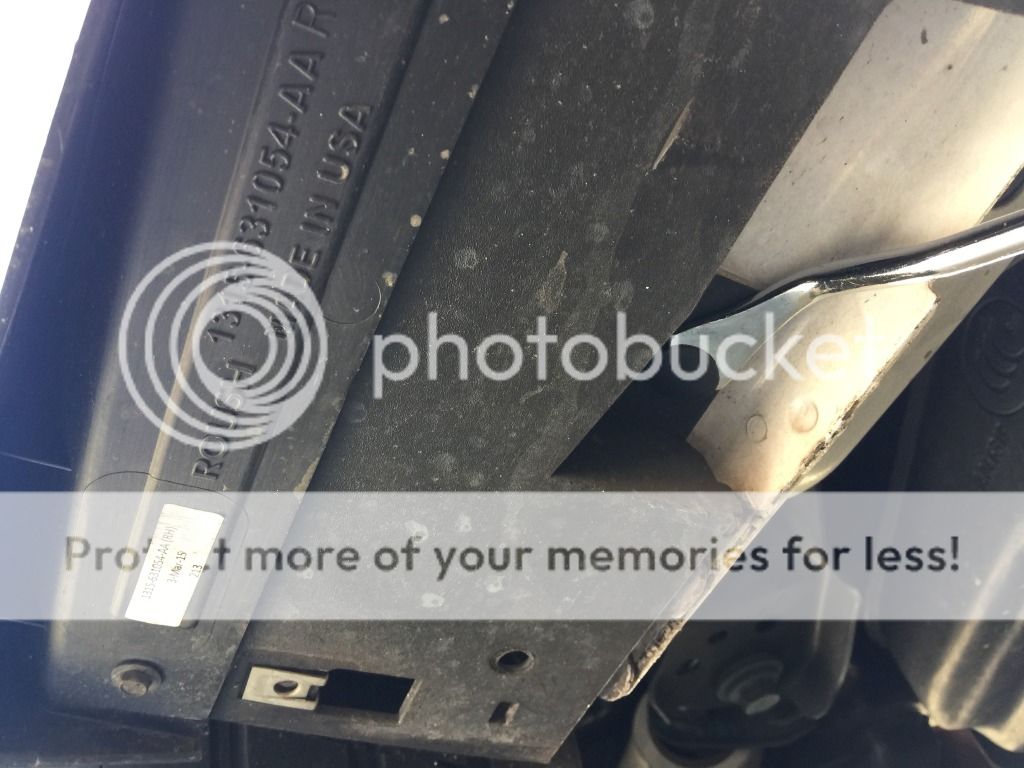
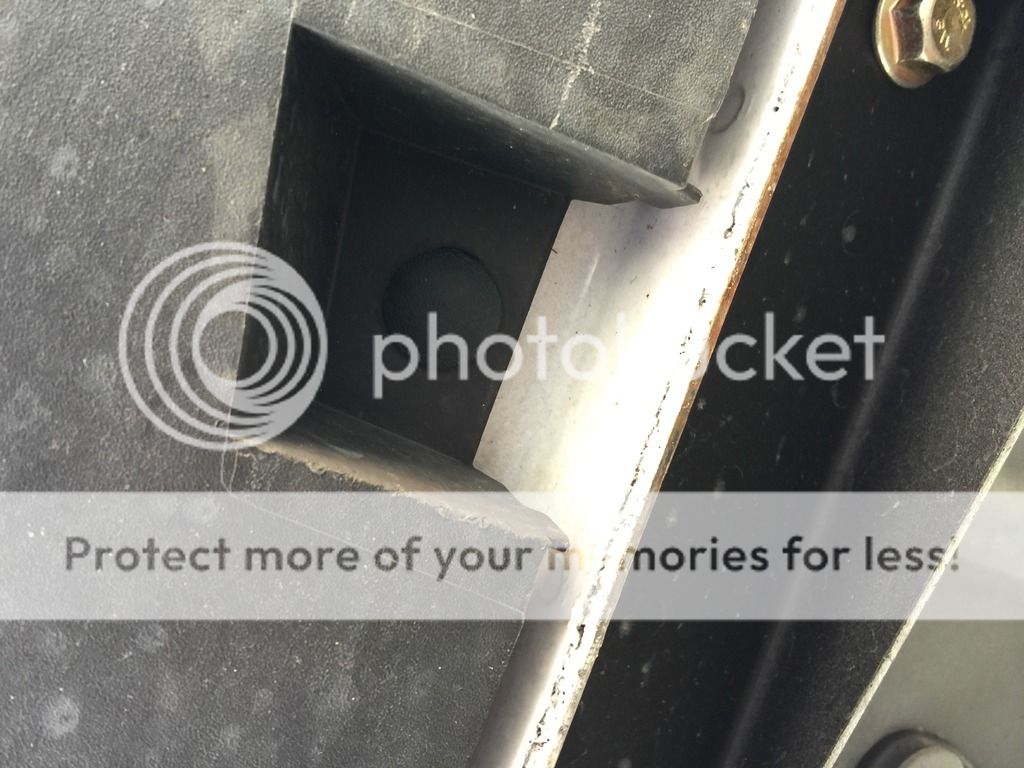

It is now time to clean the underside of the OEM rocker and prepare to install the Splitters. In my case, I am currently running the Roush Winglets.

You can either remove the Winglets and replace them with the Rocker Splitter, or you can do what I did... Pull out your beer, take a swig, and get to work!
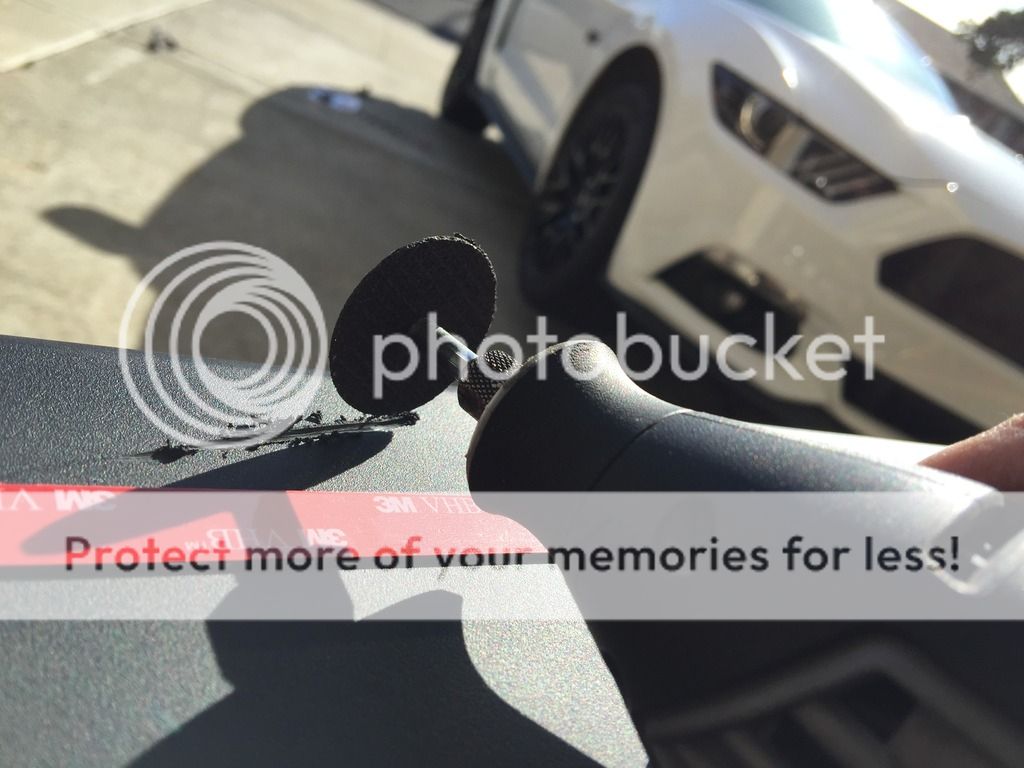
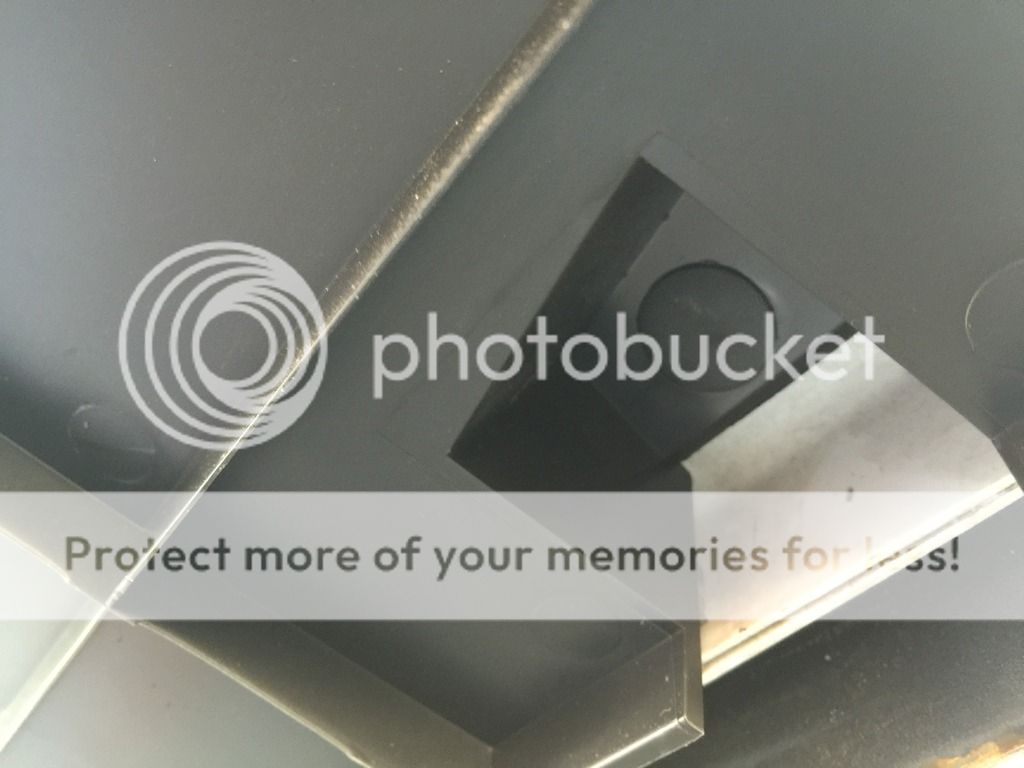
There is no easy way to do this. I simply lifted the rocker splitter into place, and used a scribing tool to mark the splitter along the Winglet. Cut the rocker splitter in a fashion where you retain the mounting location, but create a void for the Winglet to sit.

With the underside of the rocker clean from any debris, you are ready to mount the splitter.

I highly recommend using alcohol to clean the surface once it has dried, and let that dry. Once it's dry, you'll want to use the adhesive promoter to help secure a strong bond between the rocker and the splitter. Both simply wipe on. (Sorry to my East Coast brothers and sisters for the sunshine)
Once you are ready, peal back the back of the tape off just enough to have something to pull on as you press the splitter into the rocker. Next install the (8) retaining clips from the rocker before pealing the tape completely.
Once the splitter is in place, you'll want to pull the back of the tape off about 6" at a time as you firmly press the splitter into the valance. Use firm pressure and work to get a strong bond.
Work your way down, until you've reached the end.

The Side Rocker Splitter is now installed. Time to move to the rear and knock out the rear section of the splitter.
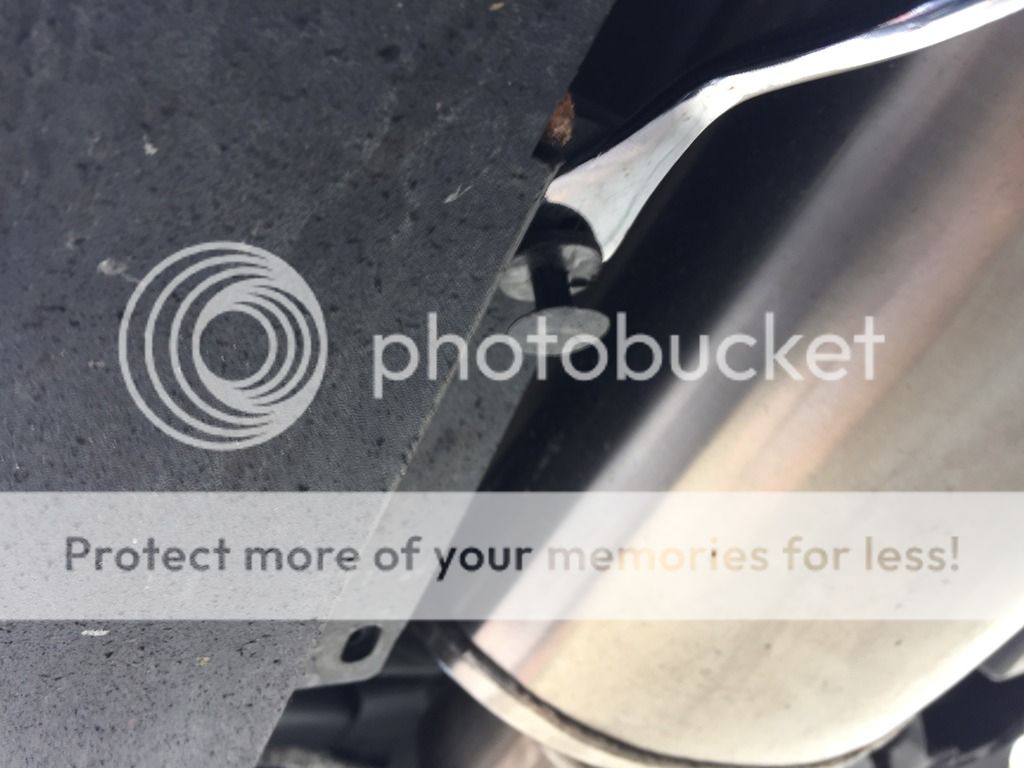
From underneath the car, you'll find the (2) retaining clips holding the valance to the bumper. Remove these.
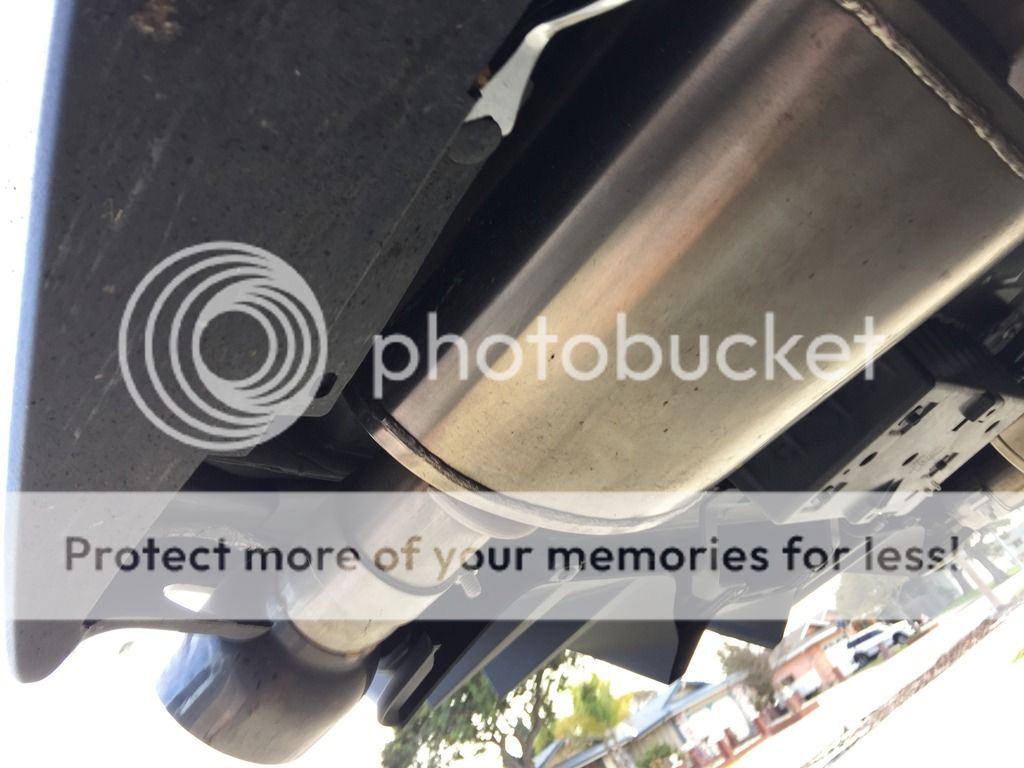
Clean the bottom of the diffuser and also use the alcohol and adhesive promoter here as well.
Remove the back of the tape, and place the splitter up into place first securing it with the (2) retaining clips you just removed. Once it place, firmly press the splitter into the valance to create a secure bond.
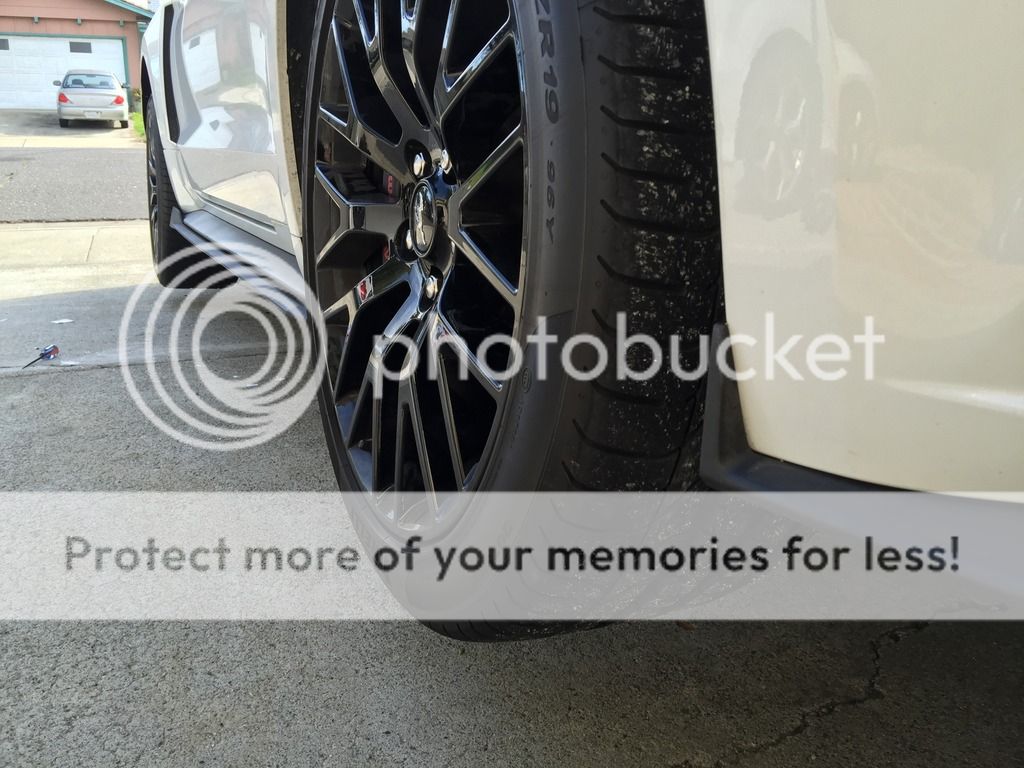
You are now done on one side. Repeat the steps for the other side.
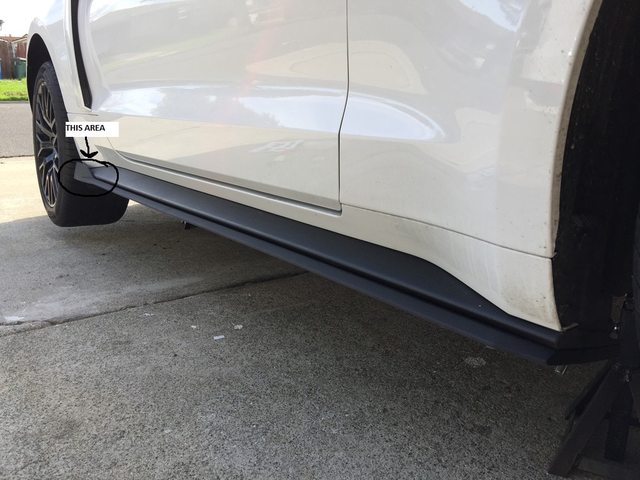
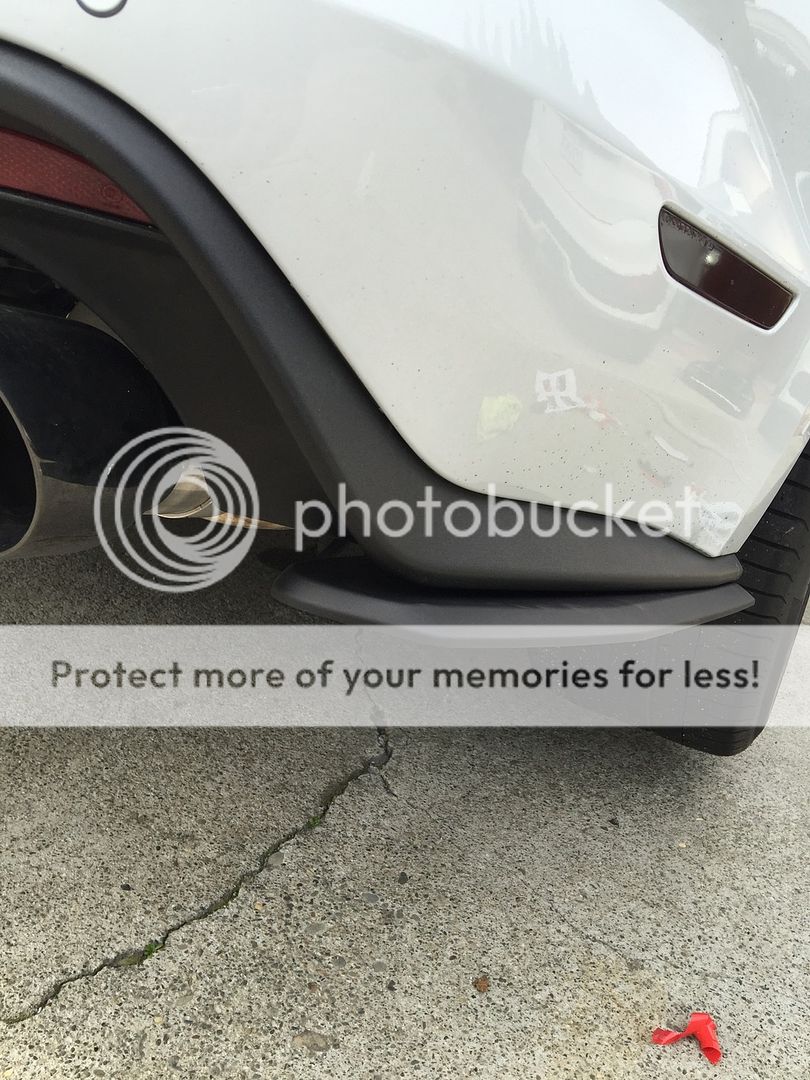
Before Pics:

After Pics:


With the side of the vehicle on jackstands, pull out the RTR Rocker Splitters and inspect your parts.
You will need to remove the bottom-most retaining clip toward the front of the rear wheel well. A panel removal tool makes quick work of this. Highly recommend getting a set of these.
Once you remove the clip, you'll move underneath and remove the (2) screws holding this in with the T20 Torx bit.
Once you remove the retaining clip and the (2) screws, you can pull this out towards the driveshaft to remove it.
Now you are ready to move along side the rocker and remove the (8) retaining clips utilizing the panel removal tool. These suckers are nice and long.
It is now time to clean the underside of the OEM rocker and prepare to install the Splitters. In my case, I am currently running the Roush Winglets.
You can either remove the Winglets and replace them with the Rocker Splitter, or you can do what I did... Pull out your beer, take a swig, and get to work!
There is no easy way to do this. I simply lifted the rocker splitter into place, and used a scribing tool to mark the splitter along the Winglet. Cut the rocker splitter in a fashion where you retain the mounting location, but create a void for the Winglet to sit.
With the underside of the rocker clean from any debris, you are ready to mount the splitter.
I highly recommend using alcohol to clean the surface once it has dried, and let that dry. Once it's dry, you'll want to use the adhesive promoter to help secure a strong bond between the rocker and the splitter. Both simply wipe on. (Sorry to my East Coast brothers and sisters for the sunshine)
Once you are ready, peal back the back of the tape off just enough to have something to pull on as you press the splitter into the rocker. Next install the (8) retaining clips from the rocker before pealing the tape completely.
Once the splitter is in place, you'll want to pull the back of the tape off about 6" at a time as you firmly press the splitter into the valance. Use firm pressure and work to get a strong bond.
Work your way down, until you've reached the end.
The Side Rocker Splitter is now installed. Time to move to the rear and knock out the rear section of the splitter.
From underneath the car, you'll find the (2) retaining clips holding the valance to the bumper. Remove these.
Clean the bottom of the diffuser and also use the alcohol and adhesive promoter here as well.
Remove the back of the tape, and place the splitter up into place first securing it with the (2) retaining clips you just removed. Once it place, firmly press the splitter into the valance to create a secure bond.
You are now done on one side. Repeat the steps for the other side.
Before Pics:
After Pics:
Last edited: