

Click Below to Buy Exclusively from American Muscle:
RTR UPPER AND LOWER GRILLES
Disclaimer:
The RTR Grilles are direct factory replacements and ARE compatible with the forthcoming RTR Grille Lights.
Tools Needed:
5.5mm Socket
7mm Socket
8mm Socket
1/4" Drive Ratchet
Panel Removal Tool
Flat Head Screw Driver
Blanket
Optional: Nut Driver and 7mm Ratcheting Wrench
Difficulty Level:
2 out of 12 Beers
Parts List:
RTR Upper Grille
RTR Lower Grille
Preparation:
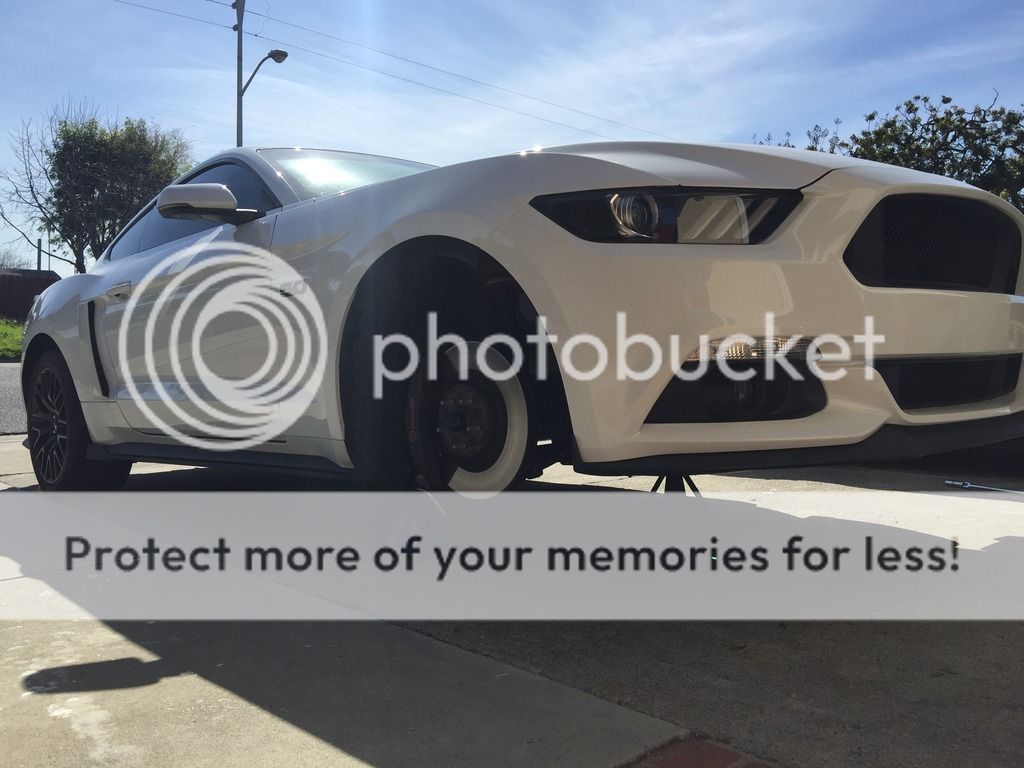
Raise the vehicle from the front and place on jackstands.
Video:
>>>Coming Soon<<<
Installation:
With the front of the vehicle on jackstands, pull out the RTR Grilles and inspect your parts.
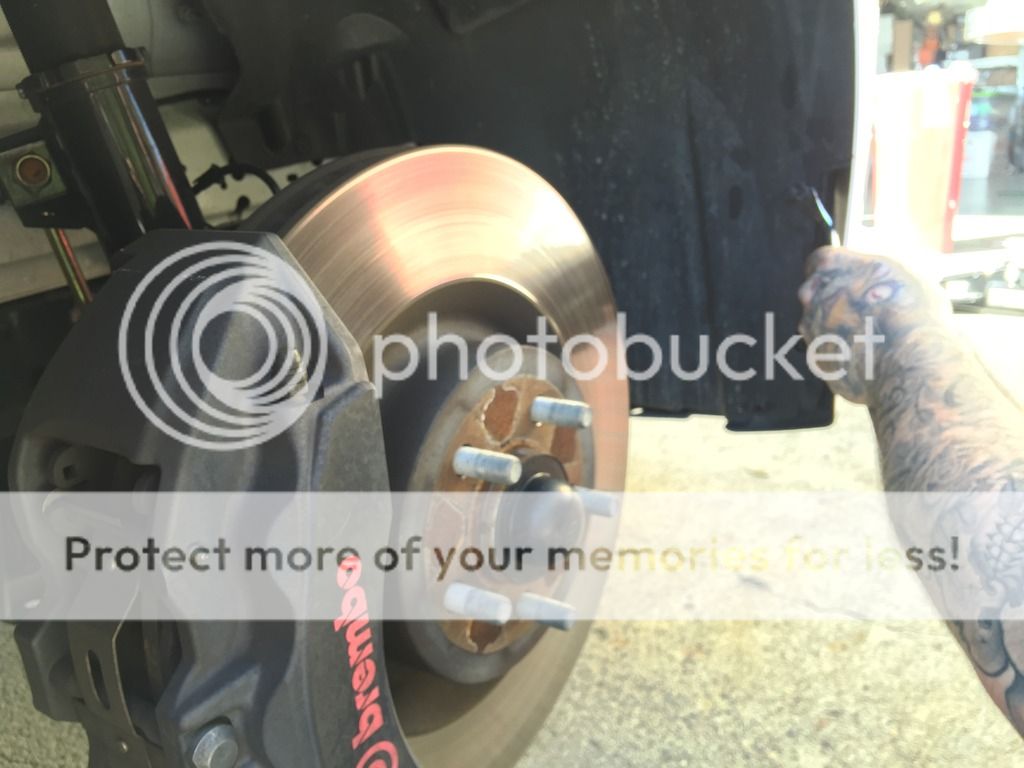
Remove the front wheels.
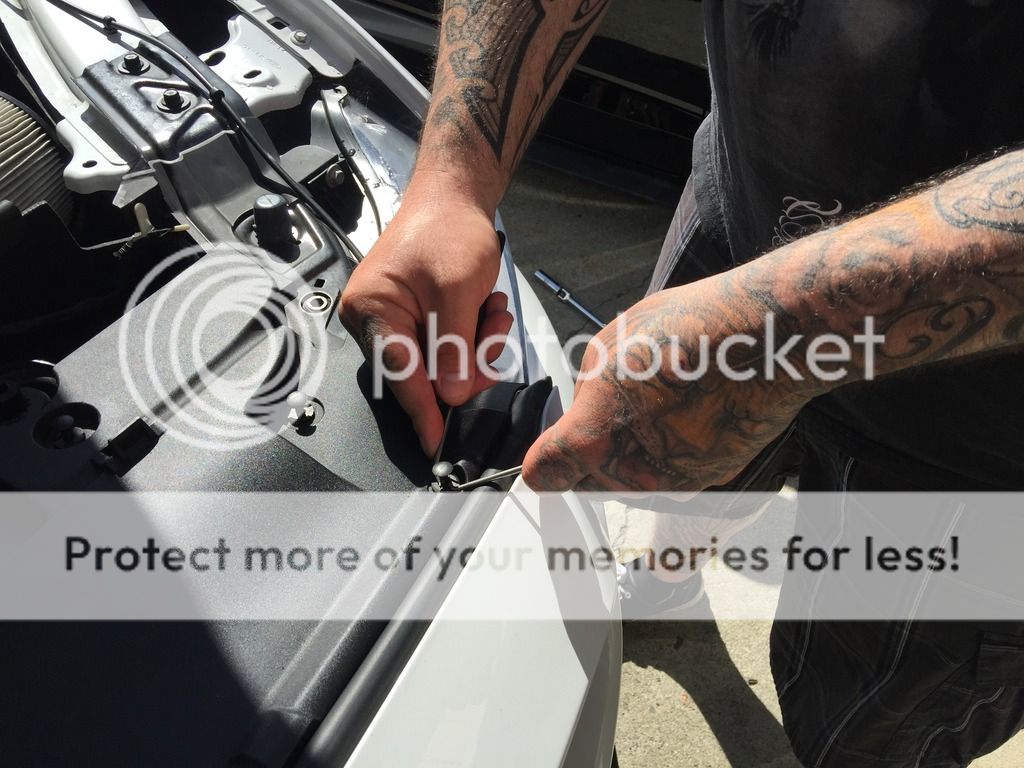
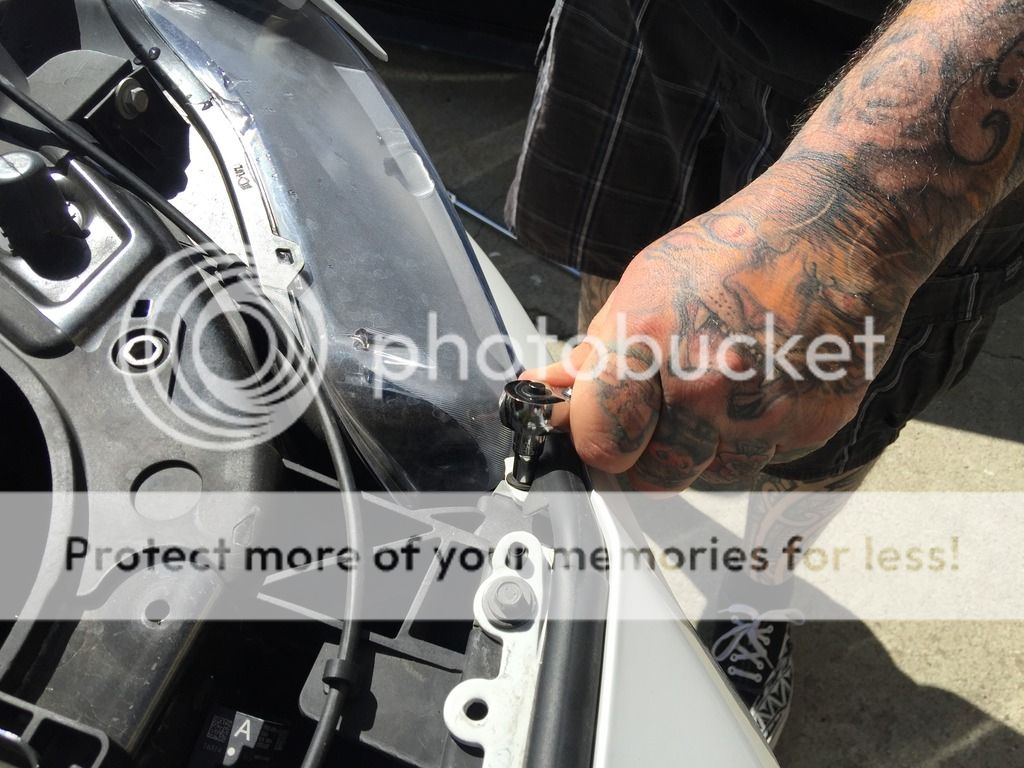
With the wheels removed, it will be much easier to remove the "dreaded" 7mm bolt between the fender and the bumper.
Remove the (4) retaining clips inside of the front of the wheel well liner. This will allow you to "peel" back the wheel well liner and gain access to the 7mm bolt between the fender and the bumper.
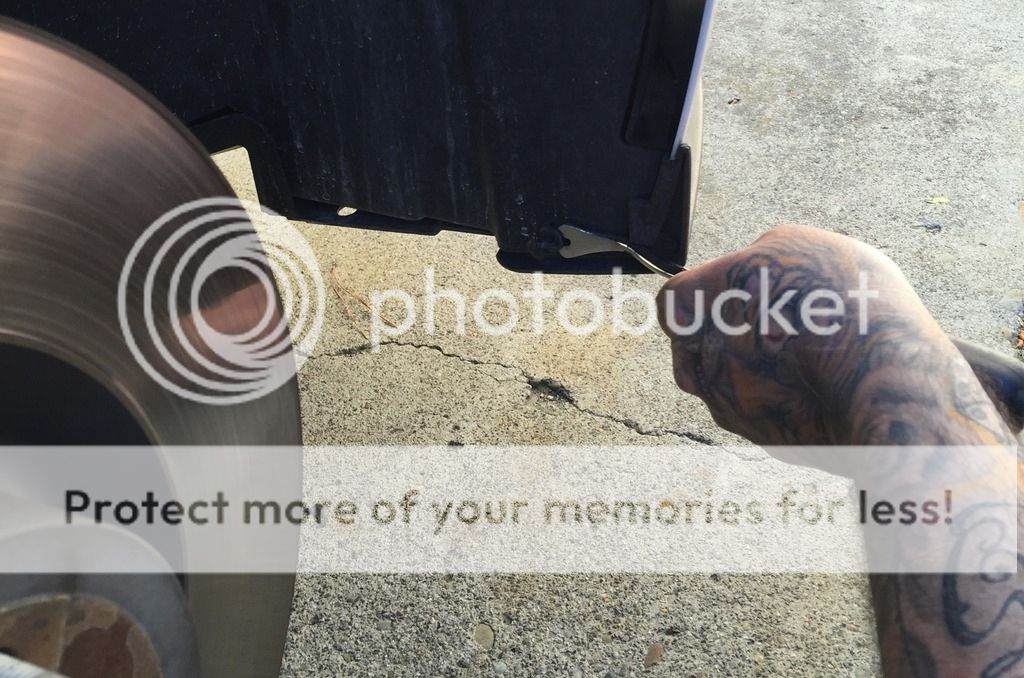
Use a 7mm ratcheting wrench to make quick work of this bolt.

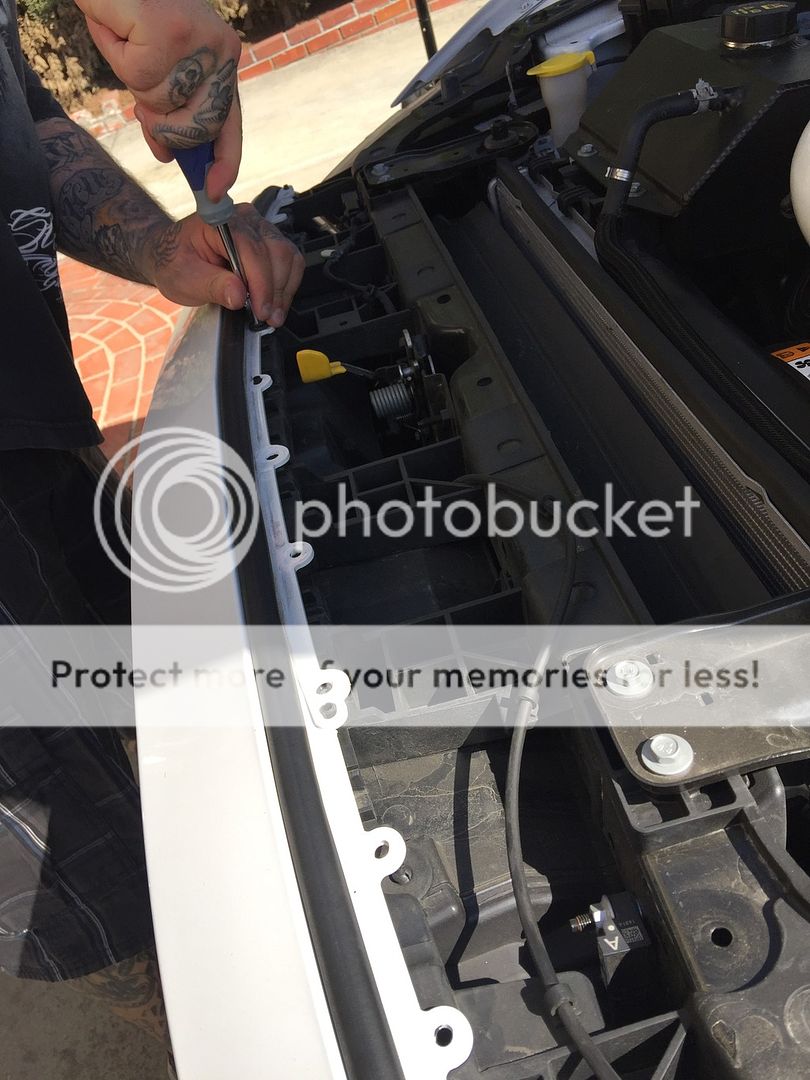
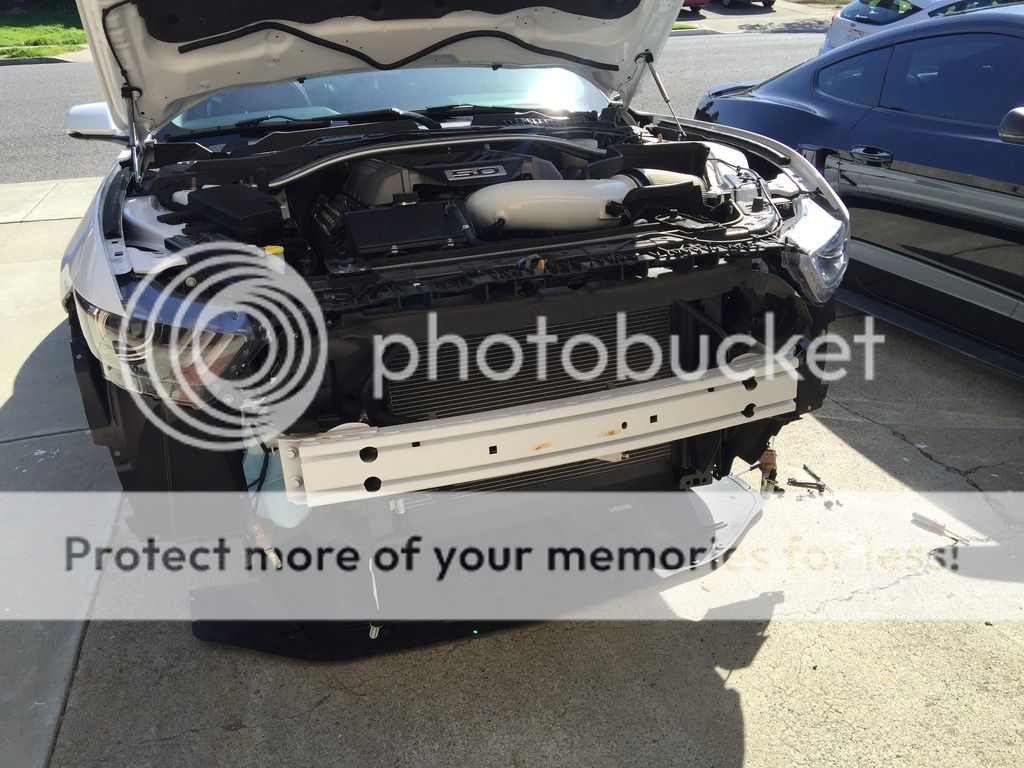
Pop the hood and remove all of the retaining clips securing the radiator cover and set the radiator cover aside.

Peel back the weather stripping on either end of the radiator cover to expose and remove the 5.5mm bolt.
You have (6) 8mm bolts running across the front bumper. Remove each of these 8mm bolts securing the bumper to the bumper support.
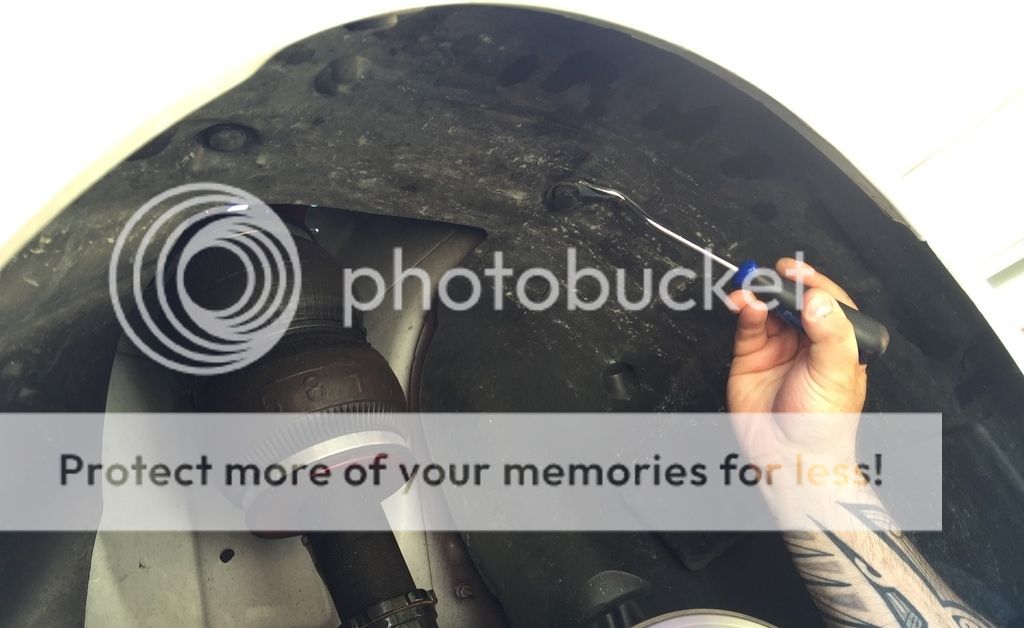
Head underneath the vehicle and remove the belly pan, which is secured by (13) 7mm bolts along the front splitter, (2) 7mm bolts towards the middle of the belly pan, and (4) 7mm bolts near the rear of the belly pan.
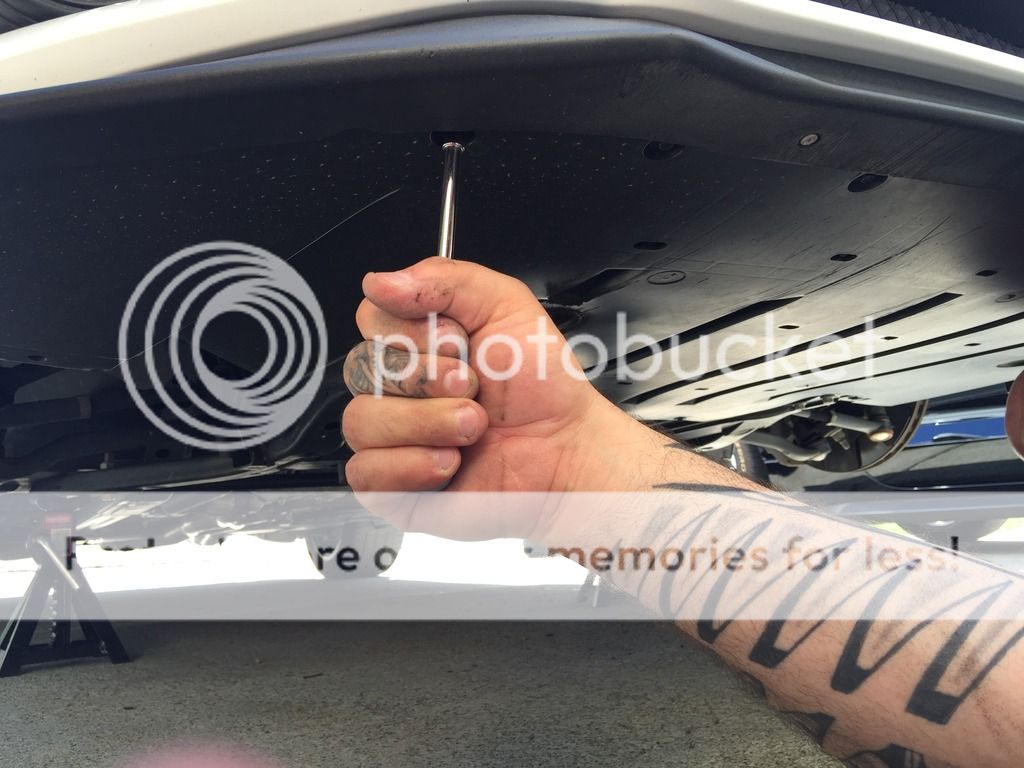
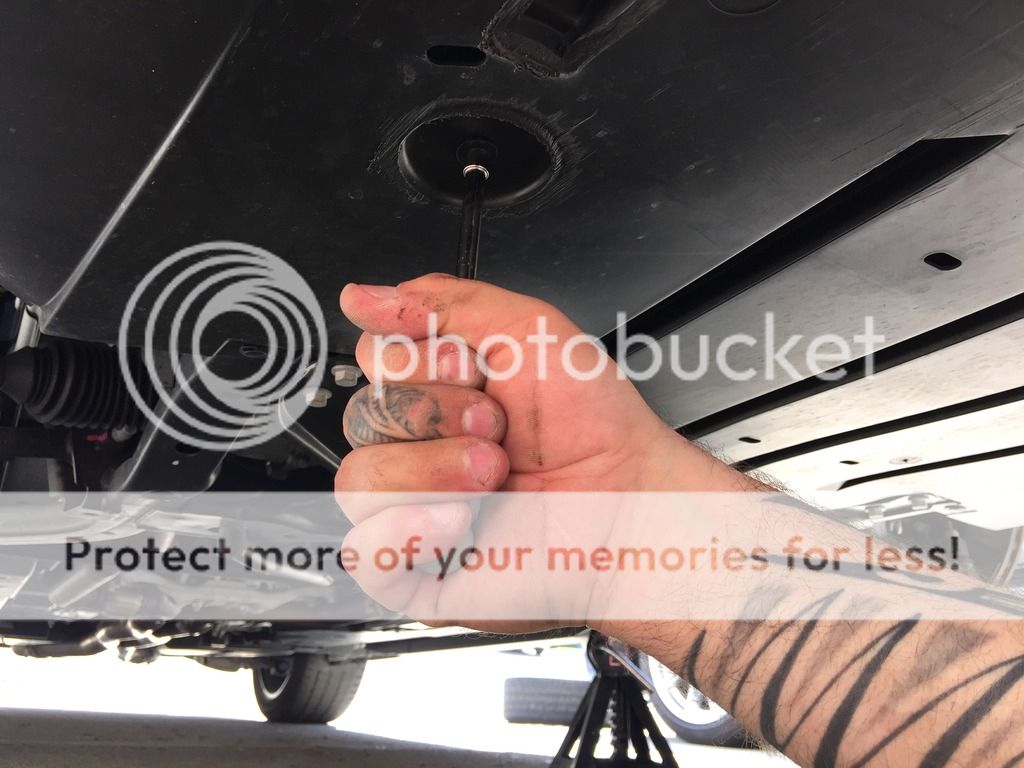

Once you have removed all of the 7mm bolts from the belly pan, slide it towards the rear of the vehicle and drop it.
Unplug the harness for the side marker light, and remove the fog light bulbs and the turn signal bulbs by rotating them 90* counter-clockwise and pulling them out of the housings.
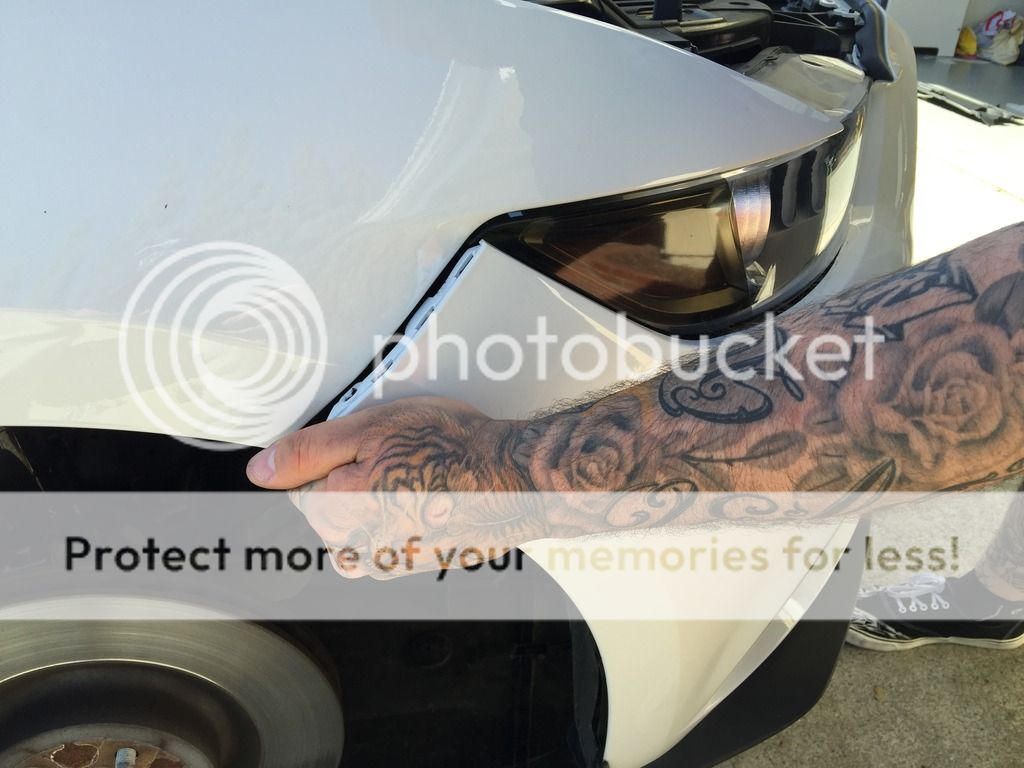
The bumper is now ready to be removed. Head to the side of the bumper where the "dreaded" 7mm bolt secured the bumper to the fender. Using a quick tugging motion away from the vehicle, the bumper will pop right out. Do the same on the other side.
Before removing the bumper, you'll want to lay a blanket down to lay the bumper on it's face for the removal of the OEM grilles.
Standing in front of the vehicle in the center of the bumper, you'll be able to pull the bumper up and off of the bumper support, and away from the vehicle.
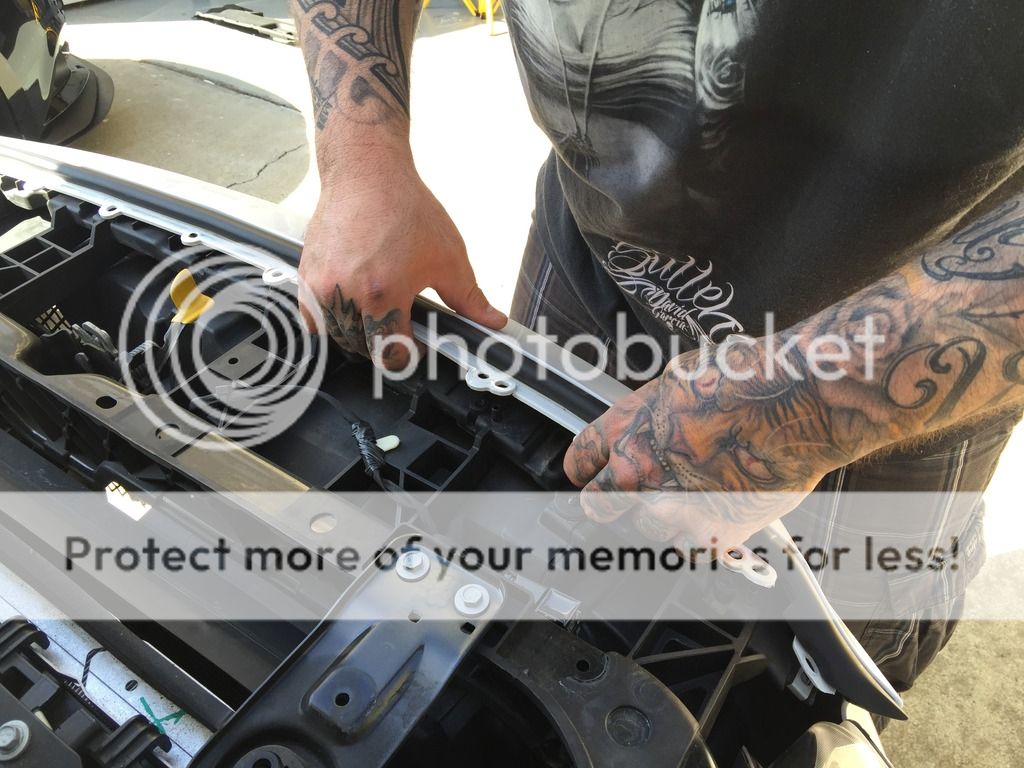
Lay the bumper face down on the blanket on a soft surface. Using your thumb as a pry tool, you'll want to separate the core bumper support from between the OEM grilles. Simply pry on the tabs while pulling the bumper core upward to remove and set aside. You will reuse this core support.


Now you are ready to remove and replace the grilles!
Feel free to crack open that 2nd beer.
You'll want to take note that there are (2) tabs that are used along the securing points on the grilles. The plastic tab is part of the grilles, and the painted tab is a part of the bumper.
You'll want to take a flat head screwdriver, or your preferred pry tool, and slide it between the plastic tab and the painted tab. Gently pry the plastic tab away from the painted tab ever so slightly. You really just need a little room created for some give.
Once you spread the tabs a bit, push the painted tab towards the plastic tab to free the painted "lip" from the grille and pull the grille in an upward motion to remove the grille from the bumper.
You have several tabs around the entire upper and lower grilles. Work cautiously across the grille, starting on one side, and making your way across the grille removing the upper and lower tabs along the way.
Once you've removed one or two tabs, you'll have no problem removing the remainder of the tabs.
Be careful not to break any plastic tabs, as they are essential in securing a good connection with the factory bumper.
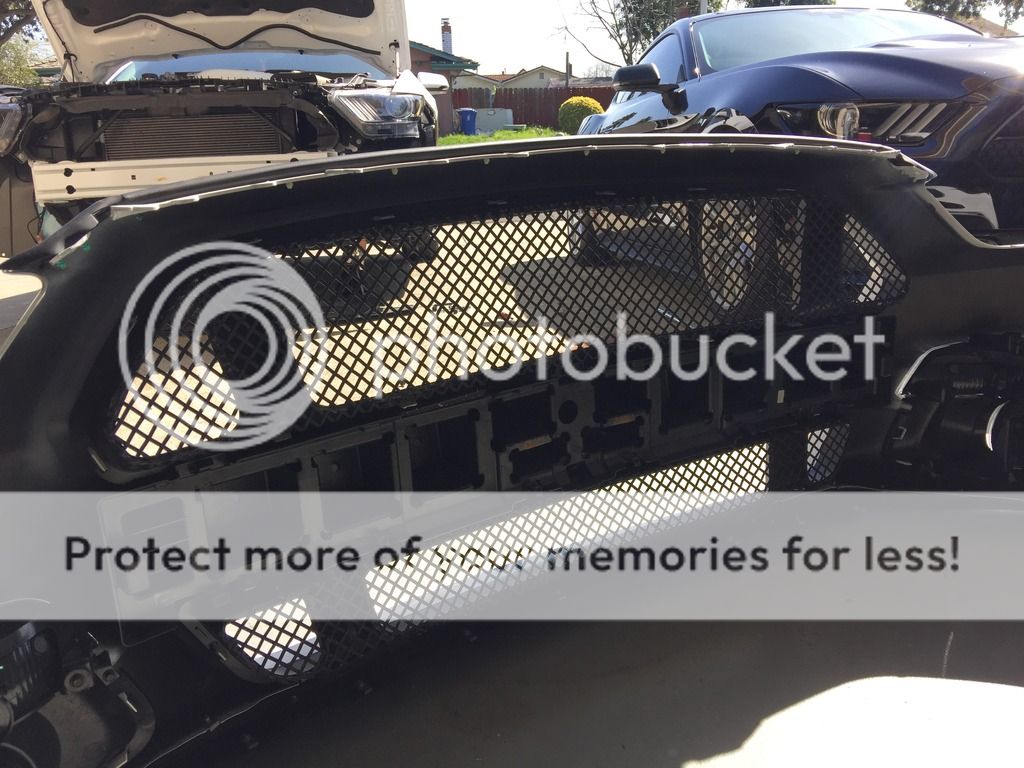
Here's the comparison of the RTR Lower Grille and my hand built Strongarm Grille.

With the OEM grilles removed, you can now place the new RTR Grilles into place. You'll want to work in the same fashion from one side to the other. Be sure to get a solid connection where the painted "lip" of the bumper tab goes all the way through the plastic of the grill and "snaps" into place.
I found it helpful to have one hand under the face of the bumper applying opposite pressure as I was pressing the grill into place.
Once you have the grilles snapped into place into the bumper, you are ready to reverse the steps and secure the bumper back on the vehicle.

Be sure press the core bumper support into tabs of the grill before mounting the bumper back on the car.
Hang the bumper on the front of the bumper support. Pop each side of the bumper into the clips near the fender. Reinstall the 7mm bolt securing the bumper to the fender. Reinstall the retaining clips in the wheel well liner. Mount the wheel. Install the 8mm bolts along the front of the bumper where it mounts to the bumper support. Install the 5.5mm bolts along side each end of the radiator cover under the weather stripping. Reinstall the radiator cover using the retaining clips. Head under the vehicle and reinstall the belly pan using the 7mm bolt previously removed.
Lower the vehicle off of the jackstands and admire your work and the craftsmanship of the folks at RTR!
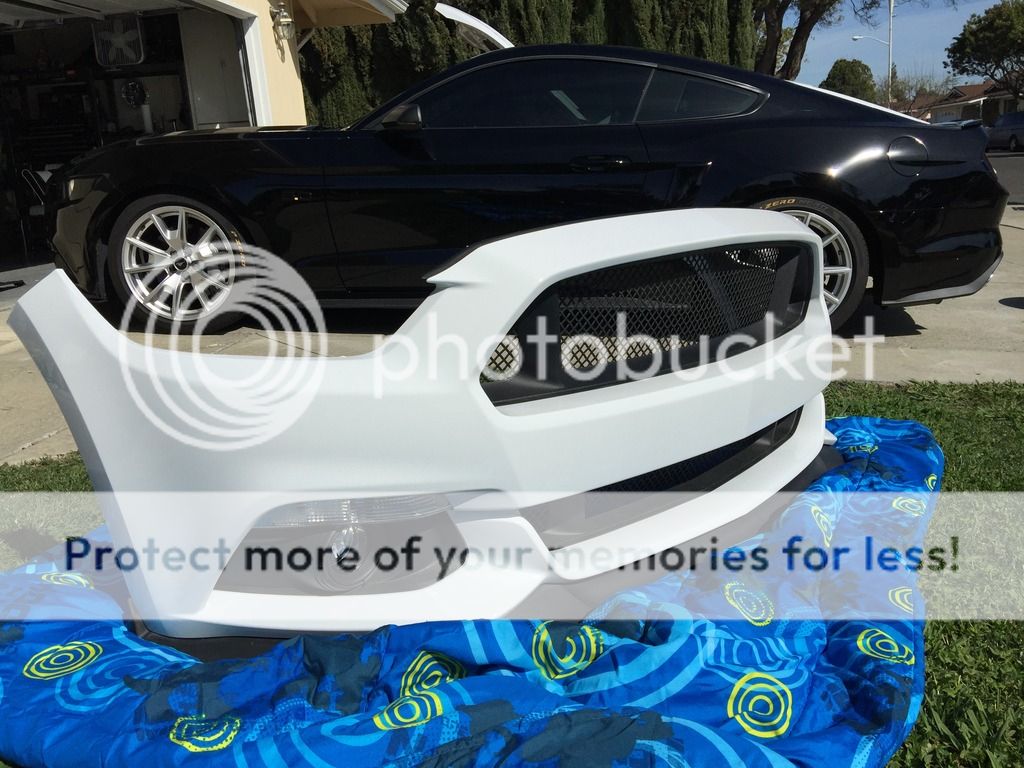
Before Pics:

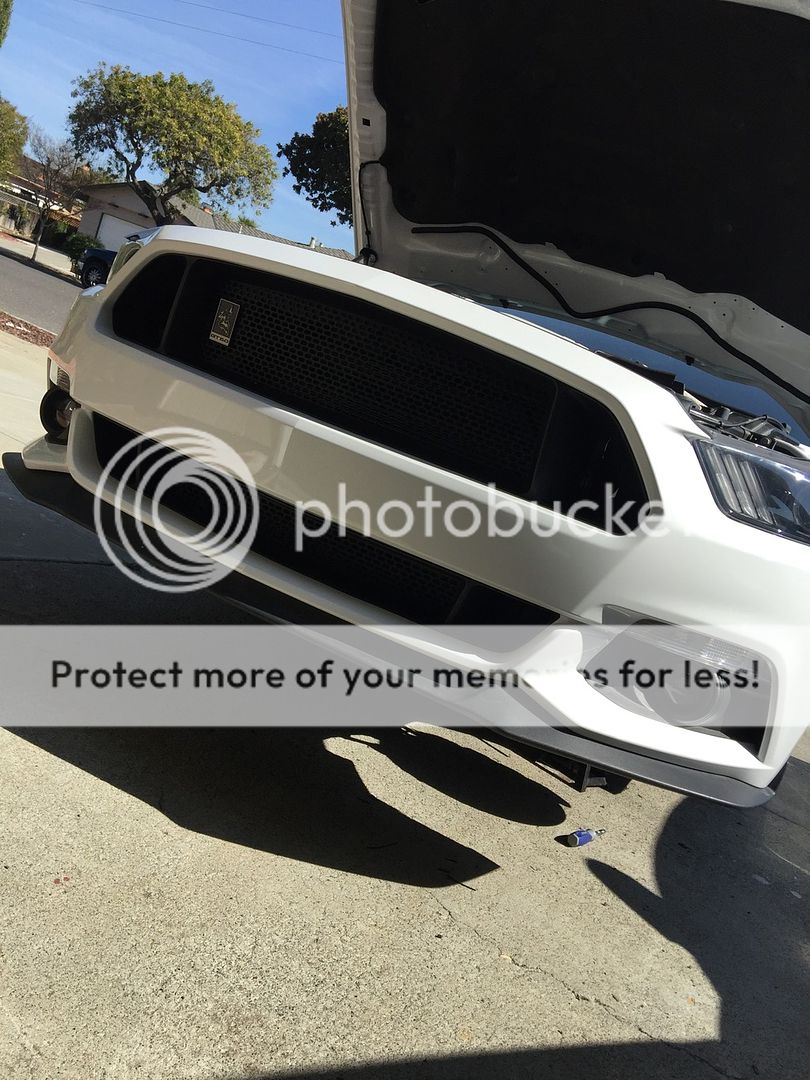
After Pics: (Much better after pics to come)
With the front of the vehicle on jackstands, pull out the RTR Grilles and inspect your parts.
Remove the front wheels.
With the wheels removed, it will be much easier to remove the "dreaded" 7mm bolt between the fender and the bumper.
Remove the (4) retaining clips inside of the front of the wheel well liner. This will allow you to "peel" back the wheel well liner and gain access to the 7mm bolt between the fender and the bumper.
Use a 7mm ratcheting wrench to make quick work of this bolt.
Pop the hood and remove all of the retaining clips securing the radiator cover and set the radiator cover aside.
Peel back the weather stripping on either end of the radiator cover to expose and remove the 5.5mm bolt.
You have (6) 8mm bolts running across the front bumper. Remove each of these 8mm bolts securing the bumper to the bumper support.
Head underneath the vehicle and remove the belly pan, which is secured by (13) 7mm bolts along the front splitter, (2) 7mm bolts towards the middle of the belly pan, and (4) 7mm bolts near the rear of the belly pan.
Once you have removed all of the 7mm bolts from the belly pan, slide it towards the rear of the vehicle and drop it.
Unplug the harness for the side marker light, and remove the fog light bulbs and the turn signal bulbs by rotating them 90* counter-clockwise and pulling them out of the housings.
The bumper is now ready to be removed. Head to the side of the bumper where the "dreaded" 7mm bolt secured the bumper to the fender. Using a quick tugging motion away from the vehicle, the bumper will pop right out. Do the same on the other side.
Before removing the bumper, you'll want to lay a blanket down to lay the bumper on it's face for the removal of the OEM grilles.
Standing in front of the vehicle in the center of the bumper, you'll be able to pull the bumper up and off of the bumper support, and away from the vehicle.
Lay the bumper face down on the blanket on a soft surface. Using your thumb as a pry tool, you'll want to separate the core bumper support from between the OEM grilles. Simply pry on the tabs while pulling the bumper core upward to remove and set aside. You will reuse this core support.
Now you are ready to remove and replace the grilles!
Feel free to crack open that 2nd beer.
You'll want to take note that there are (2) tabs that are used along the securing points on the grilles. The plastic tab is part of the grilles, and the painted tab is a part of the bumper.
You'll want to take a flat head screwdriver, or your preferred pry tool, and slide it between the plastic tab and the painted tab. Gently pry the plastic tab away from the painted tab ever so slightly. You really just need a little room created for some give.
Once you spread the tabs a bit, push the painted tab towards the plastic tab to free the painted "lip" from the grille and pull the grille in an upward motion to remove the grille from the bumper.
You have several tabs around the entire upper and lower grilles. Work cautiously across the grille, starting on one side, and making your way across the grille removing the upper and lower tabs along the way.
Once you've removed one or two tabs, you'll have no problem removing the remainder of the tabs.
Be careful not to break any plastic tabs, as they are essential in securing a good connection with the factory bumper.
Here's the comparison of the RTR Lower Grille and my hand built Strongarm Grille.
With the OEM grilles removed, you can now place the new RTR Grilles into place. You'll want to work in the same fashion from one side to the other. Be sure to get a solid connection where the painted "lip" of the bumper tab goes all the way through the plastic of the grill and "snaps" into place.
I found it helpful to have one hand under the face of the bumper applying opposite pressure as I was pressing the grill into place.
Once you have the grilles snapped into place into the bumper, you are ready to reverse the steps and secure the bumper back on the vehicle.
Be sure press the core bumper support into tabs of the grill before mounting the bumper back on the car.
Hang the bumper on the front of the bumper support. Pop each side of the bumper into the clips near the fender. Reinstall the 7mm bolt securing the bumper to the fender. Reinstall the retaining clips in the wheel well liner. Mount the wheel. Install the 8mm bolts along the front of the bumper where it mounts to the bumper support. Install the 5.5mm bolts along side each end of the radiator cover under the weather stripping. Reinstall the radiator cover using the retaining clips. Head under the vehicle and reinstall the belly pan using the 7mm bolt previously removed.
Lower the vehicle off of the jackstands and admire your work and the craftsmanship of the folks at RTR!
Before Pics:
After Pics: (Much better after pics to come)
