one eyed willy
Pizzle fo shizzle
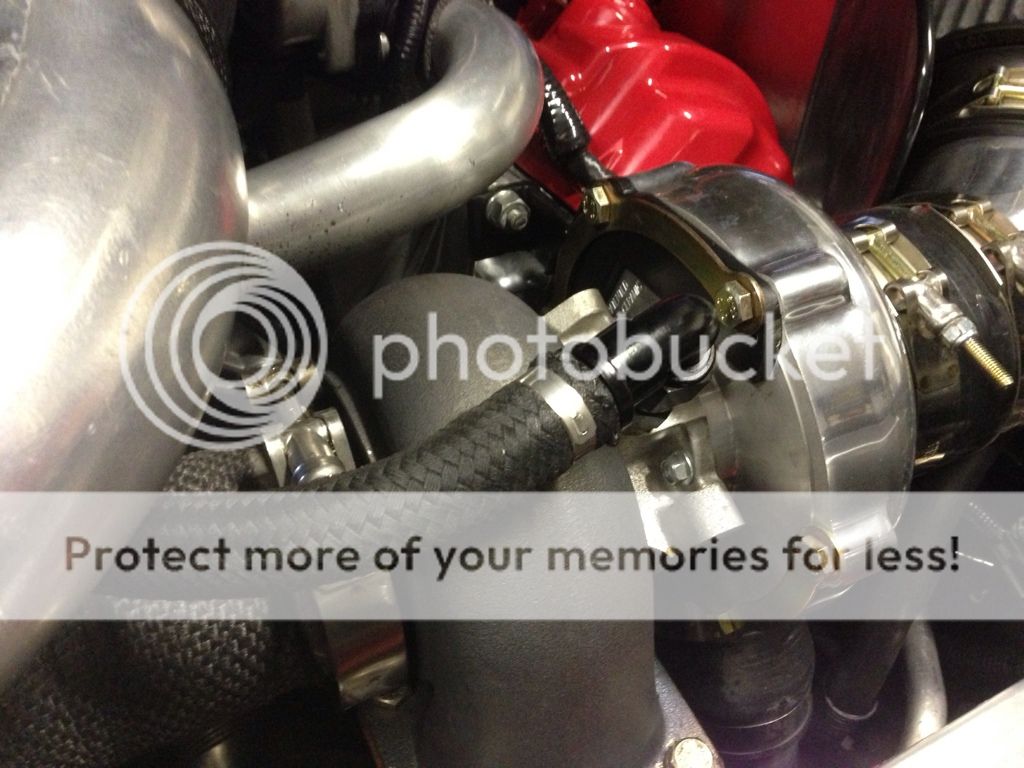
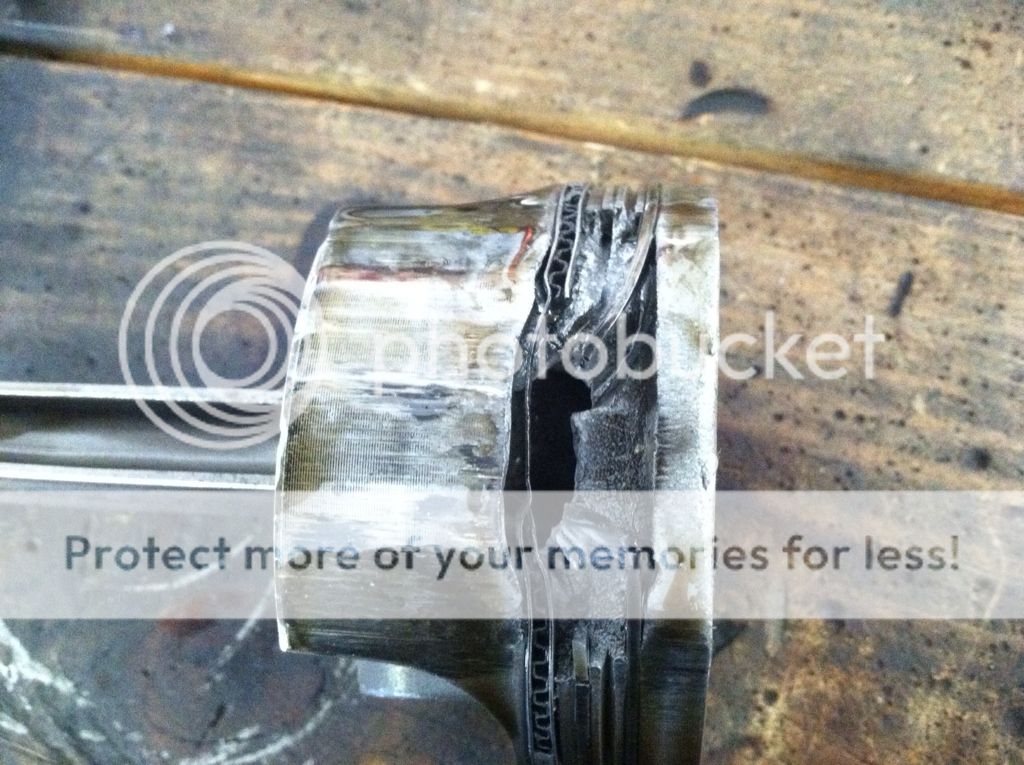
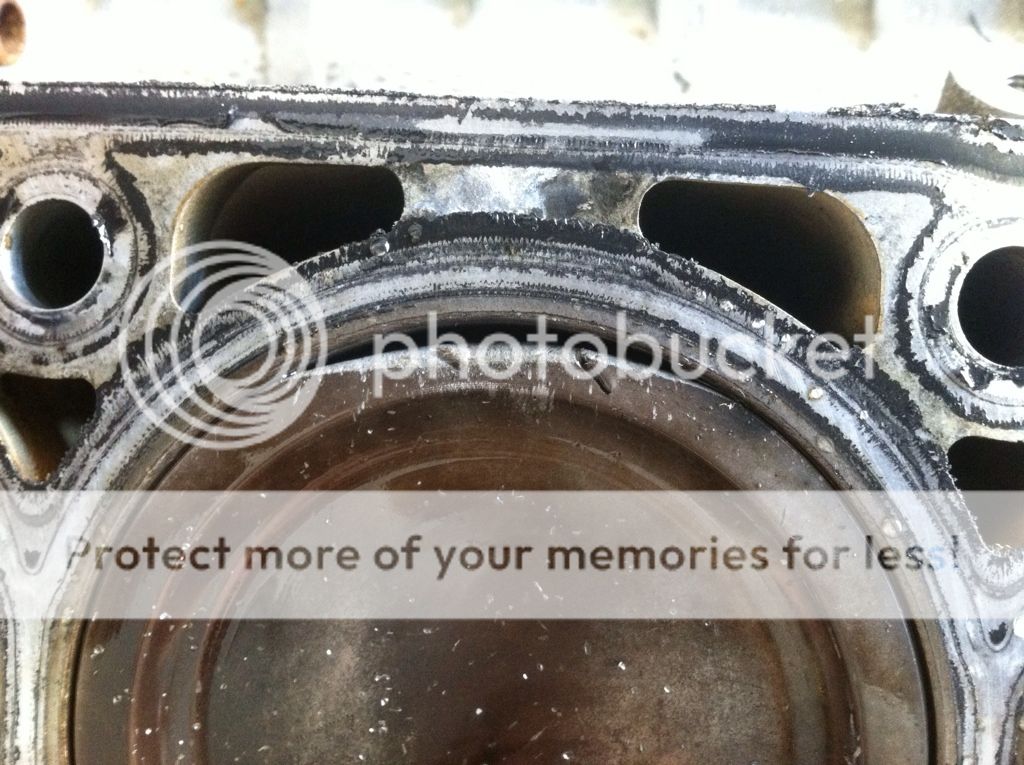
As some may know, had a engine failure last month. #6 piston had a melt down! I lost one piston and one rod.
http://s197forum.com/forum/showthread.php?t=55827
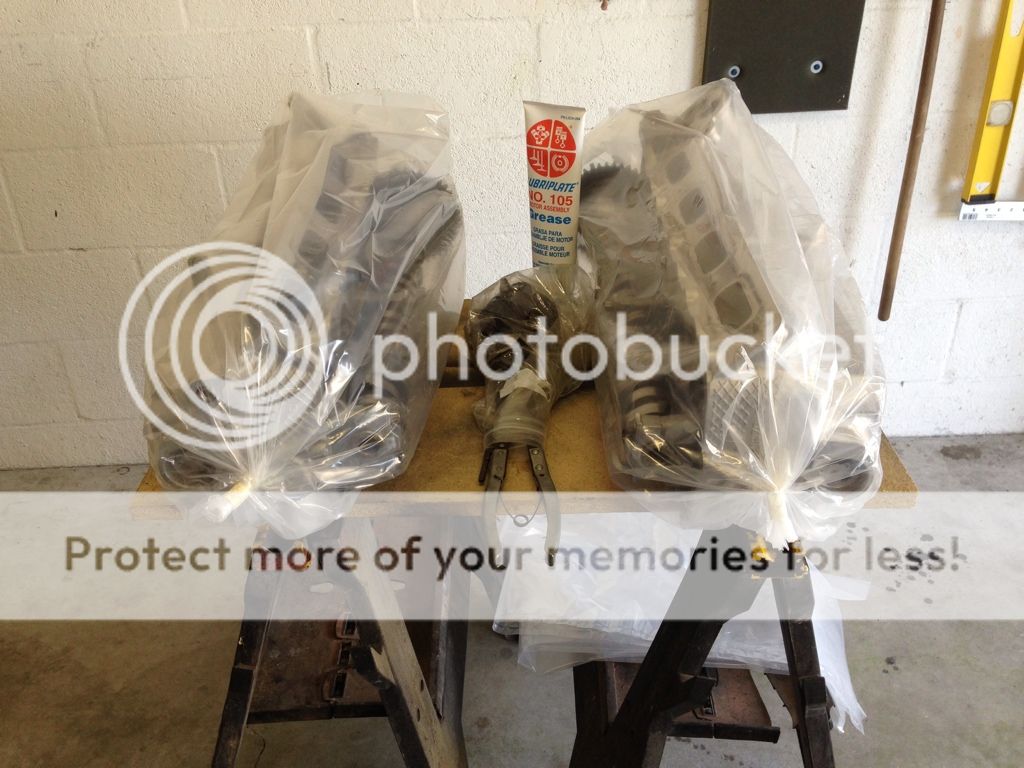
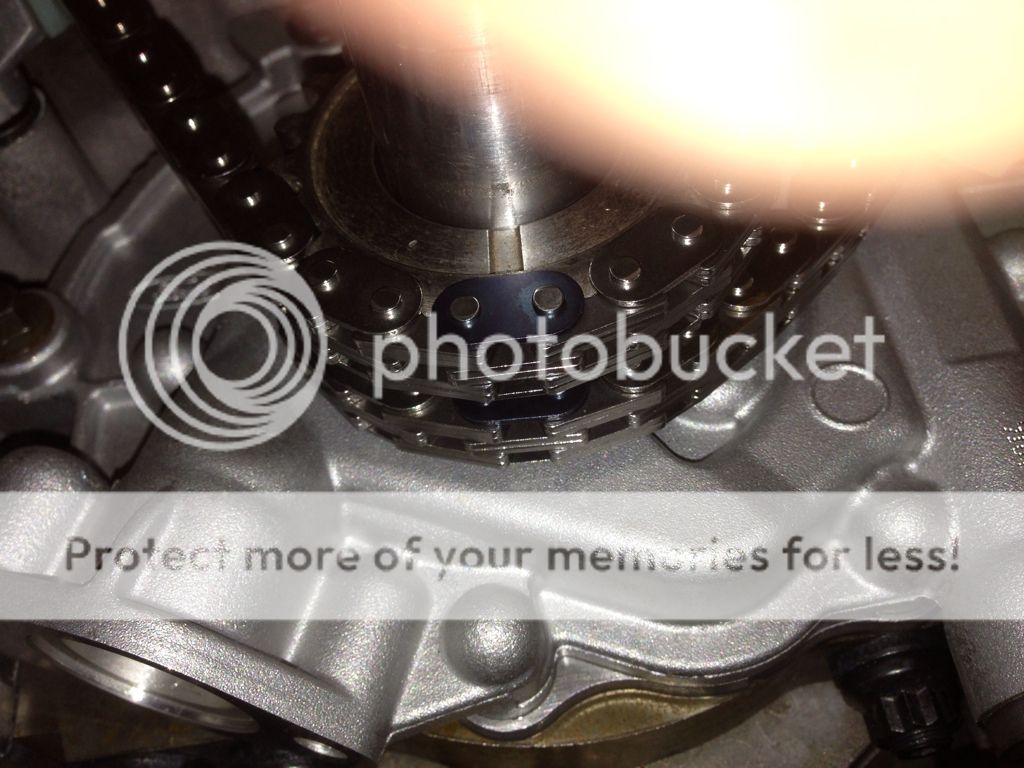
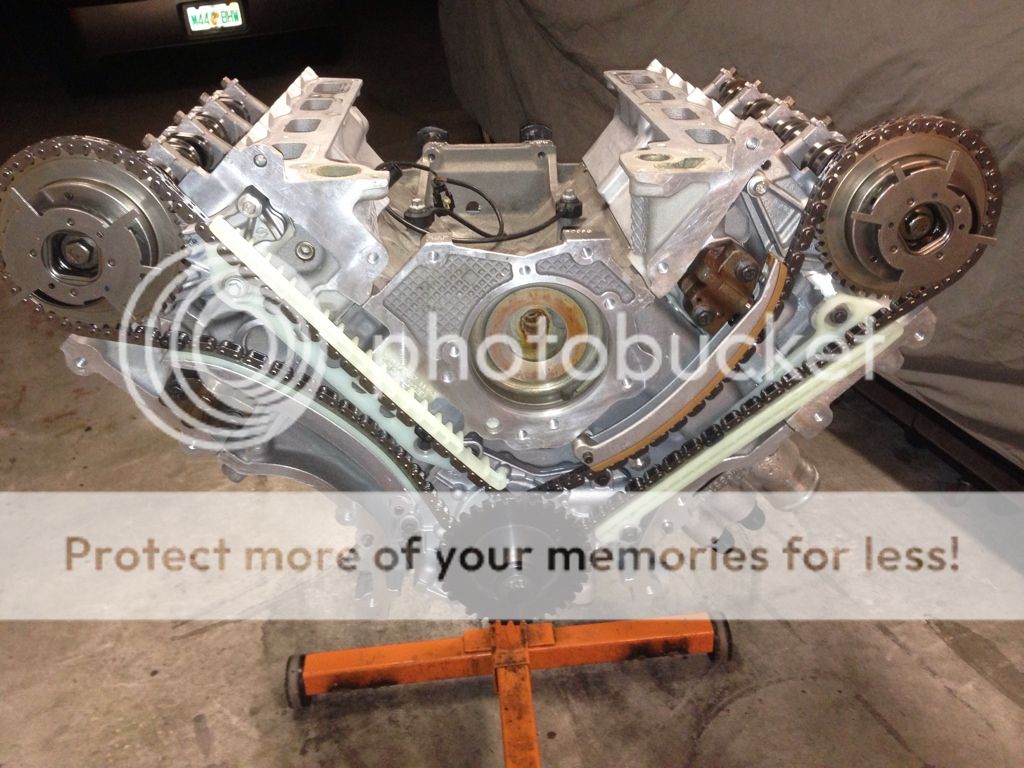
Broke the engine down......
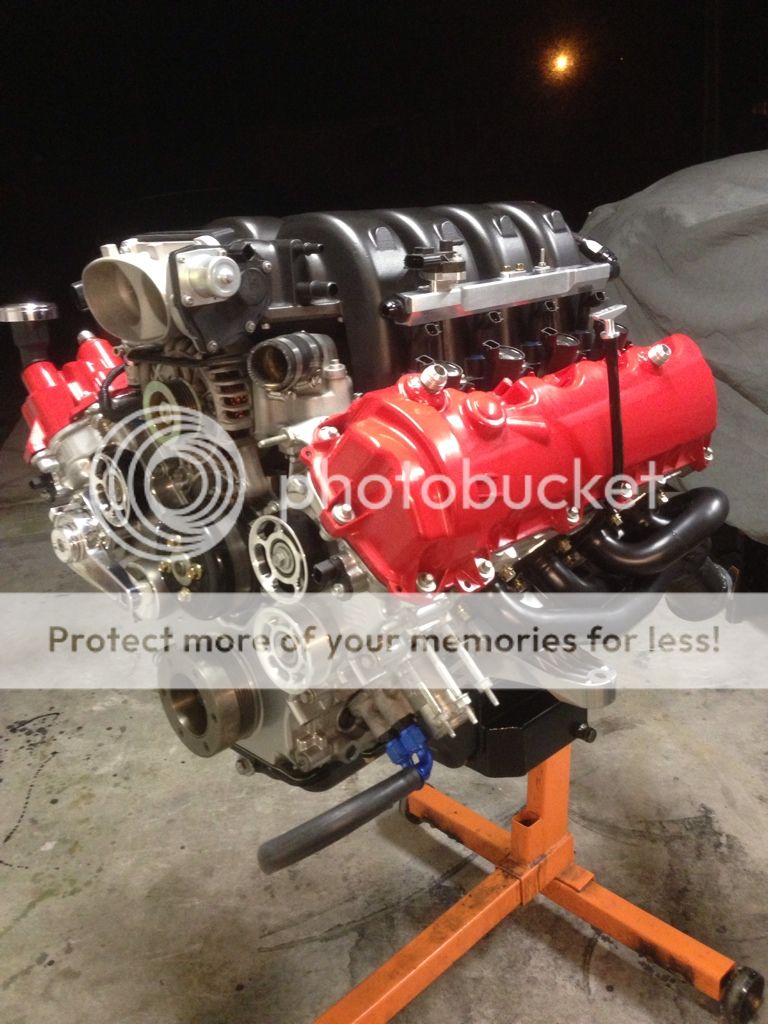
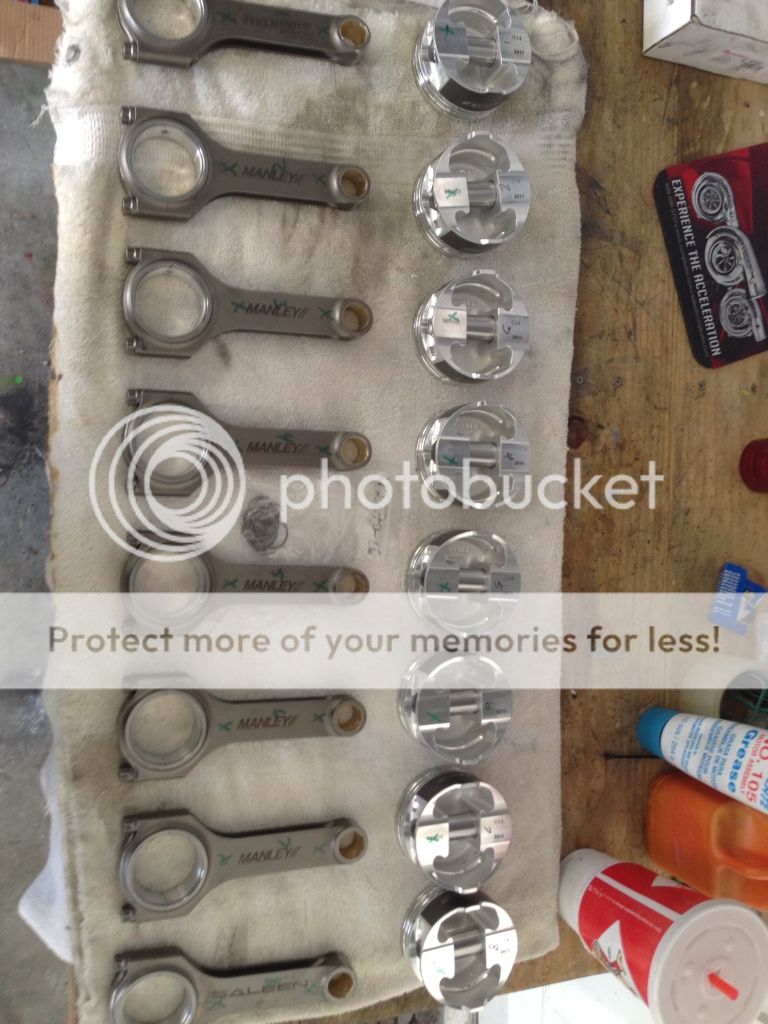
The rebuild began immediately! Decided to swap out the 4036 Livernois pistons with 2618 Manley pistons. Kept the Manley rods and Livernois crank. Had the engine bored .020 over, Internals digitaly balanced to 7K RPM.
Specs on the Engine:
9.5:1 compression
298 Stroker .020over, 3.75 Crank, 5.850" Rods
Rod/Main clearances .0022-.0023"
Piston to Wall clearance .0030"
Crankshaft Endplay .008"
Rod side clearances .013-.015"
Stock heads w/ 127300 Cams/Manley valve springs 221429-24
ModMax SS rings .022 top,.024 2nd,.015 oil gaps
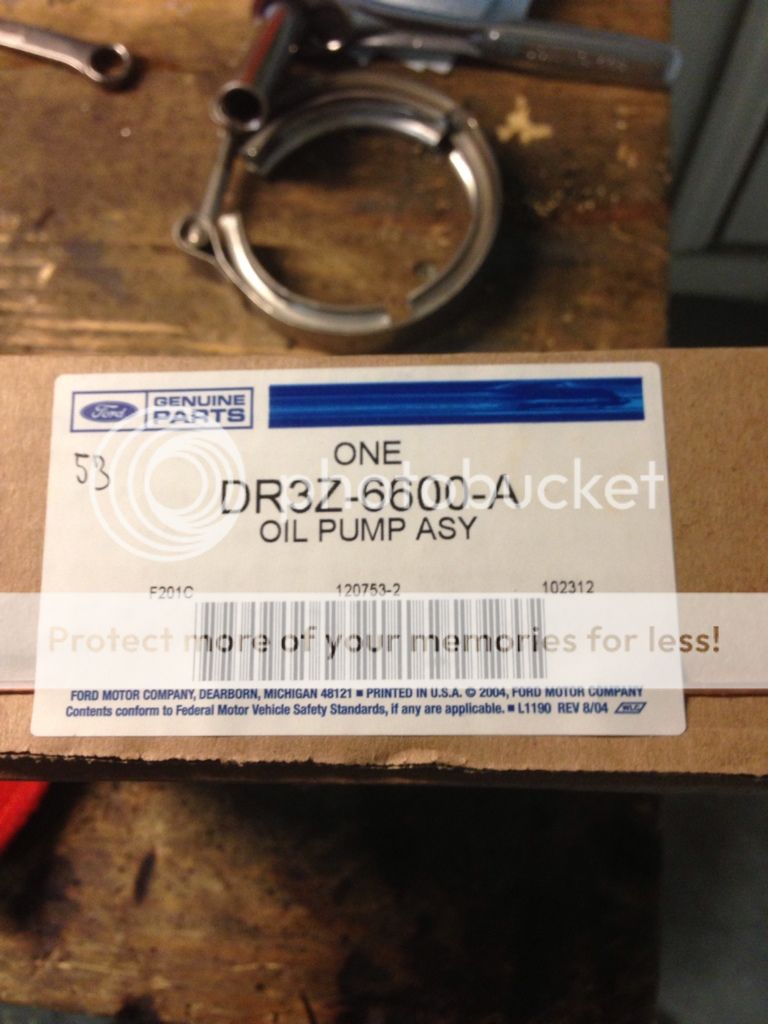
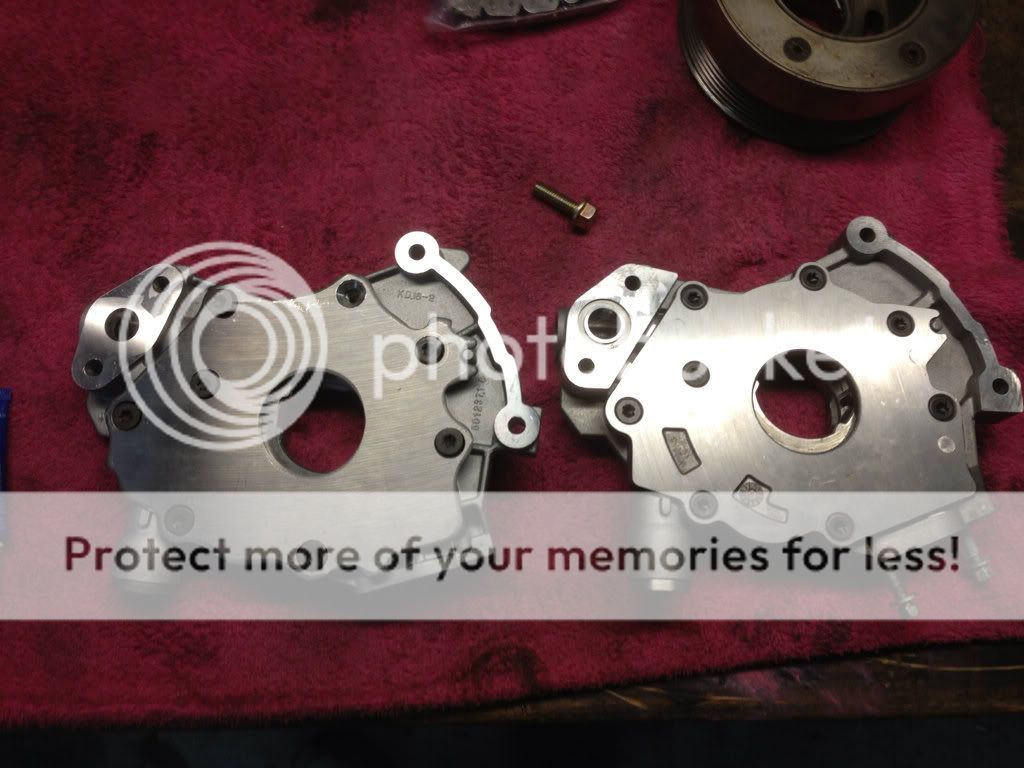
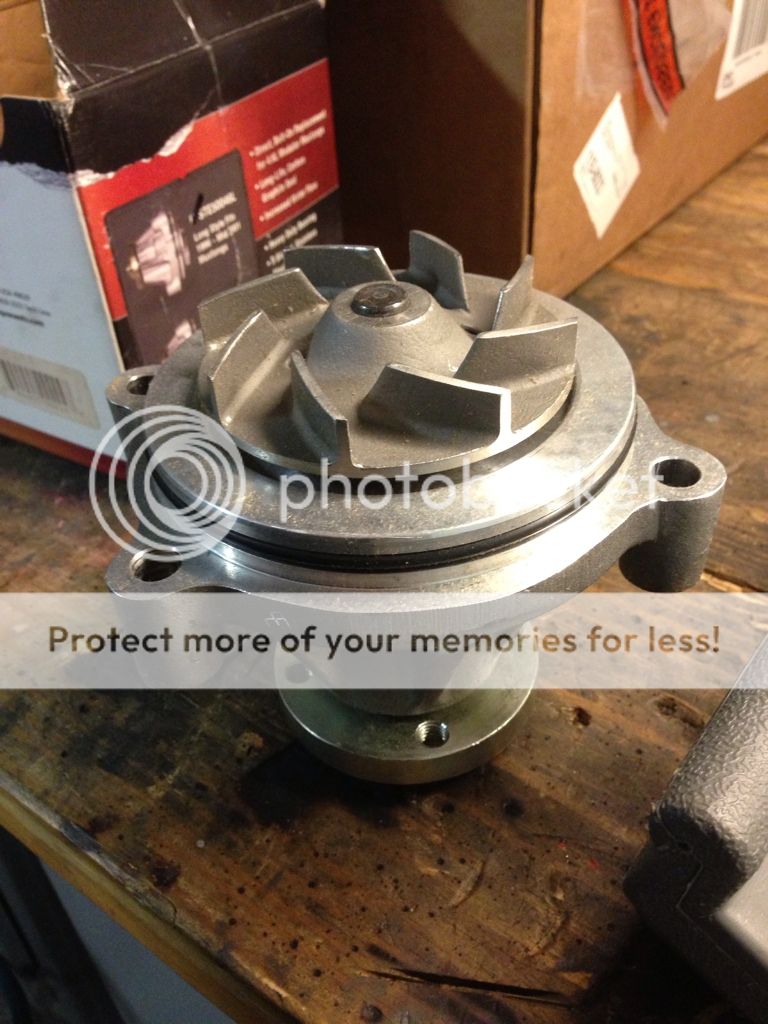
TSS oil pump w/ 2013GT500 back plate (DR3Z6600A)
Part numbers:
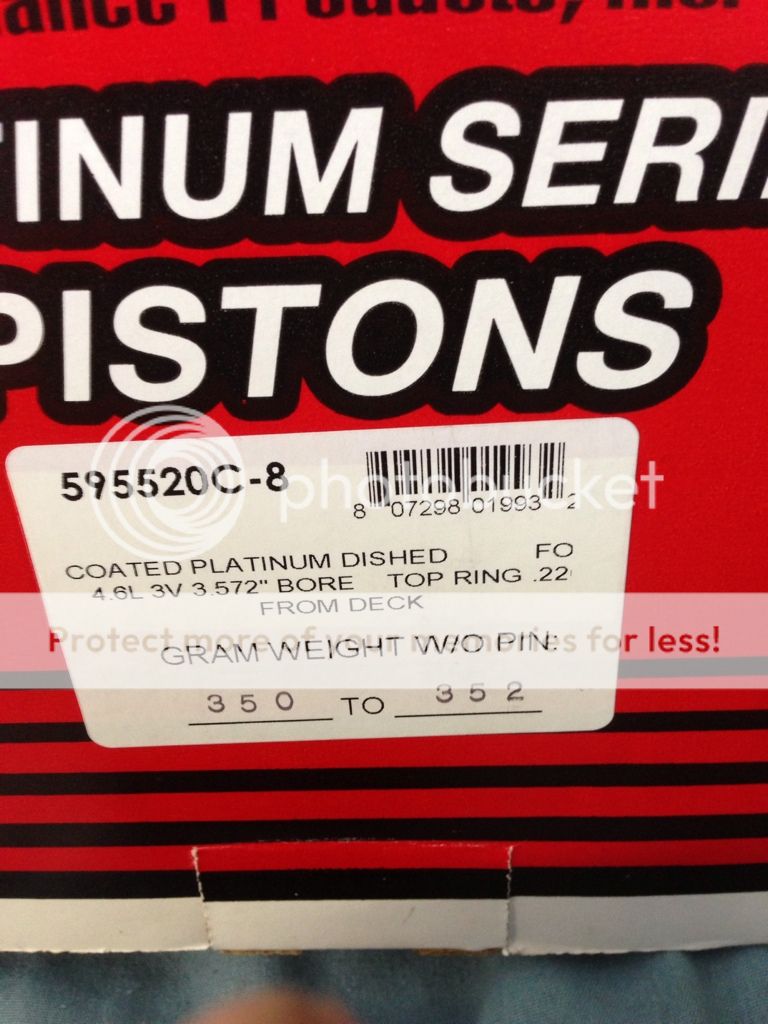
Manley Pistons 595520C-8
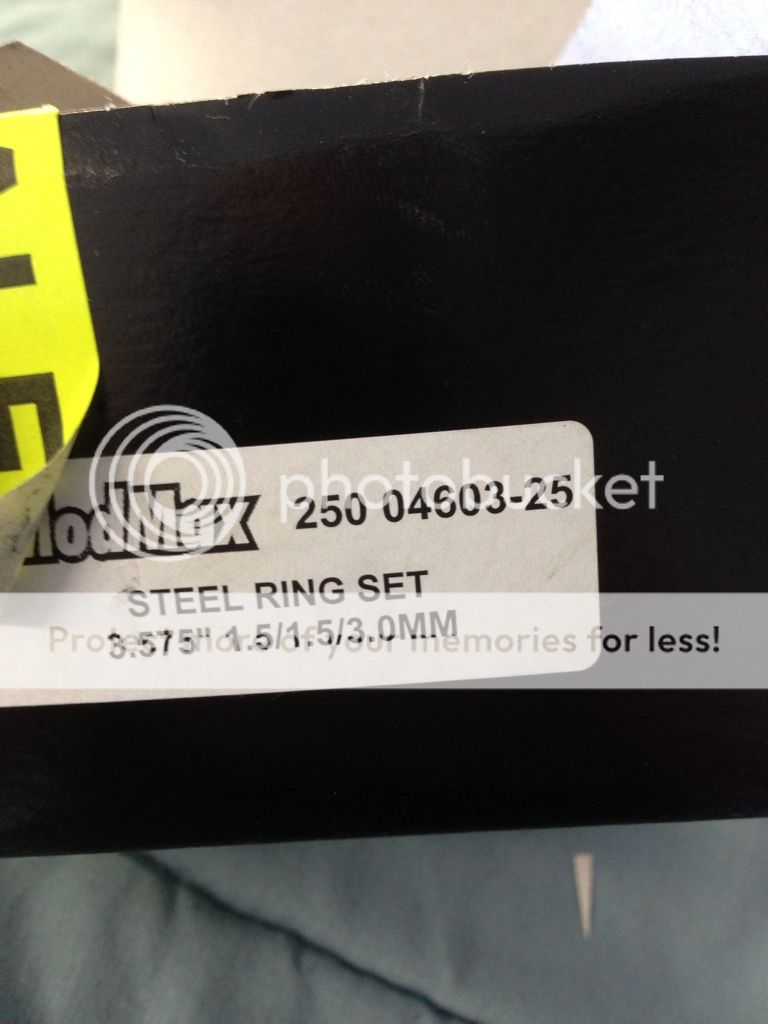
Modmax SS rings 250 04603-25
Manley rods 14044-8
Manley wrist pins .150 wall 42207-8
King Main bearings KNGMB5283HP 020 (undersized bearings)
King Rod bearings CR 803HPN 011 (undersized bearings)
ARP main cross bolts 156-5002
ARP flywheel bolts 254-2801
ARP crank bolt 156-2501
ARP 2000 Rod bolts
ARP head studs 256-4202
ARP main studs for aftermarket windage tray 156-5802
Moroso 7qt oil pan 20546
Thank you Todd for the following....
http://s197forum.com/forum/showthread.php?t=20941&highlight=build
Also comes in handy....
http://iihs.net/fsm/?dir=159&viewfile=Engine.pdf
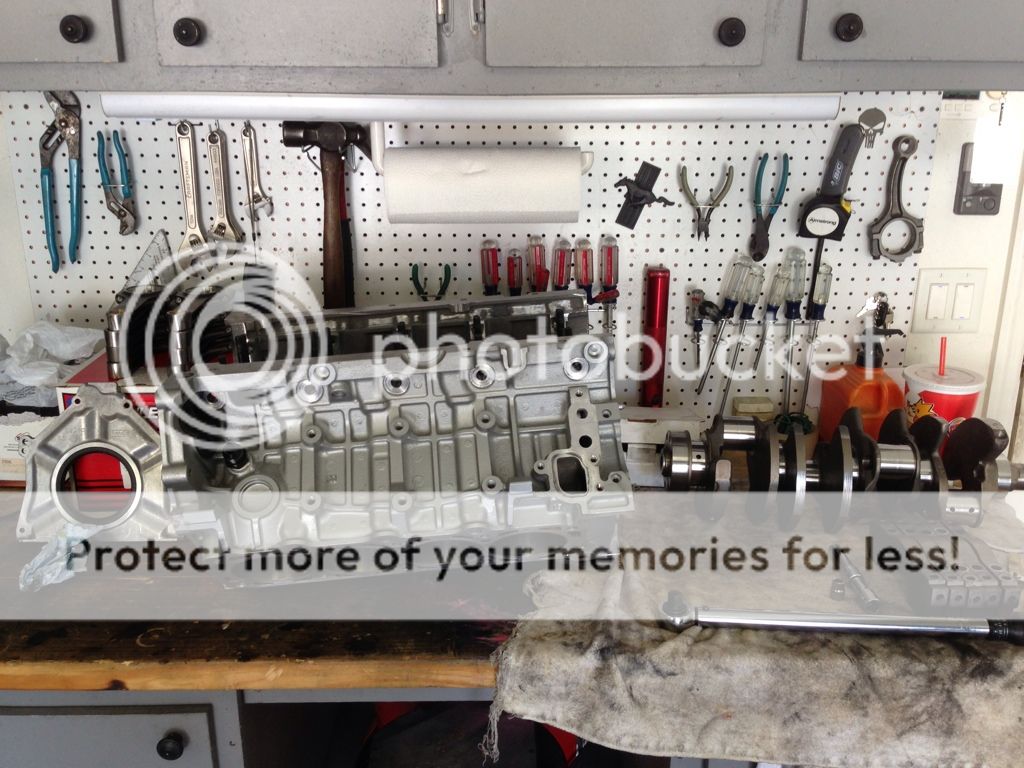
Today i started the re-build, got most of my parts at this point. Im not going to list all the torque specs and sequences, those can be found on the above links.
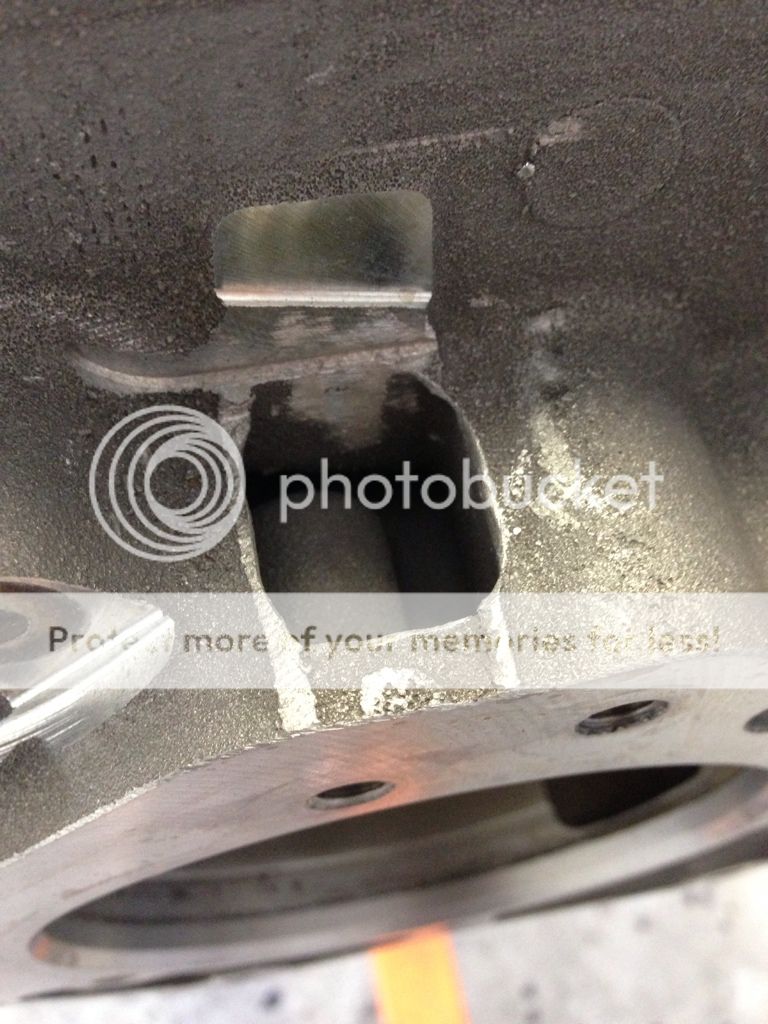
How Ford preps a block,lol...some of these filings flake off with just your fingernail...

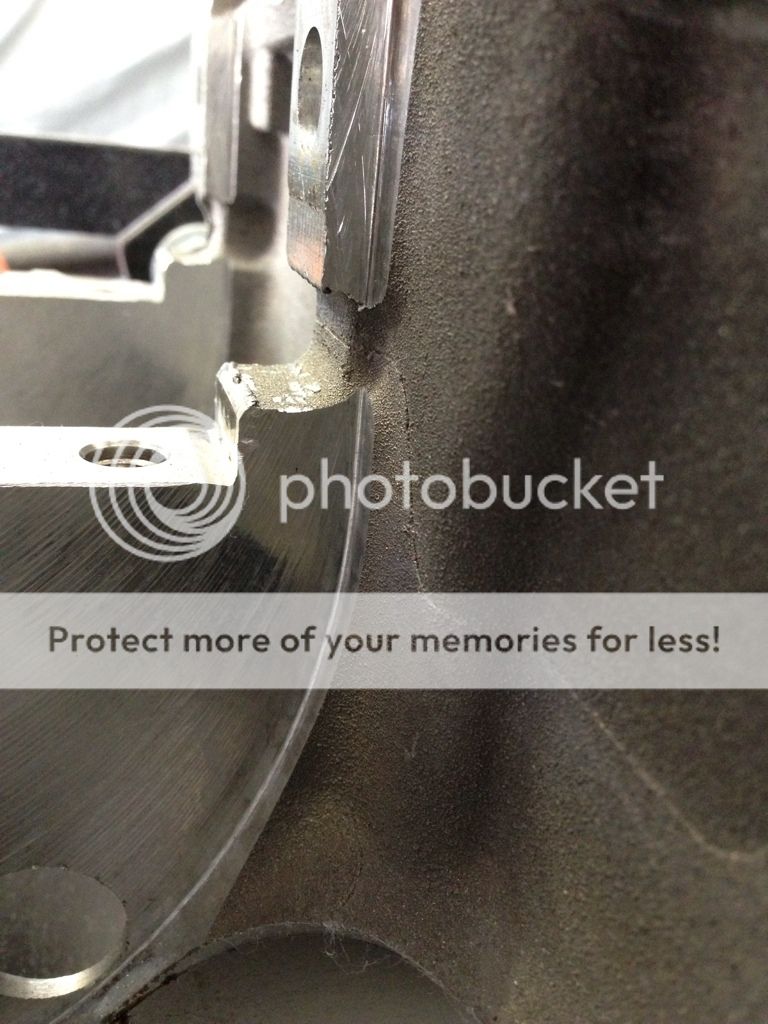
little de-burring later....also opened up and smoothed out the oil passage from the pump to the filter


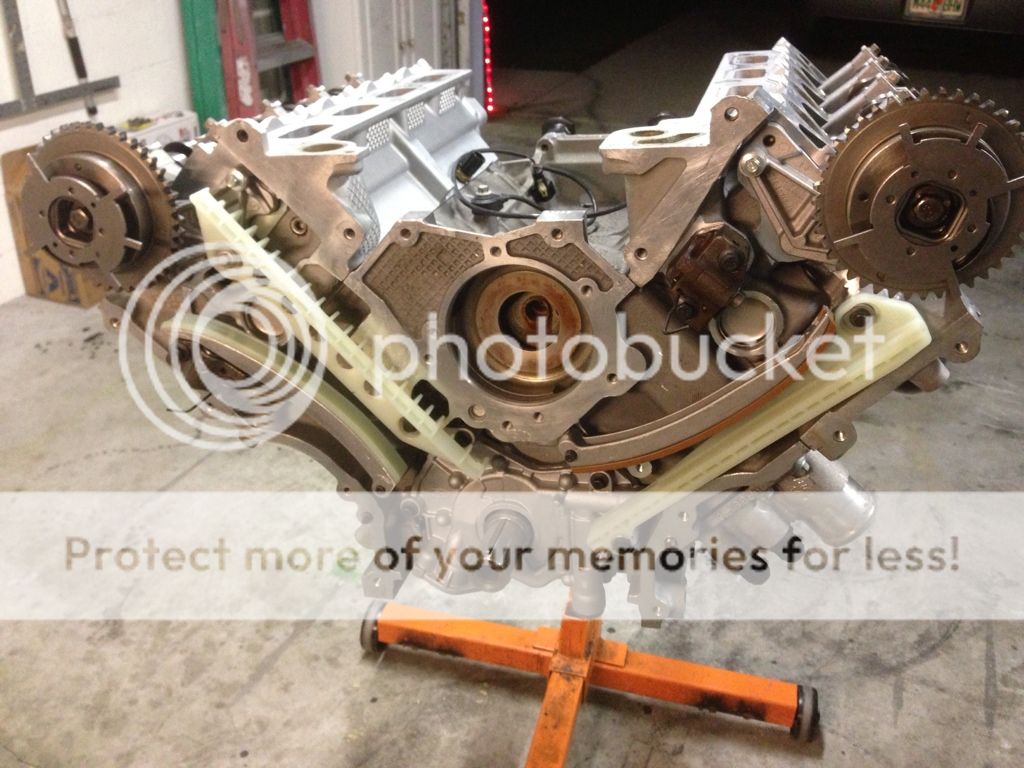
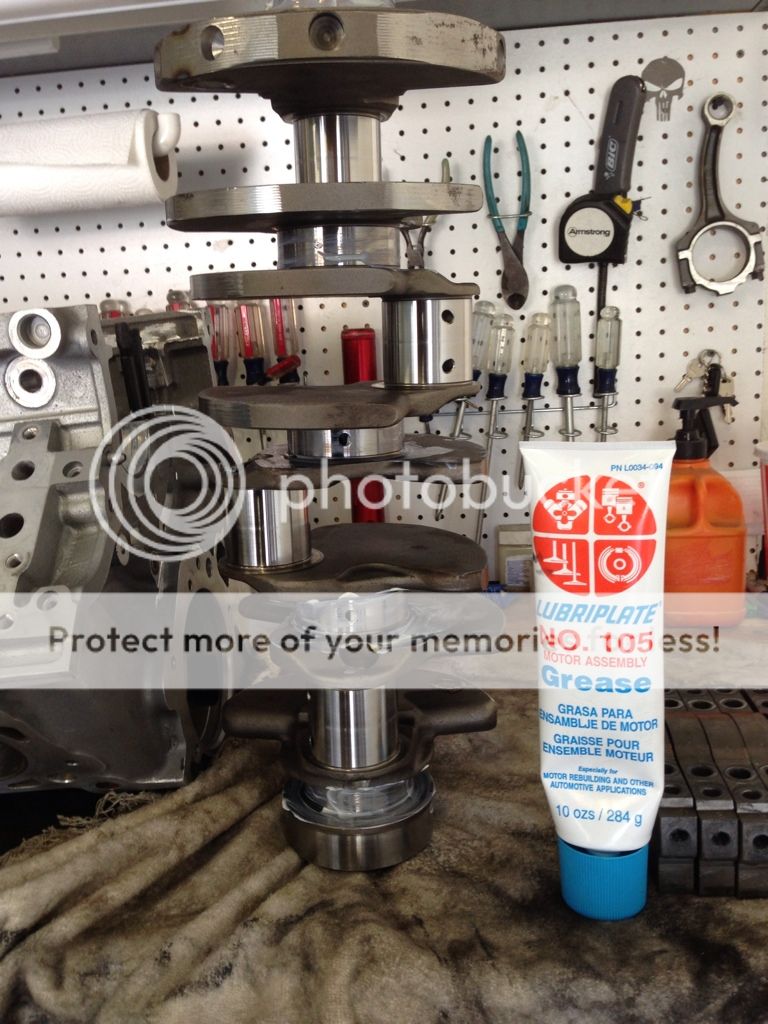
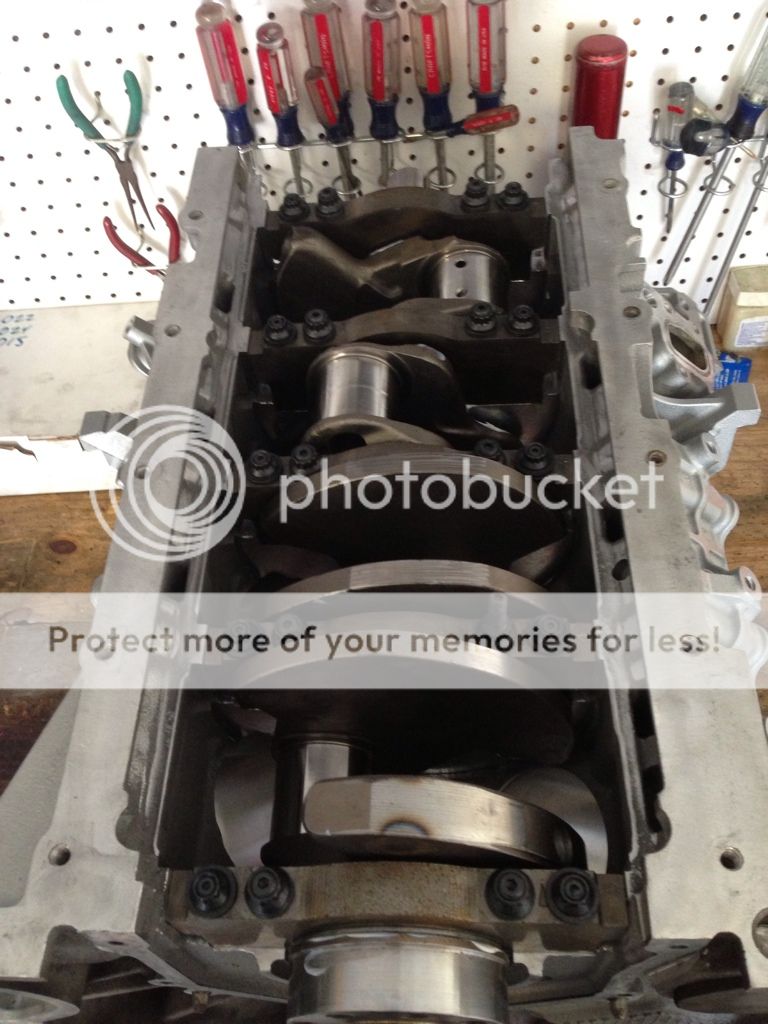
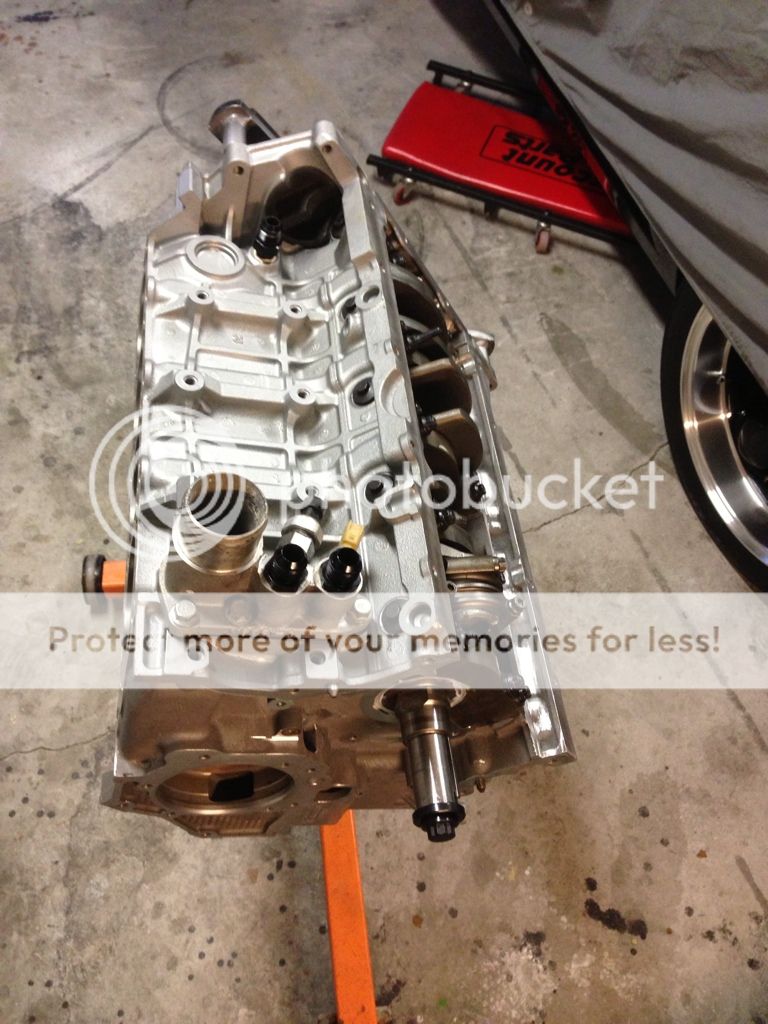
Getting ready for the crank install.....
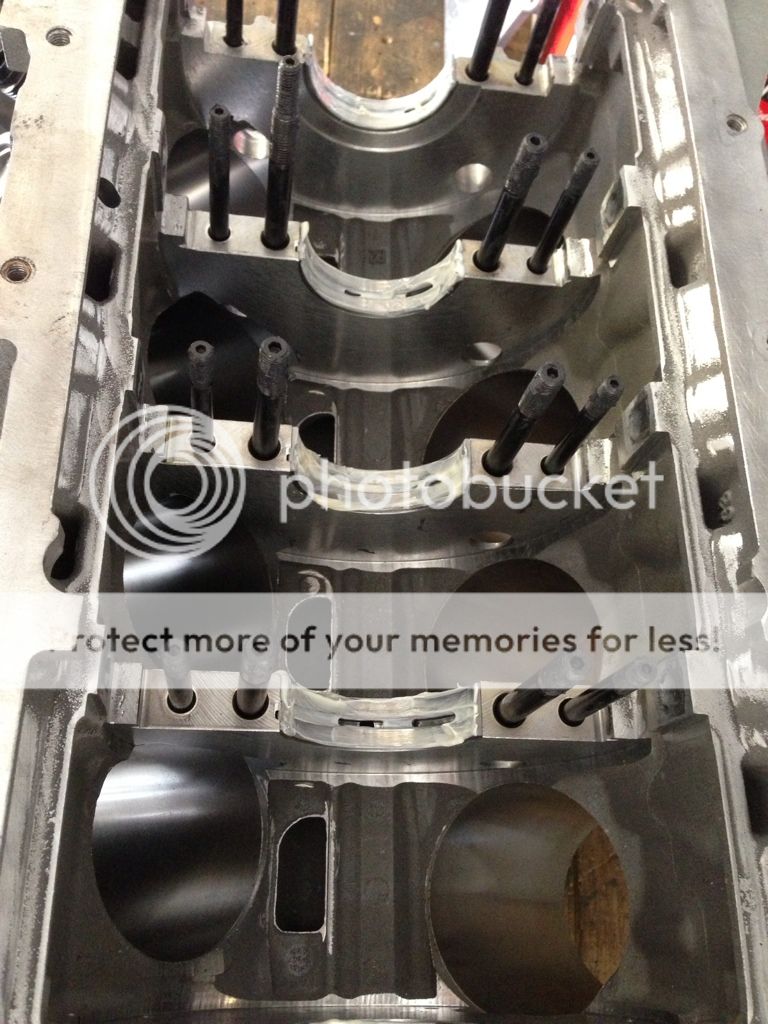
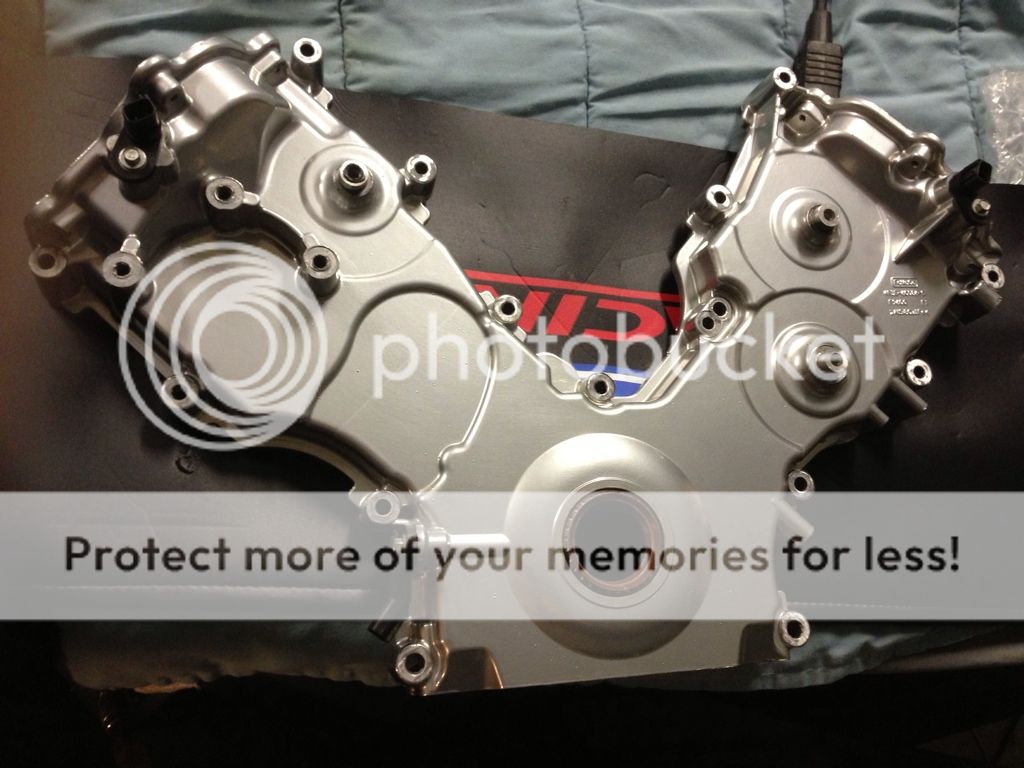
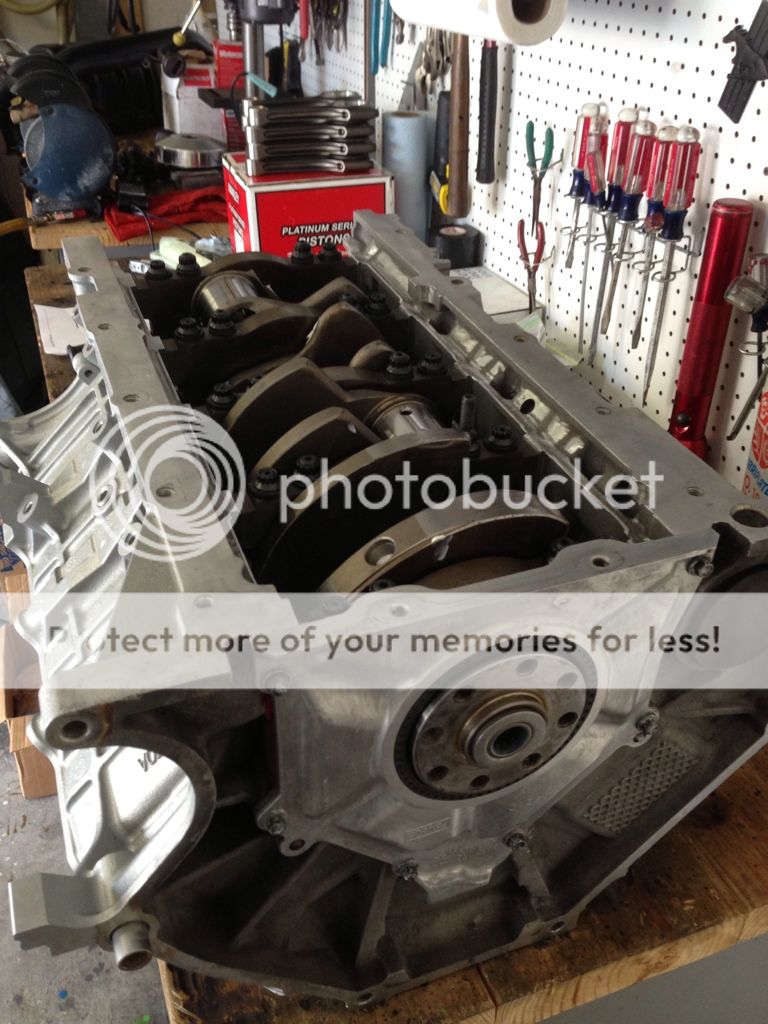
Rear cover installed with Permatex 51813....
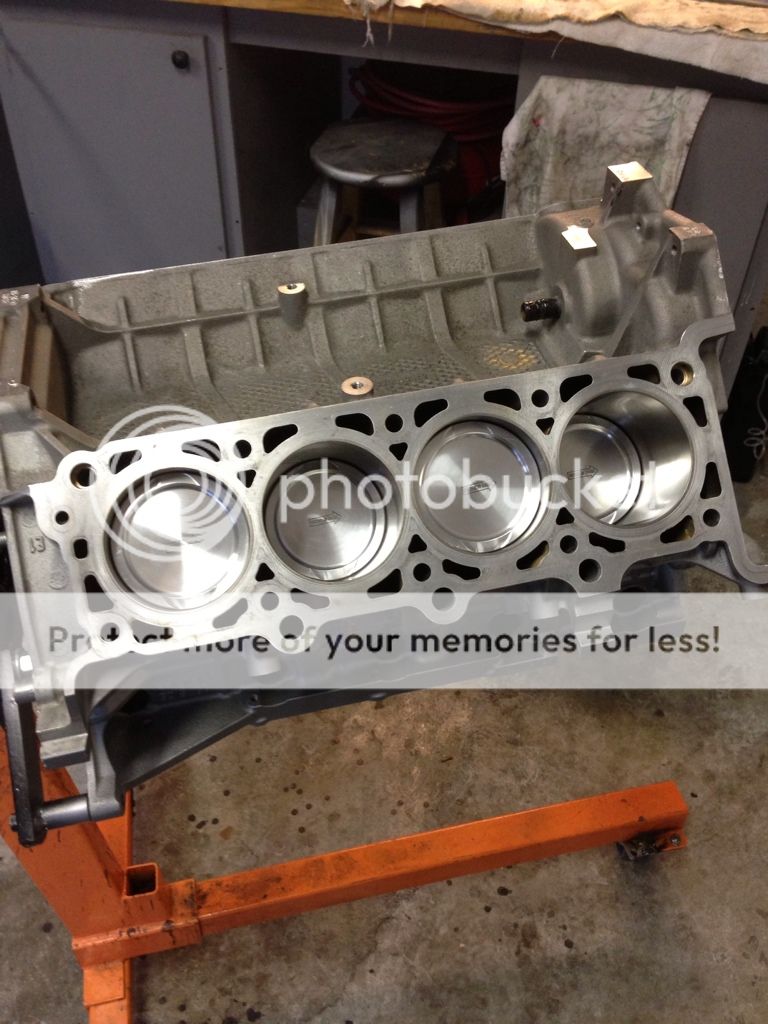
Pistons and rods turn....


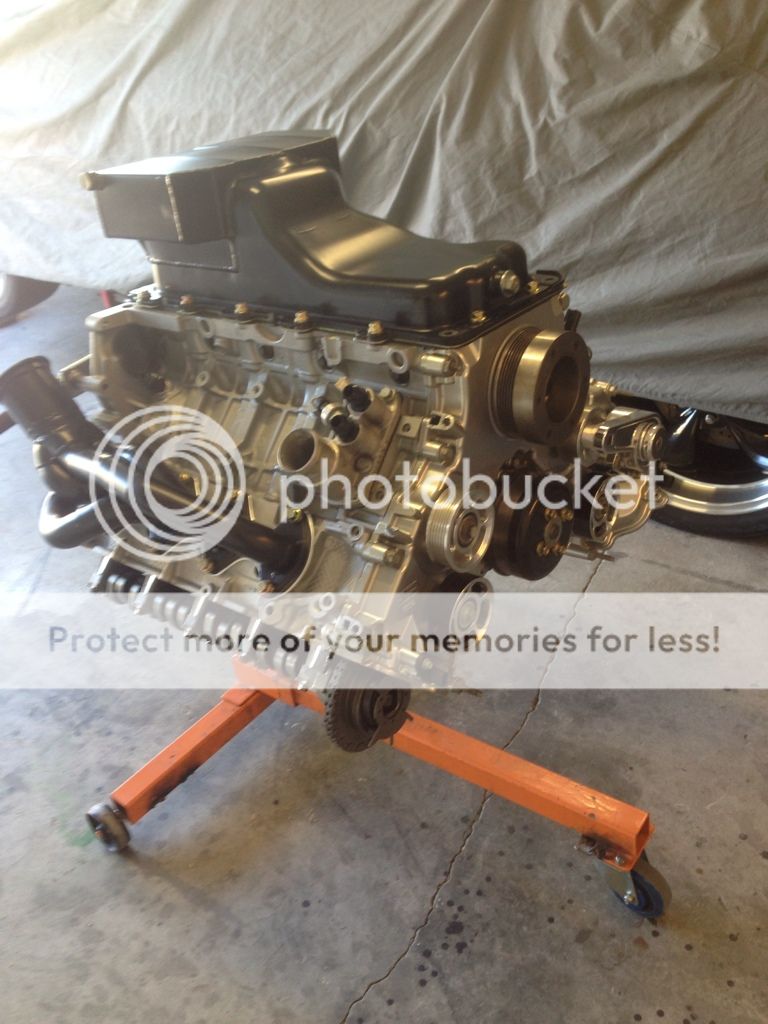
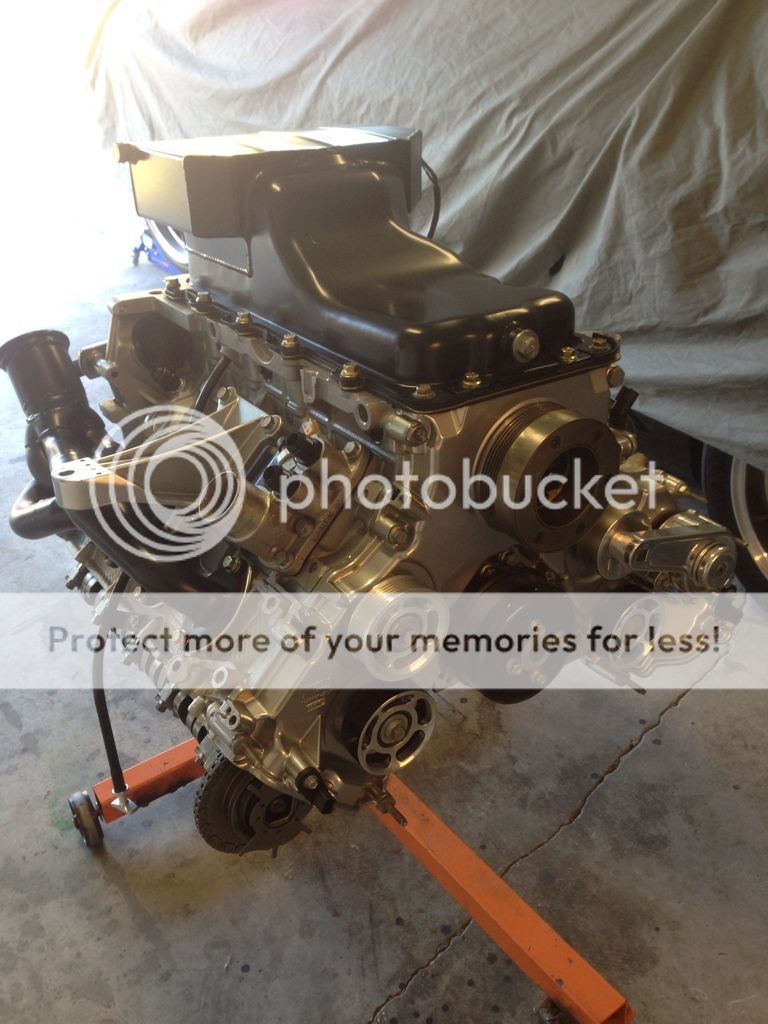
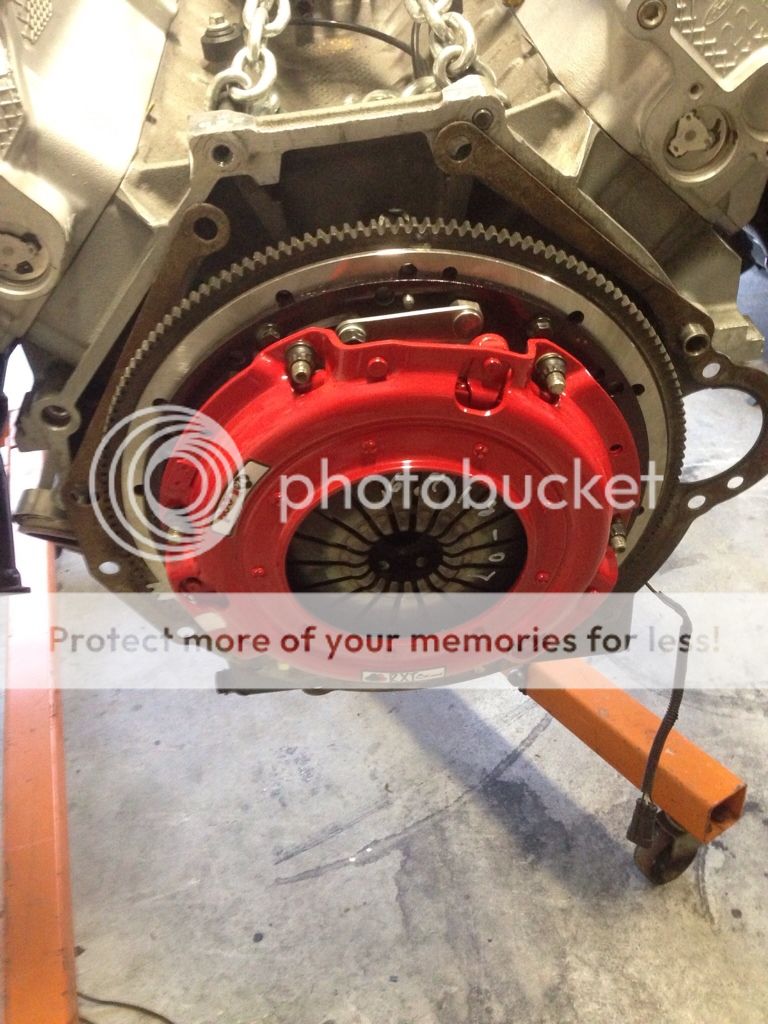
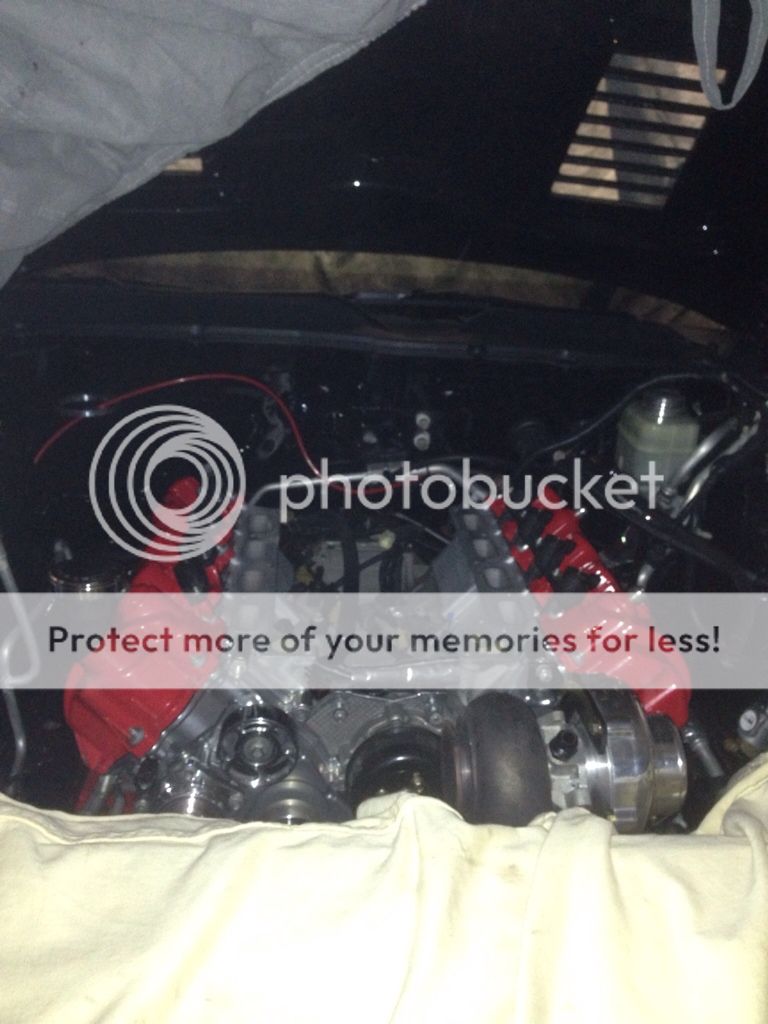
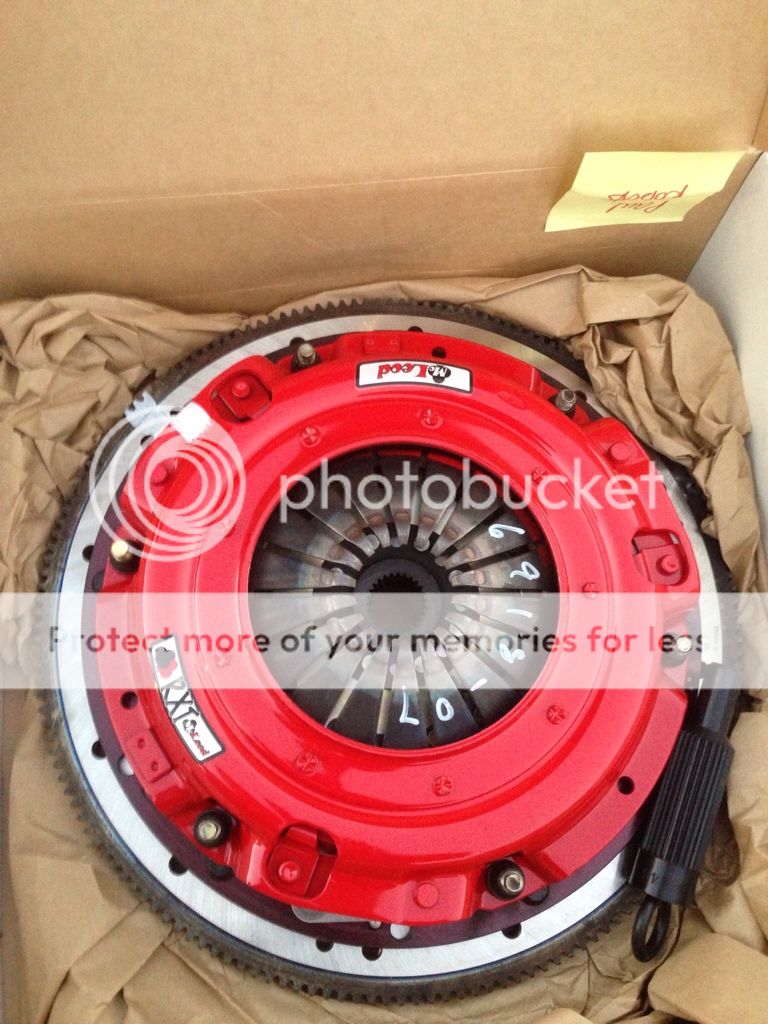
Thats as far as i got today.....waiting for 2013 GT500 oil pump, RXT clutch and slave cylinder.....Hopeing to have everything by next weekend and have it in the car and running by Christmas!
http://s197forum.com/forum/showthread.php?t=55827
Broke the engine down......
The rebuild began immediately! Decided to swap out the 4036 Livernois pistons with 2618 Manley pistons. Kept the Manley rods and Livernois crank. Had the engine bored .020 over, Internals digitaly balanced to 7K RPM.
Specs on the Engine:
9.5:1 compression
298 Stroker .020over, 3.75 Crank, 5.850" Rods
Rod/Main clearances .0022-.0023"
Piston to Wall clearance .0030"
Crankshaft Endplay .008"
Rod side clearances .013-.015"
Stock heads w/ 127300 Cams/Manley valve springs 221429-24
ModMax SS rings .022 top,.024 2nd,.015 oil gaps
TSS oil pump w/ 2013GT500 back plate (DR3Z6600A)
Part numbers:
Manley Pistons 595520C-8
Modmax SS rings 250 04603-25
Manley rods 14044-8
Manley wrist pins .150 wall 42207-8
King Main bearings KNGMB5283HP 020 (undersized bearings)
King Rod bearings CR 803HPN 011 (undersized bearings)
ARP main cross bolts 156-5002
ARP flywheel bolts 254-2801
ARP crank bolt 156-2501
ARP 2000 Rod bolts
ARP head studs 256-4202
ARP main studs for aftermarket windage tray 156-5802
Moroso 7qt oil pan 20546
Thank you Todd for the following....
http://s197forum.com/forum/showthread.php?t=20941&highlight=build
Also comes in handy....
http://iihs.net/fsm/?dir=159&viewfile=Engine.pdf
Today i started the re-build, got most of my parts at this point. Im not going to list all the torque specs and sequences, those can be found on the above links.
How Ford preps a block,lol...some of these filings flake off with just your fingernail...
little de-burring later....also opened up and smoothed out the oil passage from the pump to the filter
Getting ready for the crank install.....
Rear cover installed with Permatex 51813....
Pistons and rods turn....
Thats as far as i got today.....waiting for 2013 GT500 oil pump, RXT clutch and slave cylinder.....Hopeing to have everything by next weekend and have it in the car and running by Christmas!
Last edited: