06Torch
forum member
Hello all,
I was cleaning out my computer room and I stumbled upon some Pony Package fogs I bought last year from JDM. My intent at the time was to try to fab a Shelby grill out of them, some crinkled SS mesh, and the stock OEM grill. Well, the crinckled SS mesh proved too much coin for me and gutting the OEM grill seemed to be a lot more work than I originally expected. So, they remained there until today. I pulled them out and wondered what they might look like on an unmolested OEM grill.
This is a "feeler" DIY of what they might look like when installed. I say might because I'm not sure in what direction I'm going and I'm open to suggestions on what can be done to give them a factory look.
DISCLAIMER: The grill used in this DIY is a $20 OEM grill I was gutting out to do my Shelby wanna be grill. As such, I do not include it in the cost of this DIY as it's only used as a mockup, test mule, etc...
Here's a pic of the PP fogs. The pigtails are a direct connect to our GT fog harness. No splicing needed. I also included some of the tools I'll be using for this DIY.
Cost $50 shipped from JDM.

Another pic of other things I needed as I didn't know where the black plastic would come from. The snips are the ones used to cut up to 3" PVC pipe. I already had it. Tin snips would have probably worked better.

Rather than use the ruler I had, I decided to try a different method to figure out the insde diameter of the fogs. See below. lol!

I didn't have a protractor on hand so I used it to draw my template. I milked it people! I also used my drinking glass to make the opening for the fog light.

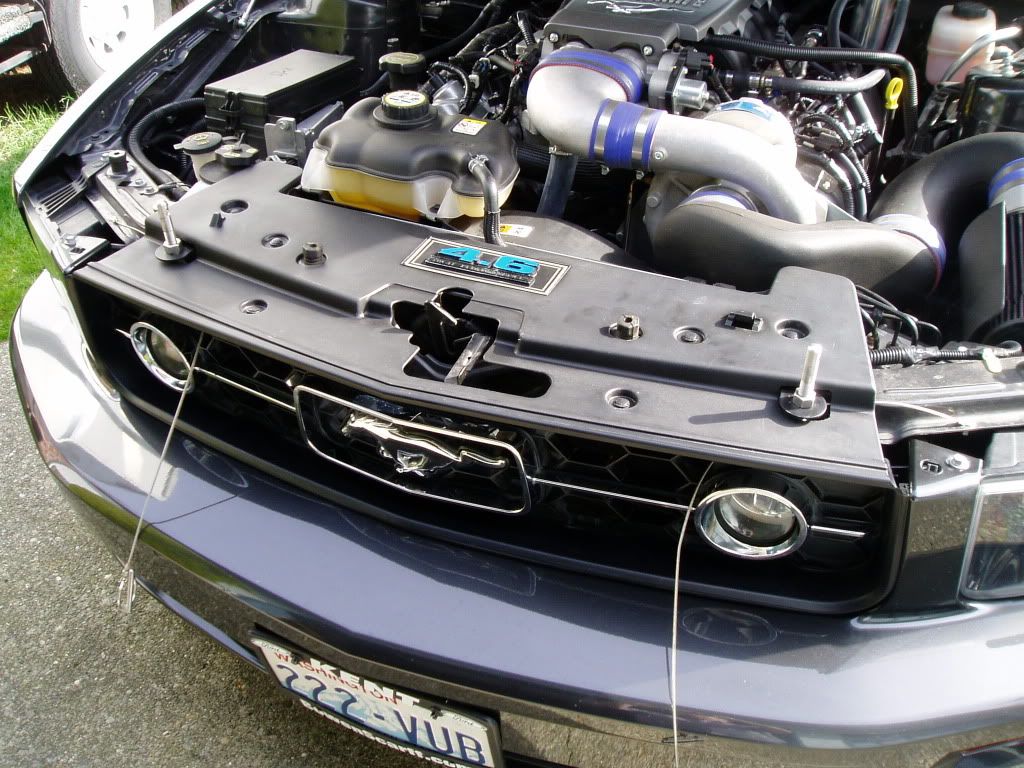
Ahhh, the grill that never was...
I cut my template out and a few minutes later it was time for a test fit.
I now realize that the opening was too exact. I didn't make room for the trim I would later install.

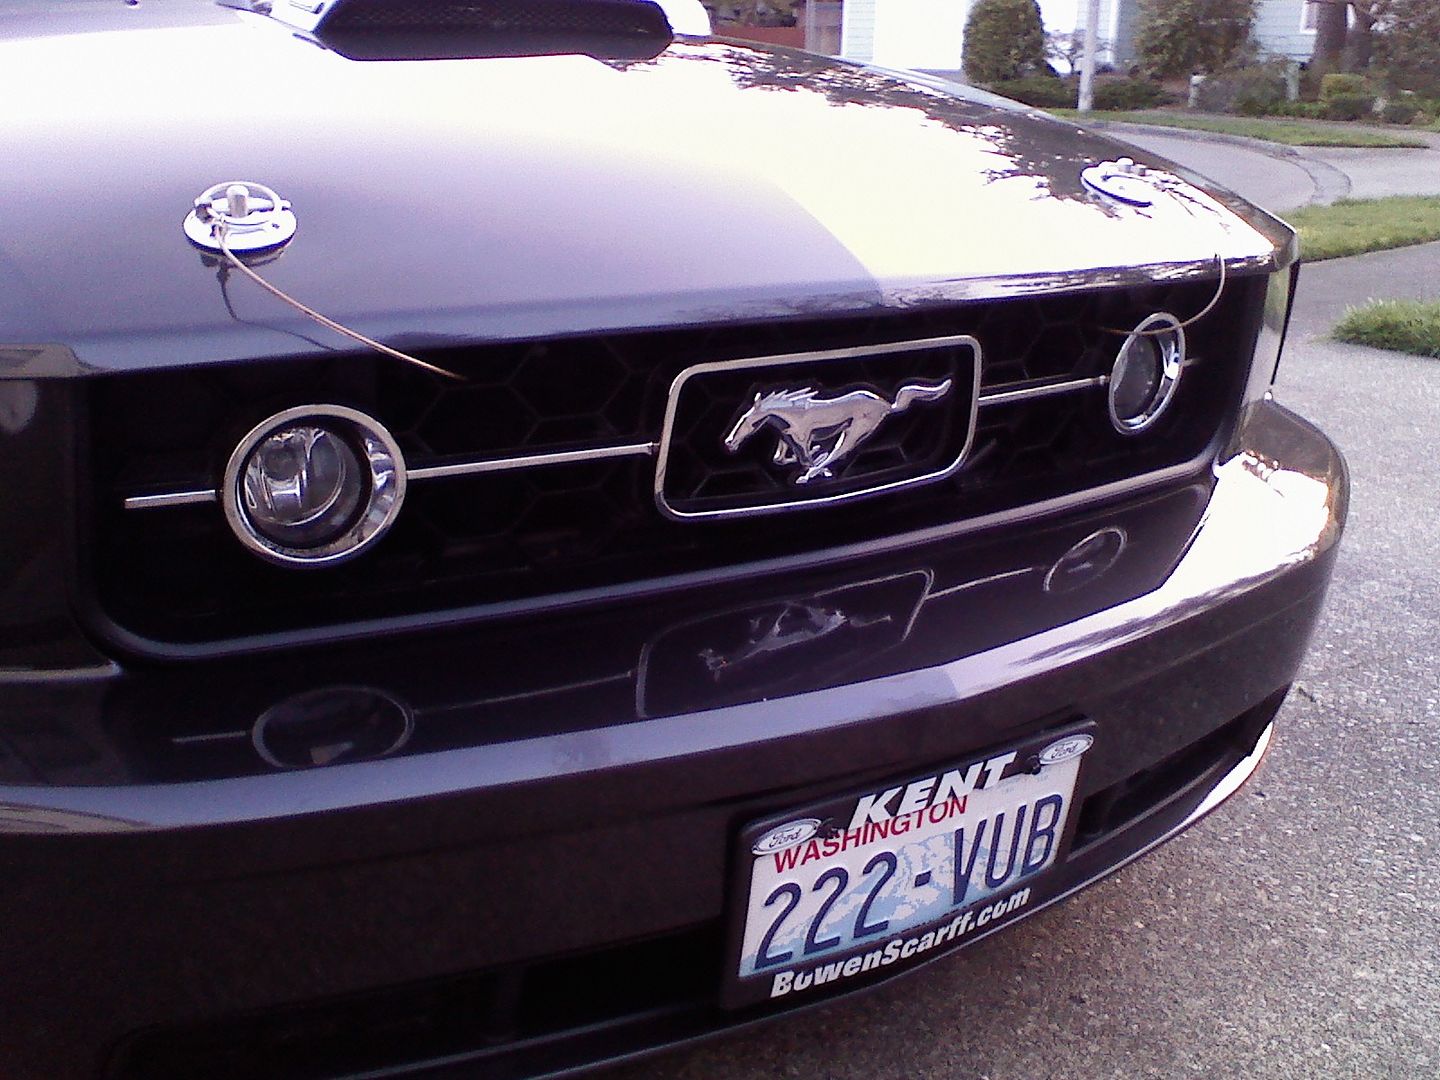
Another view. The OEM fog light brackets are installed and are somewhat propping the PP fogs in place. Note: The fogs can either be recessed if bolted directly to the brackets or they could be made to fit flush, as pictured if spacers can be fabbed at a later date.

Happy with my template, I took my happy ass to Home Depot to find some flat black plastic. To my surprise, HD didn't have it. Clear Plexiglass was all they had. I'd have to paint it and worry about touch ups.
Luckily, I found this. It's the top to a 5 gallon bucket. It was the right thickness and best of all, flat black! Cost, a whopping 98 cents ea.!!!
I layed down some painter's tape so I could draw up my template. I left it there to also protect the finish as I worked it.
The PVC pipe cutter was used to cut away the rim of the bucket lid. This was somewhat tedious but worked out well in the end. Again, real tin snips may work better. A trip to an arts and crafts store might have resulted in a nice flat piece of "ready to use" plastic but I already owned the tools needed to cut it and the 98 cents and the finish was too good to pass up!!!
I used a pair of sharp scissors to cut the outer part and a steak knife (if you can believe) to do the inside. A box cutter may prove more useful here too, not sure. Just keep in mind that the plastic may be somewhat thick for a box cutter.

Once done, it was time to test fit it... again.

I removed the painter's tape and applied some autotrim I had from a Shaker hood trimming I was planning on hand. The trim is a bit "off" but since the opening will be enlarged, I'll use this strip to measure from.
Silicone will be used to secure the final piece around the edges. It should be fine as the foglight will NOT come into contact with this piece. The foglight will be held by the bracket and NOT the ring.

Another pic.

And uno mas...

I'm happy with the overall idea of the project I have going here. The finish of the bucket lids are dead on to the factory grill. I've thought about using speaker tubes instead of trim or maybe concaving the template by removing a small piece and rejoining it to have a slight taper.
A couple of other things;
1) I know using glasses and plates is kind of dumb and it would prove somewhat difficult to follow it without said dishes. lol! I was trying to use some short cuts as this was a spur of the moment thing. I'll include real measurements as I figure out how this is going to come together.
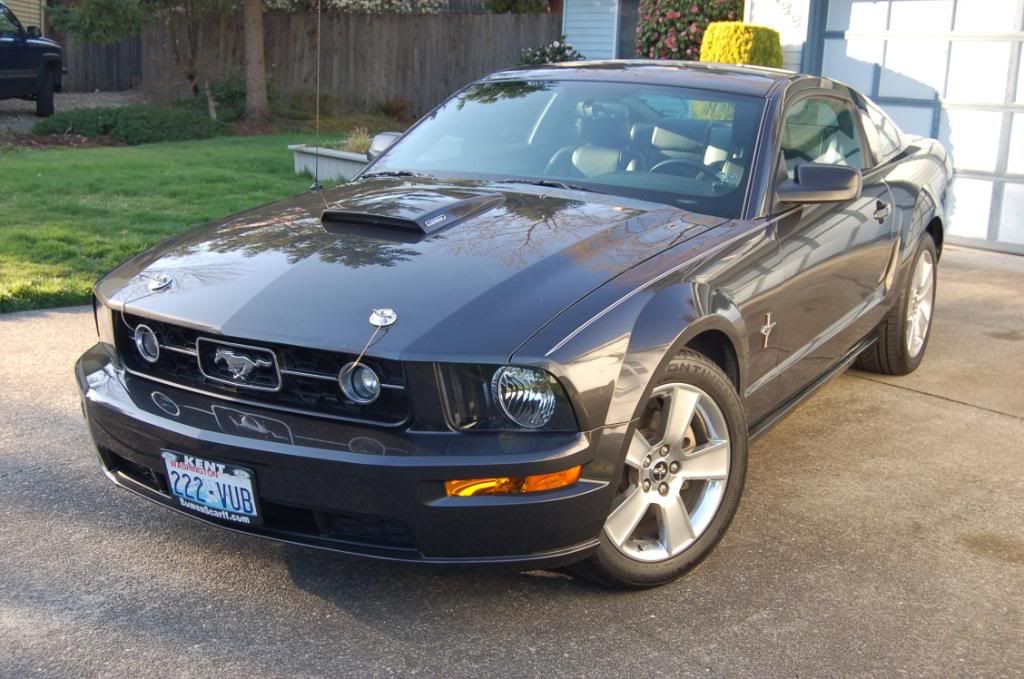
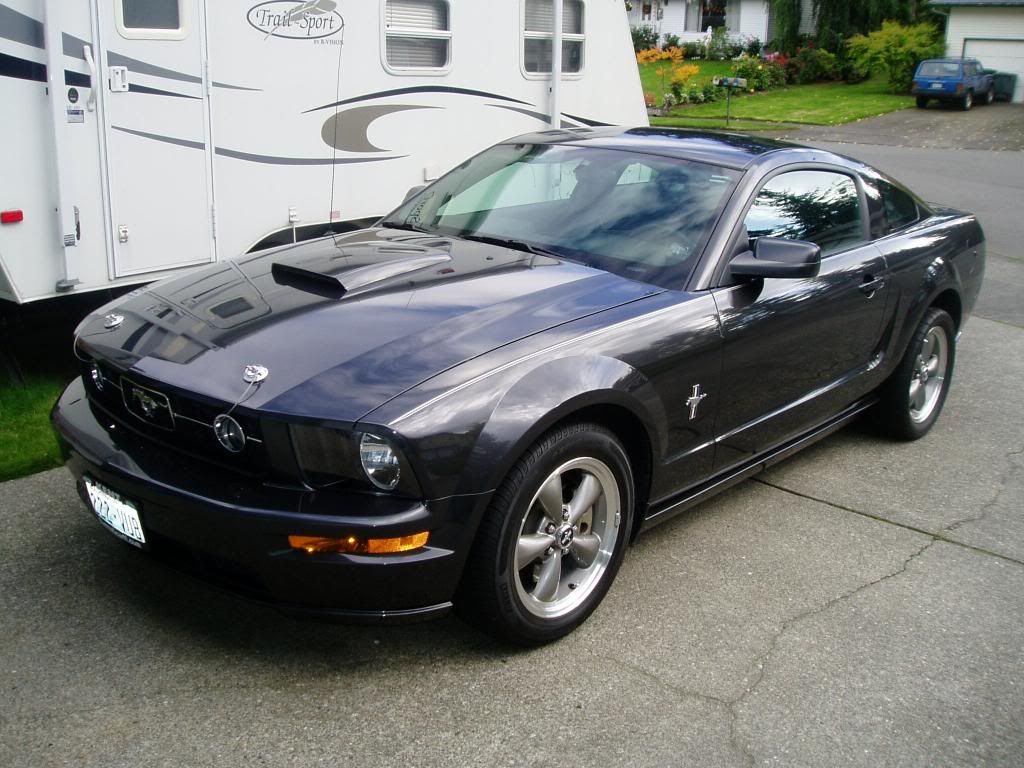
2) The grill I'm using looks bad. It's dirty and is hacked to Hell. The colors may not seem to match and only 3/4 of it is showing. I'll see if I can mock it up this Sunday when I replace my bumper so you can get a better idea of where I'm trying to go with this.
Your thoughts...
Gerardo
I was cleaning out my computer room and I stumbled upon some Pony Package fogs I bought last year from JDM. My intent at the time was to try to fab a Shelby grill out of them, some crinkled SS mesh, and the stock OEM grill. Well, the crinckled SS mesh proved too much coin for me and gutting the OEM grill seemed to be a lot more work than I originally expected. So, they remained there until today. I pulled them out and wondered what they might look like on an unmolested OEM grill.
This is a "feeler" DIY of what they might look like when installed. I say might because I'm not sure in what direction I'm going and I'm open to suggestions on what can be done to give them a factory look.
DISCLAIMER: The grill used in this DIY is a $20 OEM grill I was gutting out to do my Shelby wanna be grill. As such, I do not include it in the cost of this DIY as it's only used as a mockup, test mule, etc...
Here's a pic of the PP fogs. The pigtails are a direct connect to our GT fog harness. No splicing needed. I also included some of the tools I'll be using for this DIY.
Cost $50 shipped from JDM.
Another pic of other things I needed as I didn't know where the black plastic would come from. The snips are the ones used to cut up to 3" PVC pipe. I already had it. Tin snips would have probably worked better.
Rather than use the ruler I had, I decided to try a different method to figure out the insde diameter of the fogs. See below. lol!
I didn't have a protractor on hand so I used it to draw my template. I milked it people! I also used my drinking glass to make the opening for the fog light.
Ahhh, the grill that never was...
I cut my template out and a few minutes later it was time for a test fit.
I now realize that the opening was too exact. I didn't make room for the trim I would later install.
Another view. The OEM fog light brackets are installed and are somewhat propping the PP fogs in place. Note: The fogs can either be recessed if bolted directly to the brackets or they could be made to fit flush, as pictured if spacers can be fabbed at a later date.
Happy with my template, I took my happy ass to Home Depot to find some flat black plastic. To my surprise, HD didn't have it. Clear Plexiglass was all they had. I'd have to paint it and worry about touch ups.
Luckily, I found this. It's the top to a 5 gallon bucket. It was the right thickness and best of all, flat black! Cost, a whopping 98 cents ea.!!!
I layed down some painter's tape so I could draw up my template. I left it there to also protect the finish as I worked it.
The PVC pipe cutter was used to cut away the rim of the bucket lid. This was somewhat tedious but worked out well in the end. Again, real tin snips may work better. A trip to an arts and crafts store might have resulted in a nice flat piece of "ready to use" plastic but I already owned the tools needed to cut it and the 98 cents and the finish was too good to pass up!!!
I used a pair of sharp scissors to cut the outer part and a steak knife (if you can believe) to do the inside. A box cutter may prove more useful here too, not sure. Just keep in mind that the plastic may be somewhat thick for a box cutter.
Once done, it was time to test fit it... again.
I removed the painter's tape and applied some autotrim I had from a Shaker hood trimming I was planning on hand. The trim is a bit "off" but since the opening will be enlarged, I'll use this strip to measure from.
Silicone will be used to secure the final piece around the edges. It should be fine as the foglight will NOT come into contact with this piece. The foglight will be held by the bracket and NOT the ring.
Another pic.
And uno mas...
I'm happy with the overall idea of the project I have going here. The finish of the bucket lids are dead on to the factory grill. I've thought about using speaker tubes instead of trim or maybe concaving the template by removing a small piece and rejoining it to have a slight taper.
A couple of other things;
1) I know using glasses and plates is kind of dumb and it would prove somewhat difficult to follow it without said dishes. lol! I was trying to use some short cuts as this was a spur of the moment thing. I'll include real measurements as I figure out how this is going to come together.
2) The grill I'm using looks bad. It's dirty and is hacked to Hell. The colors may not seem to match and only 3/4 of it is showing. I'll see if I can mock it up this Sunday when I replace my bumper so you can get a better idea of where I'm trying to go with this.
Your thoughts...
Gerardo
Last edited: