GallopingFord
I'm Cam - Mr. Indecisive
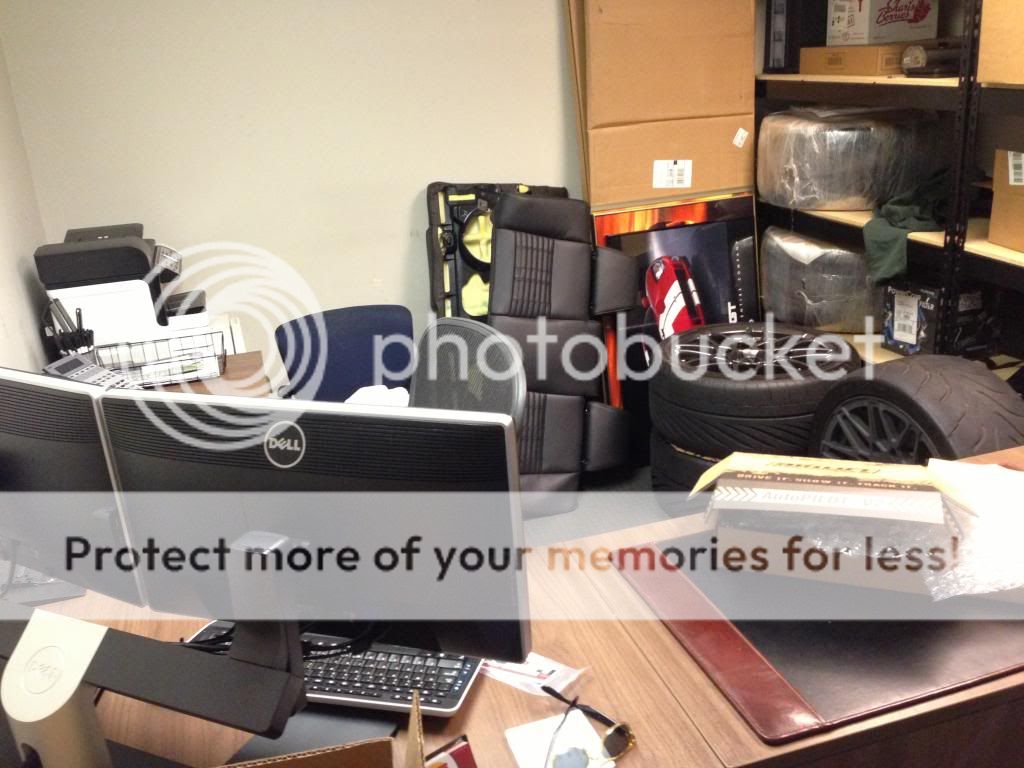
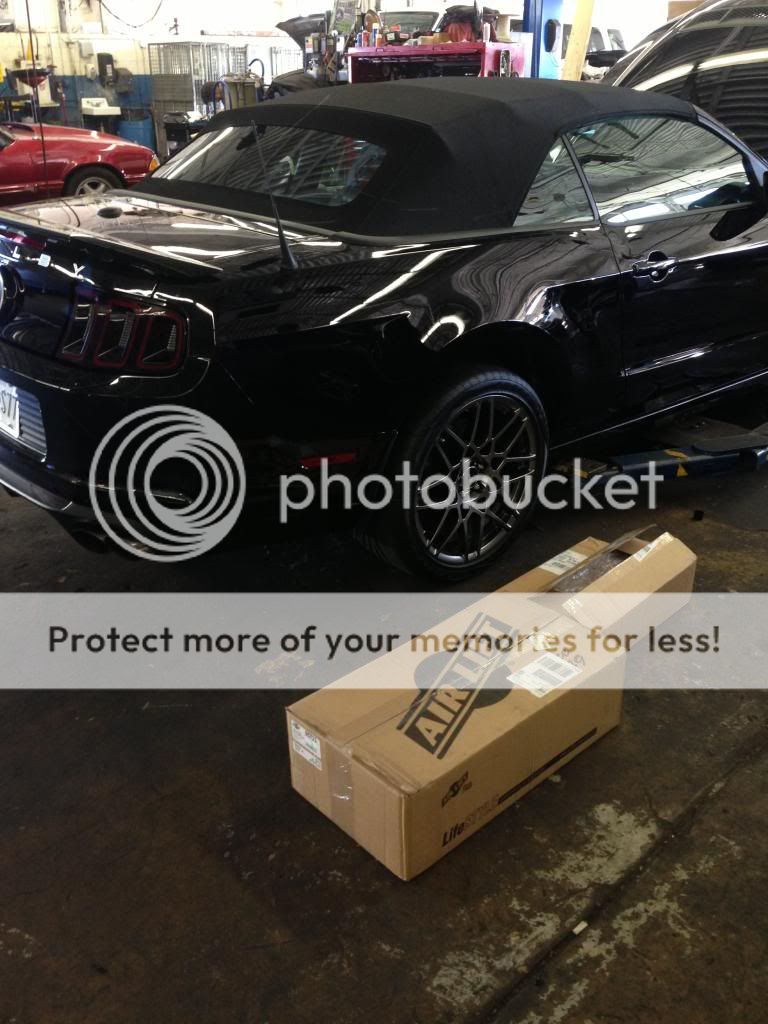
I finally began the install of the AirLift kit on my convertible. I’ve been busy with work but finally got some time to myself to sit back and work in the shop. I’m taking my time with this and enjoying putting it together. I’m OCD so while it could have been done in a day, I wanted to look over everything. I also need to do it little by little since I still have work obligations during the day.
Sorry in advance for the lousy iPhone photos.
In this thread I’ll be doing the following:
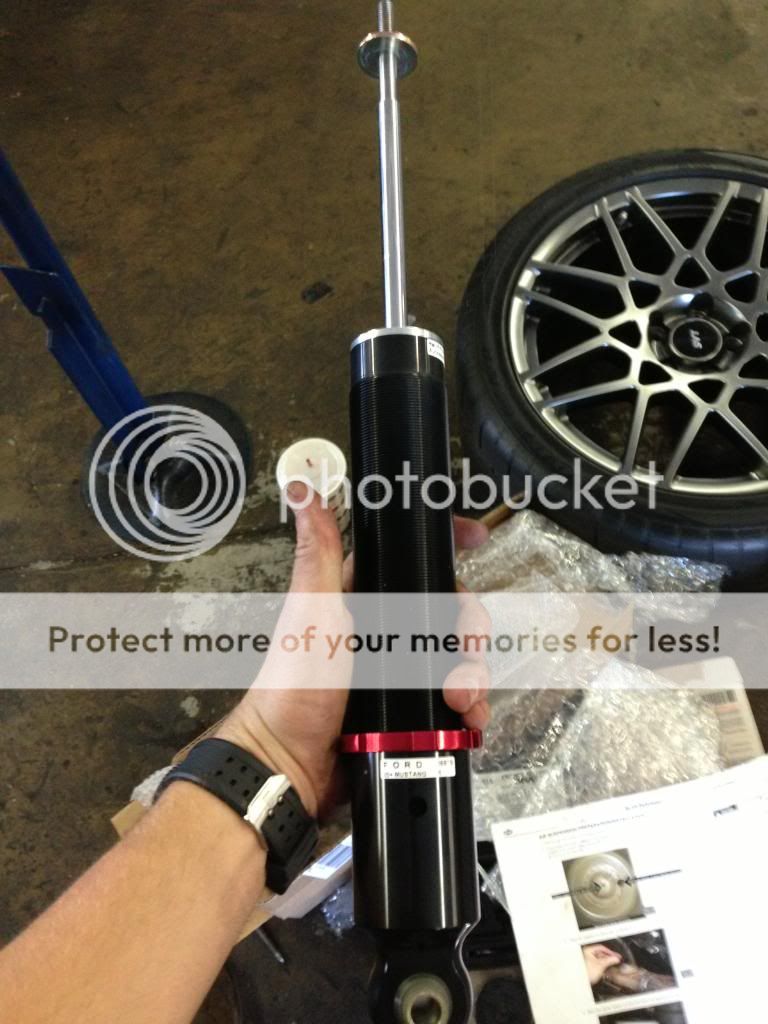
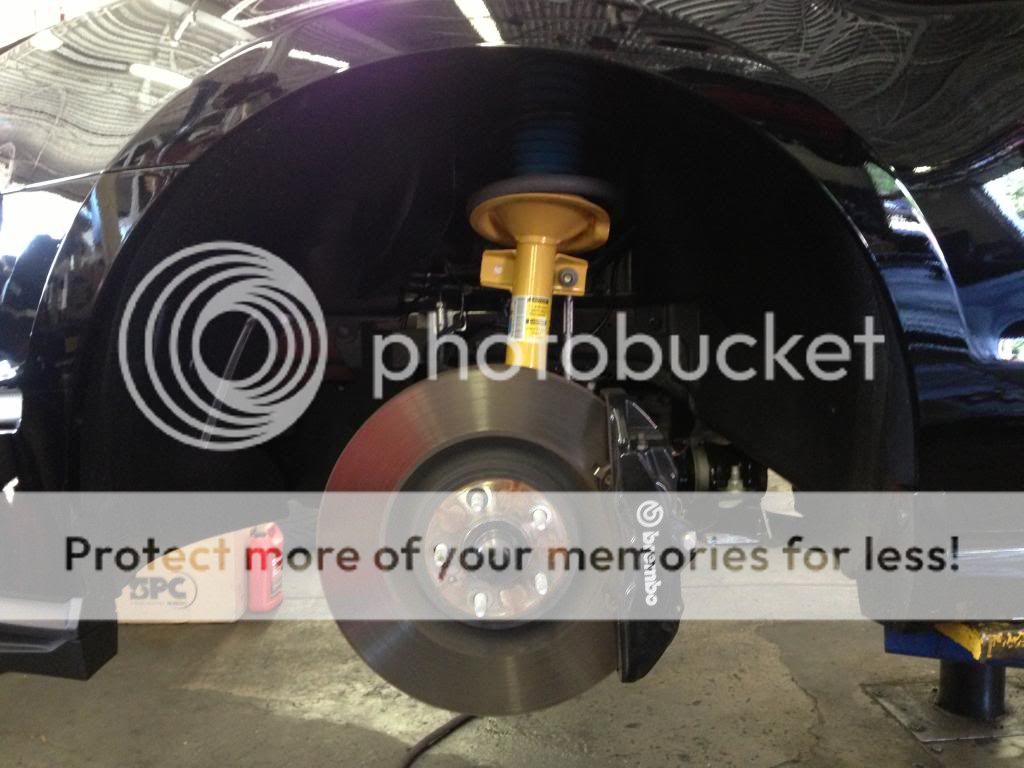
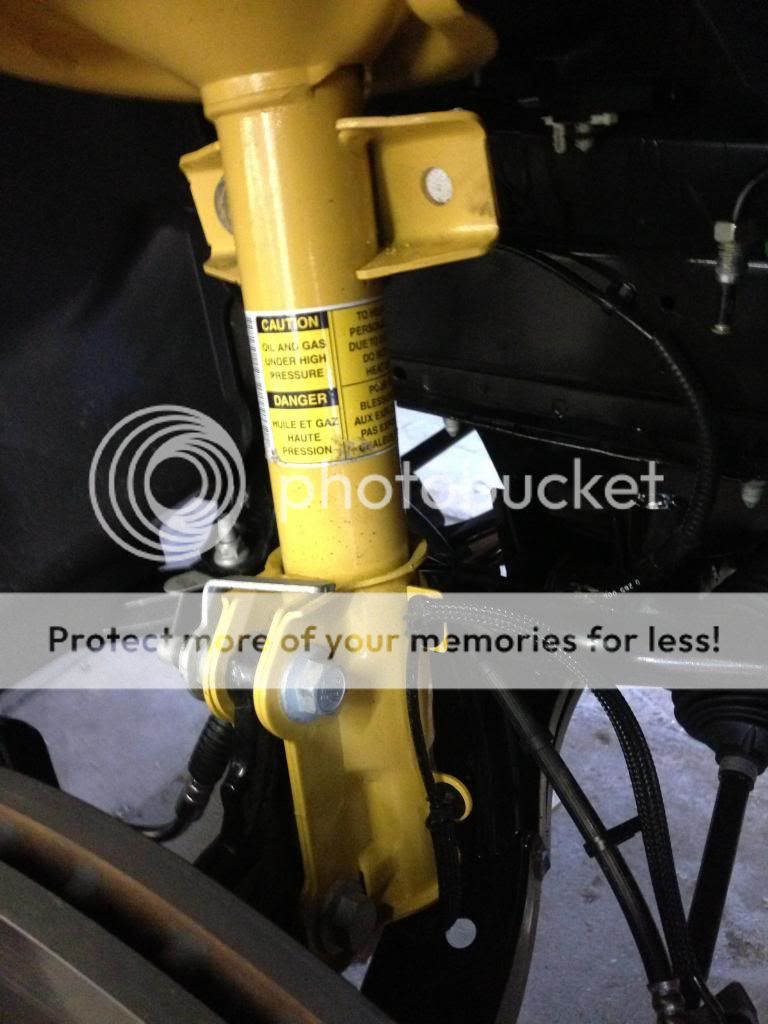
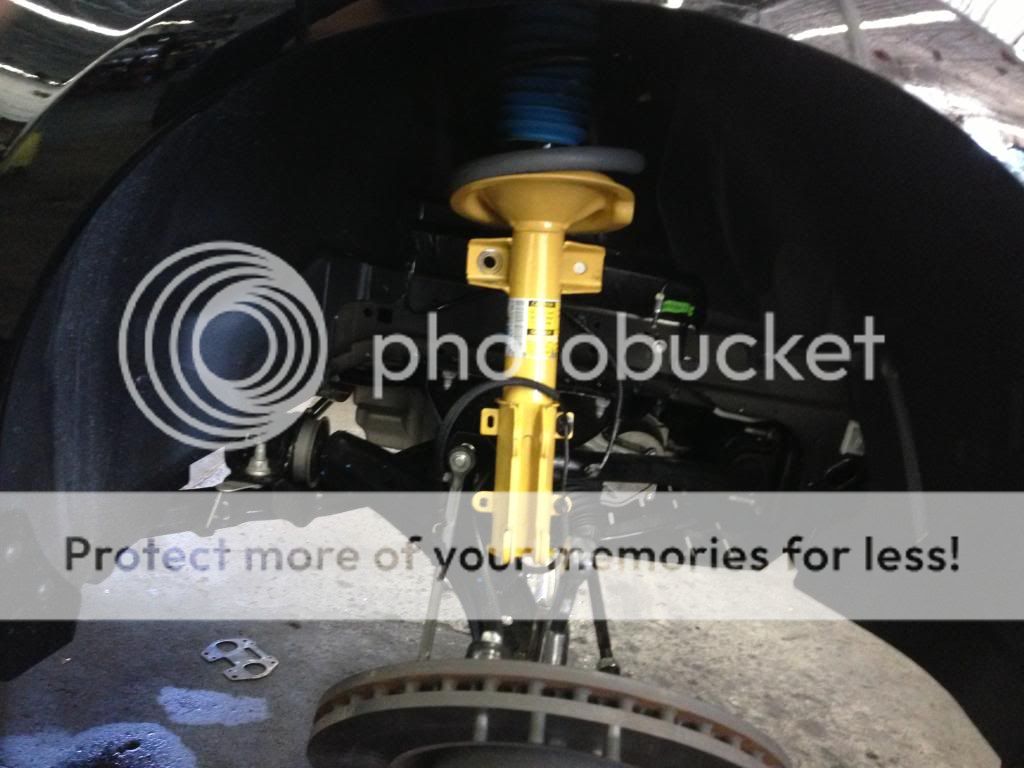
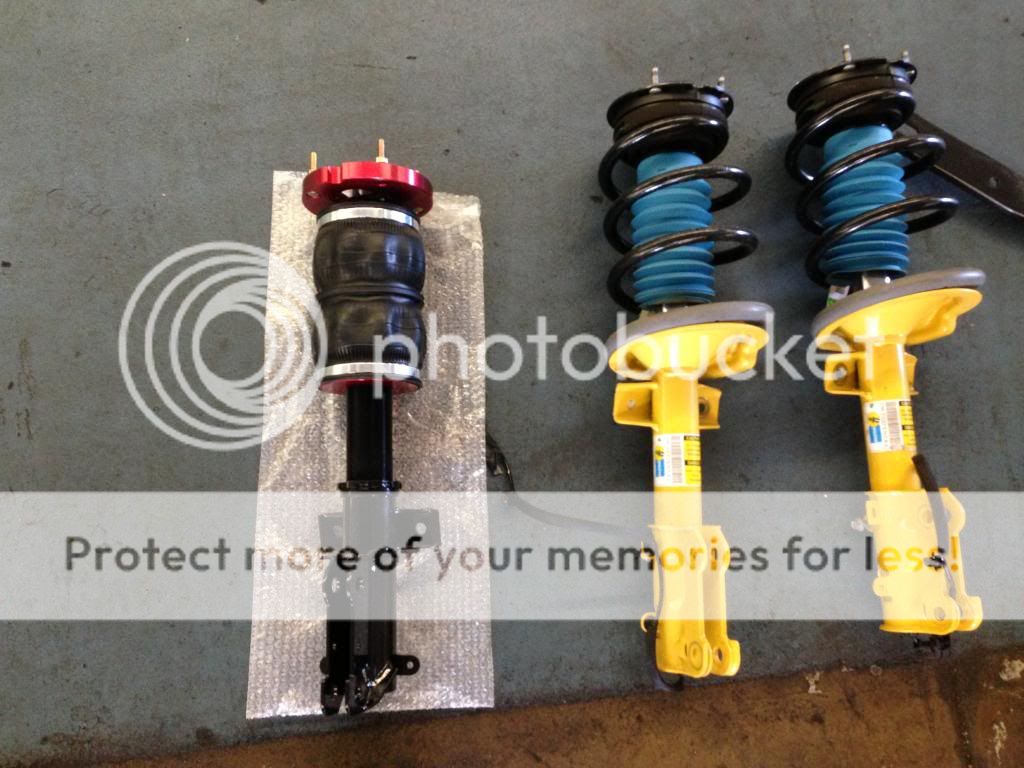
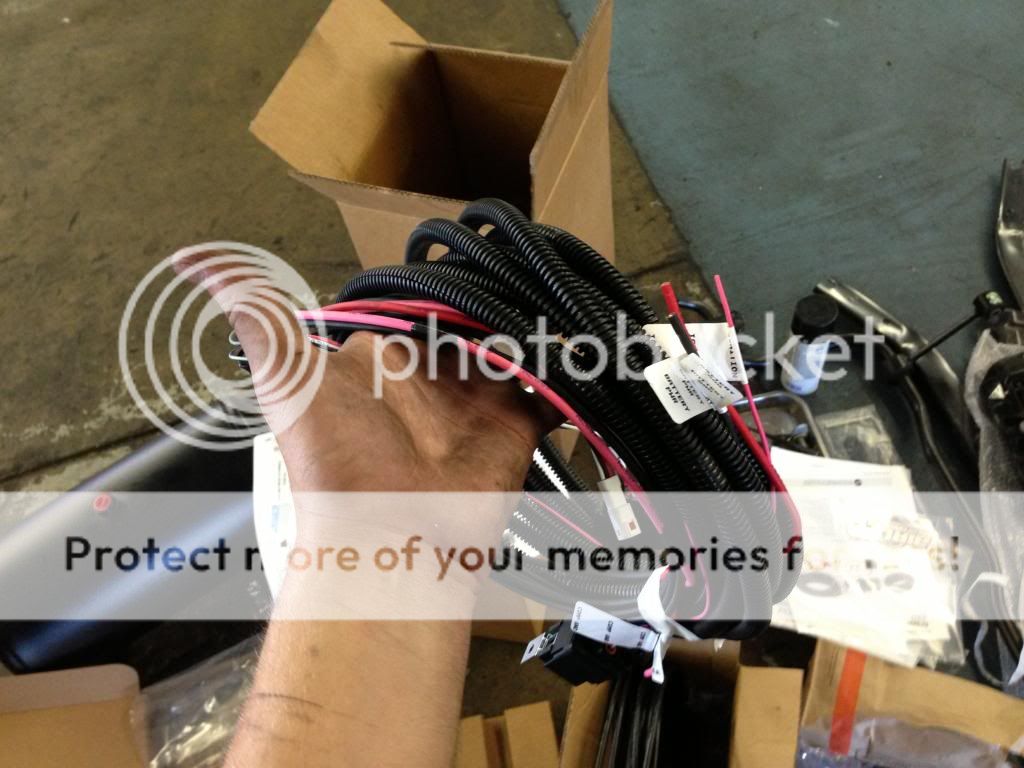
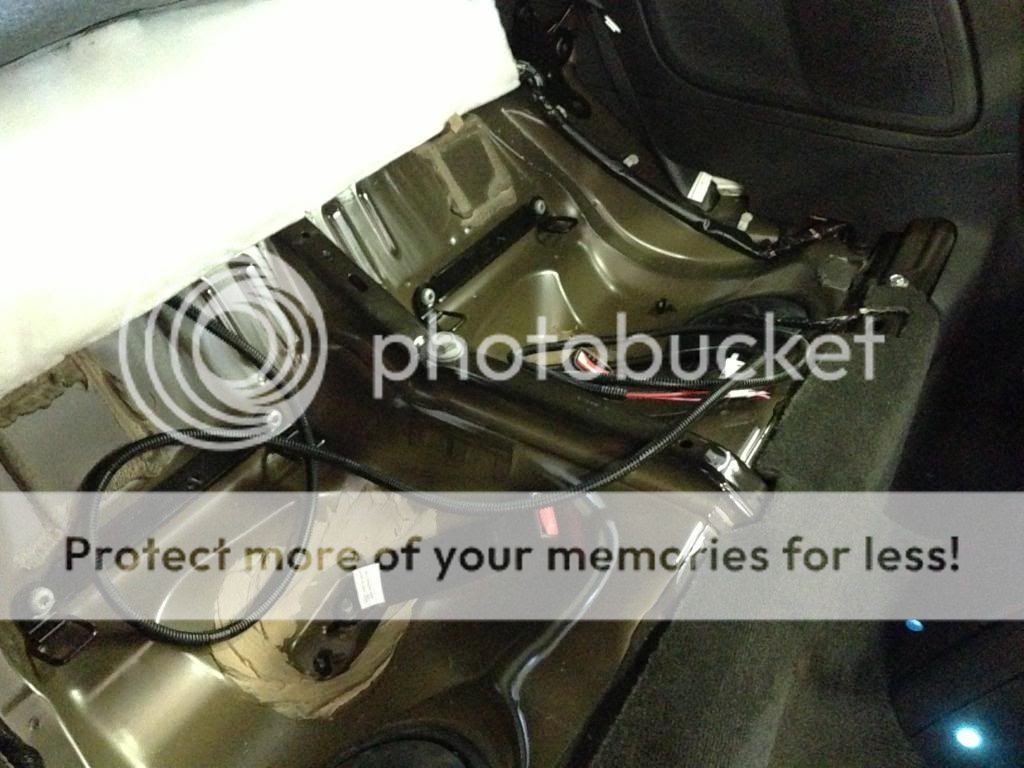
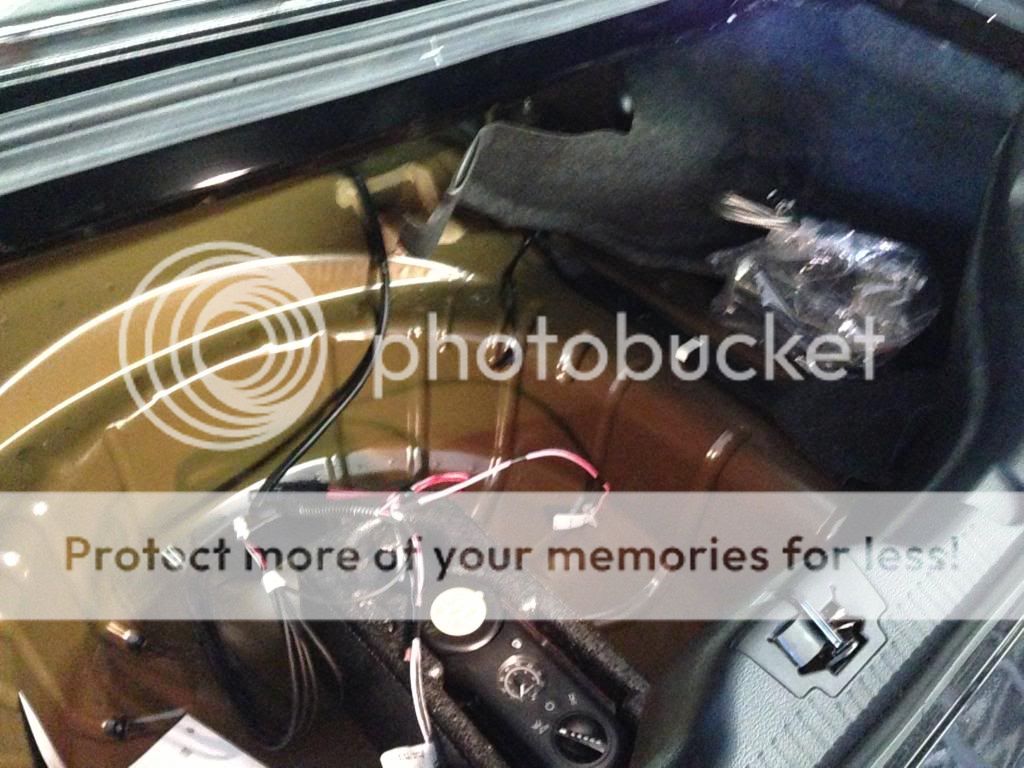
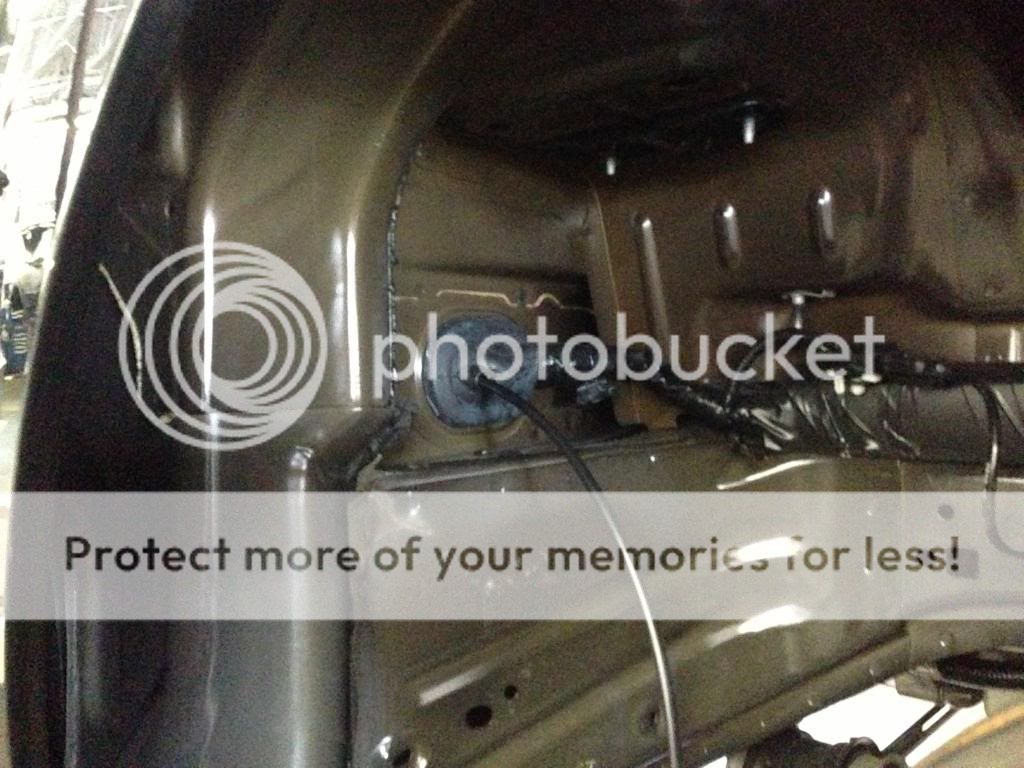
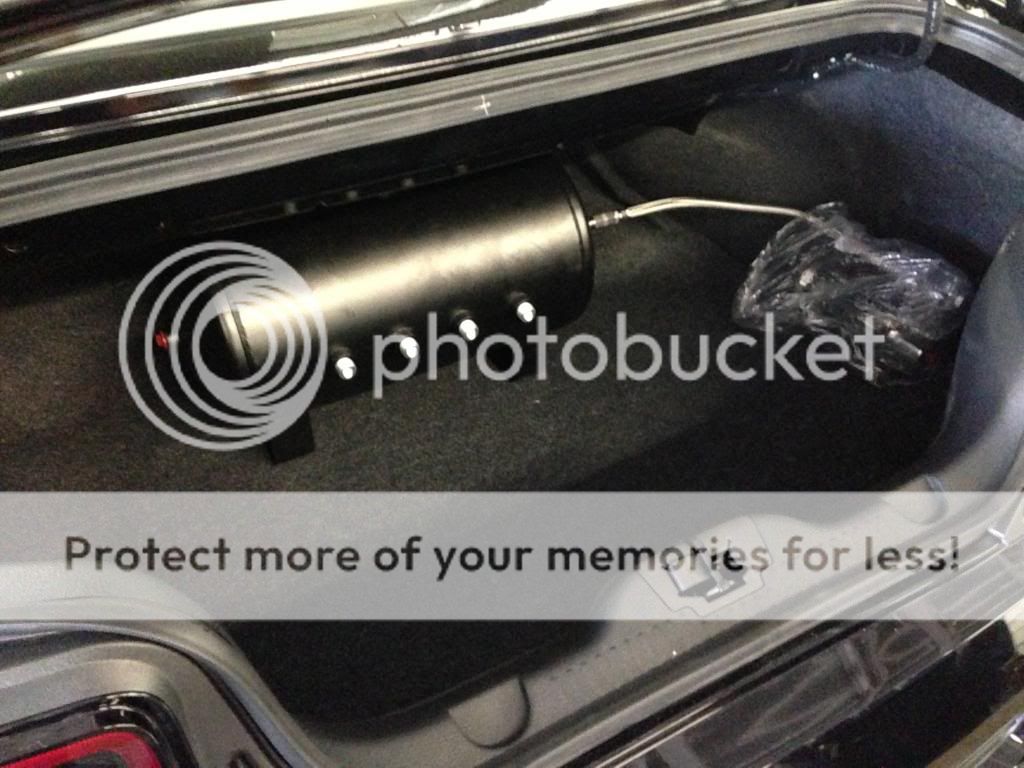
-Install AirLift Air Suspension Kit with Digital V2 Controller (P/N: 95723)
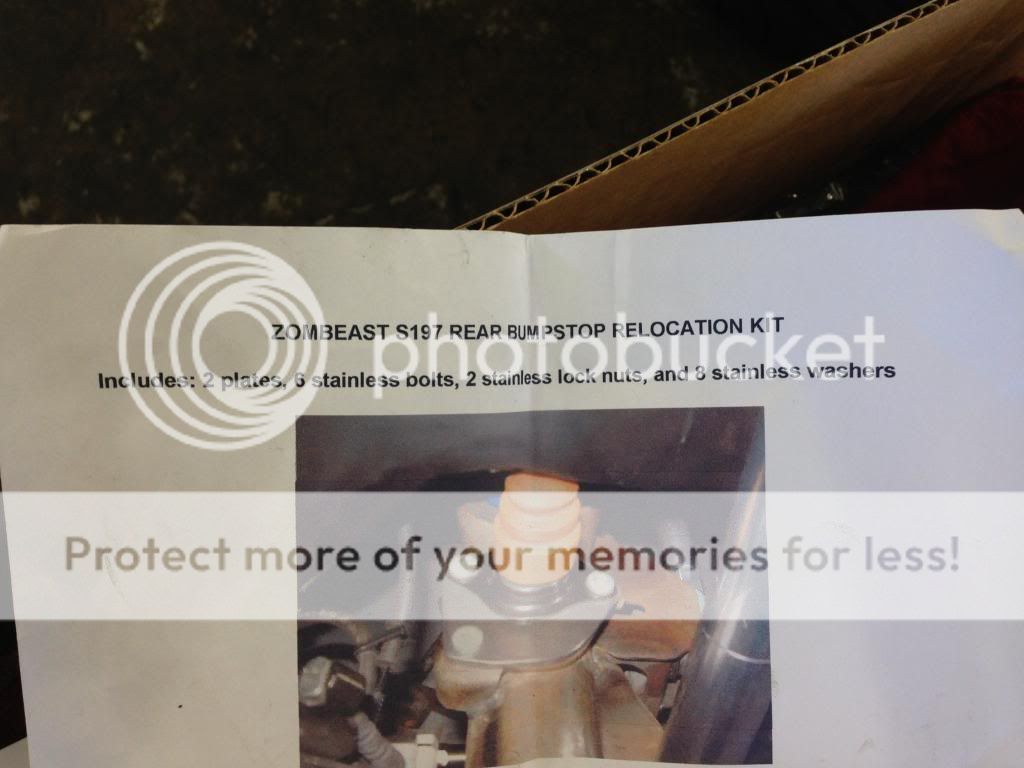
-Cutting Bump-Stop Brackets/Relocating Bump Stops
-Installing Rotiform BLQ Wheels 20x10/20x12 (Thanks to Neema)
To begin with… the rear end and removing the Bump Stop Brackets
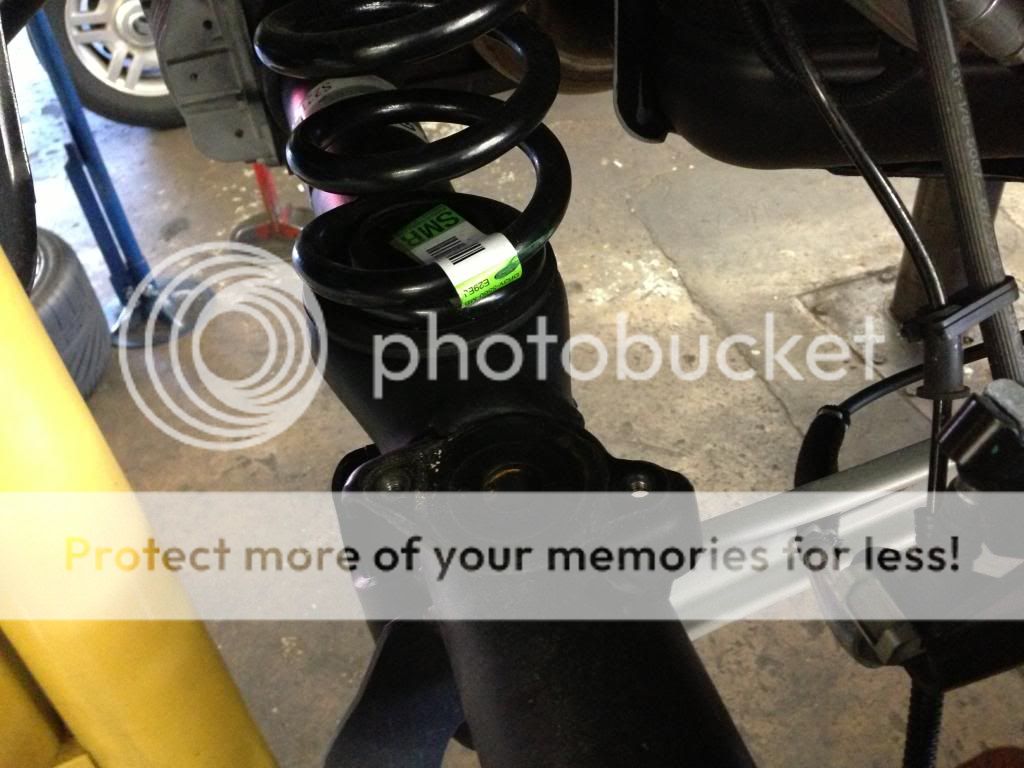
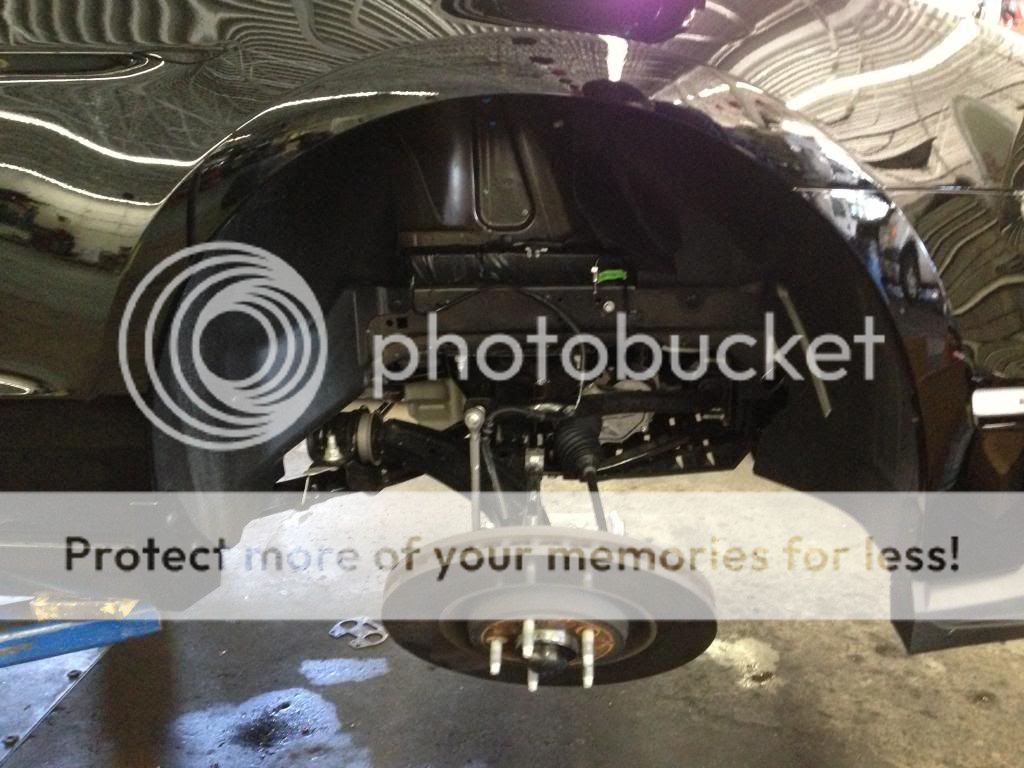
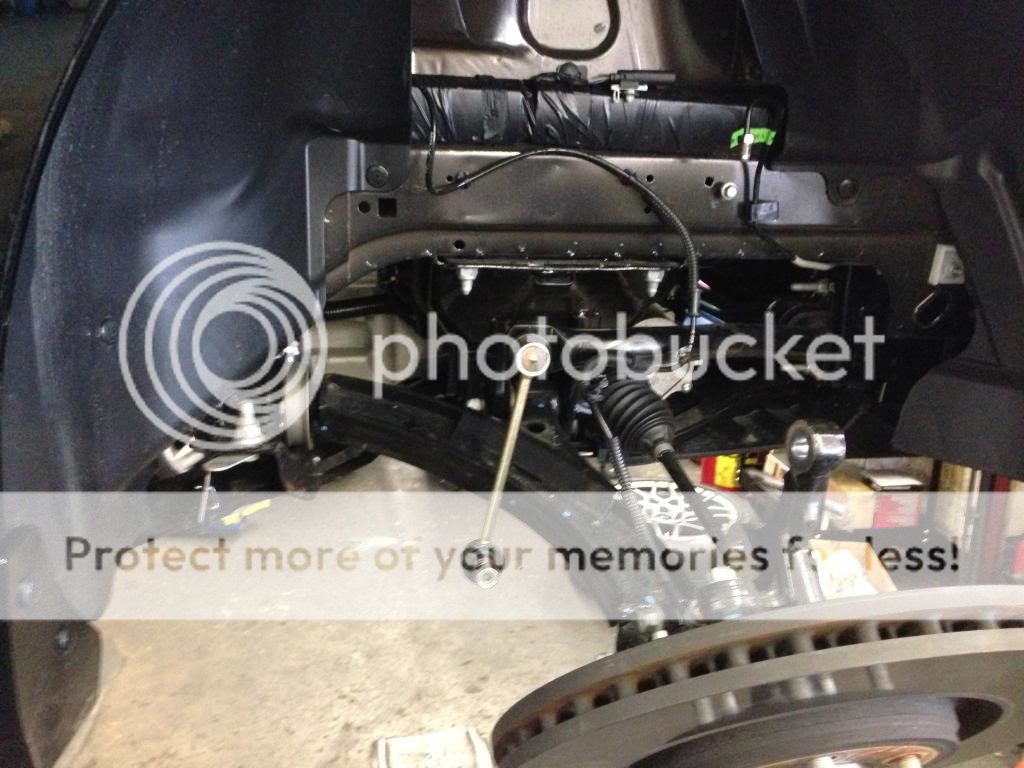
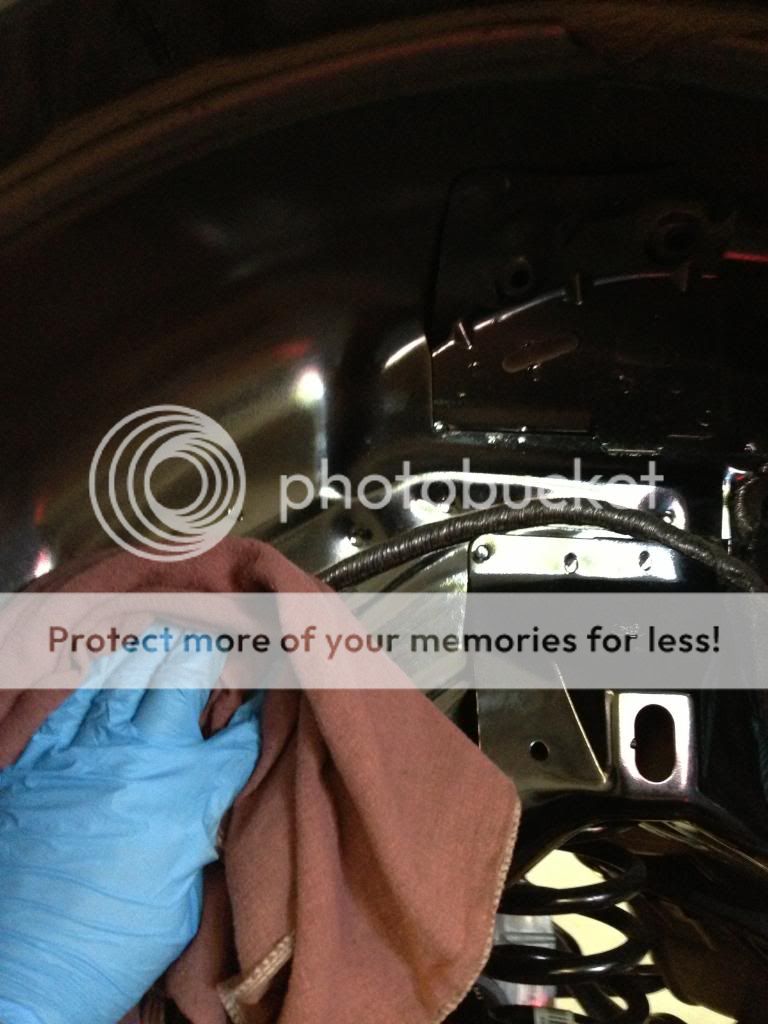
Cleaning her up.
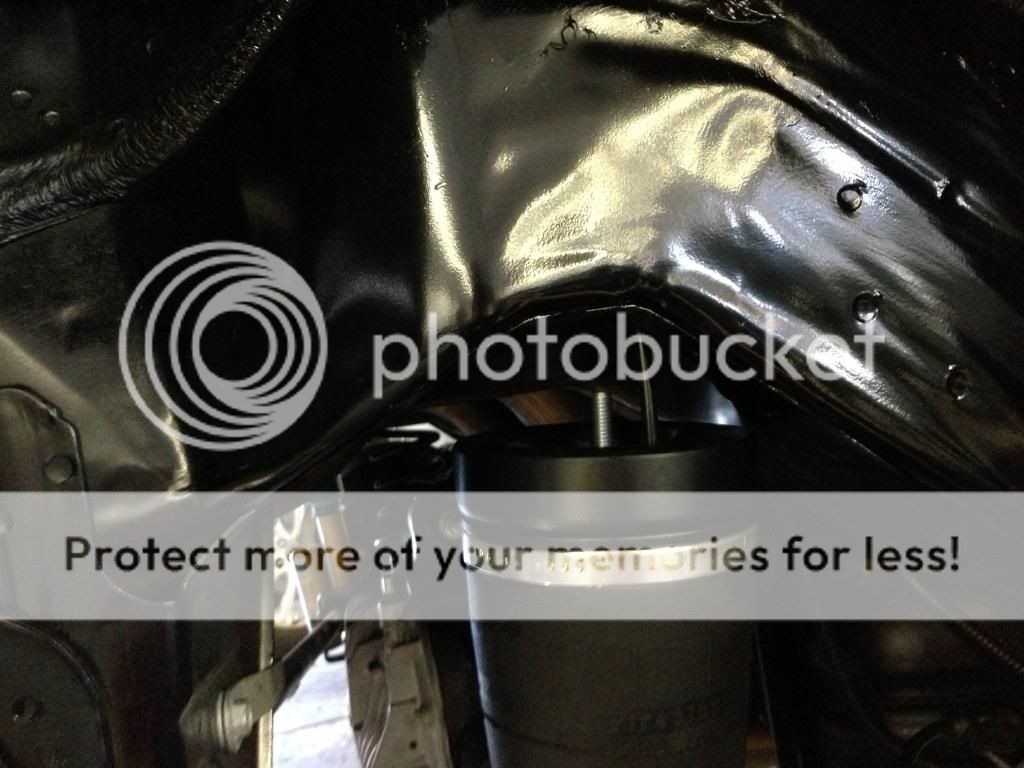
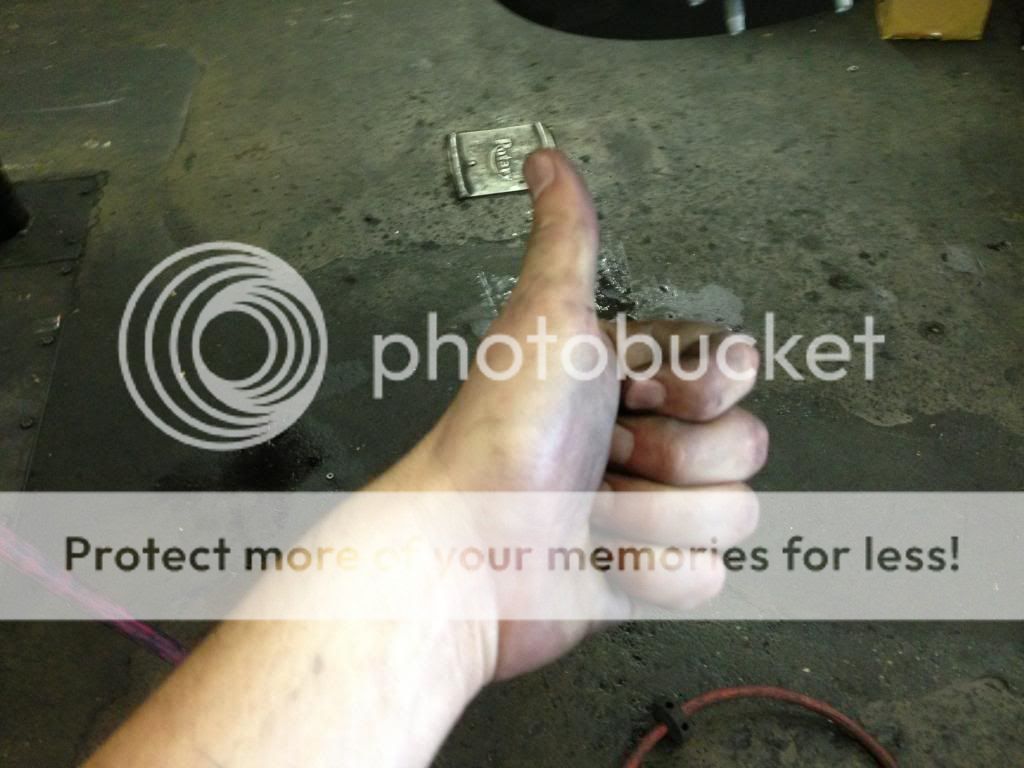
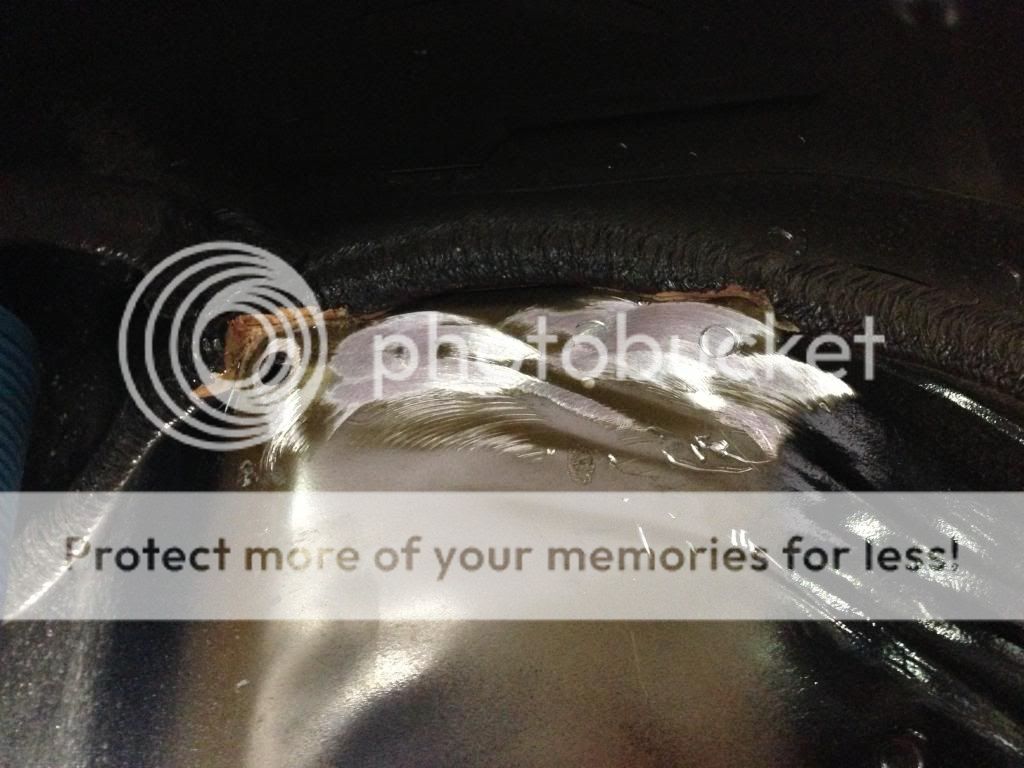
The bracket to be removed.
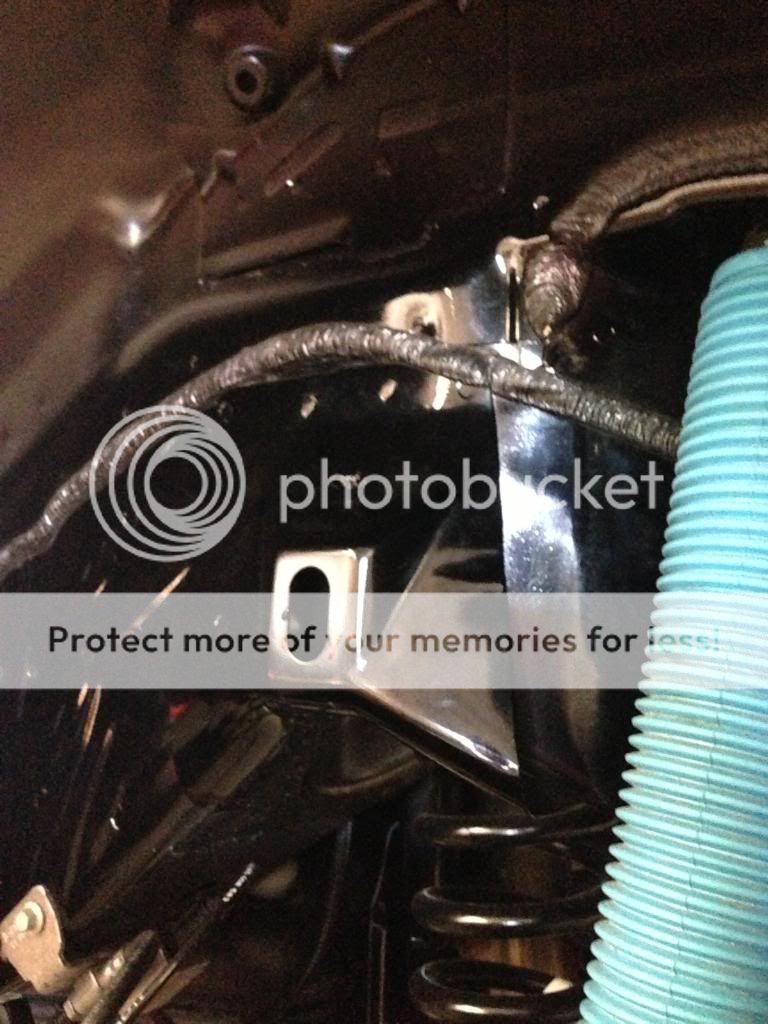
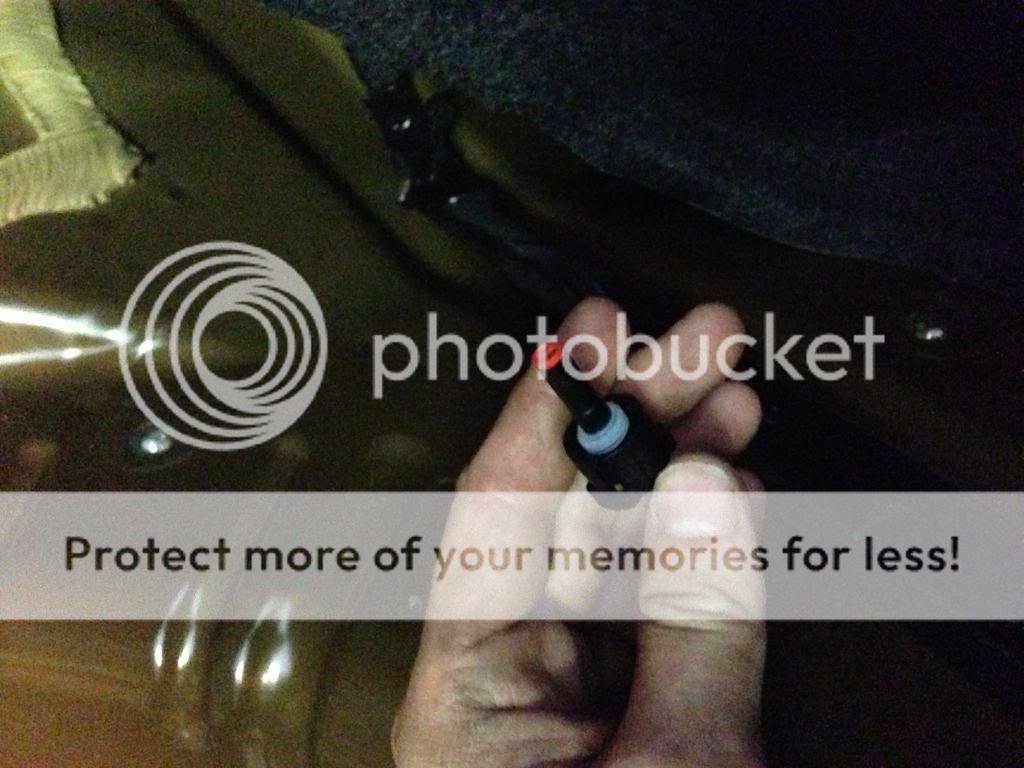
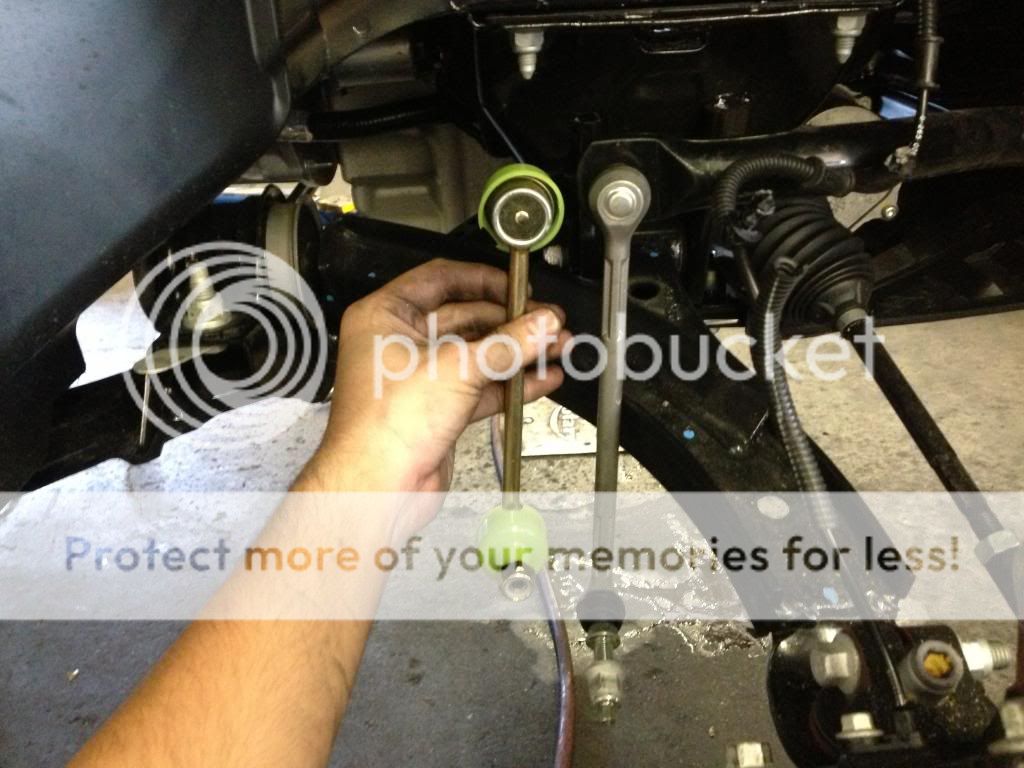
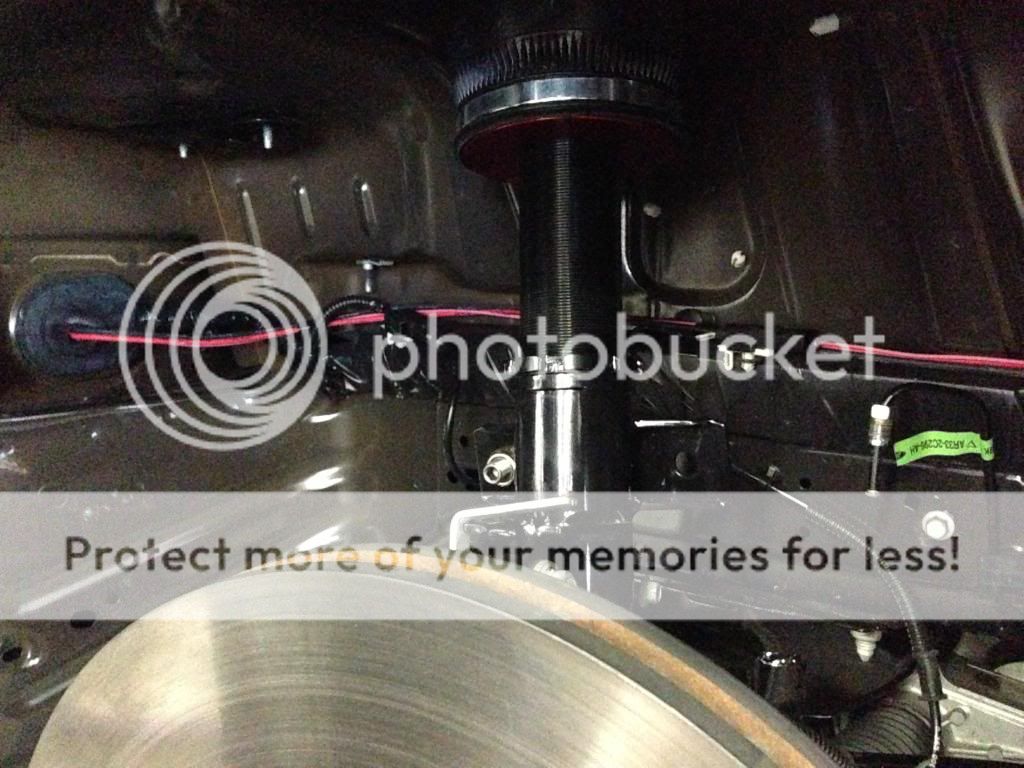
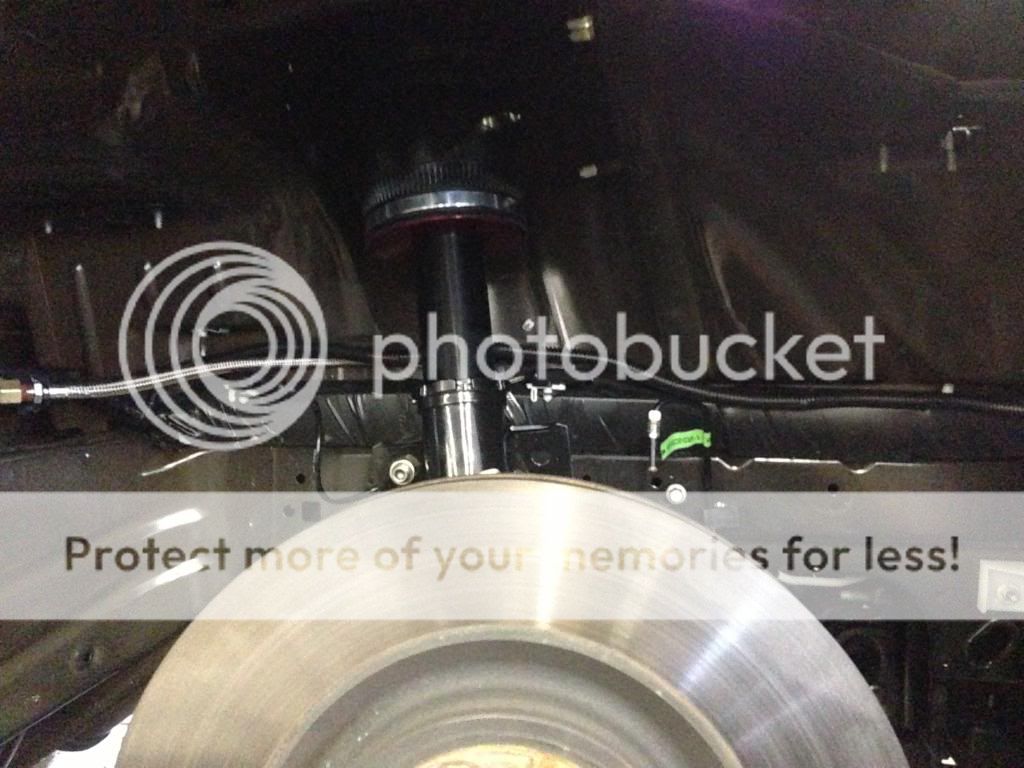
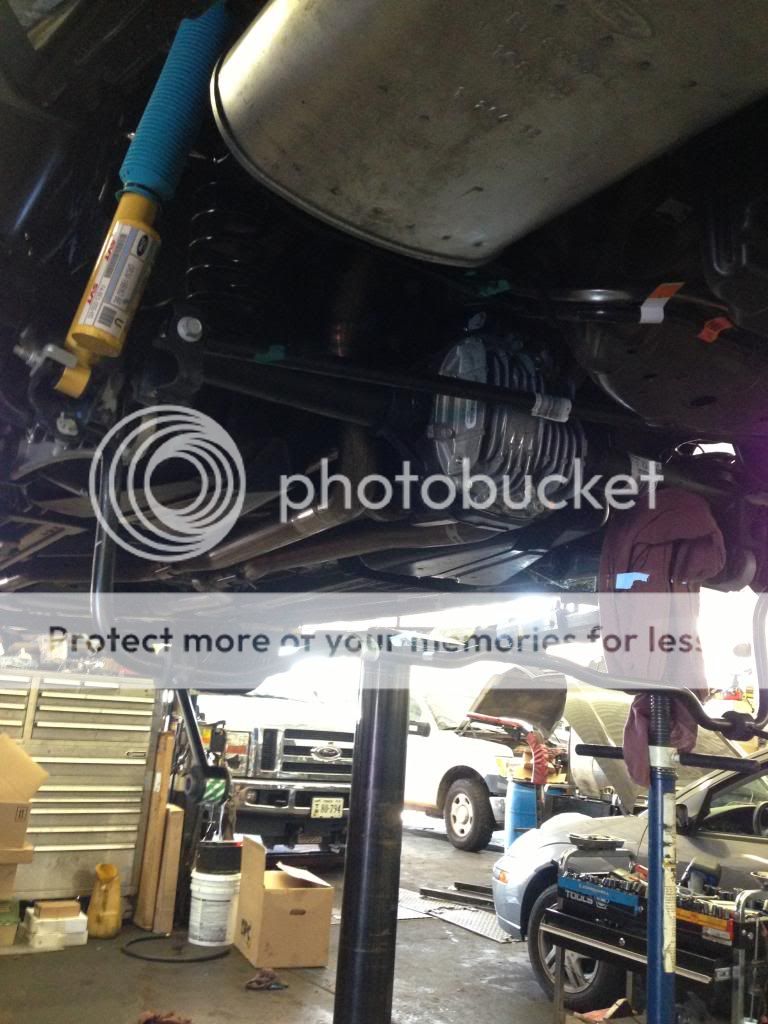
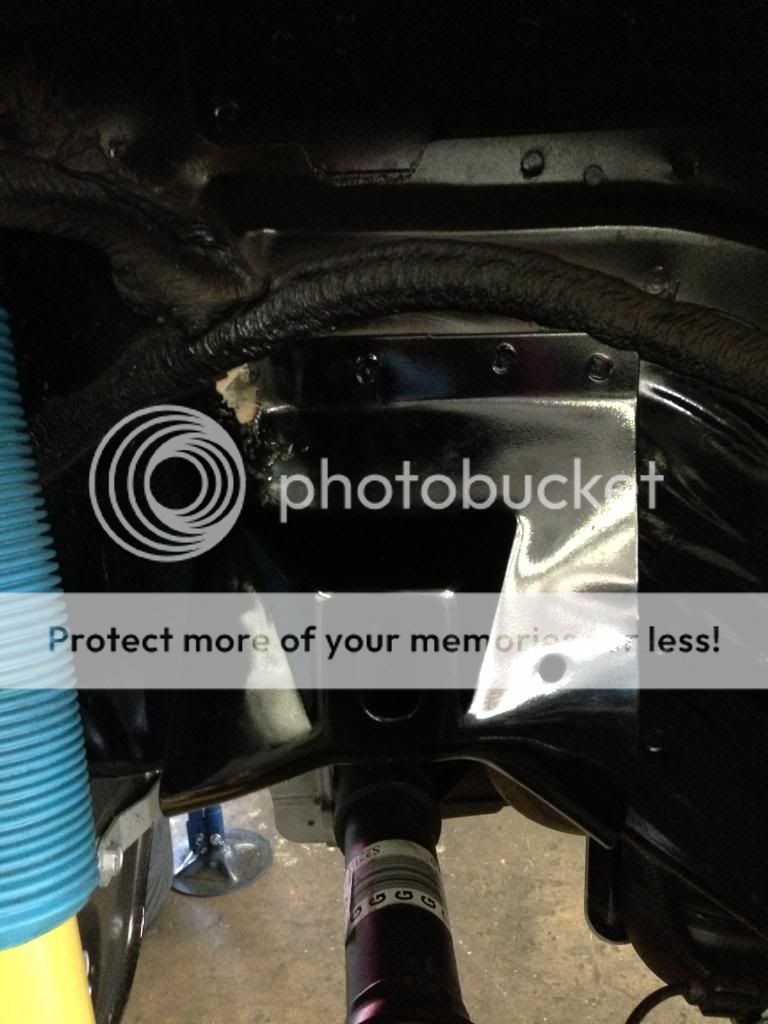
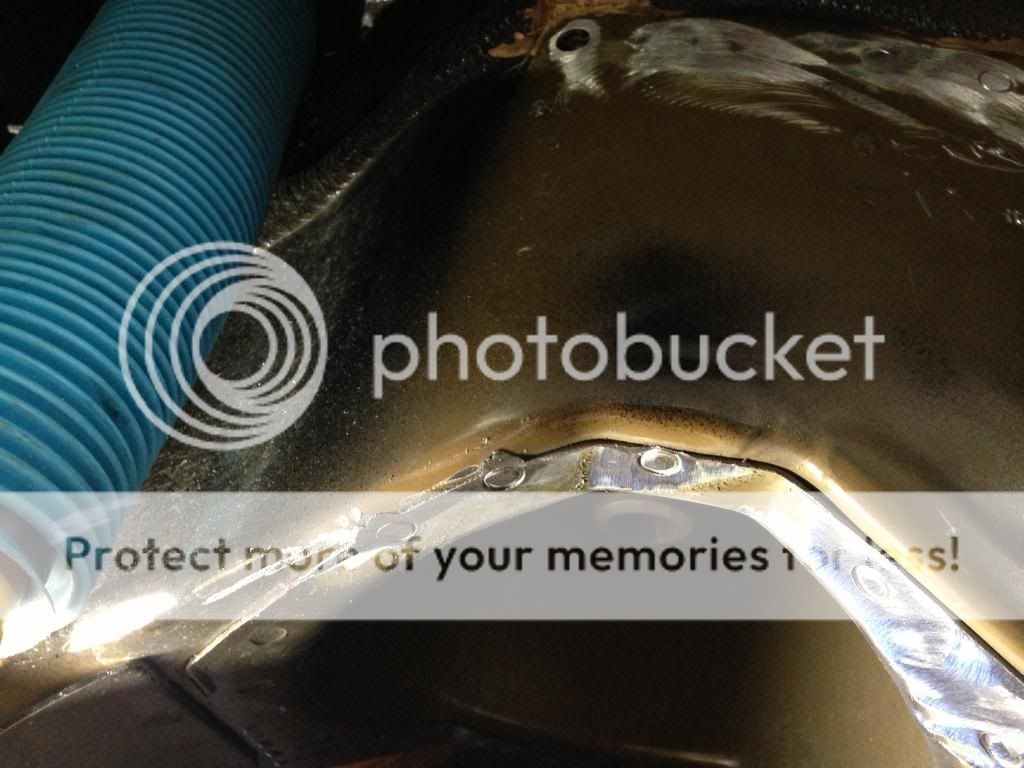
To lower the axle, you need to remove these fun braces on the convertibles
You can remove these things two different ways. You can torch it and bang it with a hammer or you can opt for the more surgical procedure. I elected to do it elegantly to give it an OEM appearance as much as possible.
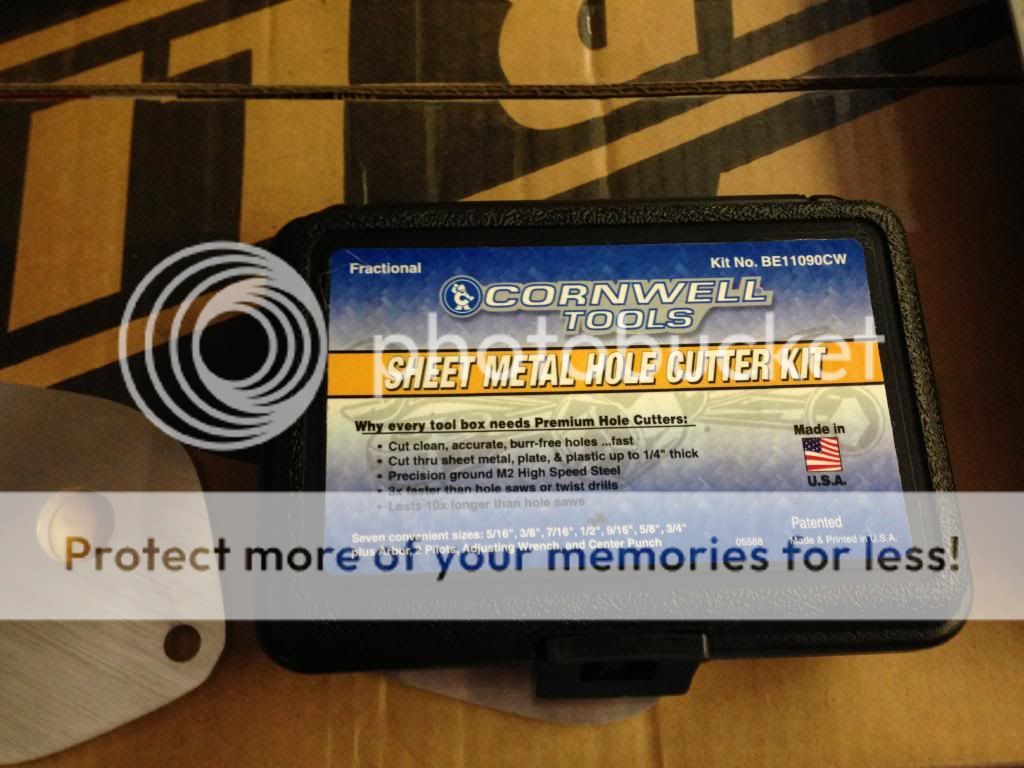
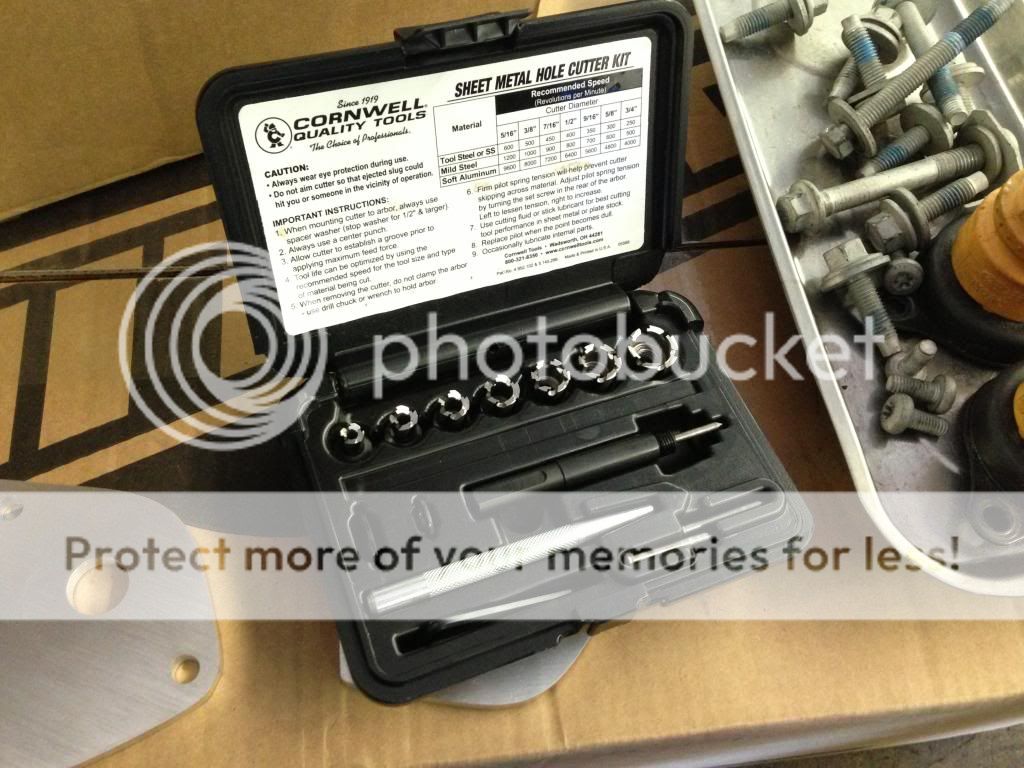
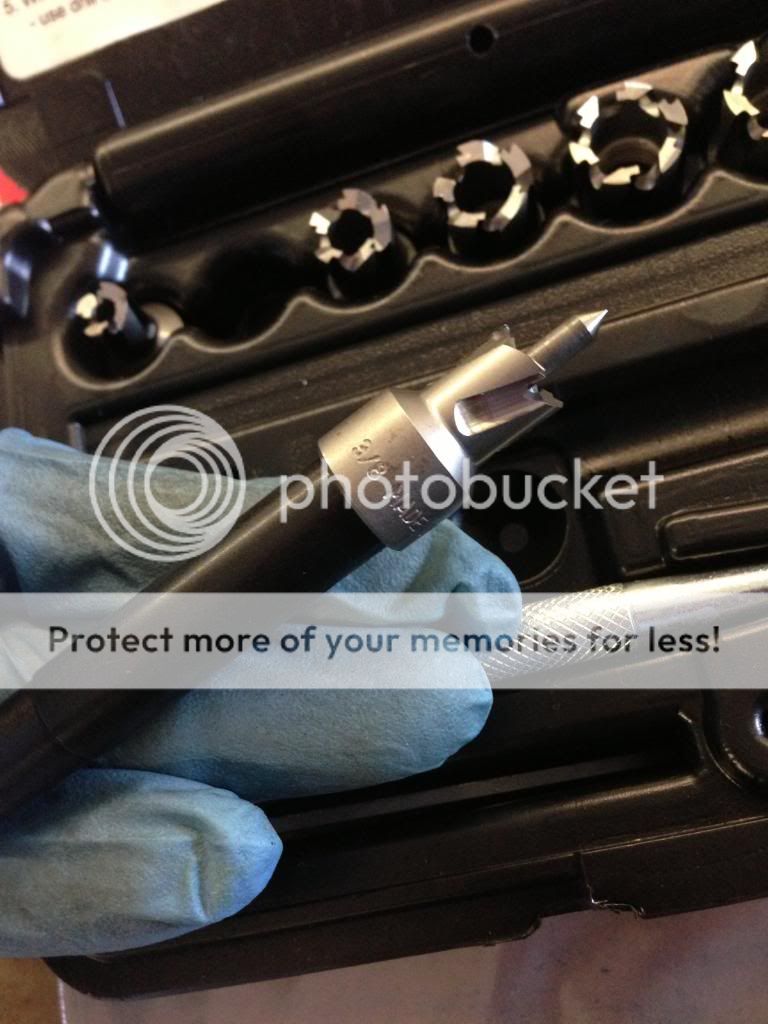
My nifty new spot weld cutting kit.
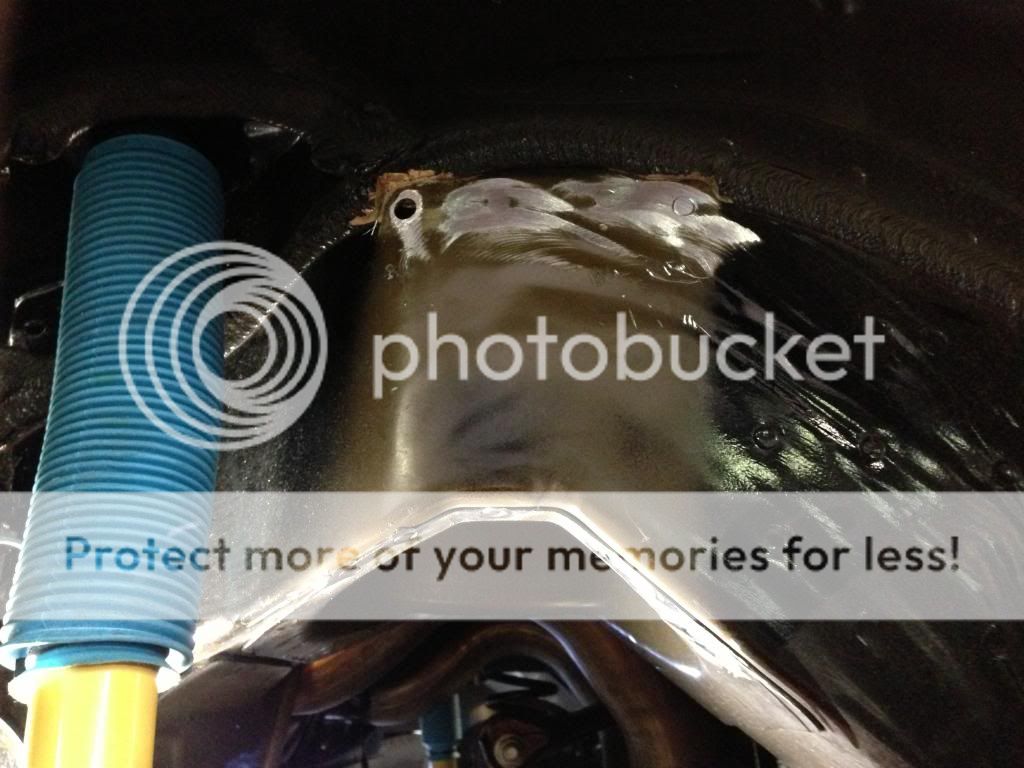
Here is the bracket again… say your good byes
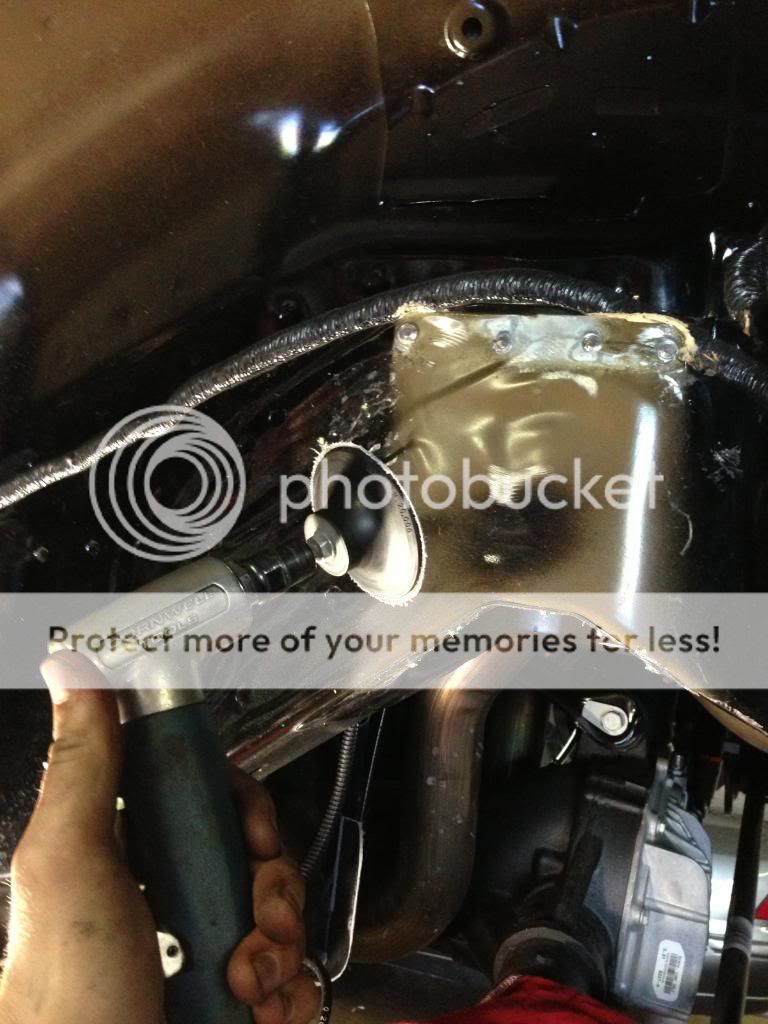
Used a center punch to make it easy to get the drill bit traction. Here it is after a little work. There is 4 Spot welds on the top and 5 on the bottom. The bottom is a bitch.
Fucking bottom.
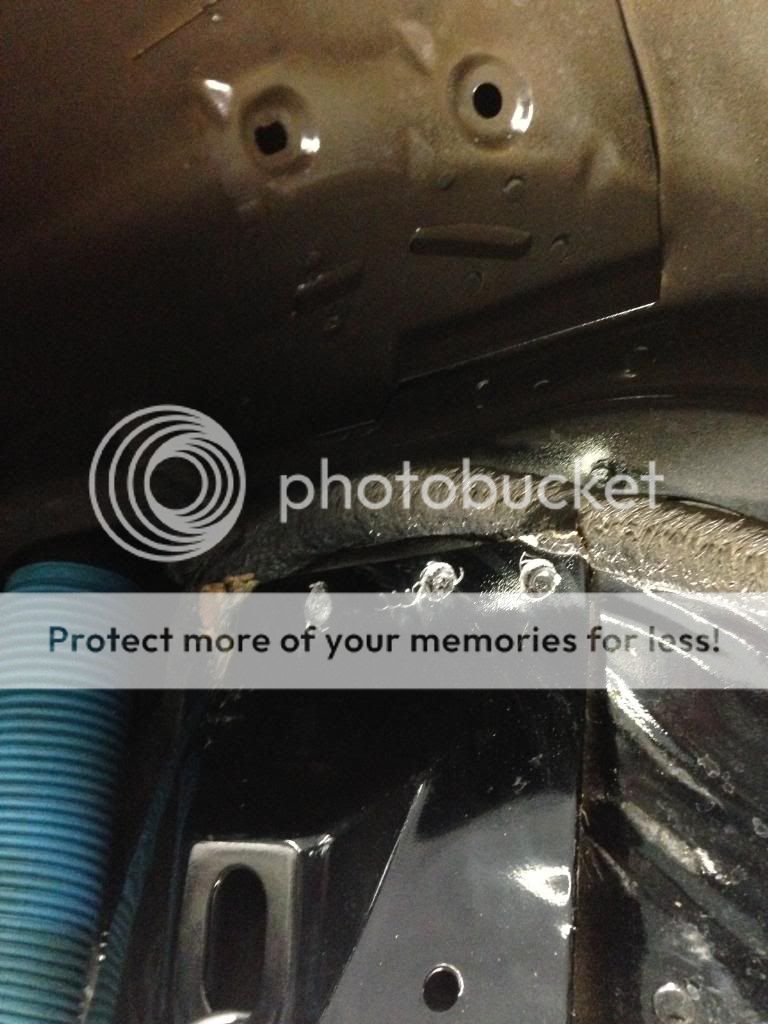
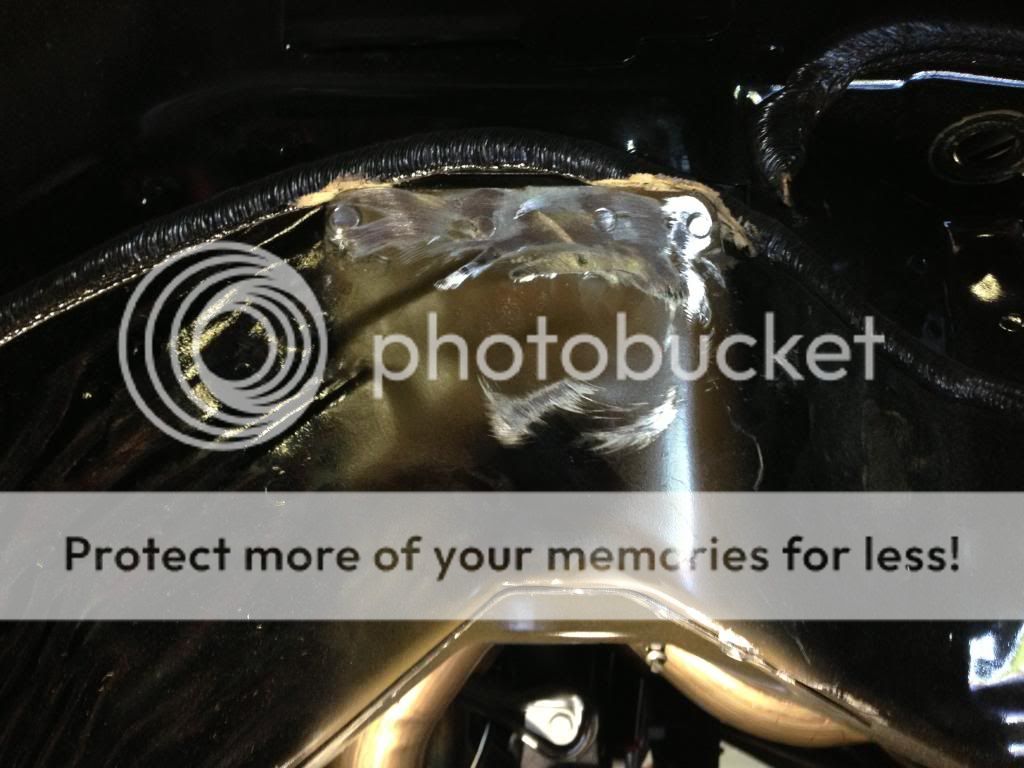
Bracket removed
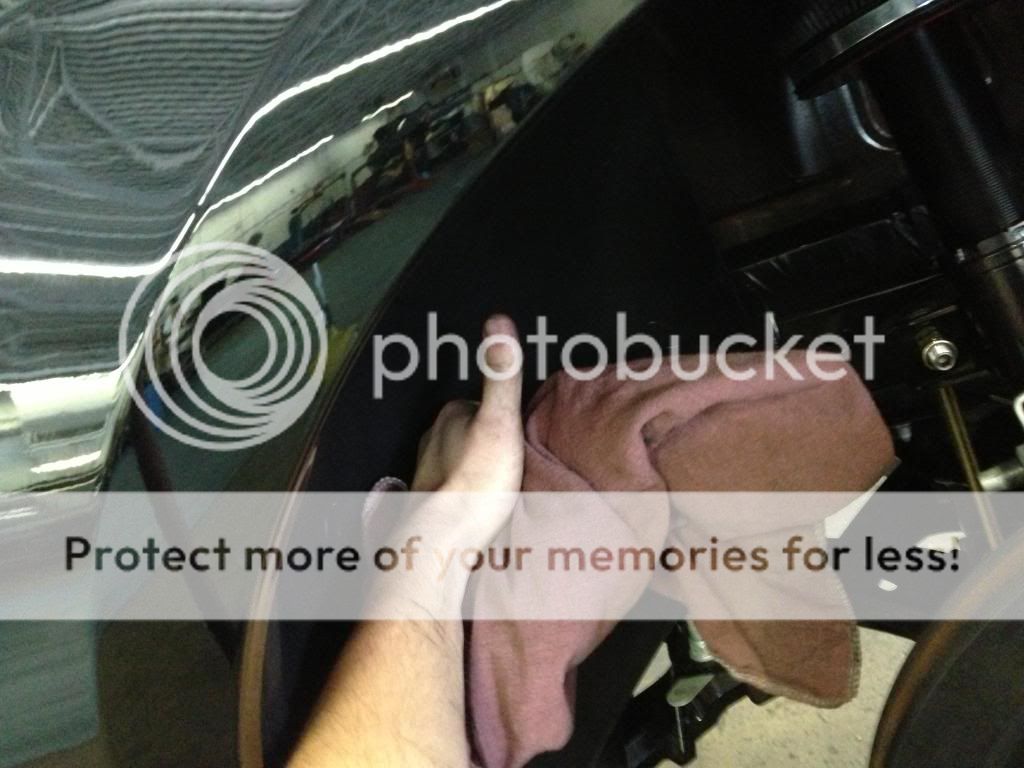
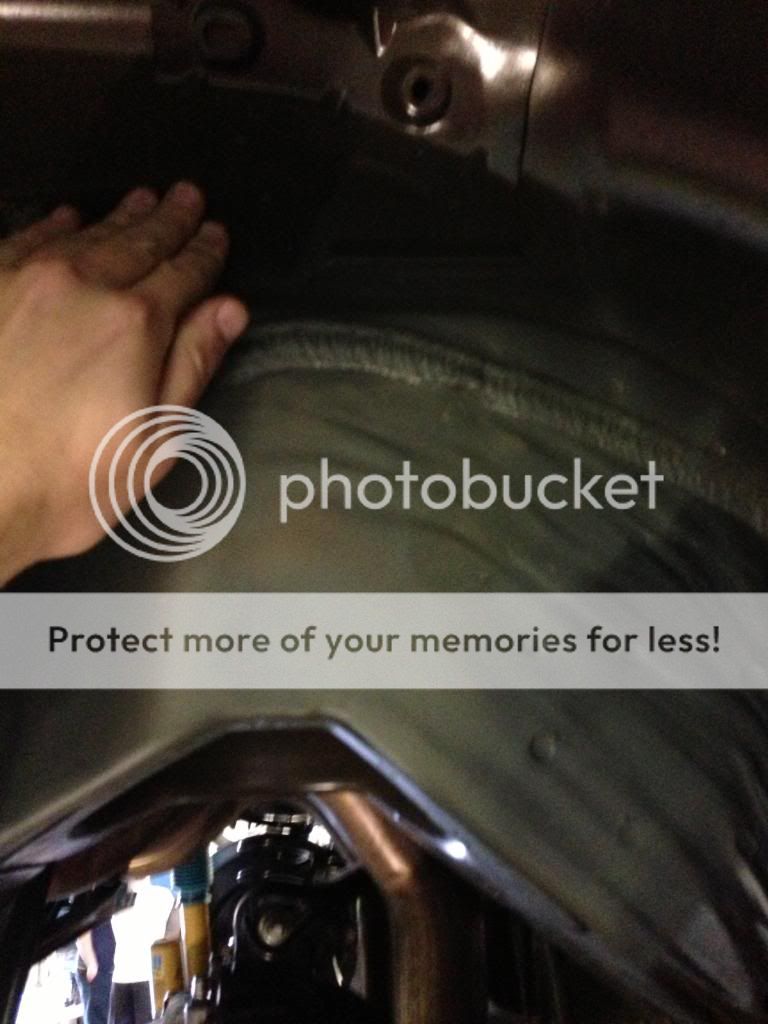
Used compressor wheel to sand down the edges.
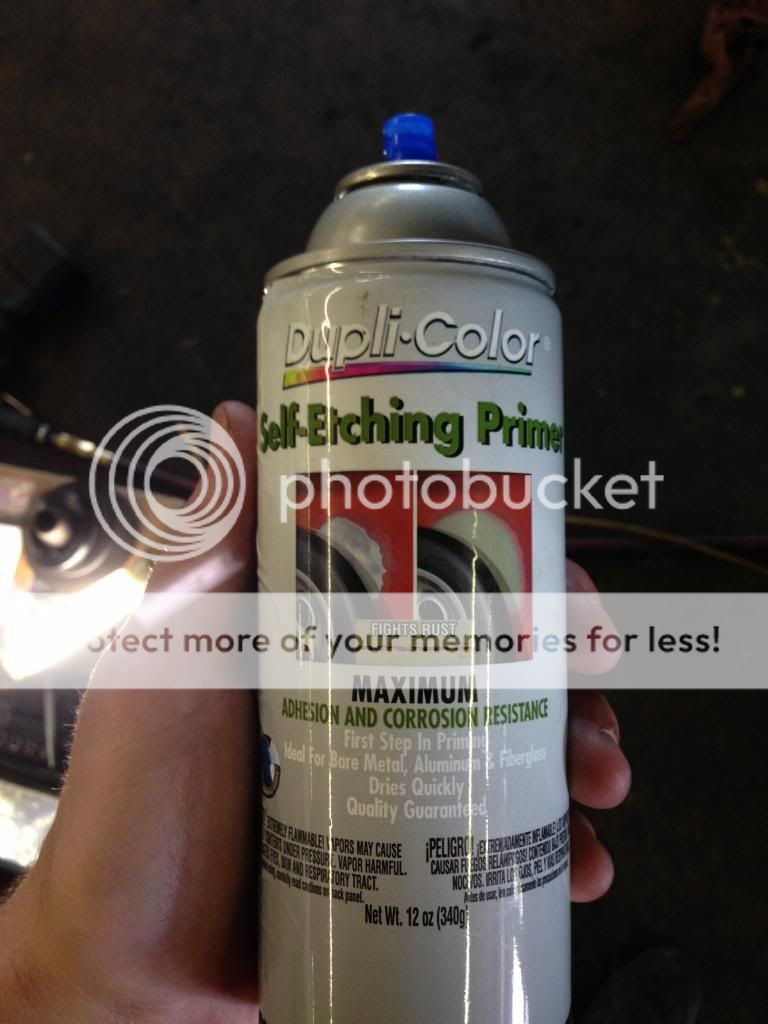
Then used this.
Followed by black gloss paint.
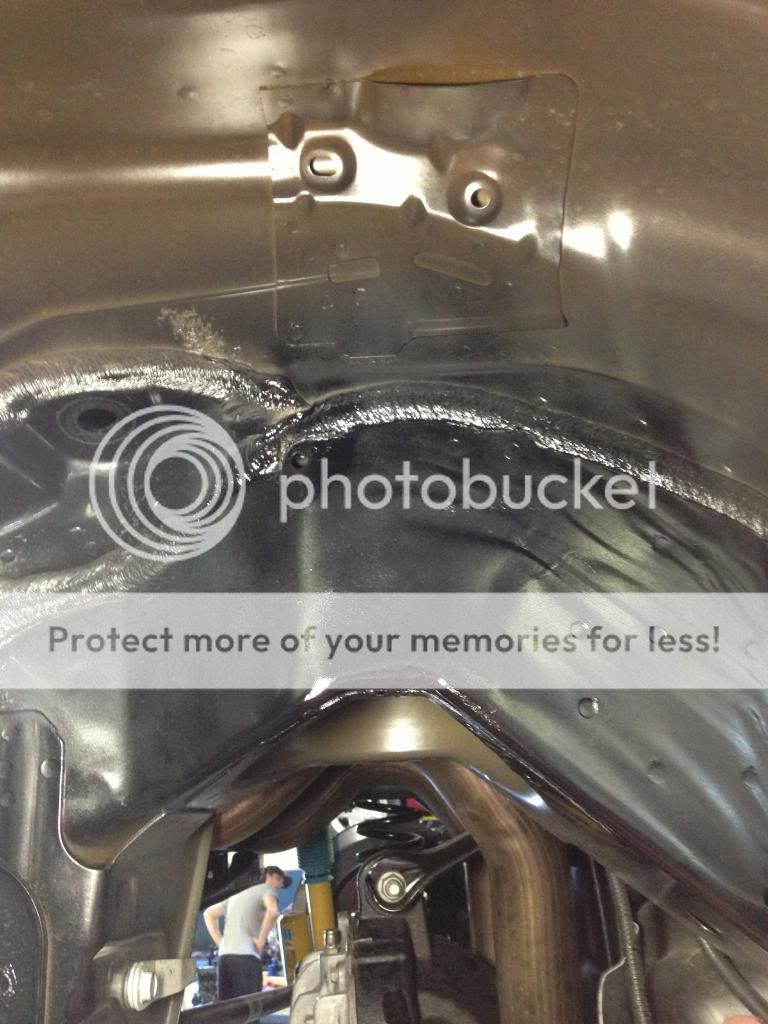
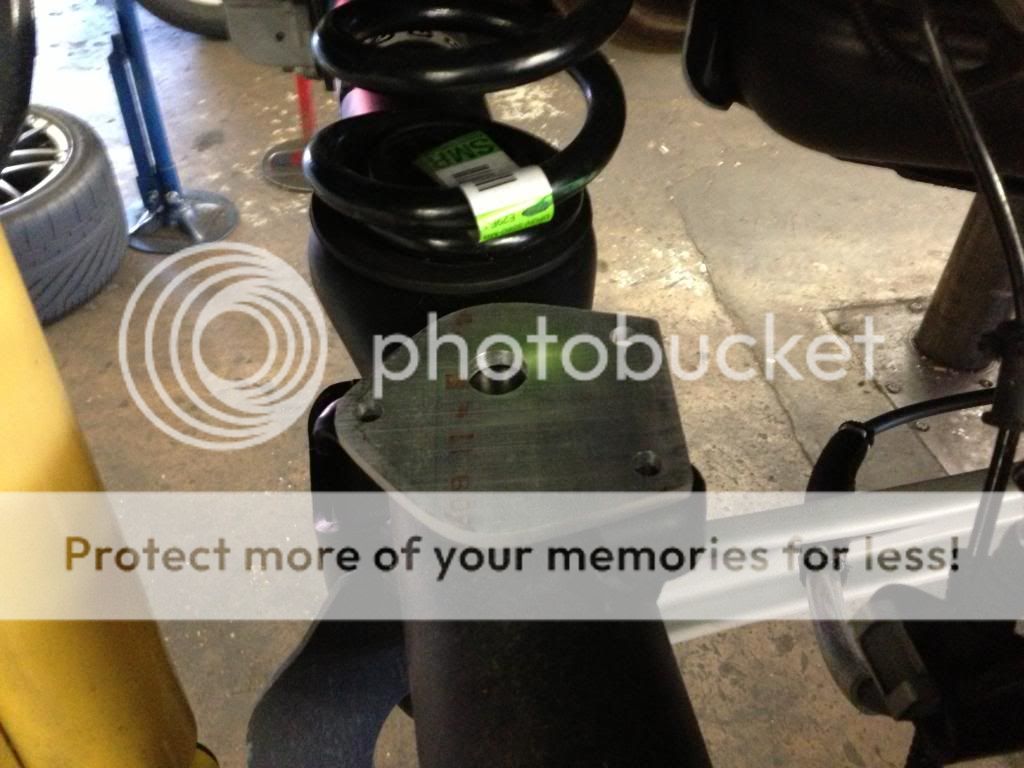
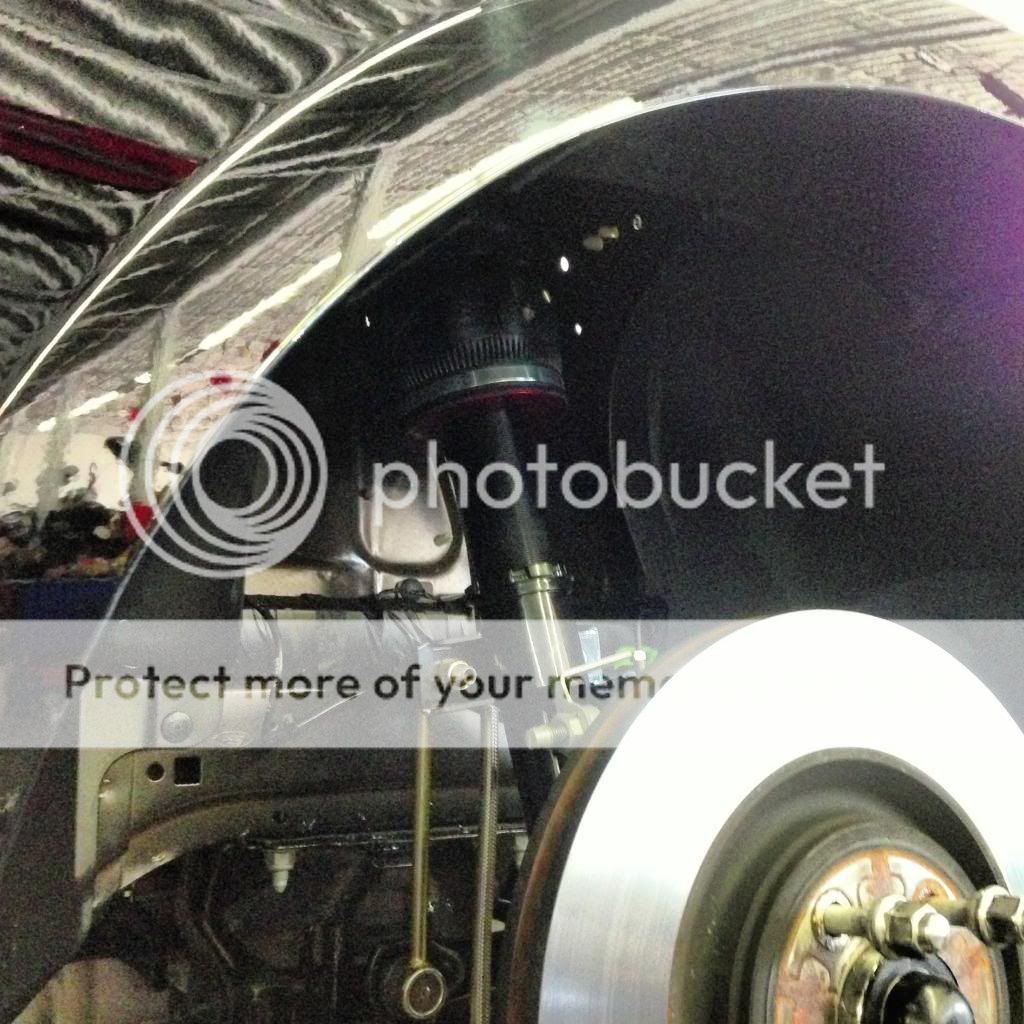
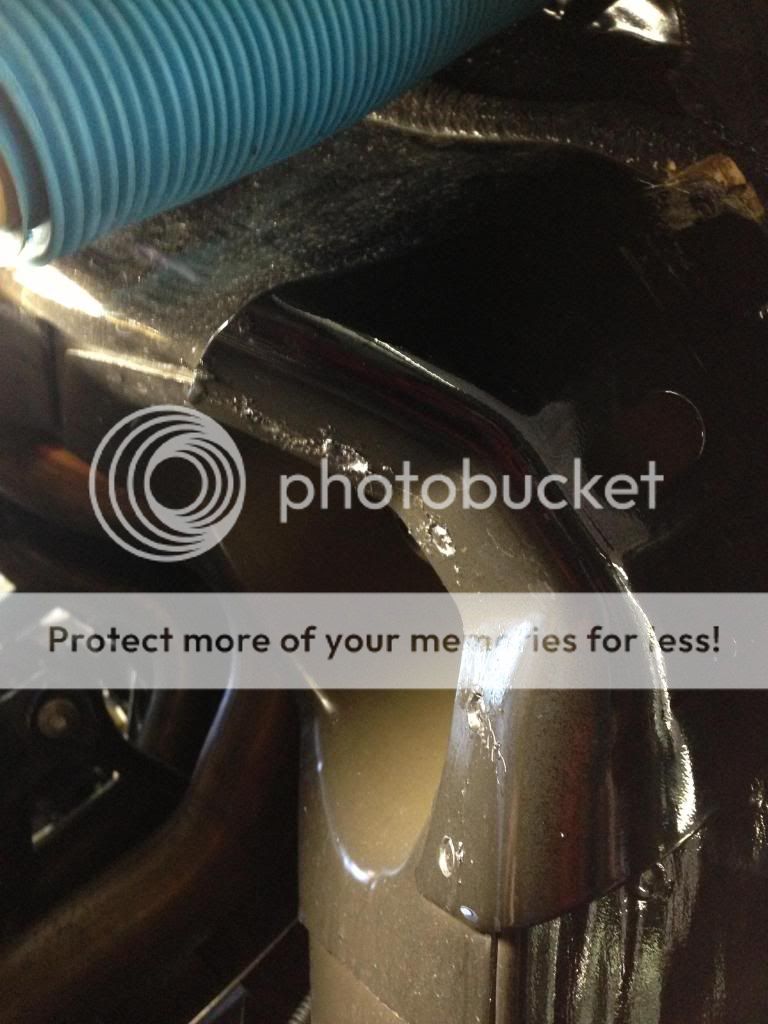
You could never tell there was a bracket there.
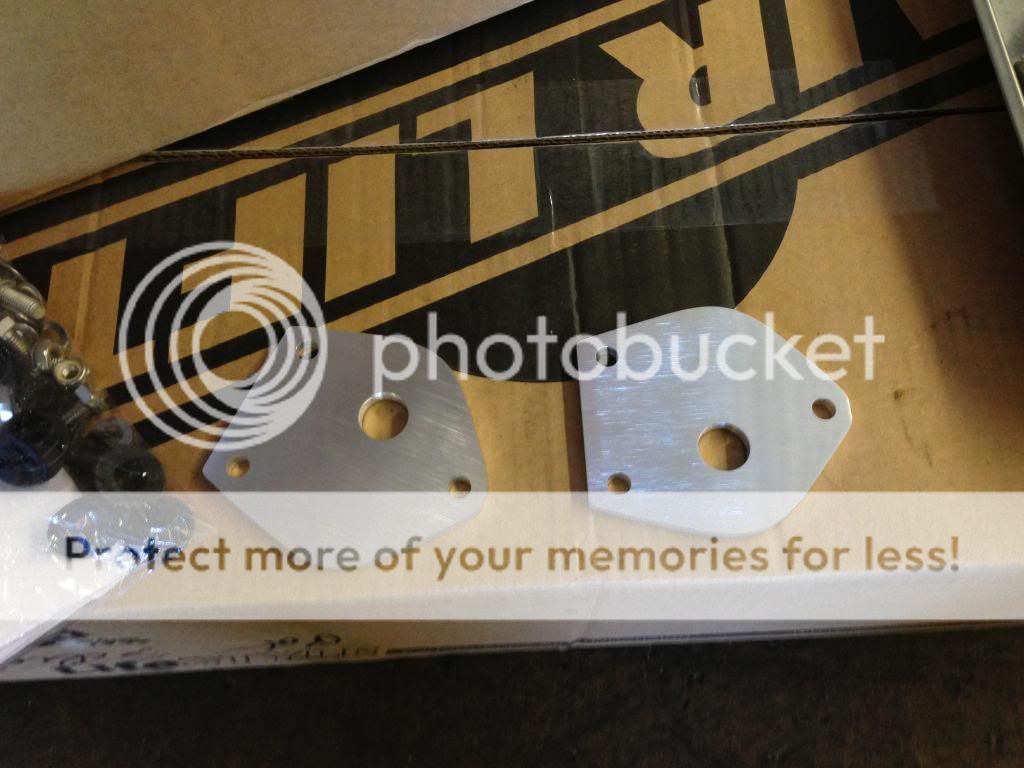
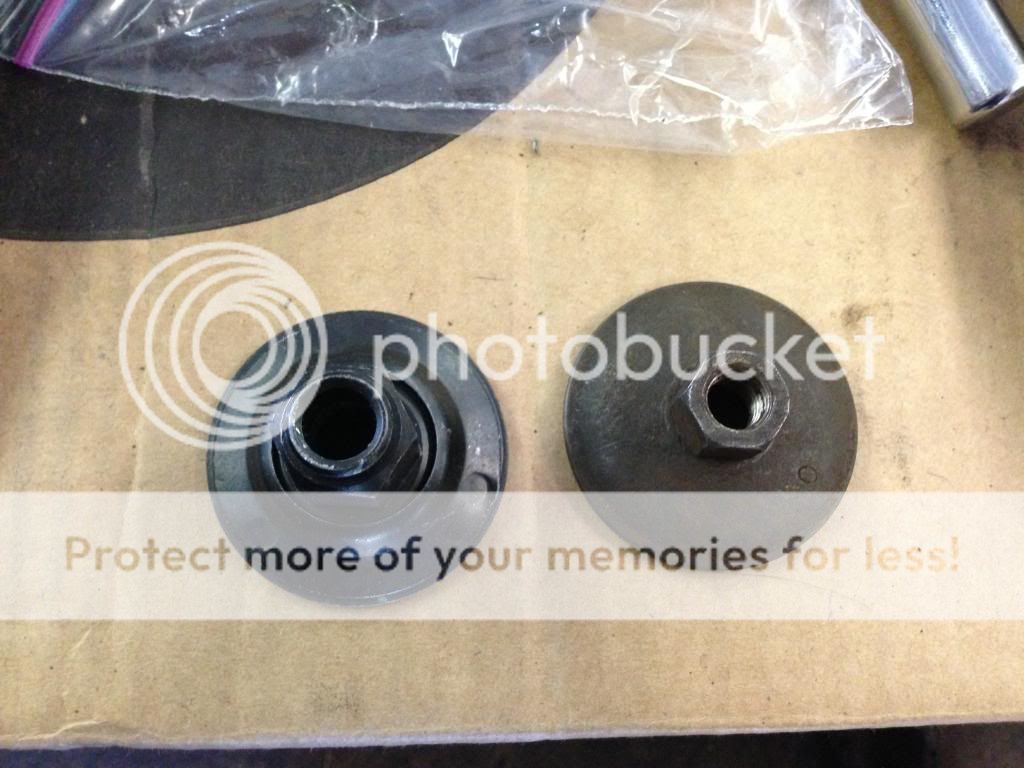
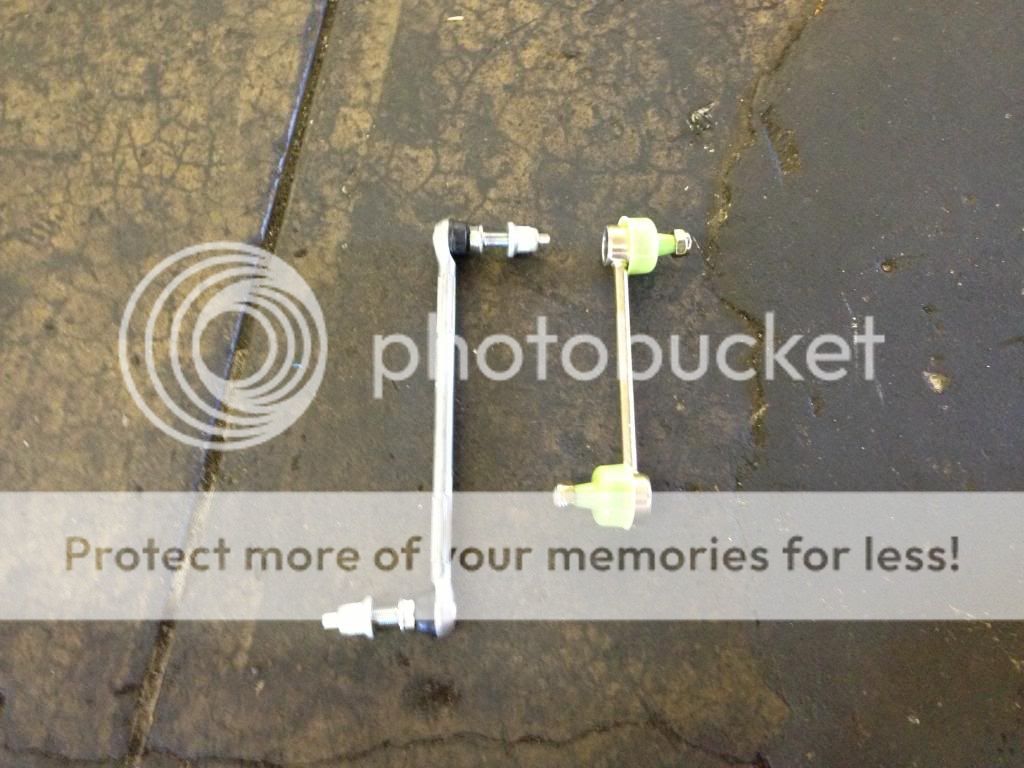
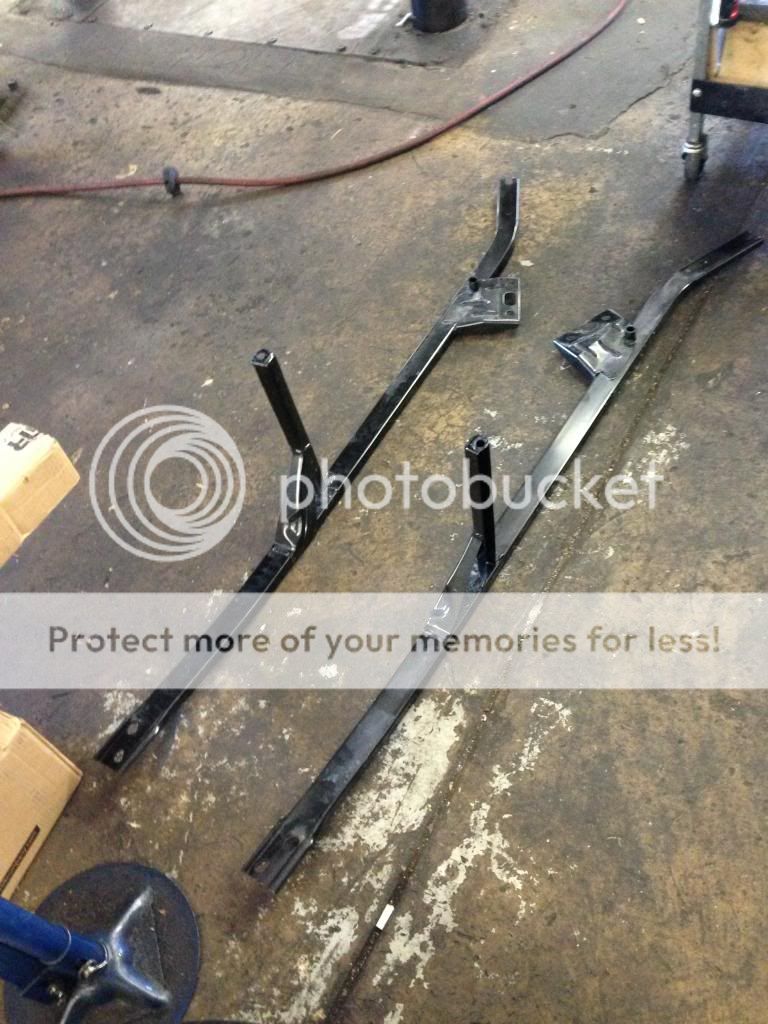
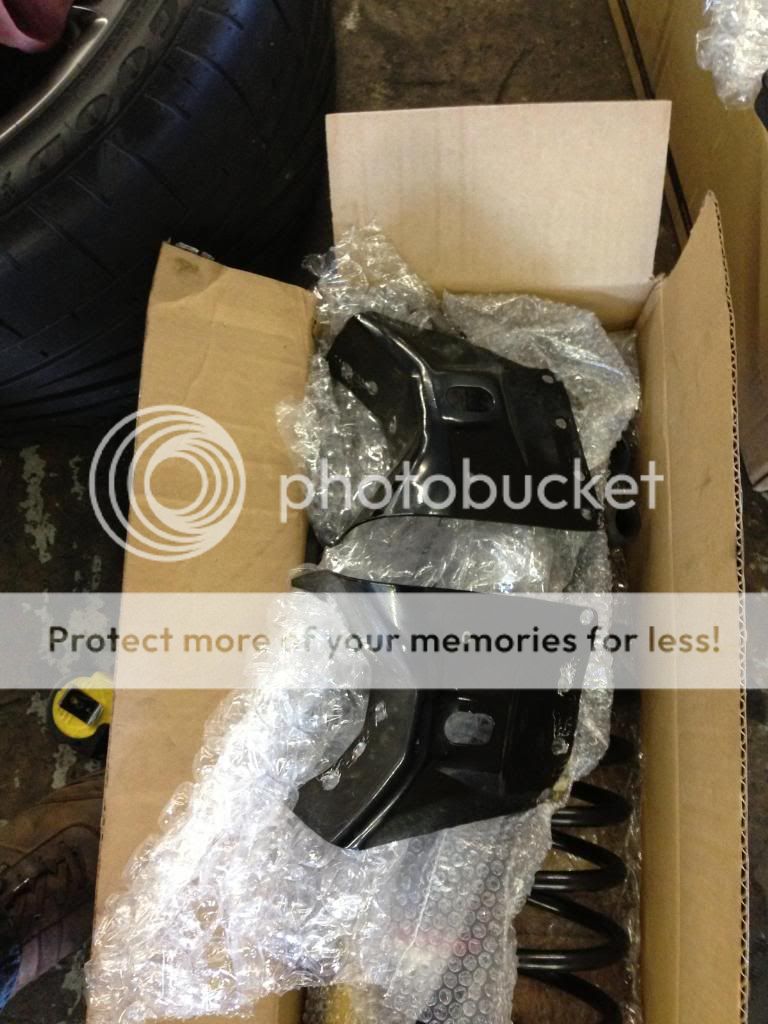
Here are the brackets.
Sorry in advance for the lousy iPhone photos.
In this thread I’ll be doing the following:
-Install AirLift Air Suspension Kit with Digital V2 Controller (P/N: 95723)
-Cutting Bump-Stop Brackets/Relocating Bump Stops
-Installing Rotiform BLQ Wheels 20x10/20x12 (Thanks to Neema)
To begin with… the rear end and removing the Bump Stop Brackets
Cleaning her up.
The bracket to be removed.
To lower the axle, you need to remove these fun braces on the convertibles
You can remove these things two different ways. You can torch it and bang it with a hammer or you can opt for the more surgical procedure. I elected to do it elegantly to give it an OEM appearance as much as possible.
My nifty new spot weld cutting kit.
Here is the bracket again… say your good byes
Used a center punch to make it easy to get the drill bit traction. Here it is after a little work. There is 4 Spot welds on the top and 5 on the bottom. The bottom is a bitch.
Fucking bottom.
Bracket removed
Used compressor wheel to sand down the edges.
Then used this.
Followed by black gloss paint.
You could never tell there was a bracket there.
Here are the brackets.