Hey Everyone,
didn't see a install on here so wanted to share what I ended up doing.
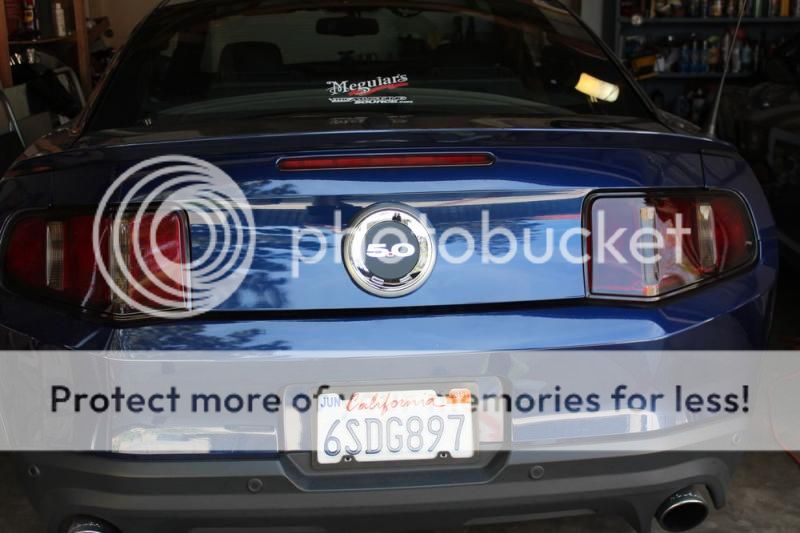
As you all know the back of current 2011+ have the GT emblem.
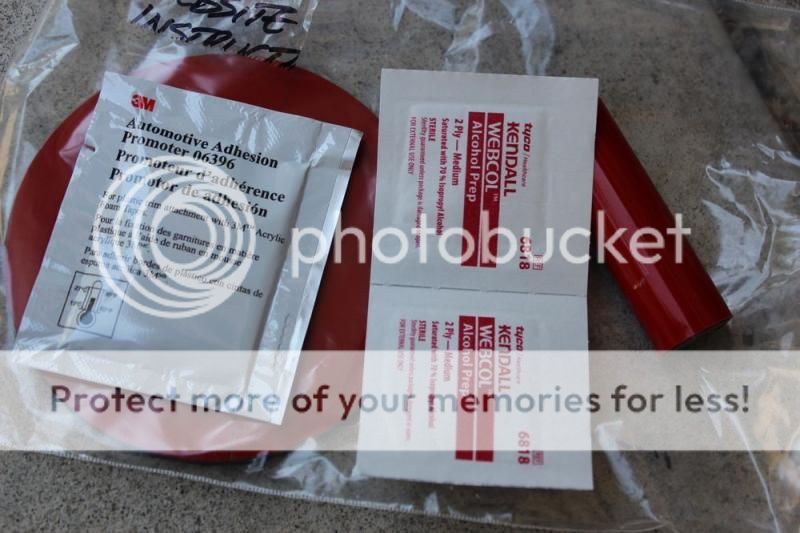
A awesome website called EmblemPros.com has remedied that by making available a replacement.
the following are the steps i used to take off the current GT one and replace it with this pretty nice 5.0 one.

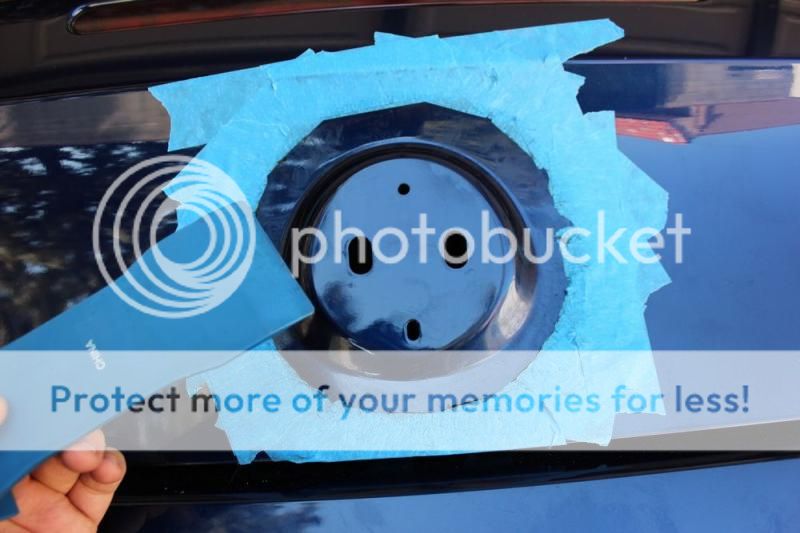
the first step is to lay down some masking tape to protect your finish.

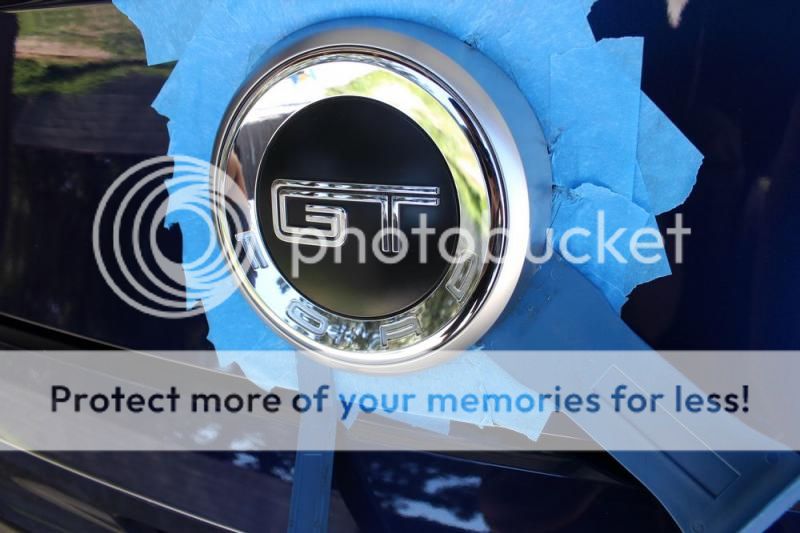
Should look like this when your finished.
the instructions state you can either wrap a flat head screwdriver in a towel and edge around the emblem,
or use fishing wire to saw thru the 3m tape. I have scratch resistant plastic tools and used these instead.
worked around the entire emblem until it was free. becareful not to pry too hard, you can still dent your finish thru the tape if
you push hard enough.
once it comes off, should look like this
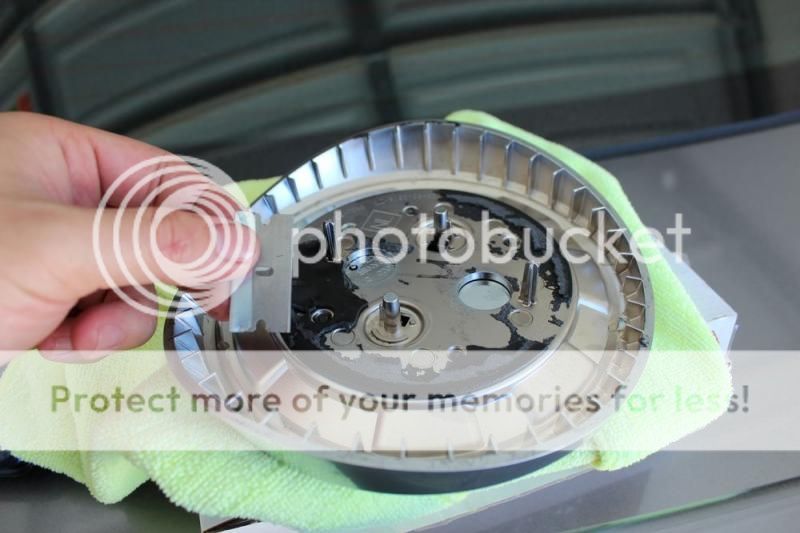
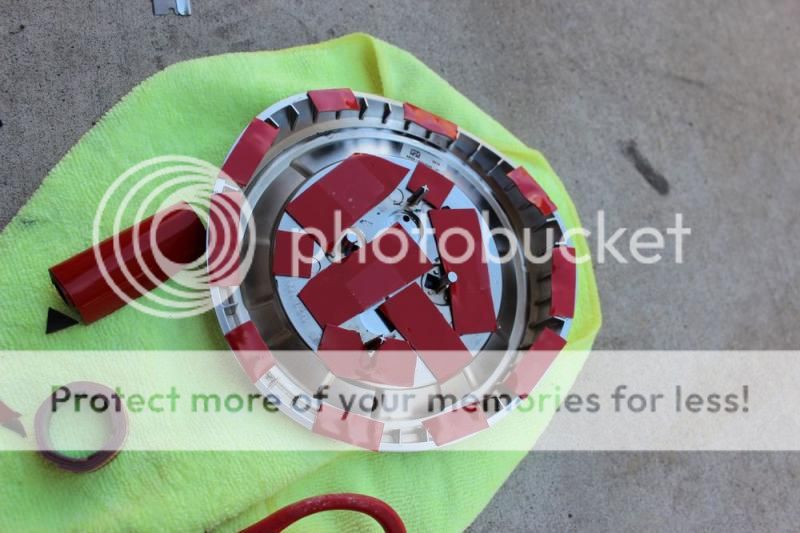
Since the back of the emblem wouldnt be seen, you can use a razor blade to take off the access 3m tape.
Best stuff in the world. it weaken the 3m tape and made clean up much easier.
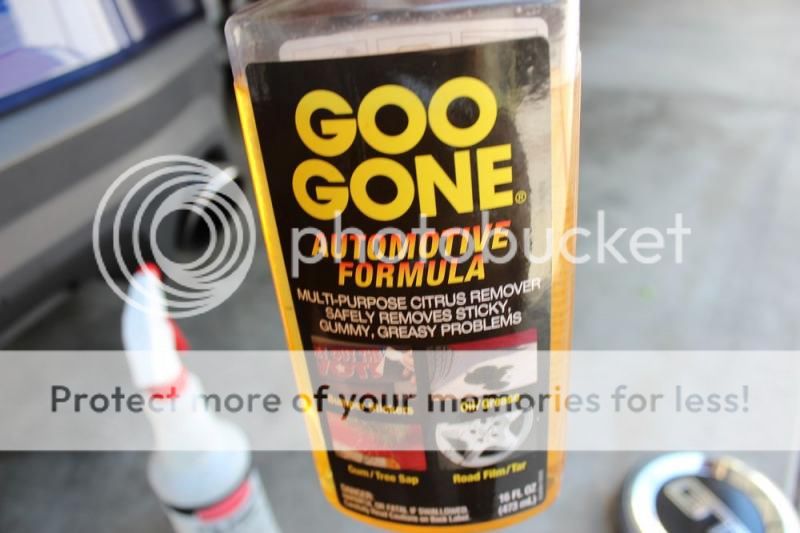
for the truck mounting plate, I used goo gone and the plastic tool to gently scrape it off. worked great and didnt hurt the finish.
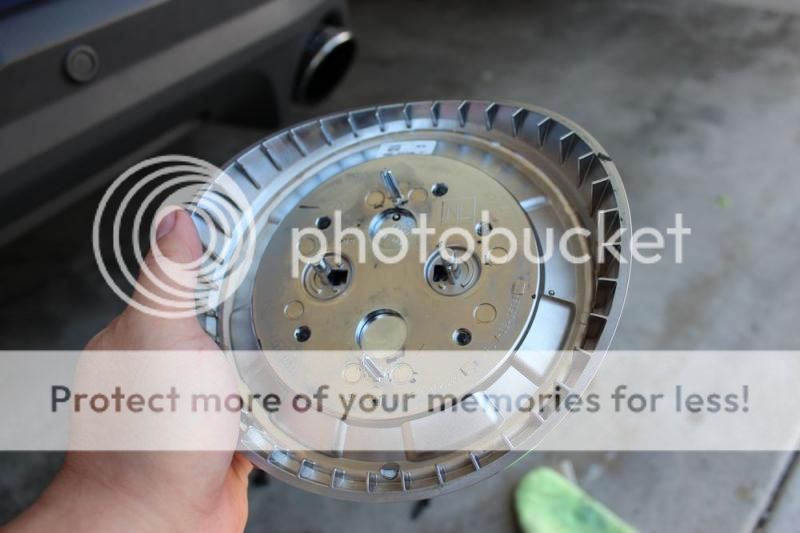
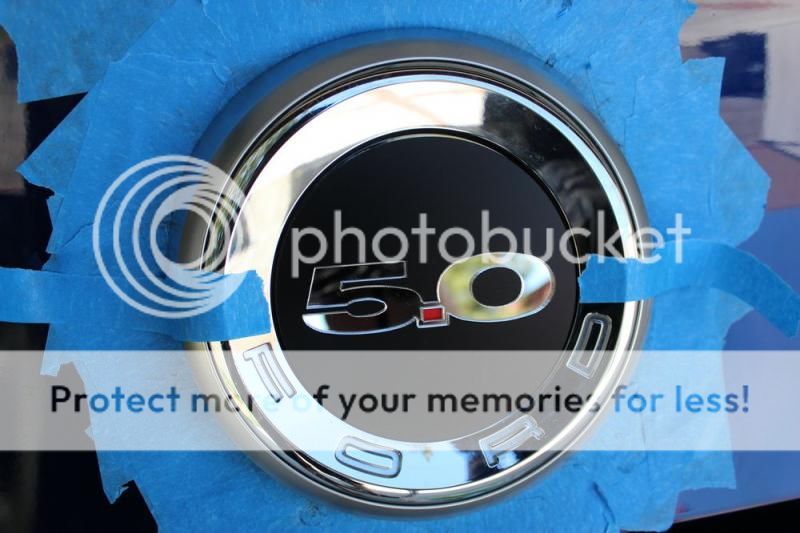
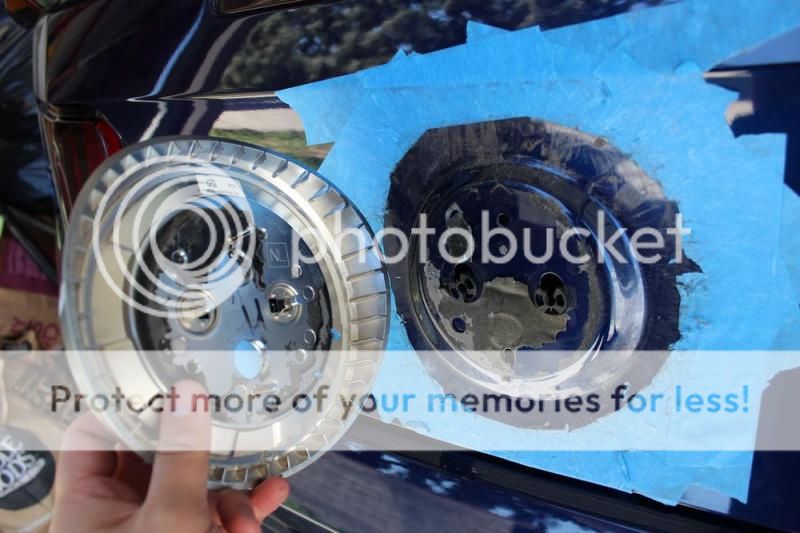
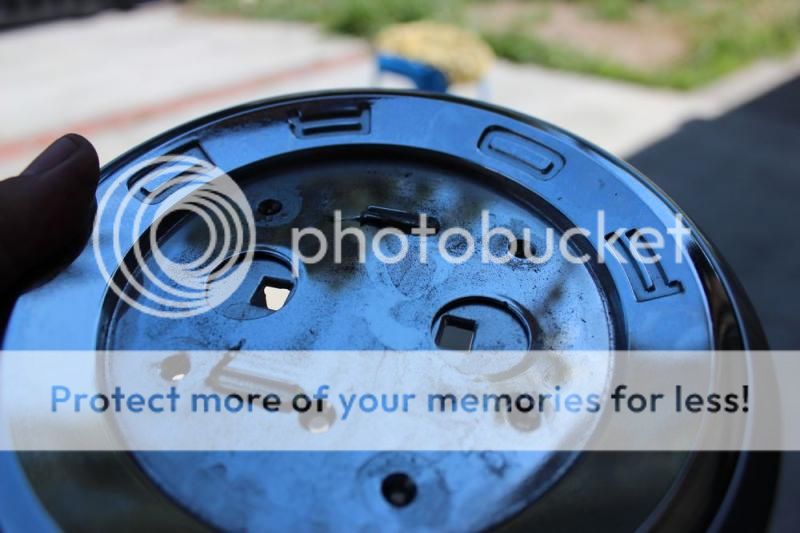
the back of the faux gas cap was easier since the razor did most of the work. used goo gone to clean it up. once finished you should see this.
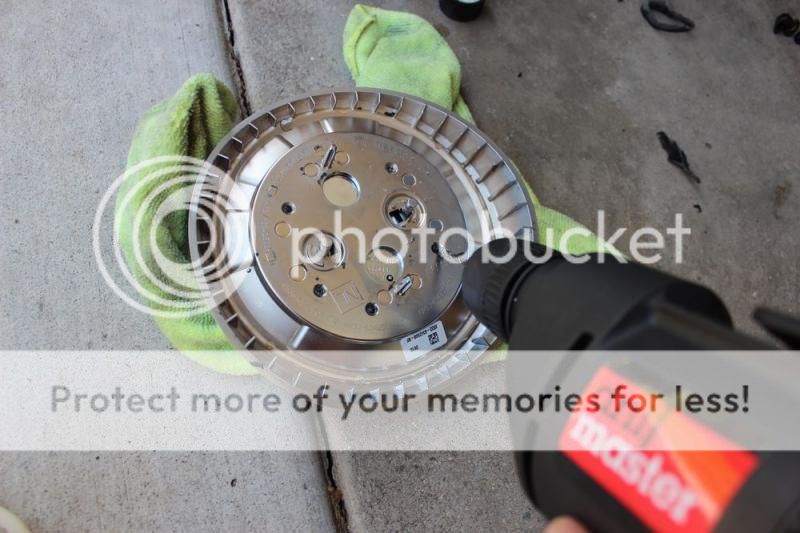
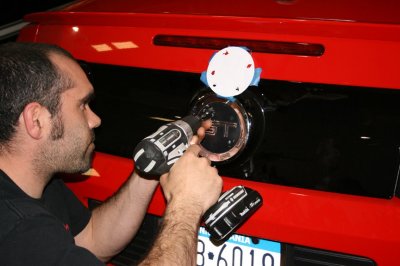
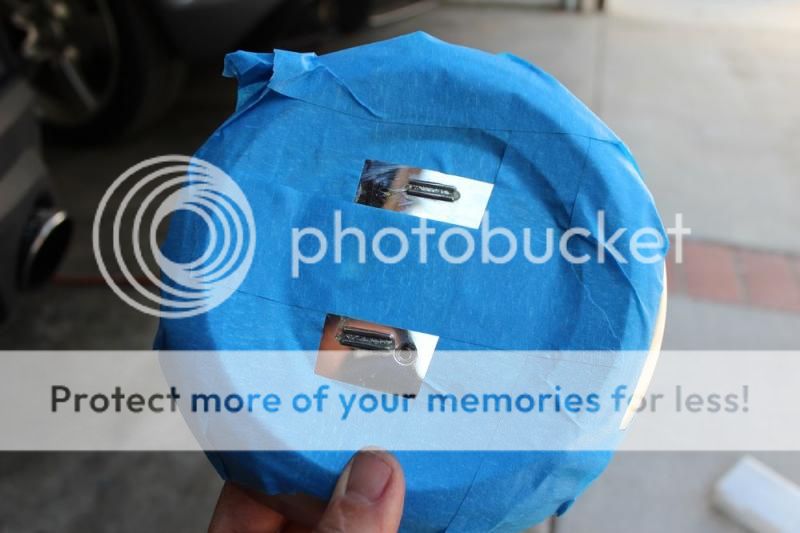
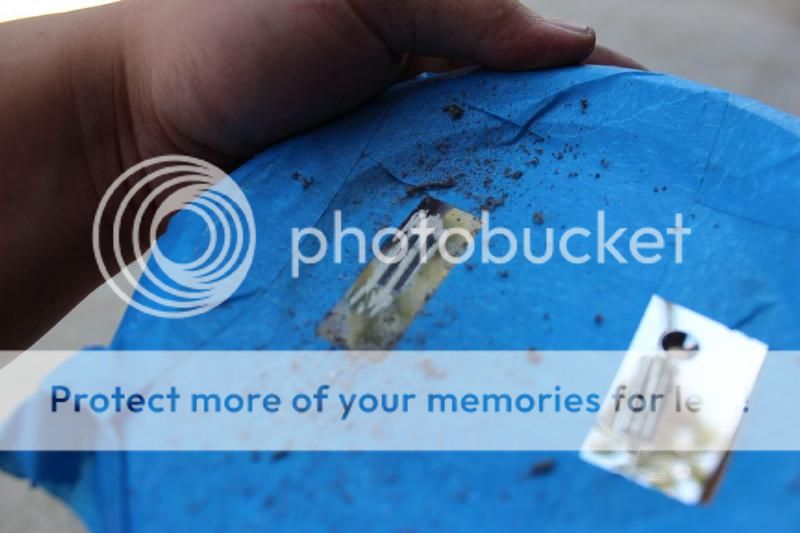
Now you need to get a drill and drill out the plastic retaining posts holding unto the GT emblem. you dont need to drill too far, just enough to break its hold. there are 5 spots where you need to do this.
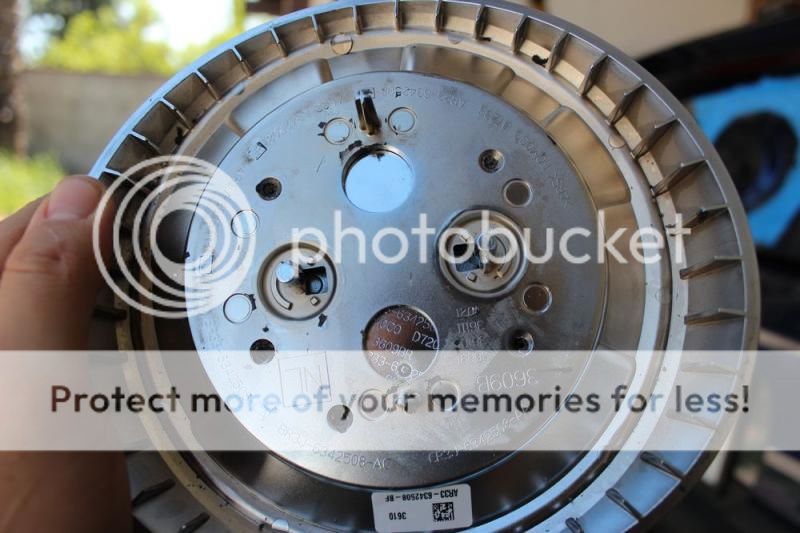
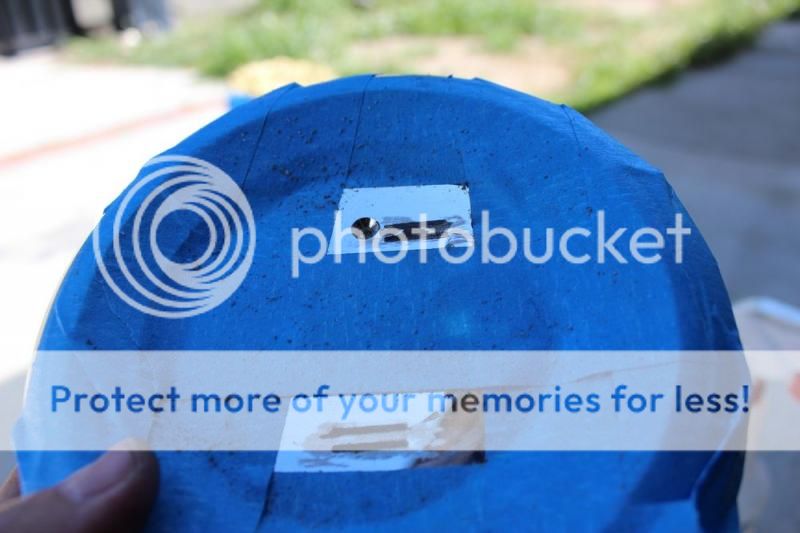
Once finished it will look like this.
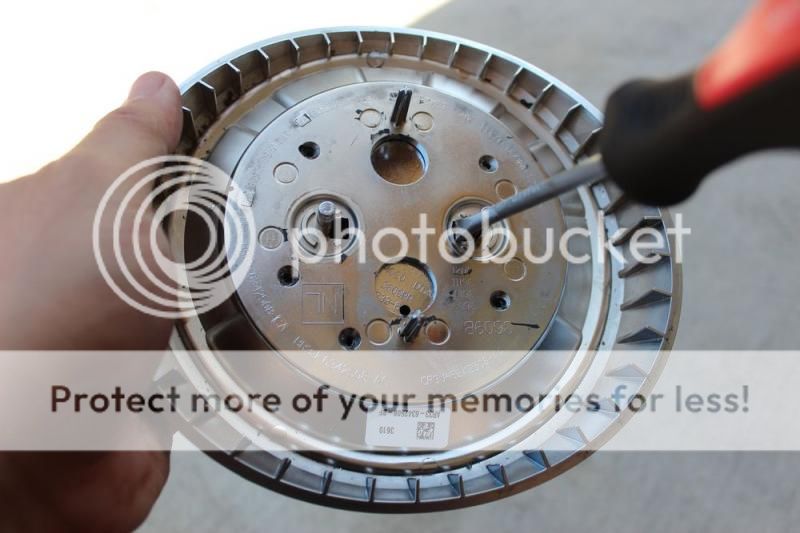
The instructions state to use a flat screw driver in the only 2 square holes on the back.
Do not try and pry it from the front of the emblem as you risk messing up or marring the base of the gas cap.
After some light prying it comes right off and looks like this.
Now there are two sets of raised bars on the FRONT of the gas cap. You will need to dremel or sand these down flat so the new one can fit flush. Me being OCD made sure I taped off any area that I wasn’t working on. So just the 2 spots were exposed.
First one grounded down.
didn't see a install on here so wanted to share what I ended up doing.
As you all know the back of current 2011+ have the GT emblem.
A awesome website called EmblemPros.com has remedied that by making available a replacement.
the following are the steps i used to take off the current GT one and replace it with this pretty nice 5.0 one.
the first step is to lay down some masking tape to protect your finish.
Should look like this when your finished.
the instructions state you can either wrap a flat head screwdriver in a towel and edge around the emblem,
or use fishing wire to saw thru the 3m tape. I have scratch resistant plastic tools and used these instead.
worked around the entire emblem until it was free. becareful not to pry too hard, you can still dent your finish thru the tape if
you push hard enough.
once it comes off, should look like this
Since the back of the emblem wouldnt be seen, you can use a razor blade to take off the access 3m tape.
Best stuff in the world. it weaken the 3m tape and made clean up much easier.
for the truck mounting plate, I used goo gone and the plastic tool to gently scrape it off. worked great and didnt hurt the finish.
the back of the faux gas cap was easier since the razor did most of the work. used goo gone to clean it up. once finished you should see this.
Now you need to get a drill and drill out the plastic retaining posts holding unto the GT emblem. you dont need to drill too far, just enough to break its hold. there are 5 spots where you need to do this.
Once finished it will look like this.
The instructions state to use a flat screw driver in the only 2 square holes on the back.
Do not try and pry it from the front of the emblem as you risk messing up or marring the base of the gas cap.
After some light prying it comes right off and looks like this.
Now there are two sets of raised bars on the FRONT of the gas cap. You will need to dremel or sand these down flat so the new one can fit flush. Me being OCD made sure I taped off any area that I wasn’t working on. So just the 2 spots were exposed.
First one grounded down.
Last edited: