menace07
forum member
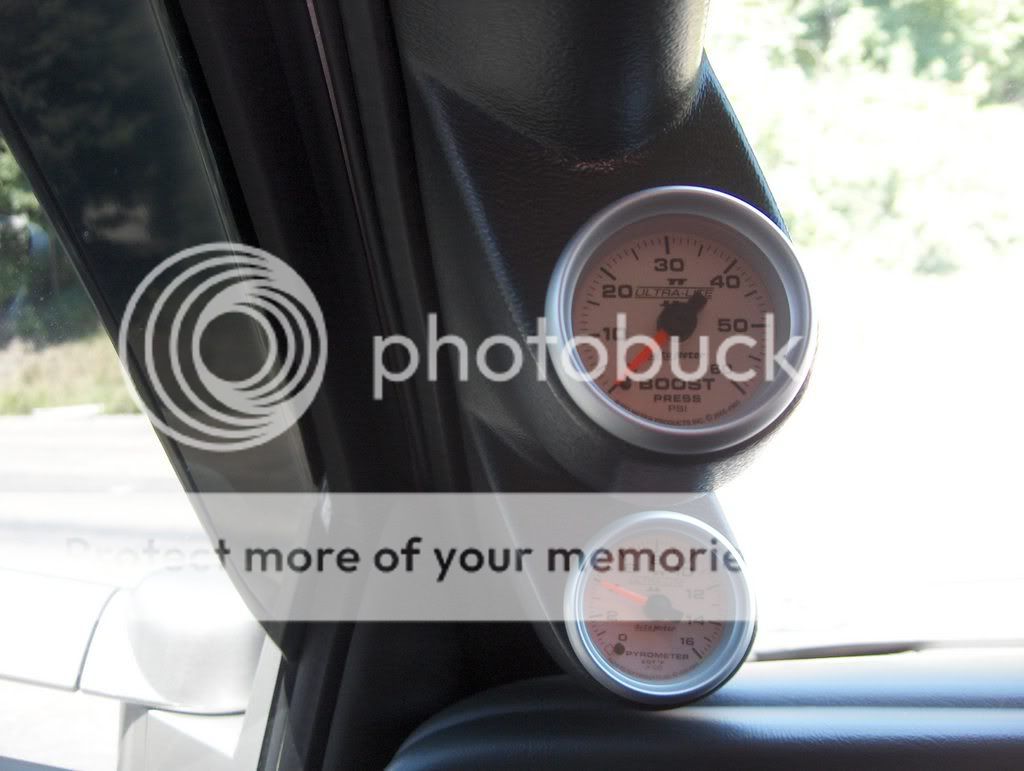
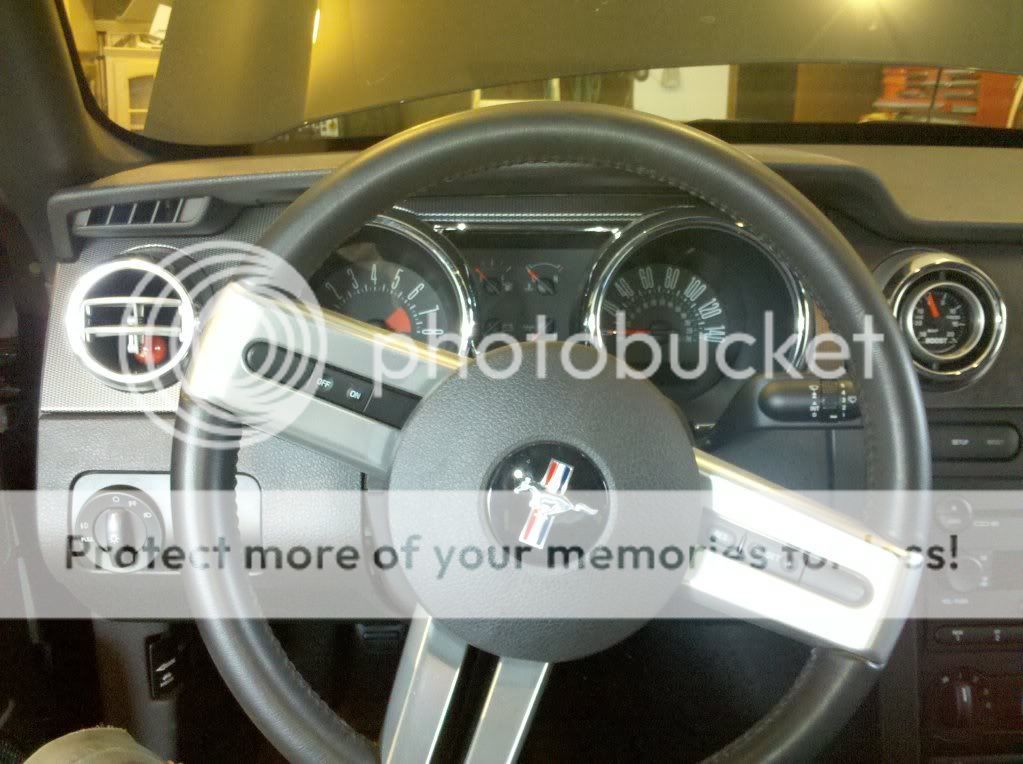
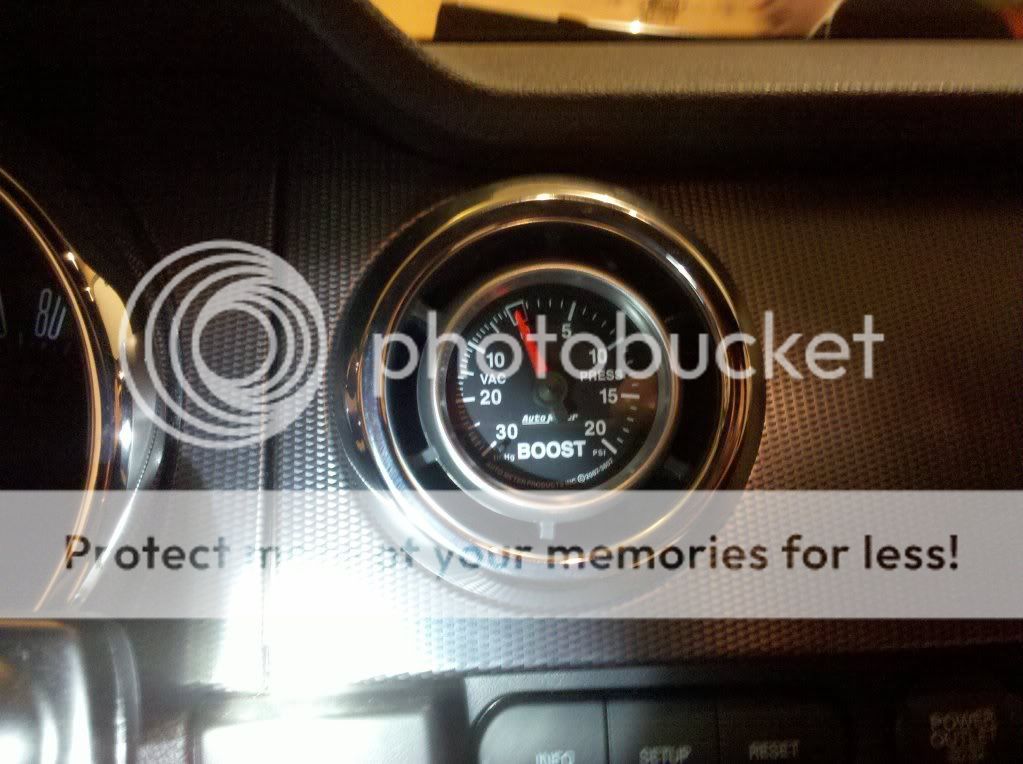
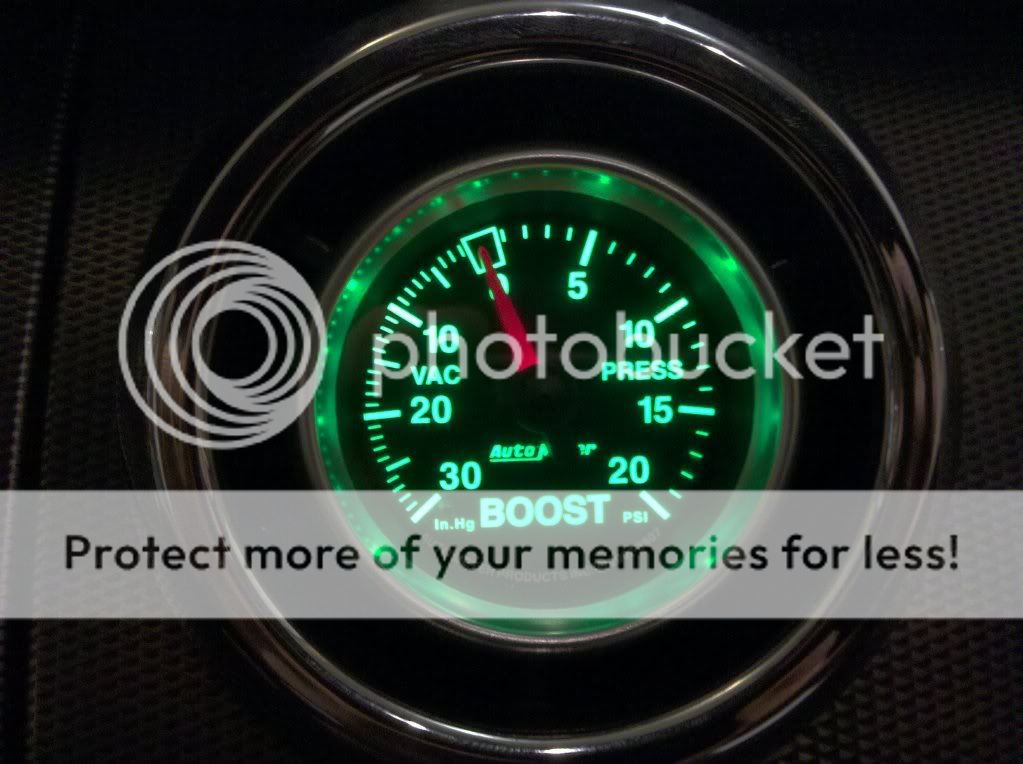
Installed my autometer gs mechanical boost gauge and roush ventpod today. Just thought I'd share how I did it with a few pics.
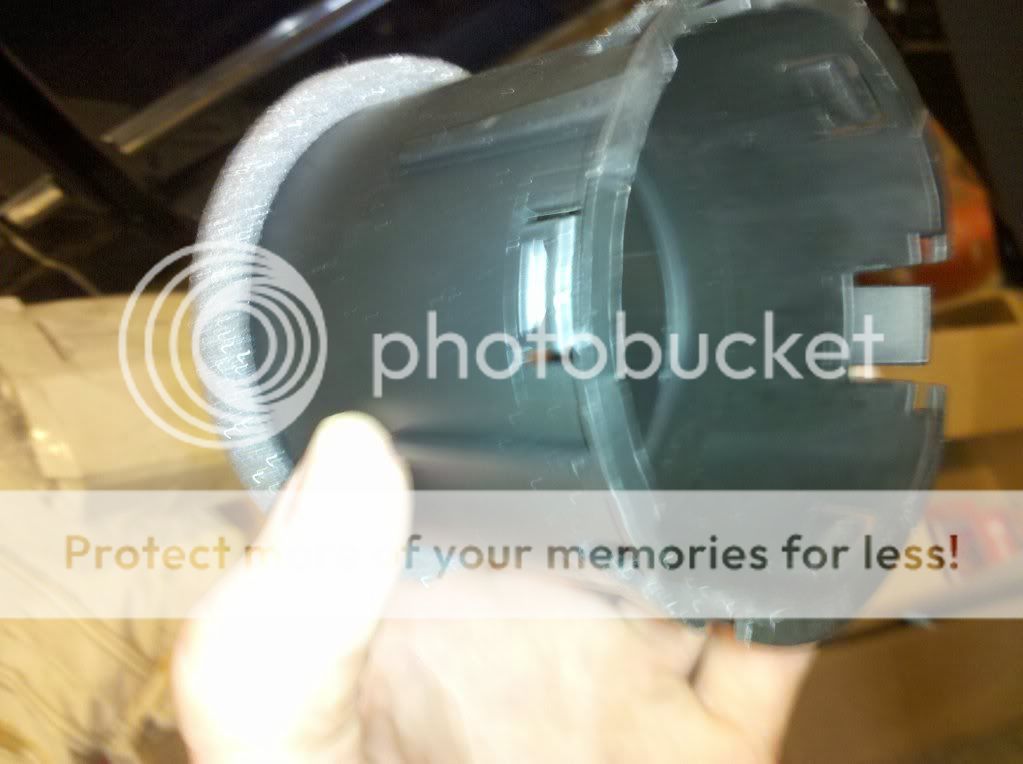
First, pried out the chrome trim ring with a small screwdriver and took out the inner black plastic tube connecting to the ac system by gently prying up the locking tabs
Trim ring removal

inner plastic removed
the instructions that came with the ventpod were very good, so I won't dwell on that much. You basically gently pry the trim ring from the vents, then attatch it to the gauge pod. Then you slide the gauge right in. Fittiment was great, but I modified the plastic mount that came with the gauge itself so that it would hold the gauge in place inside the pod. I just trimmed a little around the bottom so I could get the nuts on that hold the gauge in place. Otherwise the gauge can move inside the pod a little.
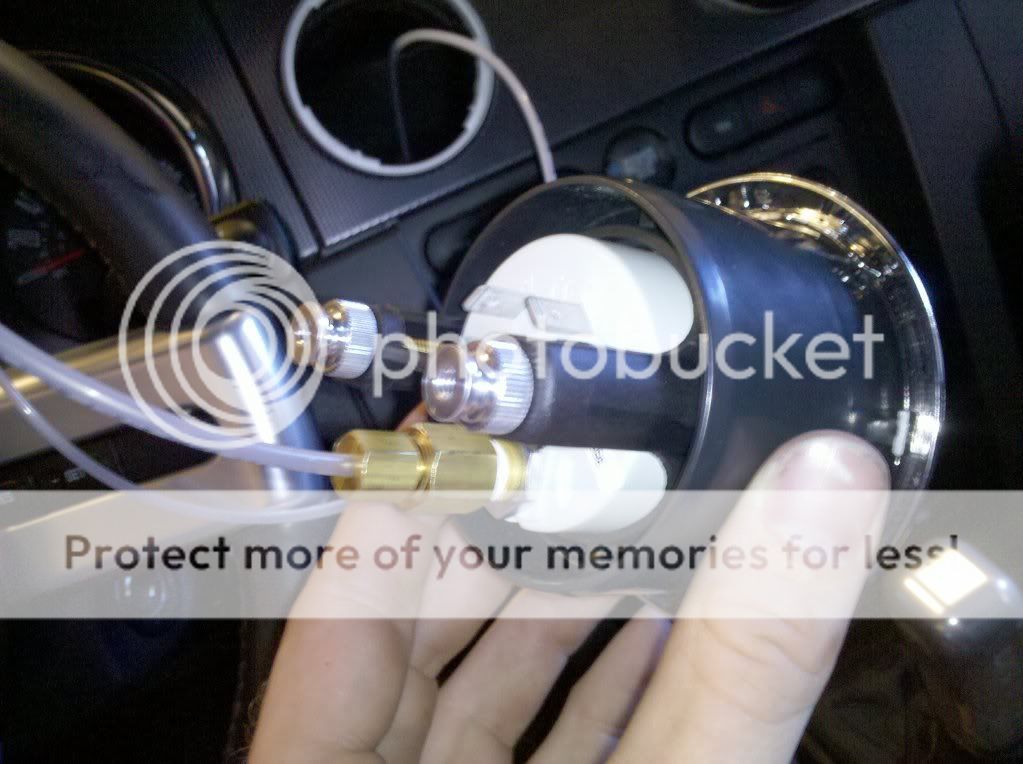
The back of the gauge has tabs for a power(for the lights), ground, and a fitting for the small nylon tube that picks up the boost/vac signal. The tube was included with the gauge, but wires and connectors were not. I used some wire and connectors I had laying around. I attatched the nylon tube to the gauge using the brass fittings and ferrule included. I also connected the wires to the back of the gauge, being careful to mark the other end of the ground wire, so I knew which was which.
I drilled a small hole in the back of the plastic inside the dash so that I could route the nylon tube under the dash without kinking it(very important). I also ran the wires through the gap in front of the plastic.

Back of the gauge with boost/vac tube connected and bracket securing gauge
I carefully fished the nylon tube and wires out from behind the dash(pain in the ass). Then reinstalled the black plastic tube and the new gauge pod.
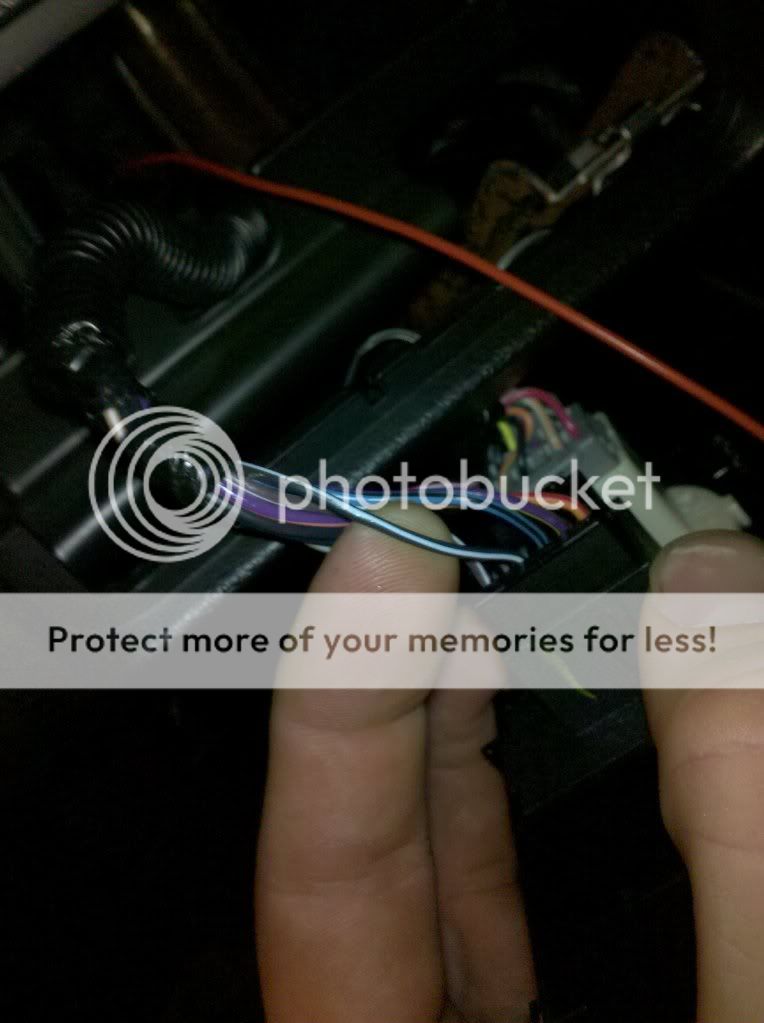
Next I pried out the plastic piece containing the headlight and dimmer switch using a small screwdriver. Then I located the black/white stripe wire coming off the dimmer. I cut away a part of the insulation and tapped the gauge power wire into this wire(solder and electrical tape). This allows the lights on the gauge to come on only when headlights are on, and you can actually dim the boost gauge with the rest of the instrument panel.
Pic of the wire
I connected the ground wire from the gauge to a ground screw behind the center console/radio area.
Next I punched a hole in the grommet near the clutch pedal and CAREFULLY fed the nylon tube through(NO KINKS!)
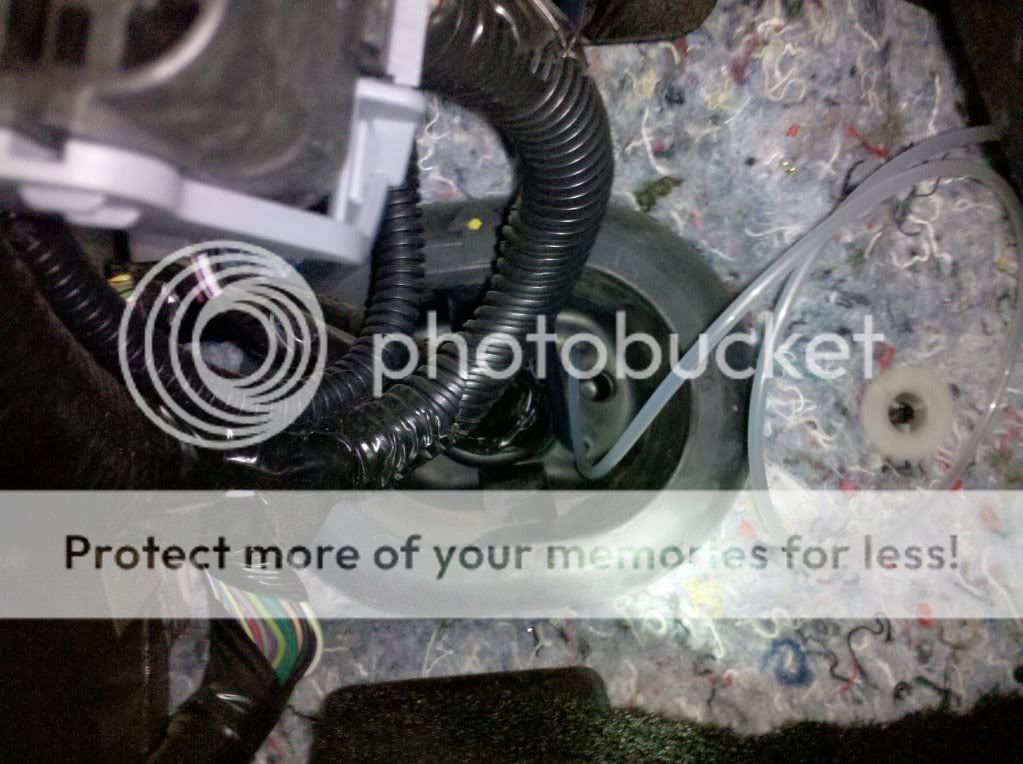
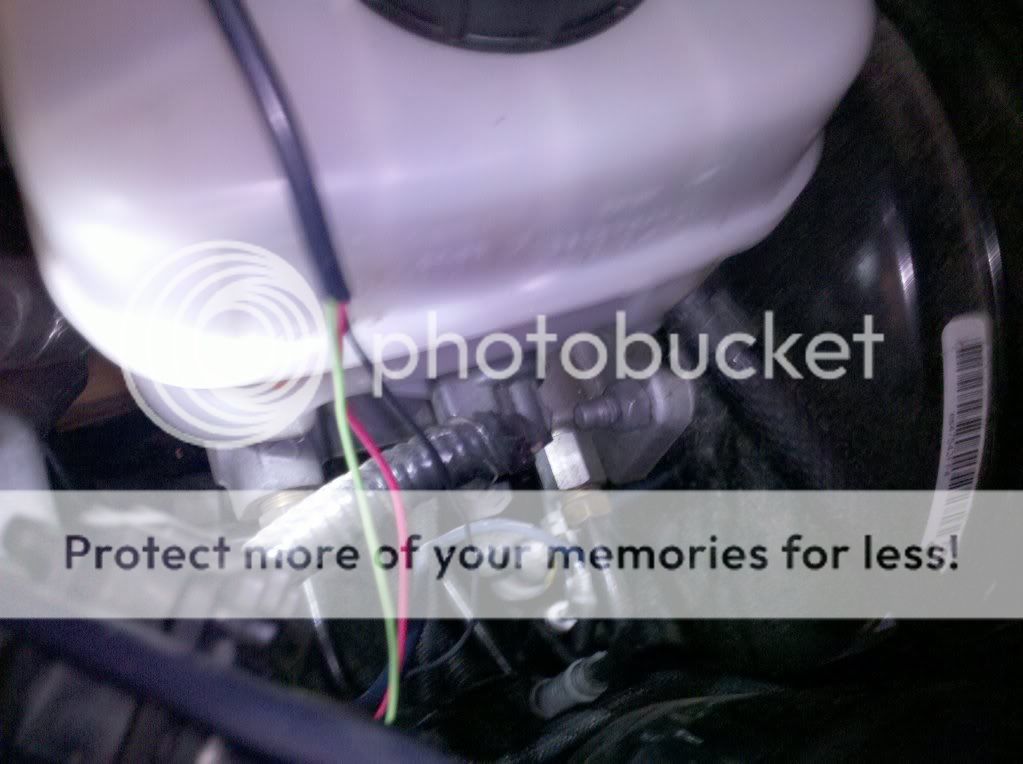
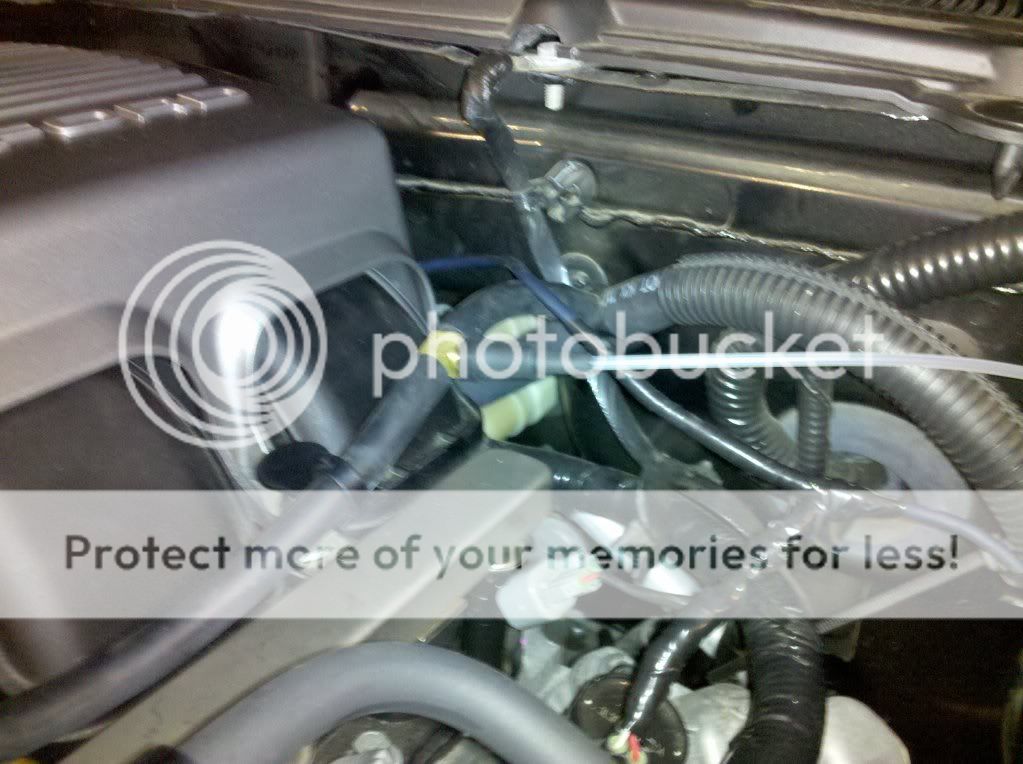
I slowly fed enough through the hole that I could fish it out from the engine compartment near the master cylinder/brake fluid resevoir. It was a pain in the ass, but I managed to get it with a long screwdriver.
Heres the area where I found the tube
I then carefully pulled the tube along the firewall to the vacuum line attatched to the drivers side fuel rail. I tapped into this line using a 1/4" brass T(the one included with the gauge was too small).
So far I have the vac tubes zip tied in place. I also ran corrugated wire loom around the boost tube and all wires, and used zip ties to neatly secure all wires.
Tah Dah!
Any advice/criticism on how it could be done better is welcome!
First, pried out the chrome trim ring with a small screwdriver and took out the inner black plastic tube connecting to the ac system by gently prying up the locking tabs
Trim ring removal
inner plastic removed
the instructions that came with the ventpod were very good, so I won't dwell on that much. You basically gently pry the trim ring from the vents, then attatch it to the gauge pod. Then you slide the gauge right in. Fittiment was great, but I modified the plastic mount that came with the gauge itself so that it would hold the gauge in place inside the pod. I just trimmed a little around the bottom so I could get the nuts on that hold the gauge in place. Otherwise the gauge can move inside the pod a little.
The back of the gauge has tabs for a power(for the lights), ground, and a fitting for the small nylon tube that picks up the boost/vac signal. The tube was included with the gauge, but wires and connectors were not. I used some wire and connectors I had laying around. I attatched the nylon tube to the gauge using the brass fittings and ferrule included. I also connected the wires to the back of the gauge, being careful to mark the other end of the ground wire, so I knew which was which.
I drilled a small hole in the back of the plastic inside the dash so that I could route the nylon tube under the dash without kinking it(very important). I also ran the wires through the gap in front of the plastic.
Back of the gauge with boost/vac tube connected and bracket securing gauge
I carefully fished the nylon tube and wires out from behind the dash(pain in the ass). Then reinstalled the black plastic tube and the new gauge pod.
Next I pried out the plastic piece containing the headlight and dimmer switch using a small screwdriver. Then I located the black/white stripe wire coming off the dimmer. I cut away a part of the insulation and tapped the gauge power wire into this wire(solder and electrical tape). This allows the lights on the gauge to come on only when headlights are on, and you can actually dim the boost gauge with the rest of the instrument panel.
Pic of the wire
I connected the ground wire from the gauge to a ground screw behind the center console/radio area.
Next I punched a hole in the grommet near the clutch pedal and CAREFULLY fed the nylon tube through(NO KINKS!)
I slowly fed enough through the hole that I could fish it out from the engine compartment near the master cylinder/brake fluid resevoir. It was a pain in the ass, but I managed to get it with a long screwdriver.
Heres the area where I found the tube
I then carefully pulled the tube along the firewall to the vacuum line attatched to the drivers side fuel rail. I tapped into this line using a 1/4" brass T(the one included with the gauge was too small).
So far I have the vac tubes zip tied in place. I also ran corrugated wire loom around the boost tube and all wires, and used zip ties to neatly secure all wires.
Tah Dah!
Any advice/criticism on how it could be done better is welcome!