Air Lift Install - Here we go slow but steady!

Scott

Senior Member
S197 Team Member
Joined
Nov 17, 2009
Posts
2,337
Reaction score
37
Location
King City, Ontario, Canada
I am going for the record for the longest Air Lift Digital Combo Kit install as I still have a month to go following hip replacement surgery before I am allowed to get down and up from the garage floor. In the meantime I am going to tackle the jobs I can do stooping or from my rolling garage chair.

I plan on putting the compressor, tank and manifold in the trunk tire well. The 4 gallon aluminum tank with the kit at 30” long is just too long to fit so I am going to follow GallopingFord (Cam’s) lead as I have a 20” long 2.5 gallon aluminum tank on order.

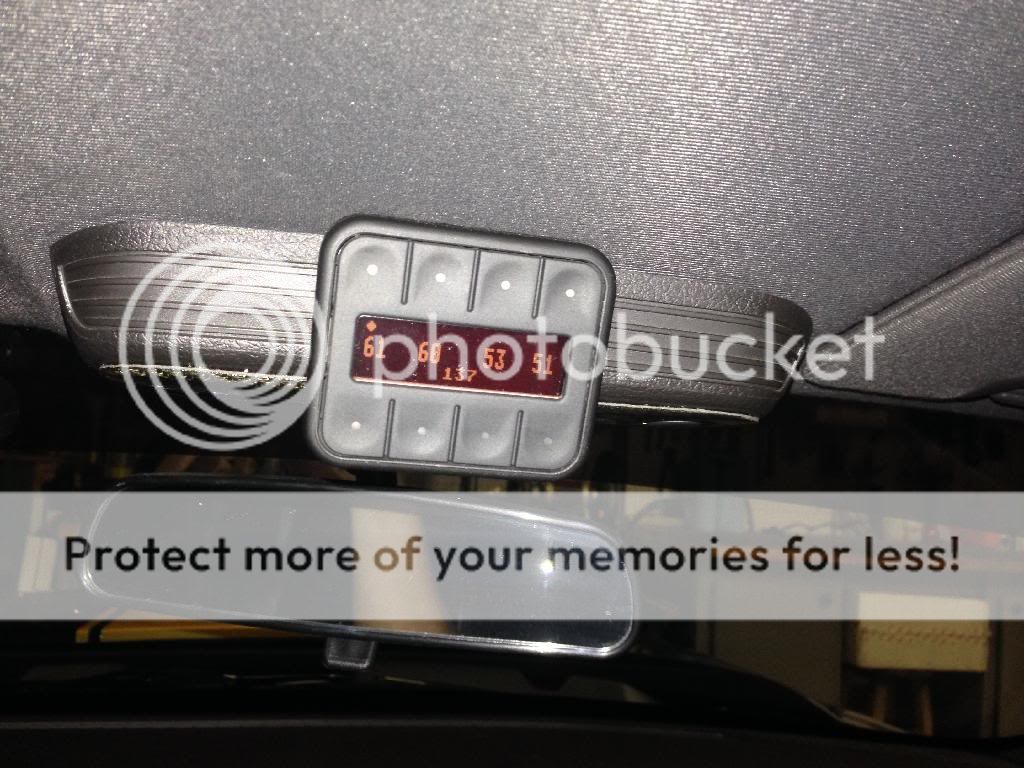
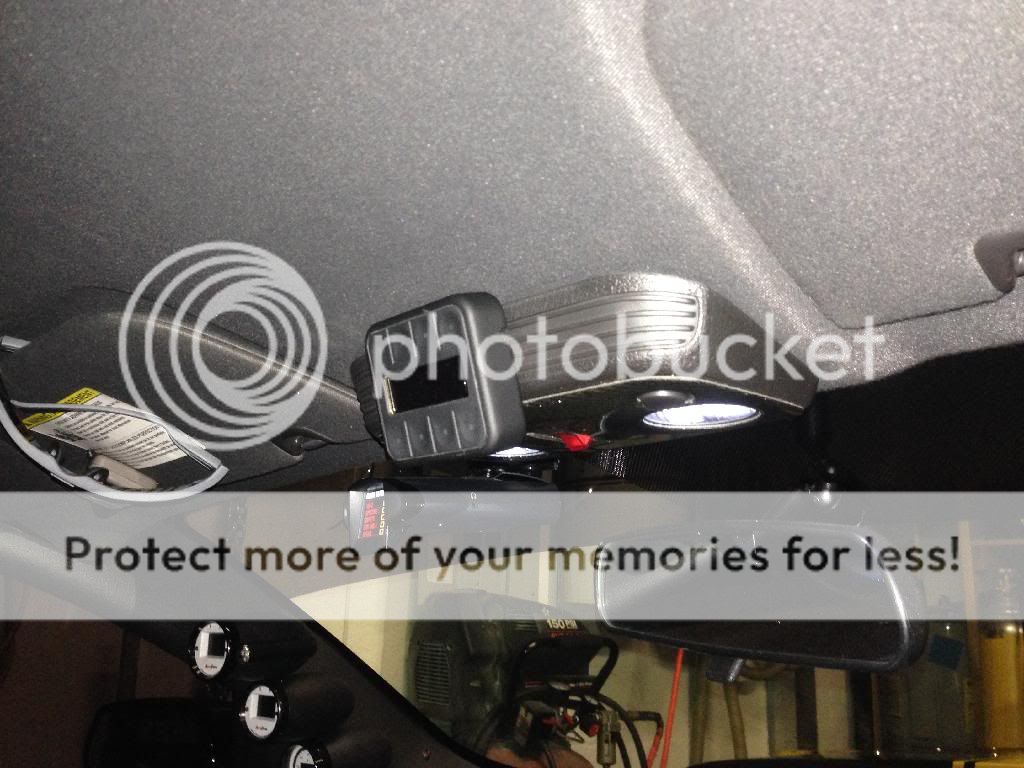
While most of the rear install is out of the question until I can get under the car, I see no reason why I can’t tackle the front struts and start running the air lines, and doing the electrical. My battery is in the trunk so the only cable into the interior will be for the AutoPilot V2 Digital Controller.

I tackled removing the passenger side strut today. Started by removing both inner fender splash shields.


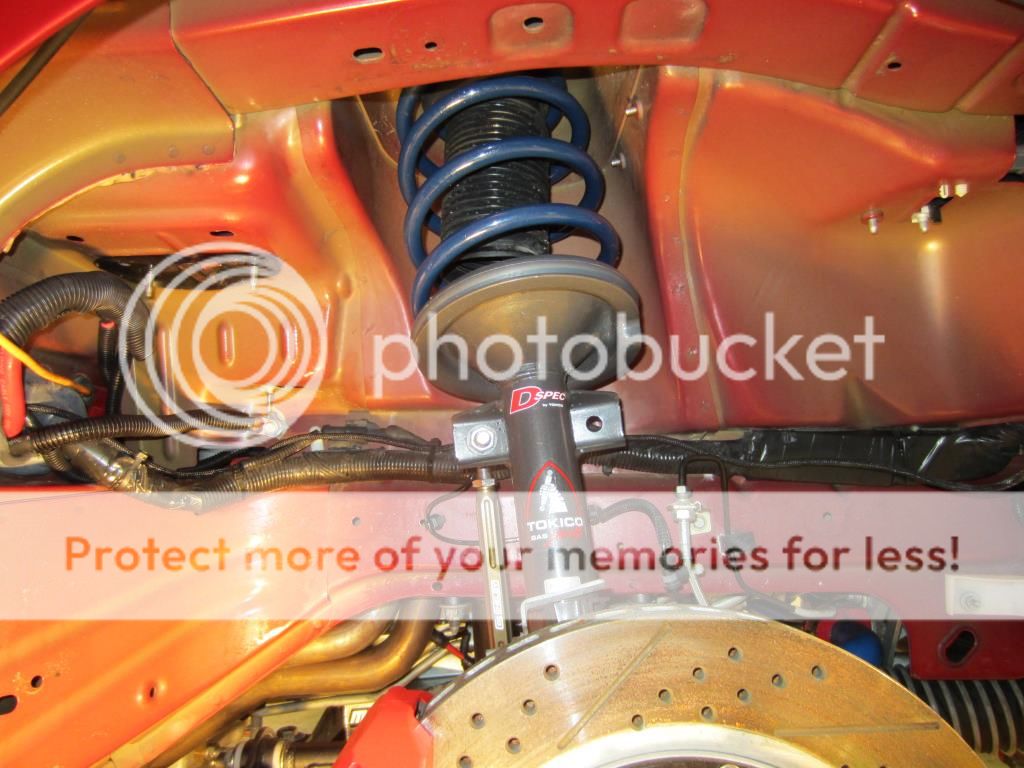
Removed the end link nut and the spindle bolts with an 18mm socket.


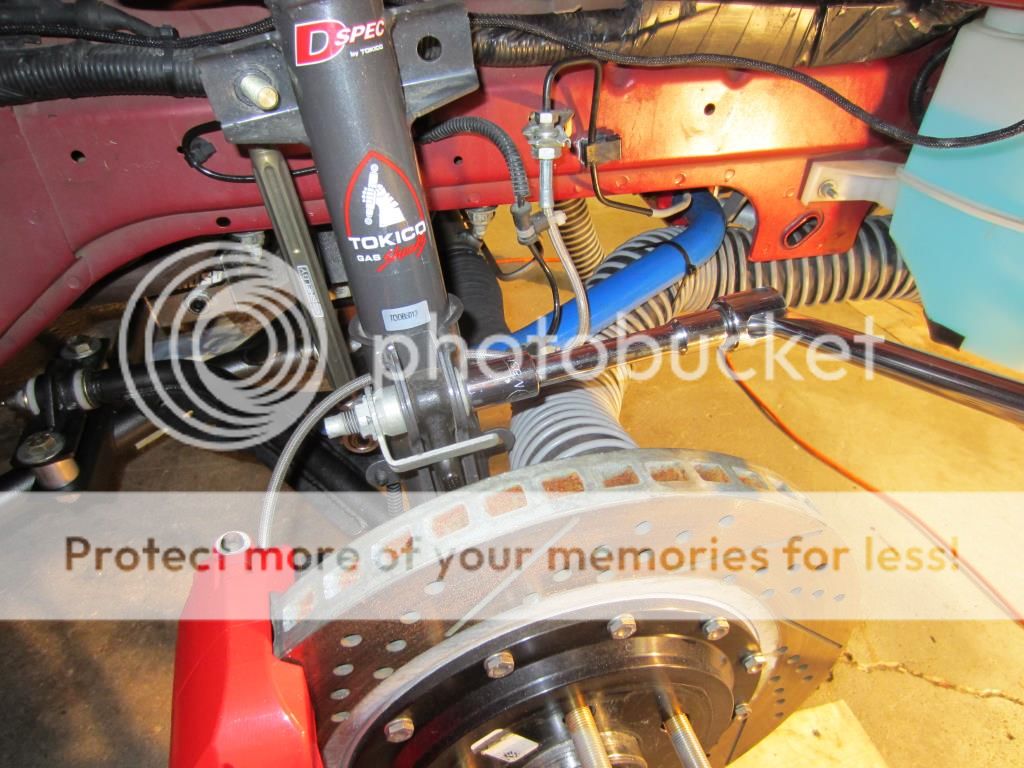
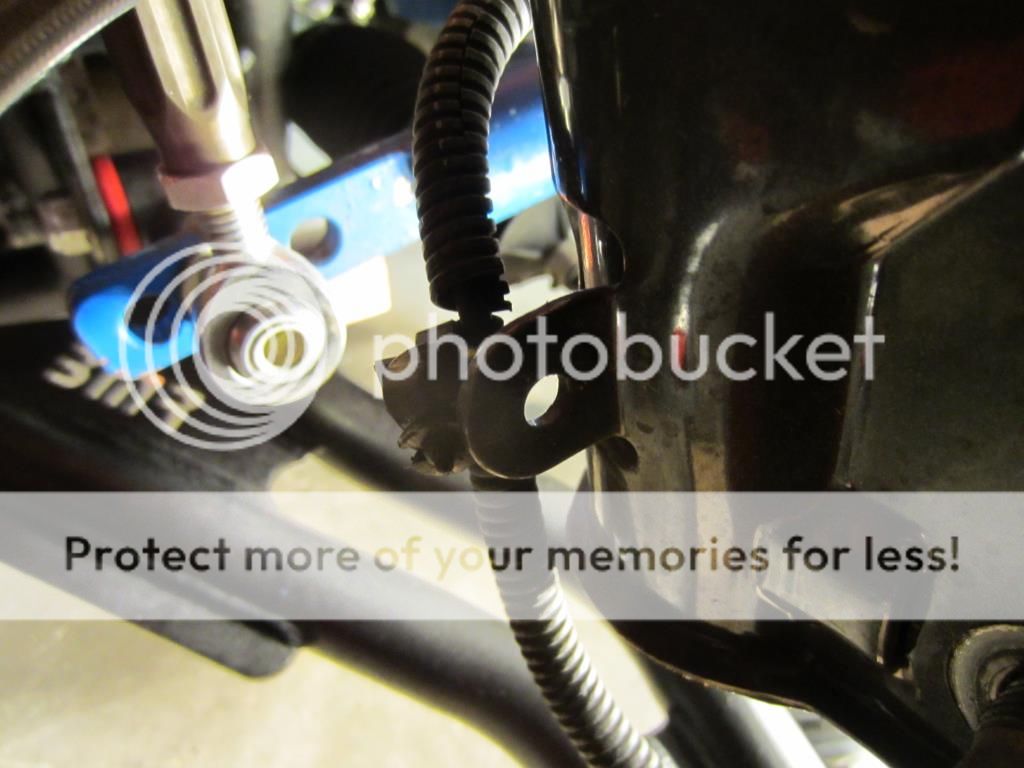
Removed the brake line bolt with a 10mm socket.


Released the ABS cable with the flat blade screwdriver.


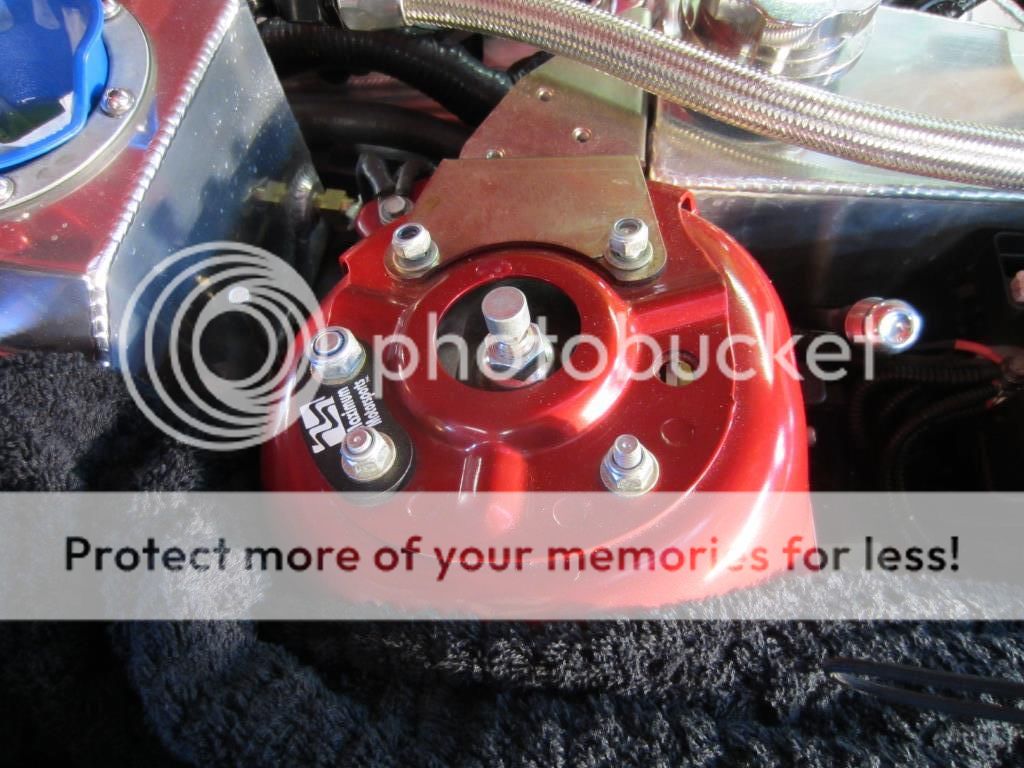
Removed the upper strut mount nuts with a 13mm socket and the Maximum Motorsport Caster Camber Plate nut with a 17mm socket.


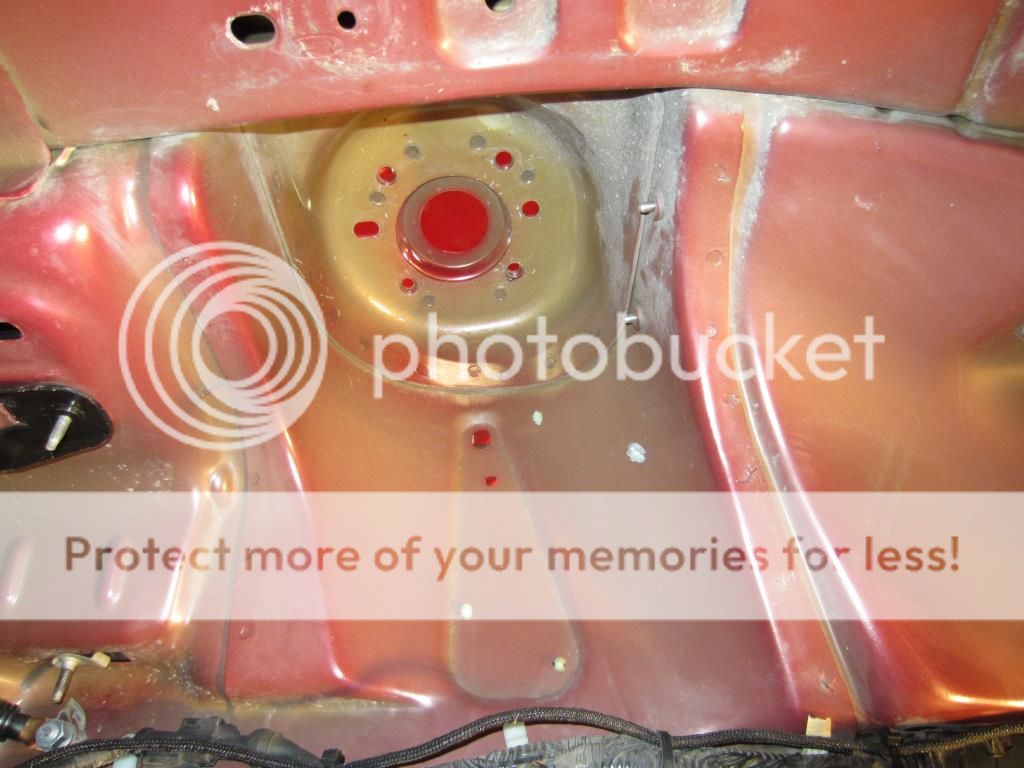
Supported the hub assembly with a block of wood and a floor jack and removed the strut from the car.


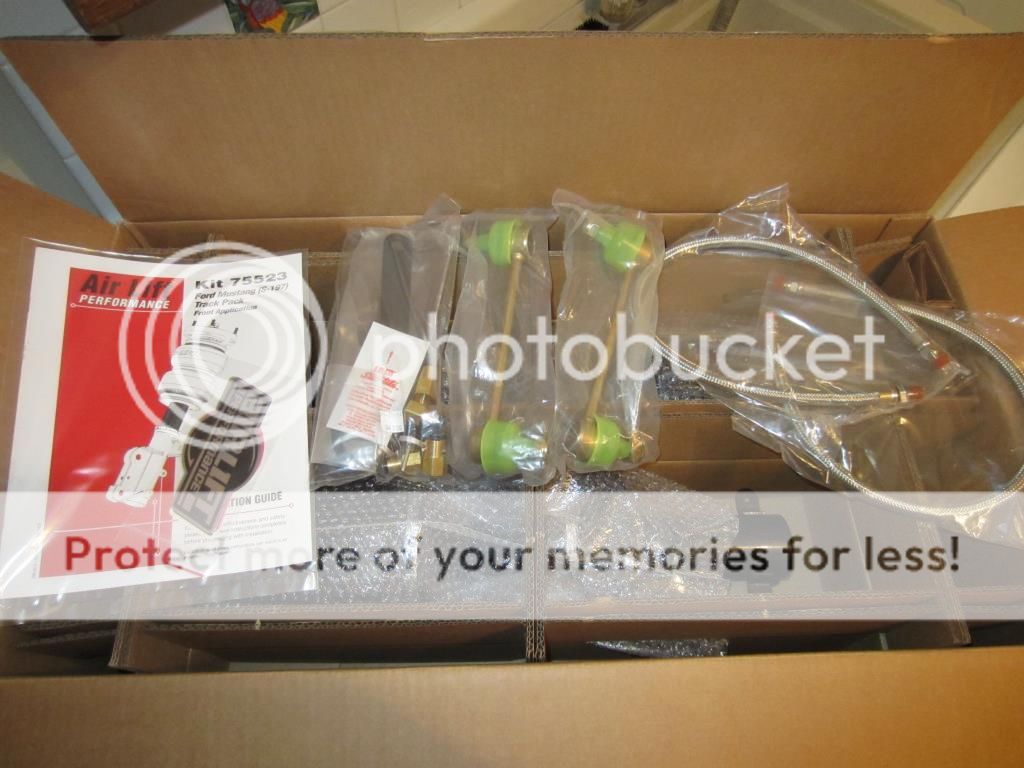
Opened the box for the front struts, kit 75523.


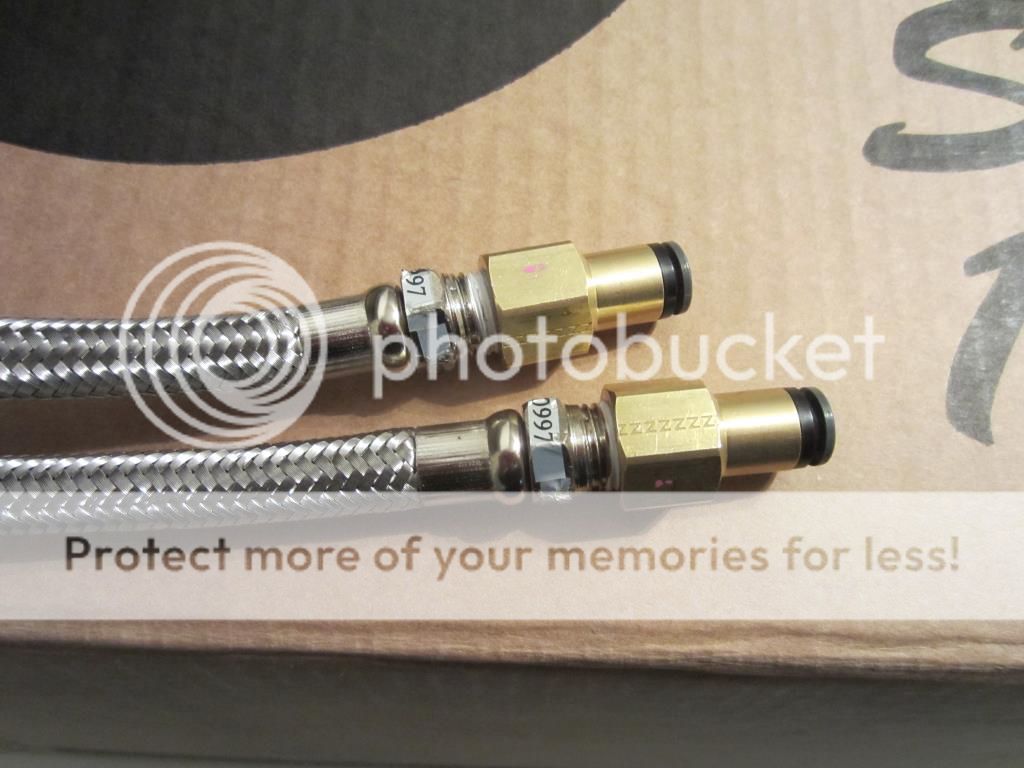
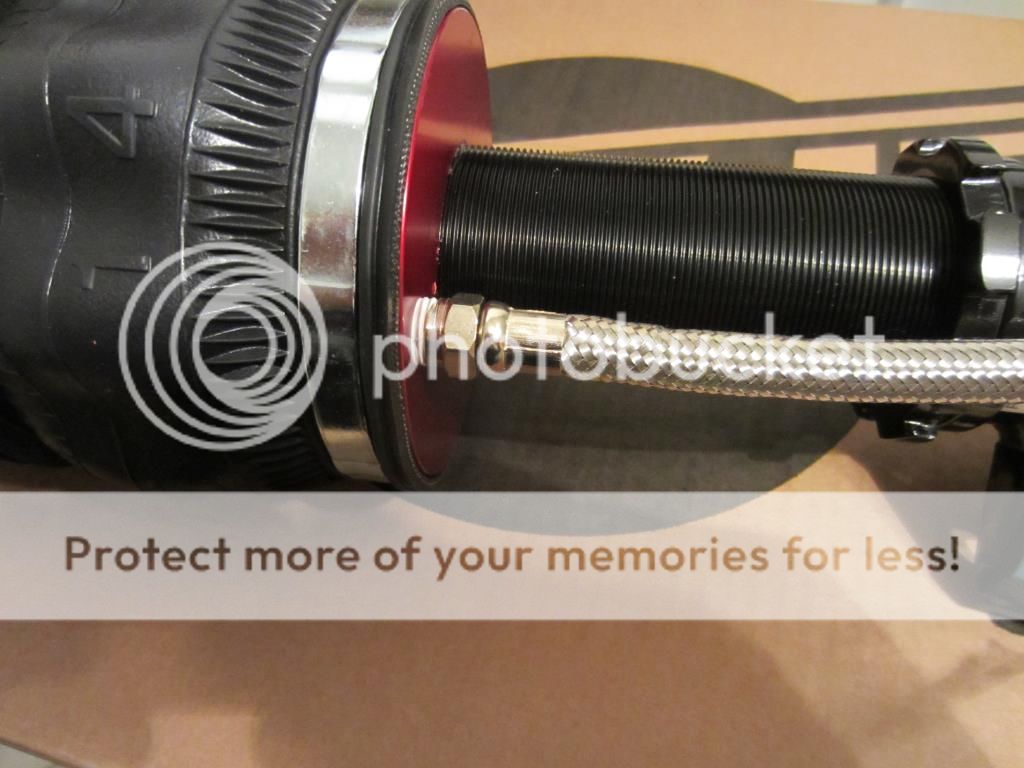
Prepared the strut air leads with Teflon tape on each end and threaded one end into the strut assembly and the other end into the fitting. Both ends were turned 1 – ¾” turns after hand tight with 11/16 and 15mm wrenches.
Air line end.


Strut end.


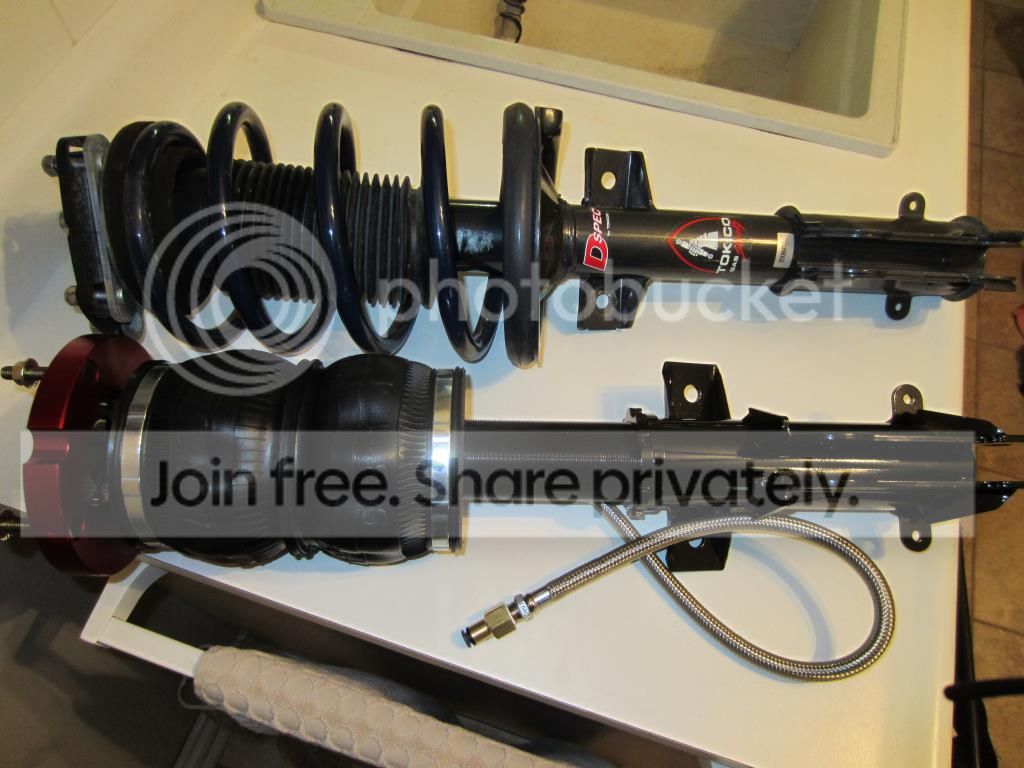
And the obligatory old versus the new. The new struts are significantly lighter than the Tokico Dspecs, Steeda Sport Springs and Maximum Motorsport Caster Camber Plates.


Was nice and warm in the garage today, if it is not too cold tomorrow I will see if I can get both struts installed.
 

moostang09

Resident YouTube Guy
S197 Team Member
Joined
Jan 16, 2010
Posts
4,266
Reaction score
2
Location
Mansfield, Tx
Congrats dude! This is definitely something I want to do in the near future. Keep the rest of the thread as detailed as this and when I finally am able to purchase the kit the install should be a breeze! Looking good so far.
 

Wes06

forum member
Joined
Jan 21, 2012
Posts
5,383
Reaction score
59
Congrats
Air is always fun :)
I spent two weeks doing mine a little at a time, but used the pancake 4gal tank with compressor in the spare wheel well, with enough room for a second compressor should I feel the need, which I am thinking of doing
 

onehotpny

forum member
Joined
Aug 10, 2007
Posts
884
Reaction score
0
Location
Aragon,Ga
congrats Scott on getting the air ride system. I was going to get one this year, but looks like I'll be waiting a little longer since I had to have a root canal and crown, dental insurance was past my limit,so I had to use the funds I was saving up for the air ride for the tooth!hahaha.. just my luck..
 

one eyed willy

Pizzle fo shizzle
Joined
Jul 1, 2008
Posts
7,533
Reaction score
23
Location
Lakeland FL
good luck, its pretty easy job until you have to drill the holes for the rear bags, if you dont have a small impact drill you may want to find one or you will hav to drop the axle a good ways to fit a drill up in there.
 

Scott

Senior Member
S197 Team Member
Joined
Nov 17, 2009
Posts
2,337
Reaction score
37
Location
King City, Ontario, Canada
Congrats dude! This is definitely something I want to do in the near future. Keep the rest of the thread as detailed as this and when I finally am able to purchase the kit the install should be a breeze! Looking good so far.

Thanks, will try and keep the detail coming.

Congrats
Air is always fun :)
I spent two weeks doing mine a little at a time, but used the pancake 4gal tank with compressor in the spare wheel well, with enough room for a second compressor should I feel the need, which I am thinking of doing

Thanks, yes will be really neat when I am done.

Congrats, hopefully the hip surgery goes well.

Hip surgery went very well, was January 21st and I have not had any pain since. I work at physiotherapy three times a day and it is going well. When I spoke to the Surgeon last week he said it is still another month before I can get up and down from the floor.

good luck, its pretty easy job until you have to drill the holes for the rear bags, if you dont have a small impact drill you may want to find one or you will hav to drop the axle a good ways to fit a drill up in there.

Thanks Paul your heads up on things is greatly appreciated! I think I have an air drill in the bottom of my tool box that may do the trick. Will have to have a look see when the time comes.
 

Scott

Senior Member
S197 Team Member
Joined
Nov 17, 2009
Posts
2,337
Reaction score
37
Location
King City, Ontario, Canada
Air Lift Install - Here we go slow but steady! - Continued

Much colder in the garage today and lots of snow outside! Got both struts installed, but everything still needs to be torqued to specifications.

The End Links provided in the kit are significantly shorter than my Shelby Performance Parts Links that are OEM length.


New strut is right at home on the passenger’s side. Torque specifications for the strut to wheel spindle bolts is 148 ft-lbs with an 18mm socket.


Air Lift install instruction call for a 46 ft-lbs torque on the top nuts. Doesn’t seem right to me and I am trying to confirm. OEM nuts are only tightened to 26 ft-lbs with a 13mm socket.


ABS clip pushed back on.


Brake line attached and torqued to 15 ft-lbs with a 10mm socket.


Air Lift 185mm End Link tightened up using a 6mm Allen socket and 19mm wrench. Torque specification for the end links is 85 ft-lbs.


Pulled the strut out from the driver’s side.


Slipped the strut in on the driver’s side.


Scott

Senior Member
S197 Team Member
Joined
Nov 17, 2009
Posts
2,337
Reaction score
37
Location
King City, Ontario, Canada
Air Lift Install - Here we go slow but steady! - Continued #2

No garage time today too cold!

Cut the package tape with my trusty box cutter on the Compressor Isolator Kit part number 50714 and the two boxes for the AutoPilot V2 Digital Control Kit part number 27671.

The Compressor Isolator Kit is optional and designed with a combination of rubber and spring mounting to minimize the vibration transferred to the car. If my installation goes as planned the compressor will be mounted on ½” plywood in the tire well. It looks like it is going to be very close if the provided M6 x 45 mounting bolts will be long enough to work with the plywood.


Compressor Isolator Kit assembled, top view on the left and bottom view on the right.


The AutoPilot V2 Digital Controller boxes contained the Viair 380C Compressor, Electrical Harness with Relay, Fuse Holders, Air Manifold, Air Lines & Fittings, V2 Display, the Air Tank and the necessary mounting nuts and bolts.

Manifold and V2 Controller.


Electrical Harness, 60' of ¼” Air Line, Air Line Cutter, Wire Ties, Fuses, Fuse Holders, Connectors and Mounting Screws for the Manifold and Replay.


VIAIR 380C Compressor, part number 16380. Both Wes06 and One Eyed Willy are talking about adding second compressors to their installs. I am going to plan for a second compressor in the tire well but will get the original install completed before I start on the upgrades.

Compressor comes with an inlet filter, 3/8” hose, male & female hose fittings, clips and screws. Filter can be mounted directly on the compressor or external to the car with the provided hardware. In either case the filter should be in a dry area away from moisture.


The 4 gallon aluminum tank part number 11955 at 30” long is too long to fit in the tire well. I have a 2.5 gallon polished aluminum tank part number 12958 on order which is 20” long.


VIAIR compressor with the air filter and Isolator Kit installed.


one eyed willy

Pizzle fo shizzle
Joined
Jul 1, 2008
Posts
7,533
Reaction score
23
Location
Lakeland FL
i like that tank, purdy!

any thoughts on where you mounting the controller? I mounted mine to the map light console. it sticks down a little but real easy to get to.
 

Scott

Senior Member
S197 Team Member
Joined
Nov 17, 2009
Posts
2,337
Reaction score
37
Location
King City, Ontario, Canada
That is a 4 gallon tank and will not fit in the tire well. The 2.5 gallon tank I ordered is polished so it is going to be even more purdy! lol

Paul, after seeing yours I thought about mounting on the map light console, but my car is a CS with the dove and black interior. The head liner and map light console are dove gray and I believe mounting the black V2 controller there would stick out too much for my taste. So I guess I am left with the center console.
 

one eyed willy

Pizzle fo shizzle
Joined
Jul 1, 2008
Posts
7,533
Reaction score
23
Location
Lakeland FL
Pics of that willy?

Not to hijack but here you go!

F9603F25-DED0-4870-A4F2-9485DD445C51_zpsxvoglrph.jpg


2CC09026-5B46-4153-8D16-D76FE0CF9234_zpslye0w1sj.jpg
 

Scott

Senior Member
S197 Team Member
Joined
Nov 17, 2009
Posts
2,337
Reaction score
37
Location
King City, Ontario, Canada
congrats Scott on getting the air ride system. I was going to get one this year, but looks like I'll be waiting a little longer since I had to have a root canal and crown, dental insurance was past my limit,so I had to use the funds I was saving up for the air ride for the tooth!hahaha.. just my luck..

Ouch James! Sorry don't know how I overlooked replying to you previously.

Thanks, I too have been after an Air Lift Kit for sometime and trust me, in Canada they are not cheap! Makes sense to look after your smile first! lol

Good luck with your savings plan and I will keep the detail in this thread coming so your install will be a piece of cake!
 

onehotpny

forum member
Joined
Aug 10, 2007
Posts
884
Reaction score
0
Location
Aragon,Ga
Ouch James! Sorry don't know how I overlooked replying to you previously.

Thanks, I too have been after an Air Lift Kit for sometime and trust me, in Canada they are not cheap! Makes sense to look after your smile first! lol

Good luck with your savings plan and I will keep the detail in this thread coming so your install will be a piece of cake!

Hi Scott, again congrats on getting the air ride system, and yes one day, God willing ,I'll do air ride. thought it was going to be this year, but things happen for a reason, just my luck. Yes looking forward to seeing the complete install. I haven't decided if I'm going to do a polished tank or just airbrush the tank to look like a AA battery connected or something else a little different, only time will tell. I know i'll be taking either one of the subs out or remove both completely and do a smaller sub box, but will be different for sure. :beer:
 

onehotpny

forum member
Joined
Aug 10, 2007
Posts
884
Reaction score
0
Location
Aragon,Ga
Think I would have mounted the controller in a different location, just looks a little out of place.But, major props on the rest of what you have done to that car.Also what radar detector is that? cool
Not to hijack but here you go!

F9603F25-DED0-4870-A4F2-9485DD445C51_zpsxvoglrph.jpg


2CC09026-5B46-4153-8D16-D76FE0CF9234_zpslye0w1sj.jpg
 
Last edited:

one eyed willy

Pizzle fo shizzle
Joined
Jul 1, 2008
Posts
7,533
Reaction score
23
Location
Lakeland FL
Think I would have mounted the controller in a different location, just looks a little out of place.But, major props on the rest of what you have done to that car.Also what radar detector is that? cool


I think the flash makes it look worse than it is. Its all black so it dosnt stick out too much really, i wish it was a little more flush. i had it mounted next to my steering wheel but it was blocked by the steering wheel ,doh! other than sticking it in the center console and pulling it out each time i couldnt think of a better place for it.
 

Wes06

forum member
Joined
Jan 21, 2012
Posts
5,383
Reaction score
59
How much does the isolator kit raise the compressor by? I need to get one cause my compressor vibrates the car when it kicks on
 

Latest posts

Support us!

Support Us - Become A Supporting Member Today!

Click Here For Details

Sponsor Links

Banner image
Back
Top