Hi Scott,
Thanks,you should see it in person,especially at night with leds on.
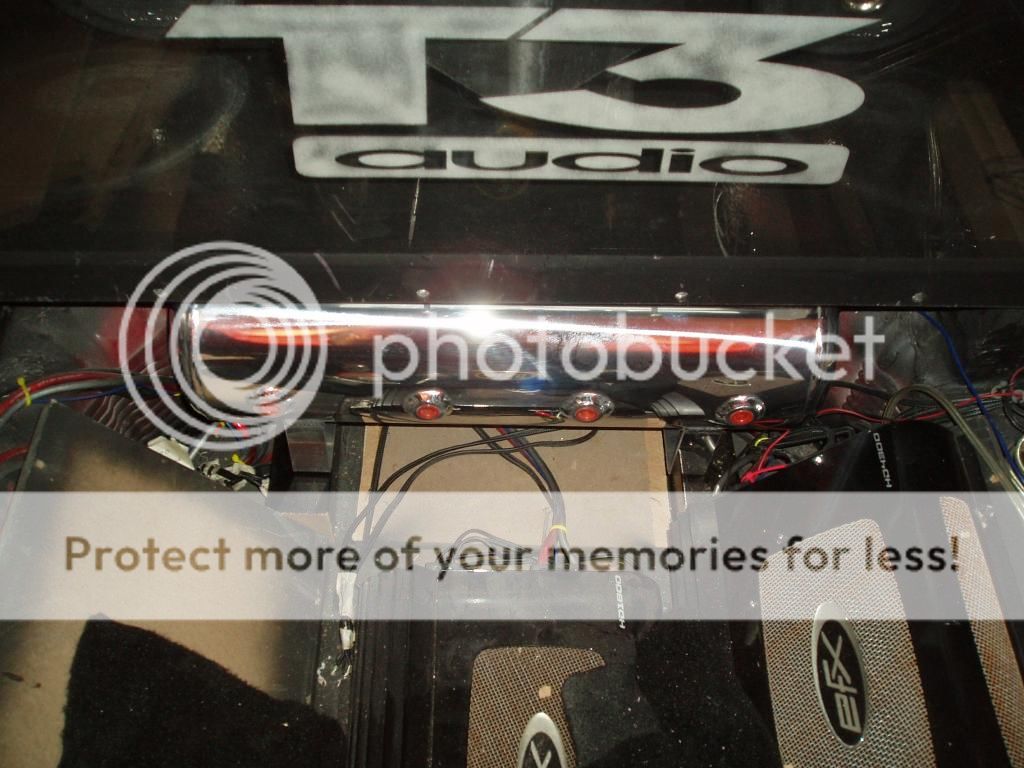
Yes, far as mounting the other compressor I have the same amount of space for it. I'll have to make a mounting stand like I did on the drivers side,but I see no problem with mounting the 2nd compressor when i get it.On the 1st compressor I had to purchase longer bolts to mount it,I then screwed the bolts into the mounting bracket,mounted the bracket,then the black cover went on,I then experimented by putting small springs over the bolts before placing compressor and bolting it down. That didn't work to good,since when compressor is on the vibration from it loosens the nuts completely,causing the nuts to come completely off.I'm going to try one more idea and if that doesn't work,then I'll purchase the isolation kit.I think my next idea will work,I'll post results when done.