Hood pins... they're not just for bling anymore!
Kidding. But seriously, I've owned dozens of Mustangs and I've never bought or used hood pins before. They always made me think of wannabe "racecars" that are actually Super Slow. However, this '06 GT is my first S197 Mustang and I noticed something disturbing the week after I bought it.
At my first drag race with the car, when I topped 110mph I noticed that the hood was bouncing a lot. Like, enough to make me uncomfortable. It instantly reminded me of the first race for the S197 Mustangs at Daytona back in 2005 when they finished 1, 2, & 3, I believe, but a couple of the Mustangs lost their hoods on the banking.
Apparently, the front of these cars are so flat, they catch a lot of air through the grill and it gets trapped in the engine compartment. That's why they vented the hoods on the GT500s, to let the air out. At first, I chose to ignore the issue, I mean hey... how many times am I going to top 110mph, right? Not so fast there, Sharad. I later noticed that just passing SUVs and tractor-trailers on the highway also causes the hood to bounce quite a bit.
If you've ever had a hood fly up on you (I have, long story) you know that it can be a terrifying experience, one that I choose to avoid at all costs! With that in mind, I picked up UPR's 2005-2013 Billet Radiator Hold Down / Hood Pin Kit, #1056-07. http://www.uprproducts.com/mustang-billet-radiator-hood-pin-mounts-05.html
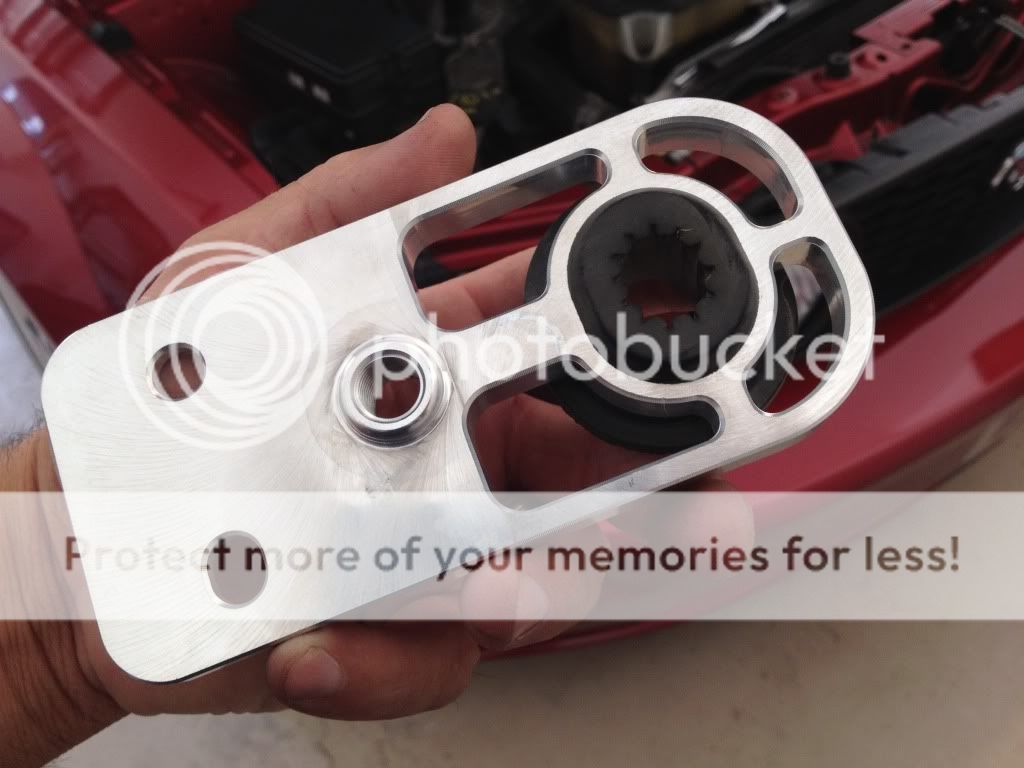
The kit is comprised of a pair of billet aluminum radiator brackets which replace the factory stamped steel brackets, but the UPR brackets are threaded in the middle to accept our billet aluminum hood pin kit. So basically it's a 2 for 1 modification- billet radiator hold down and a hood pin kit.
Here are some photos I snapped while installing the kit:
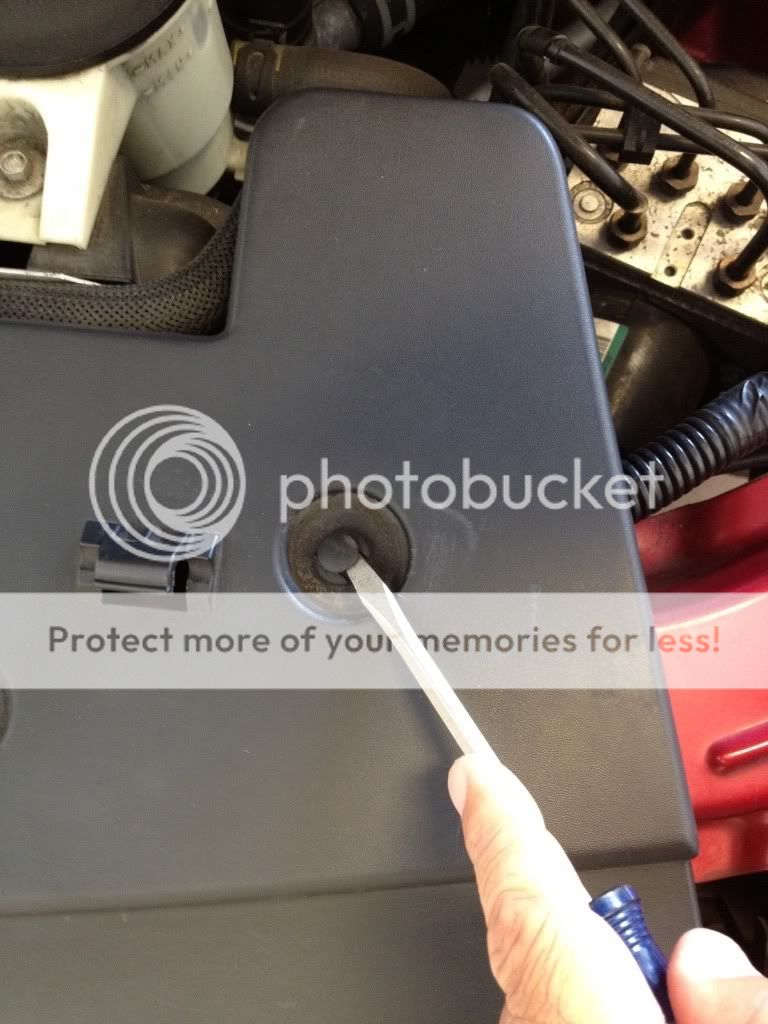
The first step is to remove the plastic radiator cover by removing the plastic push pins.
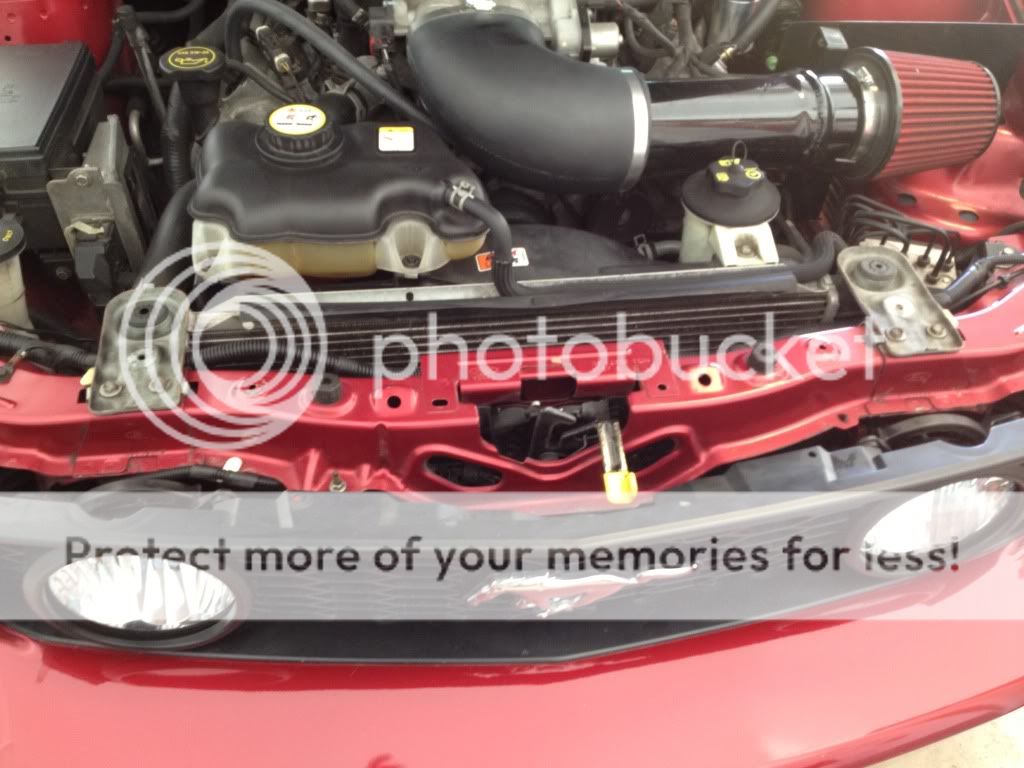
Here's what it looks like with the cover removed.
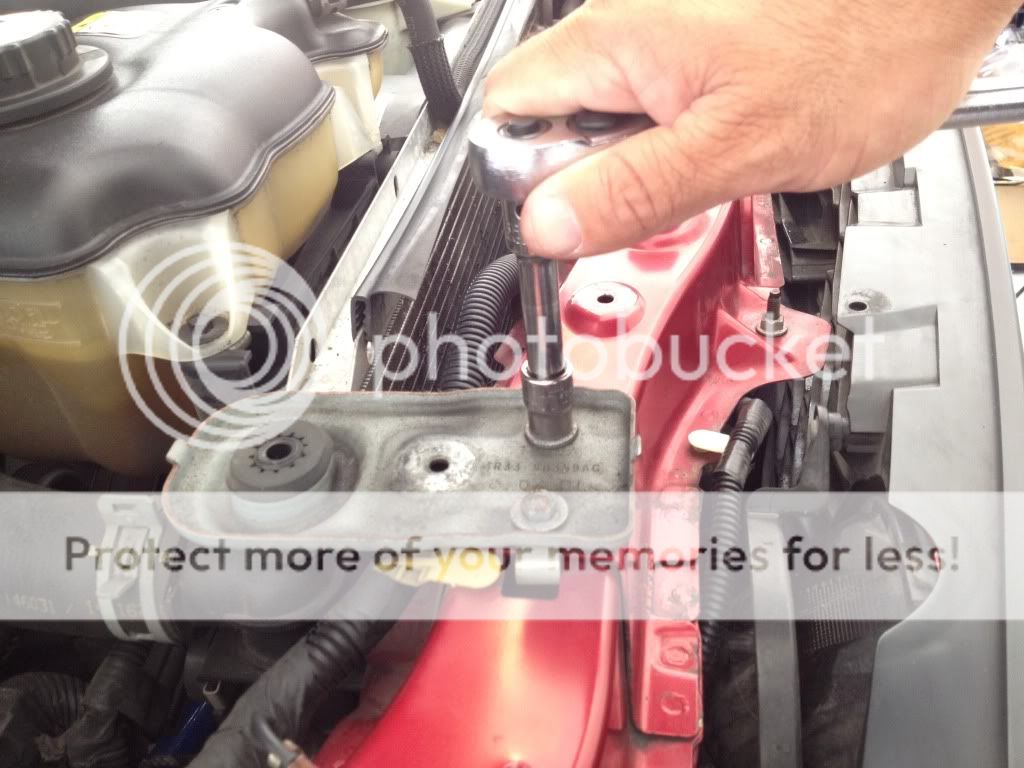
Next you remove and replace the factory brackets, one at a time.
Remove the rubber grommet from the factory bracket and push it into the UPR billet aluminum bracket.
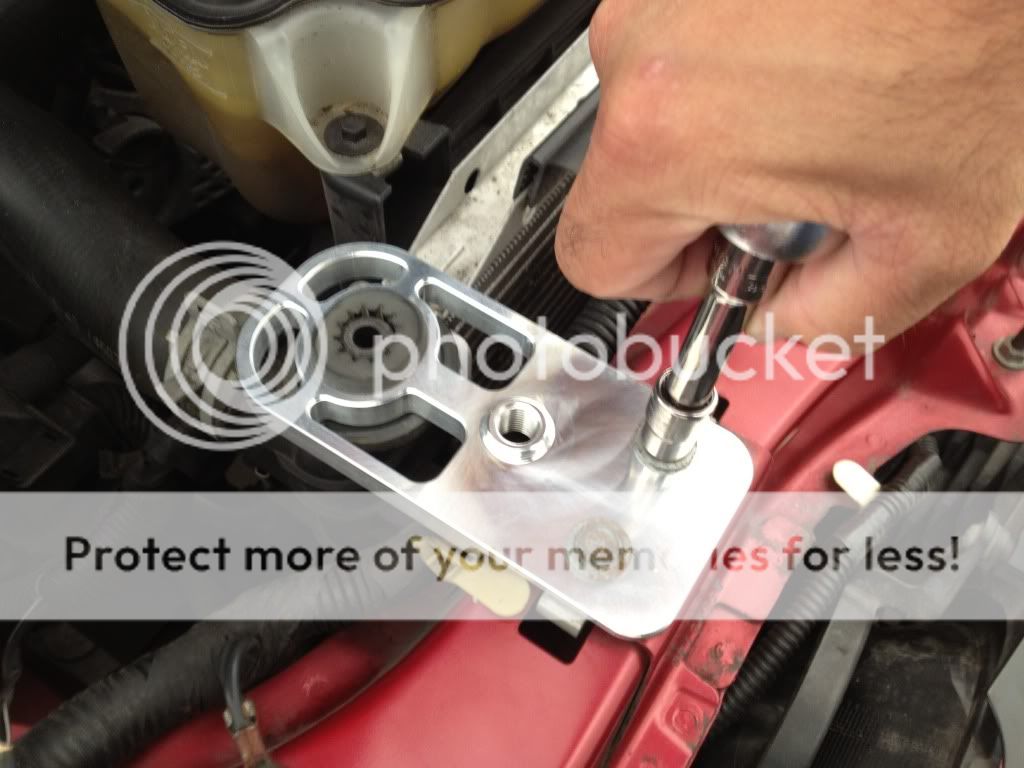
Next, you bolt the bracket down onto the radiator.
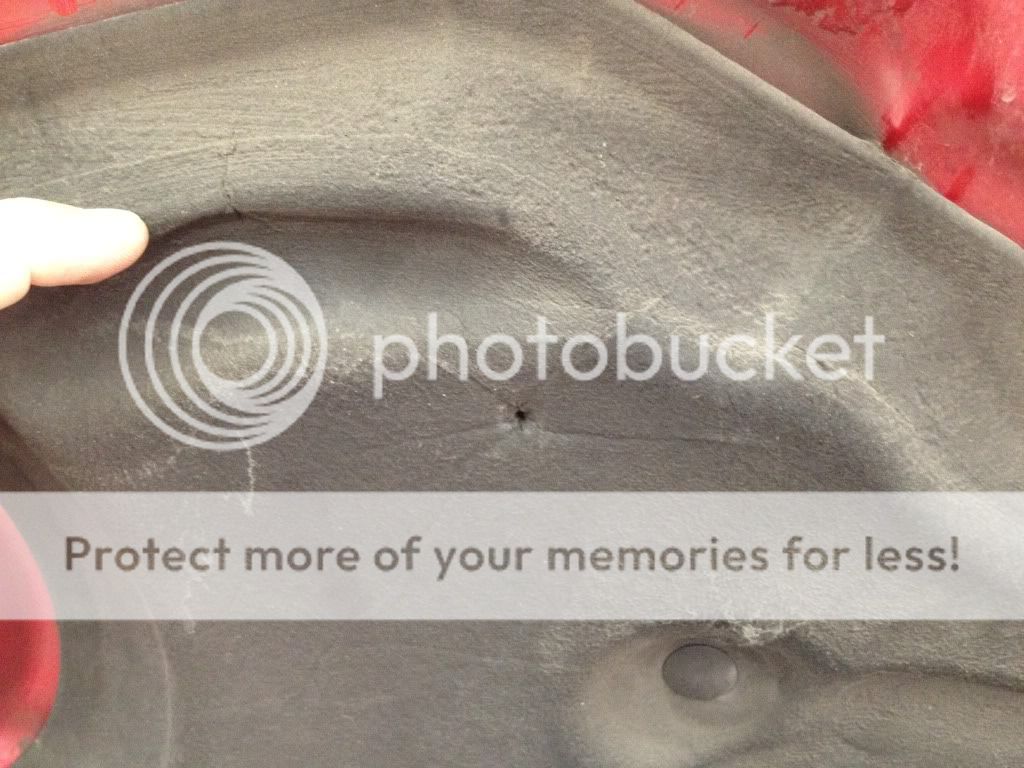
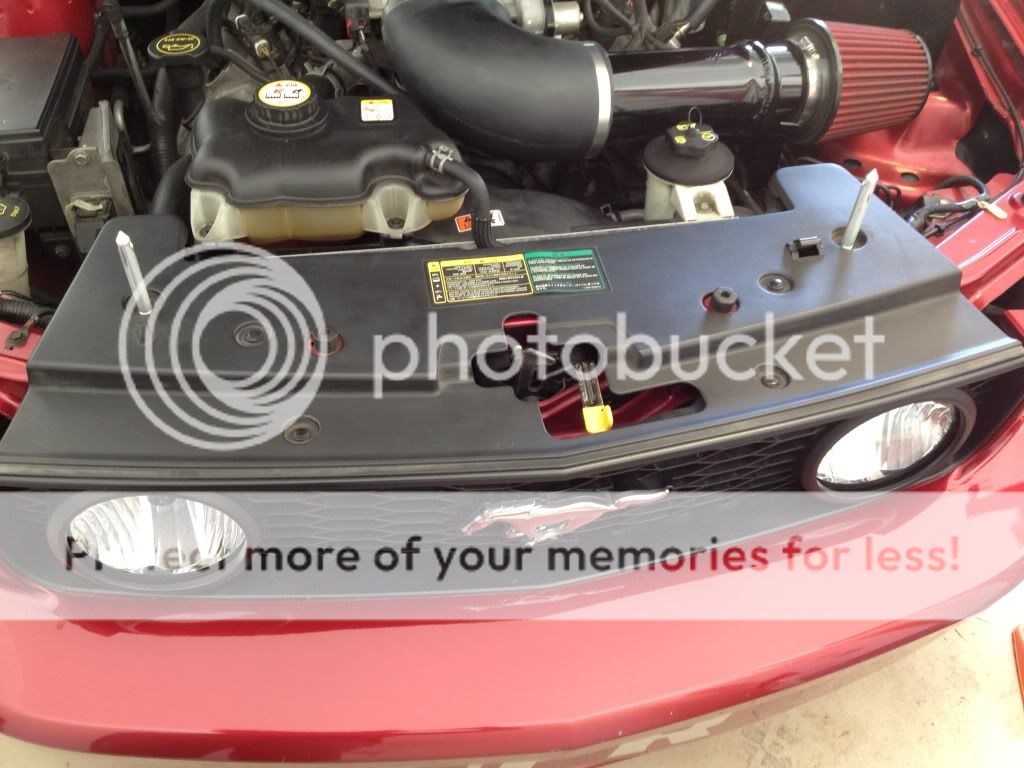
After installing both brackets, I threaded the hood pins all the way down into the brackets and lowered the hood onto the pins. Then I raised the hood up a few inches and bounced it down onto the pins (gently, without letting go) so the pins would mark the hood where the holes needed to be cut. Here's what the hood liner looked like where the pin dimpled it.
Here's the mark on the underside of the hood, behind the liner.

With the pin locations clearly marked, I used about an 1/8th inch drill bit to drill a pilot hole where the pins would go through.
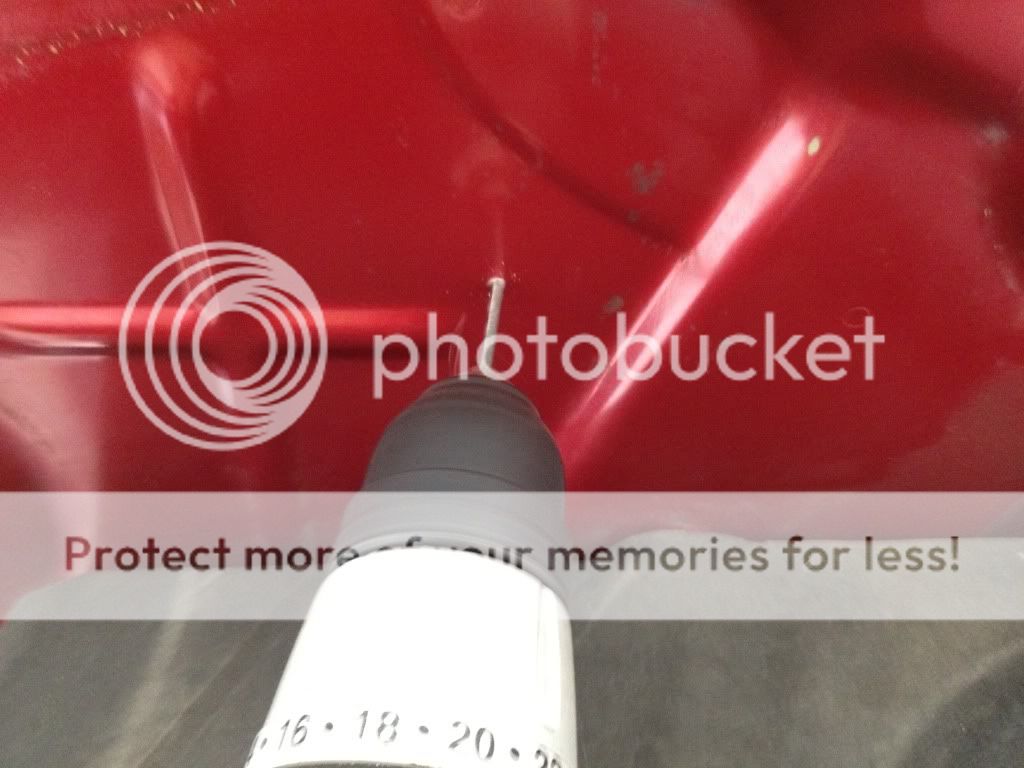
One thing that caught me by surprise is that the hood is actually double layered at this location, and the layers are less than a quarter inch apart. Keep this in mind as you drill. Once the holes for both pins were drilled, I lowered the hood down to verify that the pins lined up with the holes. In this picture, you can see the pin barely poking through the small opening.

Next I used gradually larger drill bits to open the holes large enough to switch over to the uni-bit.
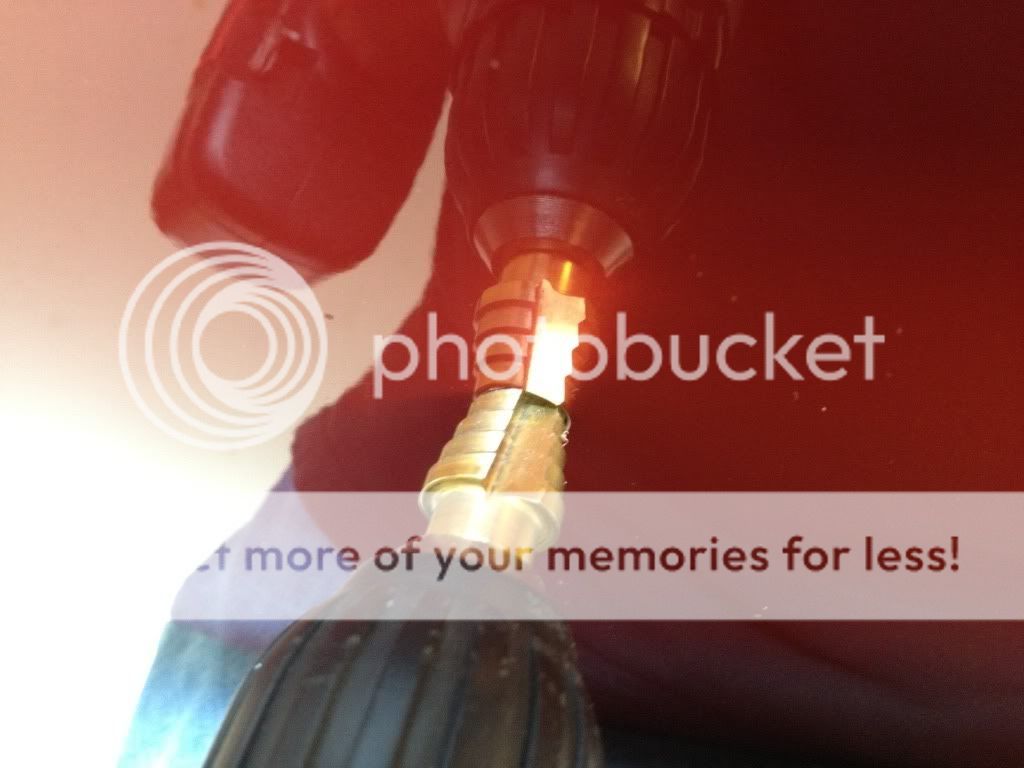
I can't remember how large the holes were before the pins would pass through cleanly, but I think it was around 5/8".

Then I pinned the billet hood plates in place so I could mark the pilot holes for the four screws which hold the plates in place. This required some experimentation with the hood pin heights in the radiator brackets in order to find a height which put the slightest bit of pressure on the hood when closed. I suppose this is not absolutely necessary, but if the hood pins are taller than necessary, then the clips would flop around while you're driving. Mind you, they won't fall out because they're designed to stay in place. But they would certainly move around while you're driving, and that is unacceptable in my book.

Interesting tidbit- these plastic spacers go between the billet aluminum hood brackets and the hood itself. They are slotted because the surface of the hood is actually angled where the pin passes through, so the slot allows the pin to come through at an angle on the way through the aluminum bracket. This slot should be installed vertically, from the front of the car to the back.
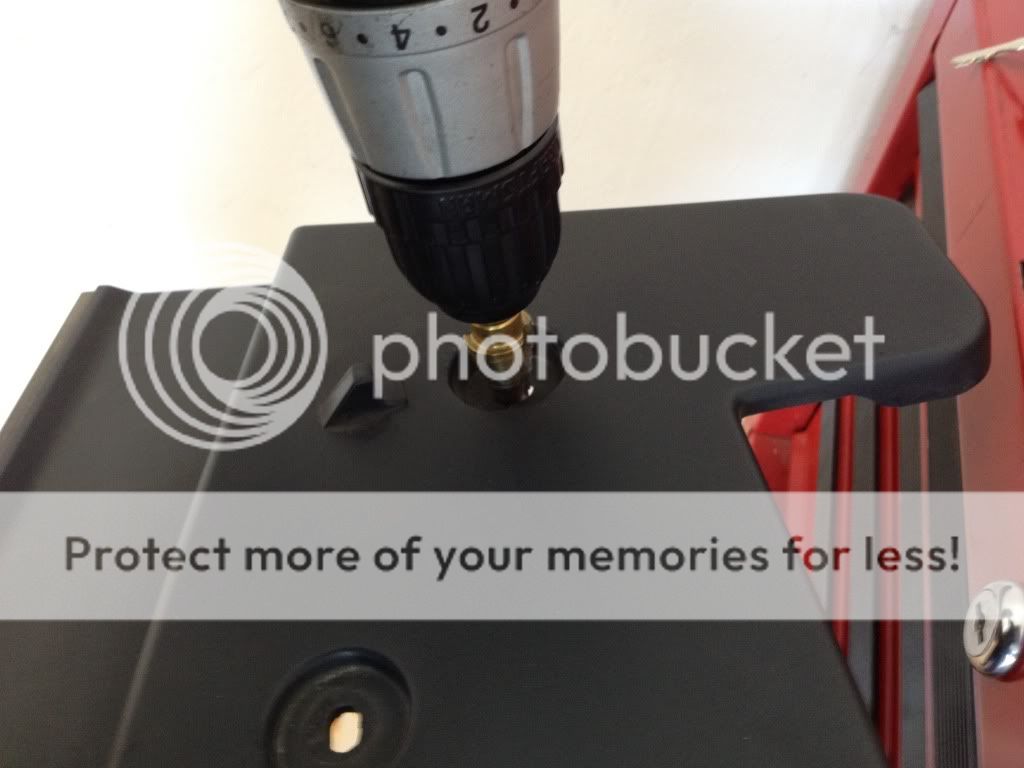
With all of the hood hardware out of the way, I drilled the pilot holes for the four screws which hold the billet aluminum hood brackets down. Note that the center hole is not in the middle of the four holes around it. That's because of how the pin comes through at an angle.

Next, I screwed the hood plates down, with plastic spacers properly indexed and sandwiched between them and the hood. I used a cordless drill with the clutch set pretty light. I don't think I'd want to do this part with a handheld screwdriver, but it could be done. Note- do not screw them down too tight or you will distort the metal on the hood. Just screw them down evenly, a little bit at a time, working your way around from screw to screw (I used a cross pattern), until the plate is flush with the surface of the hood.
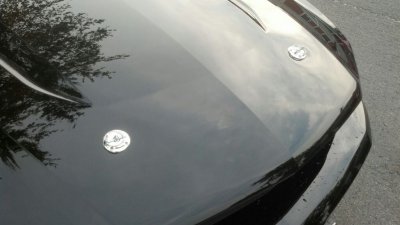
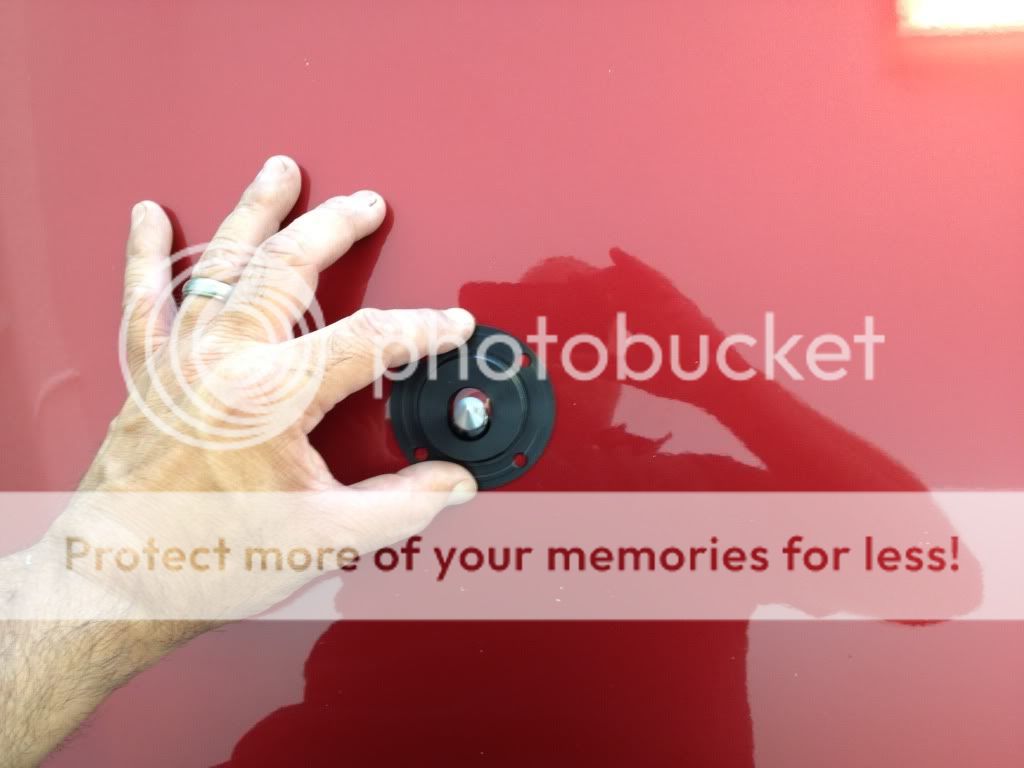
After I screwed down the plates, I slid the clips into place. I chose to push mine in from the middle of the hood toward the fenders, but it doesn't really matter which direction you choose. Looks good!
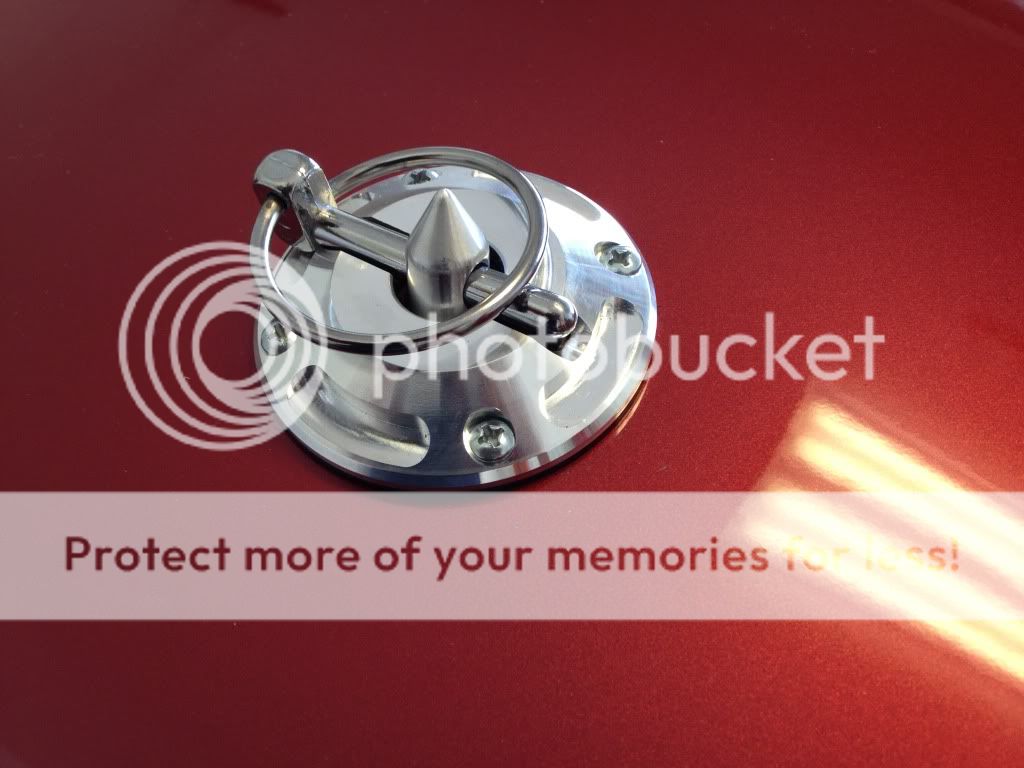
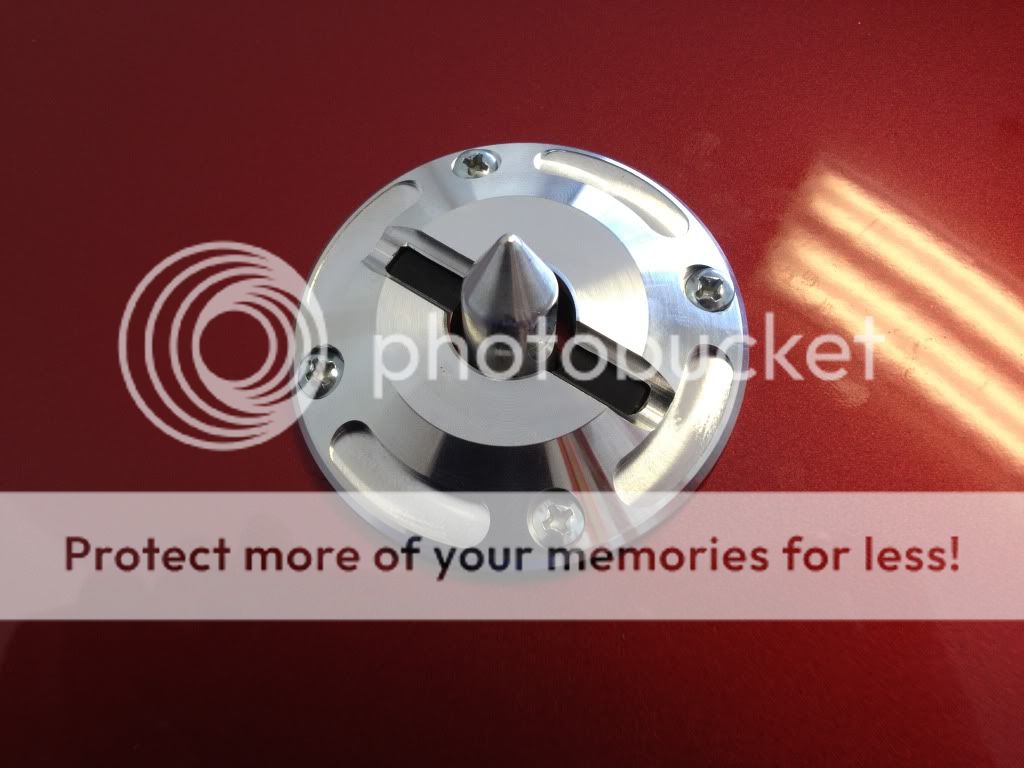
Just to satisfy my curiosity, I lifted the hood up off of the pins to see how the slot was positioned and how the hole was offset. Mind you, I'm super OCD and these plates are perfectly centered over the pins.

Okay, well with that squared away, the next step is to open up the holes where the pins pass through the radiator cover. This was super easy because there are already holes there, from where plastic clips were previously. They just needed to be opened up a little bit.
Here's what it looks like with the radiator cover installed and the plastic push pins back in place.
Bickety BAM! Done. I think they look great, but most importantly, I won't ever have to worry about the hood flying up again!

Kidding. But seriously, I've owned dozens of Mustangs and I've never bought or used hood pins before. They always made me think of wannabe "racecars" that are actually Super Slow. However, this '06 GT is my first S197 Mustang and I noticed something disturbing the week after I bought it.
At my first drag race with the car, when I topped 110mph I noticed that the hood was bouncing a lot. Like, enough to make me uncomfortable. It instantly reminded me of the first race for the S197 Mustangs at Daytona back in 2005 when they finished 1, 2, & 3, I believe, but a couple of the Mustangs lost their hoods on the banking.
Apparently, the front of these cars are so flat, they catch a lot of air through the grill and it gets trapped in the engine compartment. That's why they vented the hoods on the GT500s, to let the air out. At first, I chose to ignore the issue, I mean hey... how many times am I going to top 110mph, right? Not so fast there, Sharad. I later noticed that just passing SUVs and tractor-trailers on the highway also causes the hood to bounce quite a bit.
If you've ever had a hood fly up on you (I have, long story) you know that it can be a terrifying experience, one that I choose to avoid at all costs! With that in mind, I picked up UPR's 2005-2013 Billet Radiator Hold Down / Hood Pin Kit, #1056-07. http://www.uprproducts.com/mustang-billet-radiator-hood-pin-mounts-05.html
The kit is comprised of a pair of billet aluminum radiator brackets which replace the factory stamped steel brackets, but the UPR brackets are threaded in the middle to accept our billet aluminum hood pin kit. So basically it's a 2 for 1 modification- billet radiator hold down and a hood pin kit.
Here are some photos I snapped while installing the kit:
The first step is to remove the plastic radiator cover by removing the plastic push pins.
Here's what it looks like with the cover removed.
Next you remove and replace the factory brackets, one at a time.
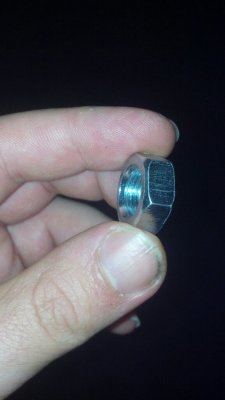
Remove the rubber grommet from the factory bracket and push it into the UPR billet aluminum bracket.
Next, you bolt the bracket down onto the radiator.
After installing both brackets, I threaded the hood pins all the way down into the brackets and lowered the hood onto the pins. Then I raised the hood up a few inches and bounced it down onto the pins (gently, without letting go) so the pins would mark the hood where the holes needed to be cut. Here's what the hood liner looked like where the pin dimpled it.
Here's the mark on the underside of the hood, behind the liner.
With the pin locations clearly marked, I used about an 1/8th inch drill bit to drill a pilot hole where the pins would go through.
One thing that caught me by surprise is that the hood is actually double layered at this location, and the layers are less than a quarter inch apart. Keep this in mind as you drill. Once the holes for both pins were drilled, I lowered the hood down to verify that the pins lined up with the holes. In this picture, you can see the pin barely poking through the small opening.
Next I used gradually larger drill bits to open the holes large enough to switch over to the uni-bit.
I can't remember how large the holes were before the pins would pass through cleanly, but I think it was around 5/8".
Then I pinned the billet hood plates in place so I could mark the pilot holes for the four screws which hold the plates in place. This required some experimentation with the hood pin heights in the radiator brackets in order to find a height which put the slightest bit of pressure on the hood when closed. I suppose this is not absolutely necessary, but if the hood pins are taller than necessary, then the clips would flop around while you're driving. Mind you, they won't fall out because they're designed to stay in place. But they would certainly move around while you're driving, and that is unacceptable in my book.
Interesting tidbit- these plastic spacers go between the billet aluminum hood brackets and the hood itself. They are slotted because the surface of the hood is actually angled where the pin passes through, so the slot allows the pin to come through at an angle on the way through the aluminum bracket. This slot should be installed vertically, from the front of the car to the back.
With all of the hood hardware out of the way, I drilled the pilot holes for the four screws which hold the billet aluminum hood brackets down. Note that the center hole is not in the middle of the four holes around it. That's because of how the pin comes through at an angle.
Next, I screwed the hood plates down, with plastic spacers properly indexed and sandwiched between them and the hood. I used a cordless drill with the clutch set pretty light. I don't think I'd want to do this part with a handheld screwdriver, but it could be done. Note- do not screw them down too tight or you will distort the metal on the hood. Just screw them down evenly, a little bit at a time, working your way around from screw to screw (I used a cross pattern), until the plate is flush with the surface of the hood.
After I screwed down the plates, I slid the clips into place. I chose to push mine in from the middle of the hood toward the fenders, but it doesn't really matter which direction you choose. Looks good!
Just to satisfy my curiosity, I lifted the hood up off of the pins to see how the slot was positioned and how the hole was offset. Mind you, I'm super OCD and these plates are perfectly centered over the pins.
Okay, well with that squared away, the next step is to open up the holes where the pins pass through the radiator cover. This was super easy because there are already holes there, from where plastic clips were previously. They just needed to be opened up a little bit.
Here's what it looks like with the radiator cover installed and the plastic push pins back in place.
Bickety BAM! Done. I think they look great, but most importantly, I won't ever have to worry about the hood flying up again!


 Will a 10% discount work?