Here is my build ~ 4.6 to a 5.0 Forged Internals!
Started in November 2011 in our shop
Pre 5.0l build (Stock 4.6 Motor)
Saleen Supercharger 3.4 Pulley
3.73 Ford Racing Gears
Steeda CAI
Panhard Bars
Tokyio D Specs
SLP Line Lock
Flowmaster Axle Back
Kenne Bell Boost-a-pump
39lb injectors
SCT Handheld Tuner
This is a video of the car at the track before the build.
Northside Performance - 2006 Mustang GT - YouTube
Ok now that we got that outta the way. Here is my build.
New Parts:
127bren2 Cams
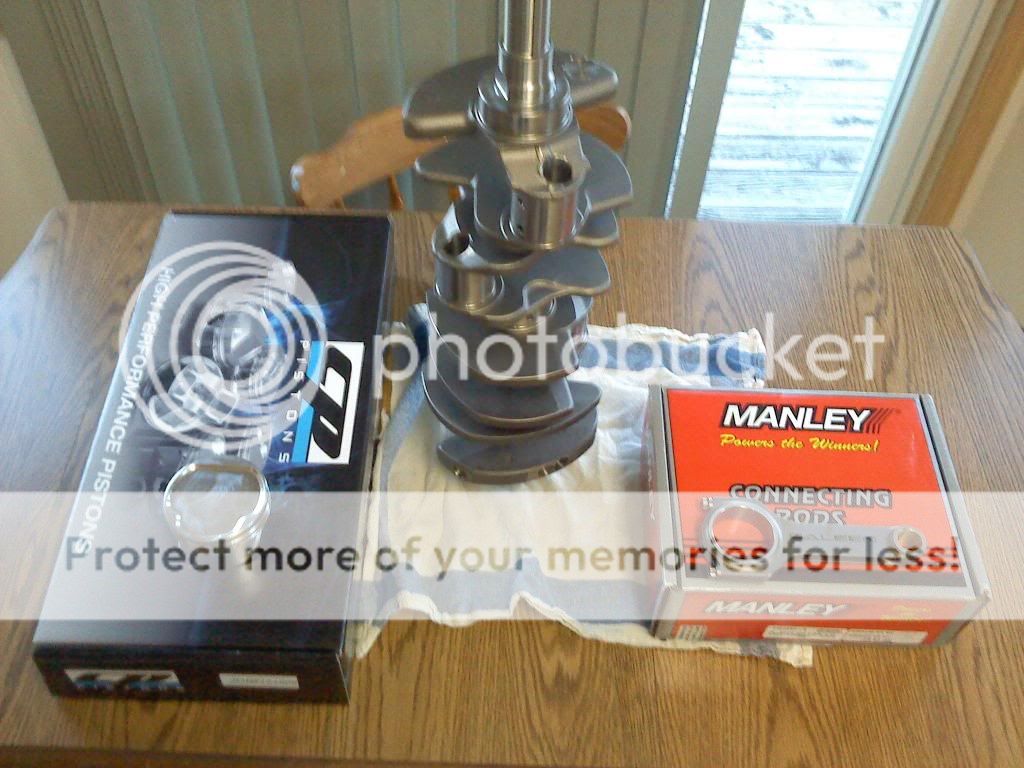
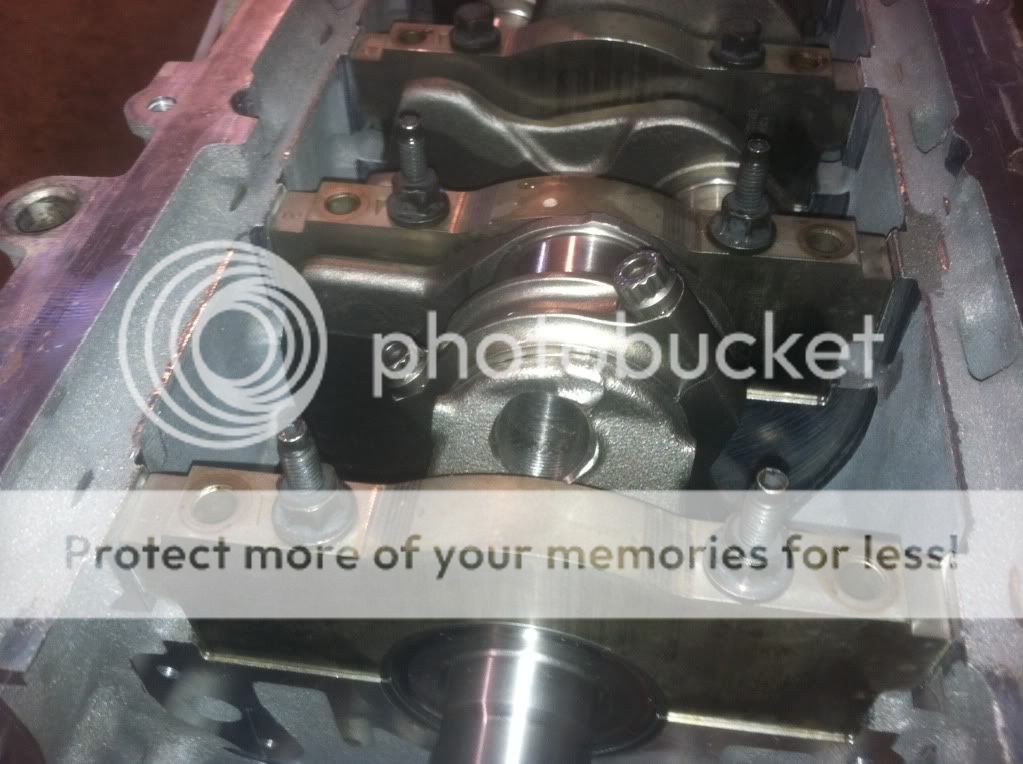
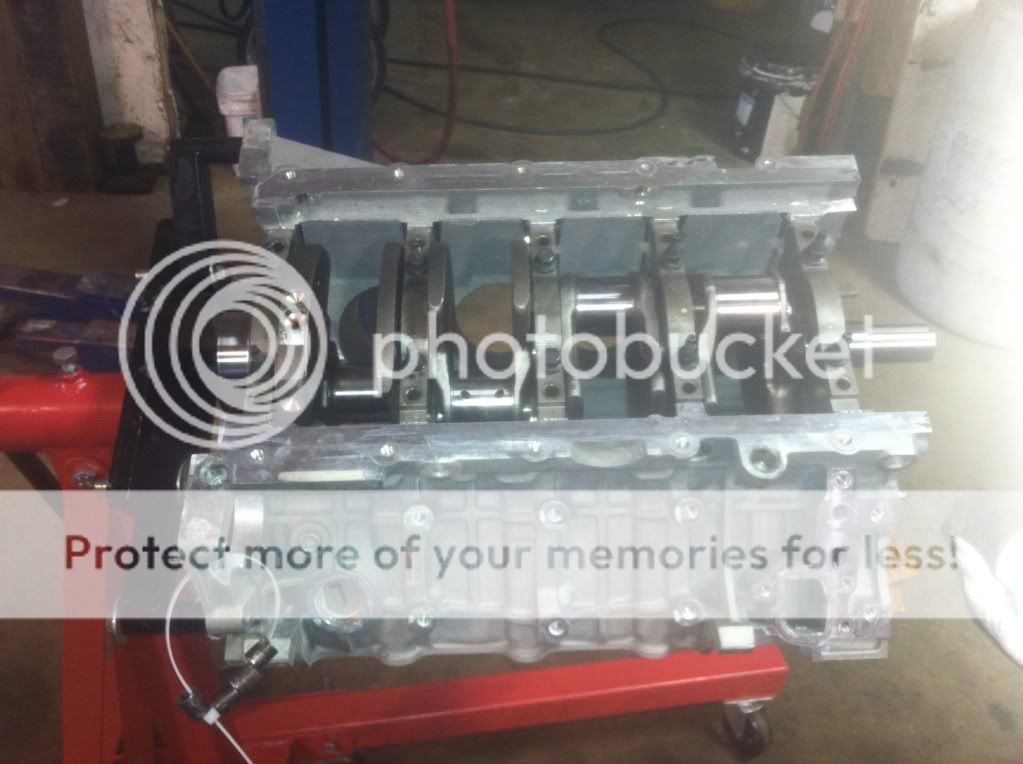
Forged Kellogg Crank
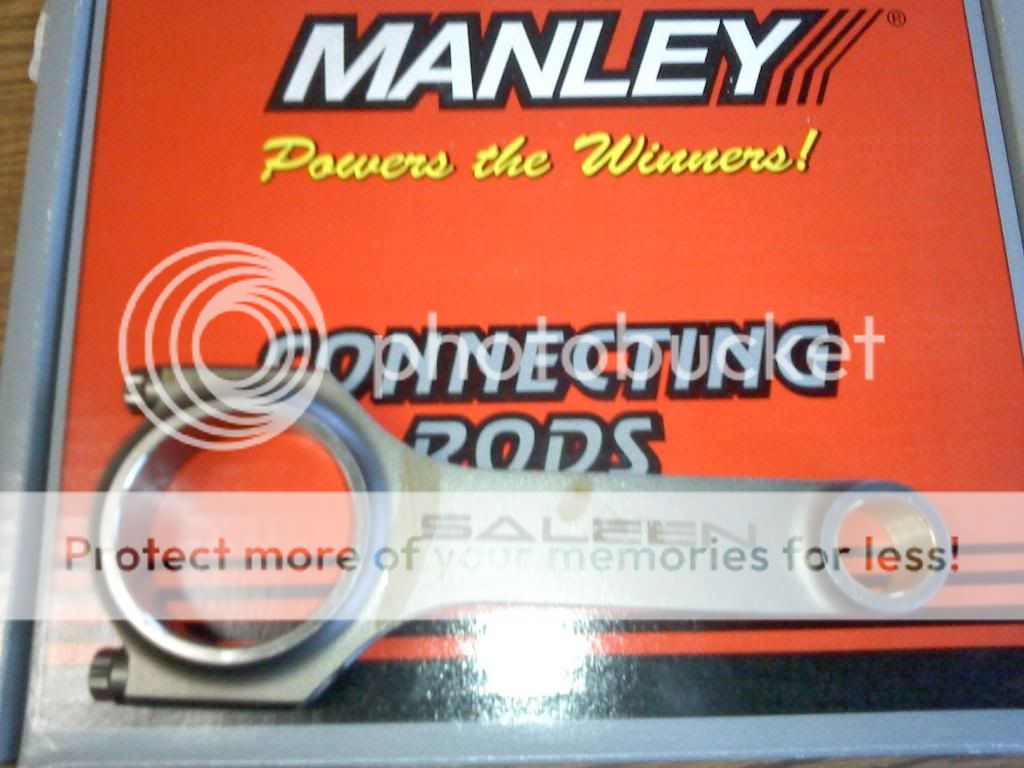
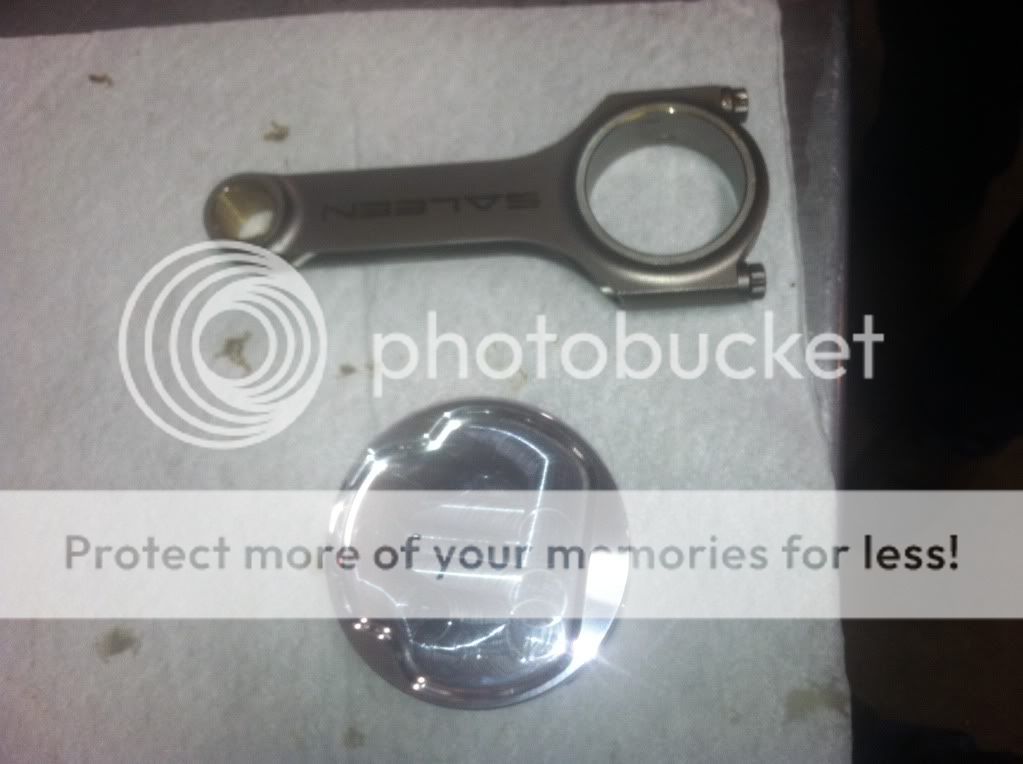
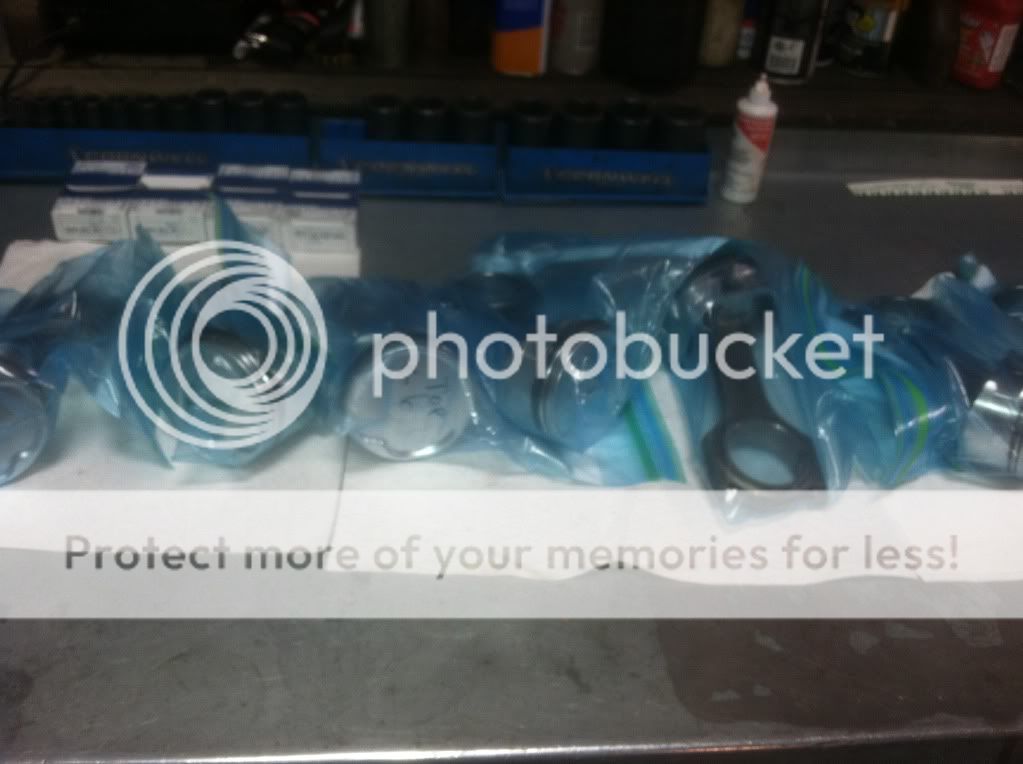
Forged Manley Rods
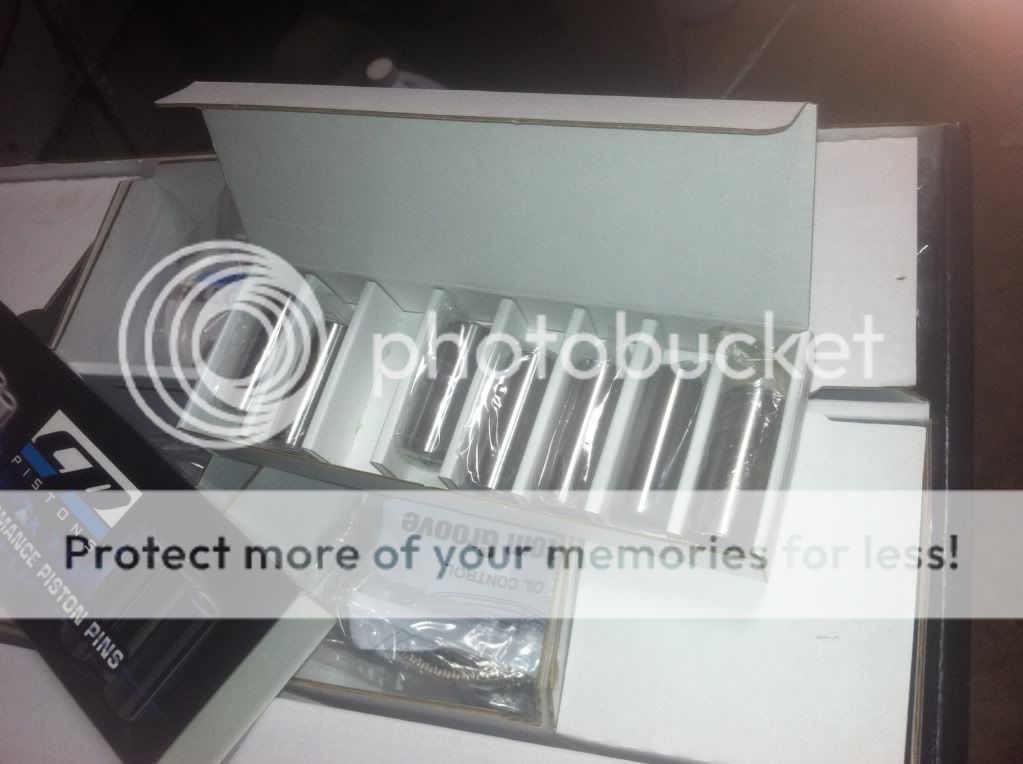
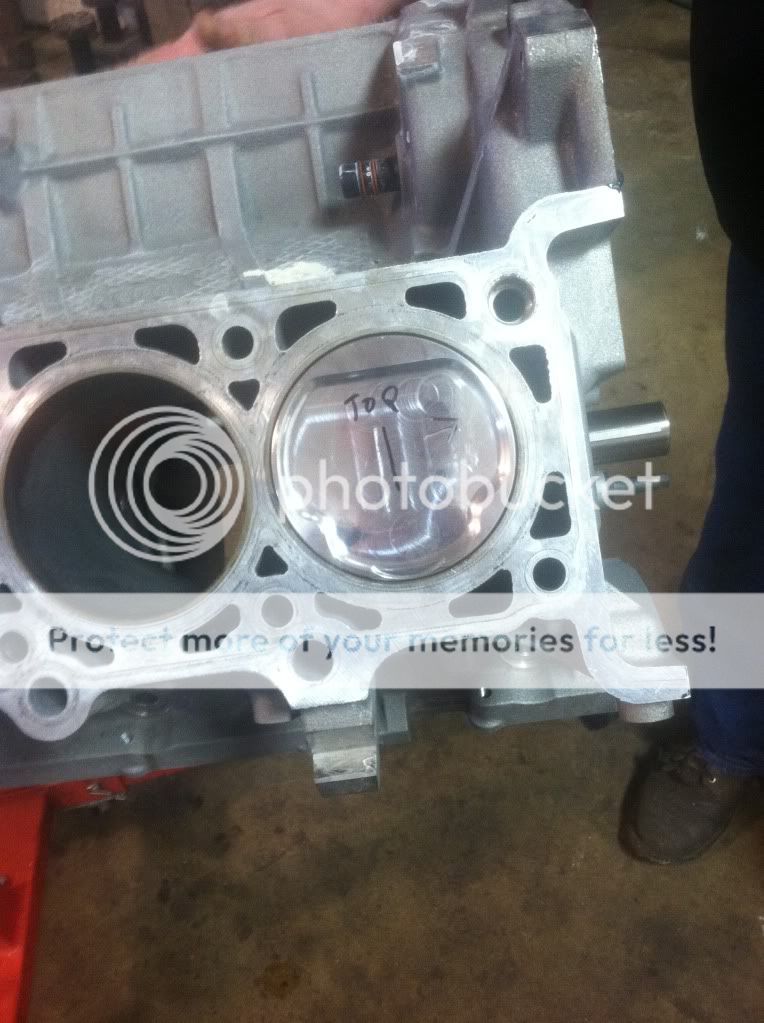
Forged CP Pistons
Pypes Headers and H pipe
BMR LCA and UCA and 3rd link (adjustable)
3.2 Pulley (40 Bucks )
One thing that isnt included in the kit from brenspeed is a 8 bolt flexplate, stock is 6 and the new crank is 8 bolt
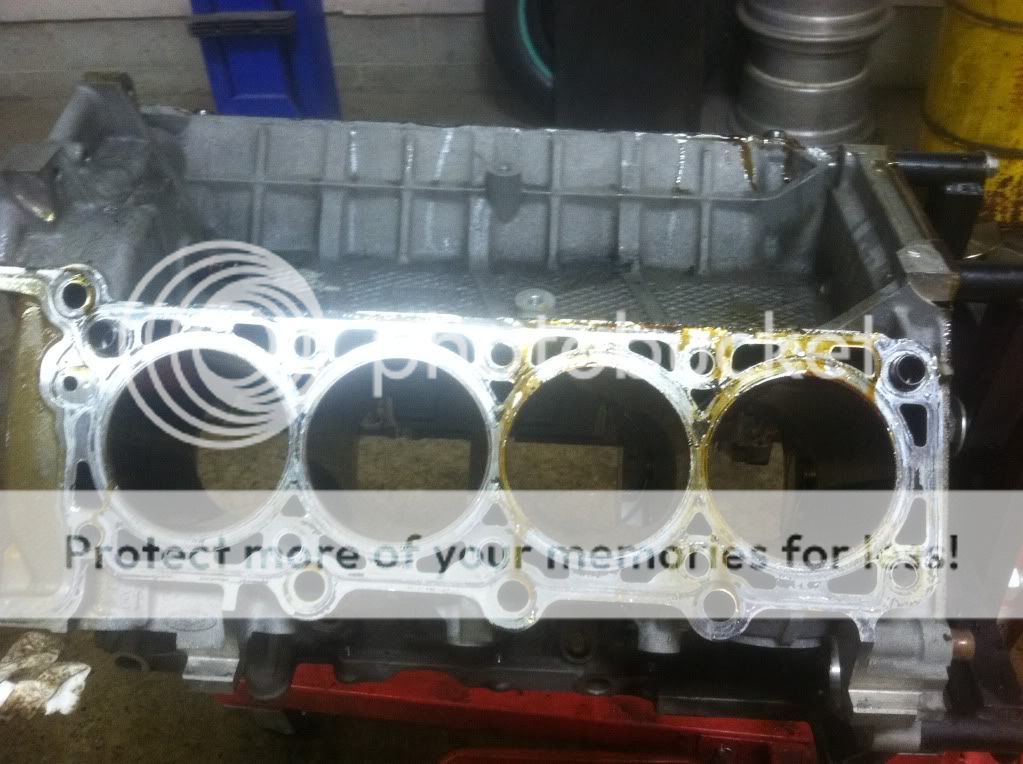
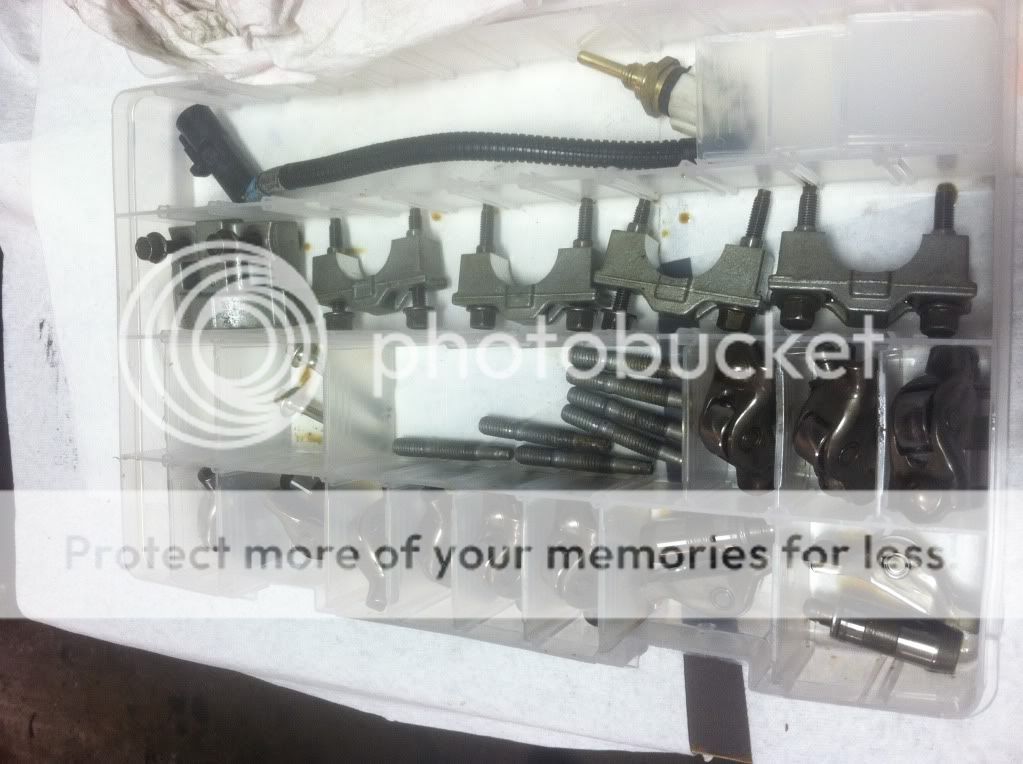
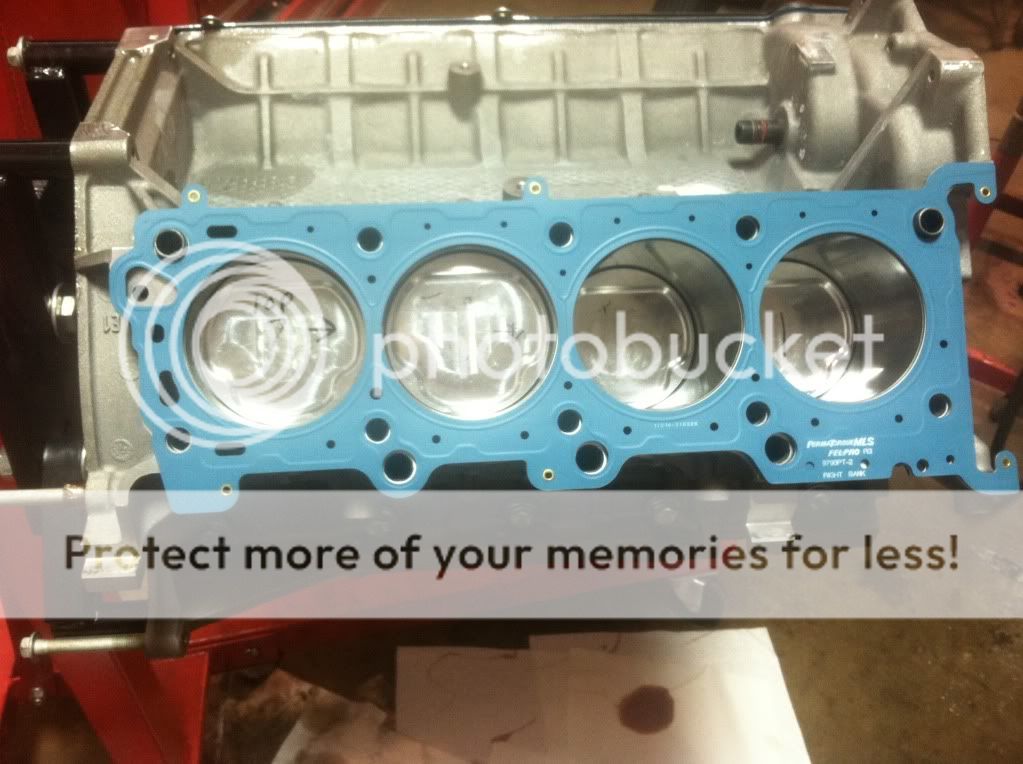
Also head gaskets, head bolts, main bolts, etc, stock head bolts are one time use, but they are strong so you can order them again to save money
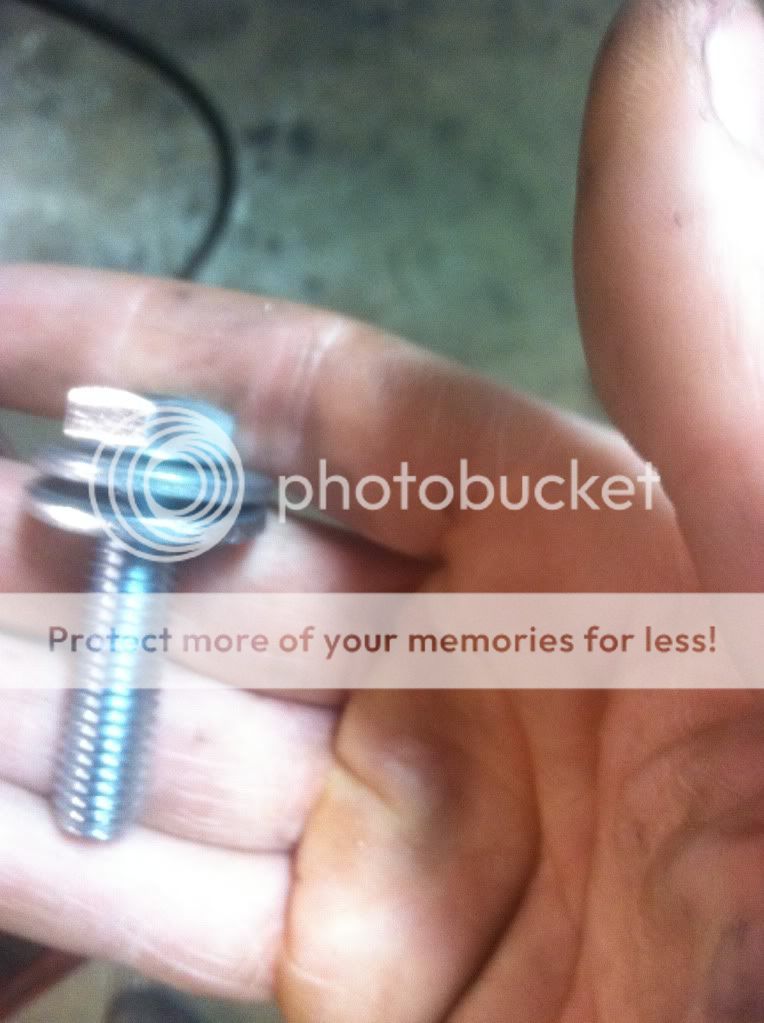
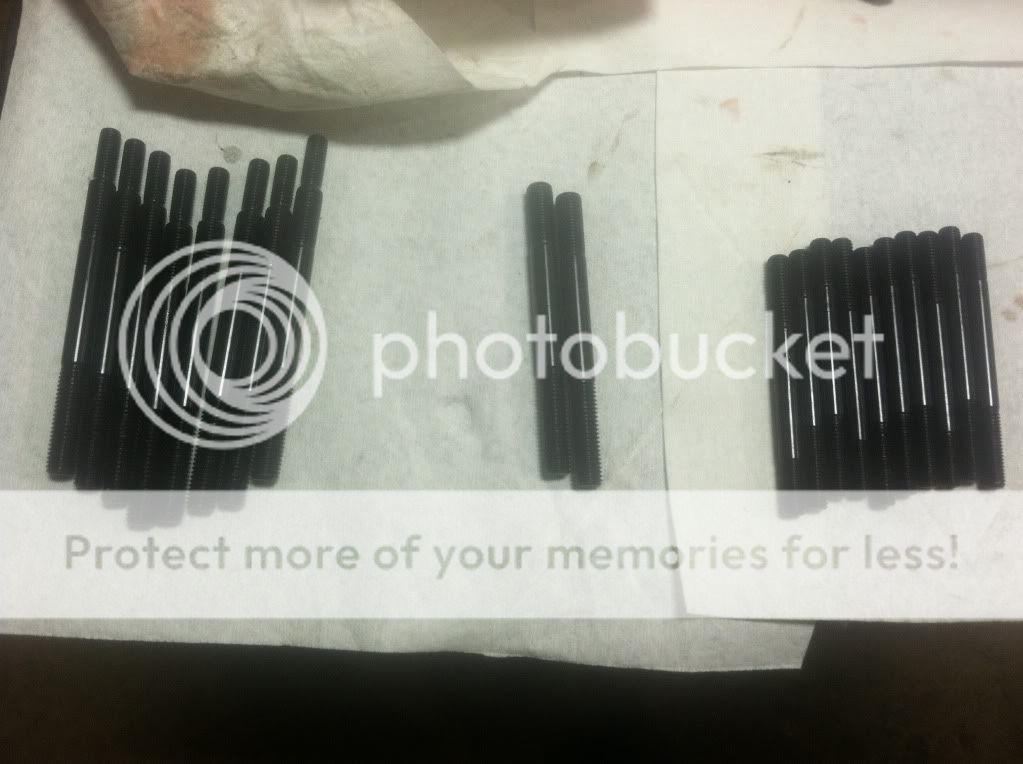
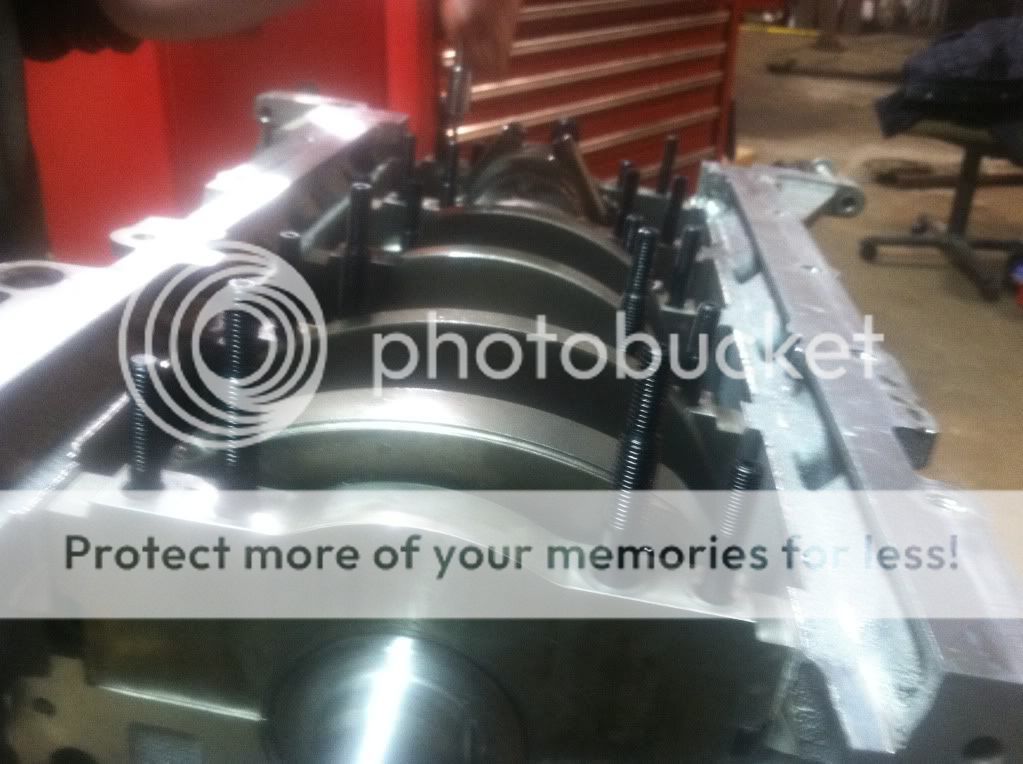
Main studs need to be changed, they are spendy but worth it.
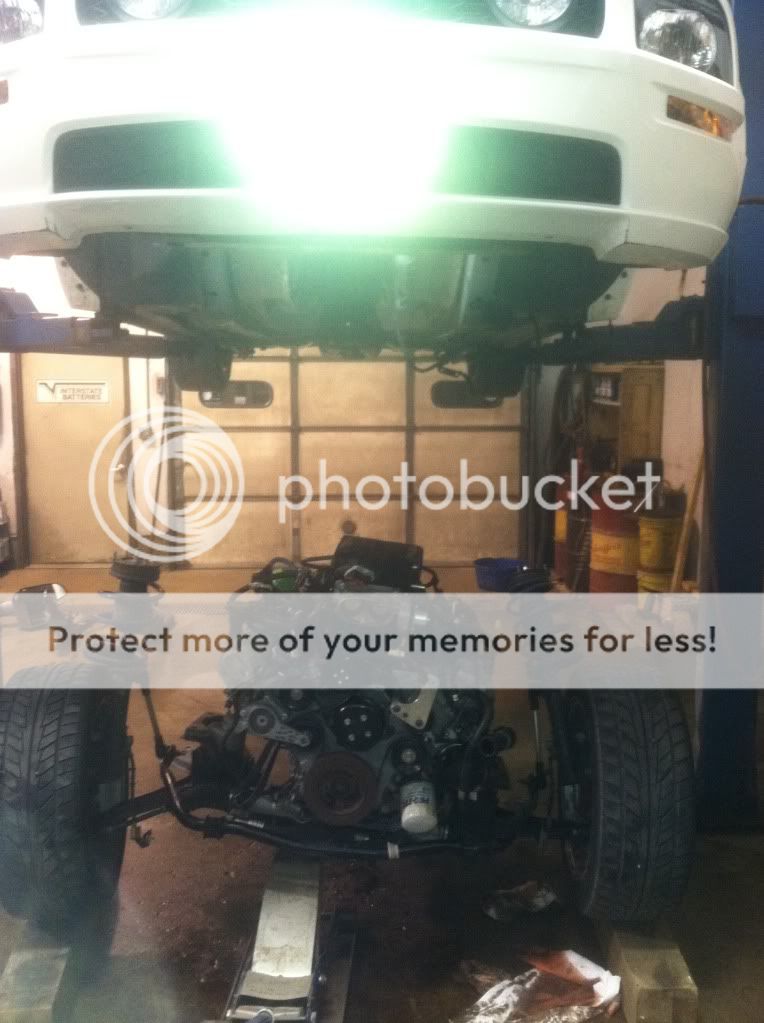
The idea was to drop it out the bottom with the K member and Wheels Still attached.
 This image has been resized. Click this bar to view the full image.
Drained all the fluids before disassembly, this took about a hour in its self along with disconnecting all the wires and taking the brake lines out. one of the hardest parts was the AC but we ended up draining that, and taking it out with the starter. Also taking out The AC.
Click this bar to view the full image.

Driveshaft out now since we are taking the transmission with it, only way to get it disconnected from the motor
After double and triple checking everything was disconnected we raised the car to seperate it, very slowly and very carefully.
Click this bar to view the full image.
we then used the cherry picker to seperate the K member from motor and Transmission
This image has been resized. Click this bar to view the full image.
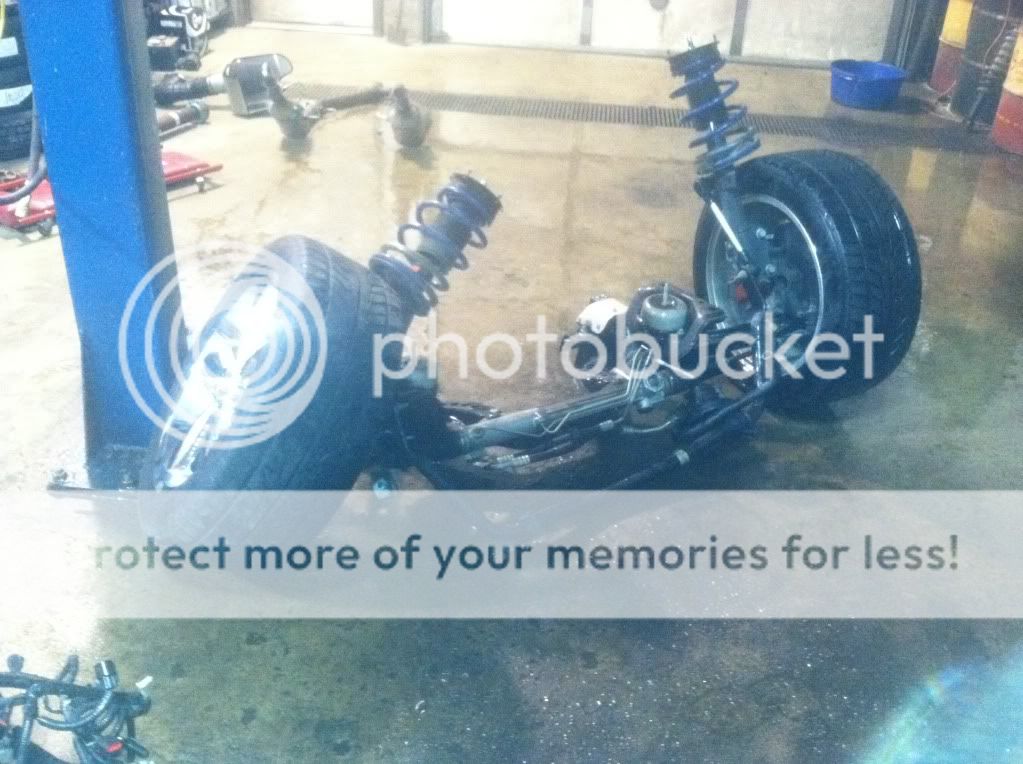
Once we got the motor off the K-Member we then wiggled the Transmission off.
This image has been resized. Click this bar to view the full image.
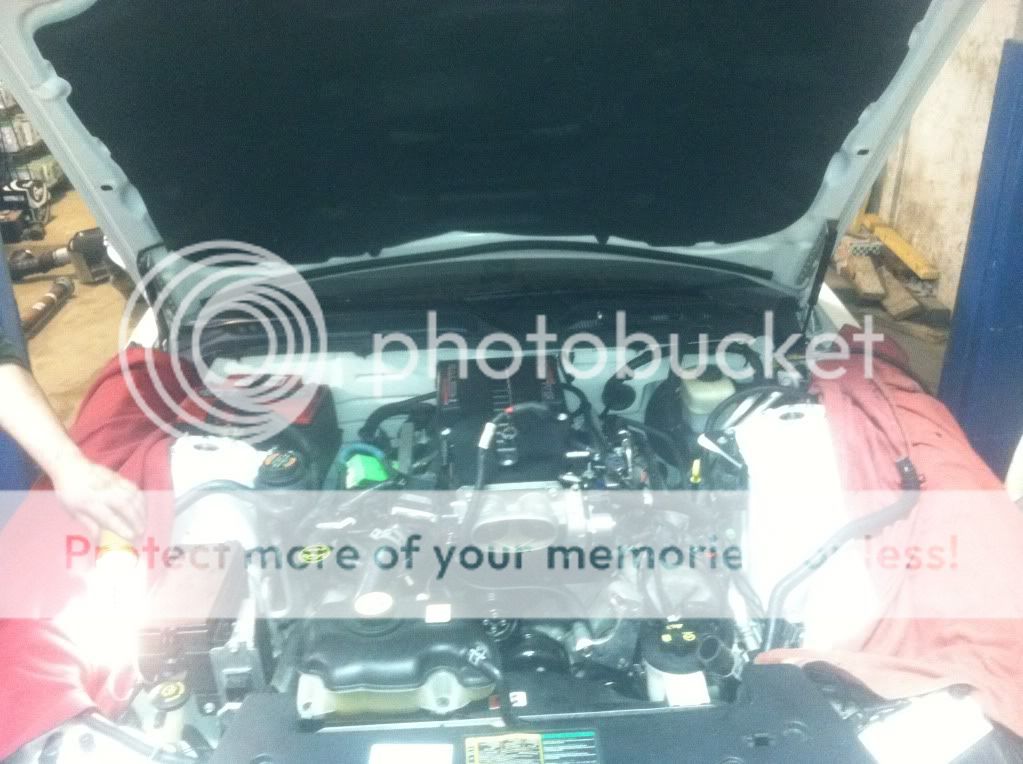
Here is the Empty hole haha
Click this bar to view the full image.

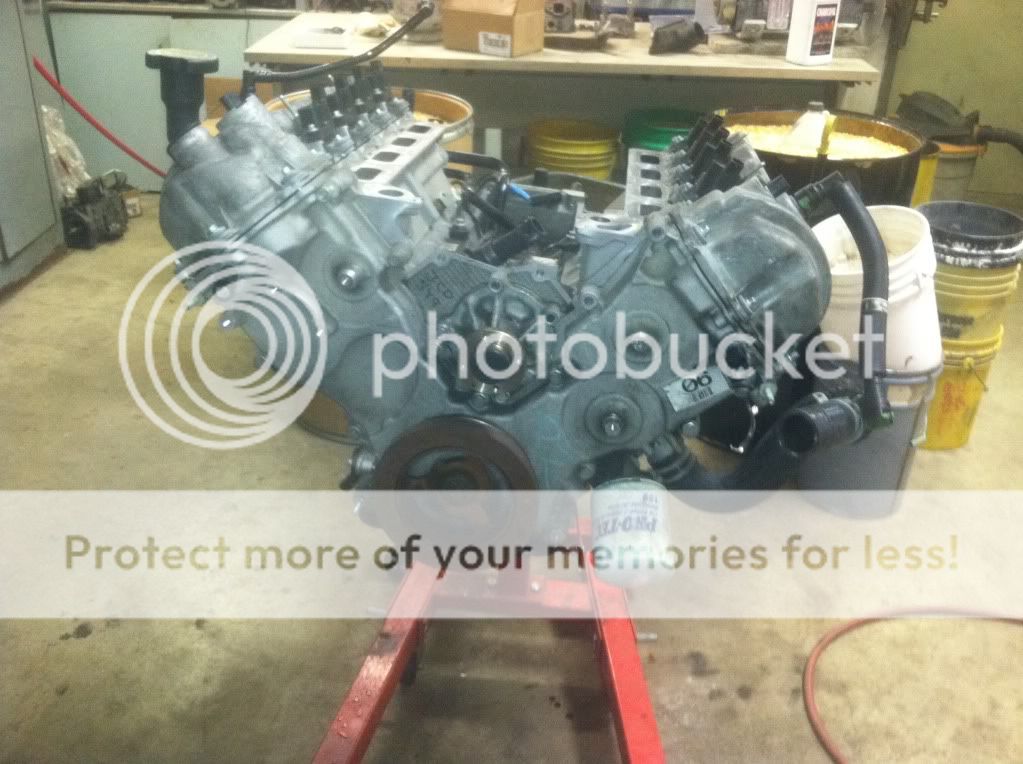
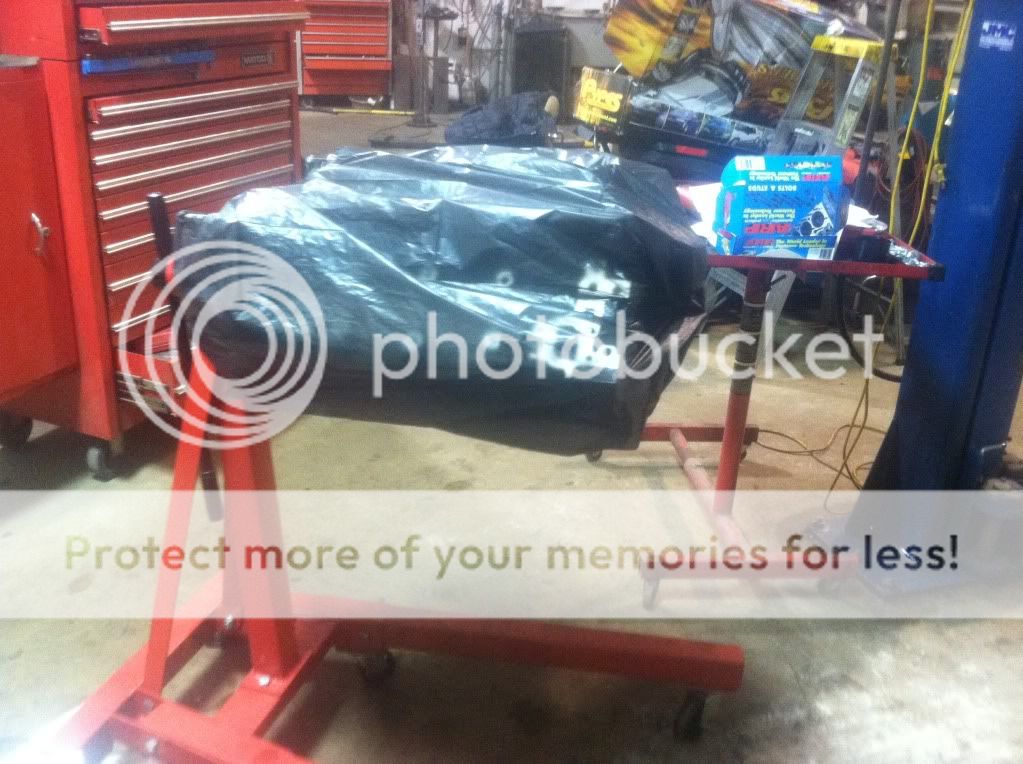
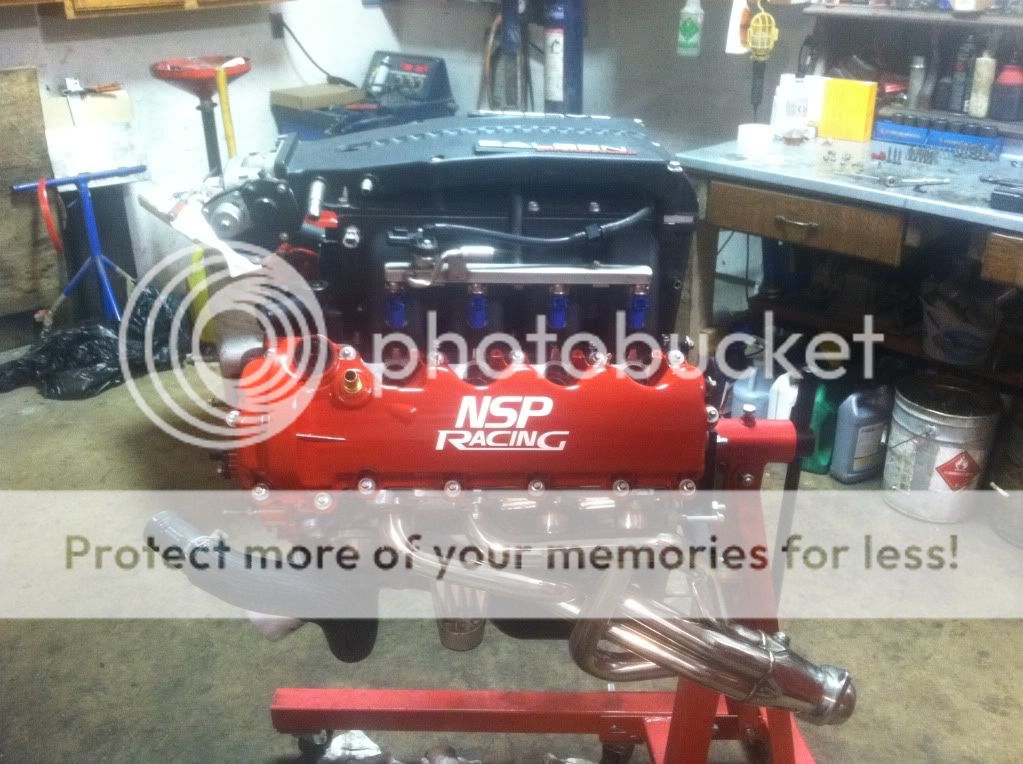
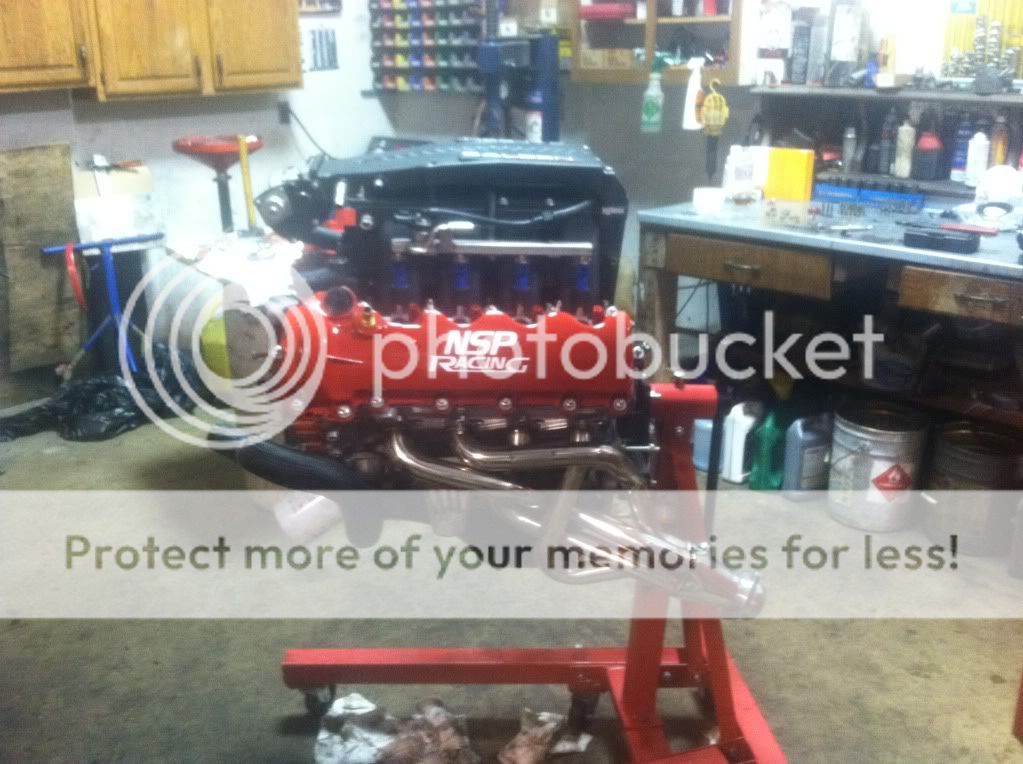
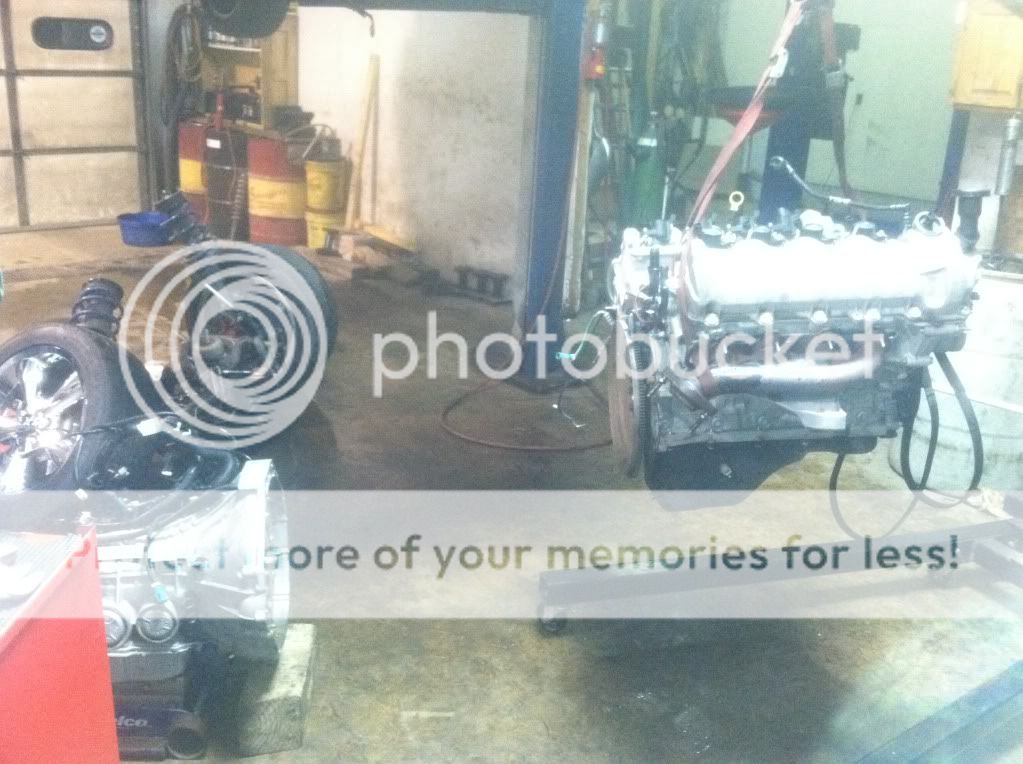
After that we got the Engine on the engine Stand
Click this bar to view the full image.
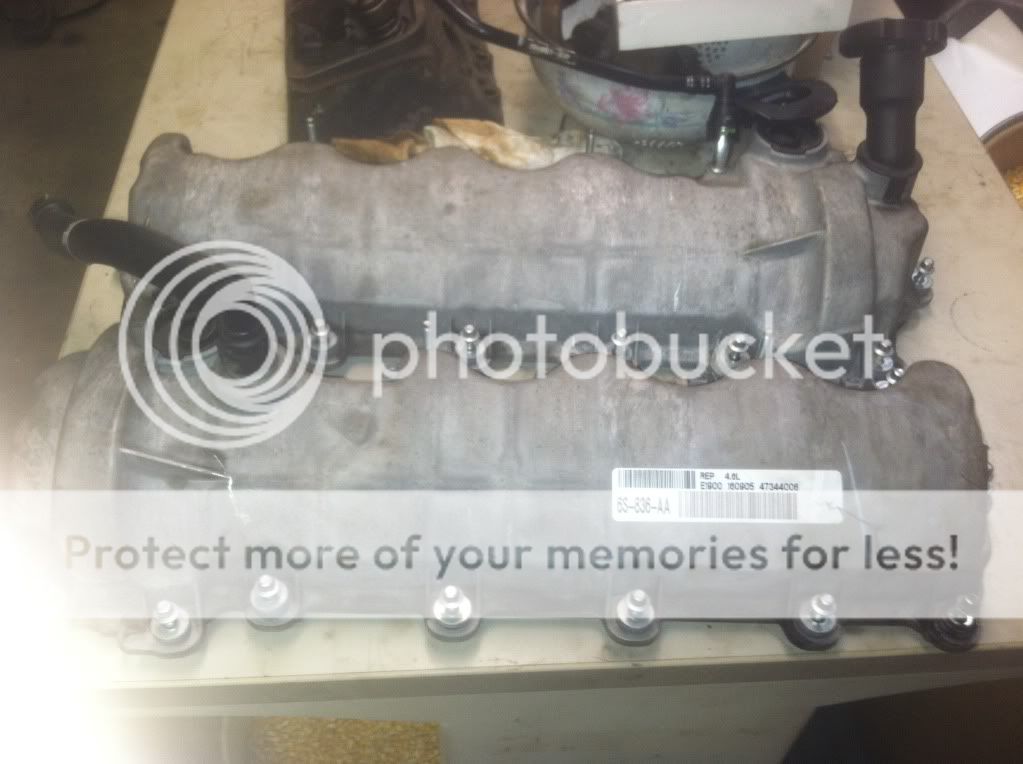
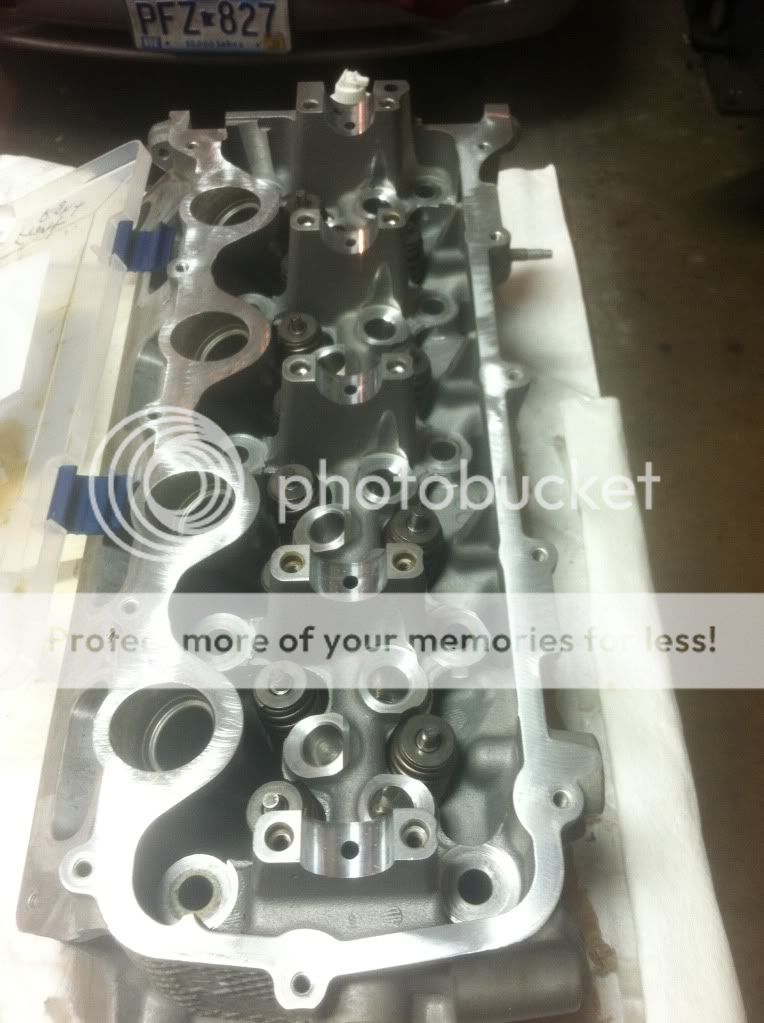
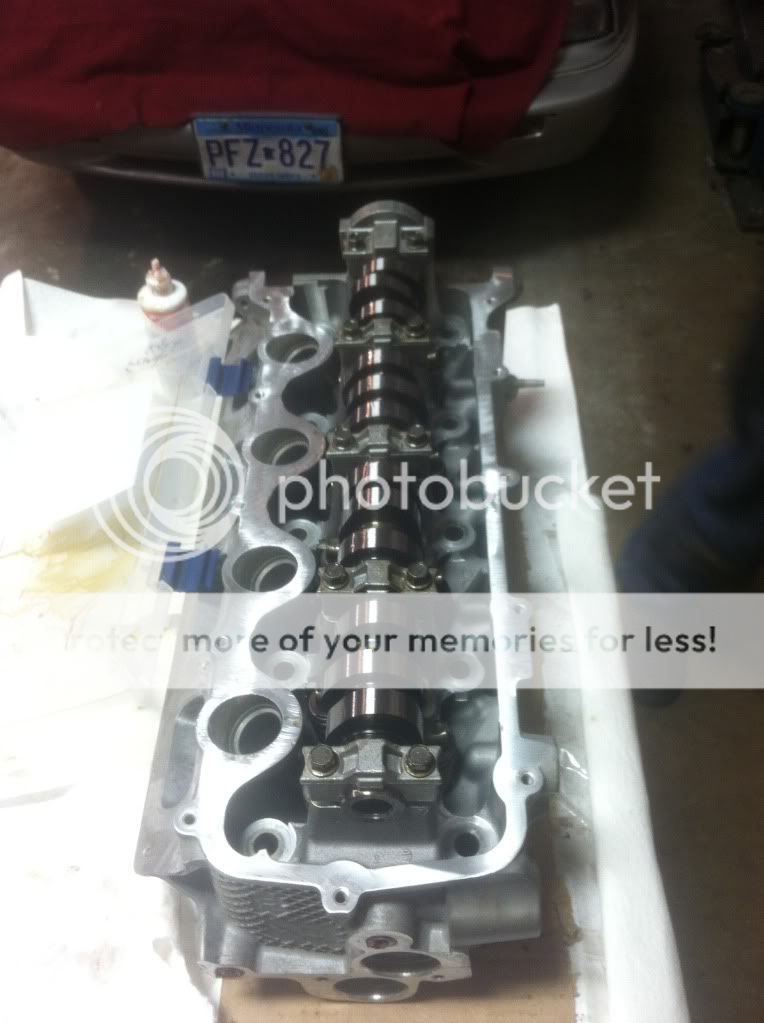
From there we took off the stock manifold, some very dinky little things
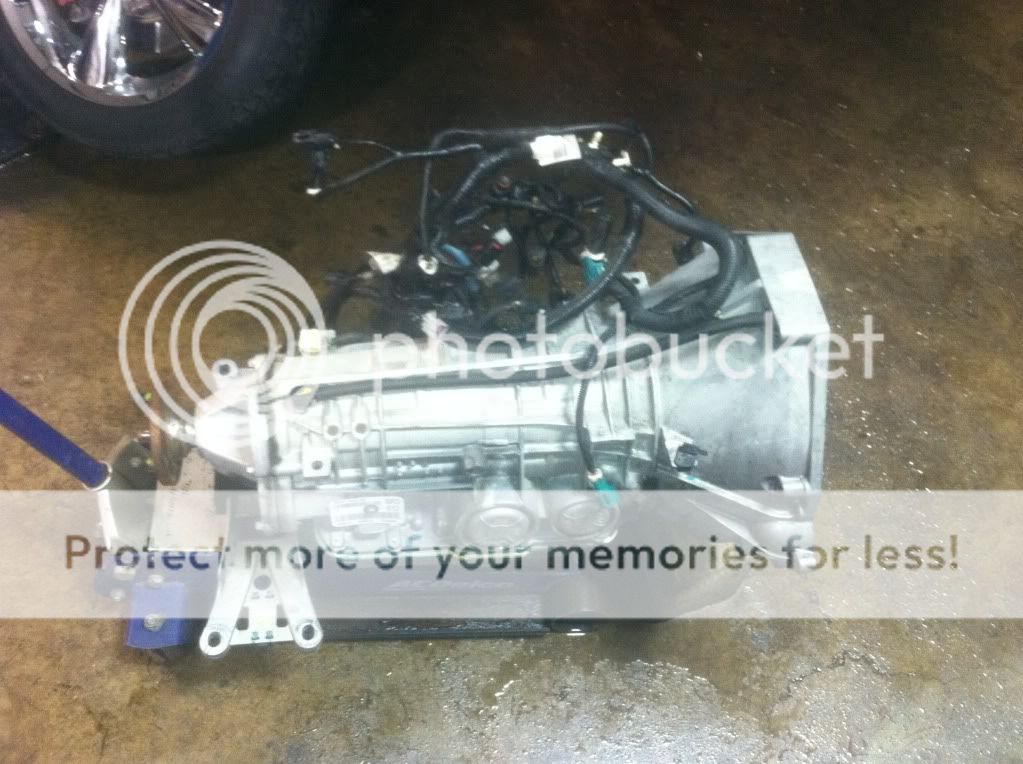
Good ole 5R55 auto
This image has been resized. Click this bar to view the full image.
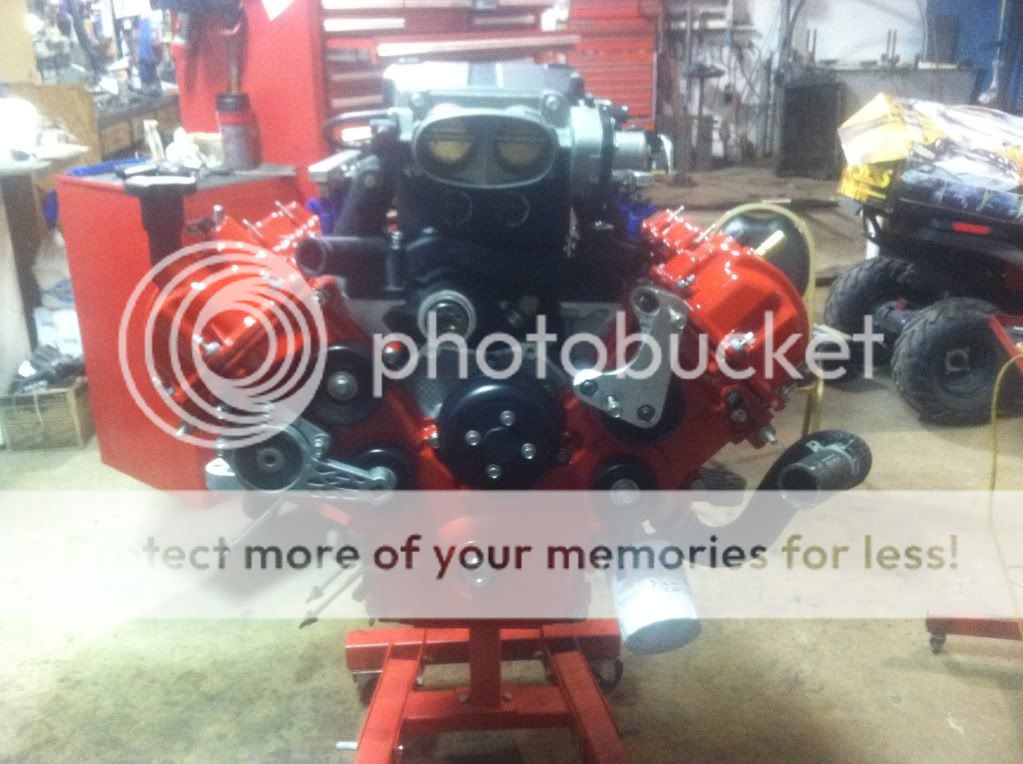
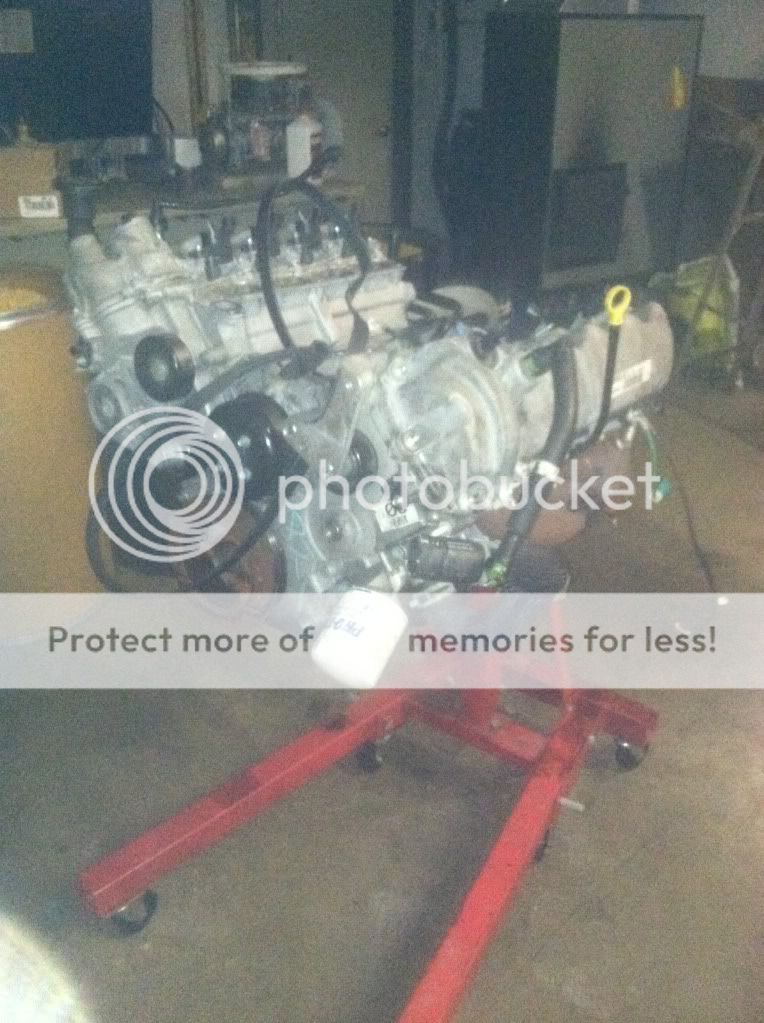
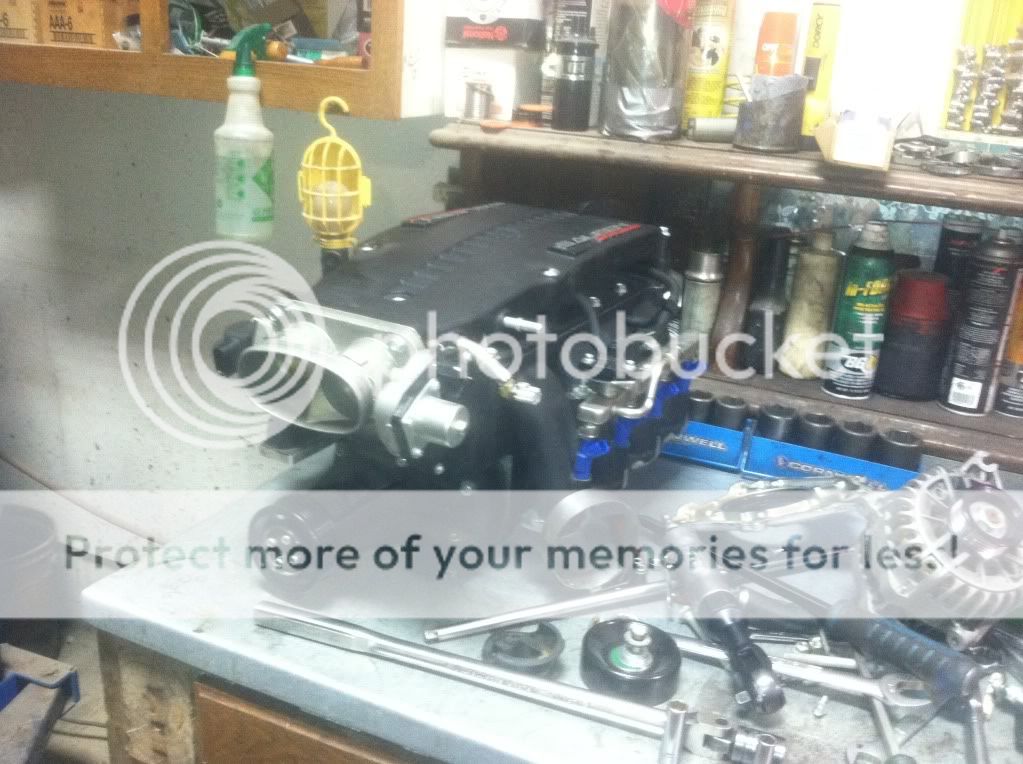
We then took off the heavy SOB saleen supercharger.
This image has been resized. Click this bar to view the full image.
Started in November 2011 in our shop
Pre 5.0l build (Stock 4.6 Motor)
Saleen Supercharger 3.4 Pulley
3.73 Ford Racing Gears
Steeda CAI
Panhard Bars
Tokyio D Specs
SLP Line Lock
Flowmaster Axle Back
Kenne Bell Boost-a-pump
39lb injectors
SCT Handheld Tuner
This is a video of the car at the track before the build.
Northside Performance - 2006 Mustang GT - YouTube
Ok now that we got that outta the way. Here is my build.
New Parts:
127bren2 Cams
Forged Kellogg Crank
Forged Manley Rods
Forged CP Pistons
Pypes Headers and H pipe
BMR LCA and UCA and 3rd link (adjustable)
3.2 Pulley (40 Bucks )
One thing that isnt included in the kit from brenspeed is a 8 bolt flexplate, stock is 6 and the new crank is 8 bolt
Also head gaskets, head bolts, main bolts, etc, stock head bolts are one time use, but they are strong so you can order them again to save money
Main studs need to be changed, they are spendy but worth it.
The idea was to drop it out the bottom with the K member and Wheels Still attached.
Drained all the fluids before disassembly, this took about a hour in its self along with disconnecting all the wires and taking the brake lines out. one of the hardest parts was the AC but we ended up draining that, and taking it out with the starter. Also taking out The AC.
Driveshaft out now since we are taking the transmission with it, only way to get it disconnected from the motor
After double and triple checking everything was disconnected we raised the car to seperate it, very slowly and very carefully.
we then used the cherry picker to seperate the K member from motor and Transmission
Once we got the motor off the K-Member we then wiggled the Transmission off.
Here is the Empty hole haha
After that we got the Engine on the engine Stand
From there we took off the stock manifold, some very dinky little things
Good ole 5R55 auto
We then took off the heavy SOB saleen supercharger.
Last edited: