Big Bore Boss build

tigerhonaker

Senior Member
S197 Team Member
Joined
Apr 11, 2009
Posts
6,516
Reaction score
29
Location
TN
Hi Bruce,

Just reading along here on your build.


Terry
 

Timmbo

forum member
Joined
Jan 17, 2011
Posts
2,067
Reaction score
0
Location
TN
Just talked to the machine shop. Everything is ready. I'll pick it up tomorrow after work. I'll try to not get carried away with assembly and installation. Both of my previous builds have been started on Friday after work and the motor was running on Sunday. Then again I could take Friday off and knock it out by Saturday, lol.

Looking forward to watching the build. Are you going to degree the cams like Scott did on his?
 

BruceH

BBB Big Bore Boss 322
Joined
Sep 13, 2009
Posts
13,801
Reaction score
14
Location
Pacific Northwest
Looking forward to watching the build. Are you going to degree the cams like Scott did on his?

Yes I will.

Shortblock assembled yet Bruce? LOL

Not yet. The block is on the stand. I think that all I'll do tonight is the shortblock. I had to take a muscle relaxer today and I'm pretty sleepy right now. I have tomorrow off so my goal will be to have the whole motor built by Friday evening and do the install on Saturday. The only variable is degreeing the cams. It may add an hour or two to the build.

I have no need to rush. BTW the bearing clearances came out to .0014 and .0016. I asked them to target .0015 and supplied -.001" bearings. The crank and rods were used and needed a little work.
 

lethe

V4g!n@ #er
Joined
Jul 28, 2012
Posts
4,002
Reaction score
1
Location
Everett, Wa
I think im working Saturday but if the motor isn't ready by then i can help you out Sunday if you want it.
 

BruceH

BBB Big Bore Boss 322
Joined
Sep 13, 2009
Posts
13,801
Reaction score
14
Location
Pacific Northwest
I think im working Saturday but if the motor isn't ready by then i can help you out Sunday if you want it.

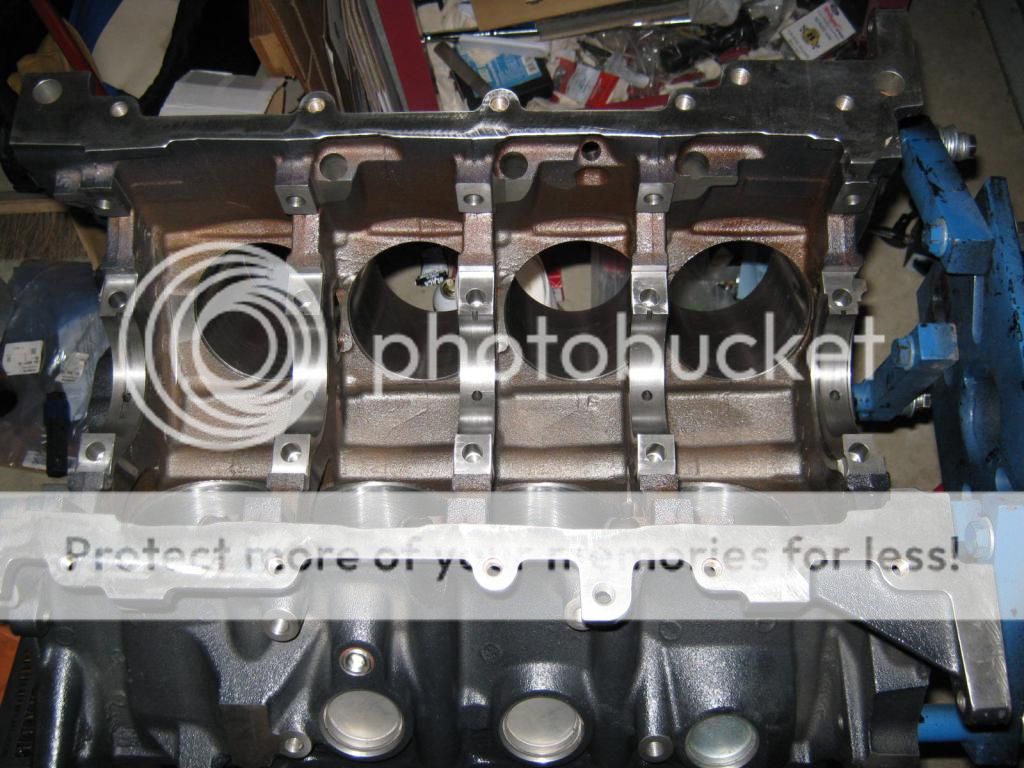
Thanks. I'm not sure when I'll be done. I spent an hour looking for the side rod bolts today and awhile measuring endplay. There also wasn't any real manual to determine how much to torque the side bolts so I spent some time figuring out what to go with. Ended up with 30lbs + 90 degrees just like the GT500 and 3v. I hope it wasn't too much. Haven't touched the rods and pistons and don't think I will tonight.

The crank is in and torqued. Torque to turn is between 20-25 inch pounds. End play could be .006 or .012 or somewhere in between. My dial indicator decided to get jumpy after I dropped it. I'll probably pick up a new one tomorrow. I think it's going to end up at .008". Edit: End play is .010".

Here's a few pics from today:

Finished block.


Main bearing backs are degreased along with the block.


The crank is in and torqued up.

 
Last edited:

BruceH

BBB Big Bore Boss 322
Joined
Sep 13, 2009
Posts
13,801
Reaction score
14
Location
Pacific Northwest
Which machine shop did you use?

Just like Jared said, ATS or Auto Truck Service in Everett. They do very good work and have a Rottler diamond hone. They can also finish a block deck to the proper ra for mls gaskets. Many machine shops will tell you they can but in the end they don't even have the tools to measure it let alone the machinery and tools to do it.

I think that the deck and head surface is another thing that some shops don't do right and in the end it shows up with forced induction with a blown head gasket. Then the tty hardware gets blamed.

I might be going off on a tangent here but I'm going to anyway. All you have to do is follow the Ford specs and replace the parts that are known to break with better parts. In this case it's rods but we do the pistons too for a little more insurance against ring land failure and detonation. As long as Ford specs are followed in machining and assembly the motor will hold some pretty good horsepower. It won't be a race motor but it will hold some pretty good street power.

Tangent over. I need to get back out to the garage. Arthritis is killing me today, it's a good thing I stayed home.
 

tigerhonaker

Senior Member
S197 Team Member
Joined
Apr 11, 2009
Posts
6,516
Reaction score
29
Location
TN
BruceH,

Man you sure do excellent pictures of what you are doing with great text.


Terry
 

BruceH

BBB Big Bore Boss 322
Joined
Sep 13, 2009
Posts
13,801
Reaction score
14
Location
Pacific Northwest
BruceH,

Man you sure do excellent pictures of what you are doing with great text.


Terry

Thanks Terry.

Today didn't go like I had planned. The short block is assembled and that's all that will be done until tomorrow.

I had two choices to make today concerning the build. First I only had 31 spirolox. 32 are required with two on each side of the wrist pin. A side tangent is that I much prefer the .063" lock wire hog rings for assembly.

I used an e clip in place of the one spriolox. It was within a few thousands in width and diameter of a lock.

The second was a slightly bent oil ring. The piston just wouldn't go in and rather than force it I looked everything over and saw a very small twist in one of the oil retaining rings. I twisted it back and went on. The metal didn't appear to be fatigued or distorted in any manner except for the twist so I took a chance and used it.

A few pictures from today:

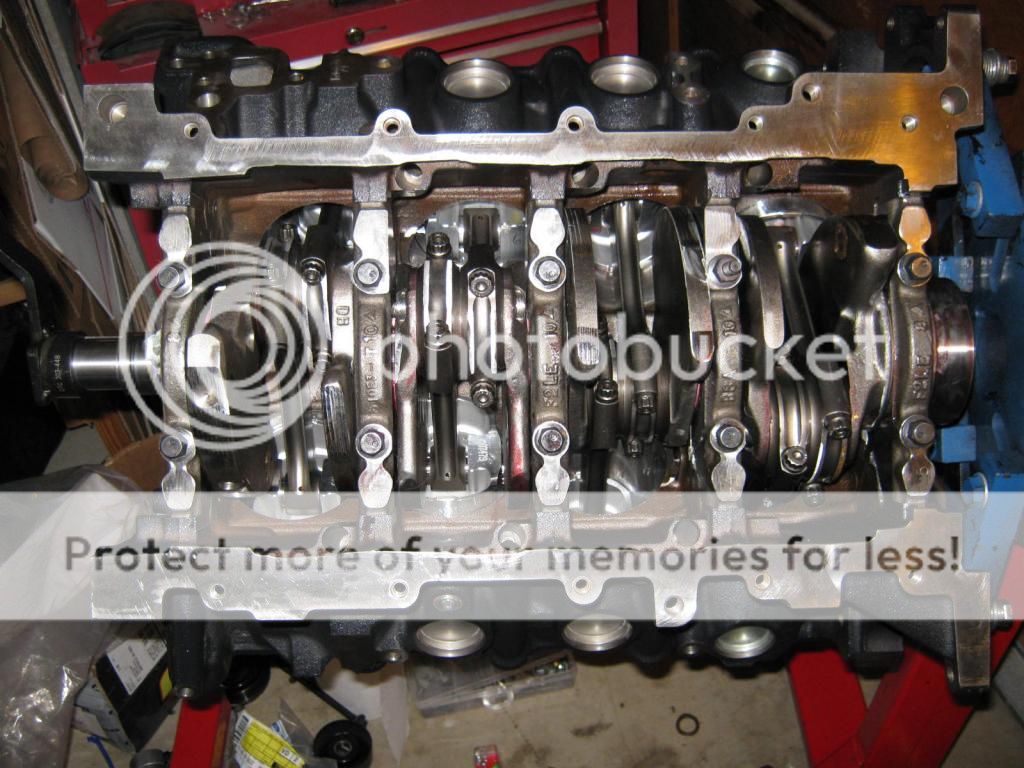
Pistons and rods assembled and ready to go in. I pour oil in the oil rings and coat the skirt with it at the same time.


The rod bearing area was degreased as were the backs of the bearings prior to assembly. In this picture you can see a relief on one side of the bearing. It's for the radius in the crank. I made sure they were in the right place but our cranks don't have the radius and the bearing area doesn't go all the way to the side of the rod anyway. If I understand correctly it's more for small block chevys. The rods use a small block chevy bearing. I've never noticed the fillet relief in the other motors I assembled with a stock crank.

The bearings and crank journals were lubed with assembly lube prior to assembly.


This is the Harbor Freight ring compressor in use. It was available when I needed it during the first build 4 years ago and works fine. I'd like to have a tapered style but I keep telling myself that I'm on my last build so I never buy one.


Tap it in with a wooden handle. If anything hangs up it's best to take the piston back out and take a look.


Here's the piston rod assembly being installed to the crank. The arp2000 bolts were lubed with 30w oil per Manley directions.


Here it is all torqued up. The side rod clearances were .012", .011", .011", and .011" from front to back. This really shows how well Manley and Kellogg machine parts. It's also within the Ford specs for clearance. As an fyi it can be as low as .006" on a factory motor and still be in spec.


The piston banks from the front. Tomorrow the heads will go on and I'll try my hand at degreeing the cams. I'm going to start with the stock lower gear just in case they don't need adjustment.

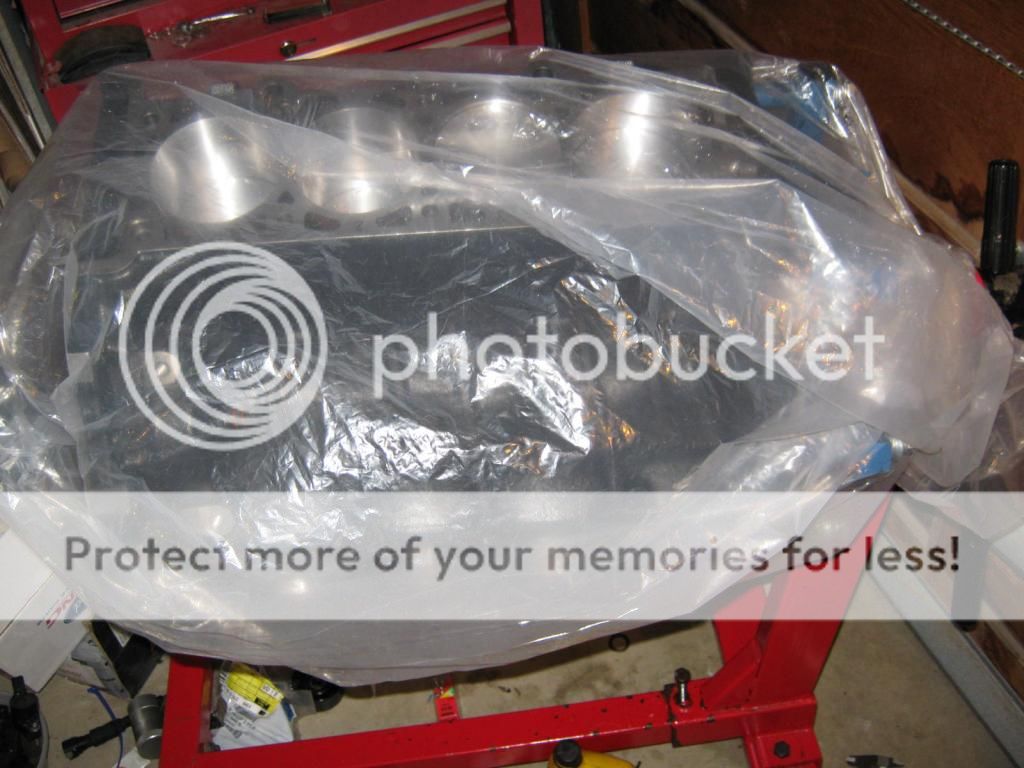
For now it's bagged up. It really is amazing how much dust collects on an oiled surface.


lethe

V4g!n@ #er
Joined
Jul 28, 2012
Posts
4,002
Reaction score
1
Location
Everett, Wa
Sometimes the little things can hold you up for a while.

I have the same HF ring compressor. It does it's job but like you said you have to watch it and pay attention if the piston feels like it gets hung up. I broke a ring on another engine i built because the compressor slid up a little allowing the ring to expand and catch the top of the cylinder wall.
 

Backroad_Beast

2007 Torch Red GT
Joined
Apr 28, 2011
Posts
277
Reaction score
0
Location
Olympia, WA
This build should be a fun one. I can't wait to see it in person dude. I've been considering a healthy NA setup for a while now and you and Scott may have just put me over the edge.
 

BruceH

BBB Big Bore Boss 322
Joined
Sep 13, 2009
Posts
13,801
Reaction score
14
Location
Pacific Northwest
What track are you taking this to when you are done?

Bremerton. It won't be until next spring though.

The heads are on but I've run into something that will delay the project at least a week.

The 3v windage tray bolts on to the main bolts which have a stud poking up after the nut. I used the main bolts that came with the block and only one has a stud. That one is for the oil pump pickup standoff. Needless to say I either need to change out the main bolts or use the new 5.8 oil pan gasket/windage tray.

I just ordered the FRPP 8.5 quart oil pan, combination tray and gasket, and pickup tube. It's a package offered by FRPP for $176.

All I'll be able to do this weekend is to get the cams degreed and top end buttoned up. I'm almost glad I'm forced to wait and take it slower. I've been fighting this build for most of it. This will be my last build unless something goes wrong. No more voluntary major mods.
 

BruceH

BBB Big Bore Boss 322
Joined
Sep 13, 2009
Posts
13,801
Reaction score
14
Location
Pacific Northwest
Awesome hit me up when you go. we will make a day of it

Definitely. I only do the Friday night test and tunes. I'm not a serious drag racer and the Friday night atmosphere at Bremerton is fairly relaxed. There was a good group of people that hung out there a few years ago. Then stangnation (the local forum) kind of blew up and people stopped doing so much stuff together. About the only time I get to see the folks I used to do activities with is during dyno days. It would be nice if we could get another Friday night group and cars and coffee group going again.
 

daveyboy

forum member
Joined
Aug 27, 2012
Posts
233
Reaction score
0
Location
Port Orchard, WA
Definitely. I only do the Friday night test and tunes. I'm not a serious drag racer and the Friday night atmosphere at Bremerton is fairly relaxed. There was a good group of people that hung out there a few years ago. Then stangnation (the local forum) kind of blew up and people stopped doing so much stuff together. About the only time I get to see the folks I used to do activities with is during dyno days. It would be nice if we could get another Friday night group and cars and coffee group going again.
For sure. just have to get off work early...which is ok. I am thinking about doing the Car Club Challenge next year which is saturday. I use to do points racing then it stopped being fun
 

BruceH

BBB Big Bore Boss 322
Joined
Sep 13, 2009
Posts
13,801
Reaction score
14
Location
Pacific Northwest
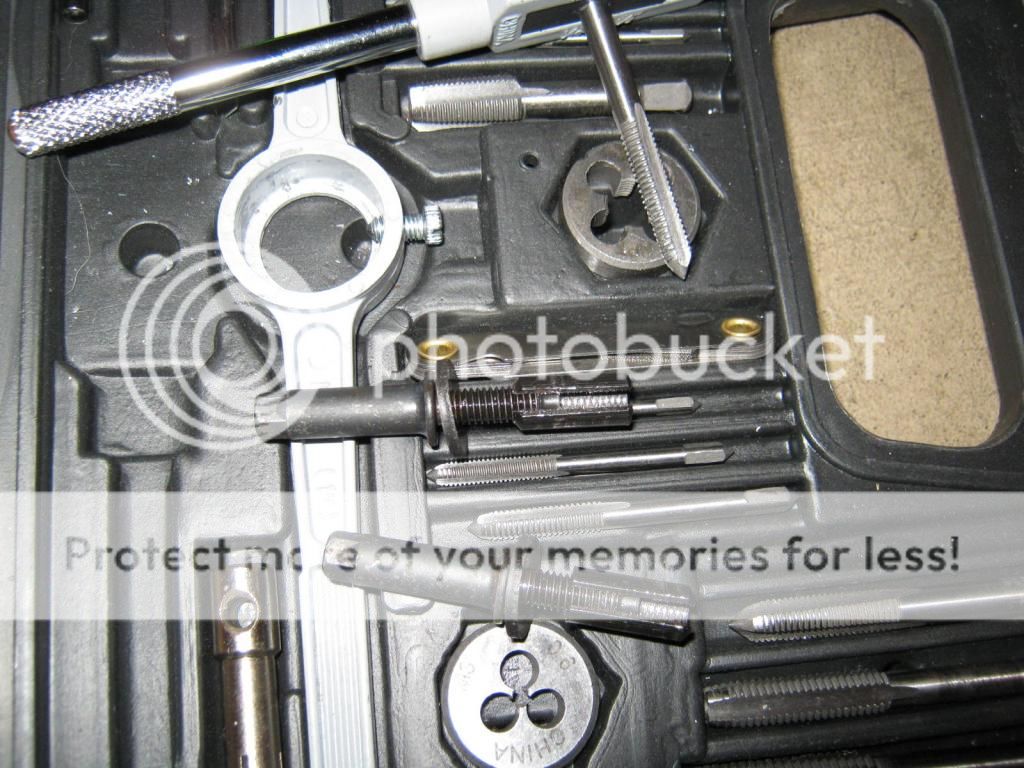
Some more from today. During the timing component install it was discovered that there are only drilled bosses where pin studs go. The solution will be roll pins that have been tapped to 6mm/1. The pins are a little too large for the drilled boss holes so I'll turn them down tomorrow. Haven't had a metal lathe for quite awhile so these will be chucked into a drill press and filed.

If anyone has a better solution I'd like to hear it. A straight dowel won't work.

Edit: Maybe I can put threads on the outside of the roll pins and tap the boss holes? I think I'll go that route instead.


Where the pins go:


Once this is taken care of I'll try degreeing the cams. It still looks somewhat complicated and I'm not looking forward to it.
 
Last edited:

Support us!

Support Us - Become A Supporting Member Today!

Click Here For Details

Sponsor Links

Banner image
Back
Top