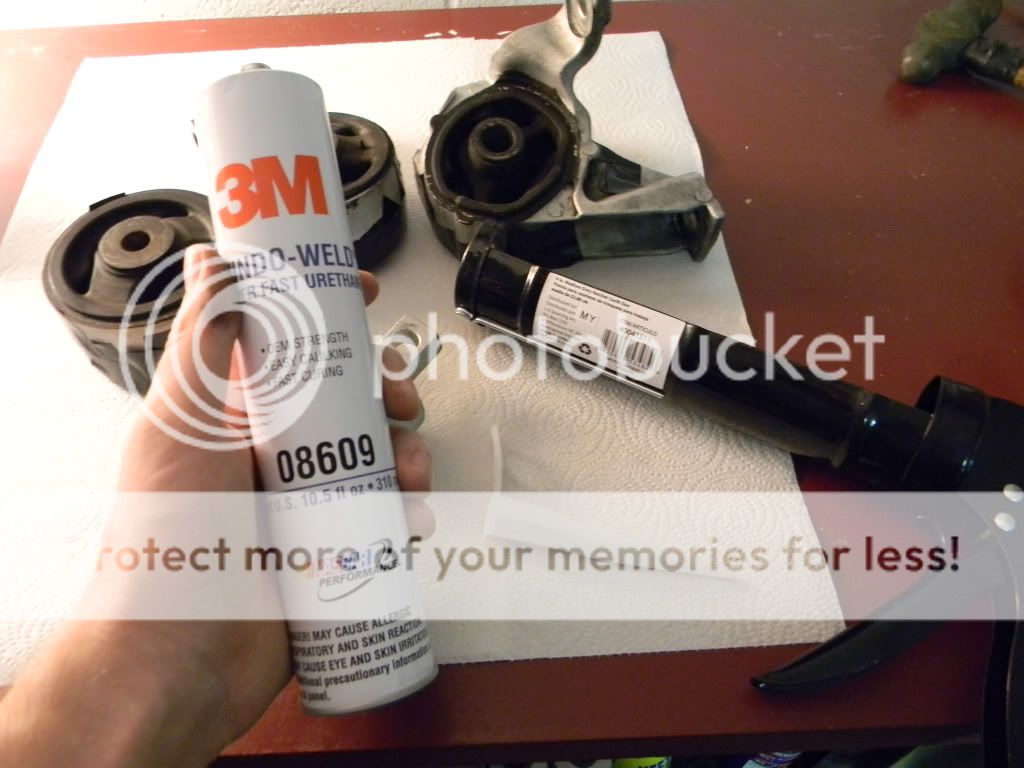
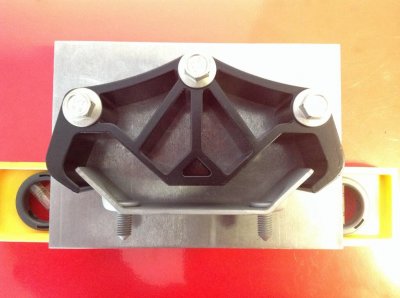
Due to the uncertainty as to when my Whiteline transmission bushing might arrive, I decided to modify my transmission mount and pour my own ployurethane bushing. Here is the procedure that I intend to follow for this mod:
1. Support the transmission with a jack.
2. Remove the four 17mm bolts and two 15mm nuts holding the transmission crossmember in place and remove the crossmember.
3. Remove the three 15mm bolts from the transmission mount and remove the mount from rear of transmission.
4. Use a utility knife to cut the rubber bushing out of the mount. Note: This will take a considerable amount of time and patience.
5. Burn the remaining rubber out of the mount.
6. Coat the rear of the mount with contact cement and duct tape the entire backside of the mount.
7. Place the mount in a small tub containing sand.
8. Mix polyurethane and pour mixture into the mount until level with the top of the mount.
9. Wait approximately 5 days to make sure the polyurethane has plenty of time to cure.
10. Reinstall the newly modified mount and crossmember.
11. Go for a test drive and evaluate.
So far, I have completed steps 1 through 5 of the procedure and stopped here for now, as I recently thought of a few more steps that I would like to implement before I am ready to pour the new bushing. Here are a few pics.
http://i1351.photobucket.com/albums/p790/10HUTT/image_zps48a295cd.jpg
http://i1351.photobucket.com/albums/p790/10HUTT/image_zps05fb3597.jpg
http://i1351.photobucket.com/albums/p790/10HUTT/image_zps121fe3f6.jpg
http://i1351.photobucket.com/albums/p790/10HUTT/image_zps08a65dda.jpg
Last edited: