
one eyed willy
Pizzle fo shizzle
I know its not a huge thing, but maybe will help a few people, I didn't see anything else in my searches. Iv'e had these thing for 6 months but just was't sure how I was going to cut my hood !
This is for a Aerocatch "plus" hood pins, 2010+ front end, trufiber fiberglass hood, so some thing may differ if you have a different set up.
I've seen a few of these installed and never cared for the way people have installed them, usually the underneath of the hood is butchered so the bottom ring can be installed. I decided to try and go a different route, wanted to cut as little of the hood as possible, I wanted to slide the back plate in from the top so I would not need to butcher the bottom of the hood.
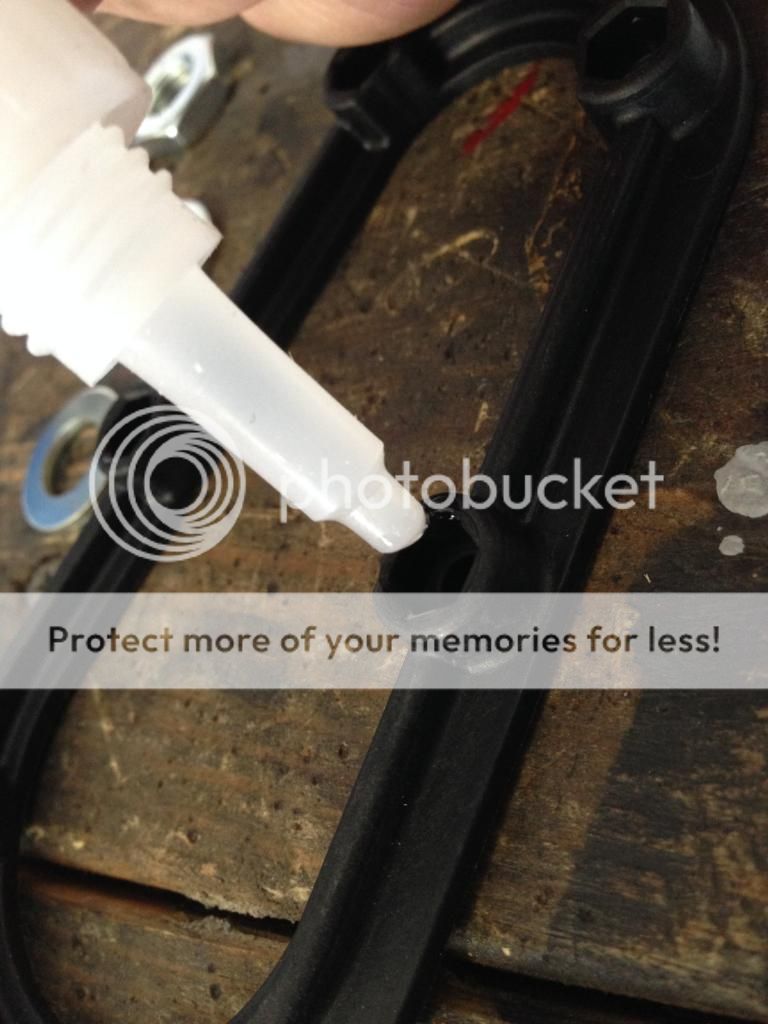
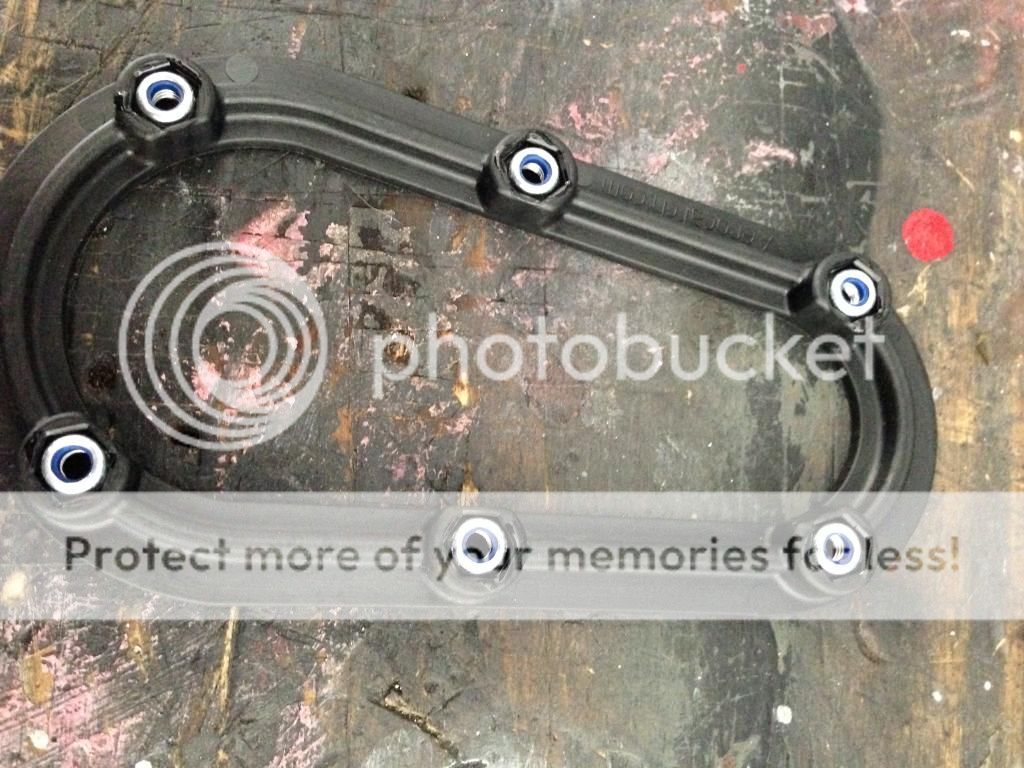
So I started with the bottom ring, just put 3 small dabs of superglue on the edges of the spot where the nuts go, pushed the nuts in and let it sit while i continued the work on the hood.
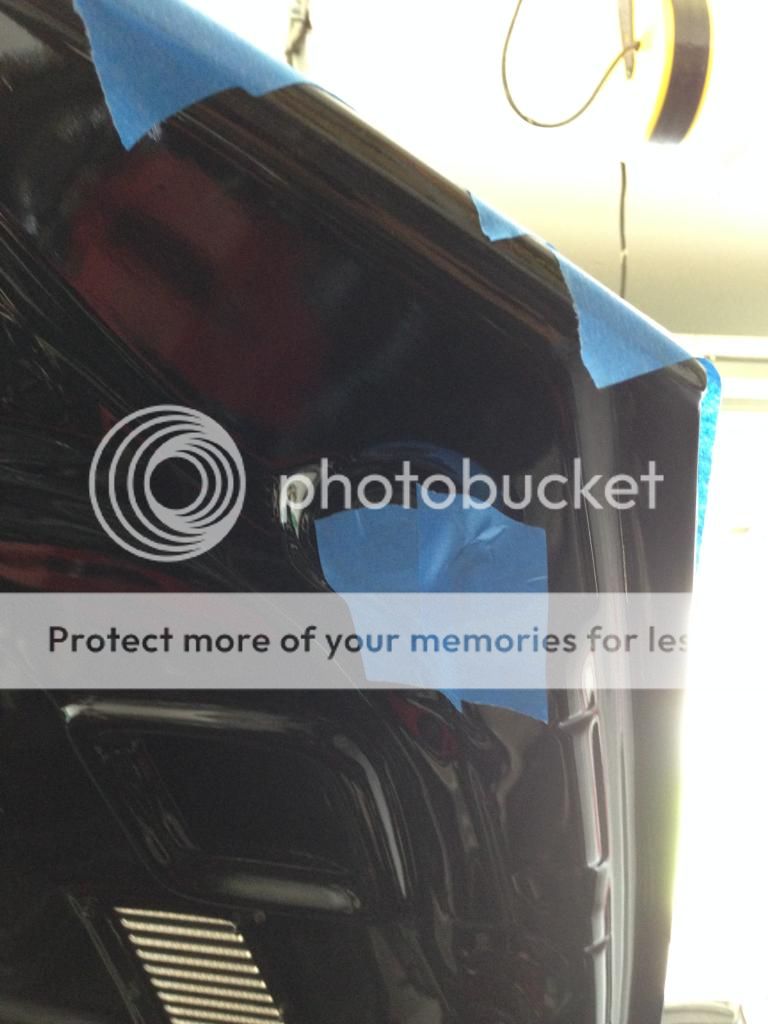
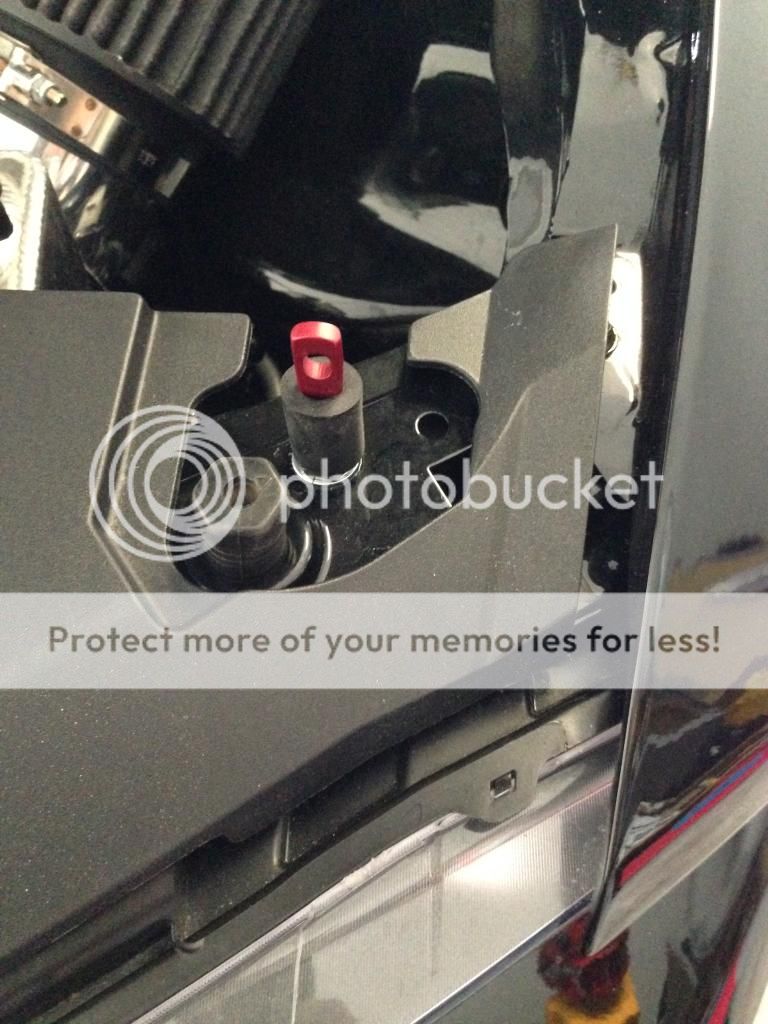
Next I moved over to the hood, started with removing the radiator cover and looking for a spot on the radiator support that would hold the pins and be centered on the section of hood that I wanted the pins to go. Right next to the outer rubber stops there are holes that already existed, and lined up perfect for where I wanted, and would allow me to retain the stock rubber bumpers!
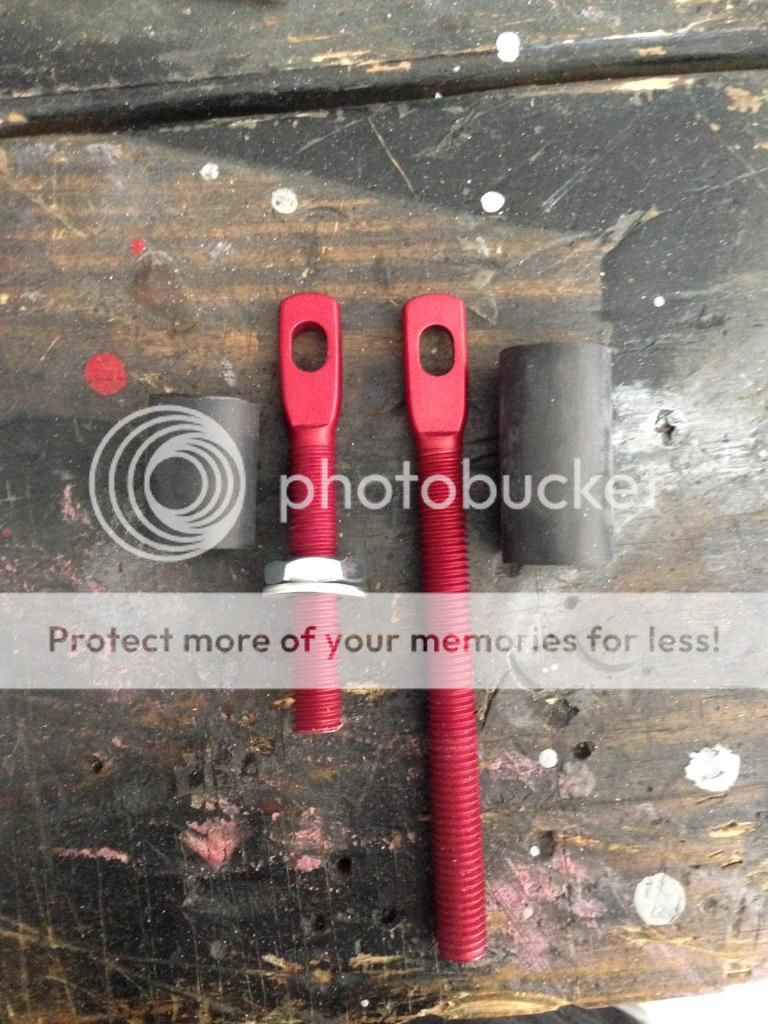
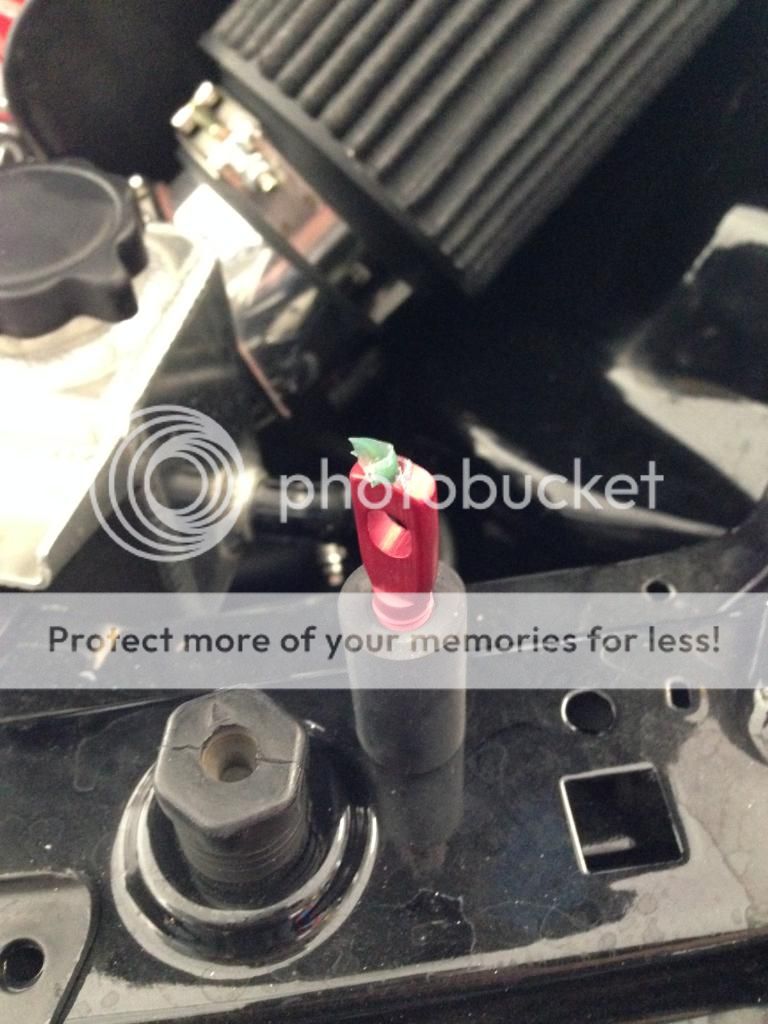
I needed to mark the hood where the pins would come through, I needed the pins in a accurate spot, so i started off guessing i would need to cut the pins down by an inch (later determined to me 1.5"), So starting with 1 inch, i cut them down, placed them in the holed, put some tape on the bottom of the hood and used some grease to mark the spot.
Each hood pin cut down 1.5", rubber spacers cut down .5"

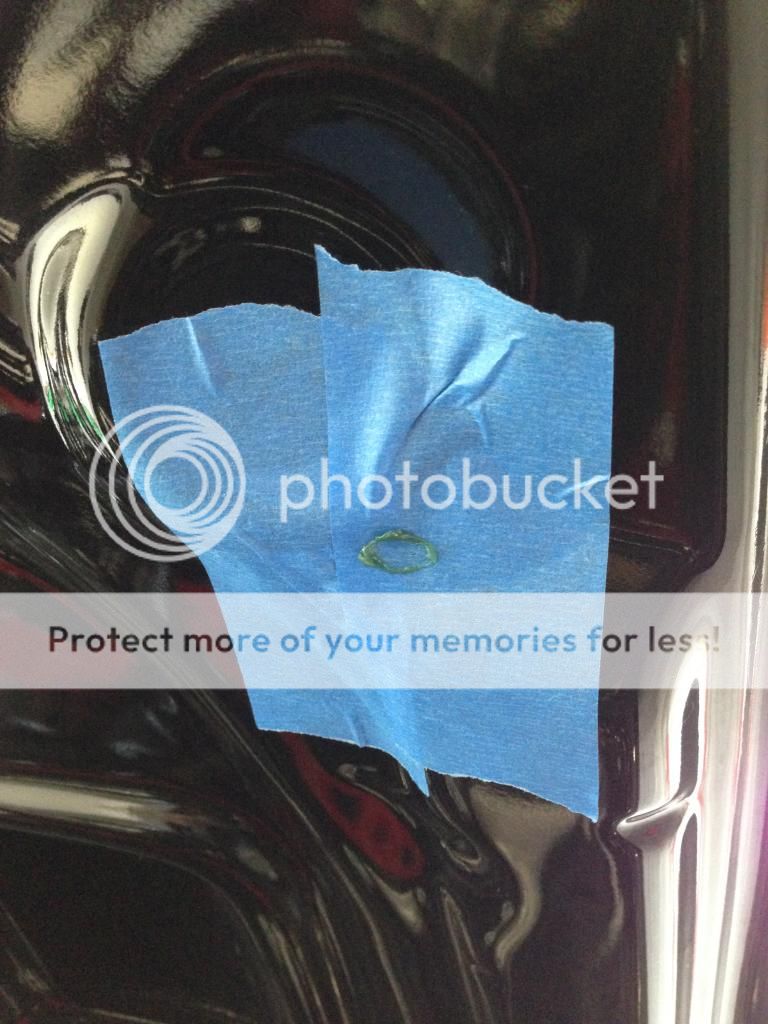
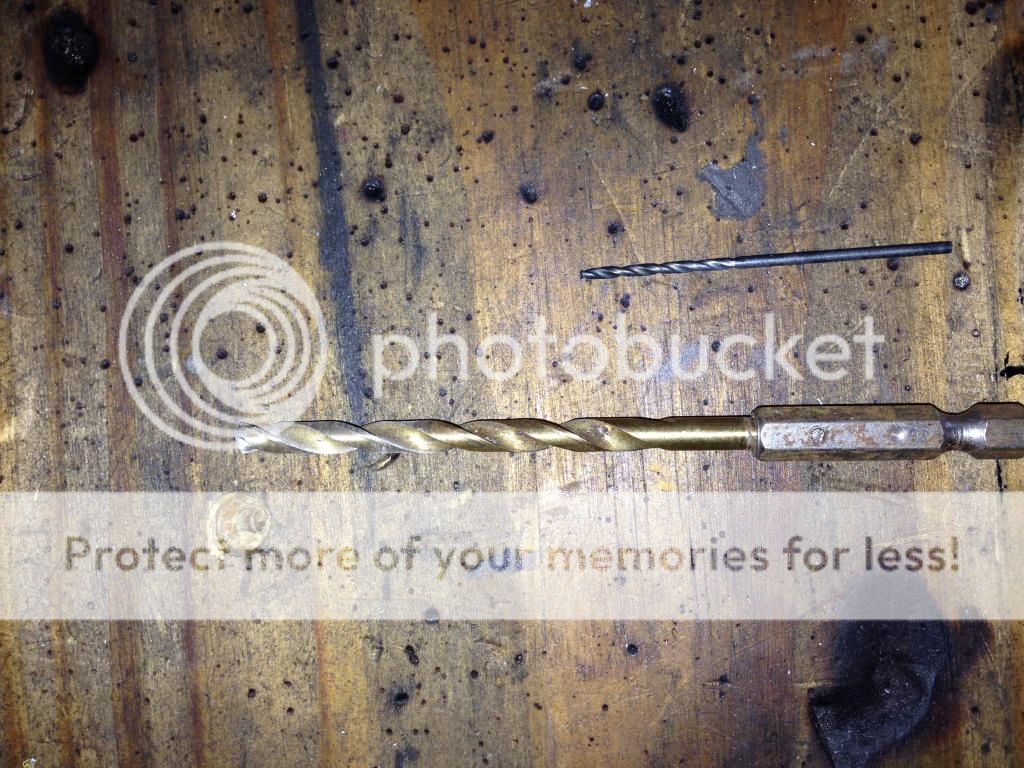
With the dab of grease in place, my ass puckered up.....I grabbed the drill and went to town. Used a small 11/64 bit to start, went all the way through trying to keep it the same level as I would expect the hood pins. Then I switched out to a 3/8 and drilled from both sides.
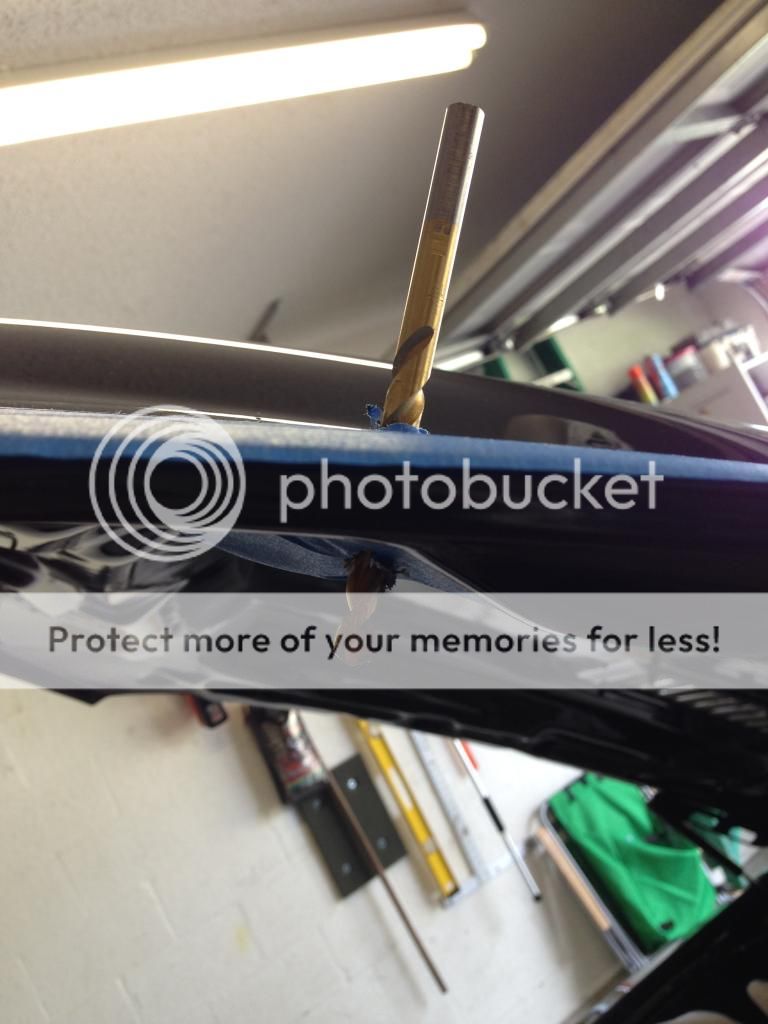
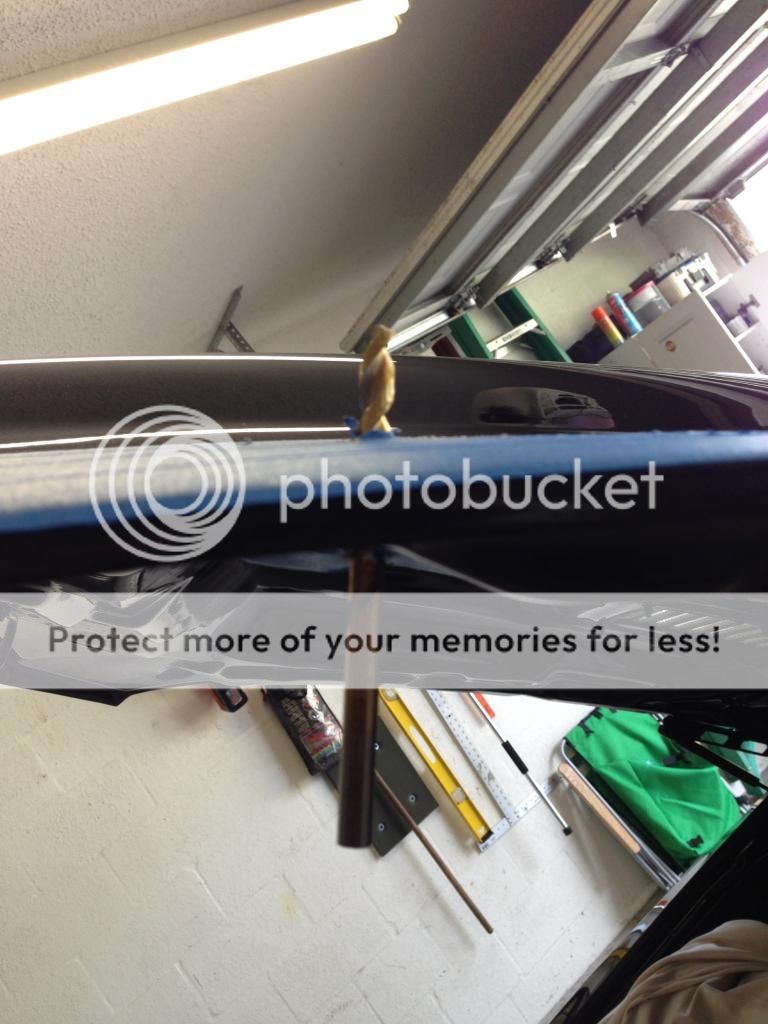

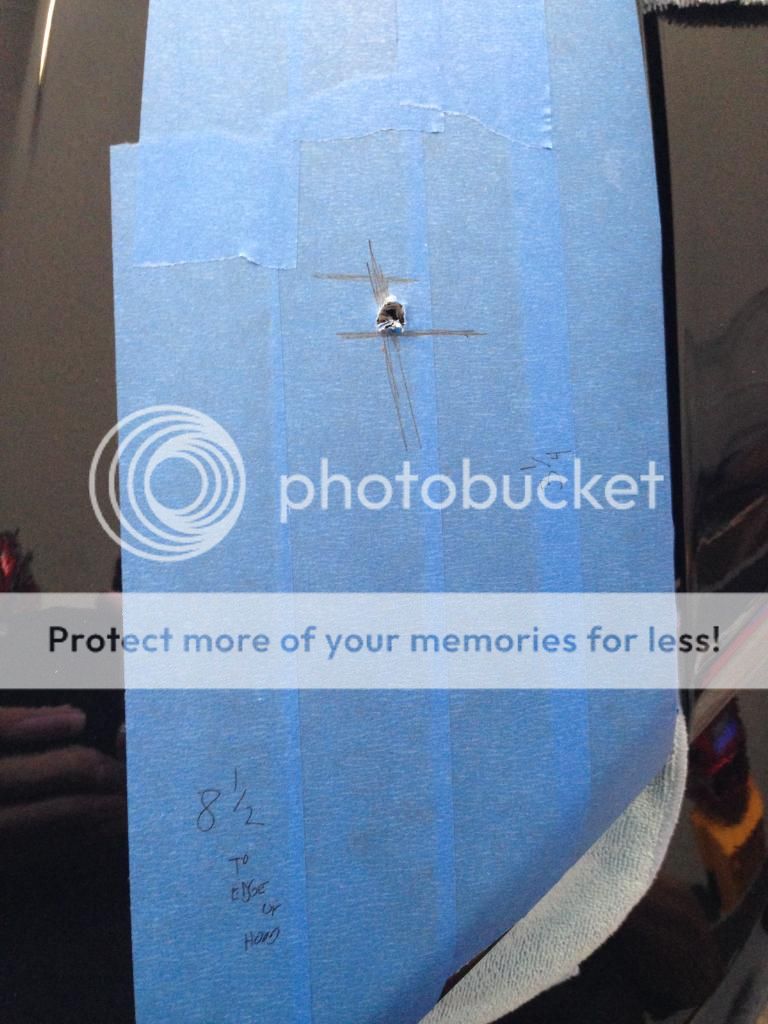
With my starter hole drilled, I now can lay out the template, it has 2 center lines, one to keep it straight front and back and one lined up with the hood pin. So I measured the distance of the hole to the edge of the hood , this gave me the measurements I needed to make the center line from front to back. I line up the already drilled hole with the side center lines, tape the template down and mark it.
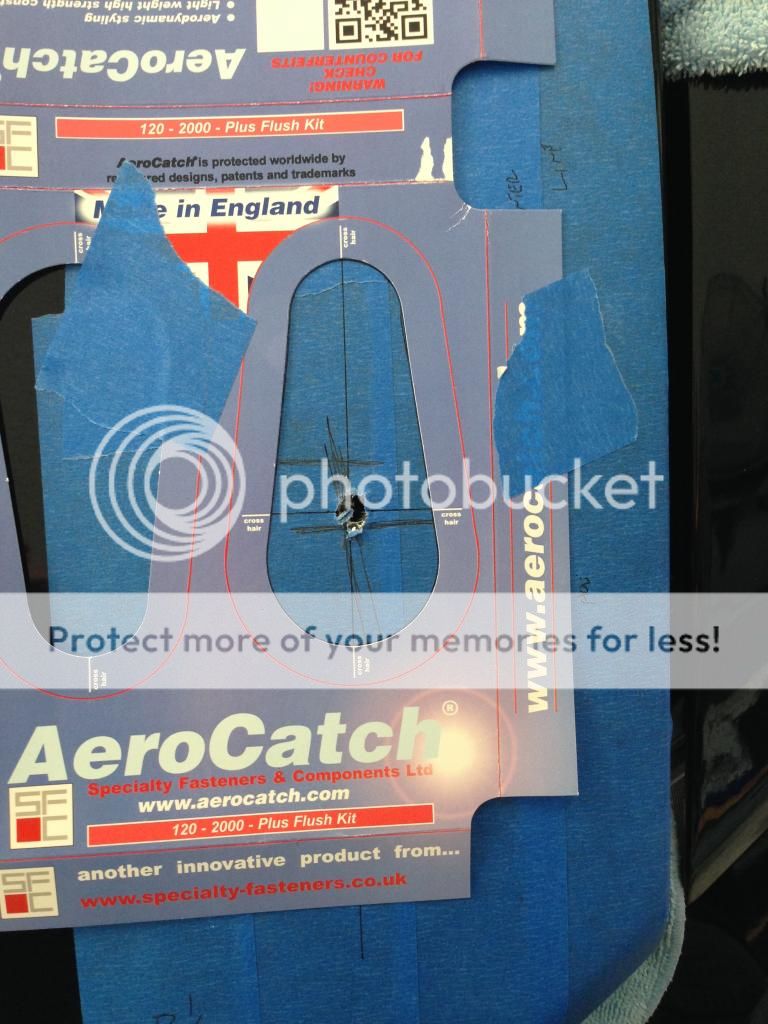
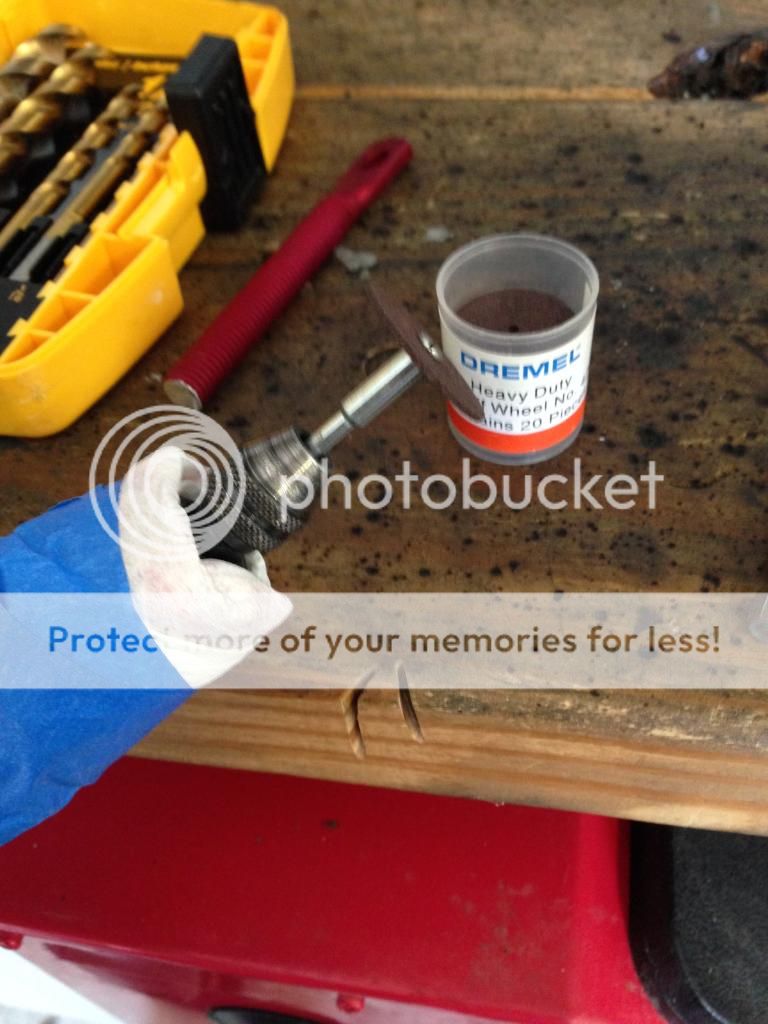
I get out my battery powered dremel with a cut off wheel, i wrap up the dremel with some padding, tape some card board to the hood and get to cutting.I'm super nervous about slipping so I take it easy!!
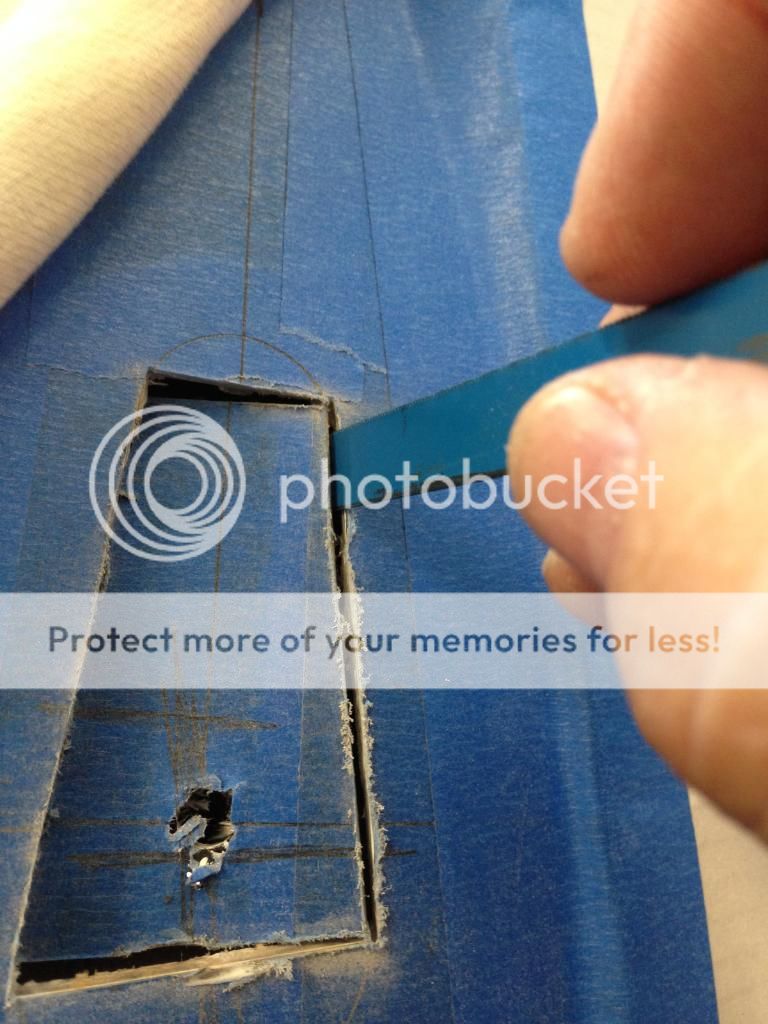
Started with all the striaght lines first.
Used a hacksaw blade to get the corners.

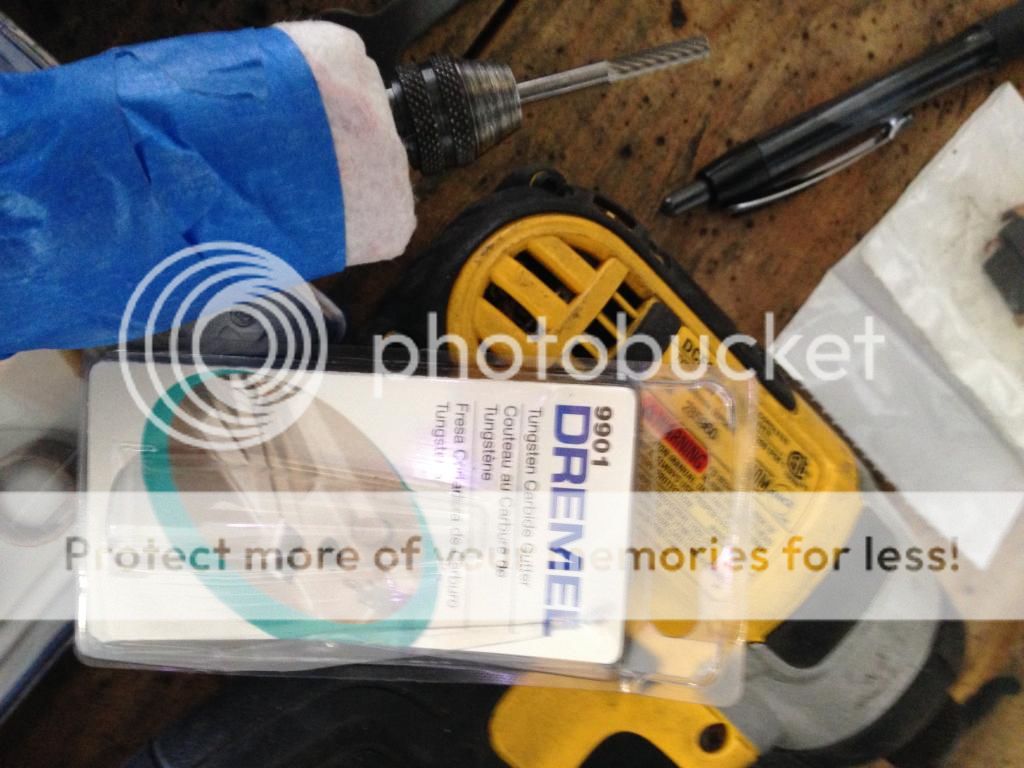
Next to work on the curves I used cutter bit.
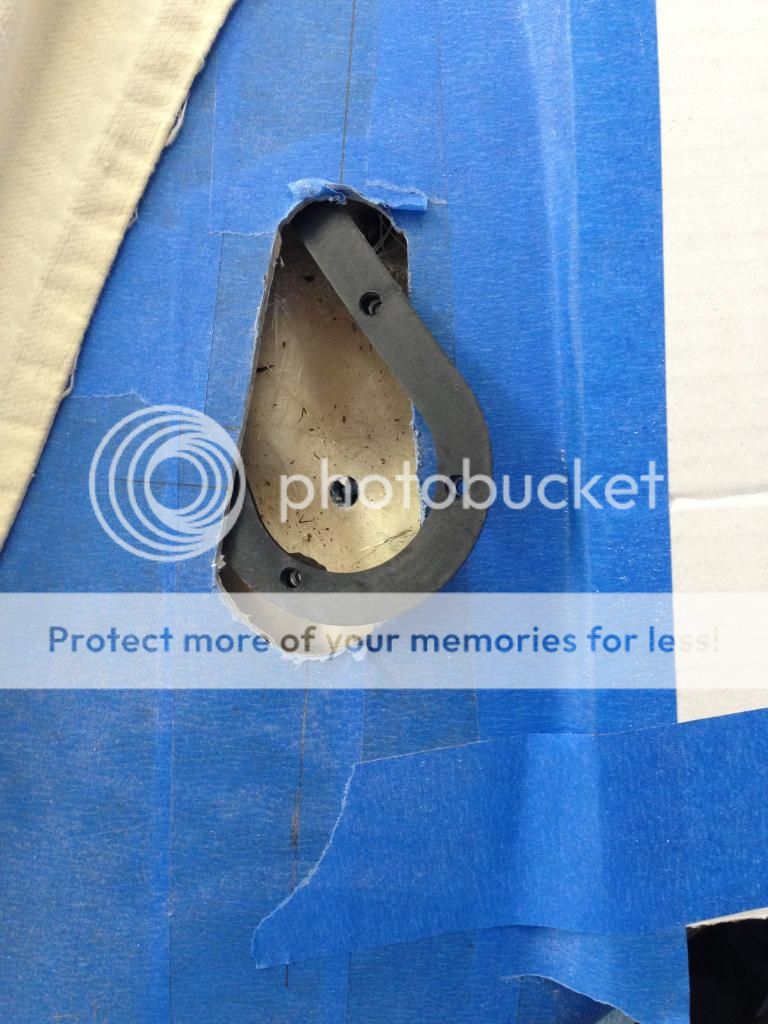
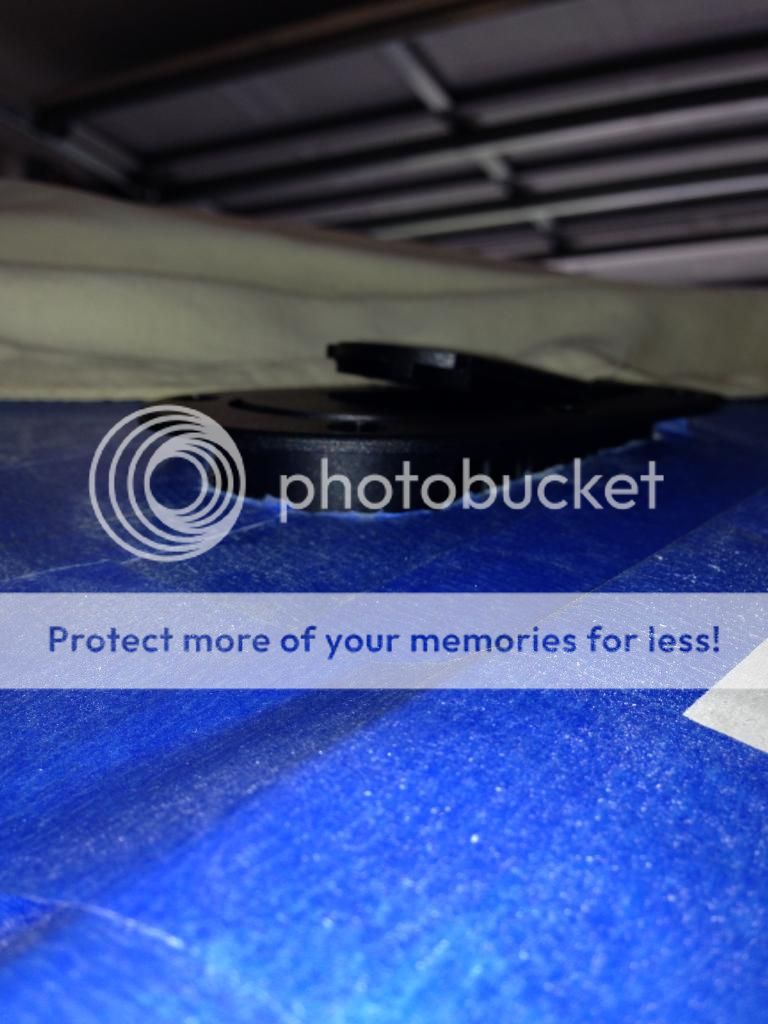
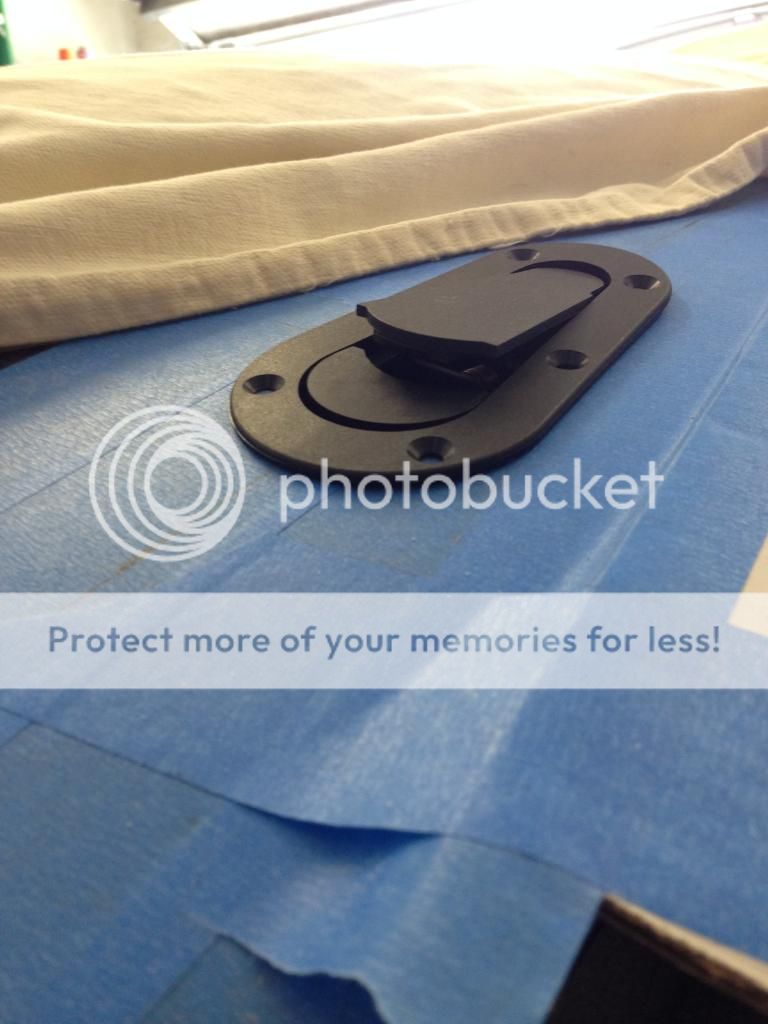
Once the curves where cut out, I test fit the back ring to see if I could get it inside the hood without having to cut out the bottom of the hood, it was tight but it did fit!
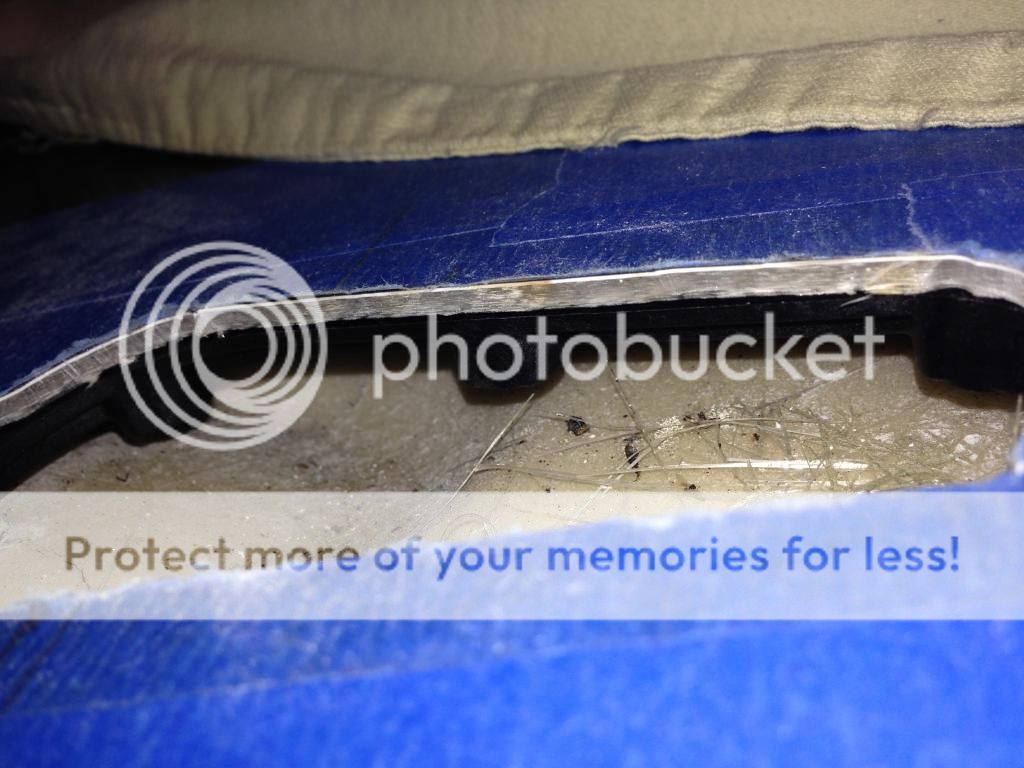
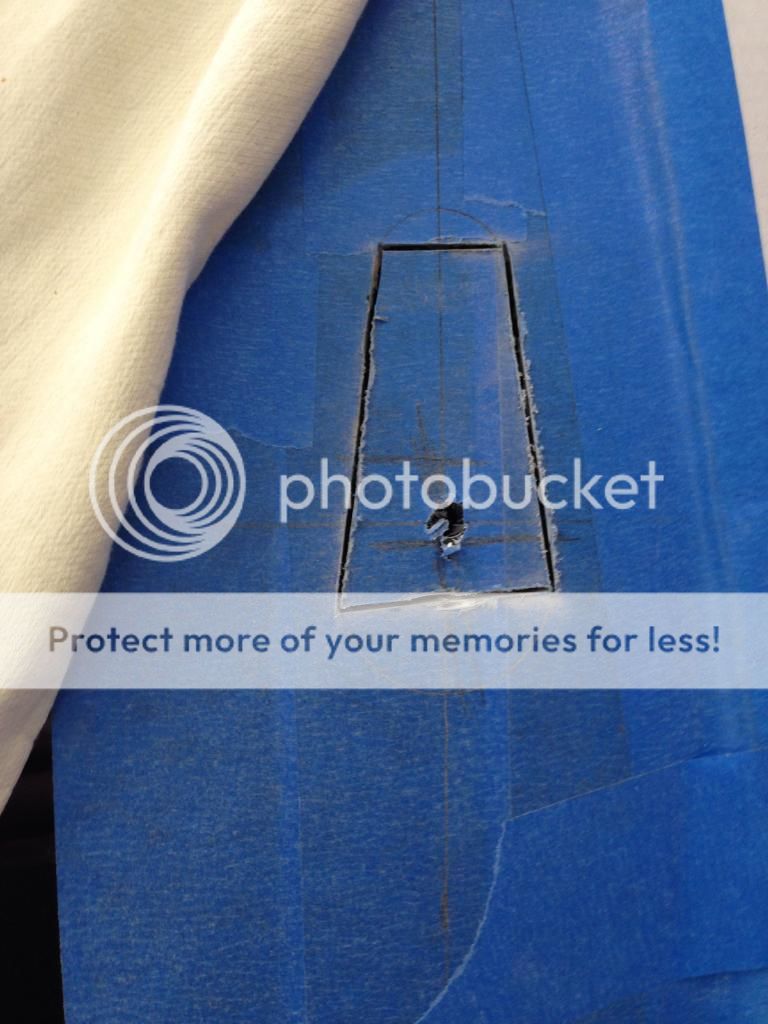
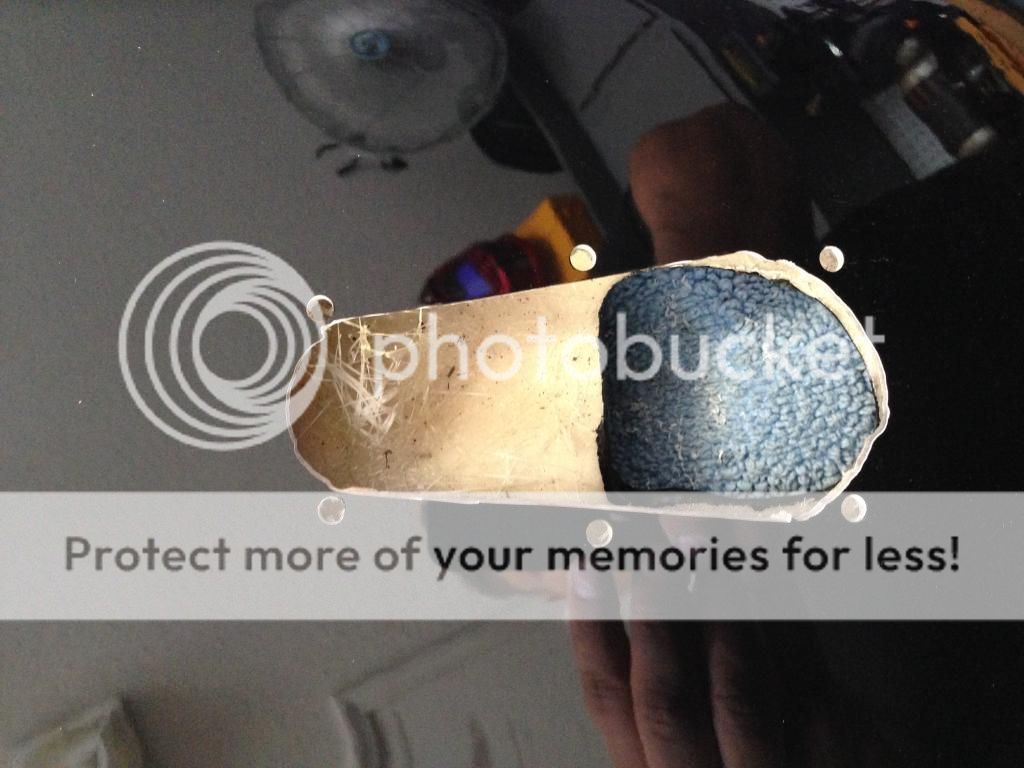
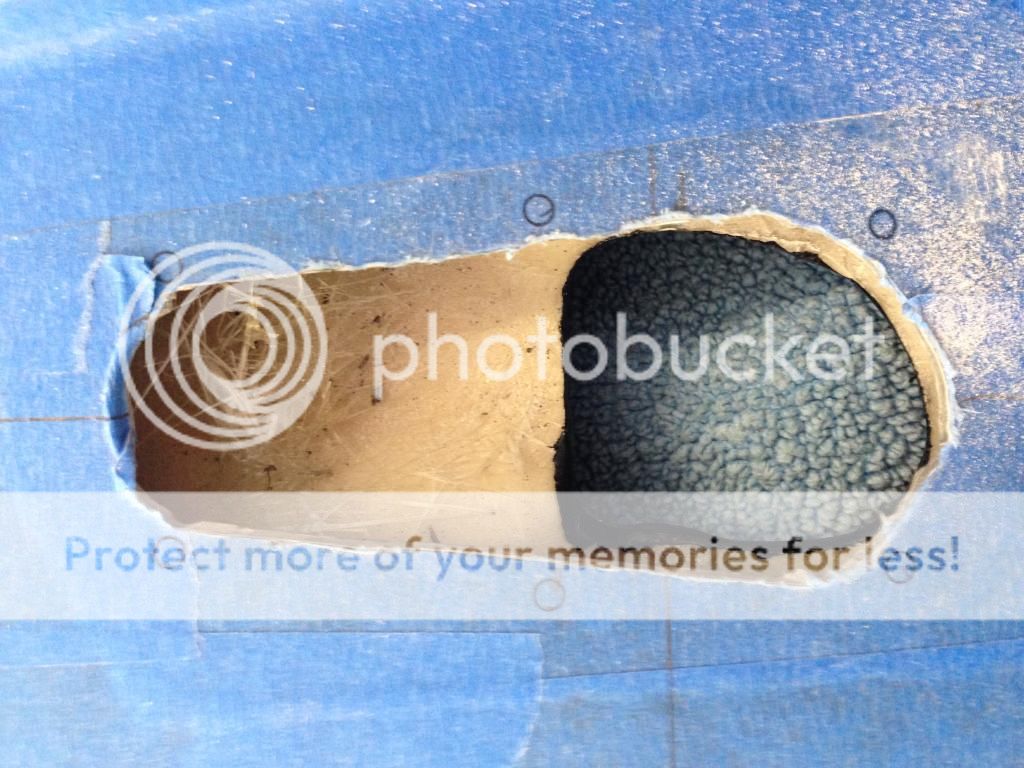
Now starting out just by eyeballing, I knew I did not have the depth i wanted to keep from cutting the underside of the hood, I knew i wanted to keep it very minimal and the only way to do it was to cut from the top, then cut from the top down until I got my depth. I think it worked out great and I ended up with a half moon shape on the underside which looks fine to me!
Before cutting any depth.
Slowly cutting my way down, trying to cut little as possible.
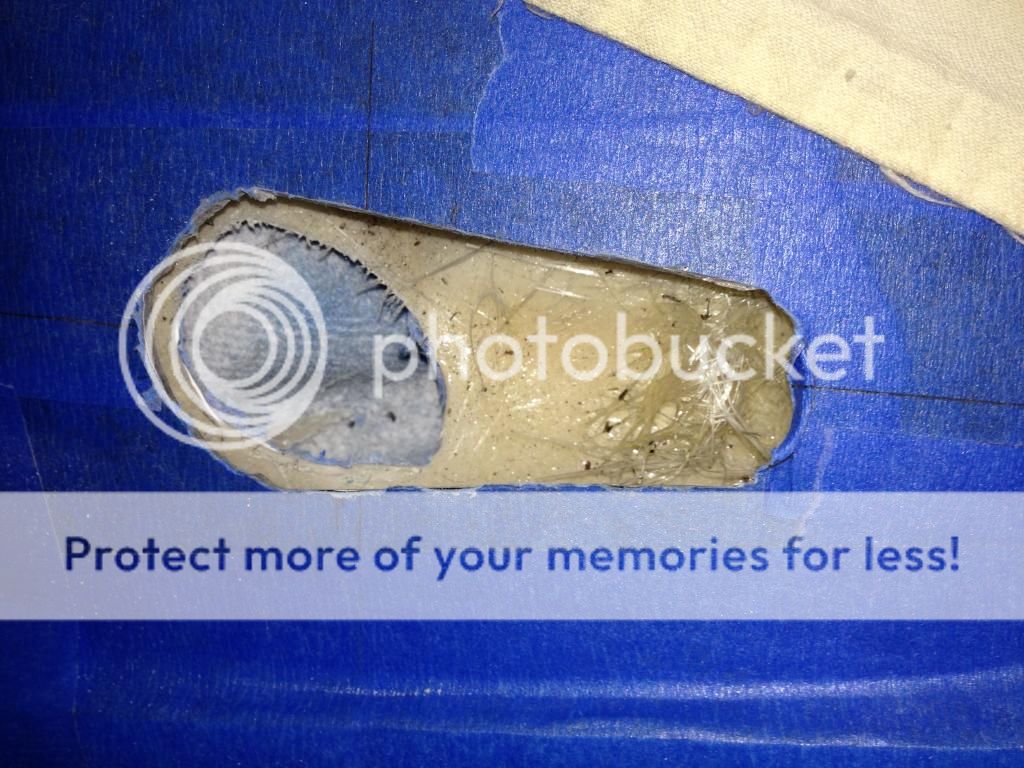

Final hole cut, cleaned up and used some black touch-up paint on the edges.
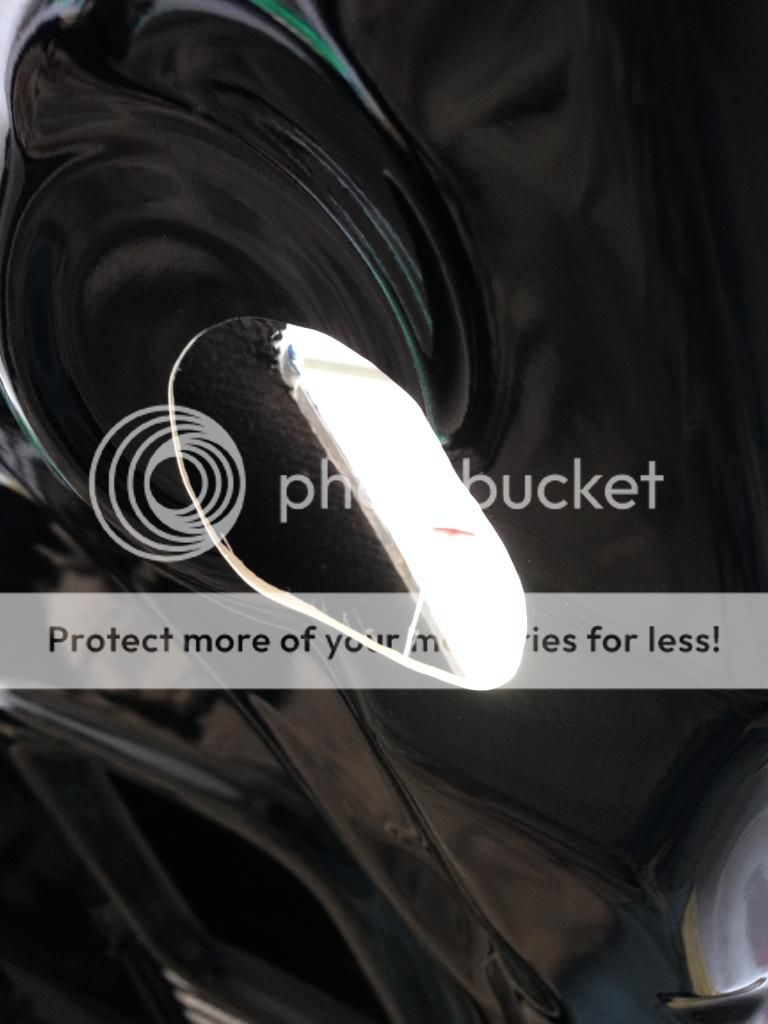

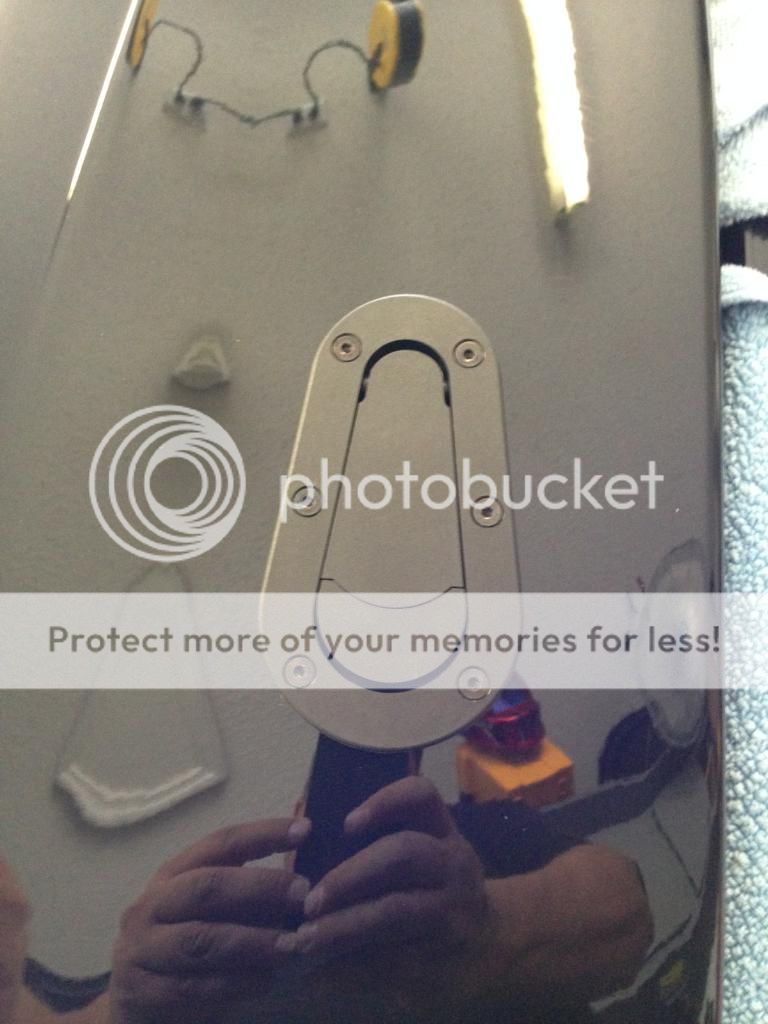
FLUSH!
Marked the holes foe the screws, 1/16th drill bit for the pilot holes and 11/64 for the final holes.
Bam, Money shot!
You have to be good at the game "operation" to mount the pins in the location I picked, but it wasn't too bad using a pick and a screwdriver

Blue lock tight applied and pin installed.
The outcome, not a single scratch and nothing out of place!


This is for a Aerocatch "plus" hood pins, 2010+ front end, trufiber fiberglass hood, so some thing may differ if you have a different set up.
I've seen a few of these installed and never cared for the way people have installed them, usually the underneath of the hood is butchered so the bottom ring can be installed. I decided to try and go a different route, wanted to cut as little of the hood as possible, I wanted to slide the back plate in from the top so I would not need to butcher the bottom of the hood.
So I started with the bottom ring, just put 3 small dabs of superglue on the edges of the spot where the nuts go, pushed the nuts in and let it sit while i continued the work on the hood.
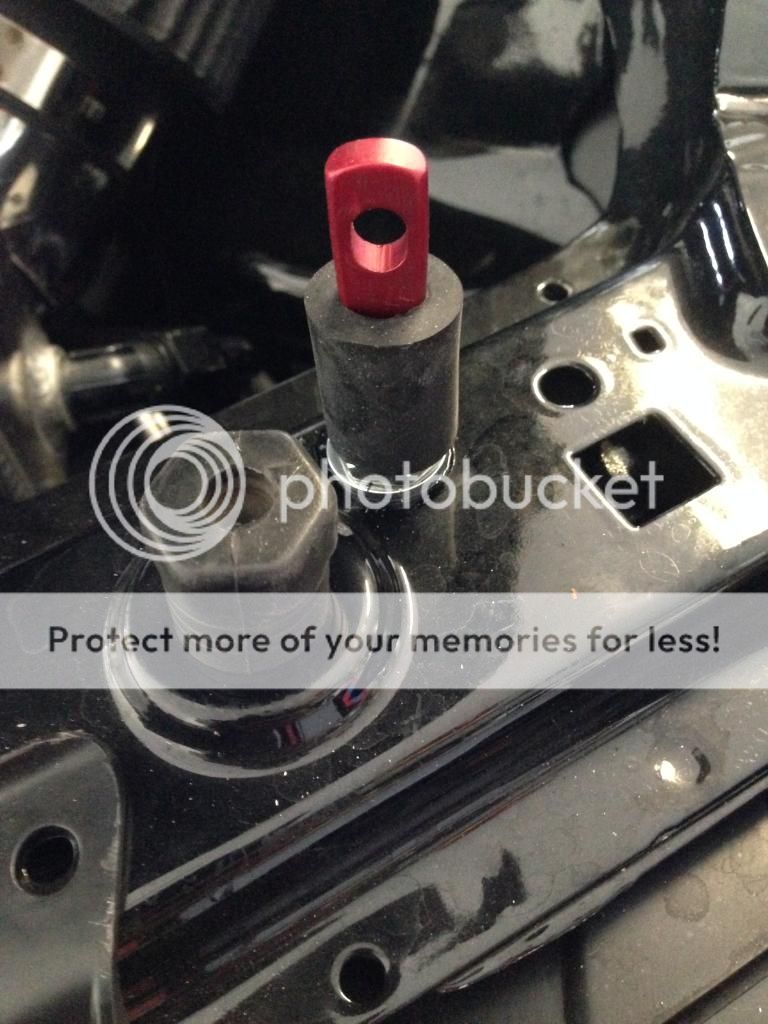
Next I moved over to the hood, started with removing the radiator cover and looking for a spot on the radiator support that would hold the pins and be centered on the section of hood that I wanted the pins to go. Right next to the outer rubber stops there are holes that already existed, and lined up perfect for where I wanted, and would allow me to retain the stock rubber bumpers!
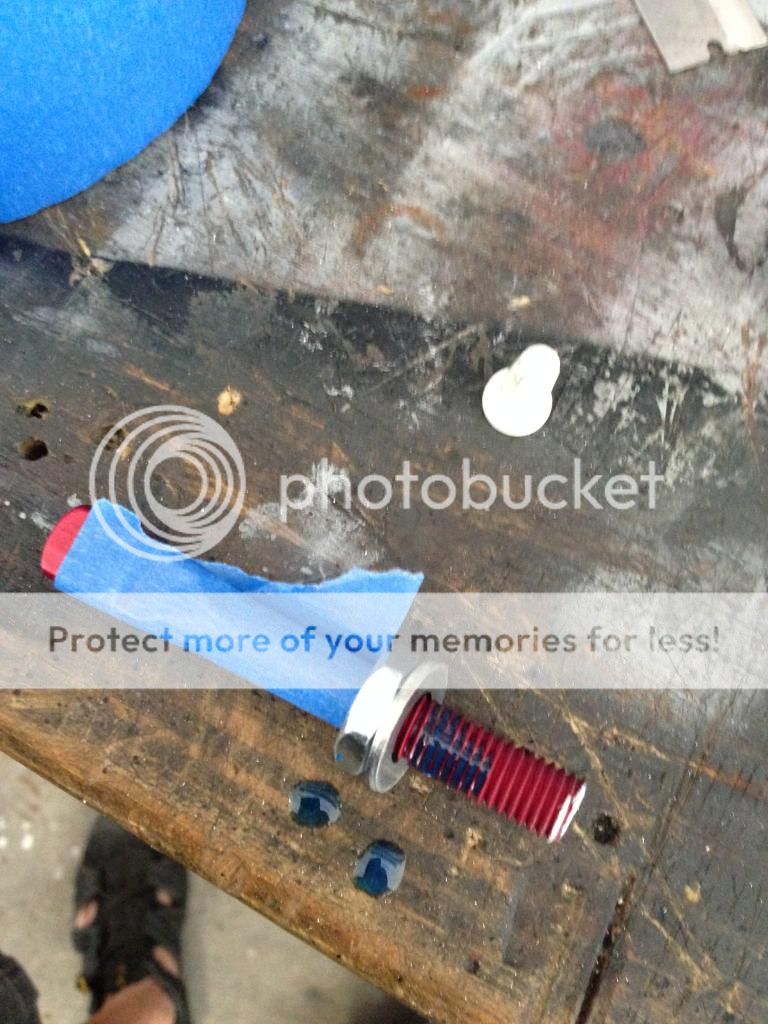
I needed to mark the hood where the pins would come through, I needed the pins in a accurate spot, so i started off guessing i would need to cut the pins down by an inch (later determined to me 1.5"), So starting with 1 inch, i cut them down, placed them in the holed, put some tape on the bottom of the hood and used some grease to mark the spot.
Each hood pin cut down 1.5", rubber spacers cut down .5"
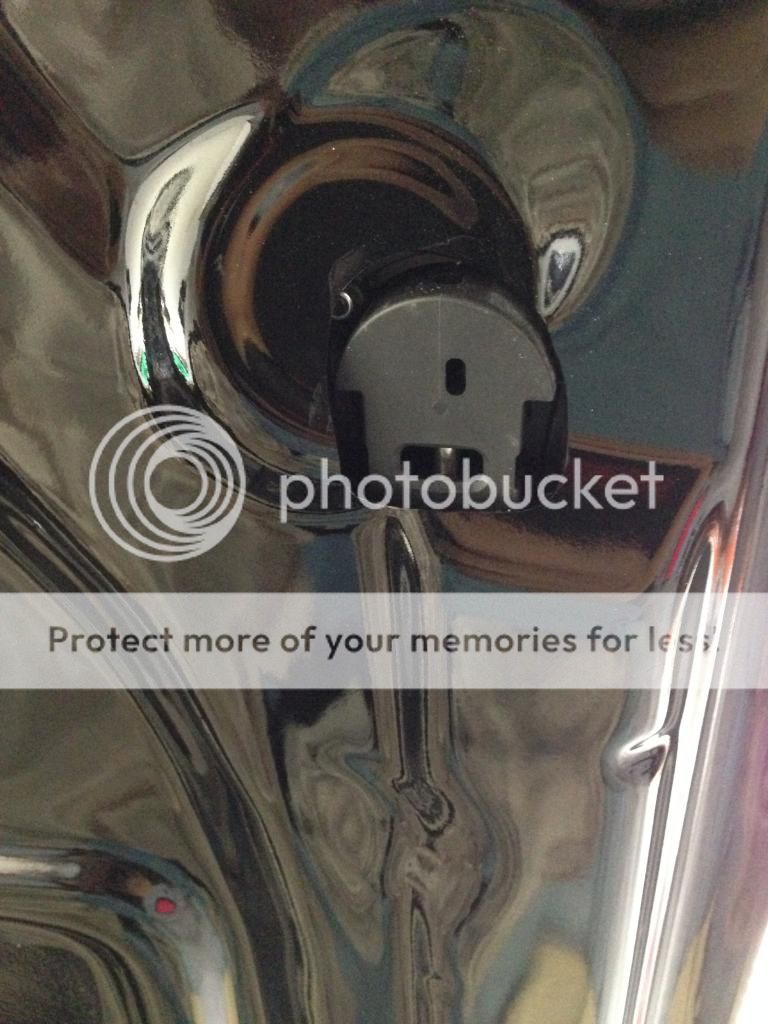
With the dab of grease in place, my ass puckered up.....I grabbed the drill and went to town. Used a small 11/64 bit to start, went all the way through trying to keep it the same level as I would expect the hood pins. Then I switched out to a 3/8 and drilled from both sides.
With my starter hole drilled, I now can lay out the template, it has 2 center lines, one to keep it straight front and back and one lined up with the hood pin. So I measured the distance of the hole to the edge of the hood , this gave me the measurements I needed to make the center line from front to back. I line up the already drilled hole with the side center lines, tape the template down and mark it.
I get out my battery powered dremel with a cut off wheel, i wrap up the dremel with some padding, tape some card board to the hood and get to cutting.I'm super nervous about slipping so I take it easy!!
Started with all the striaght lines first.
Used a hacksaw blade to get the corners.
Next to work on the curves I used cutter bit.
Once the curves where cut out, I test fit the back ring to see if I could get it inside the hood without having to cut out the bottom of the hood, it was tight but it did fit!
Now starting out just by eyeballing, I knew I did not have the depth i wanted to keep from cutting the underside of the hood, I knew i wanted to keep it very minimal and the only way to do it was to cut from the top, then cut from the top down until I got my depth. I think it worked out great and I ended up with a half moon shape on the underside which looks fine to me!
Before cutting any depth.
Slowly cutting my way down, trying to cut little as possible.
Final hole cut, cleaned up and used some black touch-up paint on the edges.
FLUSH!
Marked the holes foe the screws, 1/16th drill bit for the pilot holes and 11/64 for the final holes.
Bam, Money shot!
You have to be good at the game "operation" to mount the pins in the location I picked, but it wasn't too bad using a pick and a screwdriver
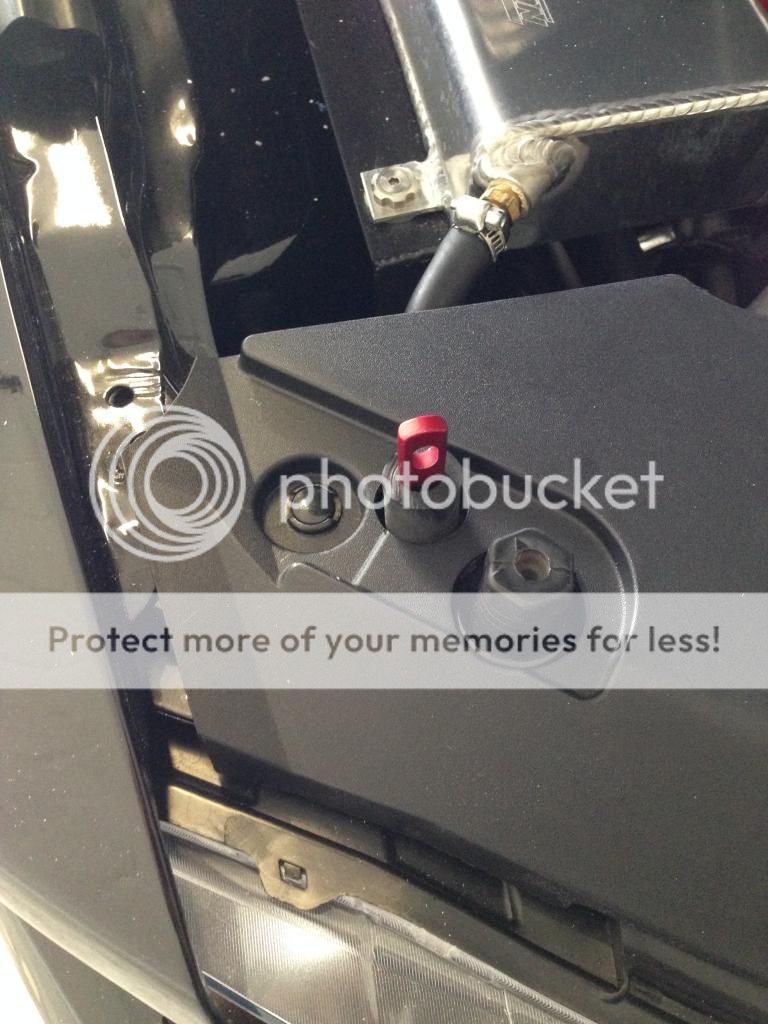
Blue lock tight applied and pin installed.
The outcome, not a single scratch and nothing out of place!
Last edited:
 I wish i had the courage to cut my hood lol