My FX-R Retrofit

RedfireV8

forum member
Joined
Jan 18, 2011
Posts
911
Reaction score
0
Location
Denham Springs, LA
I figured I should probably go ahead and start this thread. Really, I should have started this last week but oh well...better late than never! I'm not really going to go step by step on everything but just feel free to ask or comment on anything. Got everything for right under $300 including the eBay headlights. Mostly thanks to TRS's clearance page, I was able to pick up the projectors and shrouds cheap. This is also my first time ever trying something like this so we'll see how it goes when it's all buttoned up.

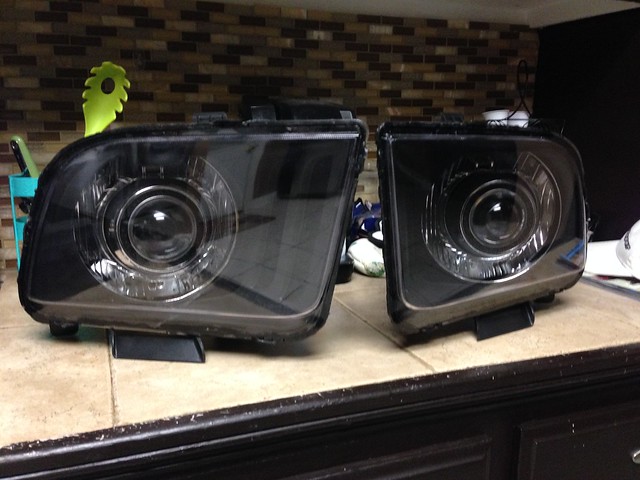
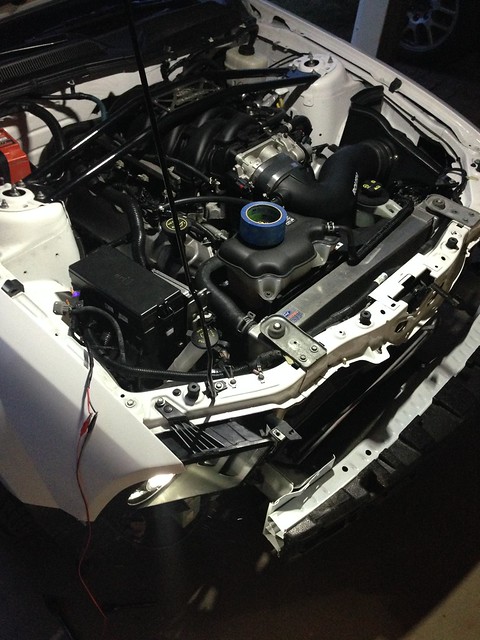
Getting everything nicely laid out. Promised the girlfriend I'd have it cleaned up by the end of the week.. lol

17253578812_01f3115897_z.jpg


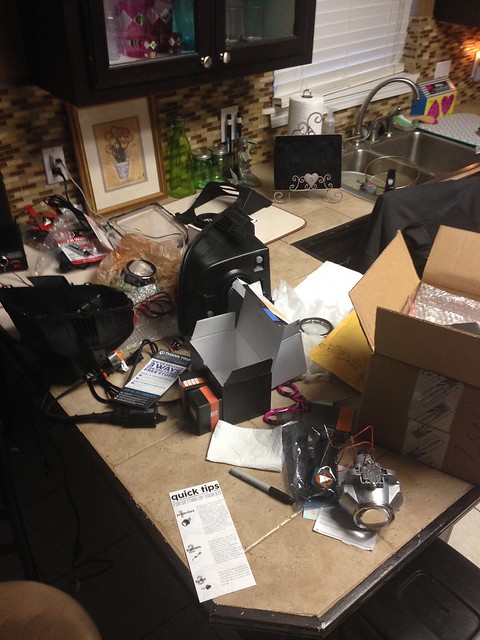
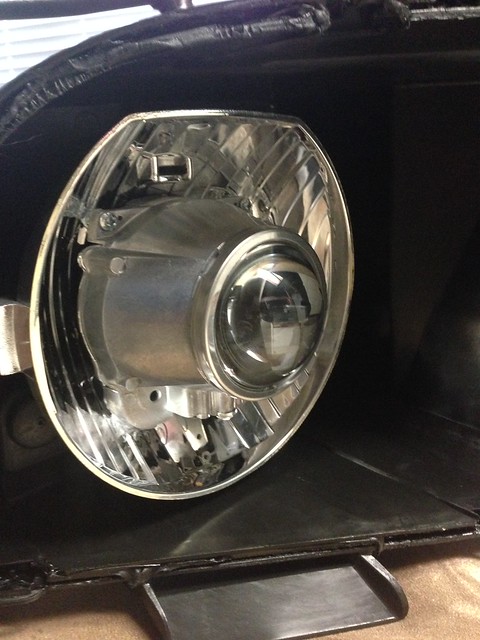
Threw it in the oven @ 270 for 7 minutes and took the headlight apart and started trimming the reflector bowl. No pics unfortunately. I didn't get it right so I had to mount them in front. At first I wasn't happy about it but now I think it's ok. It actually allows me to not have to trim the headlight housing and makes for an almost PNP fit. I'll show ya what I mean below. Maybe next time I'll put them in from behind.

17255356535_88c923e0fe_z.jpg


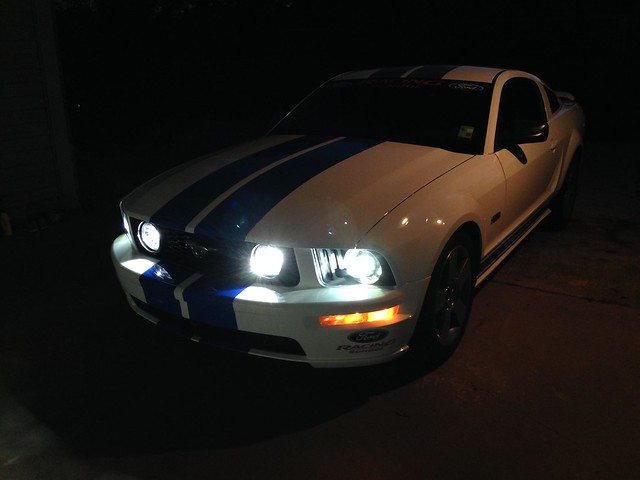
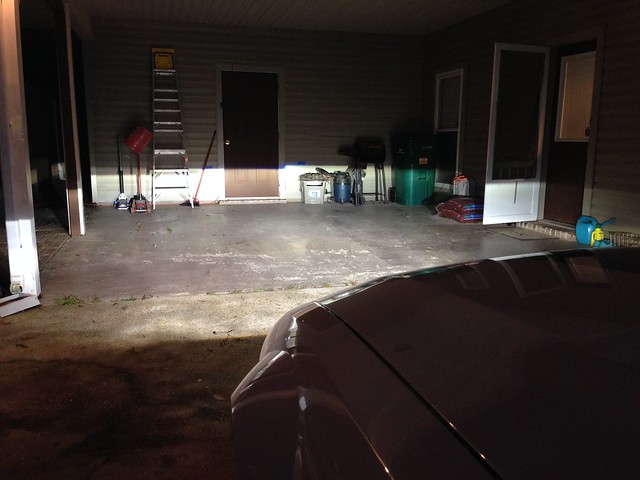
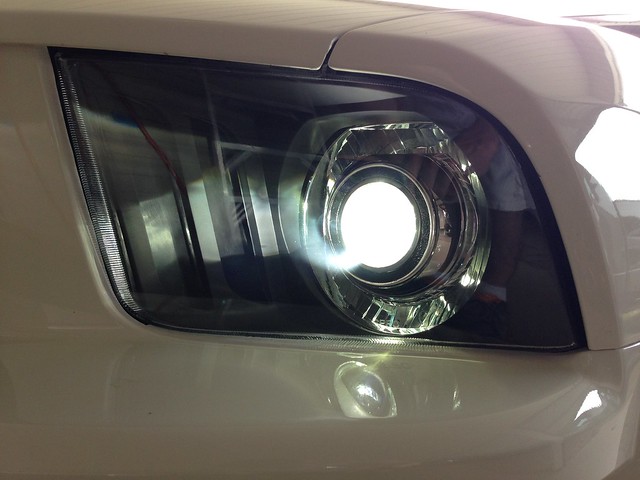
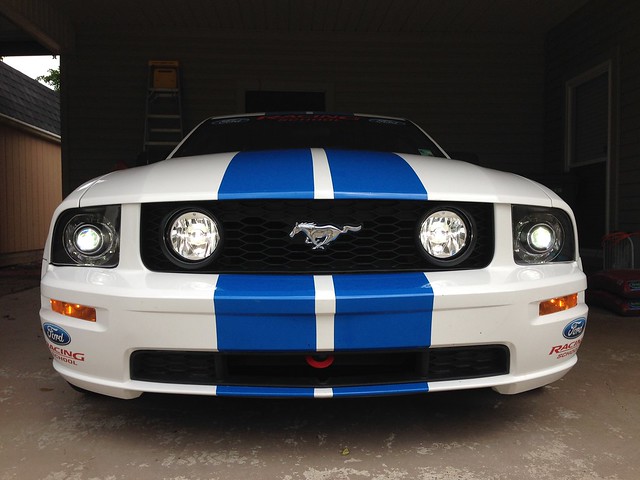
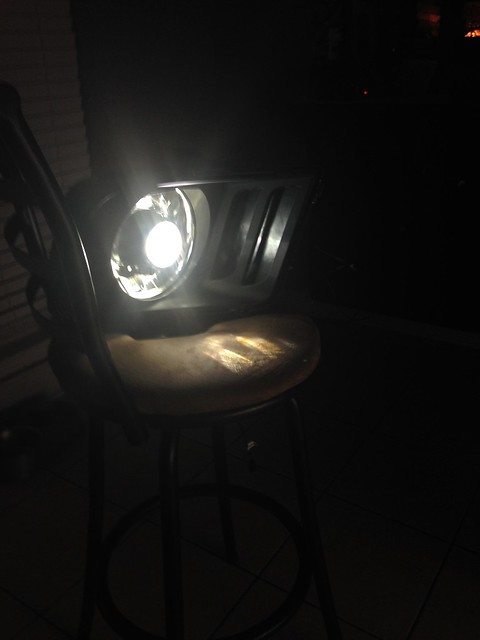
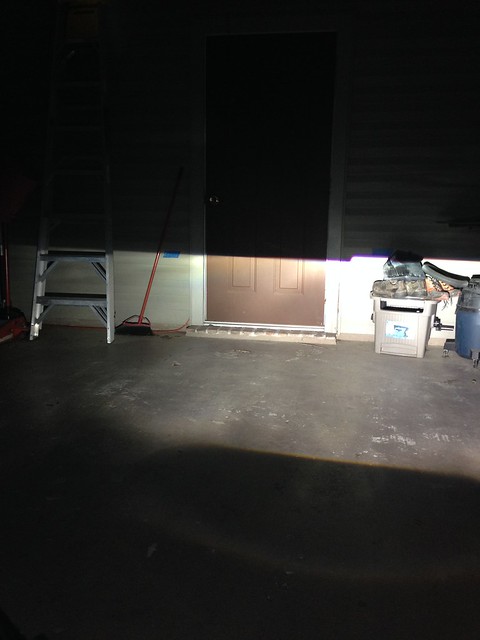
Testing the HID's, level and such.

17067787480_aaa711e080_z.jpg


16632877374_e53a0e3eec_z.jpg


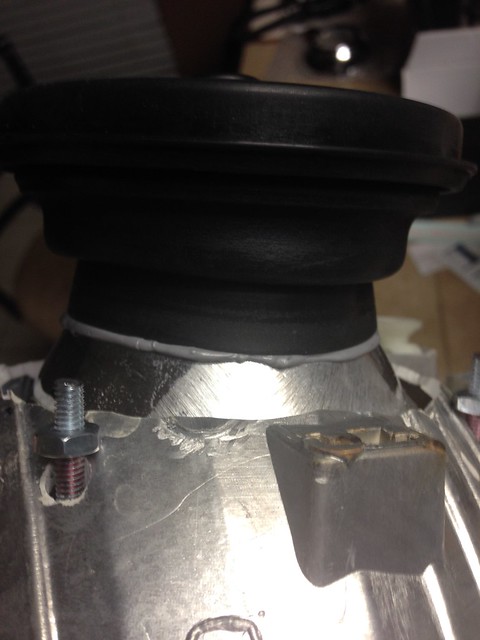
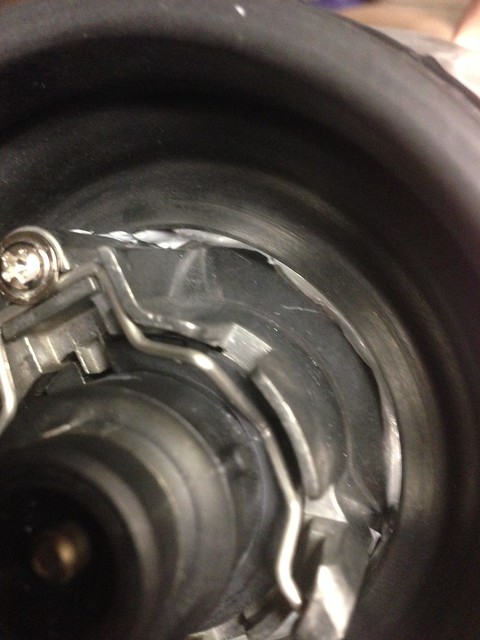
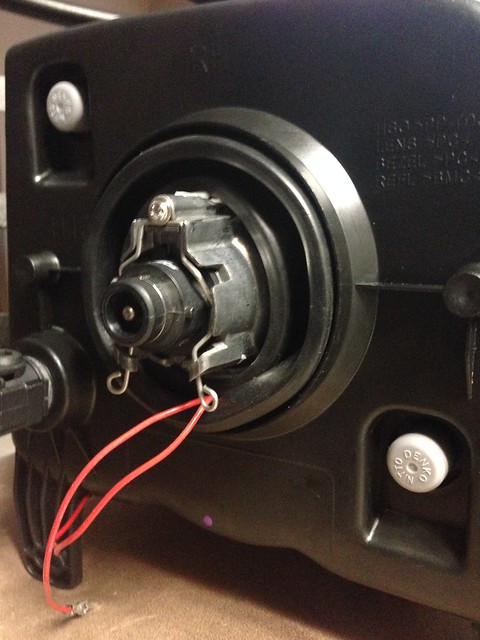
Now on what I did for the rear of the assembly. Because I mounted them in front I was able to have enough room to actually use the factory rubber gasket. I inverted the gasket/o-ring and sealed the gasket to the projector which allowed me to have an OEM like fit when they are mounted.

17255357595_e367577a3a_z.jpg


17067788230_bae77bee8c_z.jpg


17069123679_0e3c876179_z.jpg


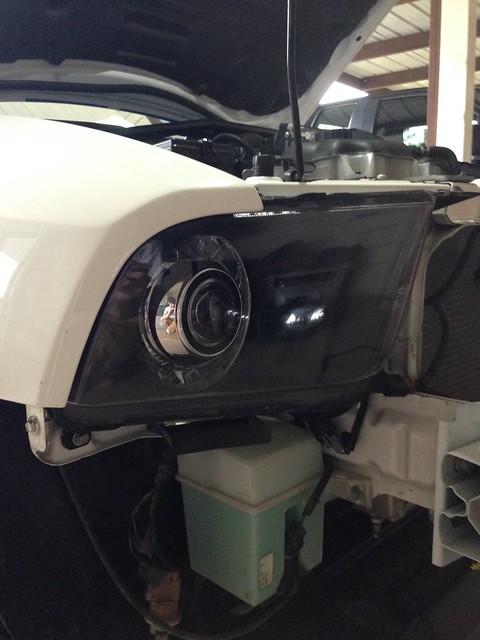
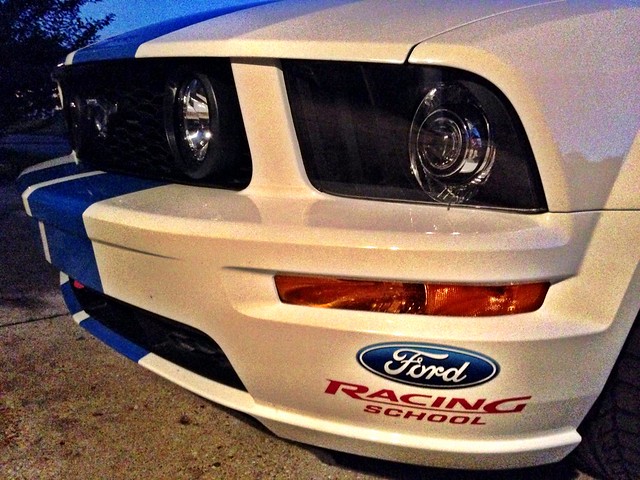
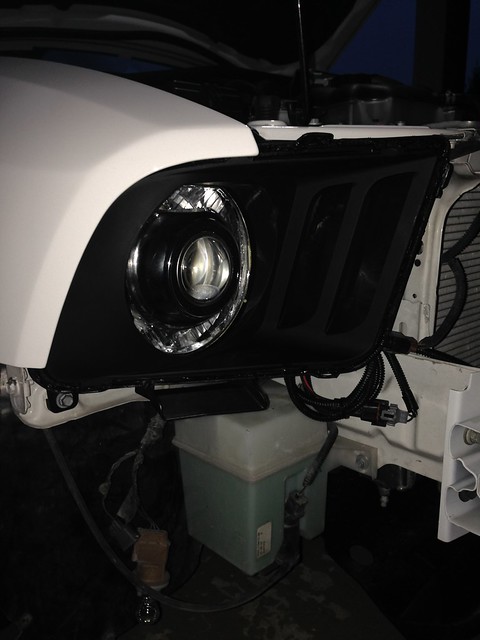
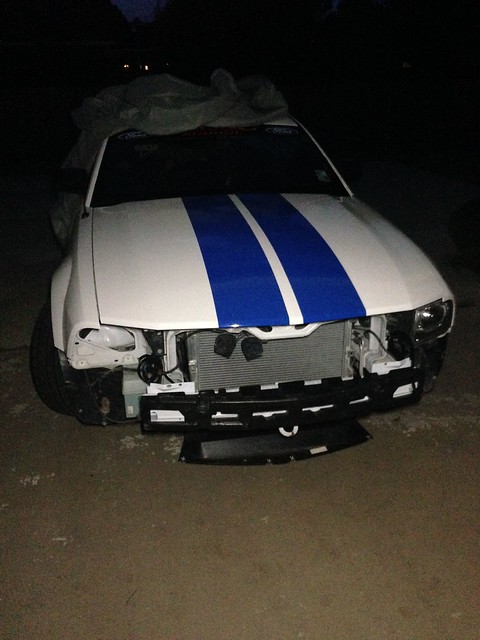
Test fit on the car. The projector shroud looks black but its not.

16632875774_da2a1f6be5_z.jpg


17255355025_b428bda8d4_z.jpg


17047918667_942e4ae5d7_z.jpg


Nice to see that the front end was repainted recently. Something else Miller failed to tell me among other things. By no means am I mad as it looks great just another thing to add to list but that's for another time/thread.
Wink :supergay:
17253576762_1f9f353e83_z.jpg


To be continued....
 

RedfireV8

forum member
Joined
Jan 18, 2011
Posts
911
Reaction score
0
Location
Denham Springs, LA
...so I got these done over the weekend and I must admit I am quite proud. I've never done anything quite like this and I think they came out looking pretty good. Funny enough out of everything is was kind of tricky putting the lens back on and making sure they were sealed tightly. A small butane torch helped. So far I only got to drive it around once and the headlights haven't fogged up or shown any signs of moisture. Oh speaking of moisture I saw where some people would put in silica packets in their headlights to help with moisture, so I did the same. I made sure to seal them inside the buckets where you can't see them. They shouldn't ever come loose and fly around...hopefully. lol

I do have a few concerns which anyone who has done a retrofit or really anyone with HID's feel free to chime in.

1. Should I be concerned with the life of the balast being short due to the headlights coming on everytime the car is unlocked? I do know there is a procedure to turn this feature off but just wanted to know if anyone has had any issues.

2. This should be the main one really. To save a long story short, I had HID's in my red 07' and went through 5 alternators in 10 months due to the HID's I had installed. I think I made a thread on it over on AFM. Gasp! lol This was back in 09-10', before I saw the light and came over here. I believe there are 2 ways of supplying power. You can either go straight off the battery or attach it to the positive going to the fuse box. I actually have the positive going to the fuse box positive currently as a test. I will be watching the battery voltage closely but just wanted some opinions on this.

Any advice is appreciated but now onto the pictures.

17282839211_2eea94506e_z.jpg


17283342805_b9f24e442e_z.jpg


With the 13' fogs. :rockit:

17281526892_8da06cd129_z.jpg


The cutoff.

16663110733_db21d69d6b_z.jpg


Other pics.

17257381786_025aa87d8a_z.jpg


17095796470_5f00e1020d_z.jpg


Also got a chance to respray the tow hook cause you know...racecar.:patriot:

17075911047_361fa68b08_z.jpg
 
Last edited:

RedfireV8

forum member
Joined
Jan 18, 2011
Posts
911
Reaction score
0
Location
Denham Springs, LA
Great work...Came out awesome...too chicken to attempt that myself at this point.

Lol thanks man! In all honesty it isn't too bad as long as you take your time. I had a lot of fun working on this project.

Glad it worked out!

Mine are off again till I fix the broken adjuster tab.

The plastic clip on the aftermarket headlights is really cheap. Pop the bucket out couple times and it breaks.

Gonna see if any one of these will work to fix that:

http://www.theretrofitsource.com/accessories/headlight-adjustment-clips.html#.VT6YHa1VhBc

Thanks man and sorry to hear that your having so much trouble. Hopefully one of those will work for you. How did those AM projectors and HIDs work for you?

any info on the 13 fog swap? or is it pretty much a "bolt in" deal?

Yea, it's pretty much a bolt in affair. I might get around to making a thread on it. You will need a H10 to H11 adapter and then a H11 to LED adapter. You can get both at Starkey Products. I suggest getting an eBay or Amazon H10-H11 though as those will be about 3ft less in wire and a little cheaper. You can use your factory fog brackets to use with the 13' fogs to make things easier. Very little trimming needed. You'll see what I mean if you do it. You can probably get away with using the 13' brackets by using some spare metal and make your own brackets to mate everything up as well.

Oh I do need to mention that the heat sinks on the 13' fogs are pretty long. I do not have A/C on my car so it is quite possible that the heat sink will hit the condenser. You may have to trim the fins on the heat sink or try and move it around for better fitment.

Looks awesome man!!! Love the '13 fogs too.

Thanks man! Beautiful car as always!
 

blacksunshine01

Junior Member
Joined
Nov 21, 2011
Posts
23
Reaction score
0
Location
San Antonio
Op. Great job on the retro! I have been super tempted to do this with some mini h1s. And what am i missing with the 13 fogs? What is the deal there?
 

RedfireV8

forum member
Joined
Jan 18, 2011
Posts
911
Reaction score
0
Location
Denham Springs, LA
Just wanted to give a general update but for the past few months, everything is still working great and no issues thus far.

Oh and an FYI on the 13' fogs, I did finally get my A/C installed, working phenomenally btw, but I did have to trim a lot of the heat sink on the driver side so it didn't hit the condenser.
 
Last edited:

TenSpeed

Boss 227..every damn time
Joined
Sep 1, 2012
Posts
3,657
Reaction score
1
Location
Michigan
Yes, the '13 fogs are LED, and no, you cannot replace the bulb in these. I had one go out, and the entire unit had to be replaced by the dealer.

Car looks pretty good.
 

Saleen4971

forum member
Joined
Dec 10, 2012
Posts
201
Reaction score
0
Location
Indy
After seeing the prices that the 13 fogs go for, I decided I would wait for some XBLED fogs in the trs closeout section......lol
 

07TR

forum member
Joined
Jul 2, 2015
Posts
891
Reaction score
0
Location
Pa
I love the painted tow hook and those lights look sweet
 

VolDead08

Mustang Addict
Joined
Jul 30, 2013
Posts
249
Reaction score
0
Location
Toronto, Ontario, Canada
How did you trim the cooling fin? I plan on installing some on my 05 GT, and don't really know how or what to use to trim them so they will fit. Will be using stock grill.
 
Back
Top