Air Lift Install - Here we go slow but steady! Continued #4
Started in the trunk today, removed the back panel.

Removed the battery, disassembled the battery box and removed the carpeting.

Cleared the way in the tire well by removing the wheel wrench, jack and spare tire. Likely will not miss the spare as I am pretty sure it will not mix with the 14” brakes on the front.

And just for inspirations placed the VIAIR compressor and Air Lift Tank in the trunk.
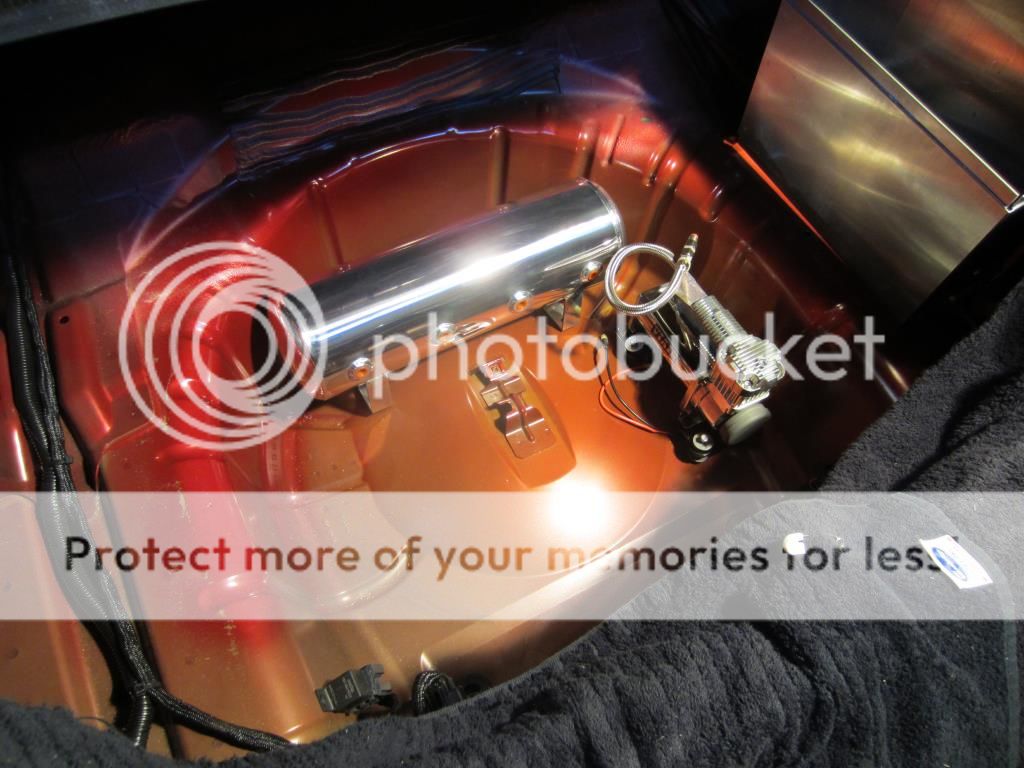
At this juncture it is not clear whether I will be able to mount the tank and compressor on ½” plywood and still remain below the trunk floor level. Definitely some more measuring to be done with a straight edge spanning the opening.
Turned to preparing the interior for routing the air lines from the struts. Removed the floor mats, door scuff plates, kick panels, rear seat bottom and quarter trim panels.
Driver’s side door scuff plate.

Passenger’s side kick panel.

Driver’s side quarter trim panel.

Next up running the air lines through the cabin.


