DiMora
More Is Better
Installed the N2MB WOTBOX today. Followed the instructions precisely. My car is a2006 GT:
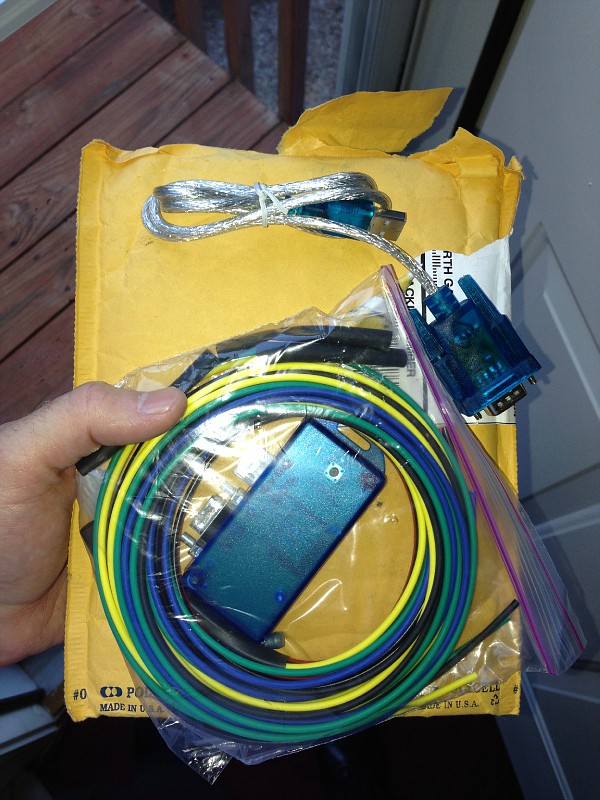
The kit as received:

I jacked up the front passenger side of the car, removed the RF wheel and inner splash guard to access the big rubber grommet the antenna lead runs through. It makes for nice access into the fuse box area (which is where I put my WOTBOX). You will also see my refurbished Innovate motorsports wideband, which I re-installed at the same time through the same grommet:


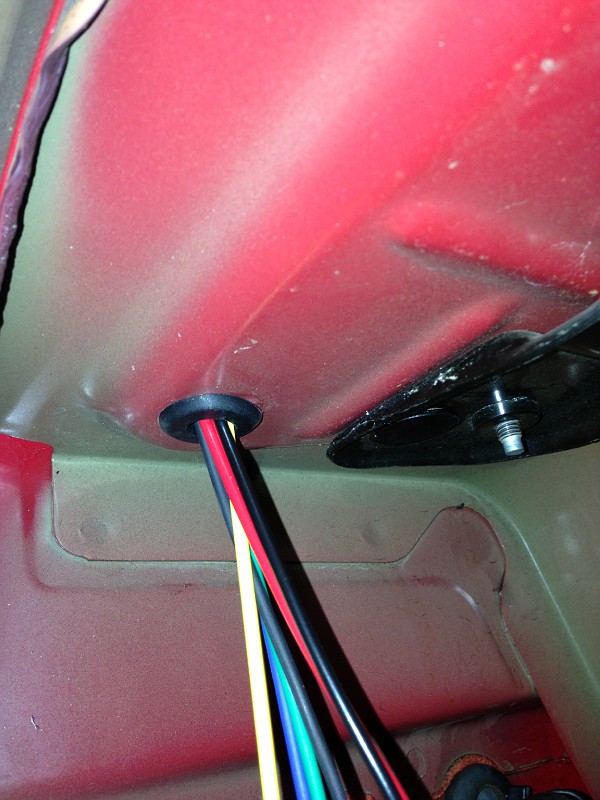
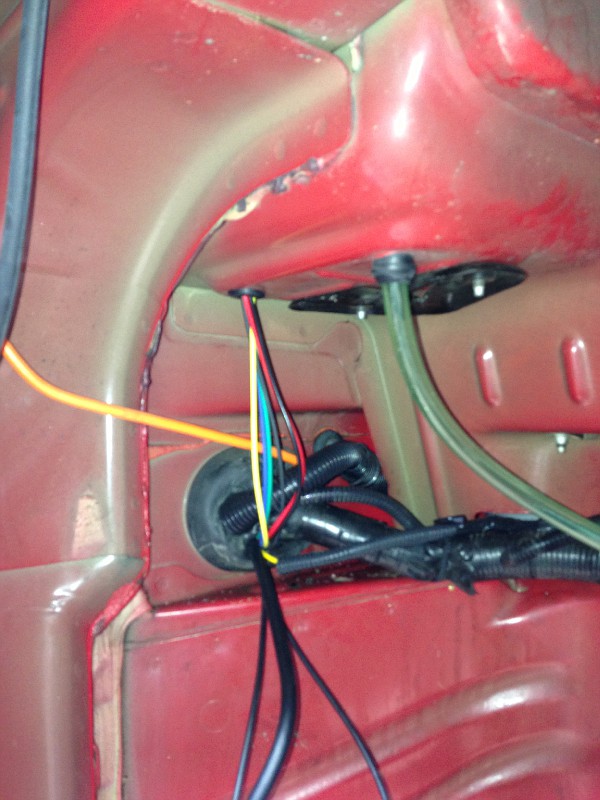
My kit did NOT come with a grommet, so I used one I had lying around...I drilled the hole out bigger..installed the grommet...and ran the wires:

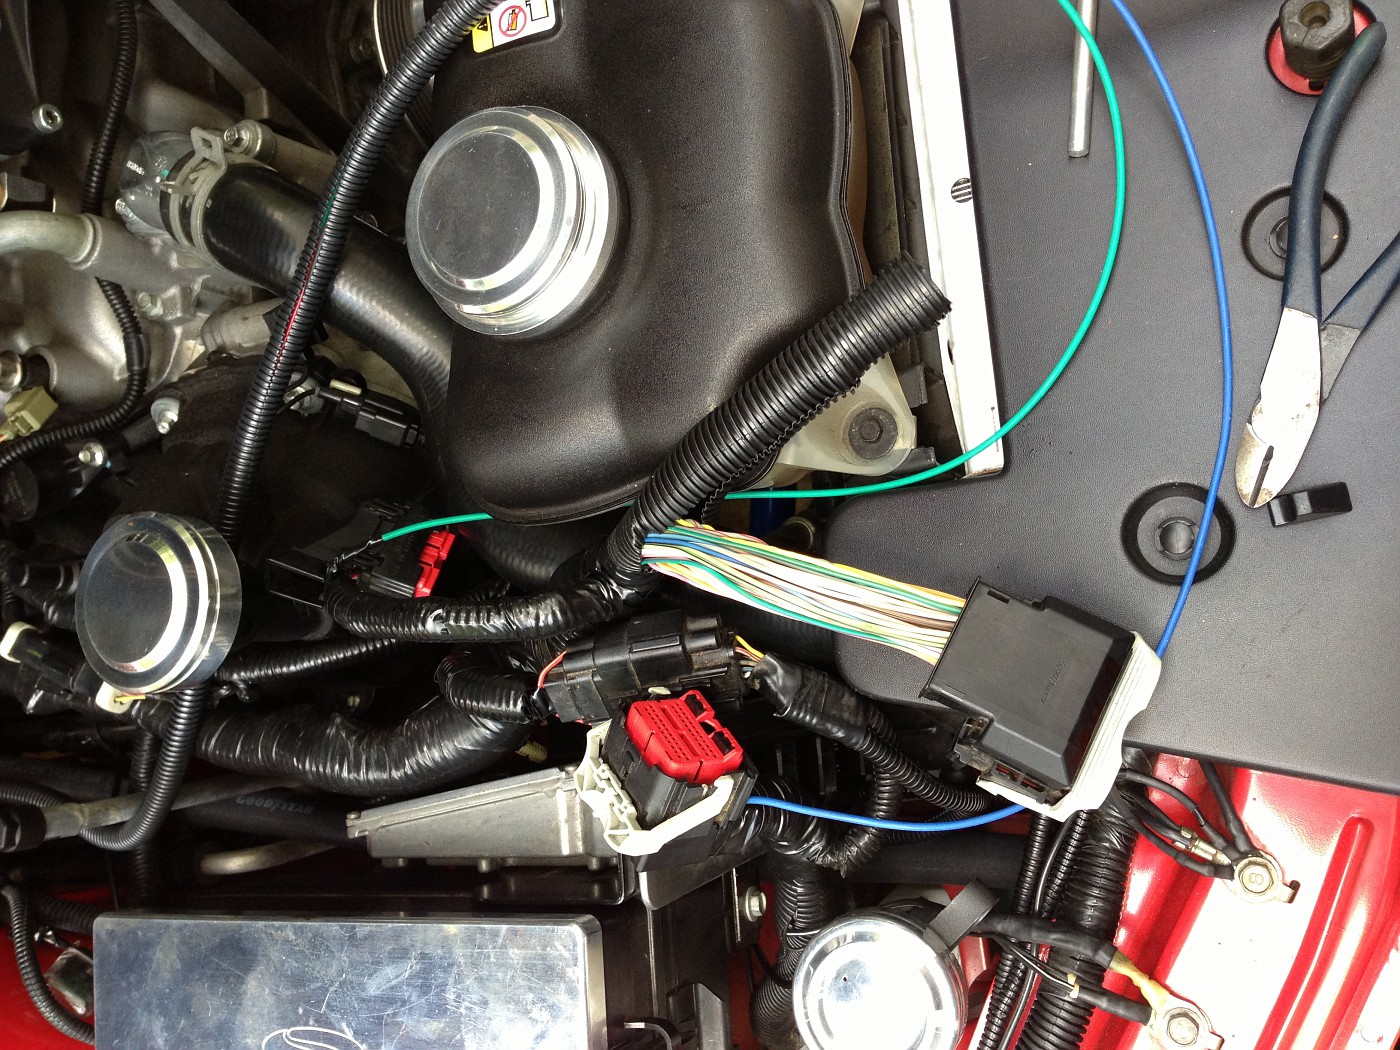
At the PCU (or ECM, or ECU or whatever you want to call it) I soldered one wire to each of the connectors as described in the instructions:


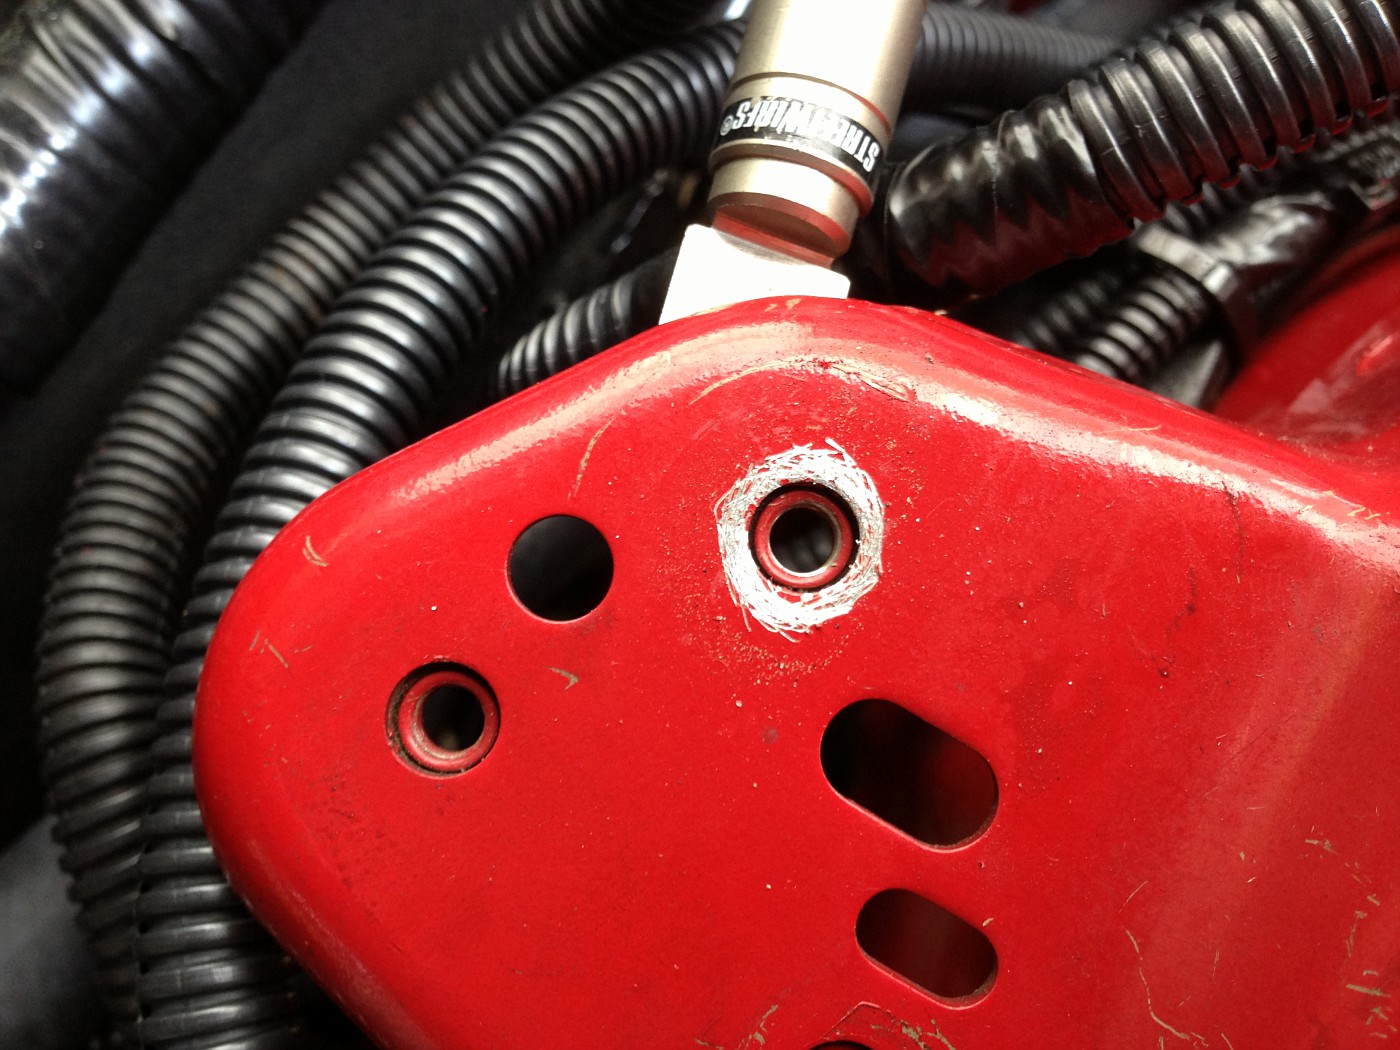
I cleaned the chassis ground real good:
On my Windows 7 laptop...software install (drivers) were not easy...I had to manually install them, and it would not recognize the USB adapter cable until I switched to a different USB port. Weird. Finally go tthe little sucker to appear in control panel. Mine ended up on COM port 6:

After I got it to recognize the WOTBOX, I chose COM port 6 in the GUI menu and then clicked READ and this was the default setup:

I tweaked my launch RPM to 2500 and then clicked WRITE like this:
After it wrote, I saw this:

Then I tested it per the instructions, and my son and I went for a road test:
<object height="360" width="480">
<embed src="http://www.youtube.com/v/99rcuRX3-L4?version=3&hl=en_US" type="application/x-shockwave-flash" allowscriptaccess="always" allowfullscreen="true" height="360" width="480"></object>
<object height="360" width="480">
<embed src="http://www.youtube.com/v/zVGuu7duaBQ?hl=en_US&version=3" type="application/x-shockwave-flash" allowscriptaccess="always" allowfullscreen="true" height="360" width="480"></object>
The kit as received:
I jacked up the front passenger side of the car, removed the RF wheel and inner splash guard to access the big rubber grommet the antenna lead runs through. It makes for nice access into the fuse box area (which is where I put my WOTBOX). You will also see my refurbished Innovate motorsports wideband, which I re-installed at the same time through the same grommet:
My kit did NOT come with a grommet, so I used one I had lying around...I drilled the hole out bigger..installed the grommet...and ran the wires:
At the PCU (or ECM, or ECU or whatever you want to call it) I soldered one wire to each of the connectors as described in the instructions:
I cleaned the chassis ground real good:
On my Windows 7 laptop...software install (drivers) were not easy...I had to manually install them, and it would not recognize the USB adapter cable until I switched to a different USB port. Weird. Finally go tthe little sucker to appear in control panel. Mine ended up on COM port 6:
After I got it to recognize the WOTBOX, I chose COM port 6 in the GUI menu and then clicked READ and this was the default setup:
I tweaked my launch RPM to 2500 and then clicked WRITE like this:
After it wrote, I saw this:
Then I tested it per the instructions, and my son and I went for a road test:
<object height="360" width="480">
<embed src="http://www.youtube.com/v/99rcuRX3-L4?version=3&hl=en_US" type="application/x-shockwave-flash" allowscriptaccess="always" allowfullscreen="true" height="360" width="480"></object>
<object height="360" width="480">
<embed src="http://www.youtube.com/v/zVGuu7duaBQ?hl=en_US&version=3" type="application/x-shockwave-flash" allowscriptaccess="always" allowfullscreen="true" height="360" width="480"></object>
Last edited:


 the furthest I got on the install is routing the wires at the fender. Then I looked at the directions and looked at my pcm and I said "omfg" then shut the hood.