DiMora
More Is Better
DiMora's Intercooling system upgrade - Operation Iceman:
Big picture:
I am neither an engineer or a physicist, and I did not sleep at a Holiday Inn Express last night, but I have studied this topic ad-nauseum. I am going to avoid posting formulas to keep it simple, but suffice to say that physics and engineering formulas back up what I am a about state.
Step one is to get the coolest ambient air sucked into the intake that we possibly can. Operation Snuffleupagus will cover that later on. Kenne Bell is a big believer in this concept, re-locating the filter to the passenger side fenderwell. Again, I'll address that in another thread on another day when I have more time.
Step two is to make our intercooler as efficient as possible, extracting the largest amount of heat from the hot intake air as possible. That is what this thread is all about.
For purposes of this discussion, once you select a blower / intercooler combo, the intercooler's surface area is pretty much "set". Some blowers may have an intercooler upgrade available (GT500, for example). The bottom line here is a bigger intercooler is better (higher Delta-T).
In this discussion, we can improve the ability of system's intercooler to extract heat by changing the fluid that flows through the system, the flow rate of the fluid, or the temp change capability of the heat exchanger by varying its surface area or the airflow that is passed through it.
Let's talk about system fluid first: Chosen fluid is going to be water, water+water wetter, or water+glycol for most of us. "Fluid factor (FF)" is the chosen fluid's ability to carry heat.
Flow rate (F) is going to be controlled by the intercooler pump we choose and the overall system restriction. Adding a bigger pump, if flow rate cannot increase, will only increase system pressure. With that stated, on all Mustang I/C systems I have seen, adding a bigger pump ALWAYS improves flow rate. 5 GPM, 10 GPM...50GPM...bigger always adds to a higher flow rate. Teh Meziere 50 GPM is the biggest I am aware of.
Temp change (DeltaT) capability of the heat exchanger itself (temp drop from inlet to outlet) is governed by size of the heat exchanger (surface area), total air flow through it, and the temp of the air flowing through it.
I'll summarize with some simple facts:
With an understanding of the above, here is what I have done. There are still improvements to be made by going all-out on some of these mods, which I will eventually do:
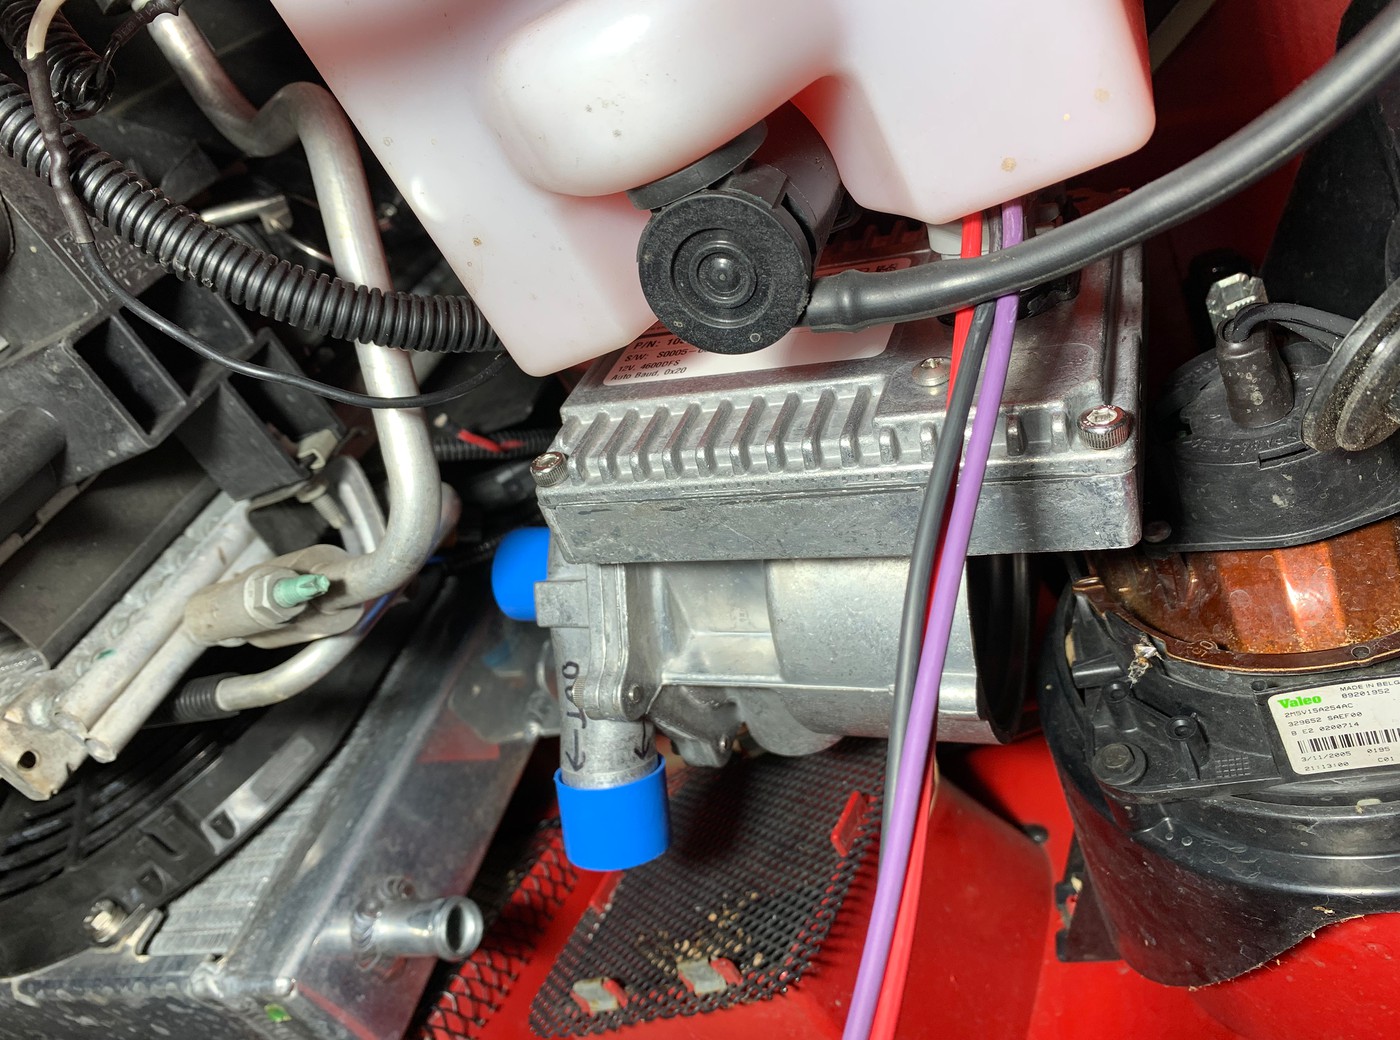
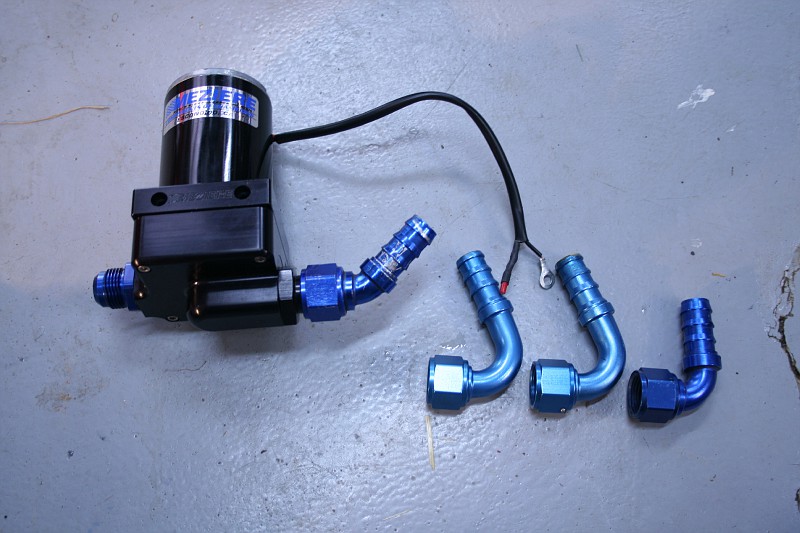
1) Intercooler pump upgrade. The Bosch unit that came with my Roush is small. I can post up flow rates, and references to guys doing bucket flow rate tests and fully restricted system flow tests, but I want this thread to be simple. A bigger pump flows more fluid. I chose a 20 GPM Meziere. Like this:
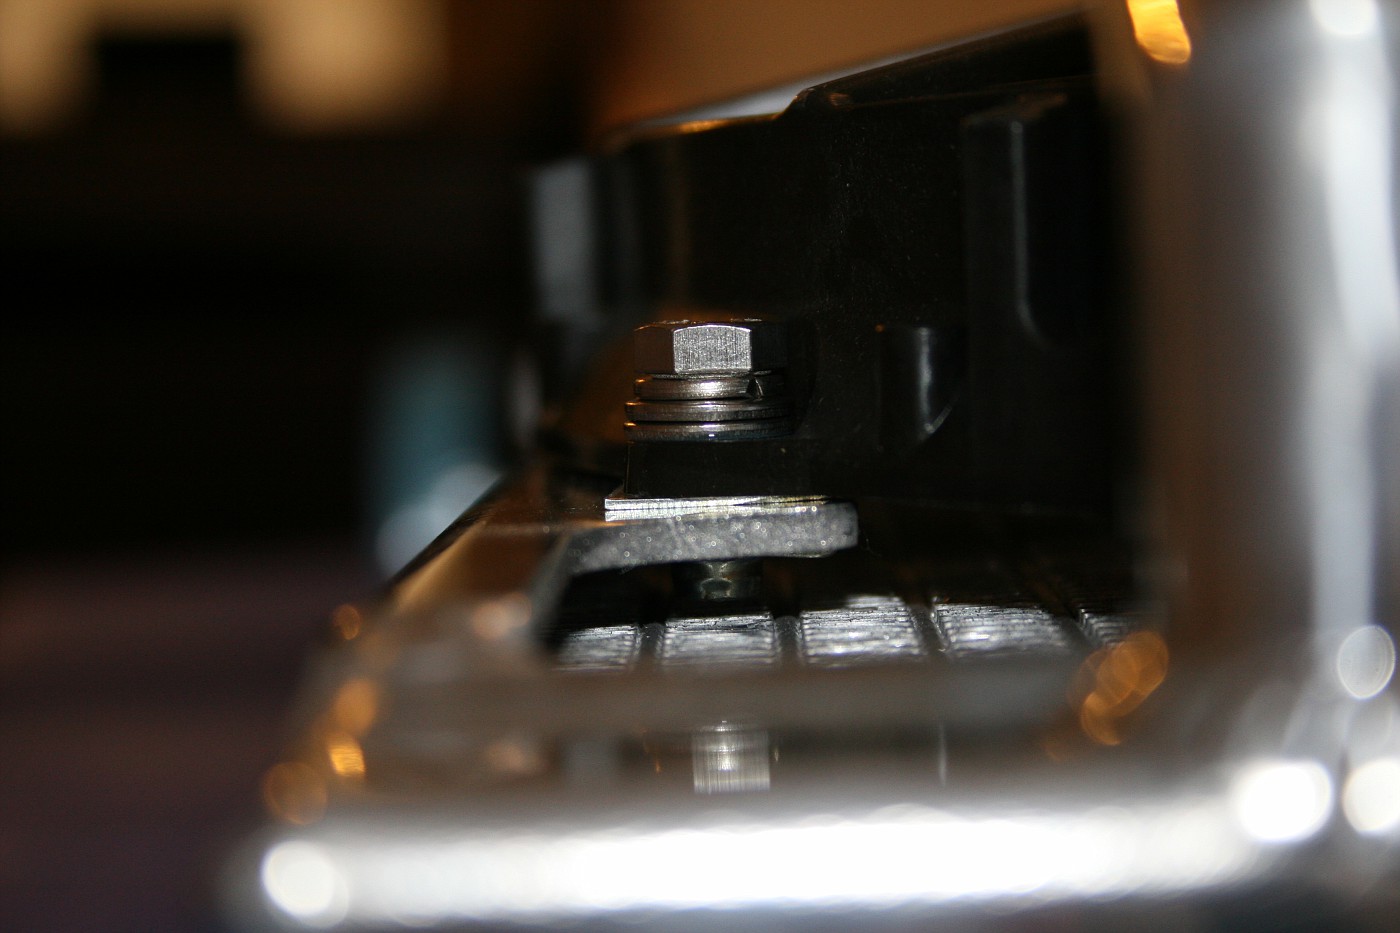
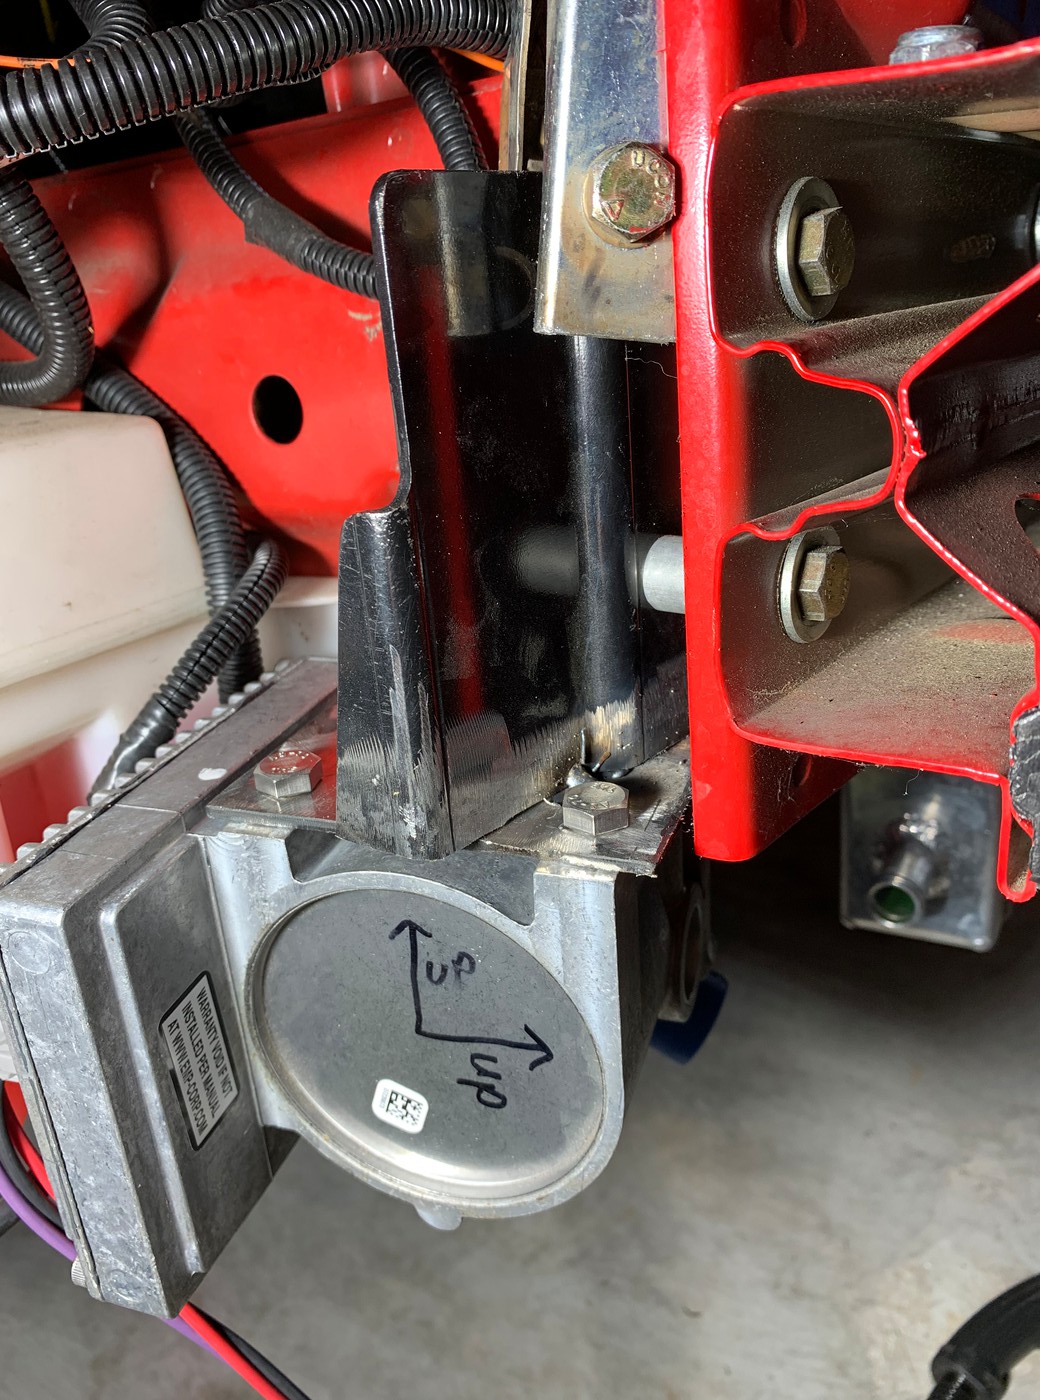
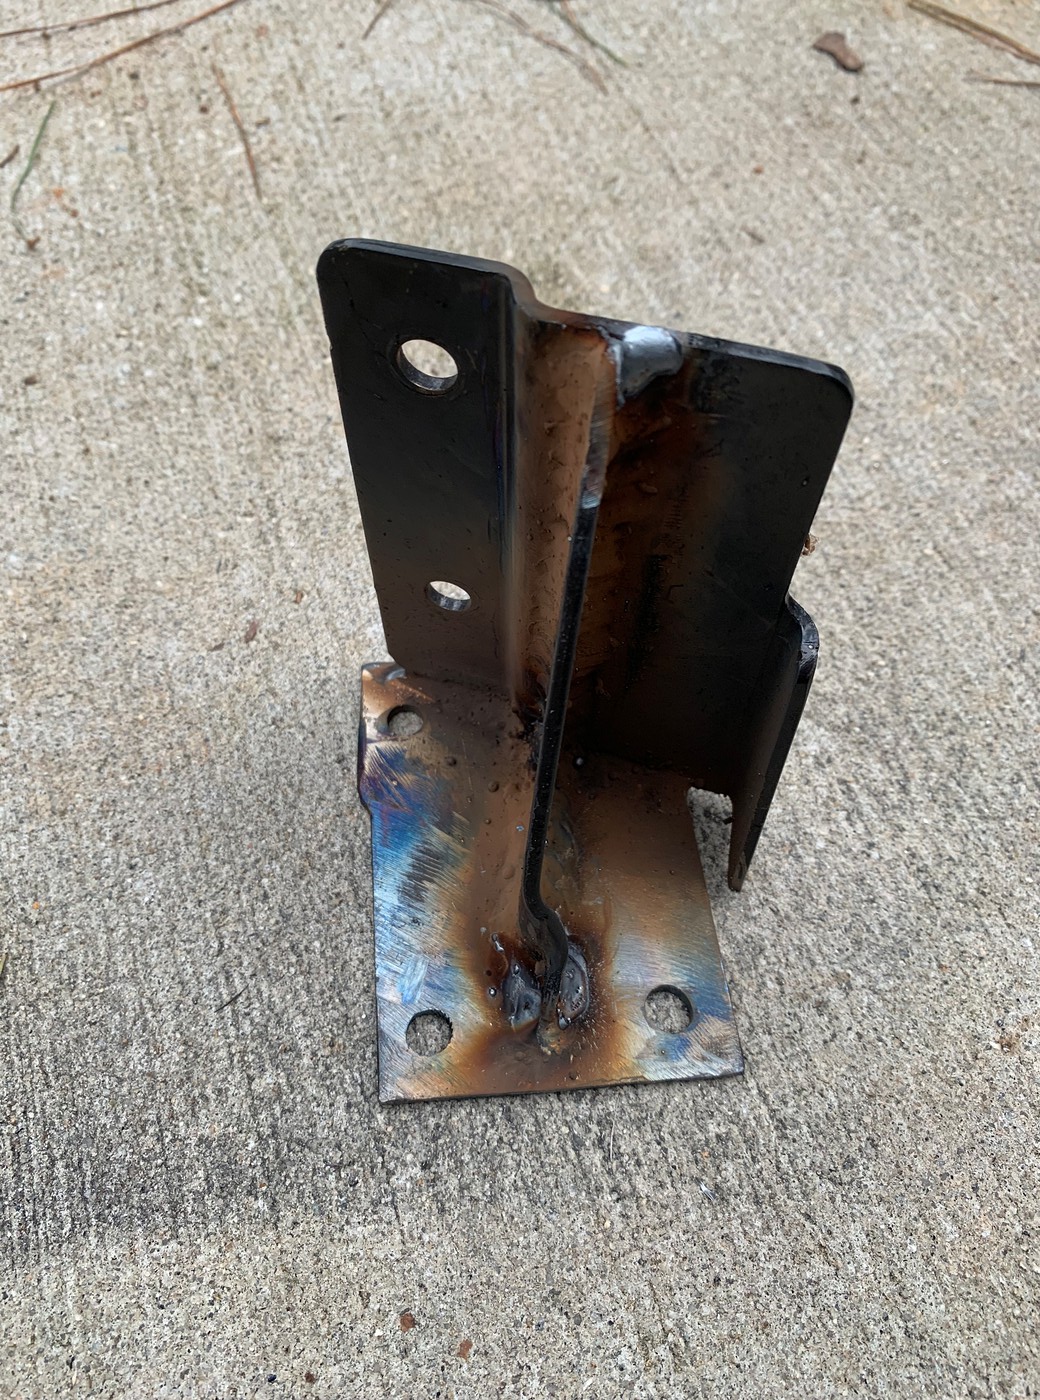
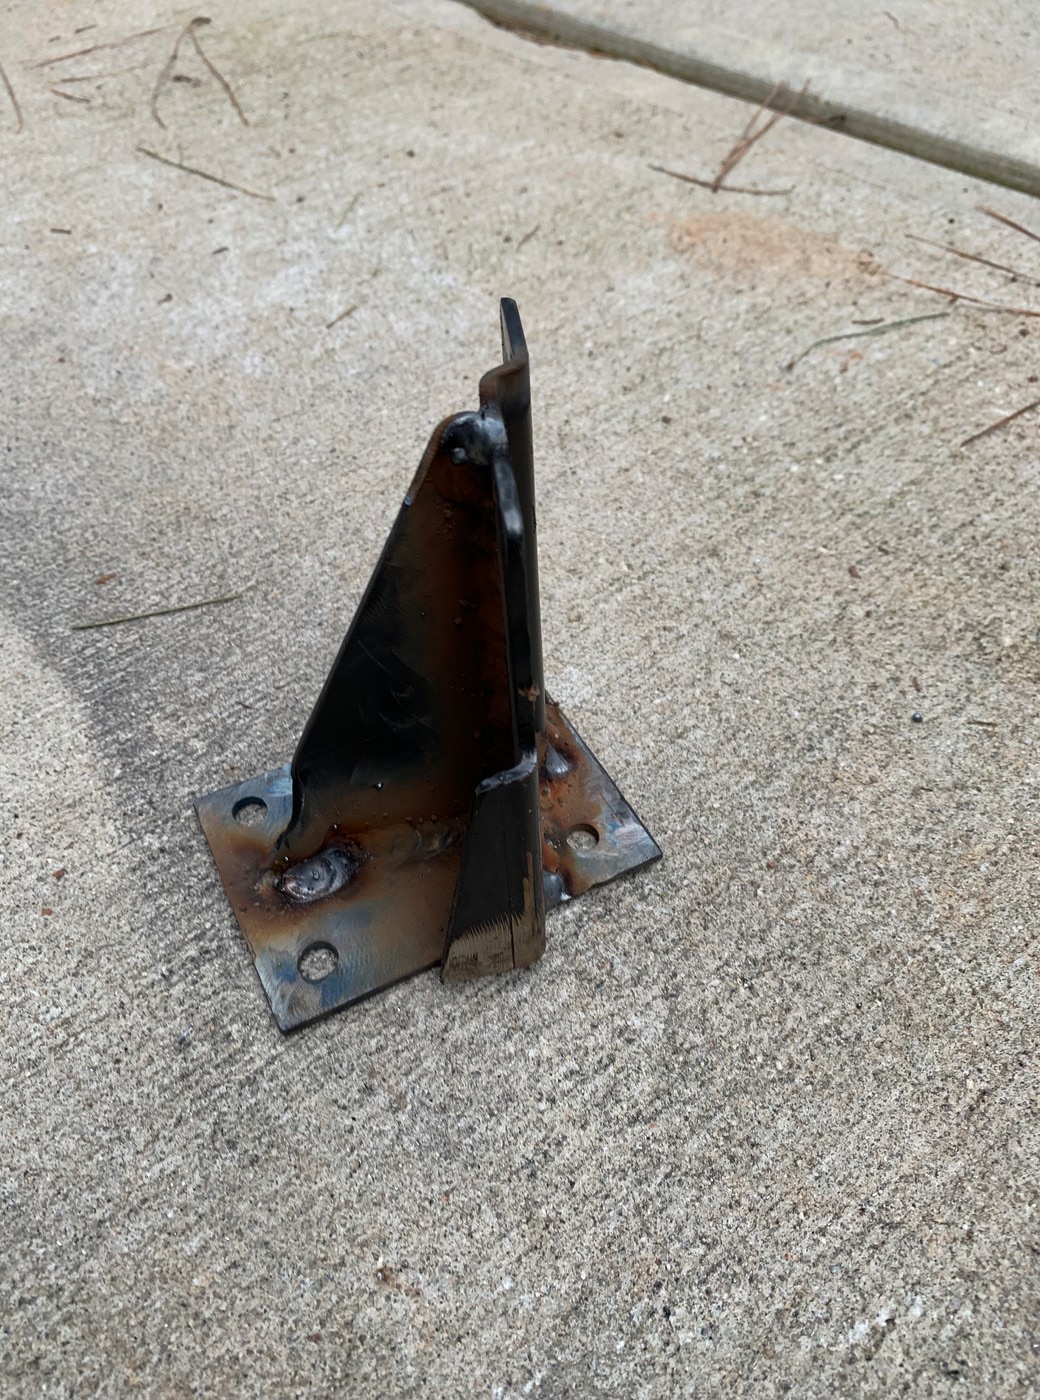
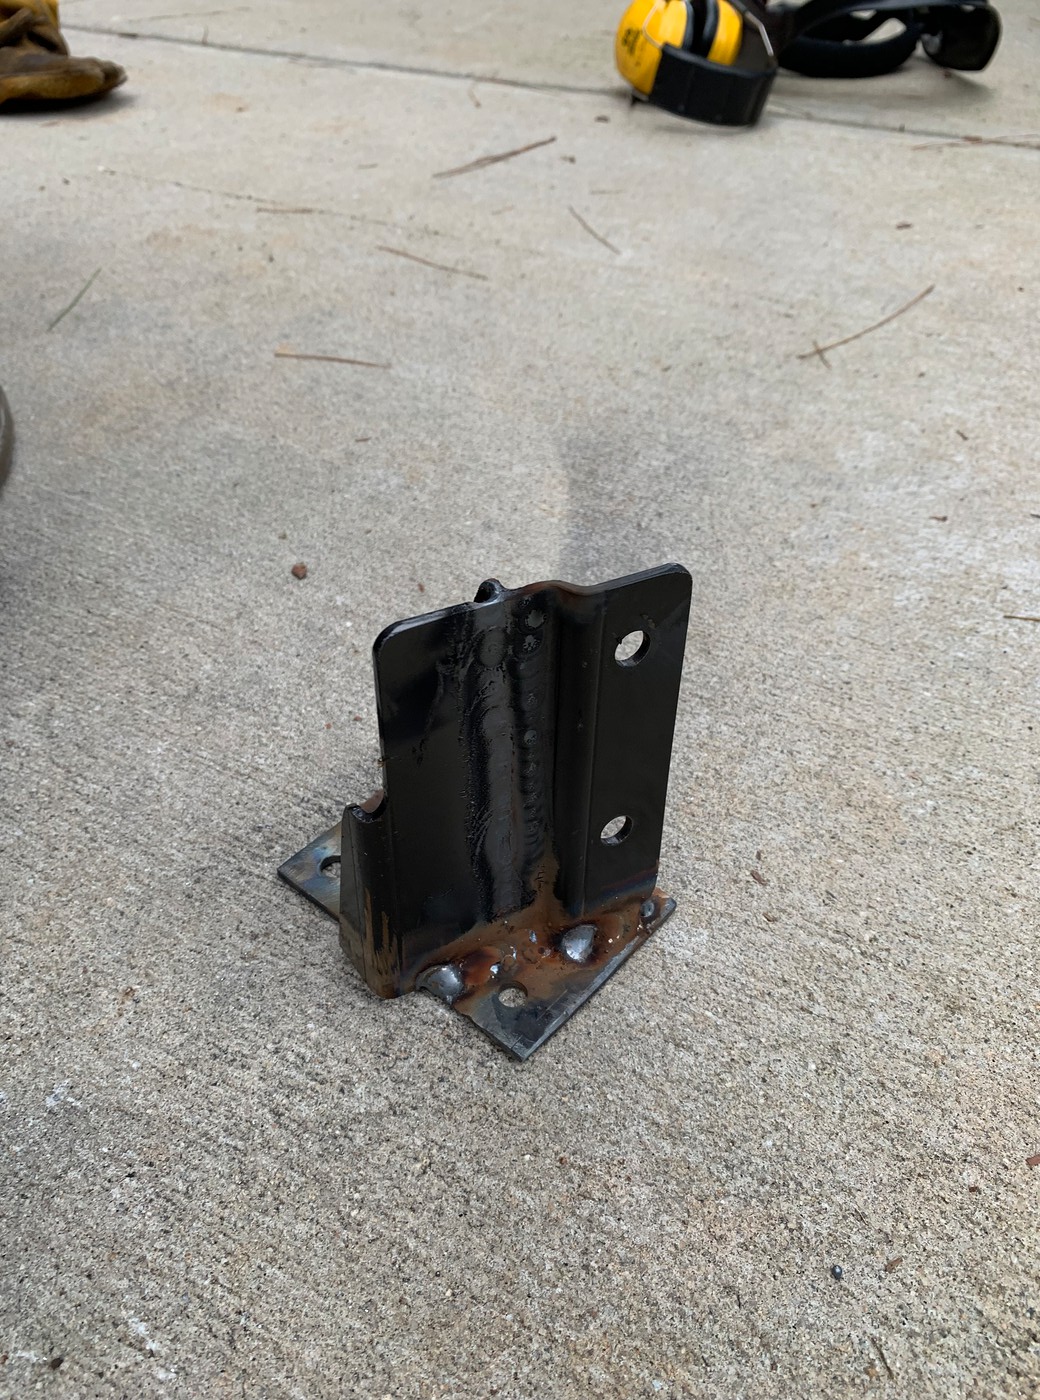
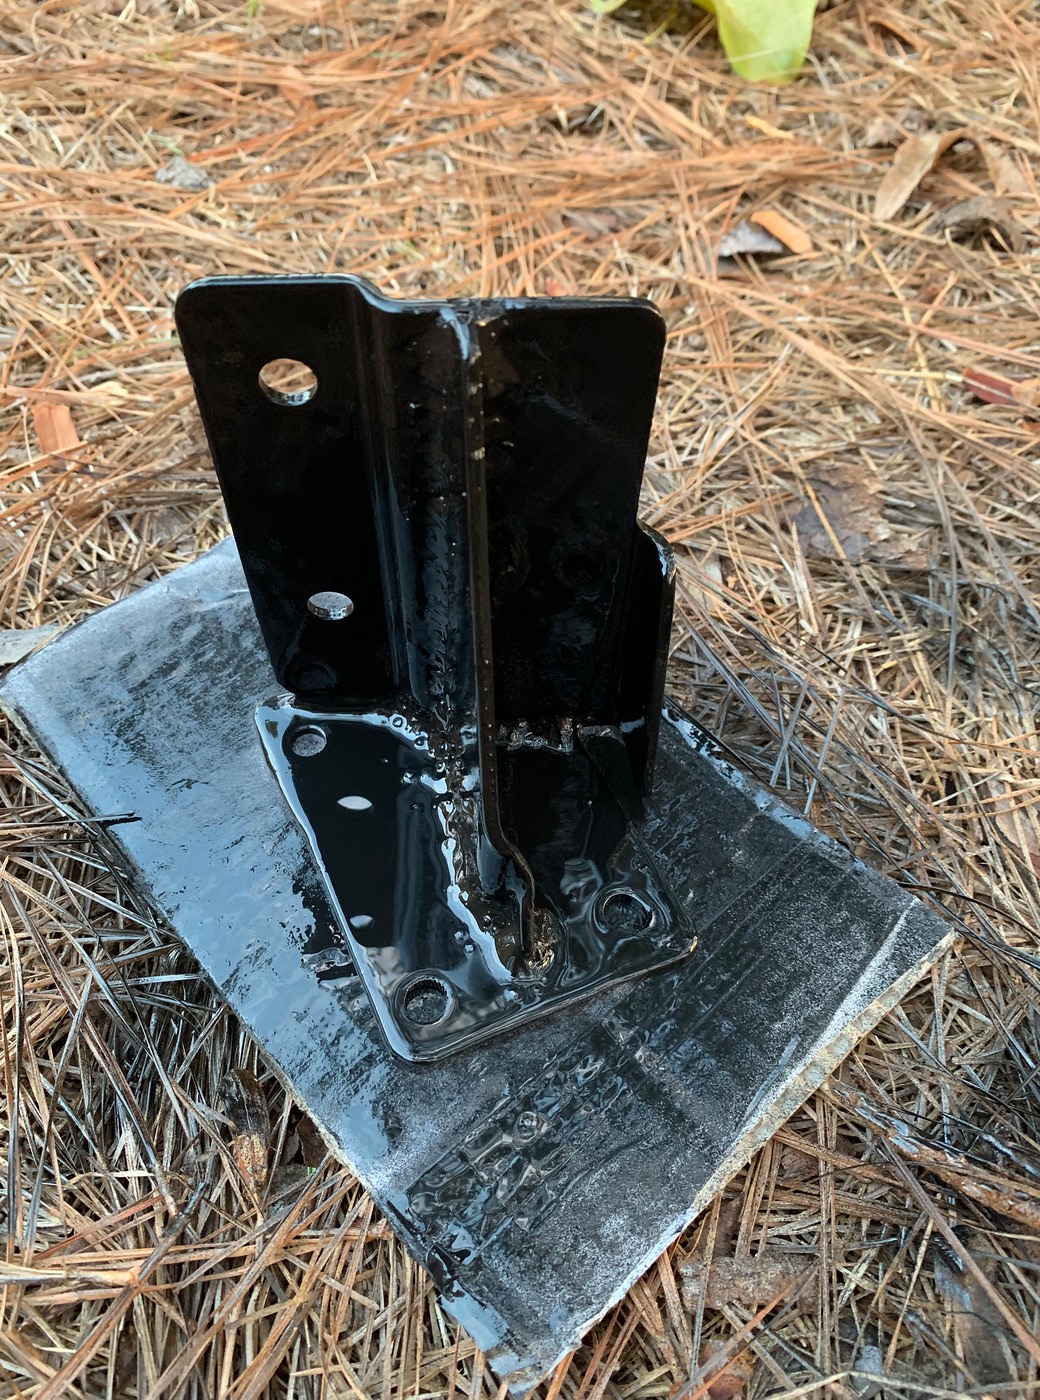
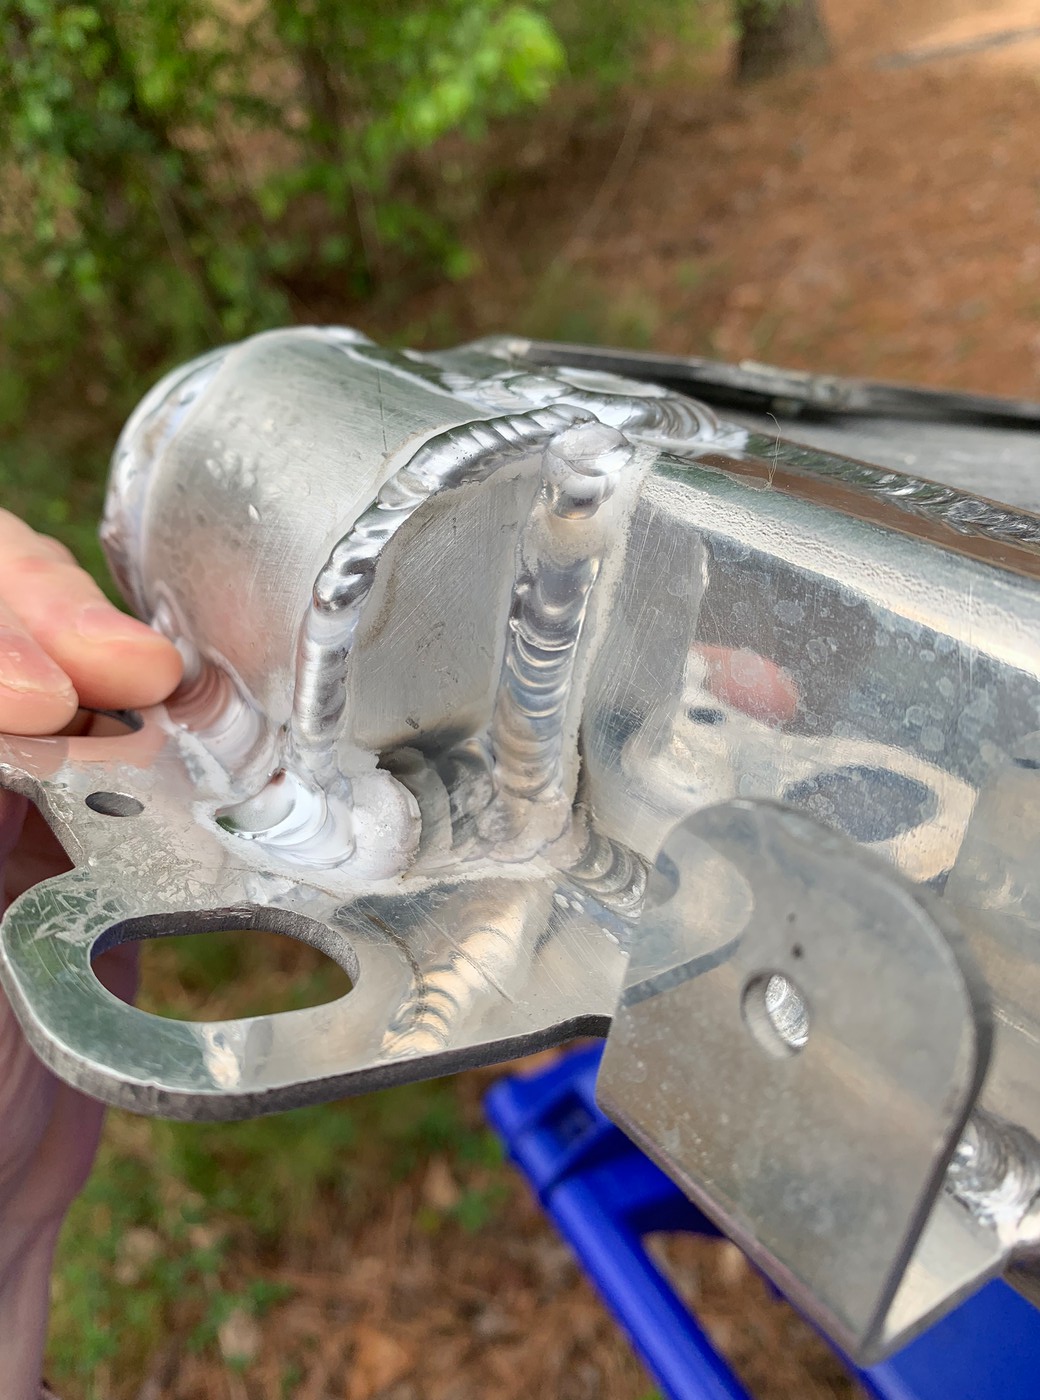
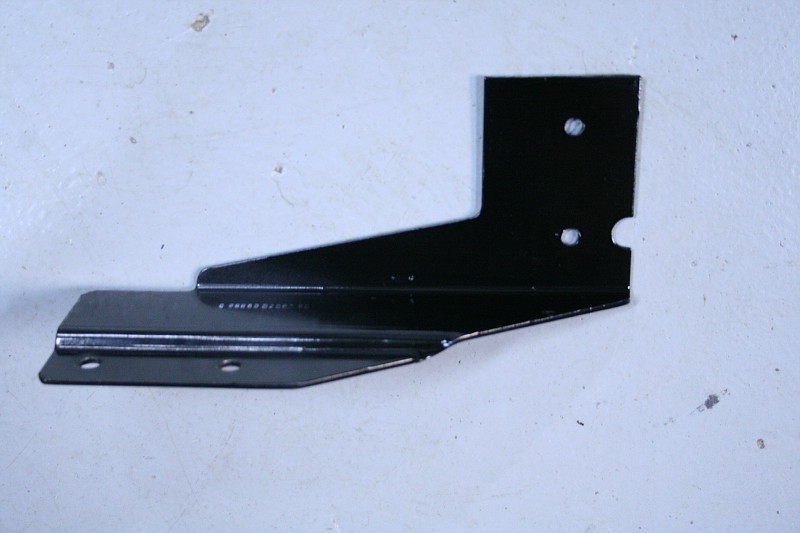
I modded a Saleen intercooler pump bracket to mount it to:
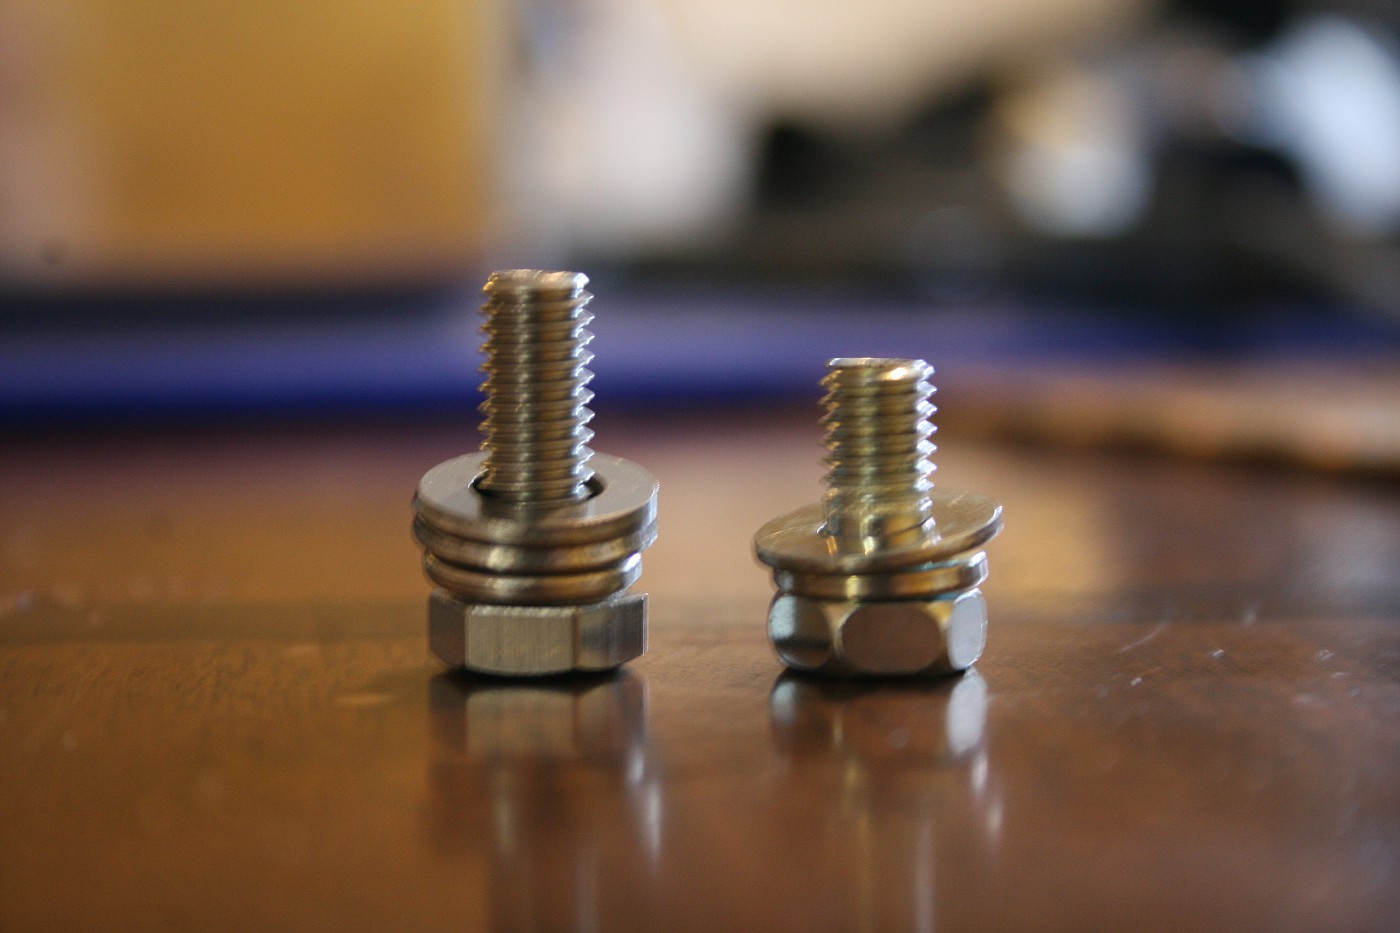
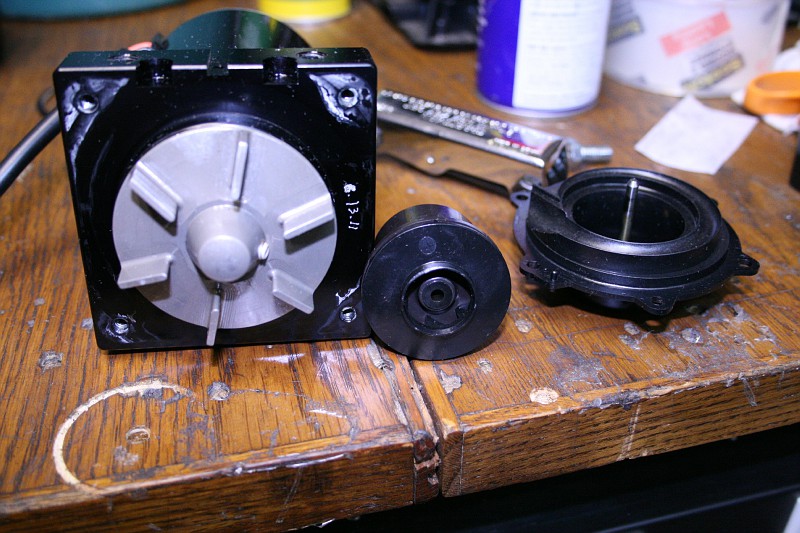
How much bigger is it than the Bosch? I took it apart to find out:
Meziere on left, Bosch on right. Not even close in size:
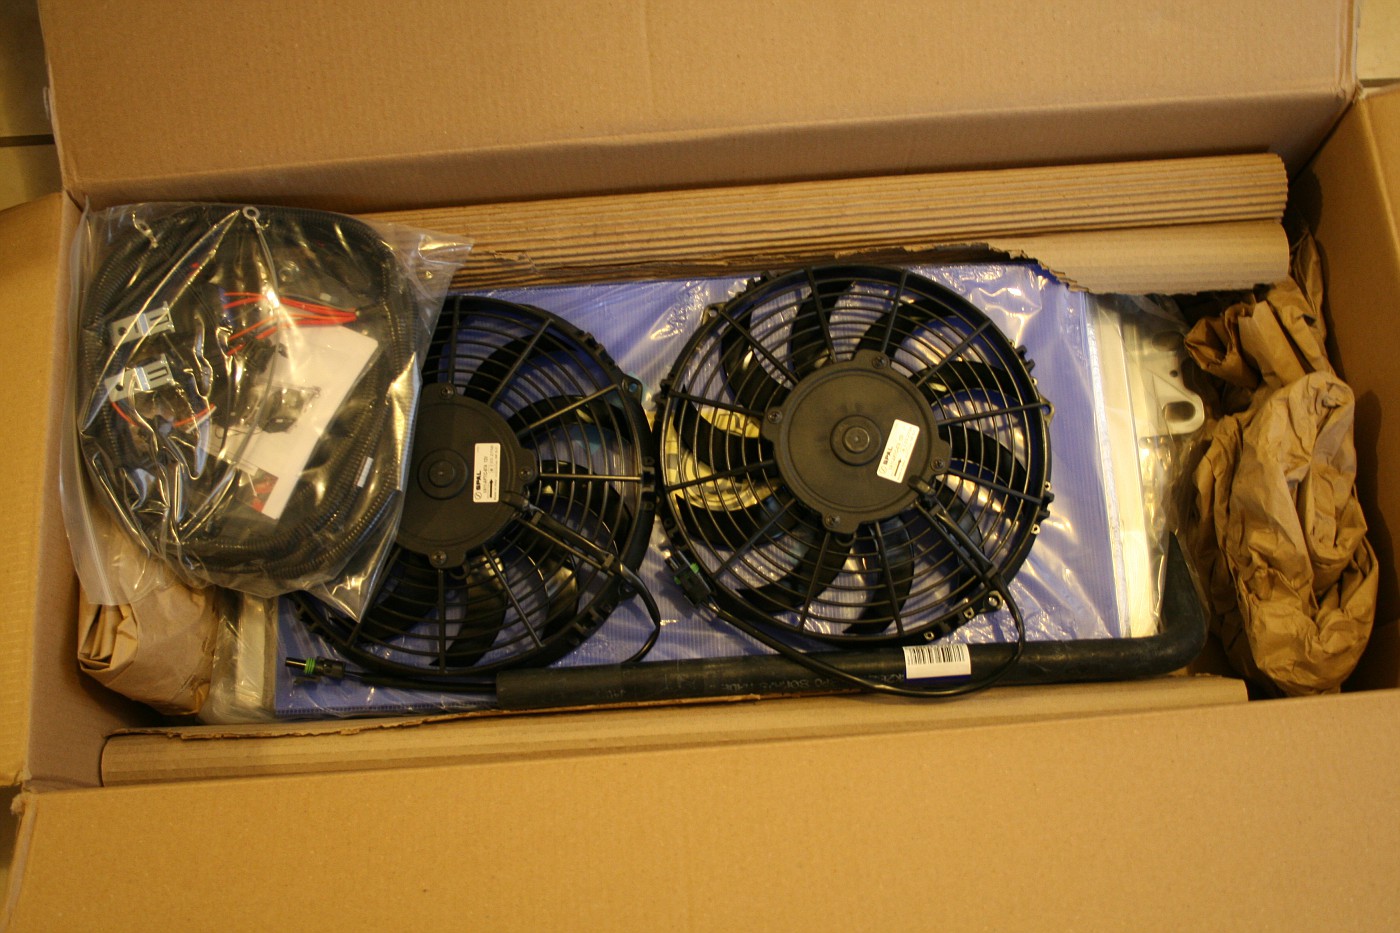
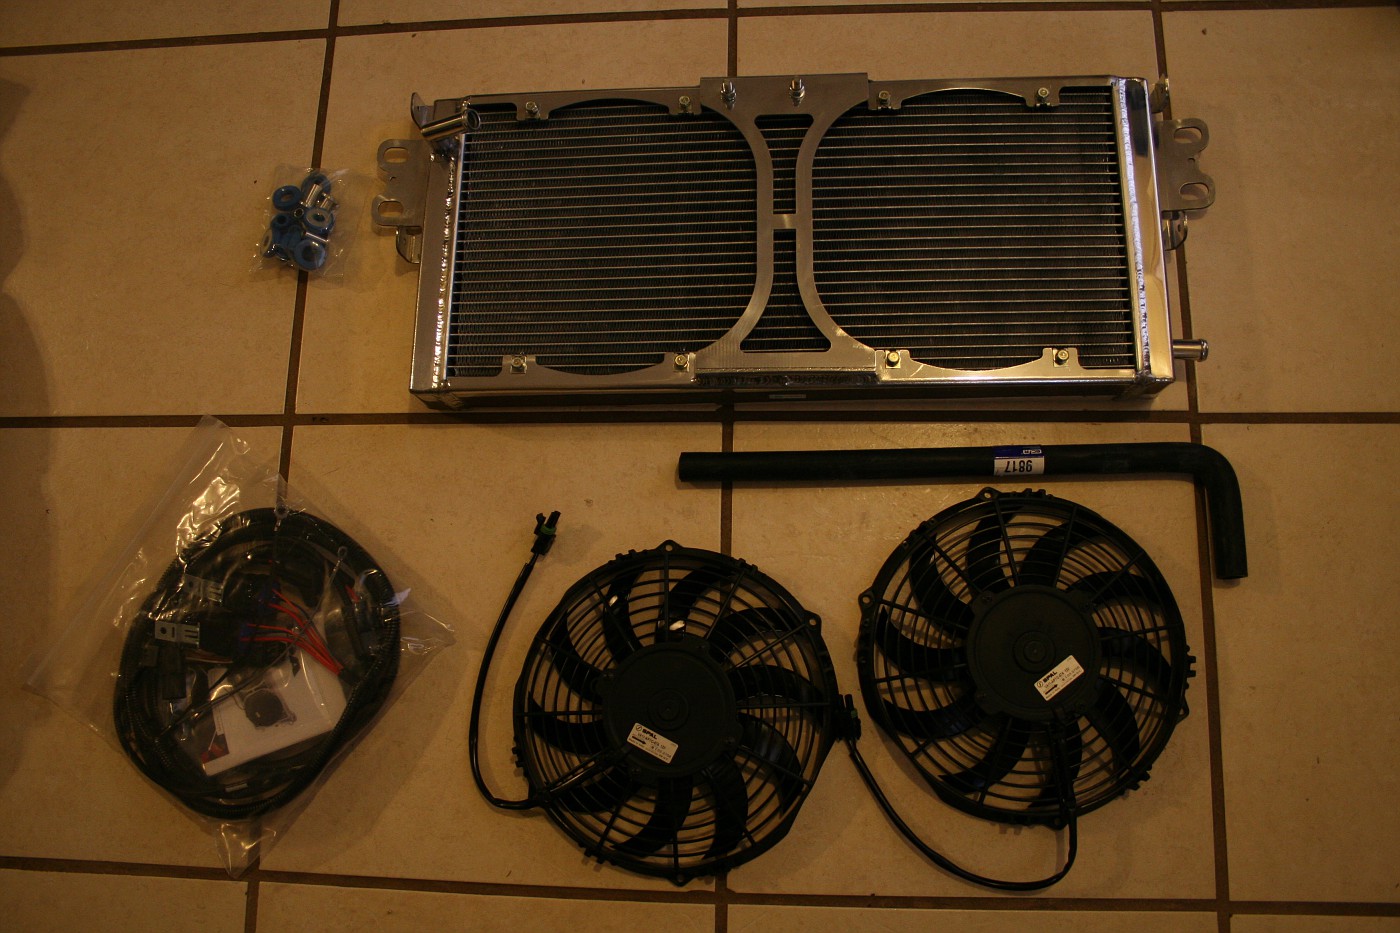
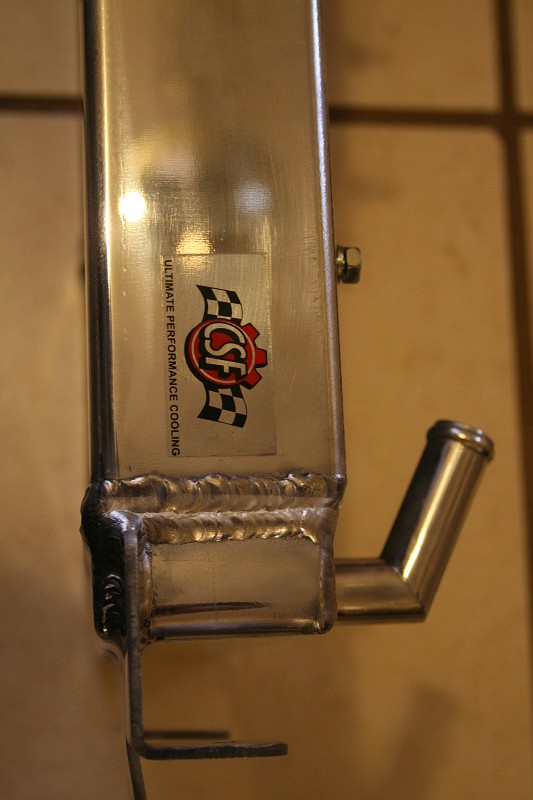
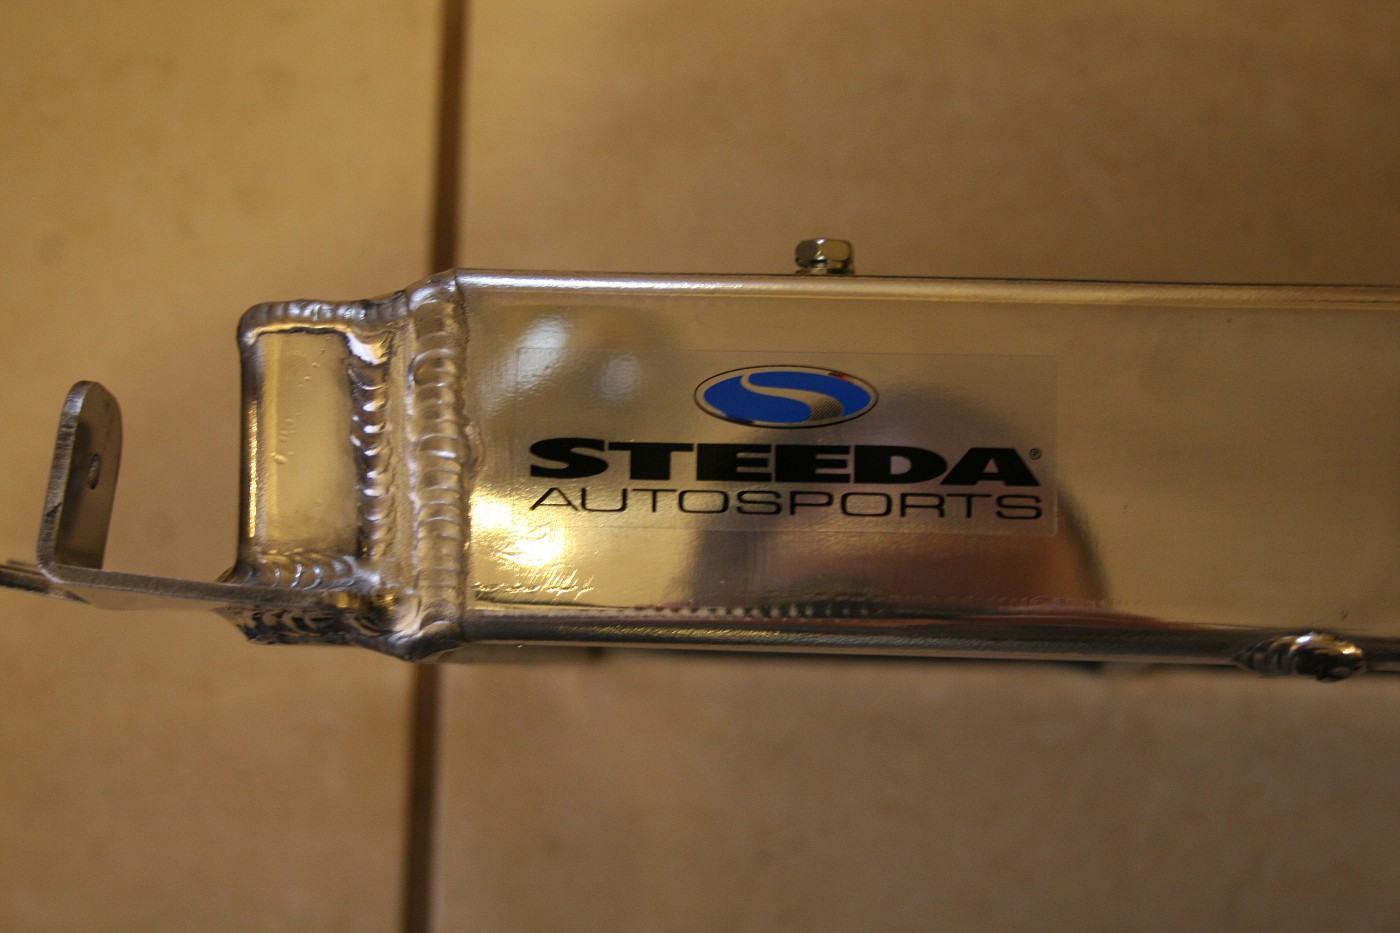
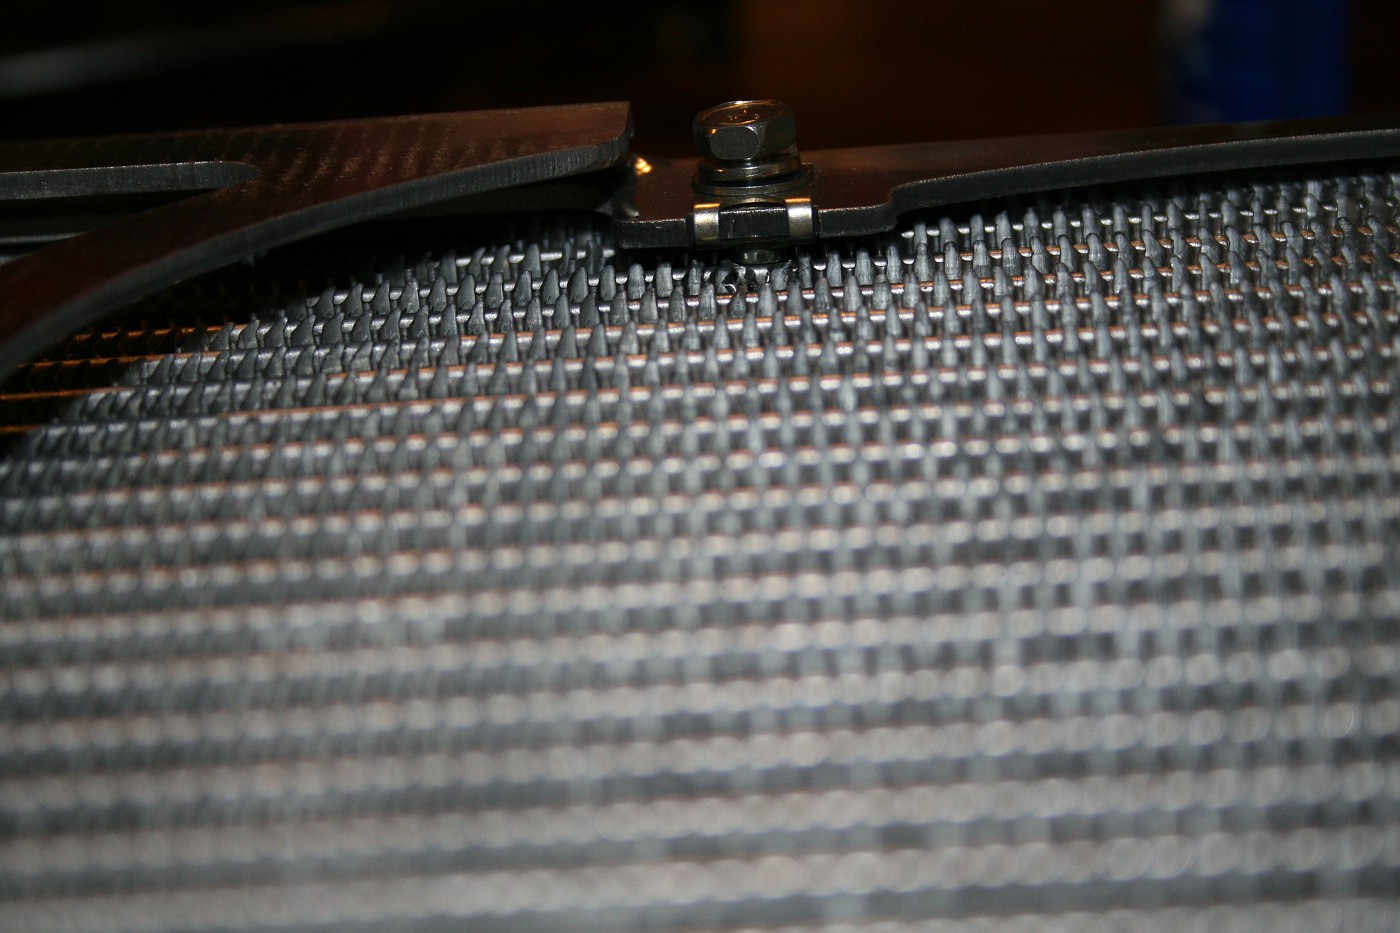
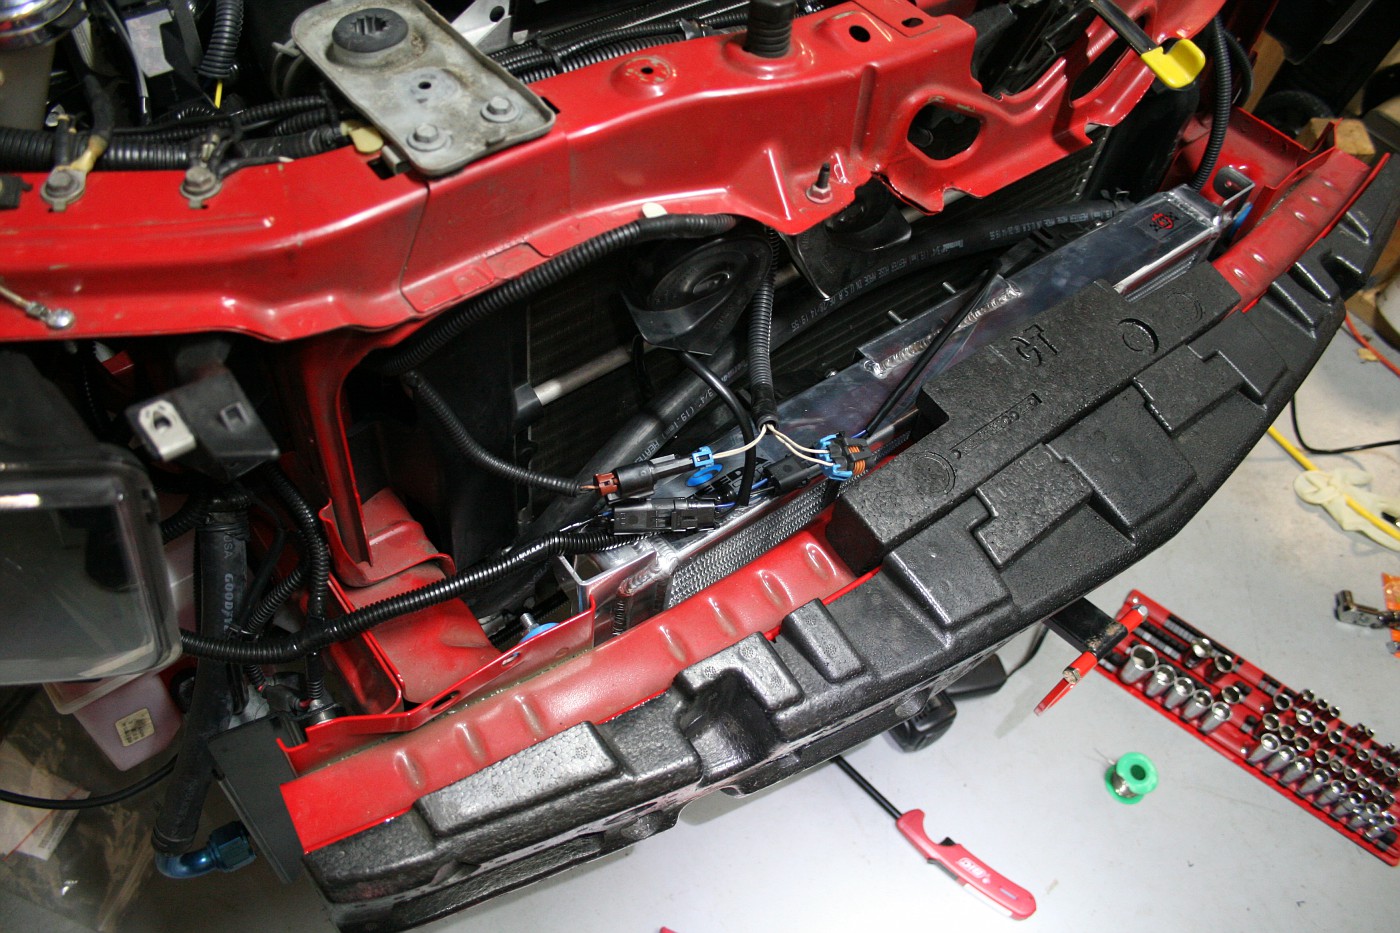
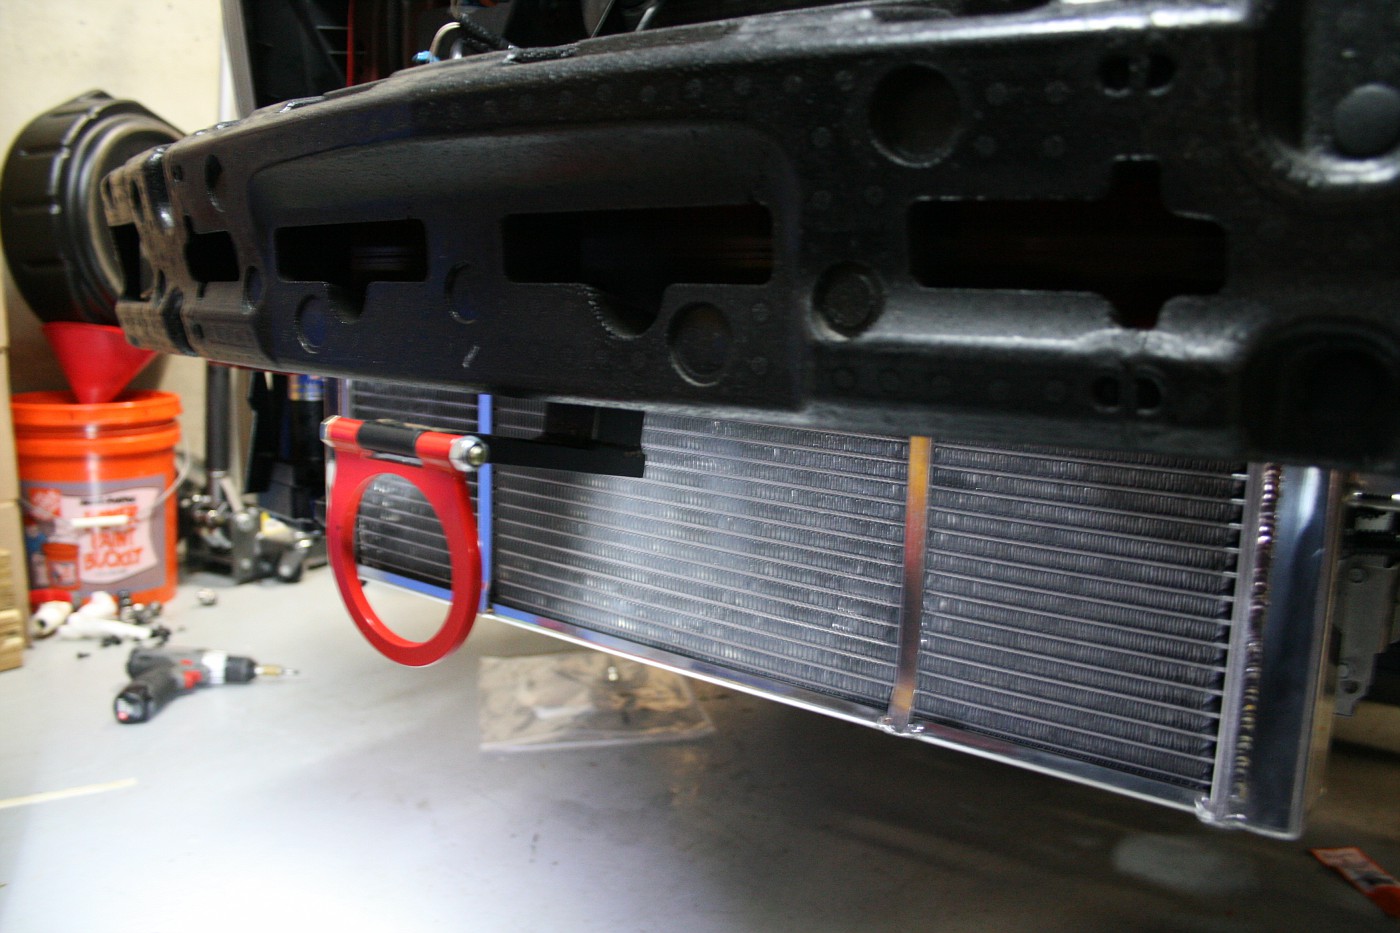
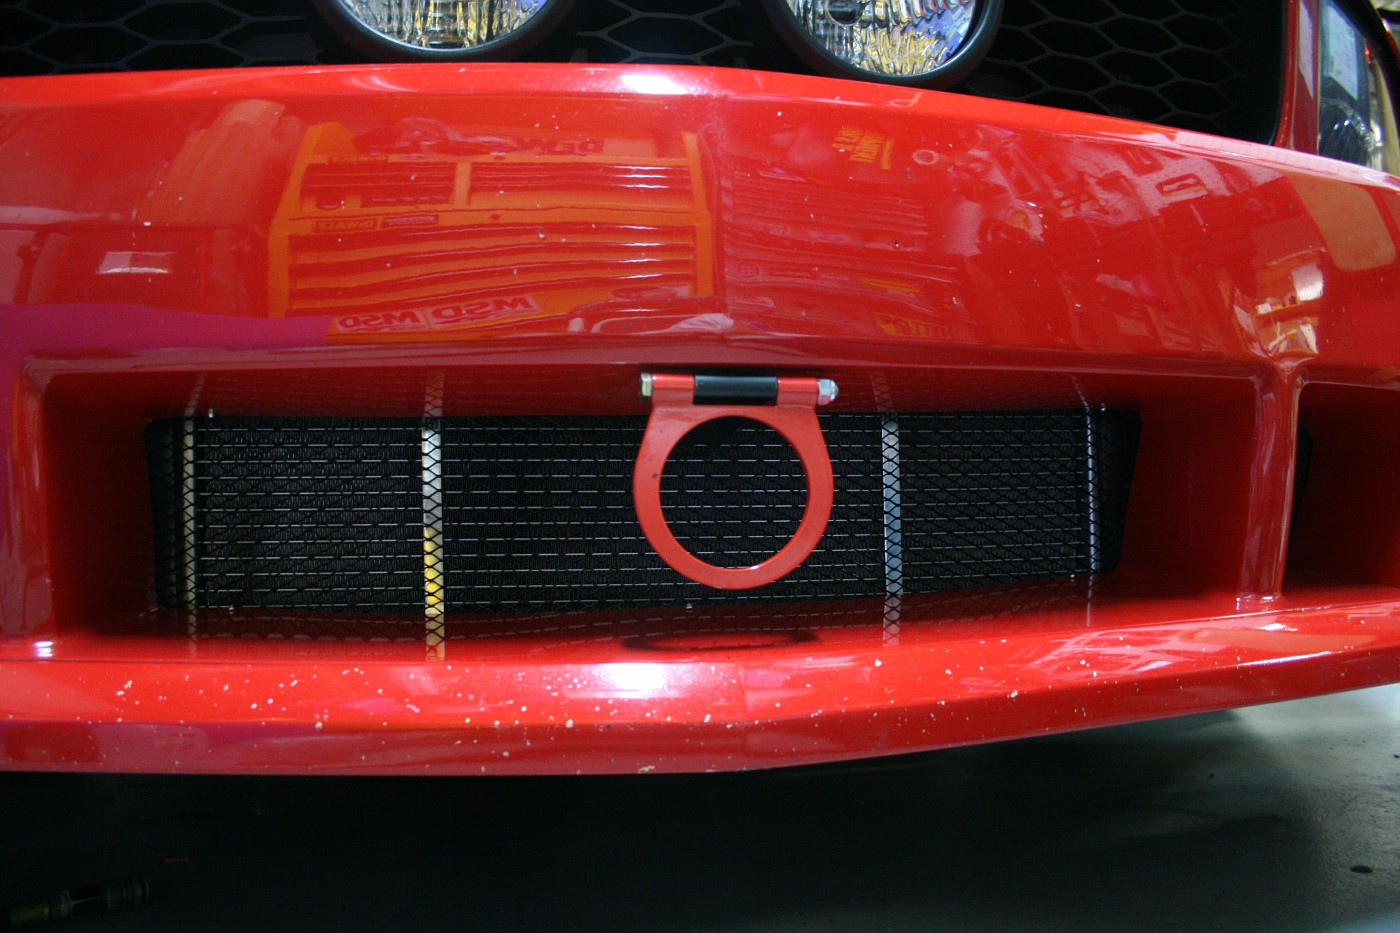
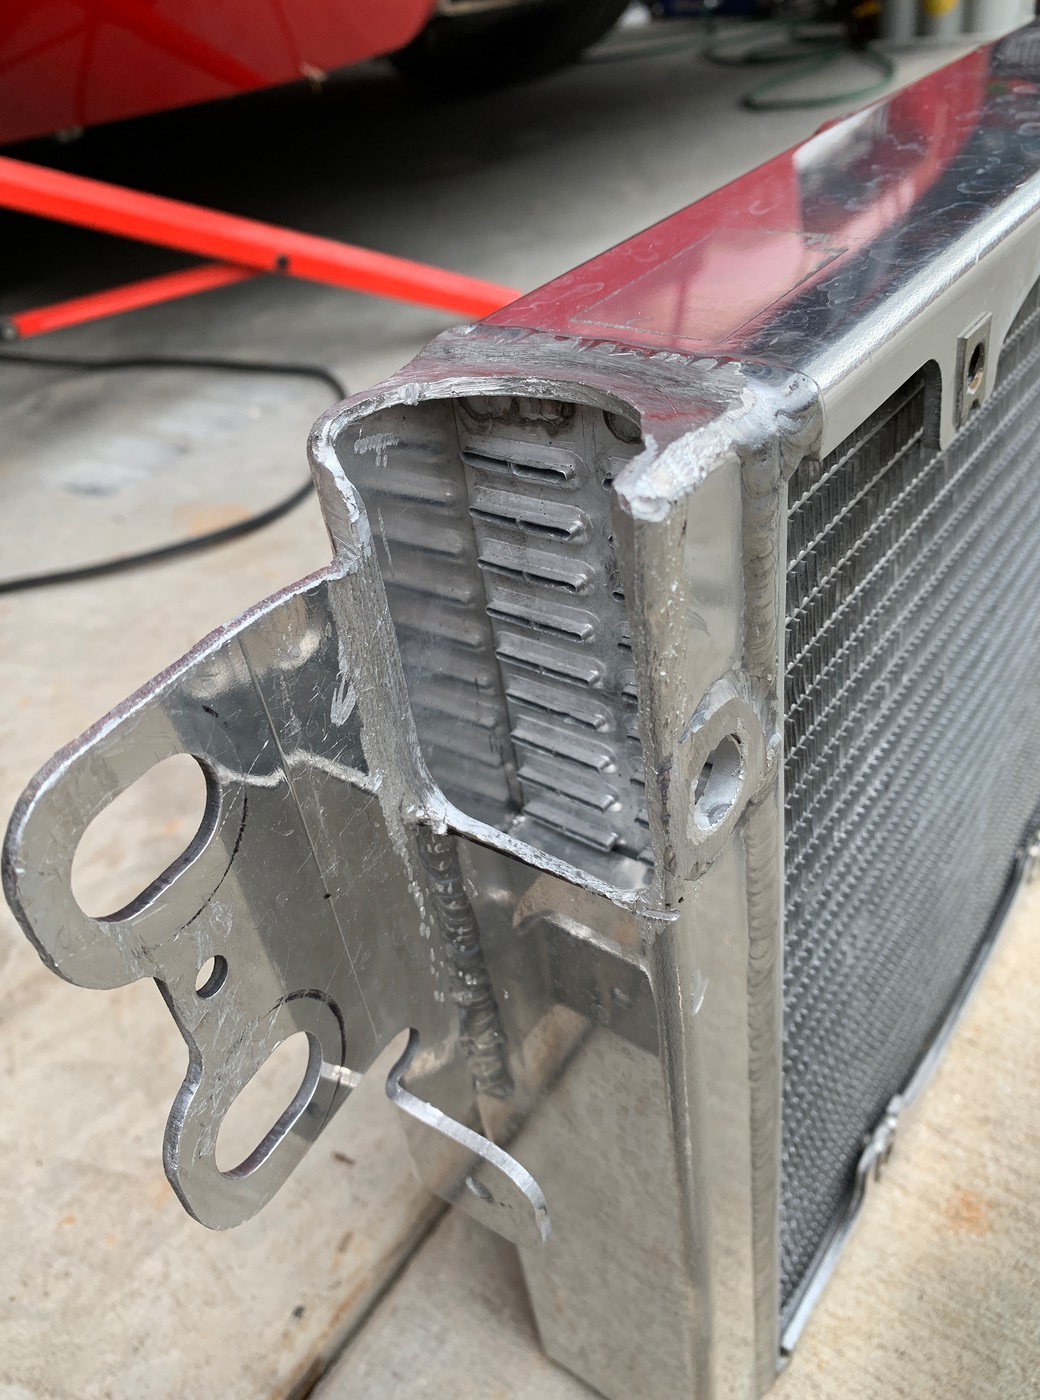
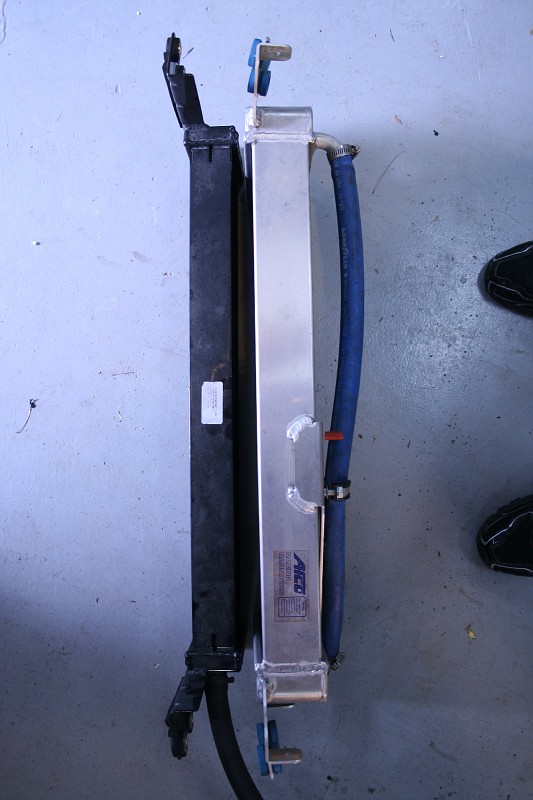
2) Heat exchanger upgrade: I chose an Afco dual pass:
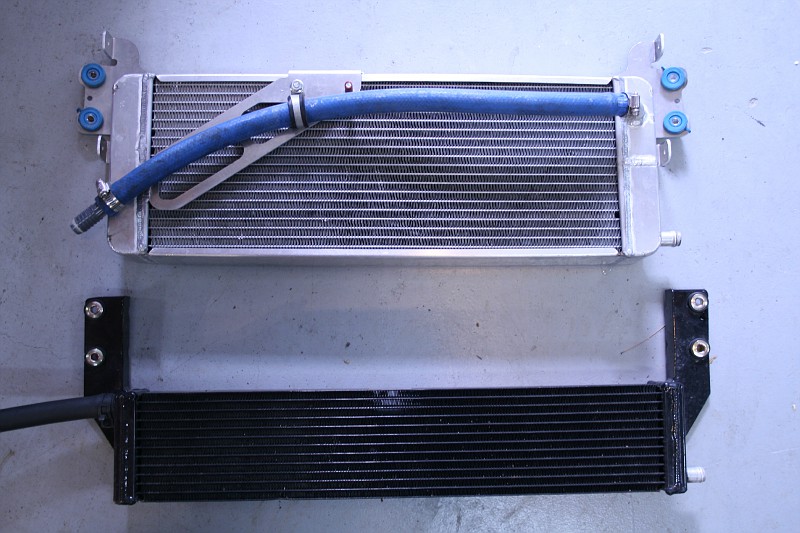
Stacked:
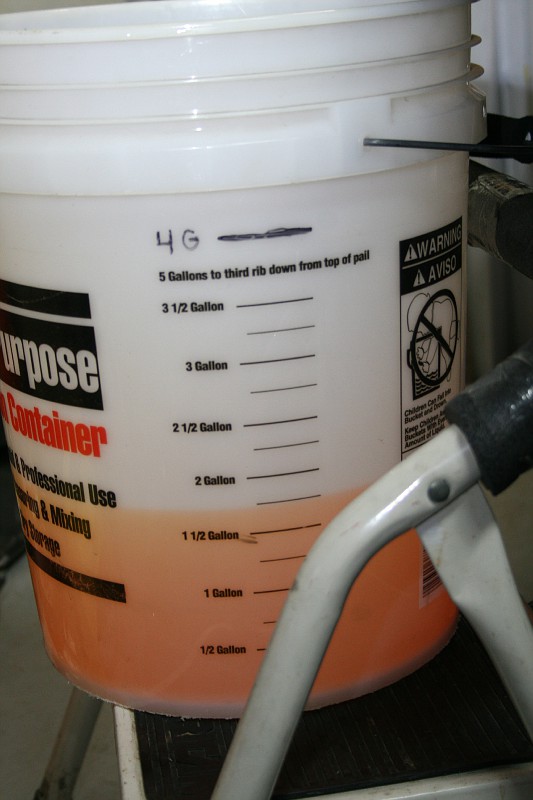
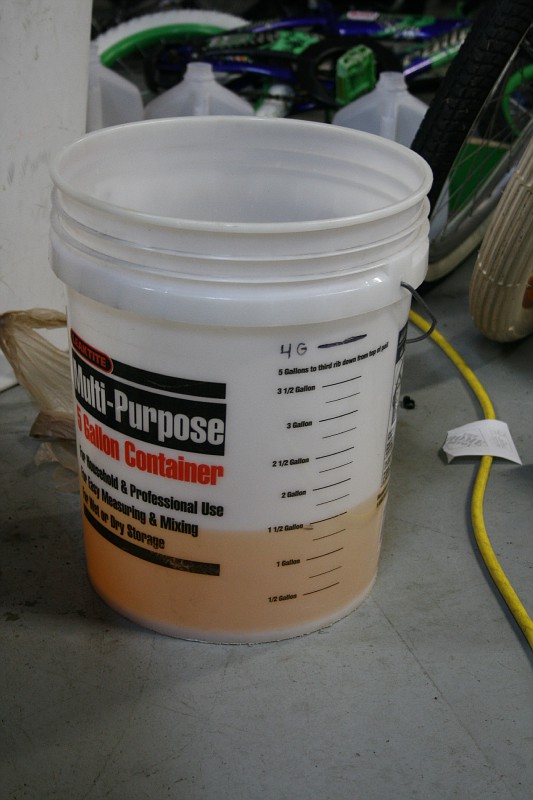
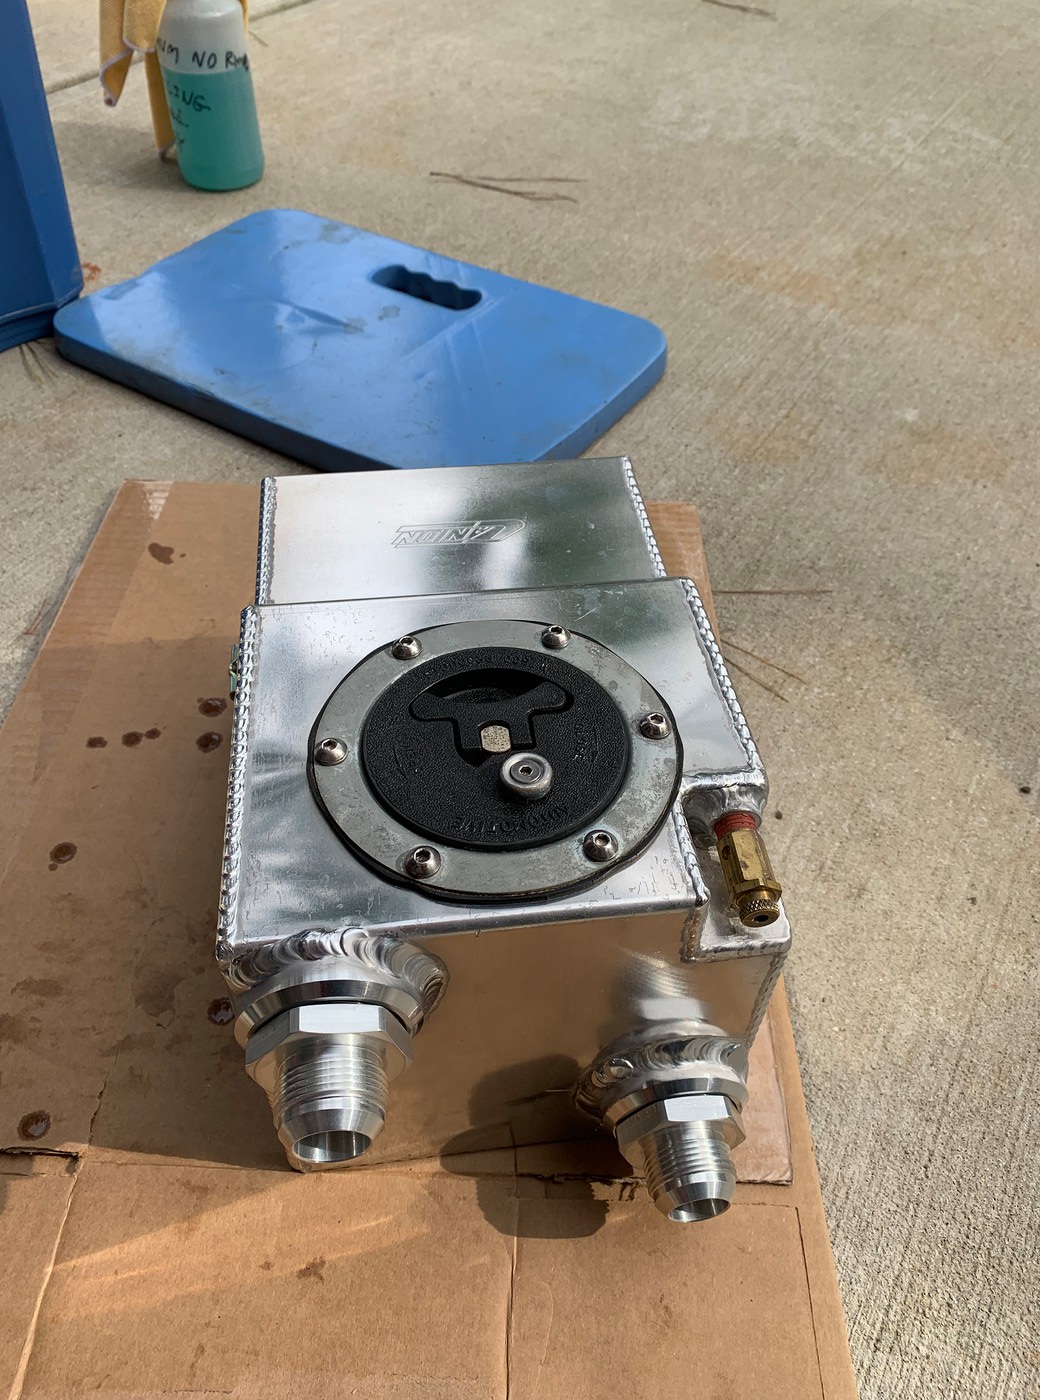
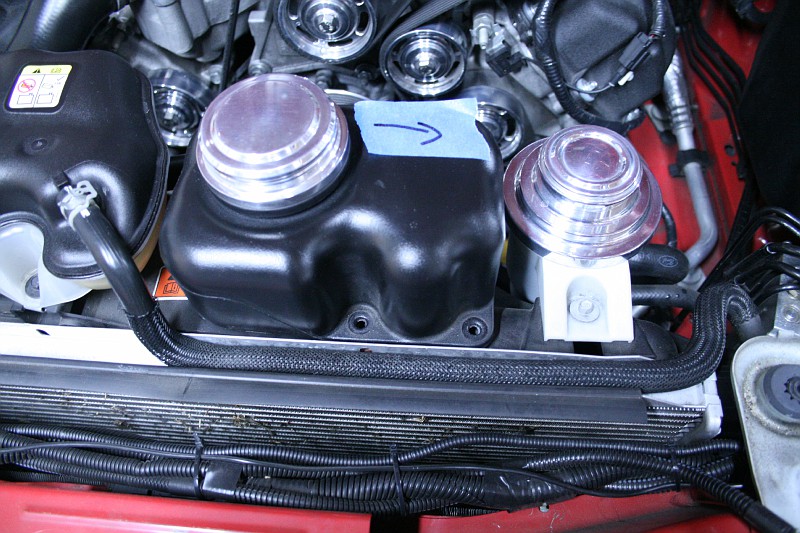
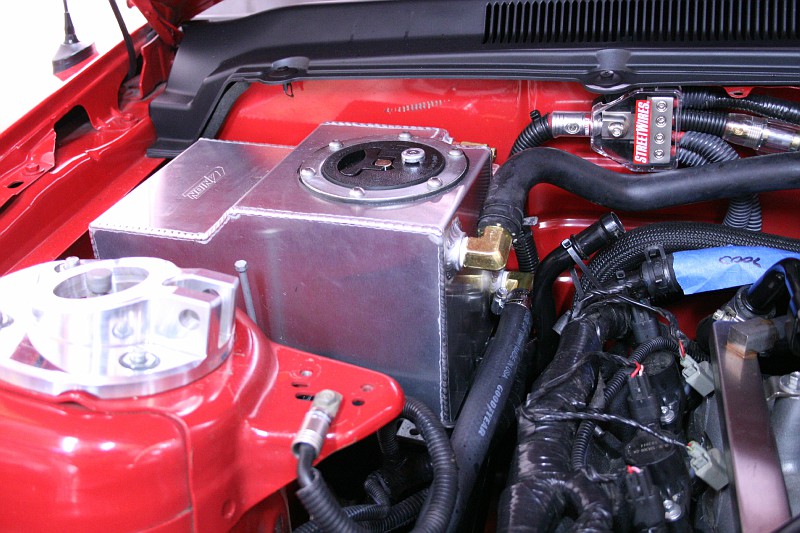
3) Cooling system quantity change: This is a double-edged sword. Cool fluid takes longer to heat up, but once it is hot, it takes longer to cool down (heat soak). The main reason I went with a big reservoir is that I wanted the ability to add ice to my fluid for drag-racing:
Before:
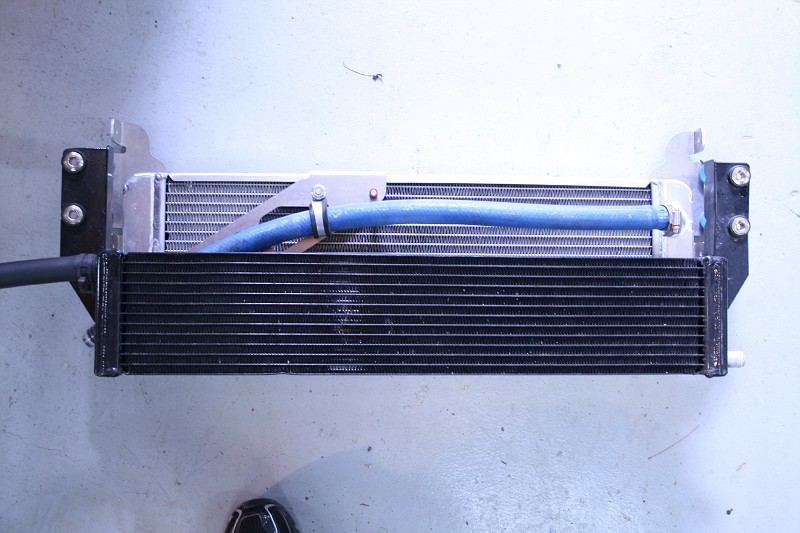
After:
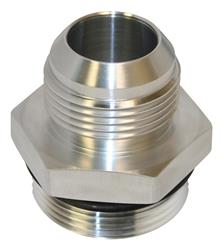
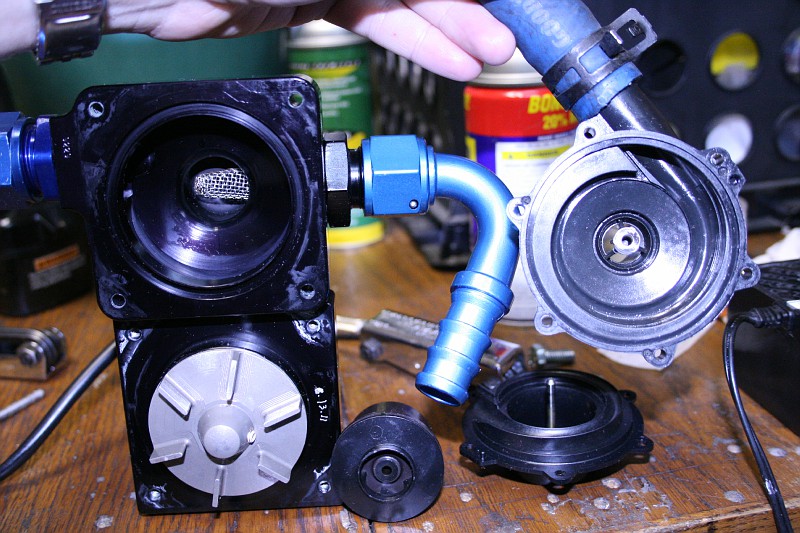
Meziere feeding Afco:
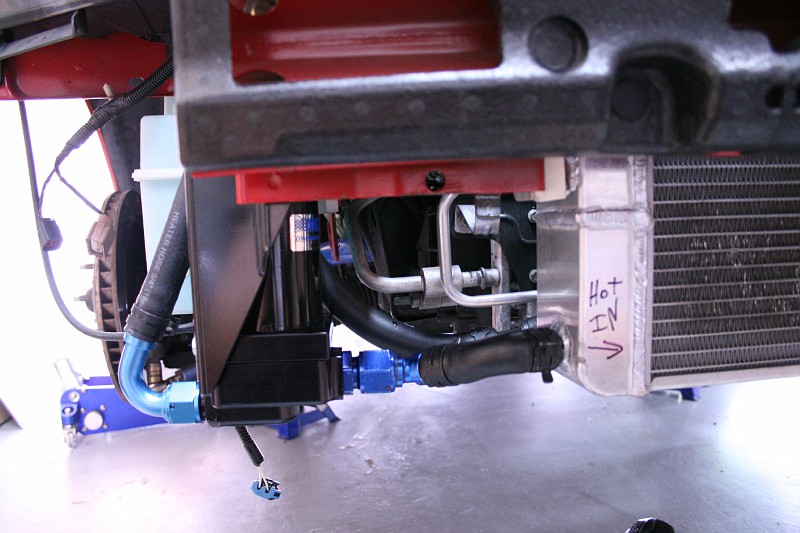
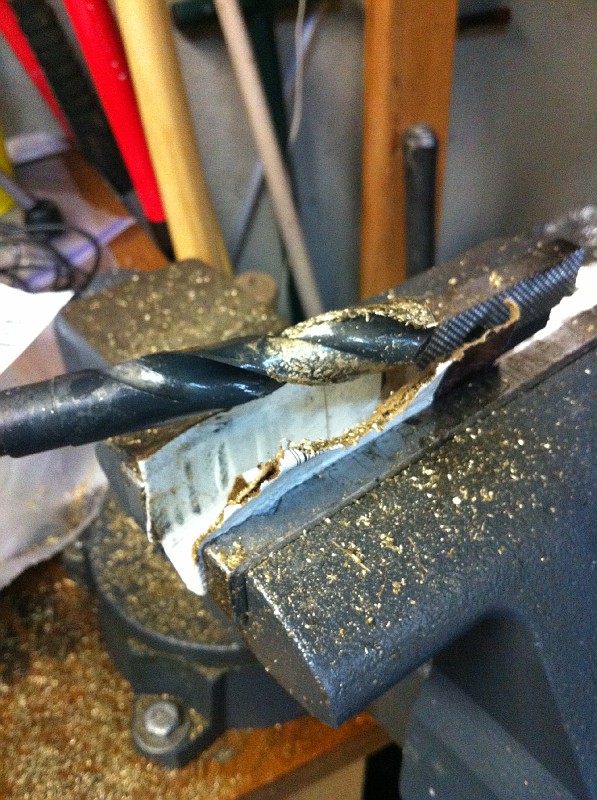
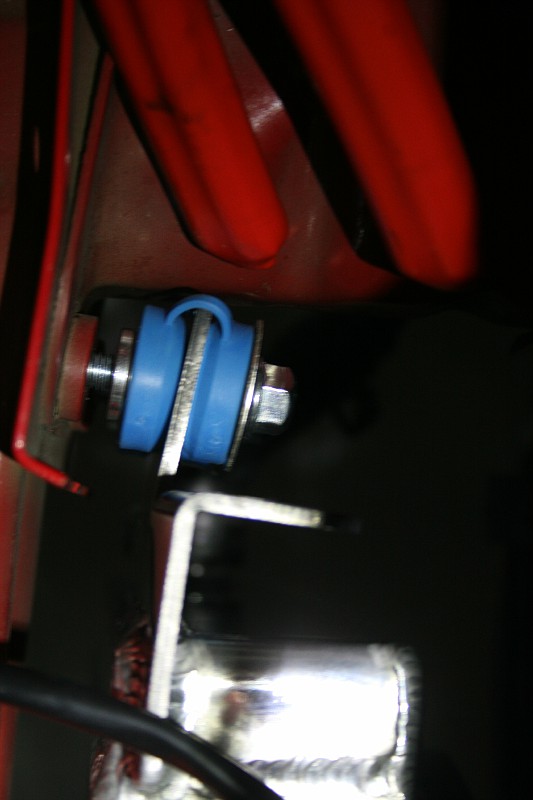
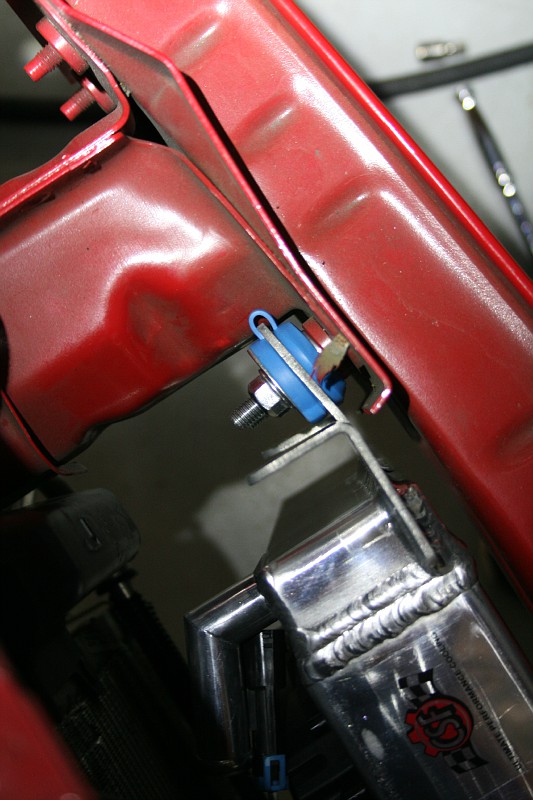
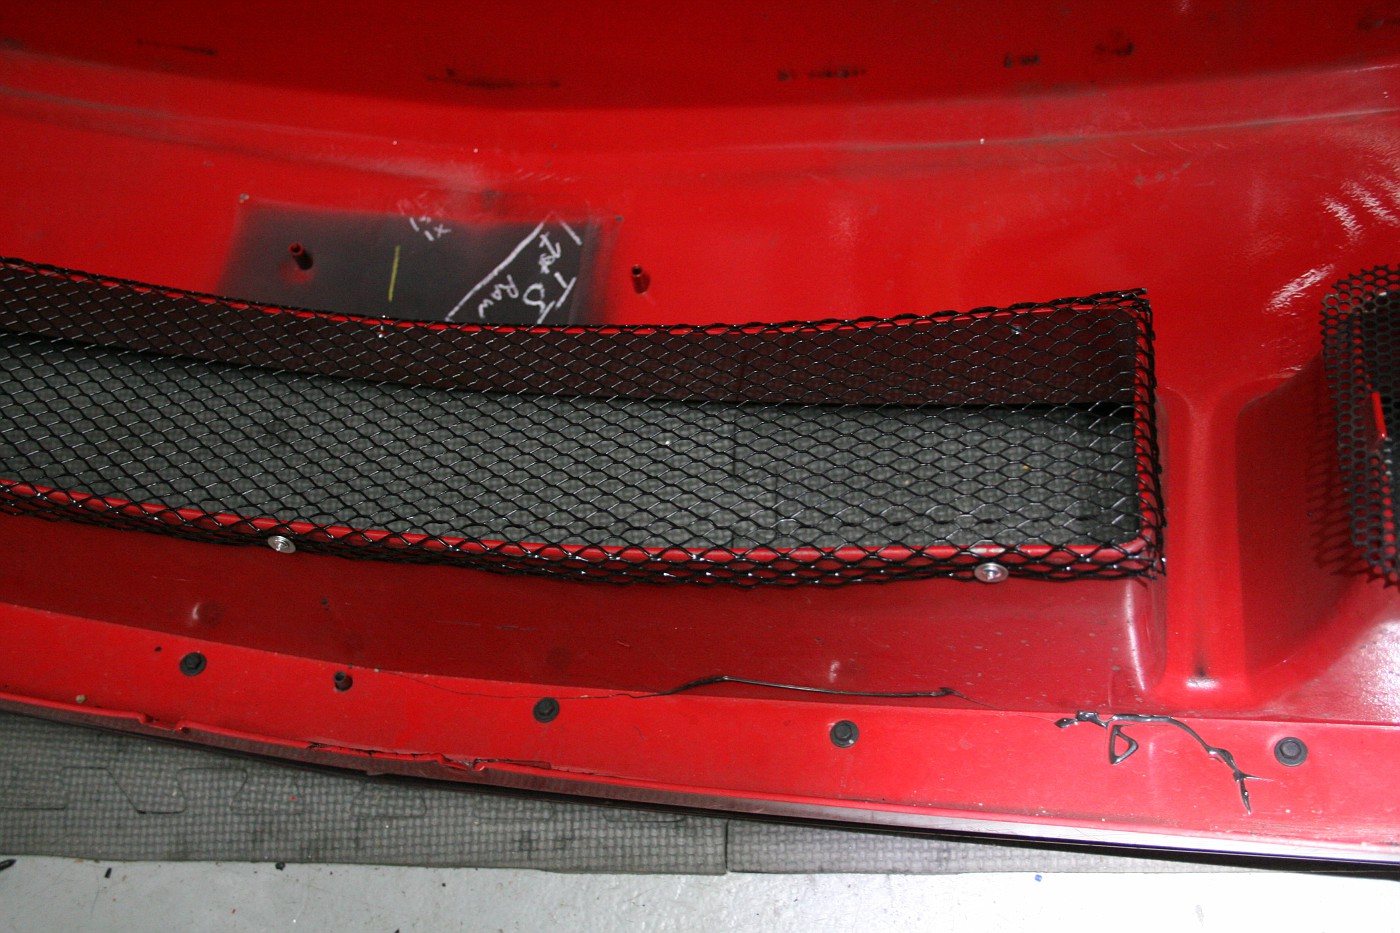
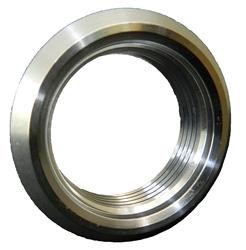
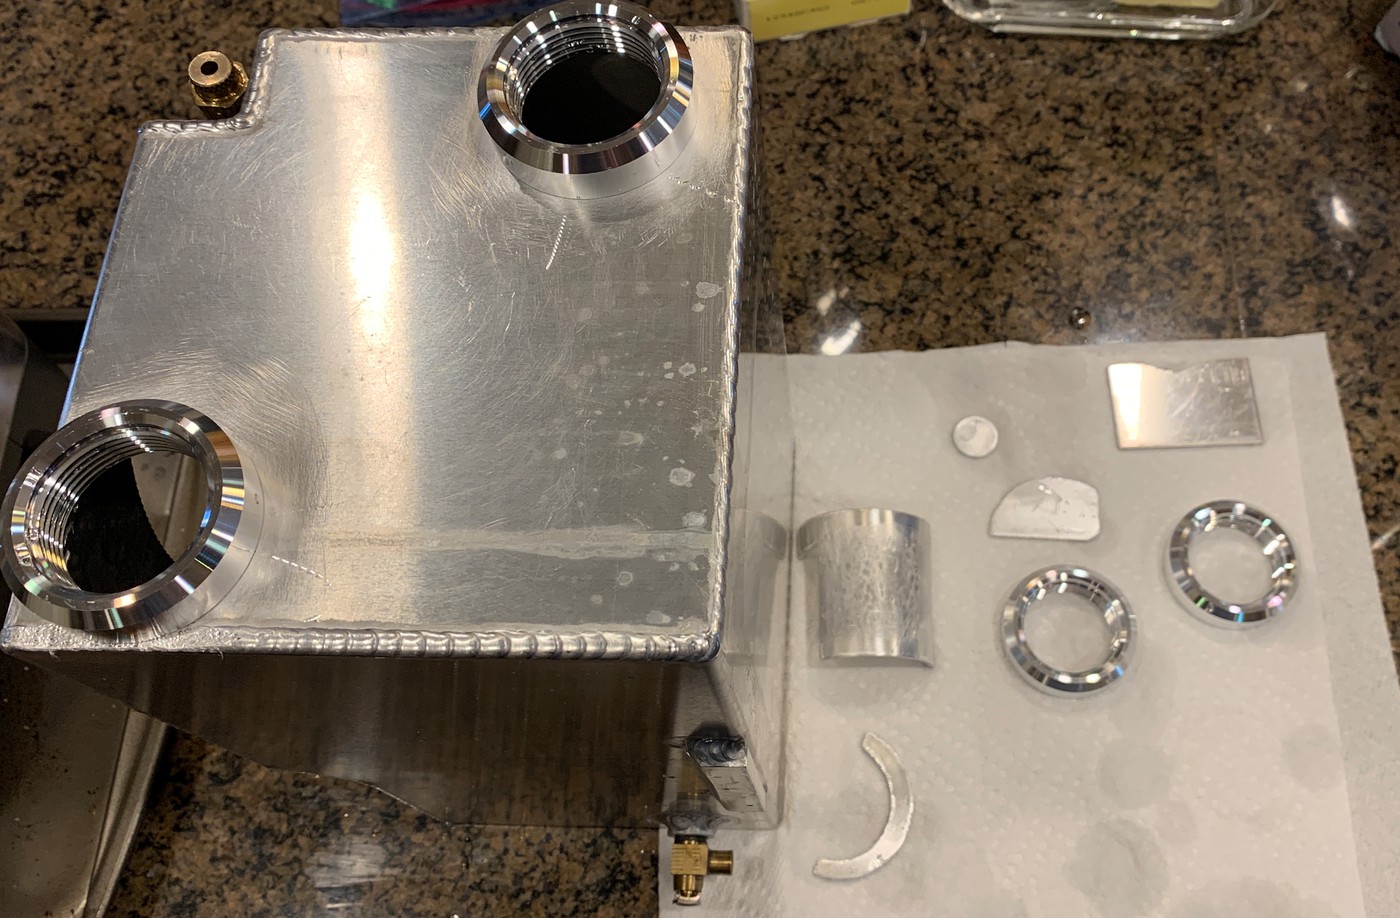
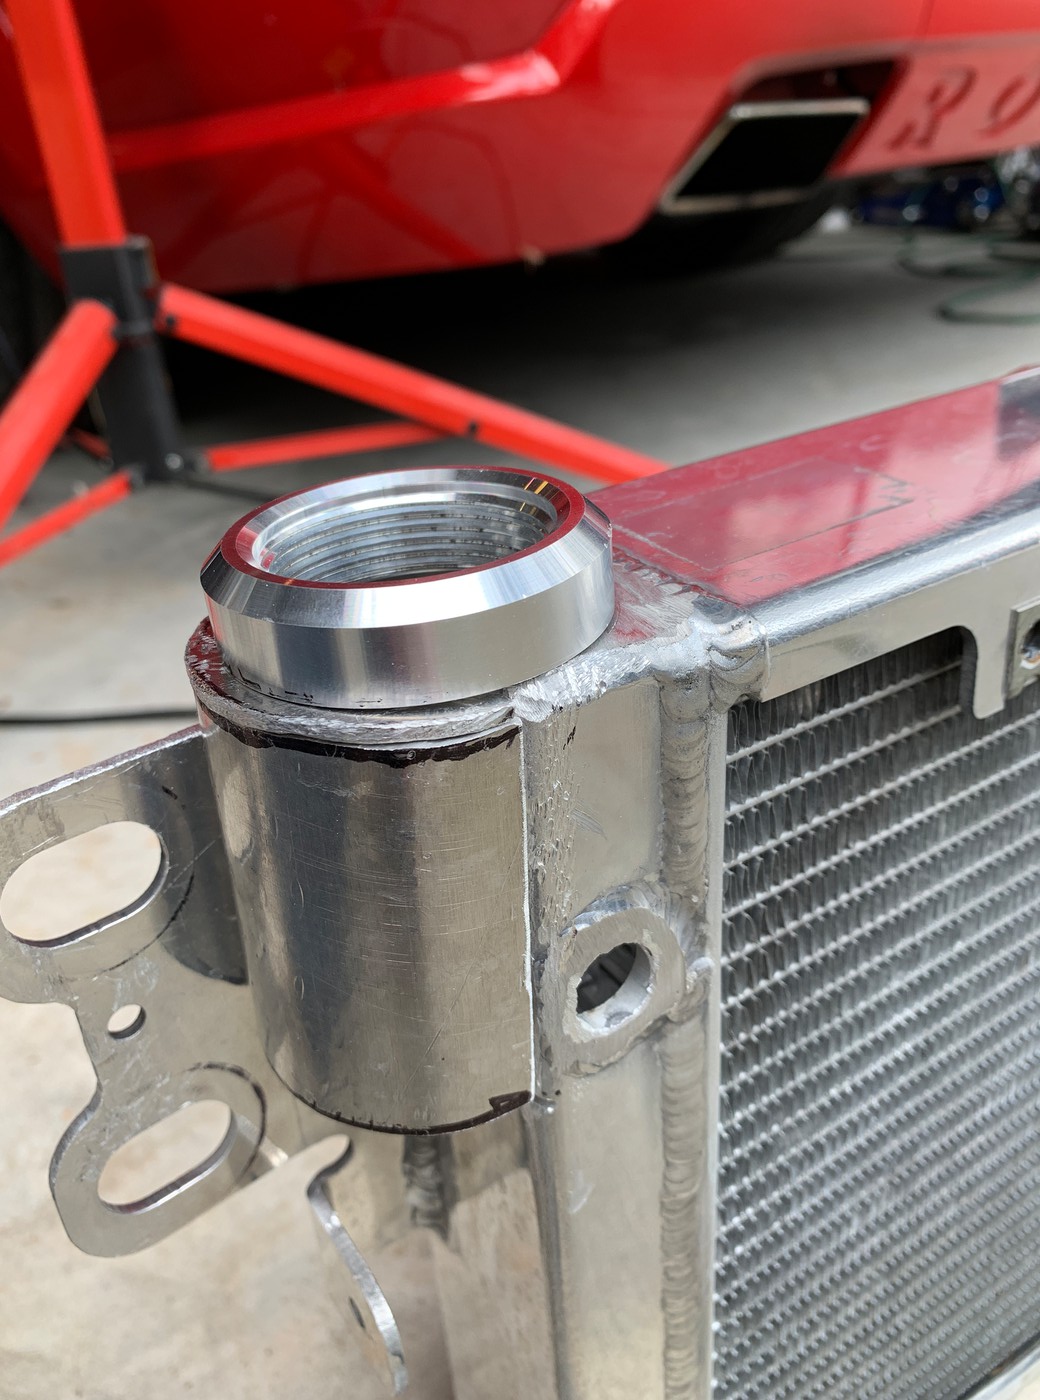
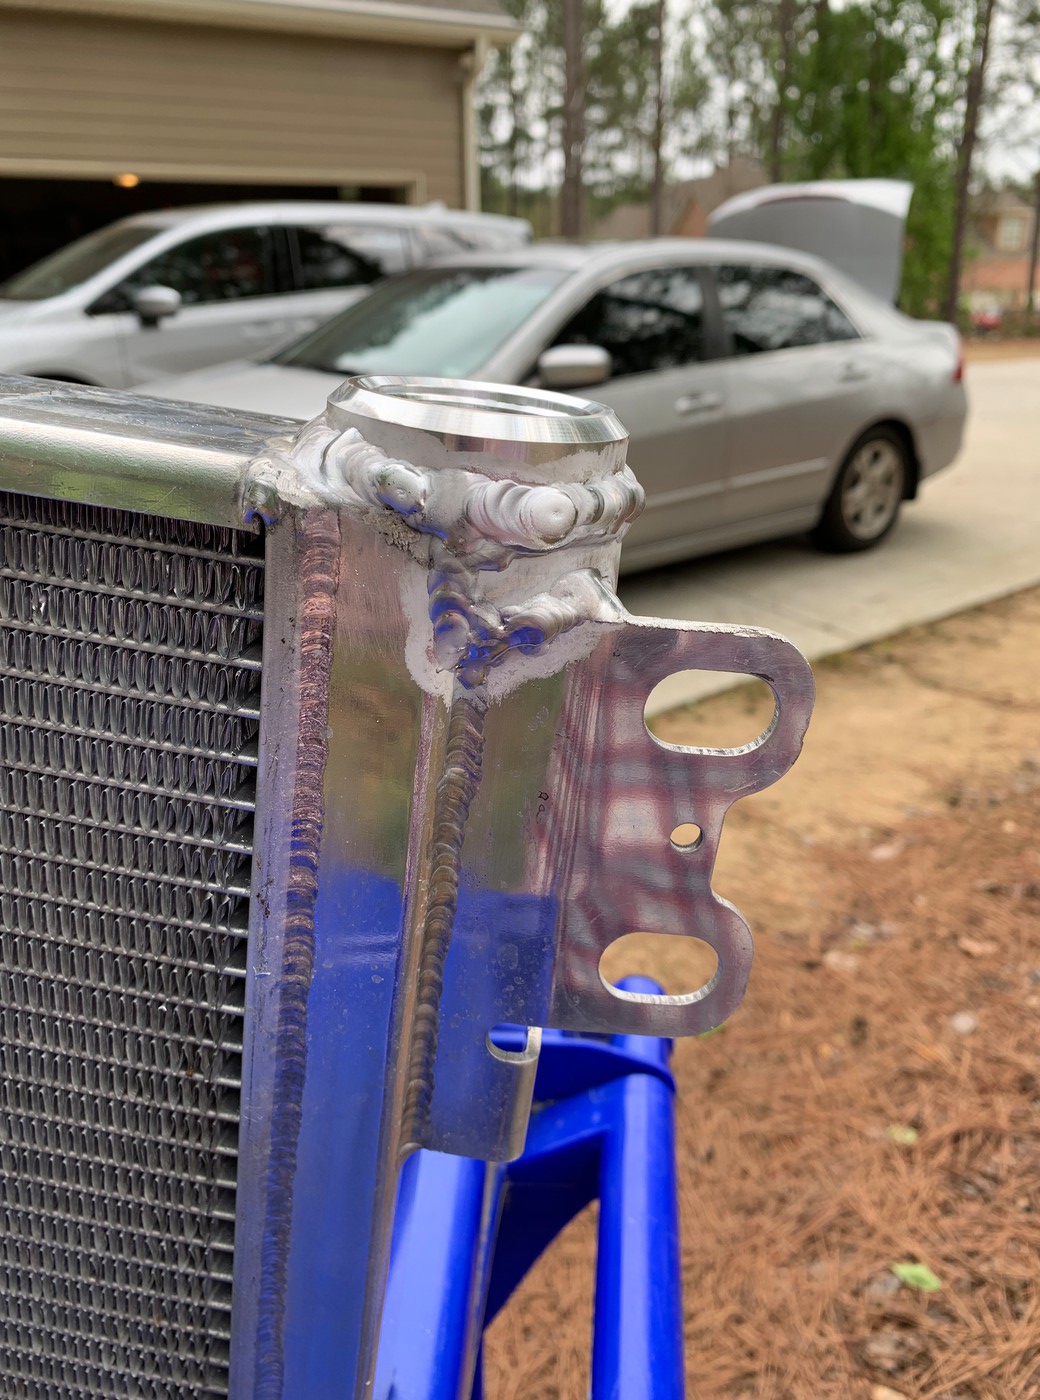
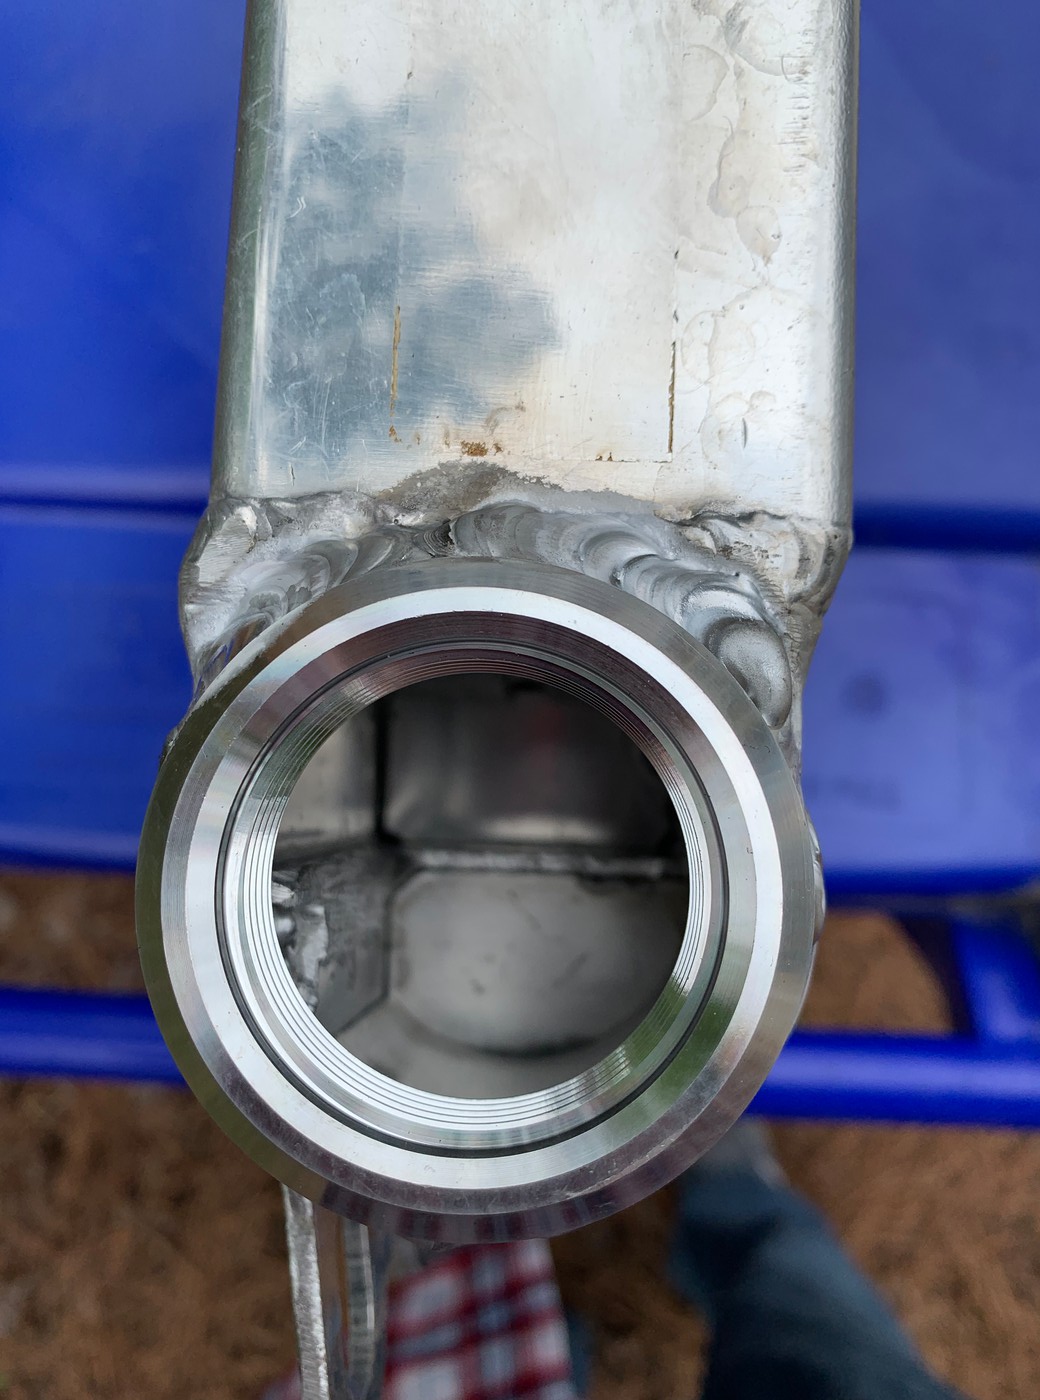
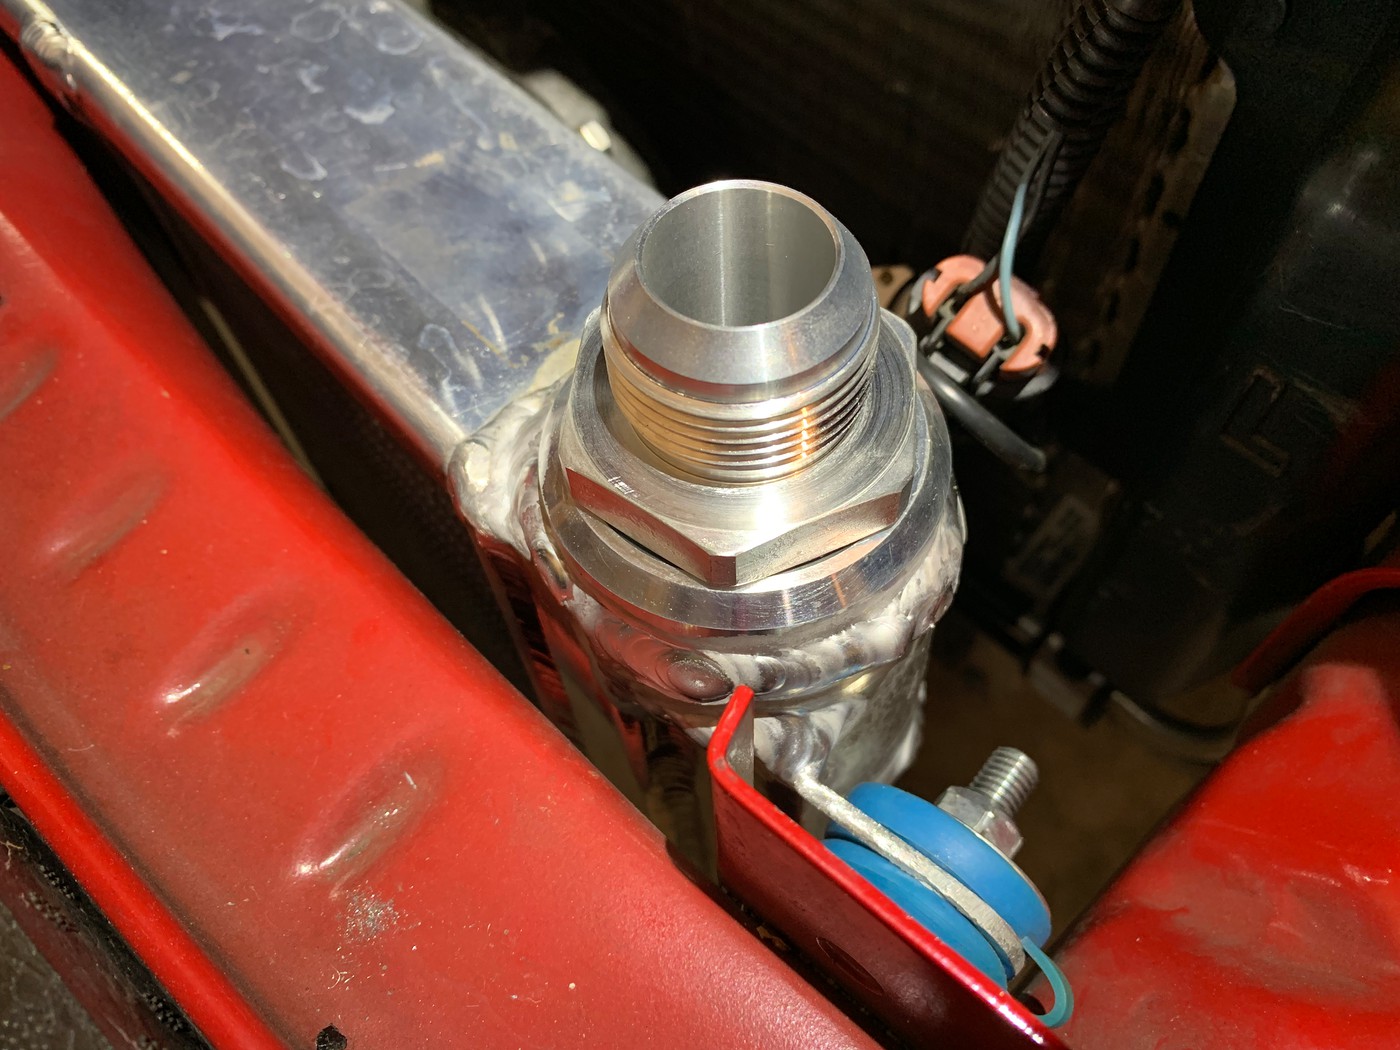
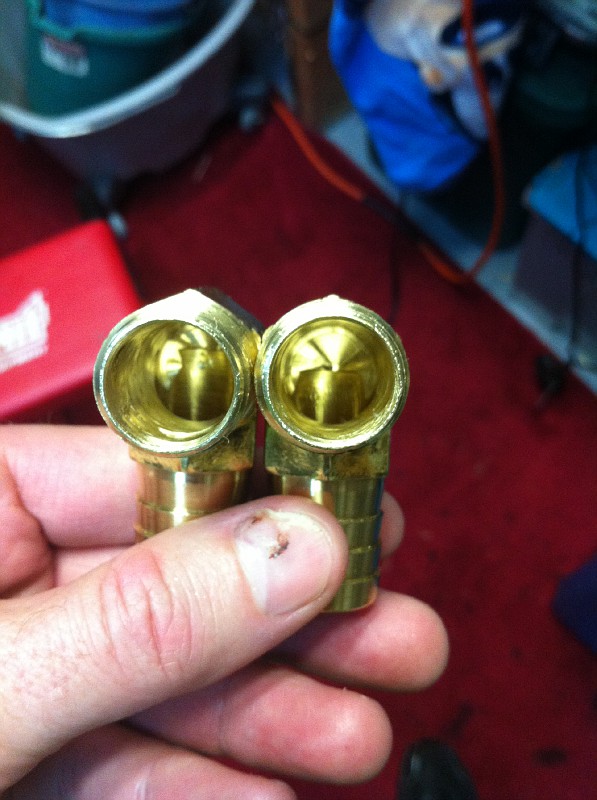
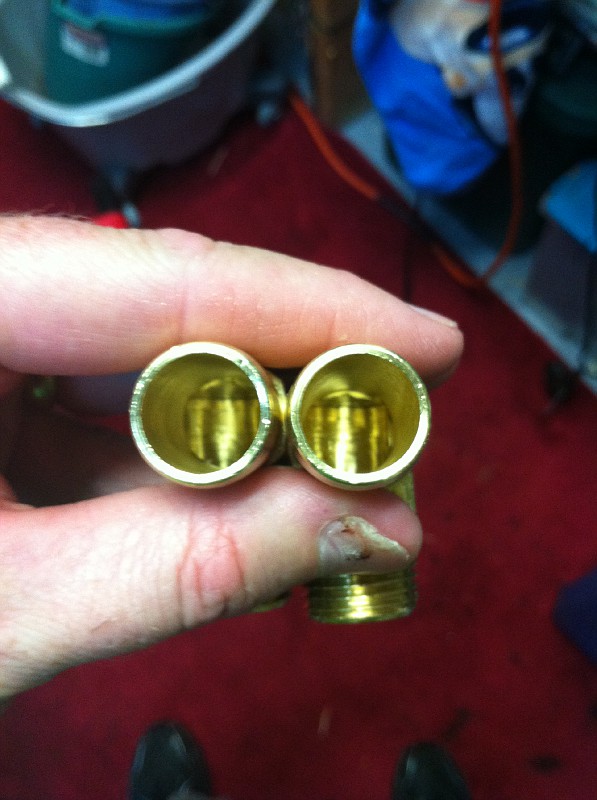
I also drilled out the inlets and outlets in the brass fitting on my intercooler tank to minimize restriction and have the highest fluid flow-rates possible. Please disregard my heinous (and very nasty looking) thumb-nail injury:
What did it do for me?
BEFORE:
At 84 degrees environmental ambient and 45% humidity, and cruising at 55MPH, my Aeroforce showed the following ambient vs. intake temps:
100/127
102/131 peak
102/130
104/127
105/129
You can see that is a rise of ~ 23-29 degrees.
After the upgrades (78 degree day. 47% humidity, same 55 MPH cruise speed):
108/123
109/124
109/126 peak
You can see that is a rise of ~ 15-17 degrees.
So, my upgrades dropped my IAT's by (best case) 14 degrees and (worst case) 6 degrees.
However, the real beauty, which I could only show if I had datalogged, is that RECOVERY time is a lot less. Once the system is heat soaked, and airflow starts again through the heat exchanger(car moving) my IAT's drop rapidly. I might see 145-150 sitting in traffic, but once the car moves, I rapidly drop down to 125-127 when it is 80 degrees out and rather humid.
Future upgrades will include:
Whey did I initially do a fanless Afco and a 20 GPM pump? - it was a used package deal from Sactown Steve - He made me an offer I could not refuse.
Also, thanks to TMColegr for some tech tips and discussion.
Big picture:
- The cooler the intake air, the more dense it is.
- More dense air = more fuel added to that dense air (at a given A/F ratio) = more power.
- More power = winning. More is better. Unless you have too much power - but let's not go there.
- Unless you use meth injection, nitrous, or a freon-based chiller setup (or an ice box) you cannot have cooler intake air than ambient.
I am neither an engineer or a physicist, and I did not sleep at a Holiday Inn Express last night, but I have studied this topic ad-nauseum. I am going to avoid posting formulas to keep it simple, but suffice to say that physics and engineering formulas back up what I am a about state.
Step one is to get the coolest ambient air sucked into the intake that we possibly can. Operation Snuffleupagus will cover that later on. Kenne Bell is a big believer in this concept, re-locating the filter to the passenger side fenderwell. Again, I'll address that in another thread on another day when I have more time.
Step two is to make our intercooler as efficient as possible, extracting the largest amount of heat from the hot intake air as possible. That is what this thread is all about.
For purposes of this discussion, once you select a blower / intercooler combo, the intercooler's surface area is pretty much "set". Some blowers may have an intercooler upgrade available (GT500, for example). The bottom line here is a bigger intercooler is better (higher Delta-T).
In this discussion, we can improve the ability of system's intercooler to extract heat by changing the fluid that flows through the system, the flow rate of the fluid, or the temp change capability of the heat exchanger by varying its surface area or the airflow that is passed through it.
Let's talk about system fluid first: Chosen fluid is going to be water, water+water wetter, or water+glycol for most of us. "Fluid factor (FF)" is the chosen fluid's ability to carry heat.
- Water+water wetter is going to have the largest FF, but the down-side is it can freeze.
- Straight water does not have as big an FF as water+water wetter, and it can freeze, so that would be our last choice.
- Water+water wetter+~30% glycol is a good trade-off. We get freeze and corrosion protection, while not sacrificing too much of the FF that water+water wetter provides. Moving to a higher % of glycol (over 30 to 50%) adds more freeze protection but lowers FF.
Flow rate (F) is going to be controlled by the intercooler pump we choose and the overall system restriction. Adding a bigger pump, if flow rate cannot increase, will only increase system pressure. With that stated, on all Mustang I/C systems I have seen, adding a bigger pump ALWAYS improves flow rate. 5 GPM, 10 GPM...50GPM...bigger always adds to a higher flow rate. Teh Meziere 50 GPM is the biggest I am aware of.
Temp change (DeltaT) capability of the heat exchanger itself (temp drop from inlet to outlet) is governed by size of the heat exchanger (surface area), total air flow through it, and the temp of the air flowing through it.
- Cooler air flowing through HEX will = more DeltaT
- Faster air flowing through HEX will = more DeltaT
- A larger surface area of the HEX = more DeltaT
I'll summarize with some simple facts:
- A bigger heat exchanger with lots of cool air flowing through it will help the system remove more heat from the fluid.
- Flowing fluid at a faster rate through your IC system will help remove more heat from your intercooler, which is our end-goal (means intake air charge is cooler, which means more power).
- Choosing a system fluid can impact its ability to transfer heat.
With an understanding of the above, here is what I have done. There are still improvements to be made by going all-out on some of these mods, which I will eventually do:
1) Intercooler pump upgrade. The Bosch unit that came with my Roush is small. I can post up flow rates, and references to guys doing bucket flow rate tests and fully restricted system flow tests, but I want this thread to be simple. A bigger pump flows more fluid. I chose a 20 GPM Meziere. Like this:
I modded a Saleen intercooler pump bracket to mount it to:
How much bigger is it than the Bosch? I took it apart to find out:
Meziere on left, Bosch on right. Not even close in size:
2) Heat exchanger upgrade: I chose an Afco dual pass:
Stacked:
3) Cooling system quantity change: This is a double-edged sword. Cool fluid takes longer to heat up, but once it is hot, it takes longer to cool down (heat soak). The main reason I went with a big reservoir is that I wanted the ability to add ice to my fluid for drag-racing:
Before:
After:
Meziere feeding Afco:
I also drilled out the inlets and outlets in the brass fitting on my intercooler tank to minimize restriction and have the highest fluid flow-rates possible. Please disregard my heinous (and very nasty looking) thumb-nail injury:
What did it do for me?
BEFORE:
At 84 degrees environmental ambient and 45% humidity, and cruising at 55MPH, my Aeroforce showed the following ambient vs. intake temps:
100/127
102/131 peak
102/130
104/127
105/129
You can see that is a rise of ~ 23-29 degrees.
After the upgrades (78 degree day. 47% humidity, same 55 MPH cruise speed):
108/123
109/124
109/126 peak
You can see that is a rise of ~ 15-17 degrees.
So, my upgrades dropped my IAT's by (best case) 14 degrees and (worst case) 6 degrees.
However, the real beauty, which I could only show if I had datalogged, is that RECOVERY time is a lot less. Once the system is heat soaked, and airflow starts again through the heat exchanger(car moving) my IAT's drop rapidly. I might see 145-150 sitting in traffic, but once the car moves, I rapidly drop down to 125-127 when it is 80 degrees out and rather humid.
Future upgrades will include:
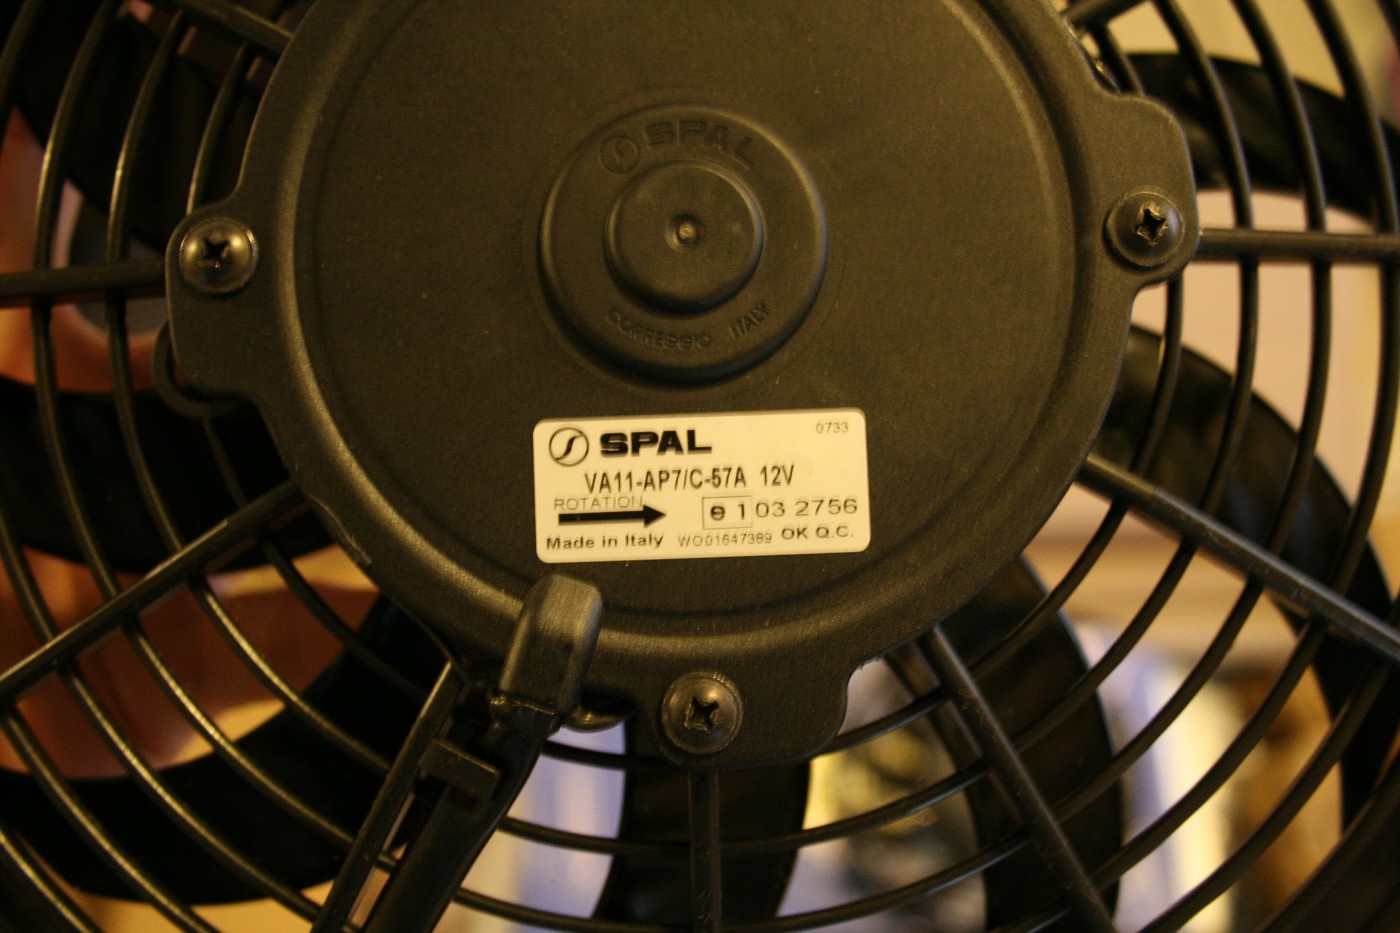
- Either an dual fan heat exchanger to combat heat soak when the car is stationary (traffic, staging lanes) - I plan on Afco or the new Steeda triple-pass. I need to do more research to see which is better.
- A 50 GPM Meziere pump (which is more noisy).
Whey did I initially do a fanless Afco and a 20 GPM pump? - it was a used package deal from Sactown Steve - He made me an offer I could not refuse.
Also, thanks to TMColegr for some tech tips and discussion.
Last edited: