It appears I have been attacked by TSB 06-05-04(stuck ebreak lines in cold weather)..
I have ordered the cables to replace that, but it was nice of Ford to tell me they will still charge $125 to diagnose, + I pay for parts and labor.. haha I will just do it myself..
I also had the P0175 come up once in a while, but have been working with the tuner to fix that and clean up the cold start stumble.. I always let the car warm up, but I had to wait like 10-15 minutes till fully warm. If I tried to dive off before that its a pain because at every stop once you hit the gas to go the rpms shoot down then up. Also sometimes I hear a loud pop from the engine. I dont think its a knock because its at lower rpm but something from the intake?? On the last video turn up the sound high and you can hear it at 15 seconds into the video.. what do you guys think it is?
As you can see the stumble is mostly gone I waited till 1/4 warm (5-7 minutes) then stepped on the gas.. at 15sec you can hear that pop.. what do you guys think could be causing it. Mechanically everything seems ok.. checked the plugs. Also had this issue though many engines and car.. haha
If you take it off , do your self a favor and transfer the lower gear marks to the front cover and balancer . That way next time you need to know it is a valve cover job only.
If you take it off , do your self a favor and transfer the lower gear marks to the front cover and balancer . That way next time you need to know it is a valve cover job only.
If you take it off , do your self a favor and transfer the lower gear marks to the front cover and balancer . That way next time you need to know it is a valve cover job only.
Sorry lostsoul , I just realized are threads were next to each other and needed to move one. The two next to each other could upset the time space continuum. LOL
I was going to put this in the DIY, but I have not finished and it might blow up on me like it did 5 years ago =-/
sorry for the delay but I had to install struts and strut mounts to get rid of the clunking noise every time I turn the wheel.. Ford has a TSB out for it, but they still want to charge me 60 for a diag and full parts and labor.. I laughed at him and did it myself w/ help from charlie sheen!.. haha
Anyway, I will try to put down everything so far...
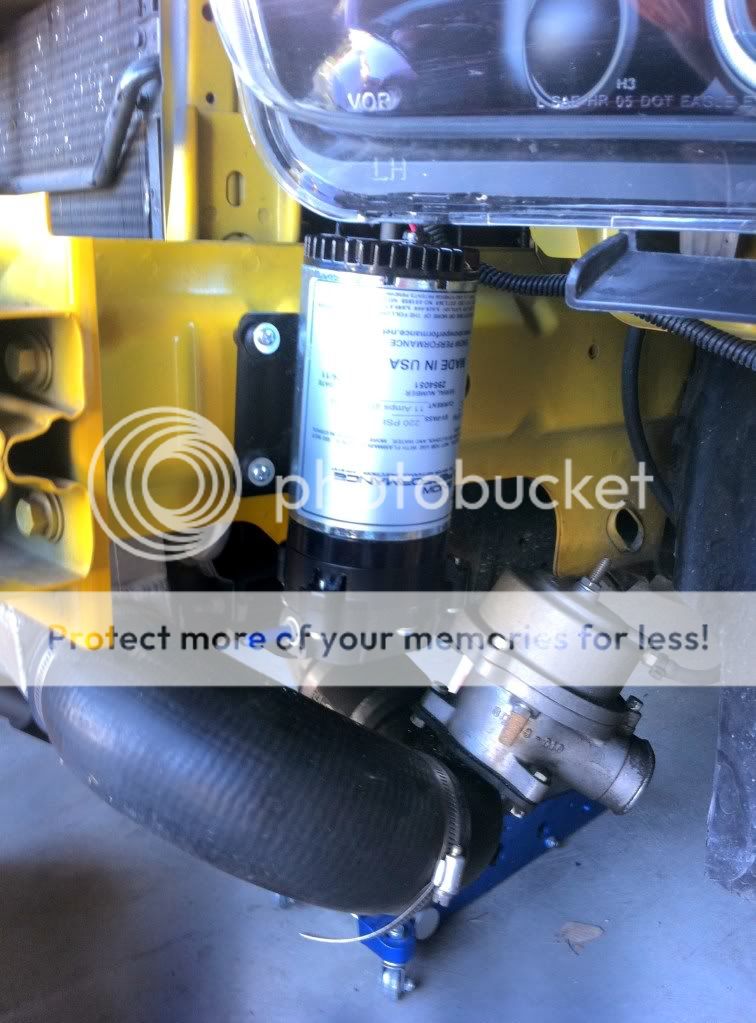
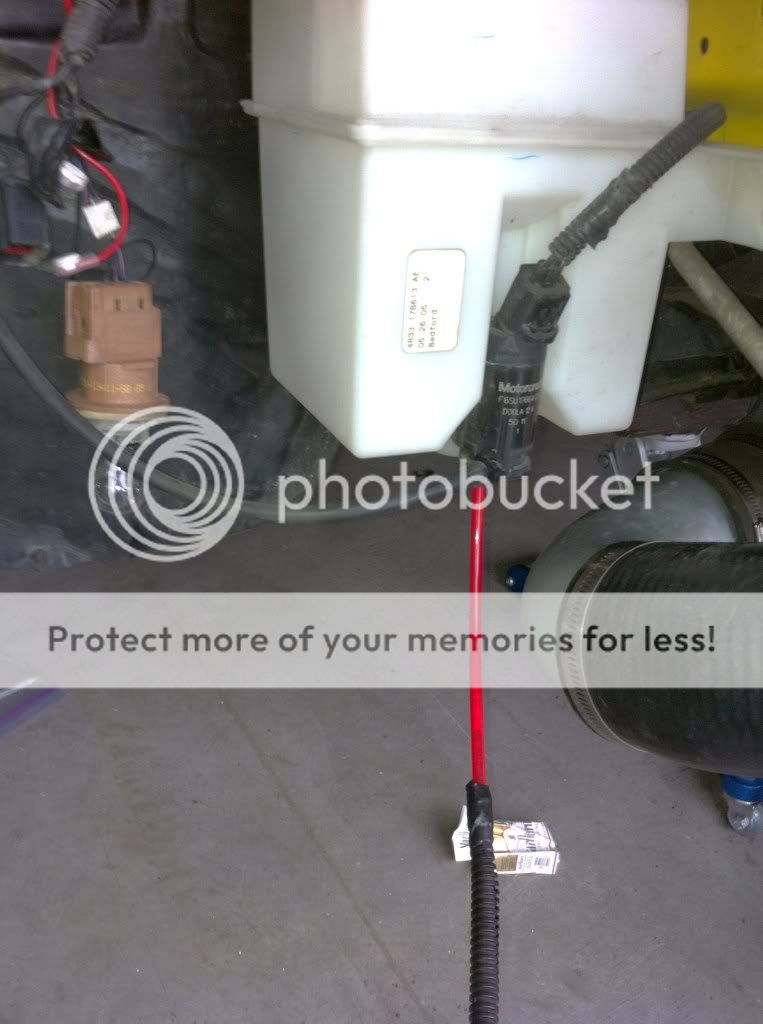
1) Mounted the pump> I for the life of me cant figure out how matt snow installed his.. He was nice and sent me allot of good pics and info. I saw where he has his, but there was no way I saw a way to mount it there.
I tired looking next to the washer tank since I was going to use that. Again no real good way to put it there. The only place I saw left was the other side of the car. The pump is at, or lower then the washer tank. Even though its about 4 feet away I'm hoping its not too far and wont need a solenoid like if it was in the back of the trunk. I also made sure to have the arrows on the pump point toward where the nozzle side. On a side note it would have been nice to have self tapping screws. trying to drill pilot holes suck. I lost a bit that day. haha The holes must be drilled almost the same size of the screw or there is no hope of getting it in and a good chance of it snapping off.
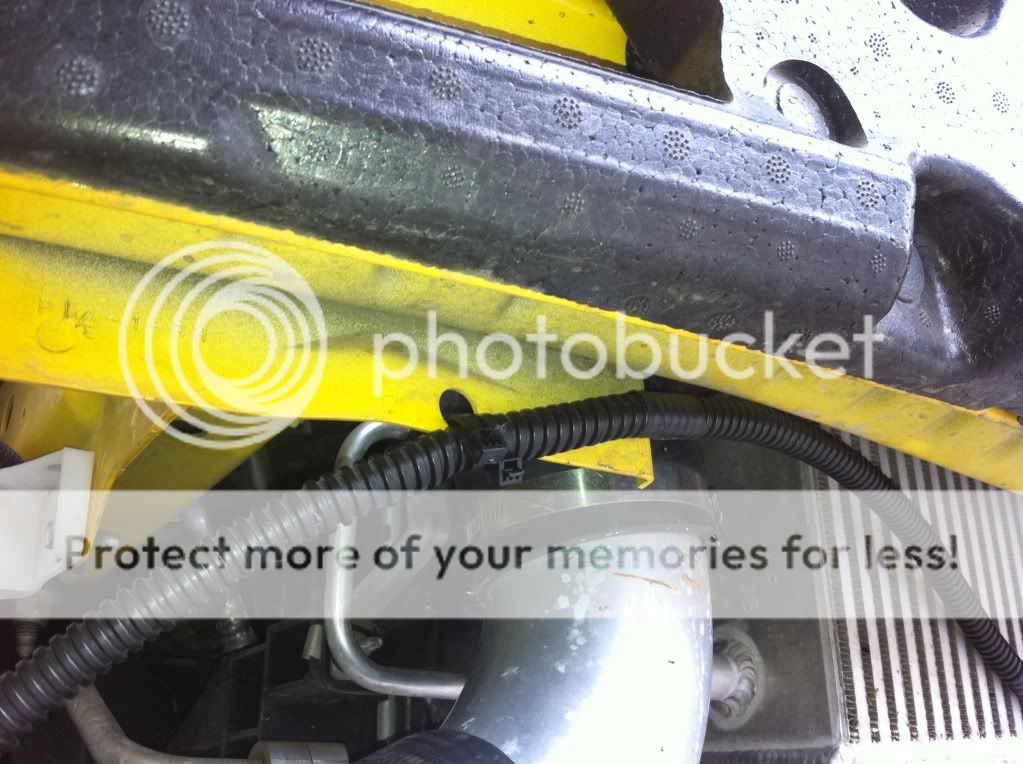
I ran the hose along the bottom part of the bumper and put it in some wire loom just for the hell of it.
With the pump mounted I ran the left over section of hose from the pump through an opening towards the TB.
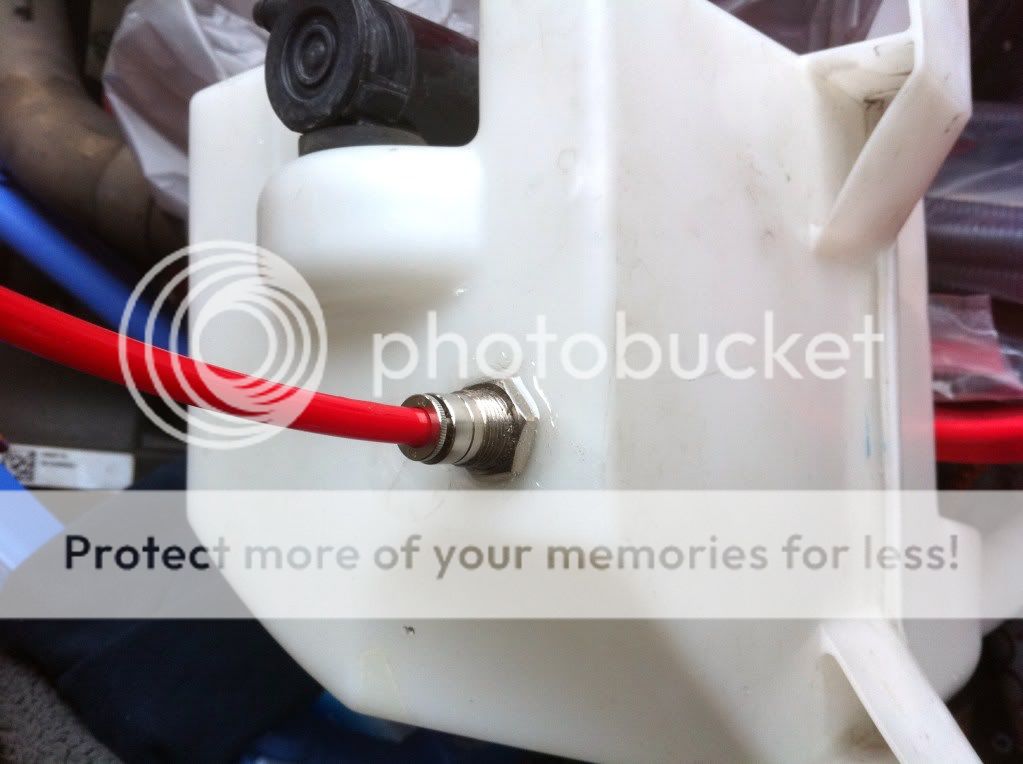
Then worked on the washer tank(helps to have the bumper off).. took it out of the car, cleaned it. Next was getting it ready for the optional fitting I bought. I didnt have the right sized bit (9/16th) so I used my 1/2 and then sanded it out till I could get it in there. I fed the hose all the way through and out of the top.. there I connected it to the bottom and put the nut at the top a few threads down. Pulled it back down and used the other nut and the goop to seal it.
I reconnected it all and still kept the wiper motor and hose attached so I can still use the wipers.. I just have to make damn sure I keep an I on the fluid level.
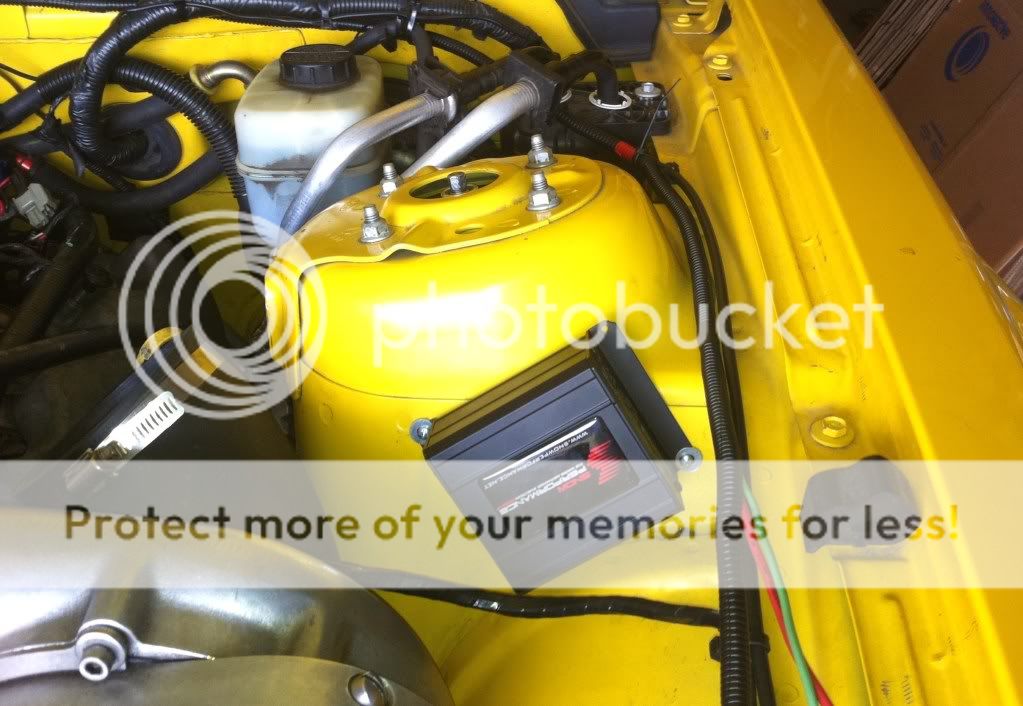
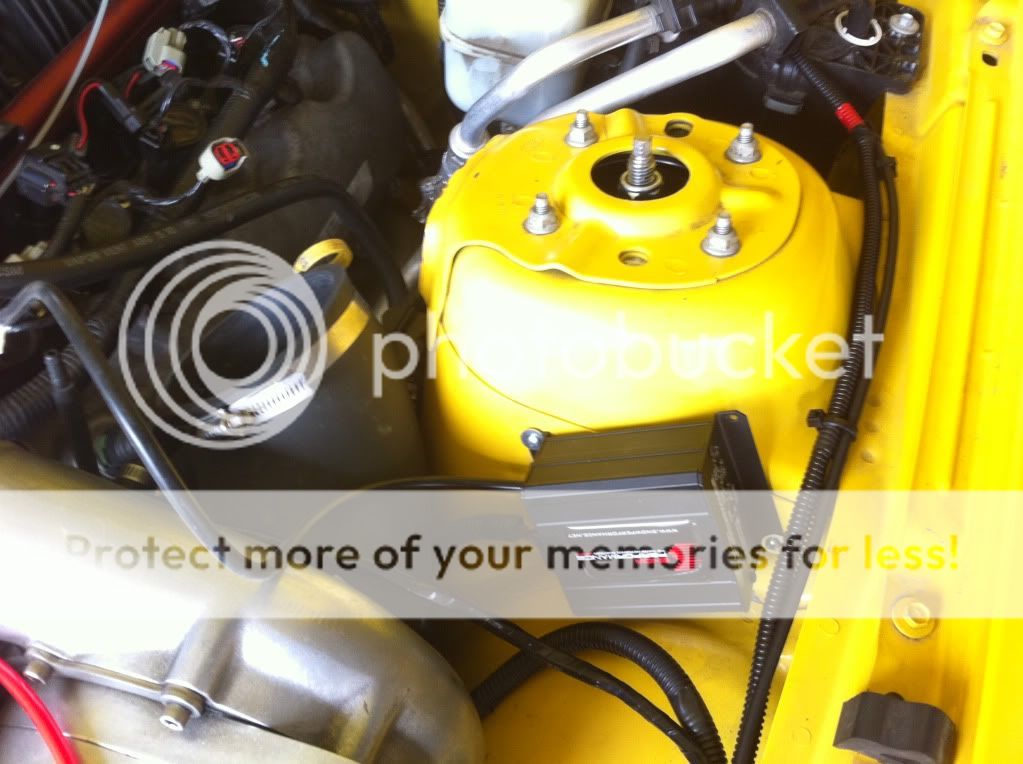
Next mounted the controller> I was going to put it inside but changed my mind and thought it would be easier to wire.. I was only able to get 2 screws to hold it in ware I wanted. Again self tapping would have been nice.
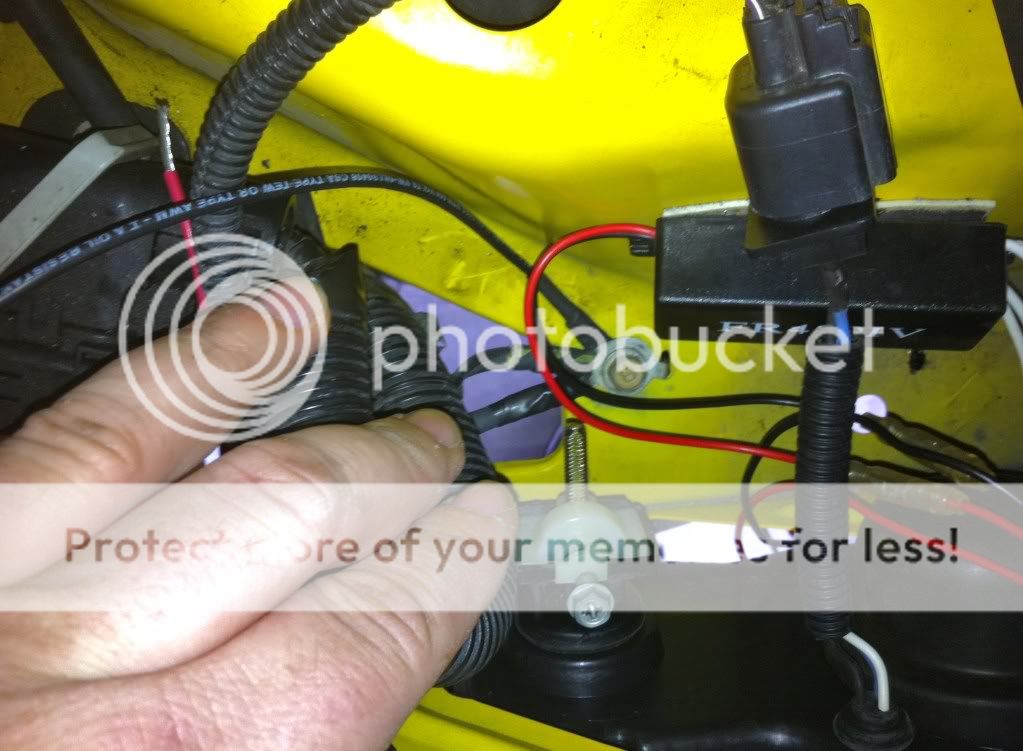
Next was the wiring> I Ran 2 wires(1# 12V switch/2# wire for LED) from the passenger side. There is a kick panel with a fuse box there and on the firewall there is a grommet where you can push the wires through. Since I had the wheel out from doing the struts I took off the wheel well and pulled the wires through there and ran it along the back firewall toward the driver side.
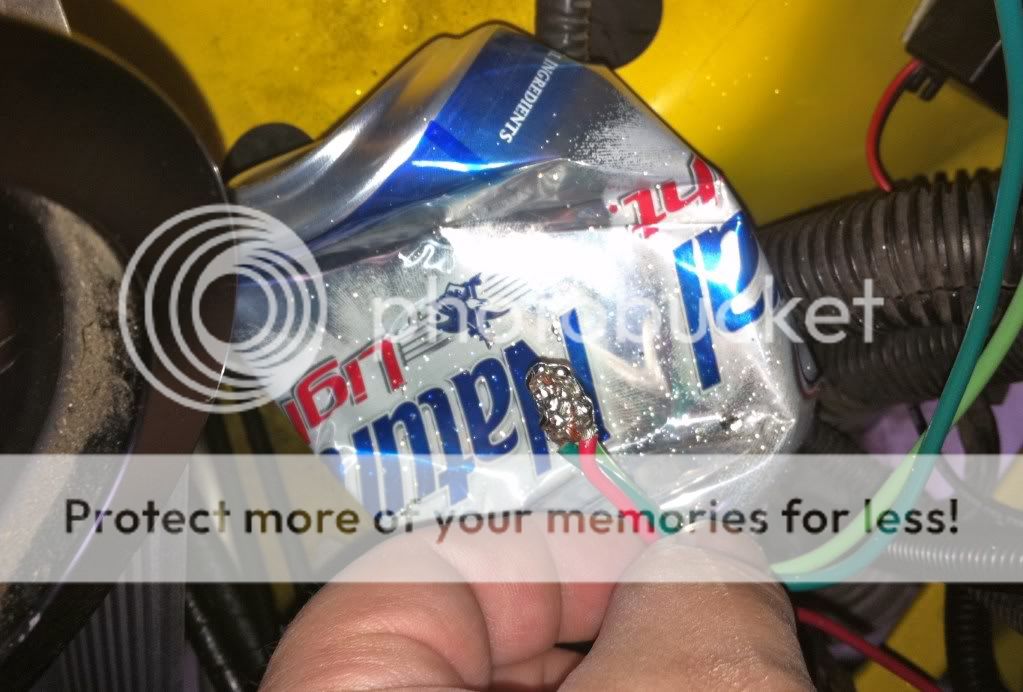
You can see it in this picture too.. The red(12 switched)/ Green(power for LED) .
Side note: inside of the car I put an ADD a FUSE connector and put a 15amp fuse on that.. now I can plug it into an open slot in the sue box.
A&C are switched.
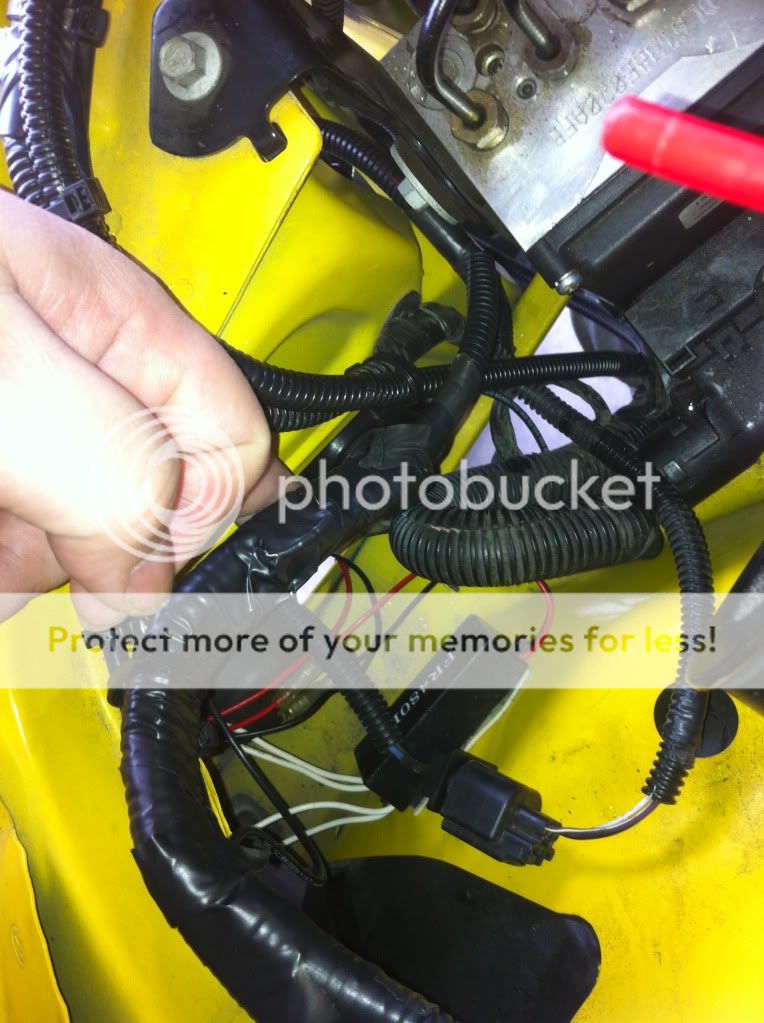
Next I plugged in the wire harness for the controller and ran it to the driver side head light where I could connect the pump wires and the 2 new wires I just ran..
Took the pump and controller black ground wires and put them in the little hoop connectors so I can put a bolt through them and ground them out in the head light location here...
Now was the time to test the pump. I put some water the night before in the washer tank to make sure there were no leaks. All the hoses were connected and the pump was grounded.. I attached the nozzle. None of the nozzles were color coated as stated in the instructions. They were stamped with numbers(hard to read), but since I will be pushing 500+rwhp I used the max 625ml which is suppose to be #6. As stated in the instructions you want the smaller filter side in the nozzle and fat par out...
I connected the hose to the nozzle and pointed out away from the car. Then I used a spare wire and connected it to the Red pump wire and found a hot 12v source in the fuse box under the hood. (im sure you can use the batt also).. Then.....
(just make sure the wind is not blowing it back at you. Thank got I didnt put Meth in the tank yet)
Next I soldered the RED Controller wire to the Red wire that I ran inside to the 12 switch.
Then I took the LED wire I ran and connected it to the Red pump wire and Green wire on the controller.. It wasn't pretty but I soldiered those.. I dont know why it came out crappy.. haha
I used heat shrink then covered in wire loom..
Now it looks a little clean...
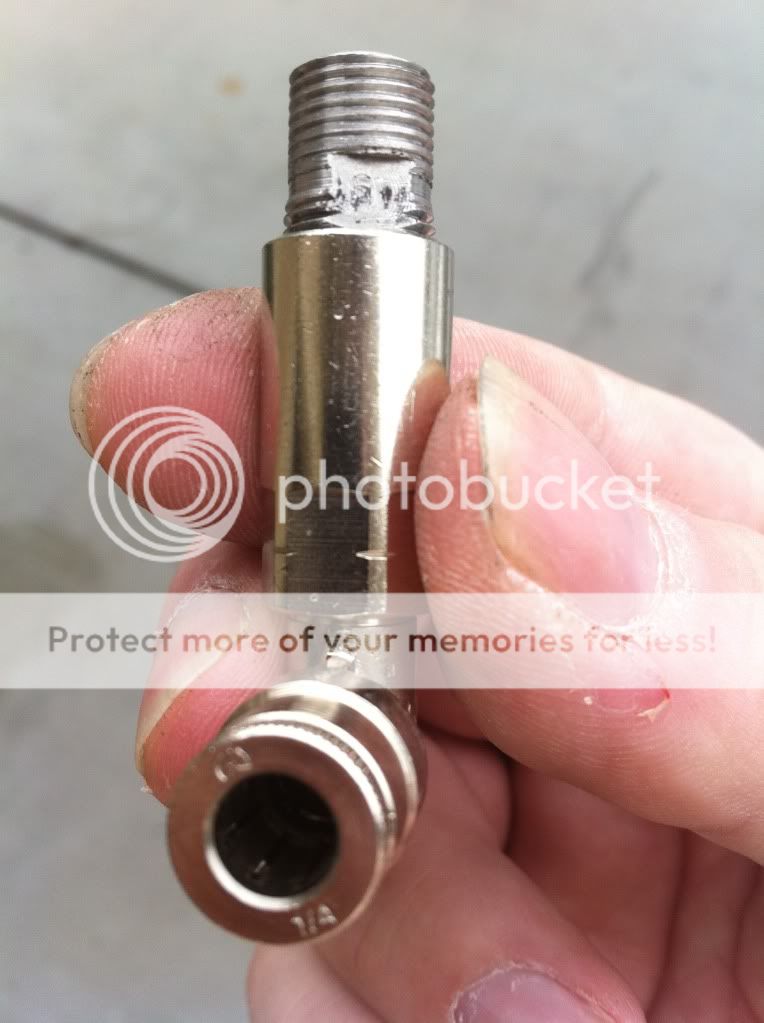
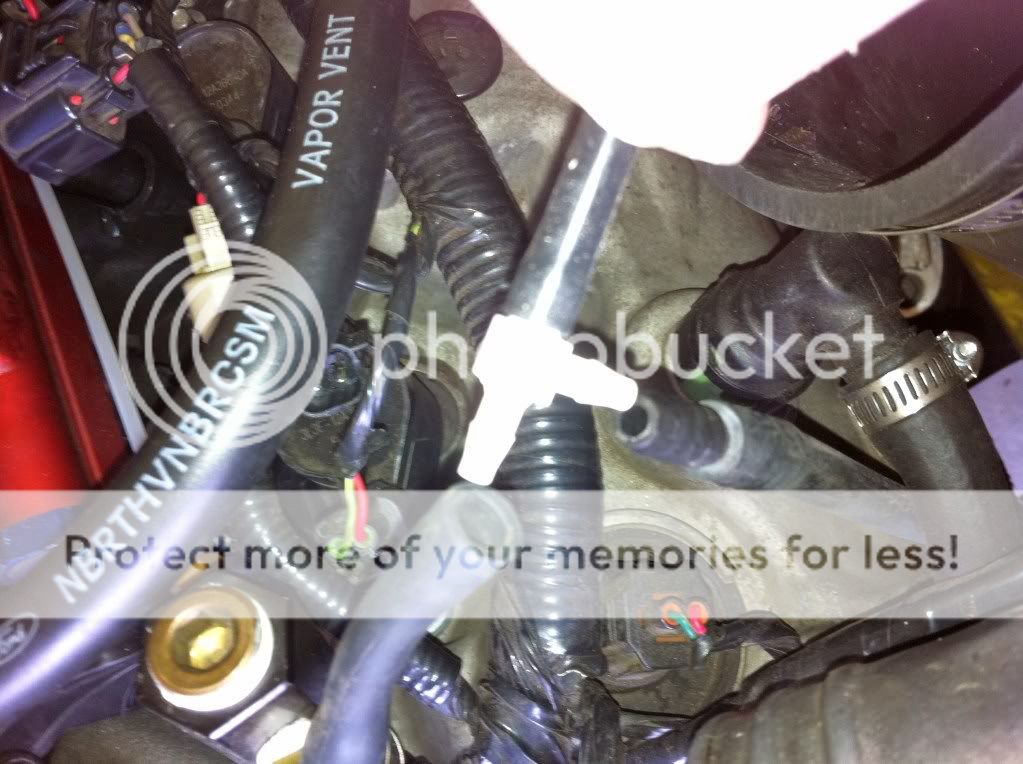
I still have a few things to do.. I have to look for a different 3-way vac adapter. The Vac hoses that connect to my bov are a tad bigger then the hose that goes to the back of the controller..
I'm also waiting on my IAT so I can relocate it to the manifold. We painted some of the inter-cooler pipes and will install that soon. On my TB pipe I still have the hole from the first install(5 years ago). I need to re-tap it since its a little tight. Then I can mount the nozzle and goop it up.
One thing I'm confused about is how to test the system with the controller? From the instructions it sounds like you hook everything up except the nozzle.. and some how make a vacuum or blow into the vac hose on back of controller?
I would have been done sooner but my helper takes too many breaks.