continued from above

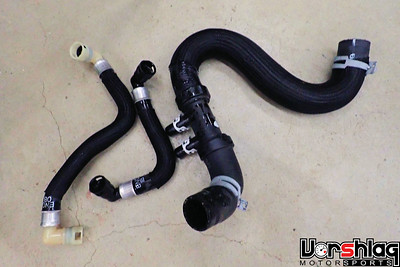
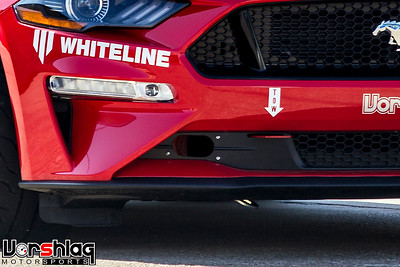
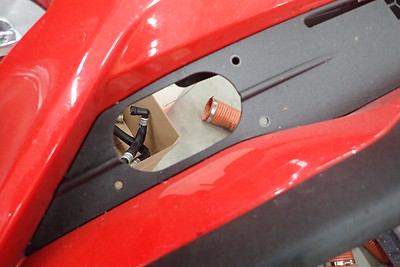
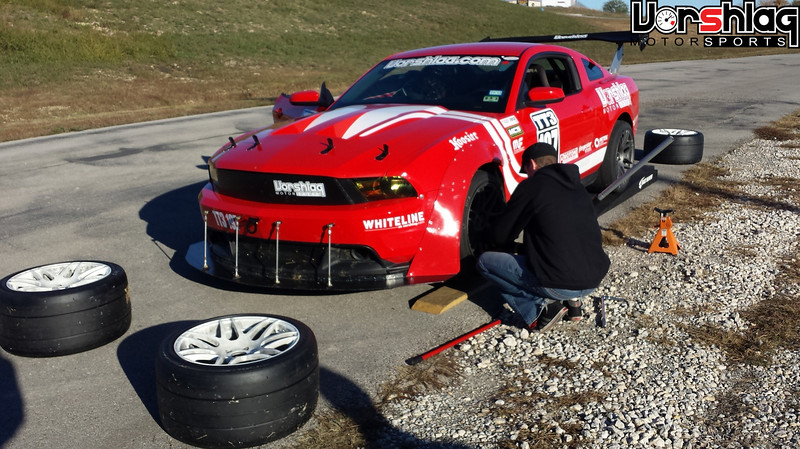
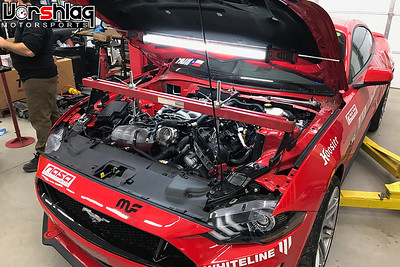
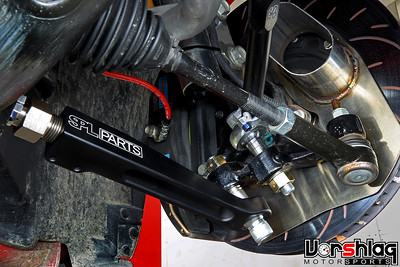
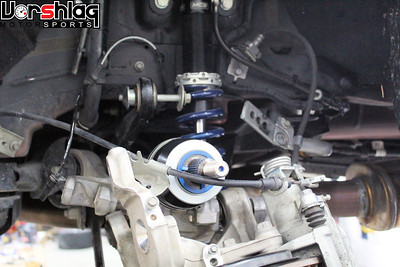
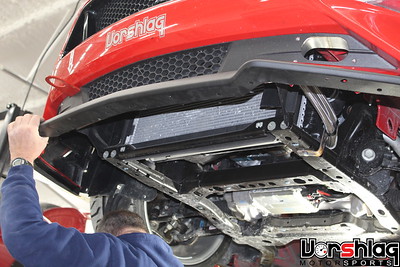
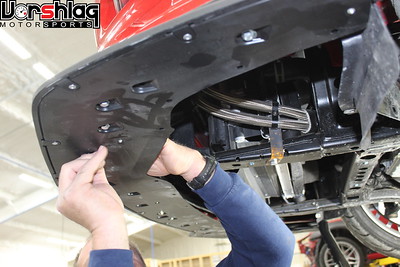
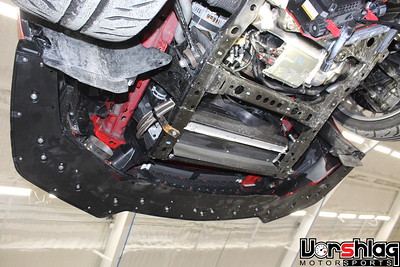
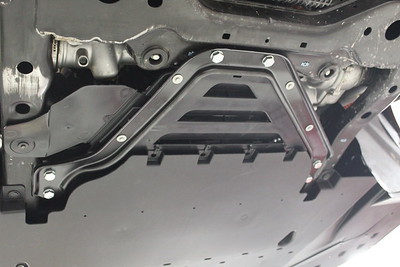
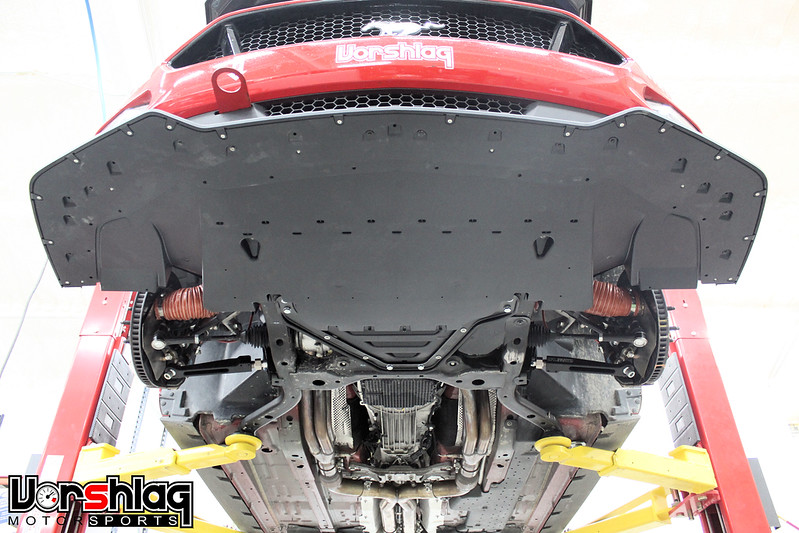
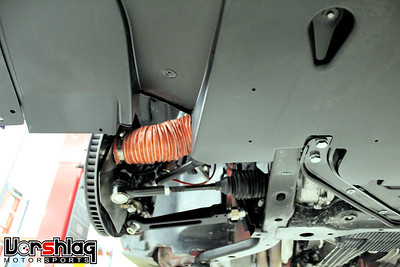
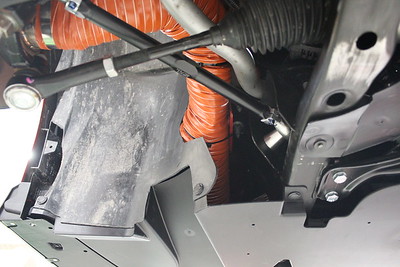
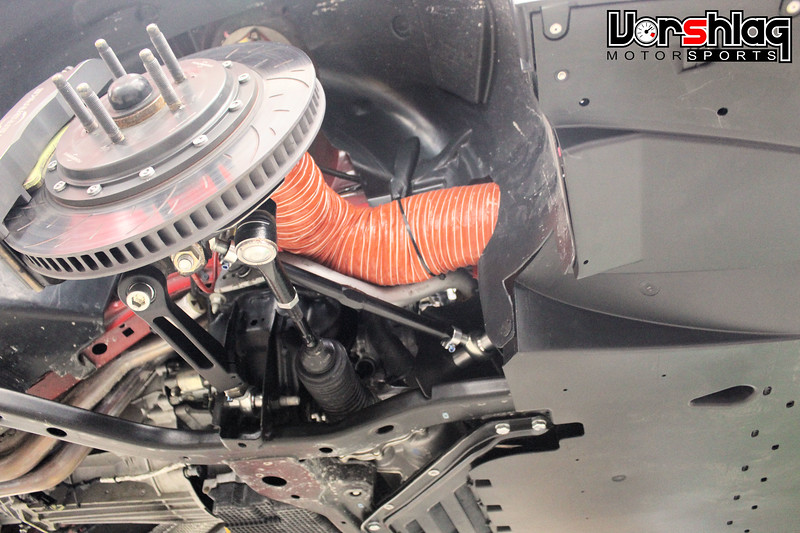
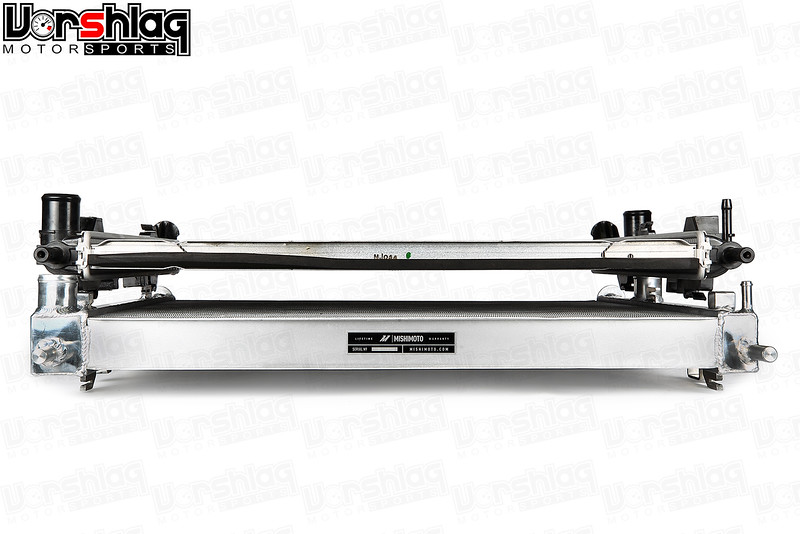
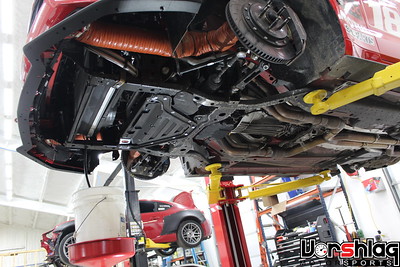
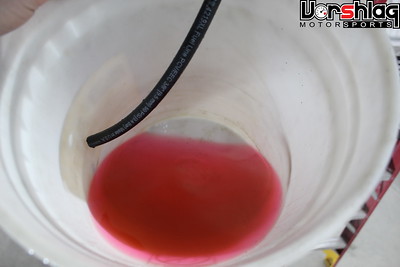
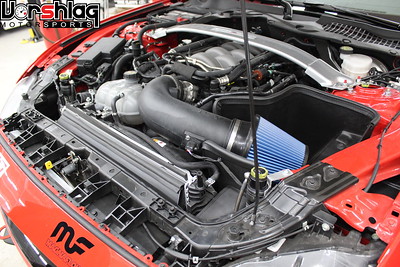
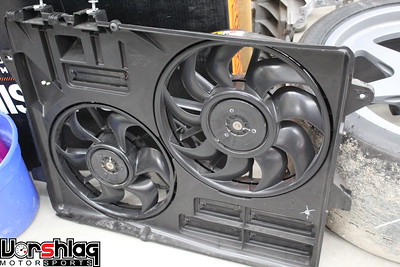
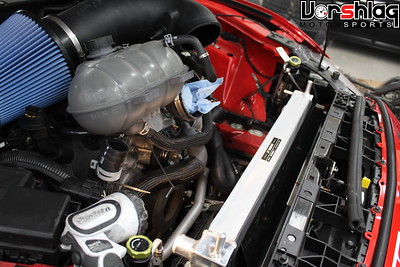
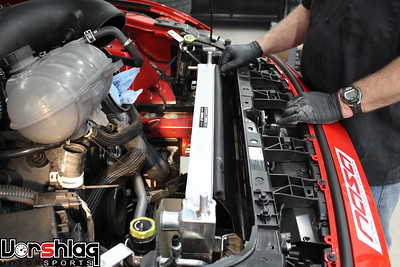
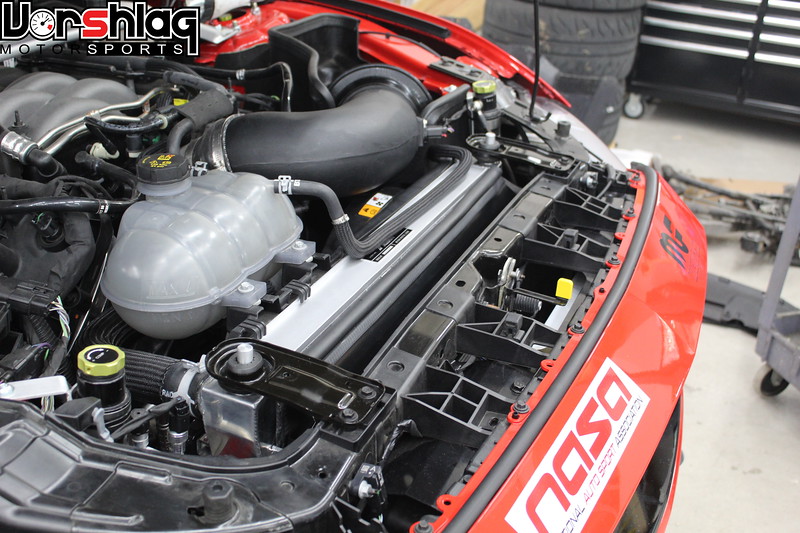
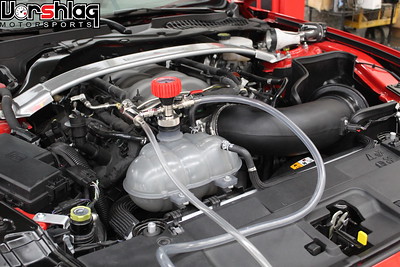
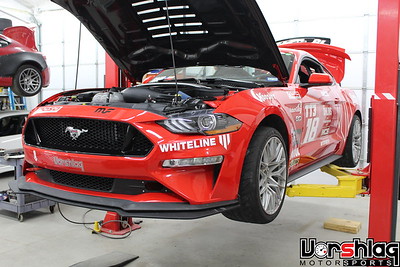
The front bumper cover has to come off, as do the coolant lines and main radiator hose shown above. Then an oil filter sandwich plate goes in place of the little cooling brick shown before.
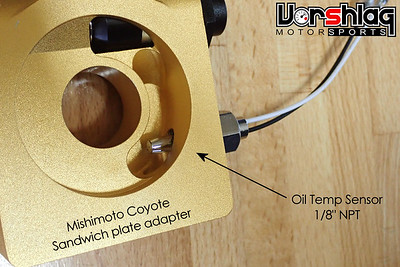
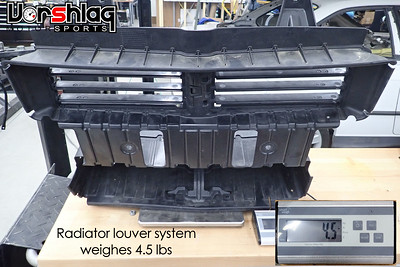
This oil filter sandwich plate is a very well made part and has a thermostatic bypass, so cold oil doesn't pass through the Mishimoto heat exchanger. It also has two 1/8" NPT plugs - one of which we installed with an oil temp sensor (more on that later). The "Active grill shutter" system is in the way of where the heat exchanger goes, so it was removed.
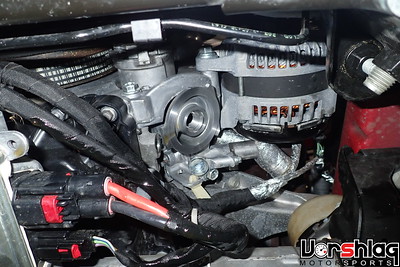
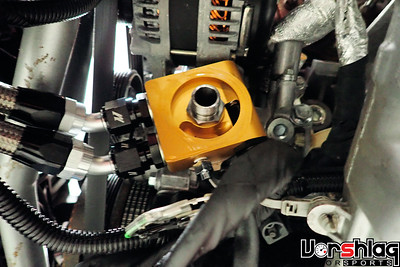
The sandwich plate plate is installed at the oil filter location (after removing the Ford brick) and the included -10 AN braided lines go from there to the external cooler. The oil filter then goes back below the plate, in the same spot as the OEM.
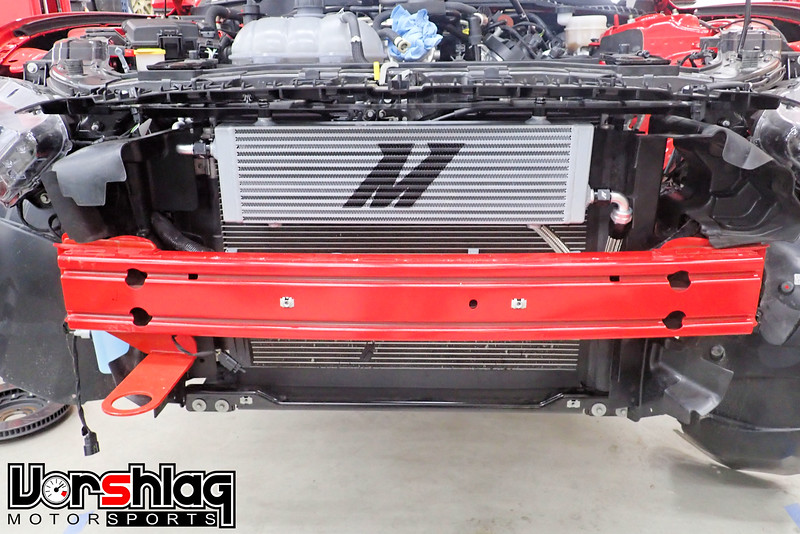
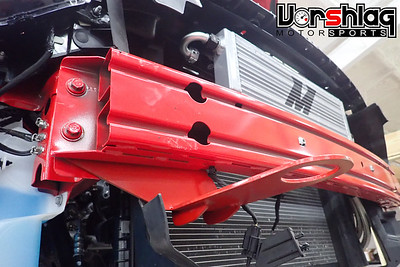
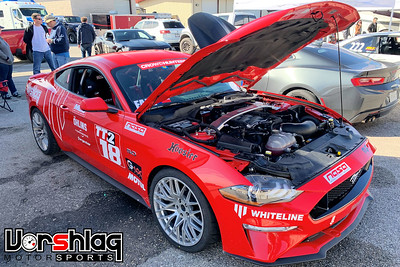
The heat exchanger is nicely sized and fits right behind the factory upper grill opening, with a well made bracket that attaches to the carbon composite radiator support structure above. The lines connect to the single pass cooler at opposite ends, as shown.
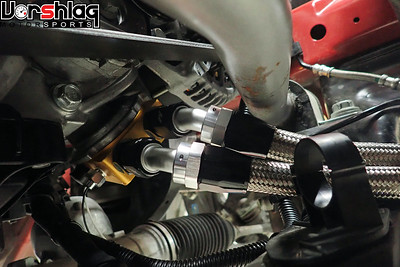
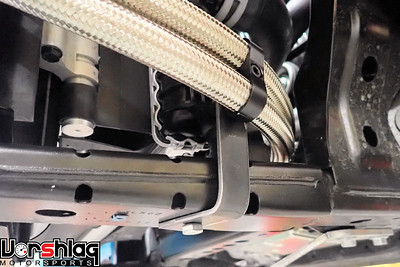
The install is pretty straight forward, other than clocking the sandwich plate and routing the lines. It gets a little tight around the giant Whiteline swaybar, but there's a 1/2" of room to the hose ends. We only added a little bracket with a Vibrant dual hose separator attached to keep the braided lines from sawing into any nearby plastics, but that might be overkill.
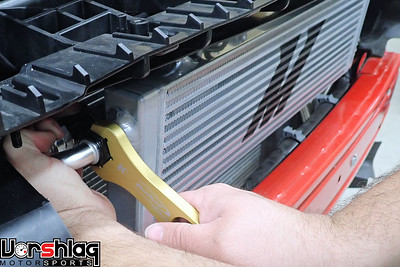
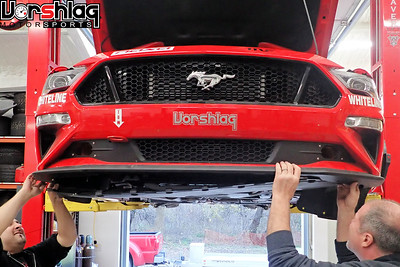
Brad and Evan wrapped up the oil cooler install and we moved on to the new temp gauges...
OIL TEMP / TRANS TEMP / DIFF TEMP GAUGES
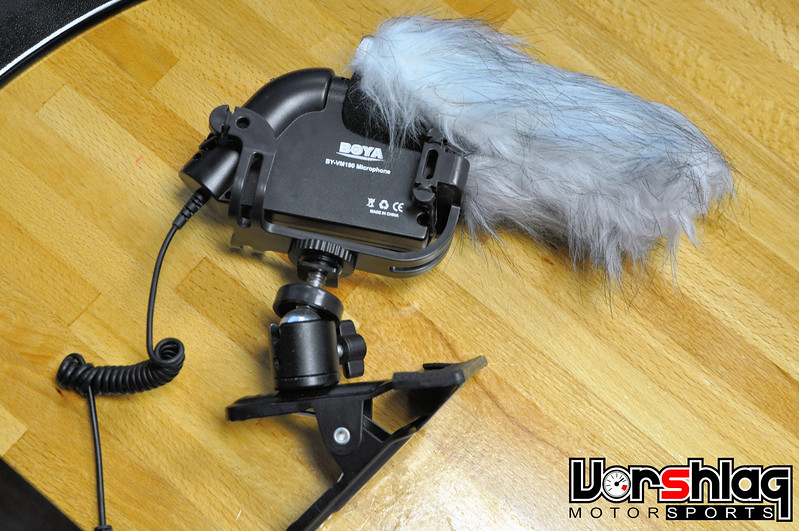
Rumor has it that the factory "oil temp" gauge readings are fake - they are inferred numbers based on other inputs and readings. I also wanted "real gauges" that I could see without having to scroll through menus while on track. Ideally these could be data logged, but with a rear mounted camera (and me calling out temps while driving to the mic) I could capture this data with discrete, analog type gauges.
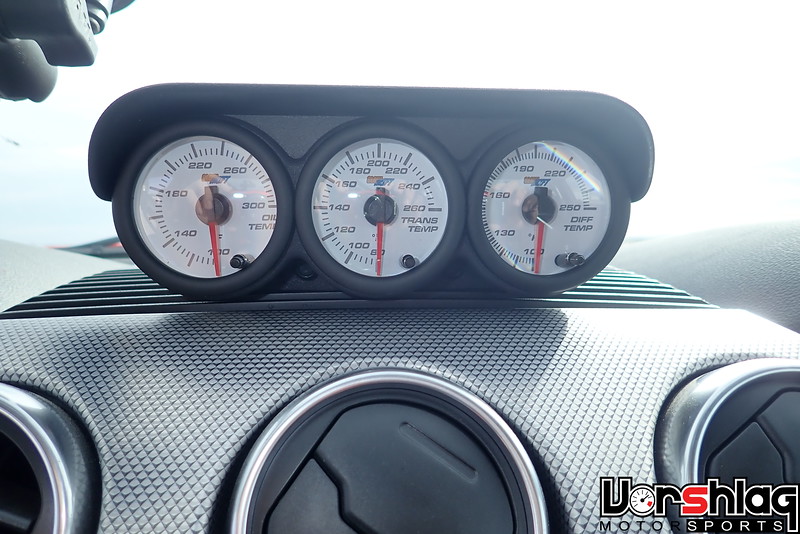
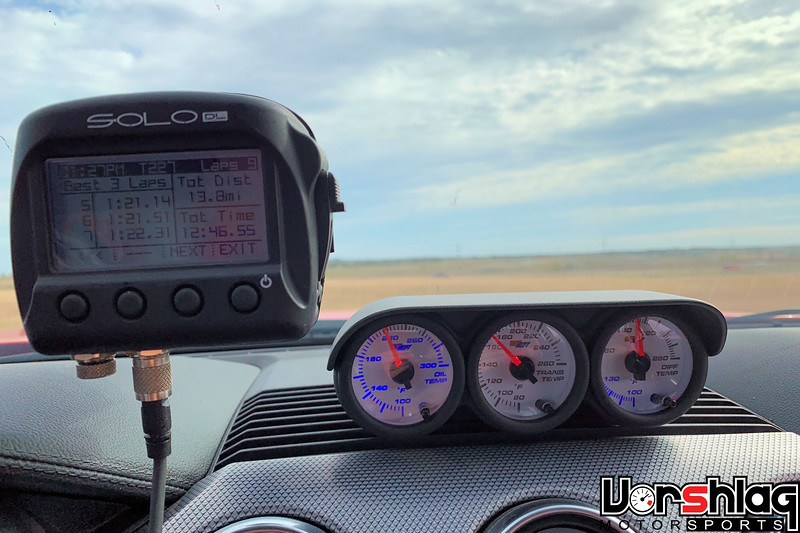
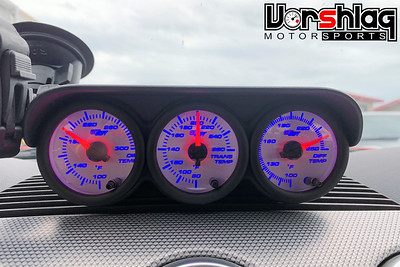
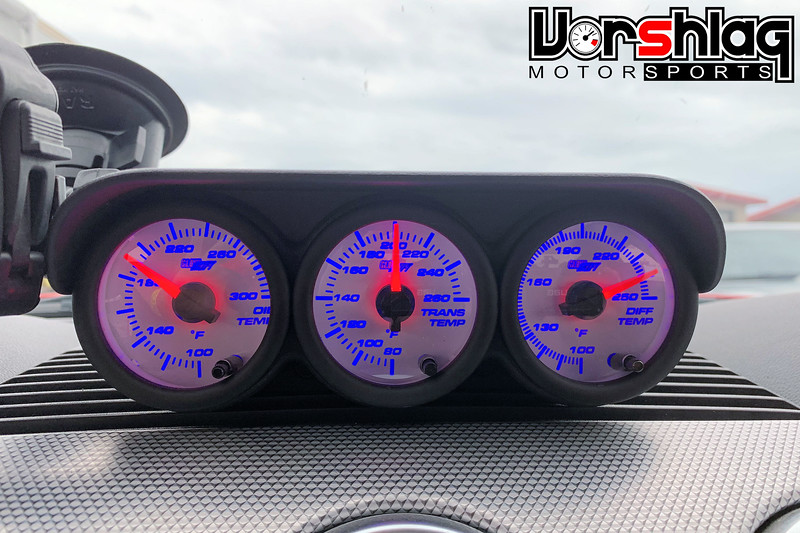
I purchased these three 2-1/6" "GlowShift" gauges above, which are ranged and marked for engine Oil temp (100-300F), Trans fluid temp (80-260F) and Diff fluid temp (100-250F) uses. Electric steeper gauges, work pretty well. These are all three trouble spots on the S550 chassis, especially trans and diff (and for 2018-19, oil temp). It would have been better to install real gauges for engine oil temp sooner, but our testing and work schedule doesn't always allow for this. Instead we planned to install oil temp, diff temp, and trans temp gauges during the Mishimoto oil cooler install (since the sandwich plate had the oil temp sensor port).
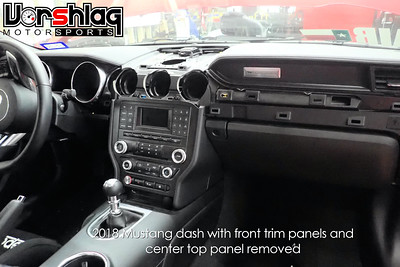
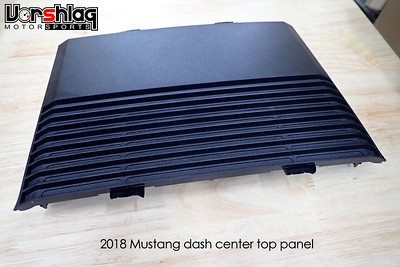
We popped the front dash cover off then the center top panel of the dash was removed. We plan to mount a 2012-13 Boss 302 Ford Racing triple gauge pod to this panel, which can be replaced if we ever want to un-do all of these mods.
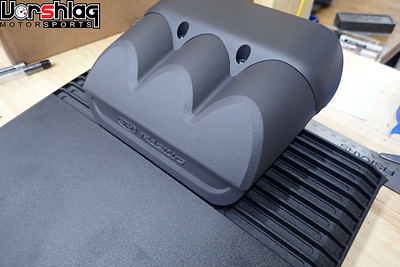
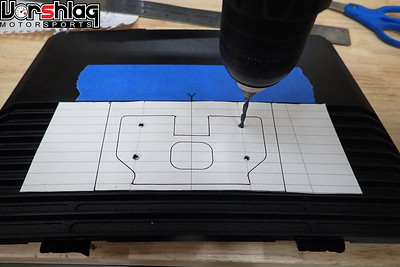
There were many aftermarket gauge pods to choose from out there but none of them looks half as good as this Ford Racing unit, made for mounting three 2-1/16" gauges.

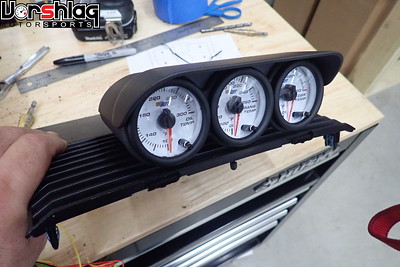
Once the gauge pod was mounted to the upper dash panel the GlowShift electric stepper motor 270 sweep gauges were installed and wired in. I'm not going to bore you with the steps for wiring but it takes a number of hours to do this correctly - where it is tired into the light circuit, with fuses, and soldering and heat shrinking everything. Brad also added weatherpack connectors near each sensor, so that things like the trans and diff could be removed by just unplugging the sensor circuit.
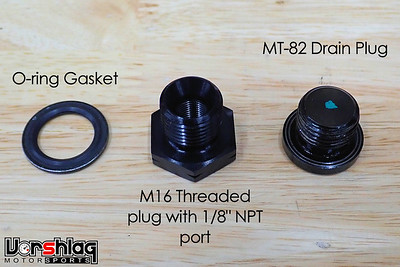
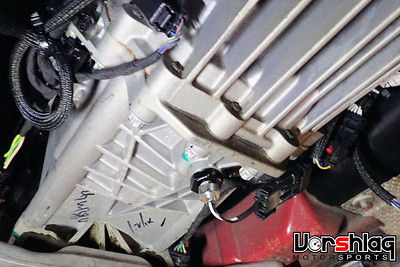
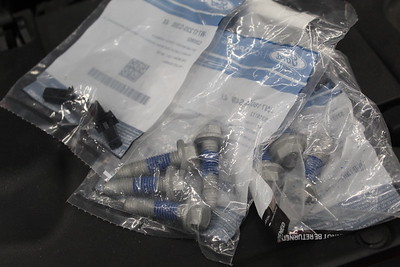
The MT82-D4 six speed manual trans was easy tap get a sensor into. We researched, ordered, then replaced the M16 threaded lower drain plug on the bottom with this special adapter we found, which has a 1/8" NPT female opening in the middle. This meant we needed to do a trans fluid change, the 2nd in 1800 miles of use, but its never a bad idea.
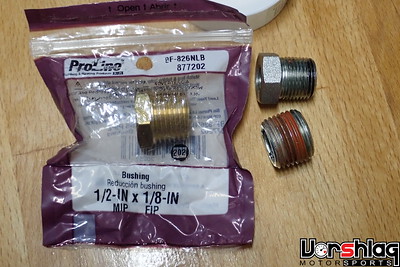
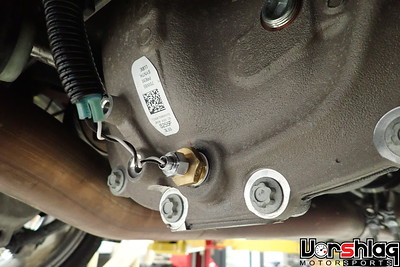
The diff sensor install was a bit last minute, and I did this one myself. I had ordered what I thought was the right adapter, in stainless steel, with overnight shipping. But what showed up five days later (!?) was wrong. Some evening searching in the Home Depot plumbing aisle got me what I needed: a 1/2" MIP to 1/8" FIP adapter. This replaced the stock 1/6" NPT lower drain plug.
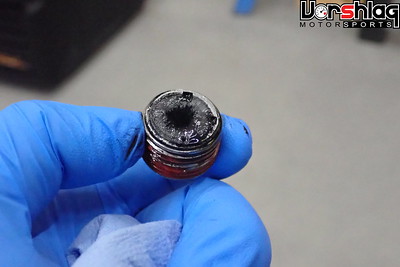
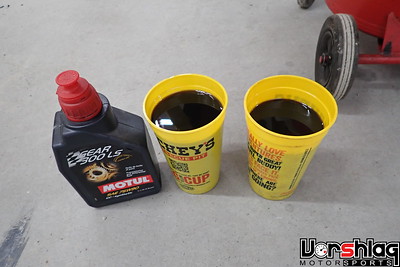
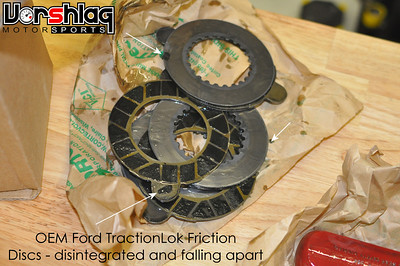
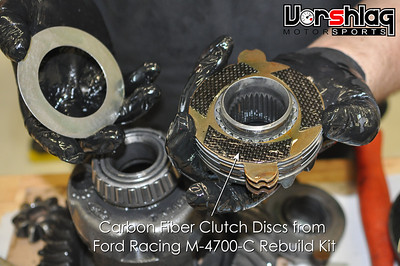
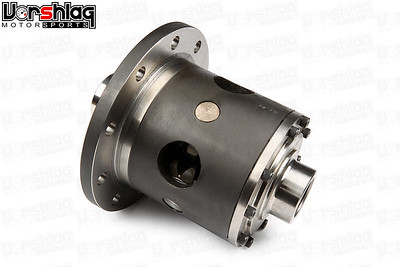
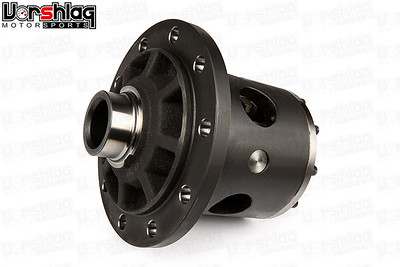
One thing I noted when adding this sensor: when I drained out the diff (which we had changed early on to MOTUL synthetics) it was about 1/3rd of the fluid missing... gone. It has been boiling off due to high temps, we suspect. And there was a LOT of material on the magnetic drain plug. This was likely material from the clutch packs on this base model car's clutch style differential (its worn smooth out). The Performance Pack and Shelby cars all get a Torsen.
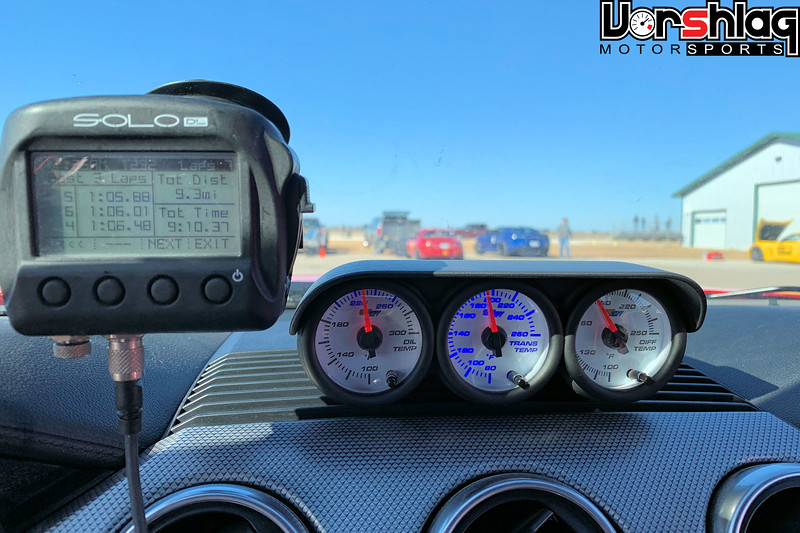
These gauges really do work great, especially considering they are under $70 each. The install was a total pain but in the long run it should be worth it. I am making sure I take a picture of the gauges right after I come in (it takes several minutes for them to cool down from their peak numbers) from each session, hopefully getting the AiM Solo readout to know which session (lap times) they correspond to. Again, once I get the rear mounted vidcam in place this shouldn't be necessary. Already seen some great data from these 3 gauges.
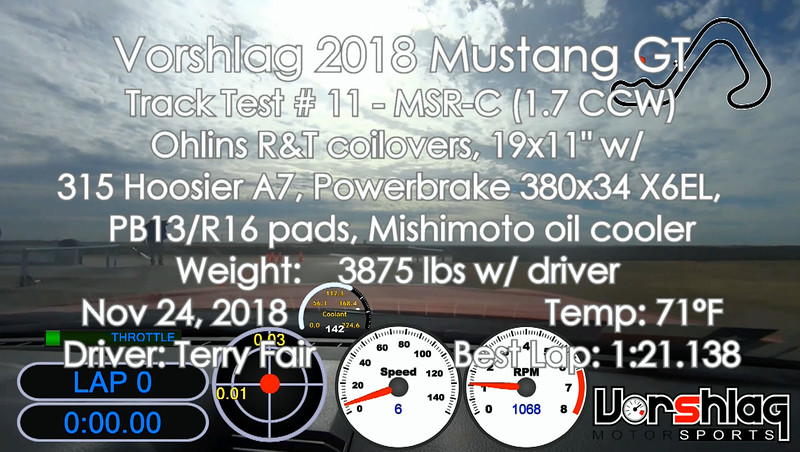
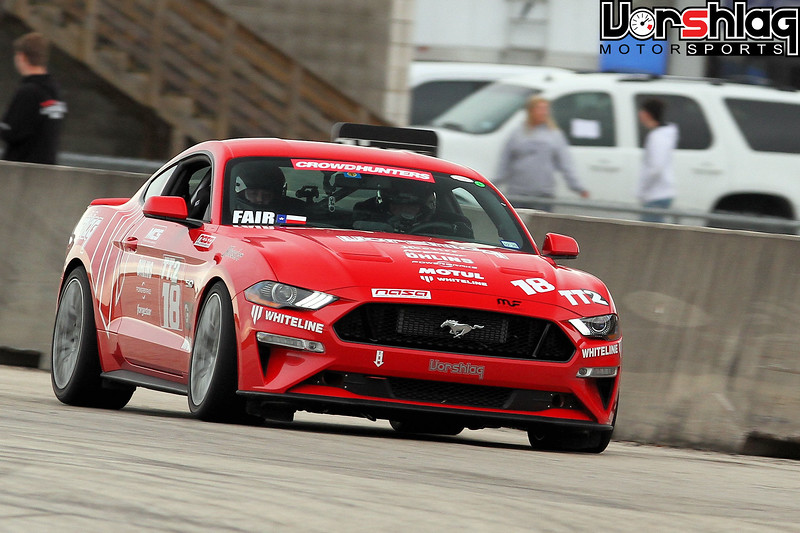
MSR-C TRACK TEST, NOVEMBER 24th, 2018
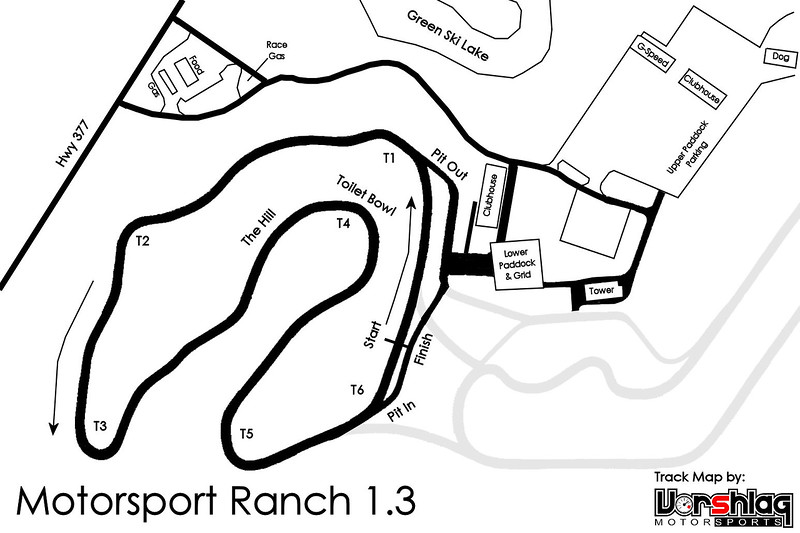
This was a member day at MSR Cresson where they were running the 1.7 CCW and a bunch of buddies were going. I had finished the gauge install the night before and was going to load up onto a trailer in the morning. Due to some things out of control, my enclosed trailer and the open trailer I normally use as back-up were both out of commission.
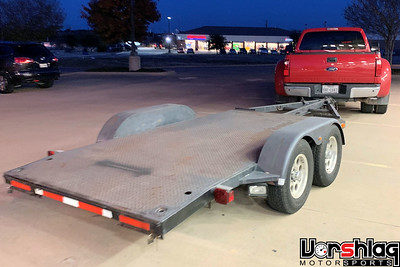

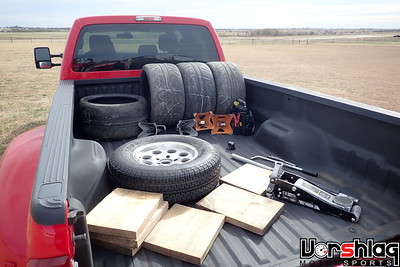
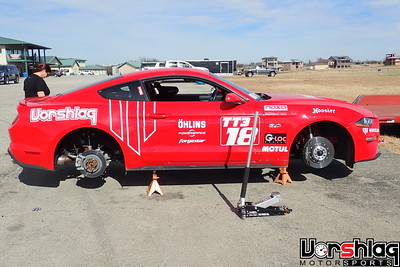
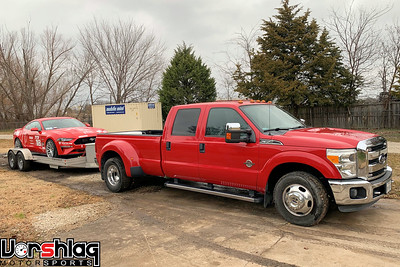
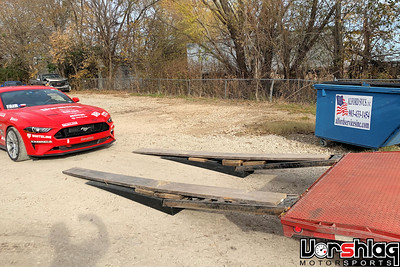
I borrowed a trailer the night before, picking it up late and in the dark. In the light of morning we noticed it was about 4" too narrow to clear the track width of this car - it would be inside the trailer fenders. So we went to a nearby trailer rental place and rented their so-called "car hauler", which took a lot of ramps and wood to get the car up onto the deck (of this tractor/utility trailer). The fenders were so tall I had to crawl out the open window. Good thing we didn't buy a Camaro - that would be impossible!
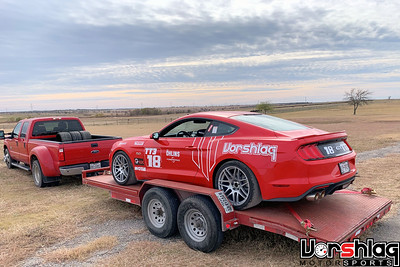
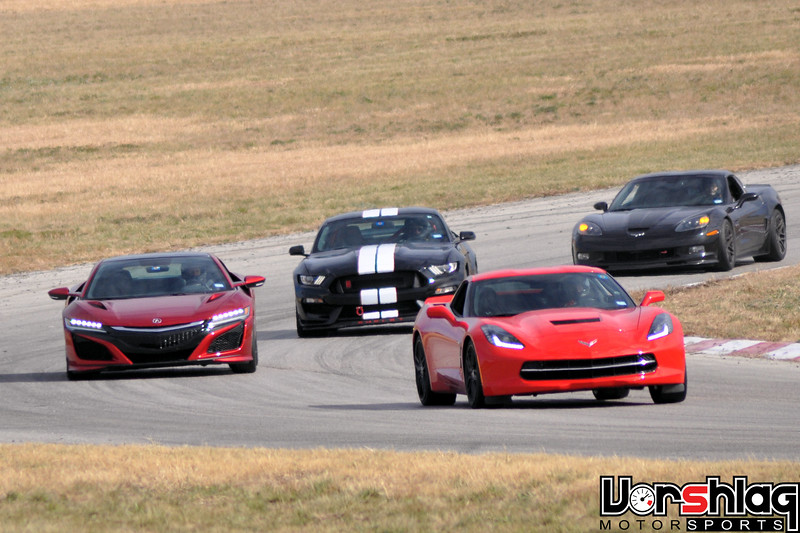
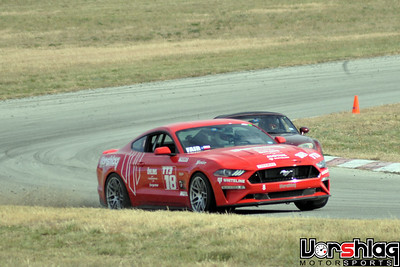
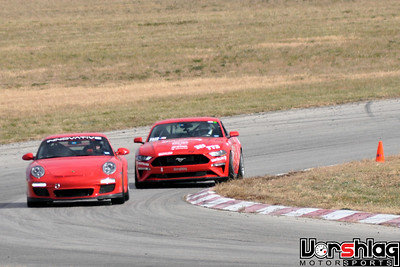
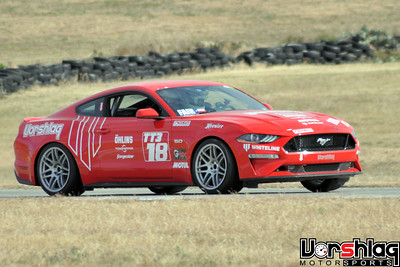
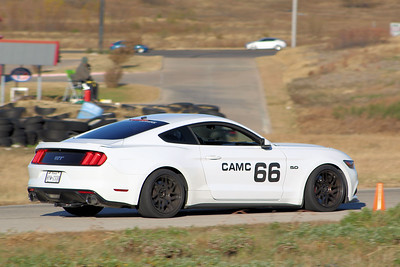
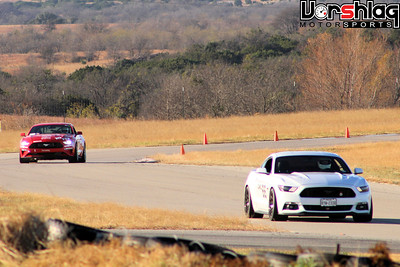
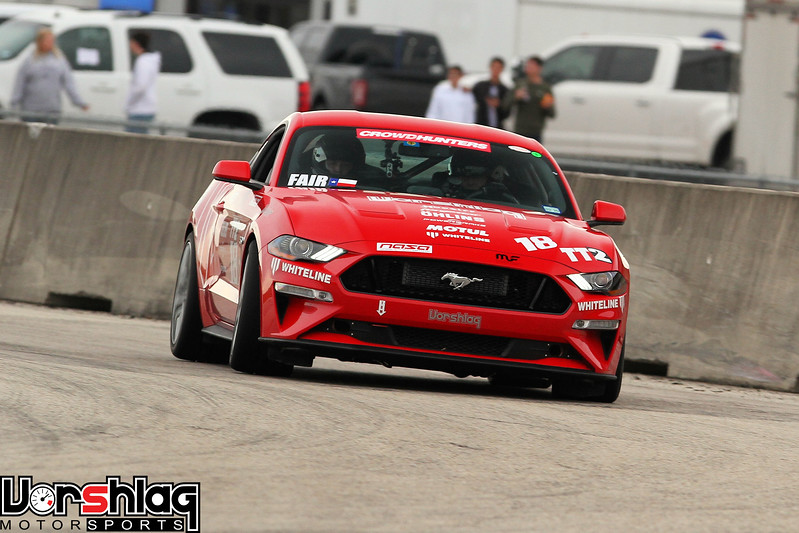
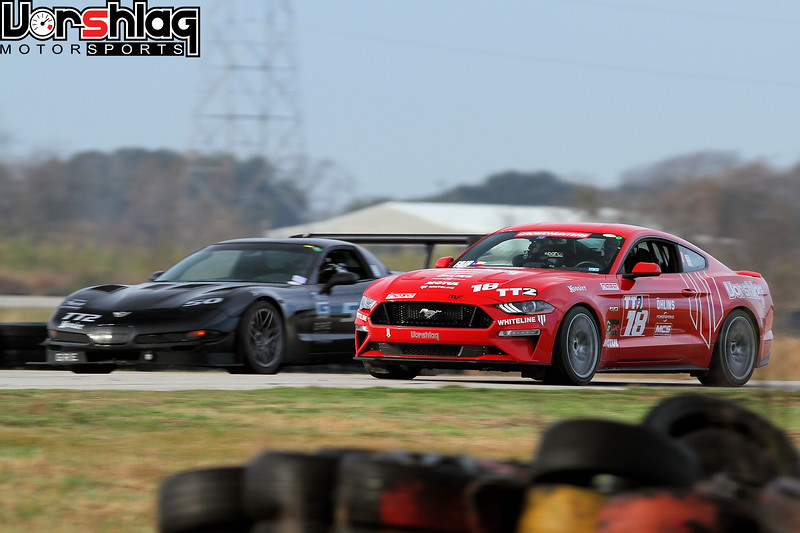
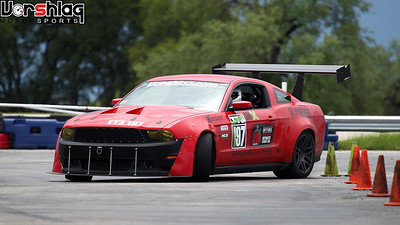
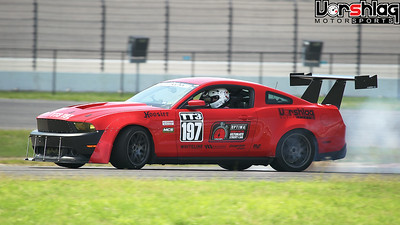
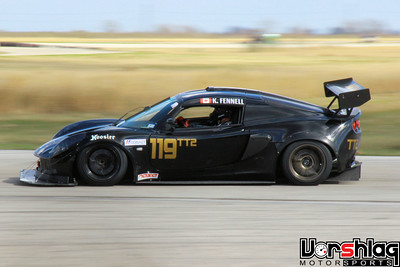
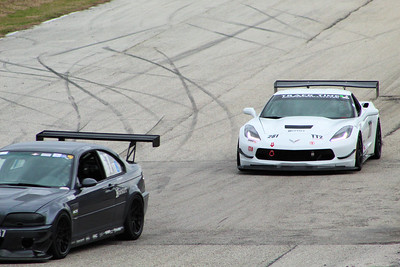
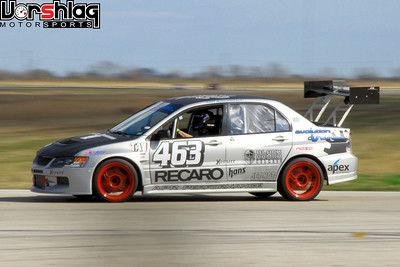
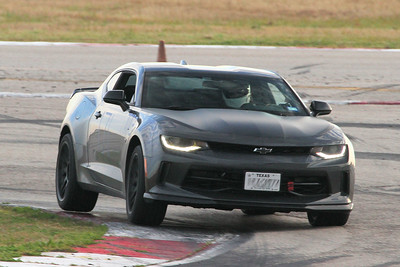
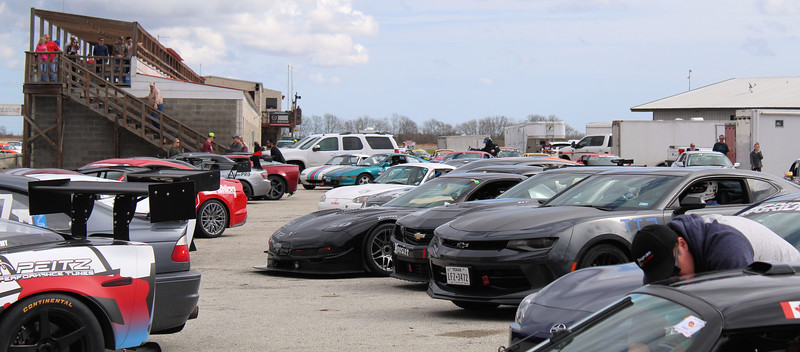
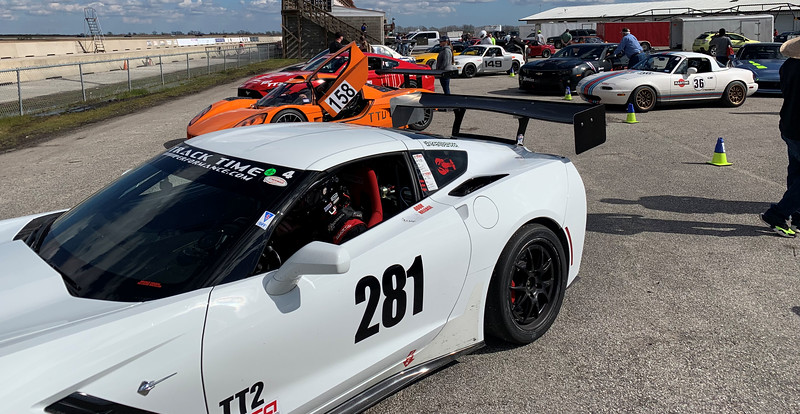
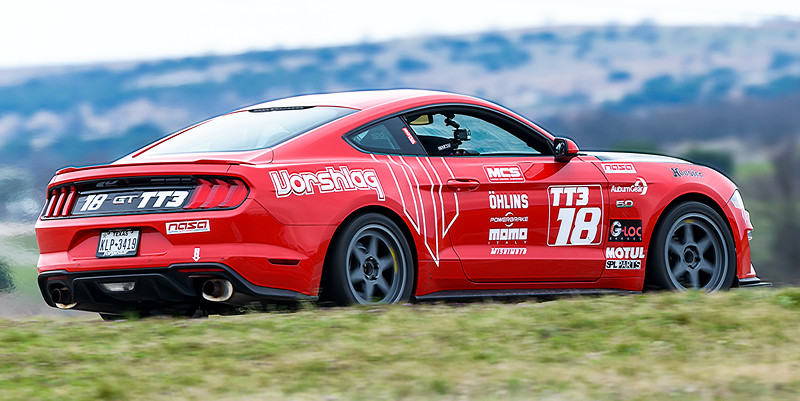
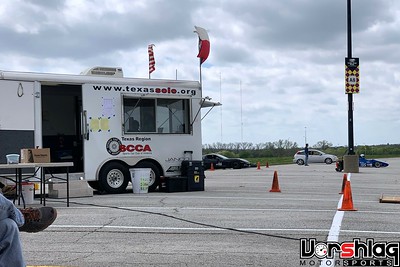
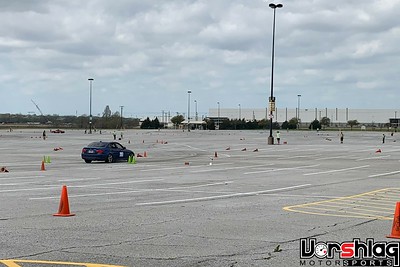
We made it to MSR rather later than we had planned, but the weather was overcast and cool so the "early session" wasn't the only fast session. The weather was so nice in fact that the track was rather crowded with members, and that turned into a challenge for getting clan laps.
Picture and video gallery: https://vorshlag.smugmug.com/Racing-Events/MSR-Test-112418/
continued below


The front bumper cover has to come off, as do the coolant lines and main radiator hose shown above. Then an oil filter sandwich plate goes in place of the little cooling brick shown before.


This oil filter sandwich plate is a very well made part and has a thermostatic bypass, so cold oil doesn't pass through the Mishimoto heat exchanger. It also has two 1/8" NPT plugs - one of which we installed with an oil temp sensor (more on that later). The "Active grill shutter" system is in the way of where the heat exchanger goes, so it was removed.


The sandwich plate plate is installed at the oil filter location (after removing the Ford brick) and the included -10 AN braided lines go from there to the external cooler. The oil filter then goes back below the plate, in the same spot as the OEM.

The heat exchanger is nicely sized and fits right behind the factory upper grill opening, with a well made bracket that attaches to the carbon composite radiator support structure above. The lines connect to the single pass cooler at opposite ends, as shown.


The install is pretty straight forward, other than clocking the sandwich plate and routing the lines. It gets a little tight around the giant Whiteline swaybar, but there's a 1/2" of room to the hose ends. We only added a little bracket with a Vibrant dual hose separator attached to keep the braided lines from sawing into any nearby plastics, but that might be overkill.


Brad and Evan wrapped up the oil cooler install and we moved on to the new temp gauges...
OIL TEMP / TRANS TEMP / DIFF TEMP GAUGES
Rumor has it that the factory "oil temp" gauge readings are fake - they are inferred numbers based on other inputs and readings. I also wanted "real gauges" that I could see without having to scroll through menus while on track. Ideally these could be data logged, but with a rear mounted camera (and me calling out temps while driving to the mic) I could capture this data with discrete, analog type gauges.

I purchased these three 2-1/6" "GlowShift" gauges above, which are ranged and marked for engine Oil temp (100-300F), Trans fluid temp (80-260F) and Diff fluid temp (100-250F) uses. Electric steeper gauges, work pretty well. These are all three trouble spots on the S550 chassis, especially trans and diff (and for 2018-19, oil temp). It would have been better to install real gauges for engine oil temp sooner, but our testing and work schedule doesn't always allow for this. Instead we planned to install oil temp, diff temp, and trans temp gauges during the Mishimoto oil cooler install (since the sandwich plate had the oil temp sensor port).


We popped the front dash cover off then the center top panel of the dash was removed. We plan to mount a 2012-13 Boss 302 Ford Racing triple gauge pod to this panel, which can be replaced if we ever want to un-do all of these mods.


There were many aftermarket gauge pods to choose from out there but none of them looks half as good as this Ford Racing unit, made for mounting three 2-1/16" gauges.


Once the gauge pod was mounted to the upper dash panel the GlowShift electric stepper motor 270 sweep gauges were installed and wired in. I'm not going to bore you with the steps for wiring but it takes a number of hours to do this correctly - where it is tired into the light circuit, with fuses, and soldering and heat shrinking everything. Brad also added weatherpack connectors near each sensor, so that things like the trans and diff could be removed by just unplugging the sensor circuit.


The MT82-D4 six speed manual trans was easy tap get a sensor into. We researched, ordered, then replaced the M16 threaded lower drain plug on the bottom with this special adapter we found, which has a 1/8" NPT female opening in the middle. This meant we needed to do a trans fluid change, the 2nd in 1800 miles of use, but its never a bad idea.


The diff sensor install was a bit last minute, and I did this one myself. I had ordered what I thought was the right adapter, in stainless steel, with overnight shipping. But what showed up five days later (!?) was wrong. Some evening searching in the Home Depot plumbing aisle got me what I needed: a 1/2" MIP to 1/8" FIP adapter. This replaced the stock 1/6" NPT lower drain plug.


One thing I noted when adding this sensor: when I drained out the diff (which we had changed early on to MOTUL synthetics) it was about 1/3rd of the fluid missing... gone. It has been boiling off due to high temps, we suspect. And there was a LOT of material on the magnetic drain plug. This was likely material from the clutch packs on this base model car's clutch style differential (its worn smooth out). The Performance Pack and Shelby cars all get a Torsen.

These gauges really do work great, especially considering they are under $70 each. The install was a total pain but in the long run it should be worth it. I am making sure I take a picture of the gauges right after I come in (it takes several minutes for them to cool down from their peak numbers) from each session, hopefully getting the AiM Solo readout to know which session (lap times) they correspond to. Again, once I get the rear mounted vidcam in place this shouldn't be necessary. Already seen some great data from these 3 gauges.
MSR-C TRACK TEST, NOVEMBER 24th, 2018
This was a member day at MSR Cresson where they were running the 1.7 CCW and a bunch of buddies were going. I had finished the gauge install the night before and was going to load up onto a trailer in the morning. Due to some things out of control, my enclosed trailer and the open trailer I normally use as back-up were both out of commission.


I borrowed a trailer the night before, picking it up late and in the dark. In the light of morning we noticed it was about 4" too narrow to clear the track width of this car - it would be inside the trailer fenders. So we went to a nearby trailer rental place and rented their so-called "car hauler", which took a lot of ramps and wood to get the car up onto the deck (of this tractor/utility trailer). The fenders were so tall I had to crawl out the open window. Good thing we didn't buy a Camaro - that would be impossible!


We made it to MSR rather later than we had planned, but the weather was overcast and cool so the "early session" wasn't the only fast session. The weather was so nice in fact that the track was rather crowded with members, and that turned into a challenge for getting clan laps.
Picture and video gallery: https://vorshlag.smugmug.com/Racing-Events/MSR-Test-112418/
continued below


