06 Mustang GT Build ROUND 2

palanza7

forum member
Joined
Apr 6, 2015
Posts
648
Reaction score
16
Alright after my previous engine mysteriously was short like 150 hp, I decided to part the car out and begin from scratch later down the road. After scoring some sweet deals on some parts, round two begins.

I plan on doing a wire tuck, some custom A/C line work and an engine bay paint job over winter. Emissions stuff delete as well.

Also working on building my own 10-rib belt dedicated belt drive setup for the whipple below.

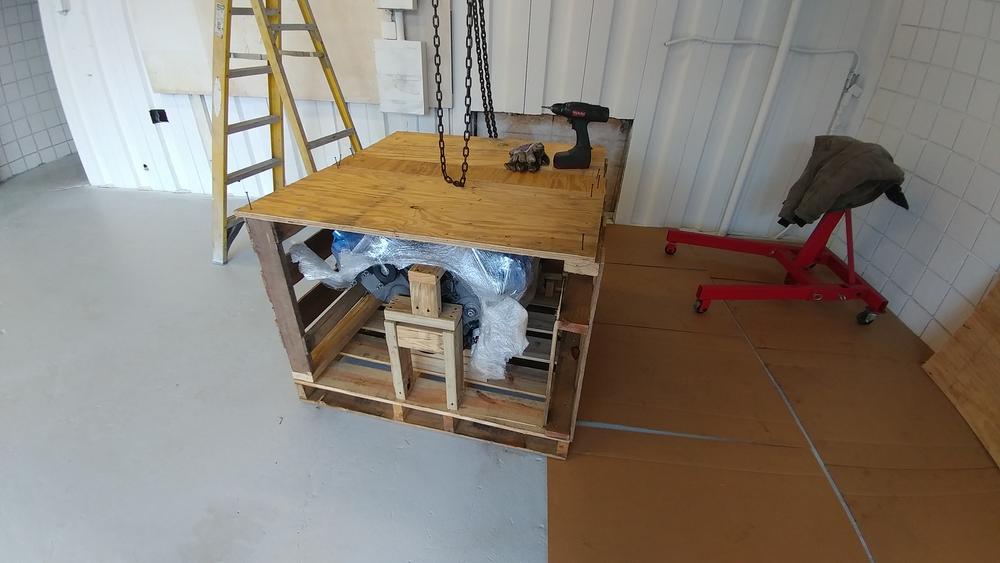
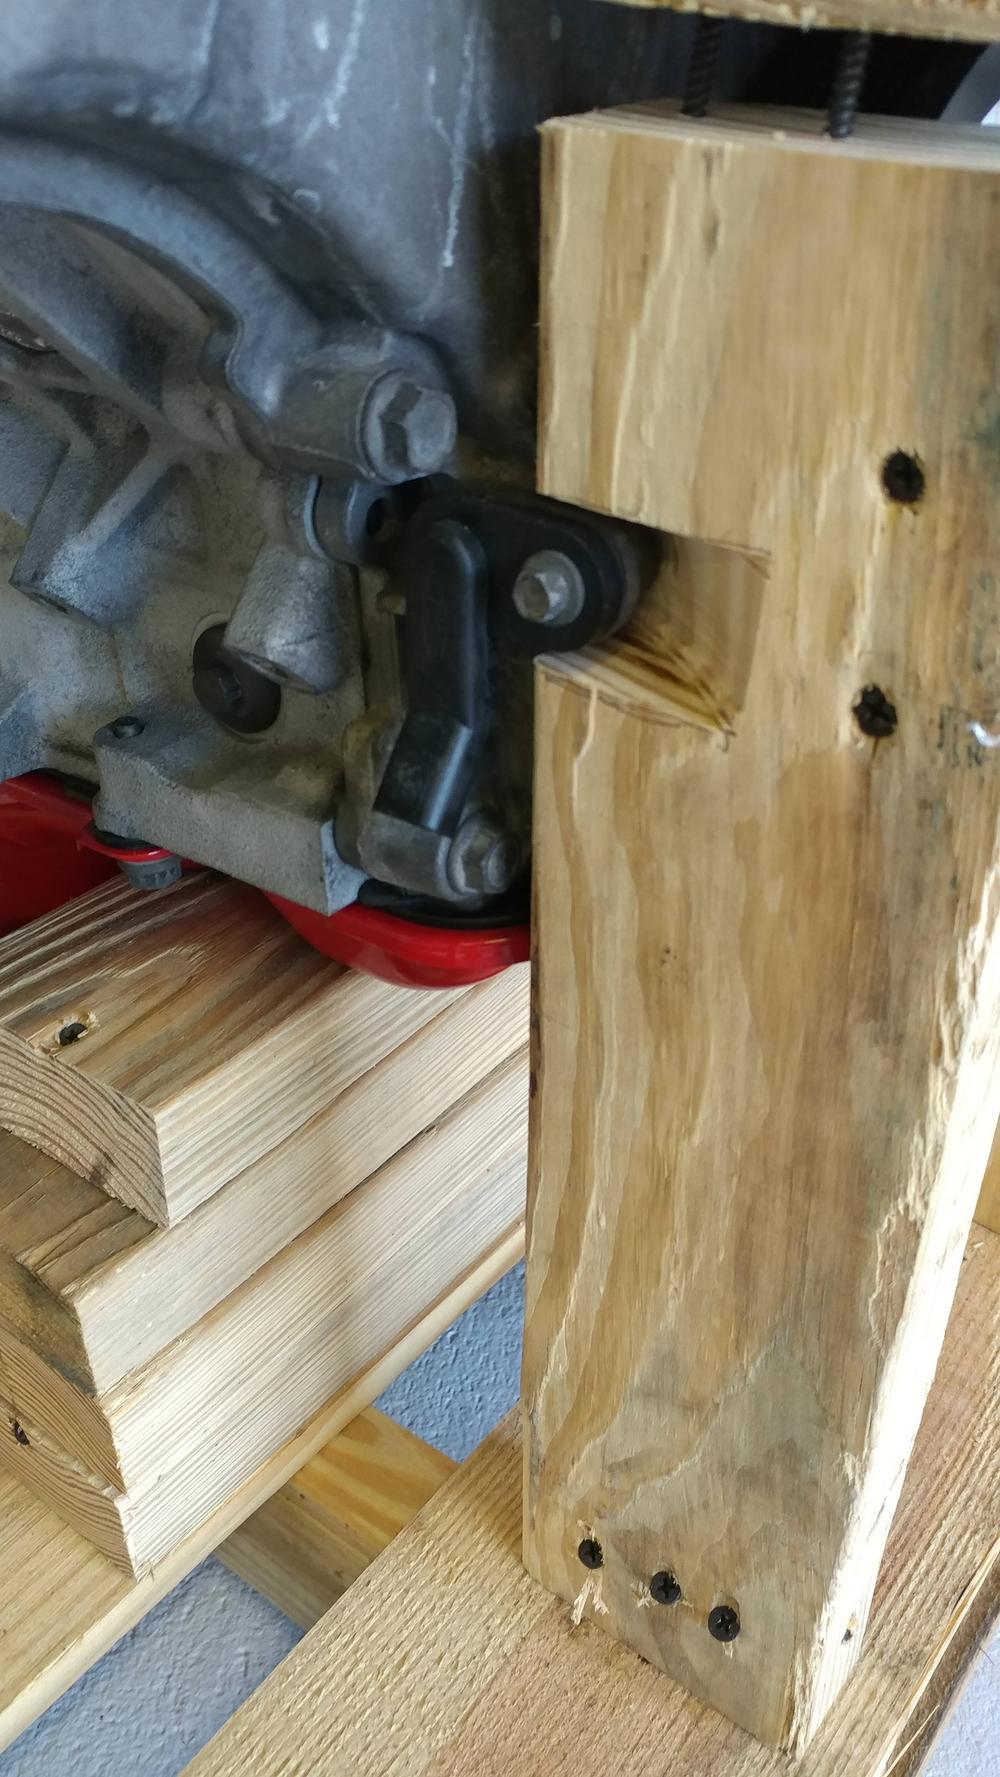
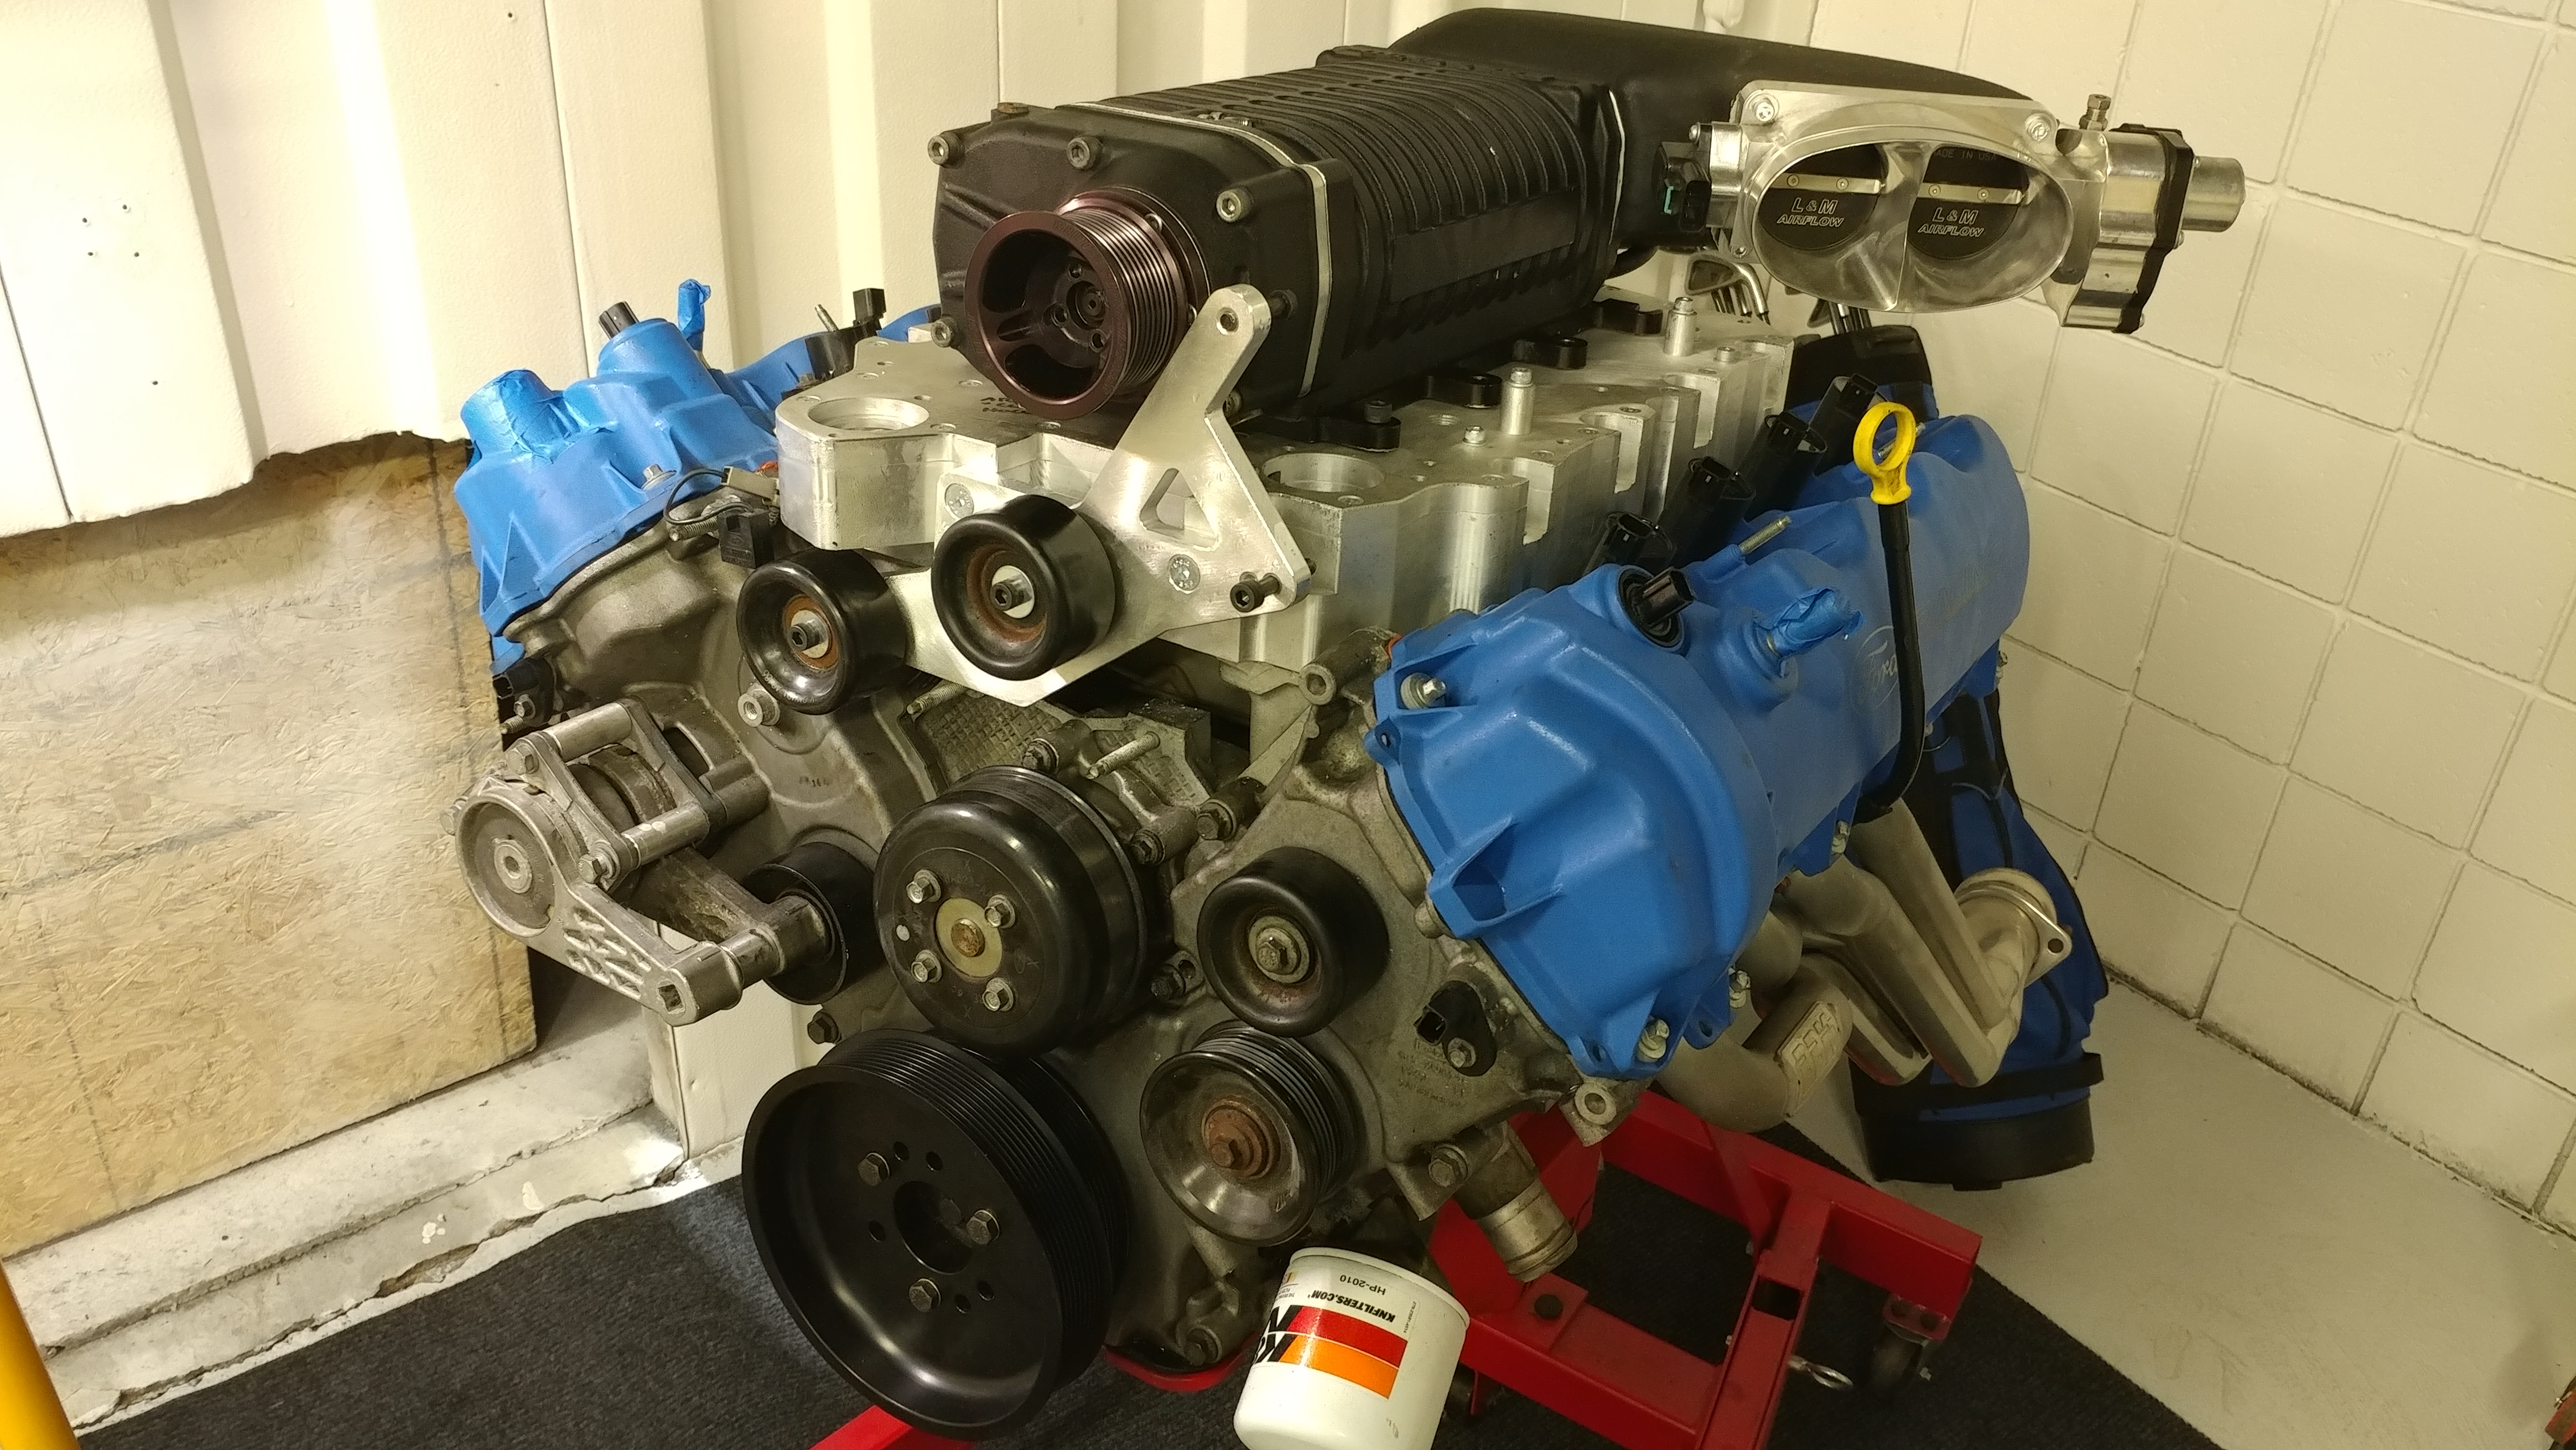
Engine: Found on Ebay for 4900 shipped (couldn't pass this deal up!!)

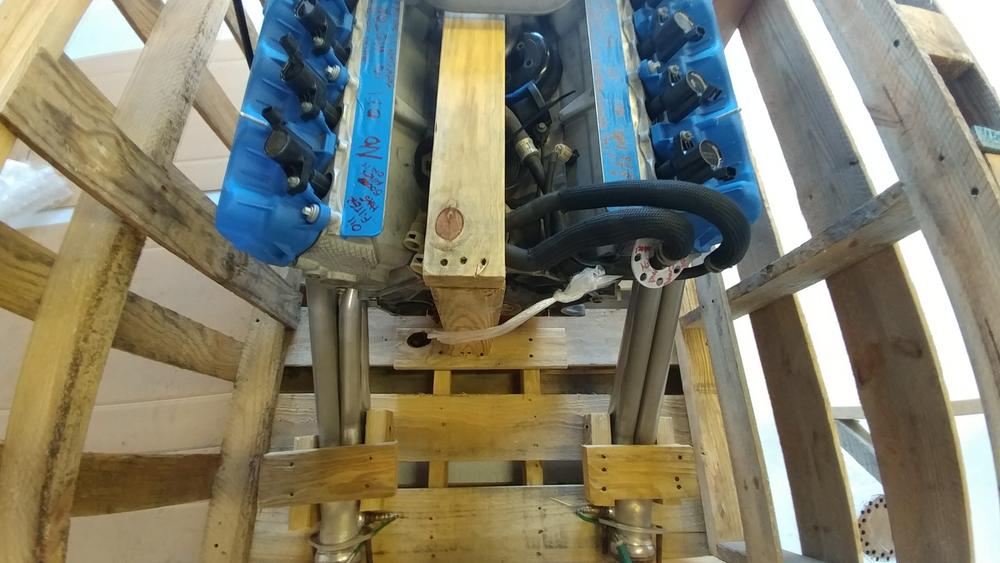
4.6 3V Stroked to 4.75 - 9.5.1 Compression Approx 2,000 Miles on Engine
Manley Forged Pistons
Manley Forged I Beam Rods
Ford Performance Forged Crank
All ARP Bolts
Billet Gears
MMR Upgraded Chain Guide Kit
MMR 8 QT Oil Pan
Ported Intake/Exhaust Valve Heads
Comp Stage 3 Blower Cams
Full Manley Valvetrain, Behive Springs, Titanium Retainers
Upgraded Phasers with Comp Limiters

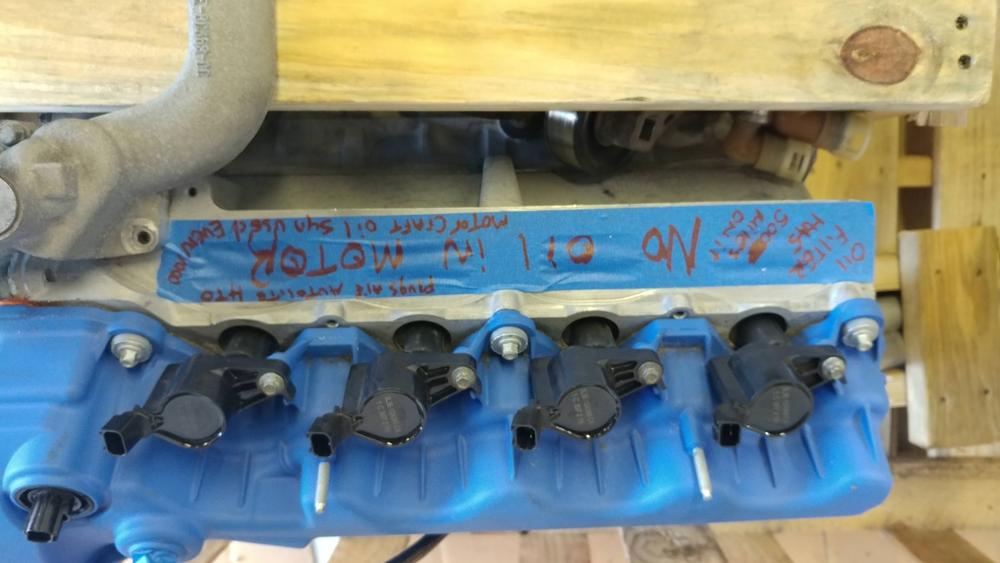
Even came with a set of long tubes and new coils.

Transmission/Clutch: From SVT for 2400 shipped
TR6060 ~1000 miles with GT500 DS/Xmember/Shifter
SPEC Twin Disk Clutch/Flywheel
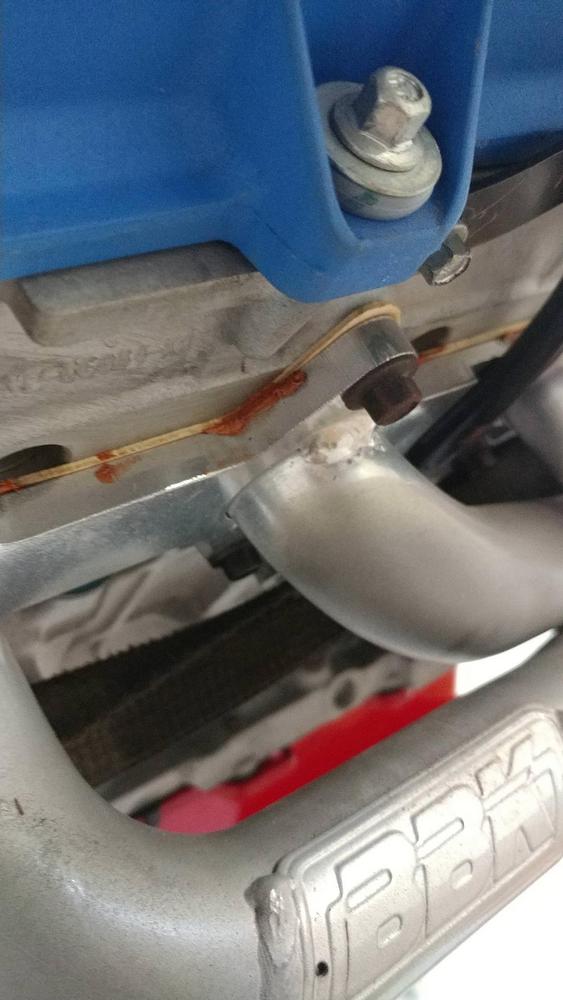
FI
~2,000 mile 2.9 Whipple 2,400.00 used from SVT
L&M 66mm TB from old build

Fuel:
Full fore return setup with dual walbro 405's from previous build.
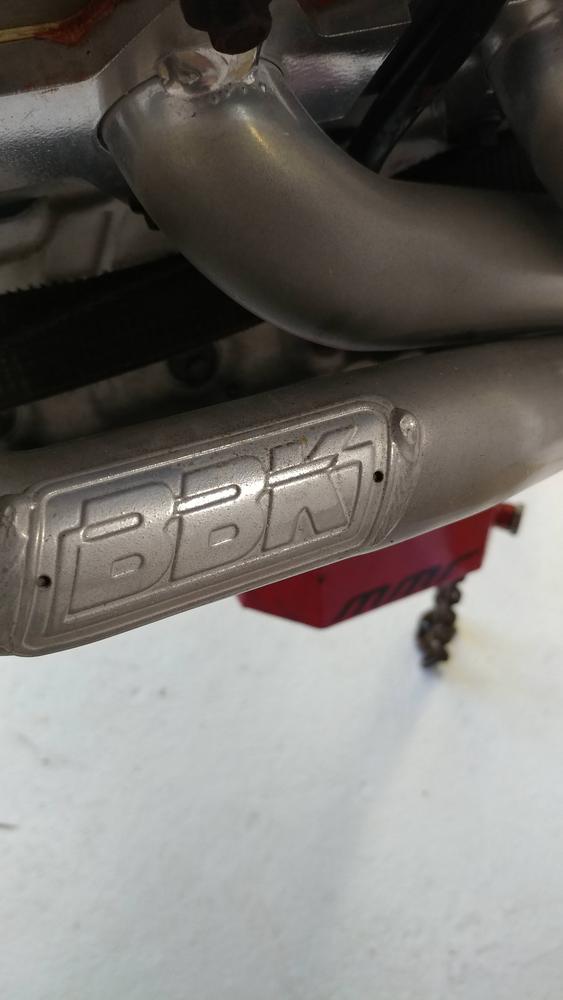
Exhaust
Dynatech long tubes, full bassani 3 inch xpipe (going to have an H pipe fabbed up and put in there) 3 inch bassani axle backs with glass packs before them.

Things I still need:

DoB Manifold
1000cc Injectors
13-14 Intercooler Pump
New set of HT0 plugs
BMR Drag Suspension Setup
Innovators West Balancer
10 Rib Lower Whipple Pulley
Replace rear end seals

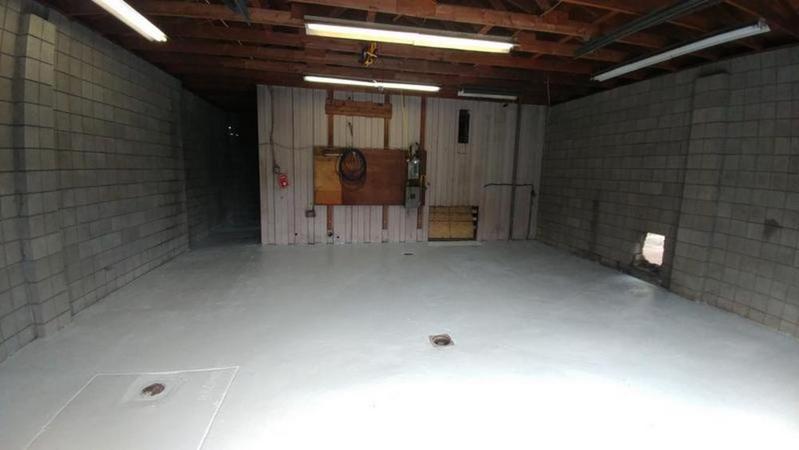
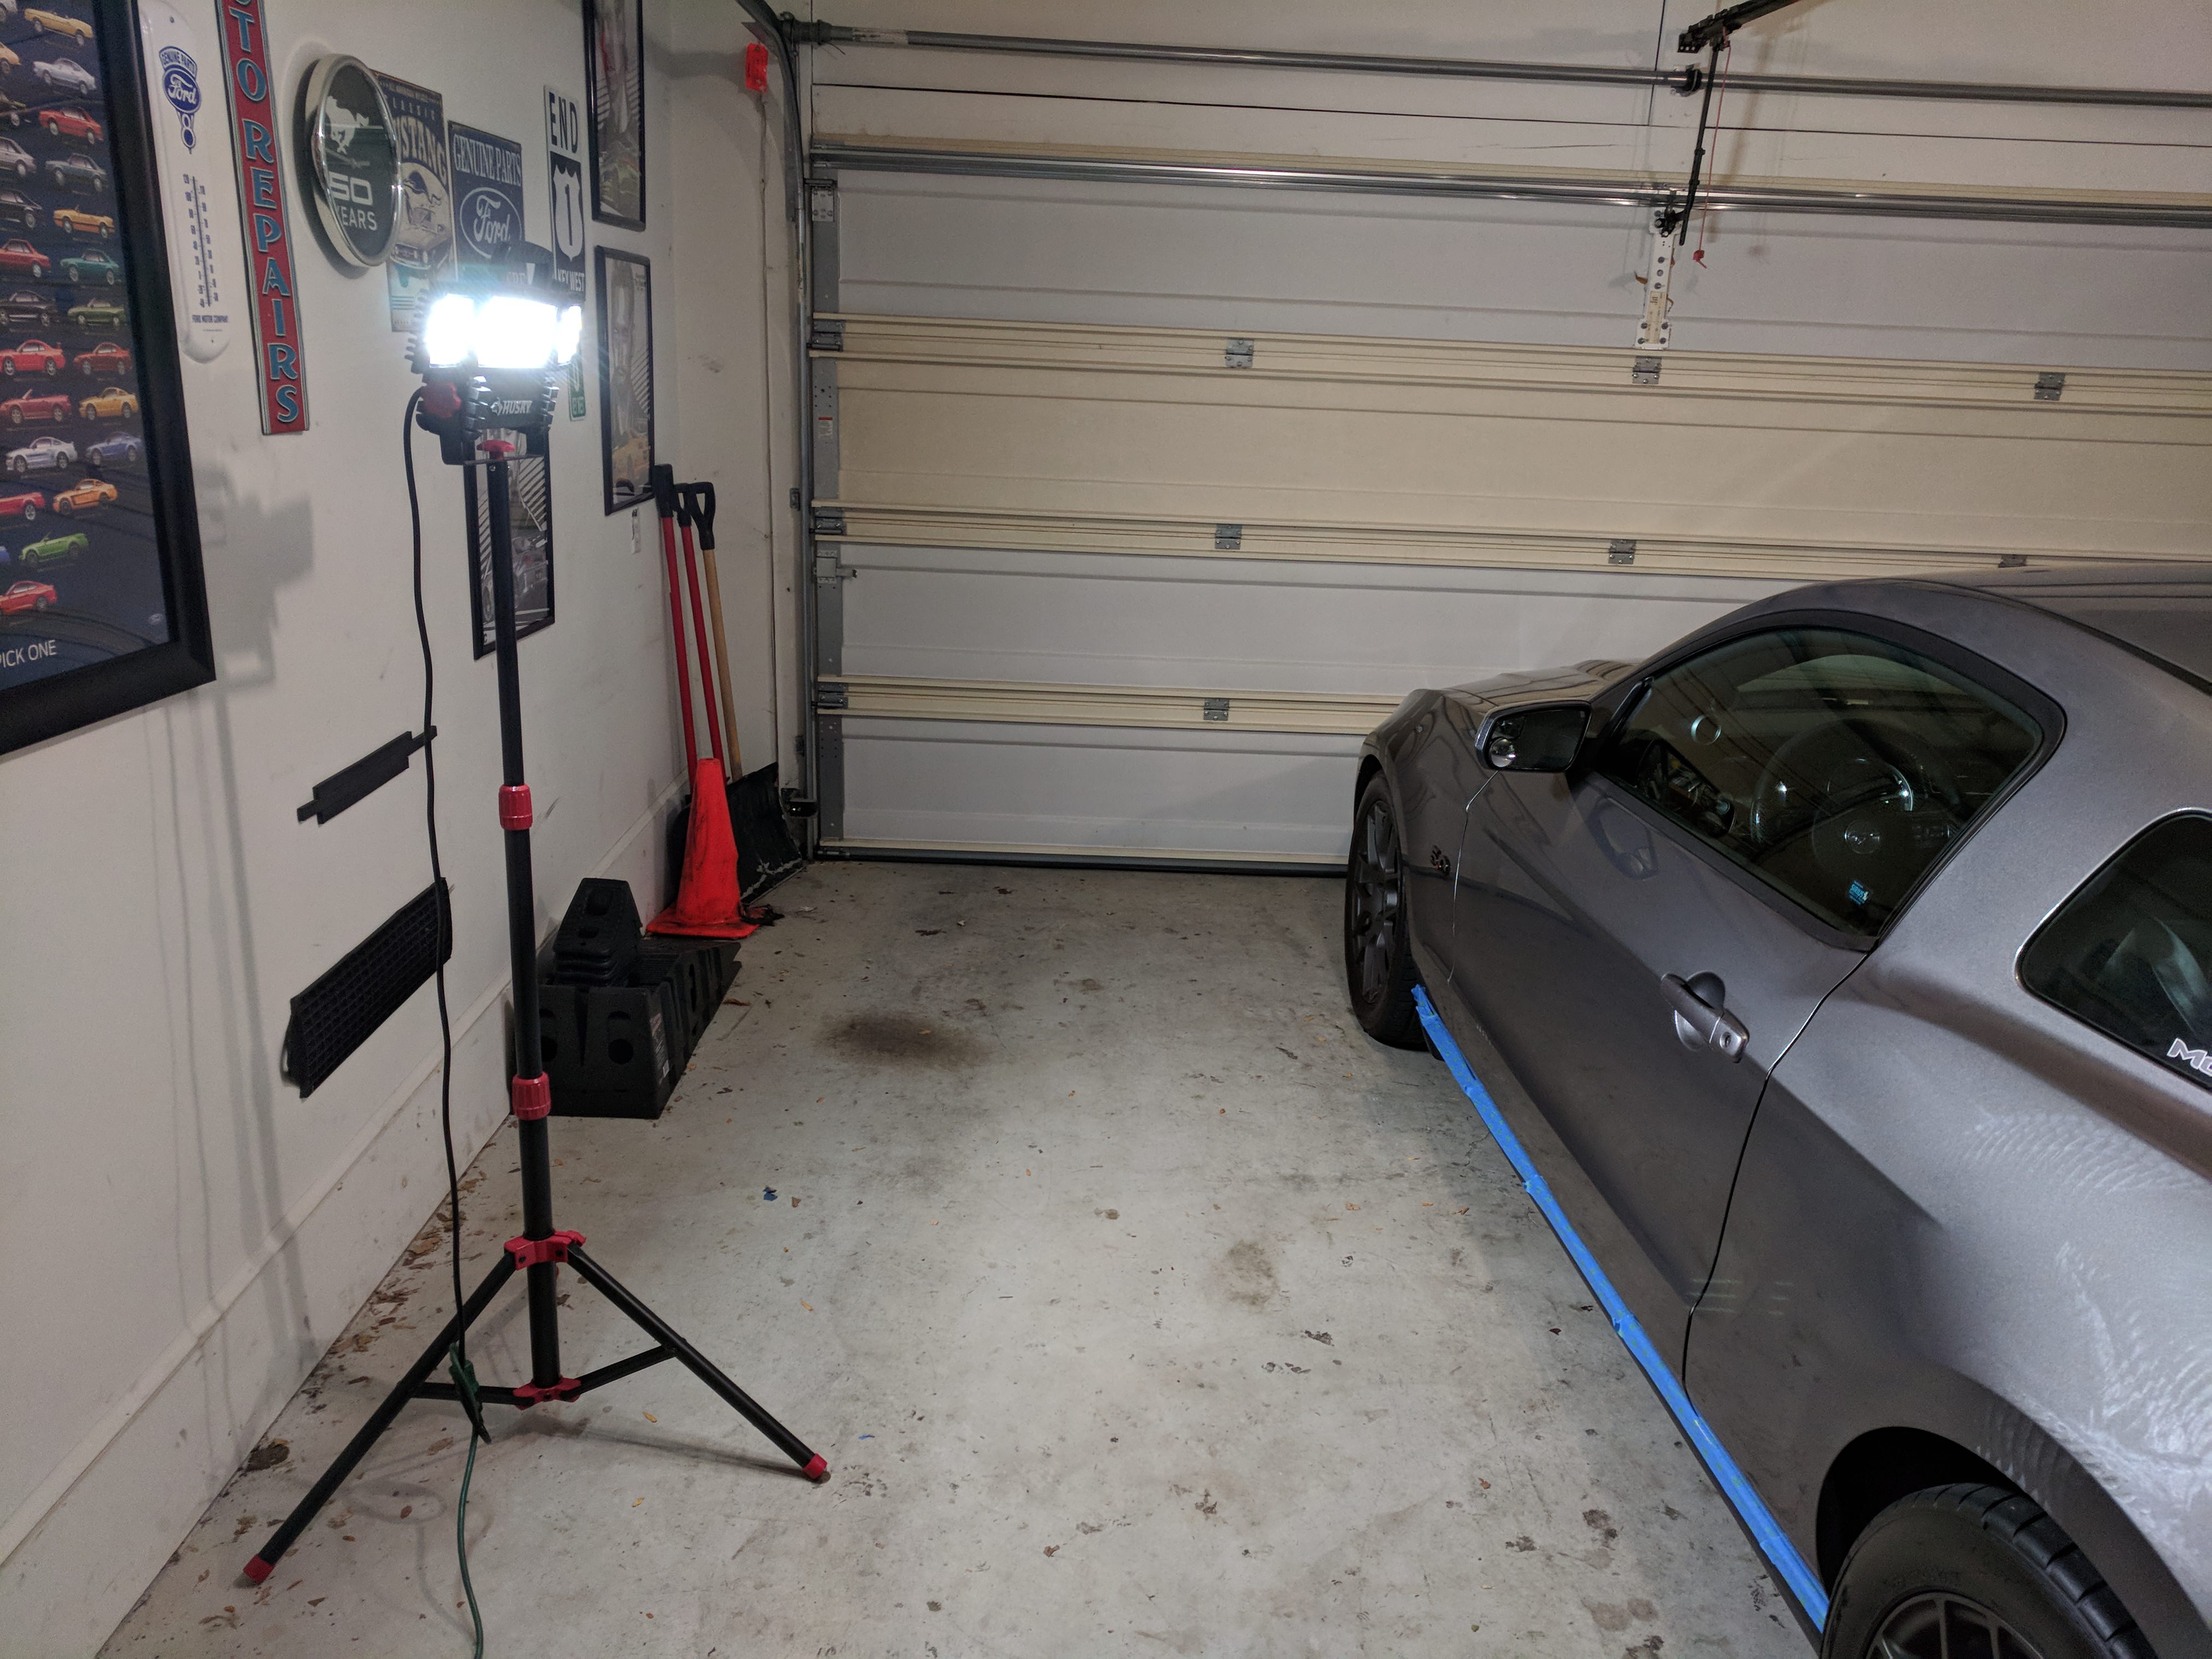
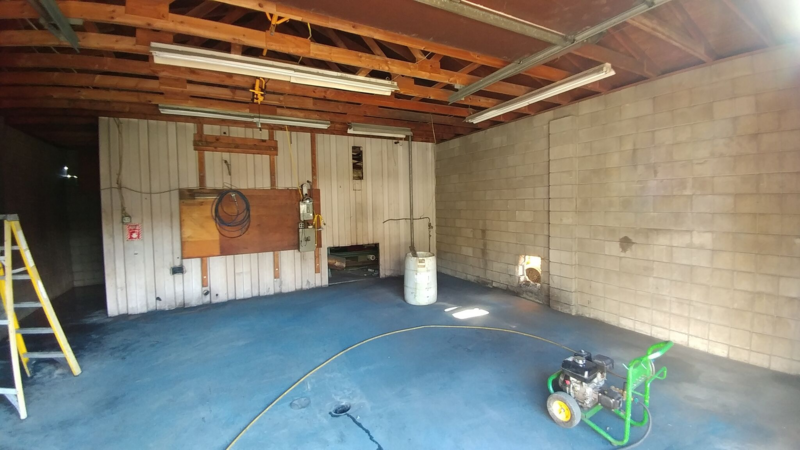
STEP ONE: CLEAN THE GARAGE

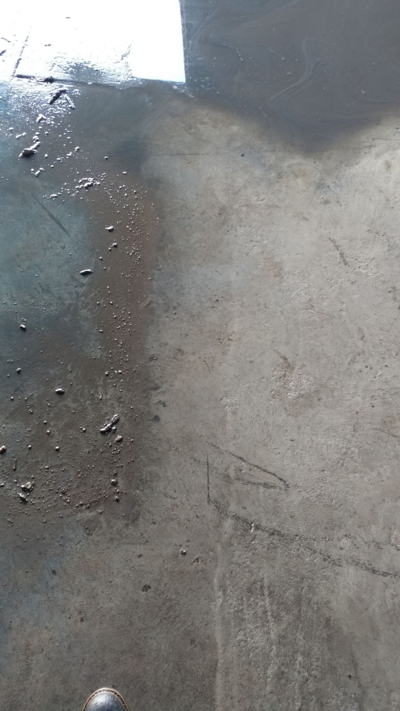
After spending about 3 hours emptying the garage out its time to pressure wash this ugly dirty floor and get ready for some winter mustang work.
We used the bay for painting a few months ago.. its a real mess.
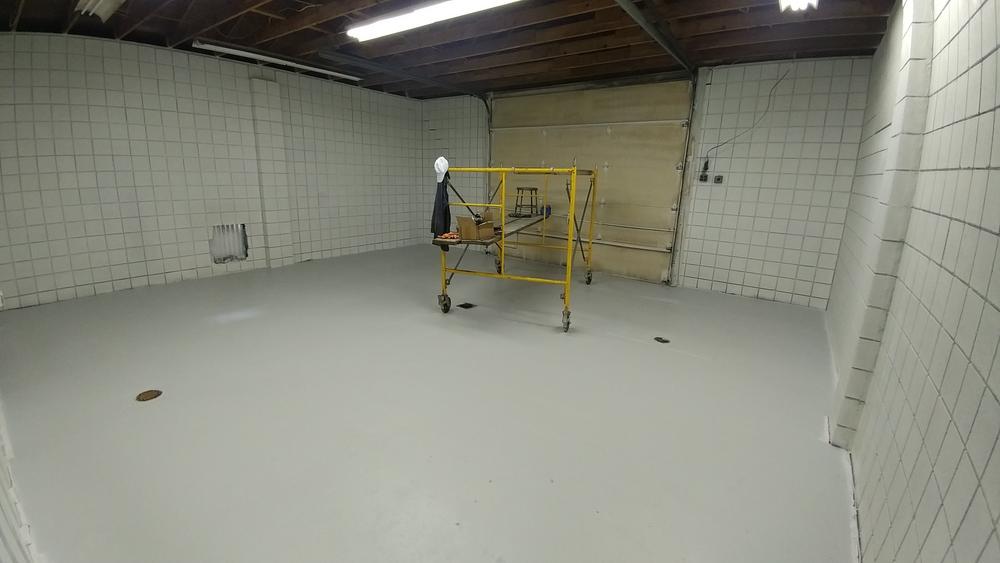
Going to add some overhead lights, paint the floor and walls. Lots of powerwashing going on.

khmuPym.png
.
1rWefuO.png


To Be Continued...
 
Last edited:

05sonic4.6

forum member
Joined
Nov 15, 2015
Posts
299
Reaction score
5
Location
Central NJ
Saw that motor on eBay! I was seriously considering getting it, guess you beat me to the punch. Good luck!
 

palanza7

forum member
Joined
Apr 6, 2015
Posts
648
Reaction score
16
Making progress. Next up is to paint the walls to make it brighter in there.

4Ui7UxT.jpg
 

palanza7

forum member
Joined
Apr 6, 2015
Posts
648
Reaction score
16
Alright update time. After A LOT of cleaning, I bought some macro-poxy paint from sherwin williams and did up the floor. Two coats.. surprised how expensive that stuff is.

With the floor looking so nice had to go and throw a coat of white paint on the walls too. Found 5 gallon buckets of masonry paint at Ollies for 30.00 a pop. Used a high volume sprayer and away it went.

MUCH better work space now.

r5YElFw.jpg


Next up, time to crack into this engine from ebay.
I'd like to say that this guy SET THE STANDARD for shipping a long block. Dear lord what a legend. I can't believe how well crated up this thing was.

J7zJo0L.jpg

sAIHyF4.jpg


Honestly look at this attention to detail lol

XuE6JXt.jpg


So I'm starting to feel better that this guy is legit and what he says is in the engine is actually inside.
Also either he really washed this thing (doesn't look like it) or he really kept a clean ride.

7XGHQzP.jpg


pnPKqcR.jpg


3ZHgQ3X.jpg


QXCefXS.jpg


I thought I was buying a used engine lol this thing looks practically brand new.

Got it up on the engine stand. Going to be a bit before I tear into the car, first step is going to be finish stripping the engine bay and do a full sand/putty/paint. Going to attempt to pull off a wire tuck. We shall see.

I'm wondering if I should shoot some WD40 or something down the plug holes to keep the cylinders lubed up while it sits? I also want to take a valve cover off and verify the stage 3 cams are really in there.
 

46addict

13726548
Joined
Aug 25, 2016
Posts
1,832
Reaction score
56
Location
Lawrenceville, GA
That garage looks like a lab now. Nice work.

As for WD40 into the plug wells, it's the carbon buildup and heat cycling that separates the plugs. Just sitting there at room temp shouldn't hurt anything. When you're checking the cams I'd pull the front cover off too and make sure those MMR chain guides are in good order. If it was my motor I might even pull them off and install OE plastic guides, but that's just me.

Then I'd turn it over by hand to make sure nothing is hitting anything just because my luck sucks. There's probably nothing wrong with the engine but checking stuff is way easier to do when the motor is on a stand.
 

Pentalab

forum member
Joined
Mar 5, 2013
Posts
5,211
Reaction score
1,093
That is a sweet garage.

Pics of the patient (car)?

Finish the ceiling off, and it will look like a Nasa clean room. Put plenty of lighting in there. Buddy of mine just recently bought a new house..and he is into body work, etc. He had the contractor come back, and quadruple the lighting. Makes a big difference at night. Then no shadows anywhere.
 

swflastang05

Back for More
Joined
Dec 21, 2013
Posts
2,098
Reaction score
120
Location
N. Ft. Myers, FL
Congrats on the new engine, and yes it was packed better than any I've seen! And the invitation still stands if you want to come fix up my garage like that haha
 

palanza7

forum member
Joined
Apr 6, 2015
Posts
648
Reaction score
16
That garage looks like a lab now. Nice work.

As for WD40 into the plug wells, it's the carbon buildup and heat cycling that separates the plugs. Just sitting there at room temp shouldn't hurt anything. When you're checking the cams I'd pull the front cover off too and make sure those MMR chain guides are in good order. If it was my motor I might even pull them off and install OE plastic guides, but that's just me.

Then I'd turn it over by hand to make sure nothing is hitting anything just because my luck sucks. There's probably nothing wrong with the engine but checking stuff is way easier to do when the motor is on a stand.

I mean I'm concerned about it sitting without oil in the cylinders. Going to be a rough start up with 0 oil on the cylinder walls and I surely don't want any rust build up in there.

Ugh hate to tear this thing apart. It seems like its in such good shape.
 

palanza7

forum member
Joined
Apr 6, 2015
Posts
648
Reaction score
16
Congrats on the new engine, and yes it was packed better than any I've seen! And the invitation still stands if you want to come fix up my garage like that haha

HAHA man this was so much work. I'm gonna have to pass!!


Finish the ceiling off, and it will look like a Nasa clean room. Put plenty of lighting in there. Buddy of mine just recently bought a new house..and he is into body work, etc. He had the contractor come back, and quadruple the lighting. Makes a big difference at night. Then no shadows anywhere.

Yeah I have some newer lights to install just been busy. That's the main reason I painted the walls. MUCH easier to see.

That is a sweet garage.

Pics of the patient (car)?

I'll have to snag some from my old thread.
 

eighty6gt

forum member
Joined
May 9, 2011
Posts
4,292
Reaction score
403
If he lubricated the cylinder walls prior to assembly, or if the car has been running, it's just as though you have turned it off for the winter, etc... so it's not like it's going to rust.

I put 24x A19 LED 60w equivalents in my garage. It's bright, and I even ran them near the edges so there were no dark spots where you're changing tires, etc... Then have two florescent banks at the front to work under. The last time I built a car I did it on a dirt floor with 2x bulbs 20' up in the air. Only worked in the summer.

Currently designing a stove so I can warm up and dry out my garage. Wood! Secondary combustion!
 

Sky Render

Stig's Retarded Cousin
S197 Team Member
Joined
Feb 24, 2011
Posts
9,463
Reaction score
357
Location
NW of Baltimore, MD
I rent, so this is my lighting solution:

X4QGkrs.jpg


$100 from Home Depot.

That blue tape is so I don't get wax on the skirts.
 

weather man

Persistance Is A Bitch
S197 Team Member
Joined
Mar 3, 2012
Posts
13,332
Reaction score
152
Location
MN
Use fogging oil if you really want to give the cylinder walls a little protection. I would not use WD-40.
 

palanza7

forum member
Joined
Apr 6, 2015
Posts
648
Reaction score
16
Updates!

Currently doing some dry-fitting to get an idea of what sort of engineering I have ahead of me to build a 10rib belt system in front of the DOB manifold. Anyone know if the GT500 tensioner is stronger than our s197s? I have some mock ups already of where I'm going to put it, along with some belt changes.
HaIfF22.jpg


Also just bought some SUSPENSION UPGRADES -

BMR SP009 Springs
Viking Shocks for the rear
relo brackets
2013 gt500 ic pump
new motor mounts
extended whipple snout

droooool
 

travelers

Senior Member
Joined
Apr 6, 2007
Posts
3,028
Reaction score
79
Location
Eastern Pa
That's looking good. Are you staying with the stock damper? When I installed my 2.3 whipple and oil pump gears, I installed a ATI damper to keep everything under control.
 

palanza7

forum member
Joined
Apr 6, 2015
Posts
648
Reaction score
16
That's looking good. Are you staying with the stock damper? When I installed my 2.3 whipple and oil pump gears, I installed a ATI damper to keep everything under control.

there is an ATI behind that big boy 10rib in the front! haha
 

Latest posts

Support us!

Support Us - Become A Supporting Member Today!

Click Here For Details

Sponsor Links

Banner image
Back
Top