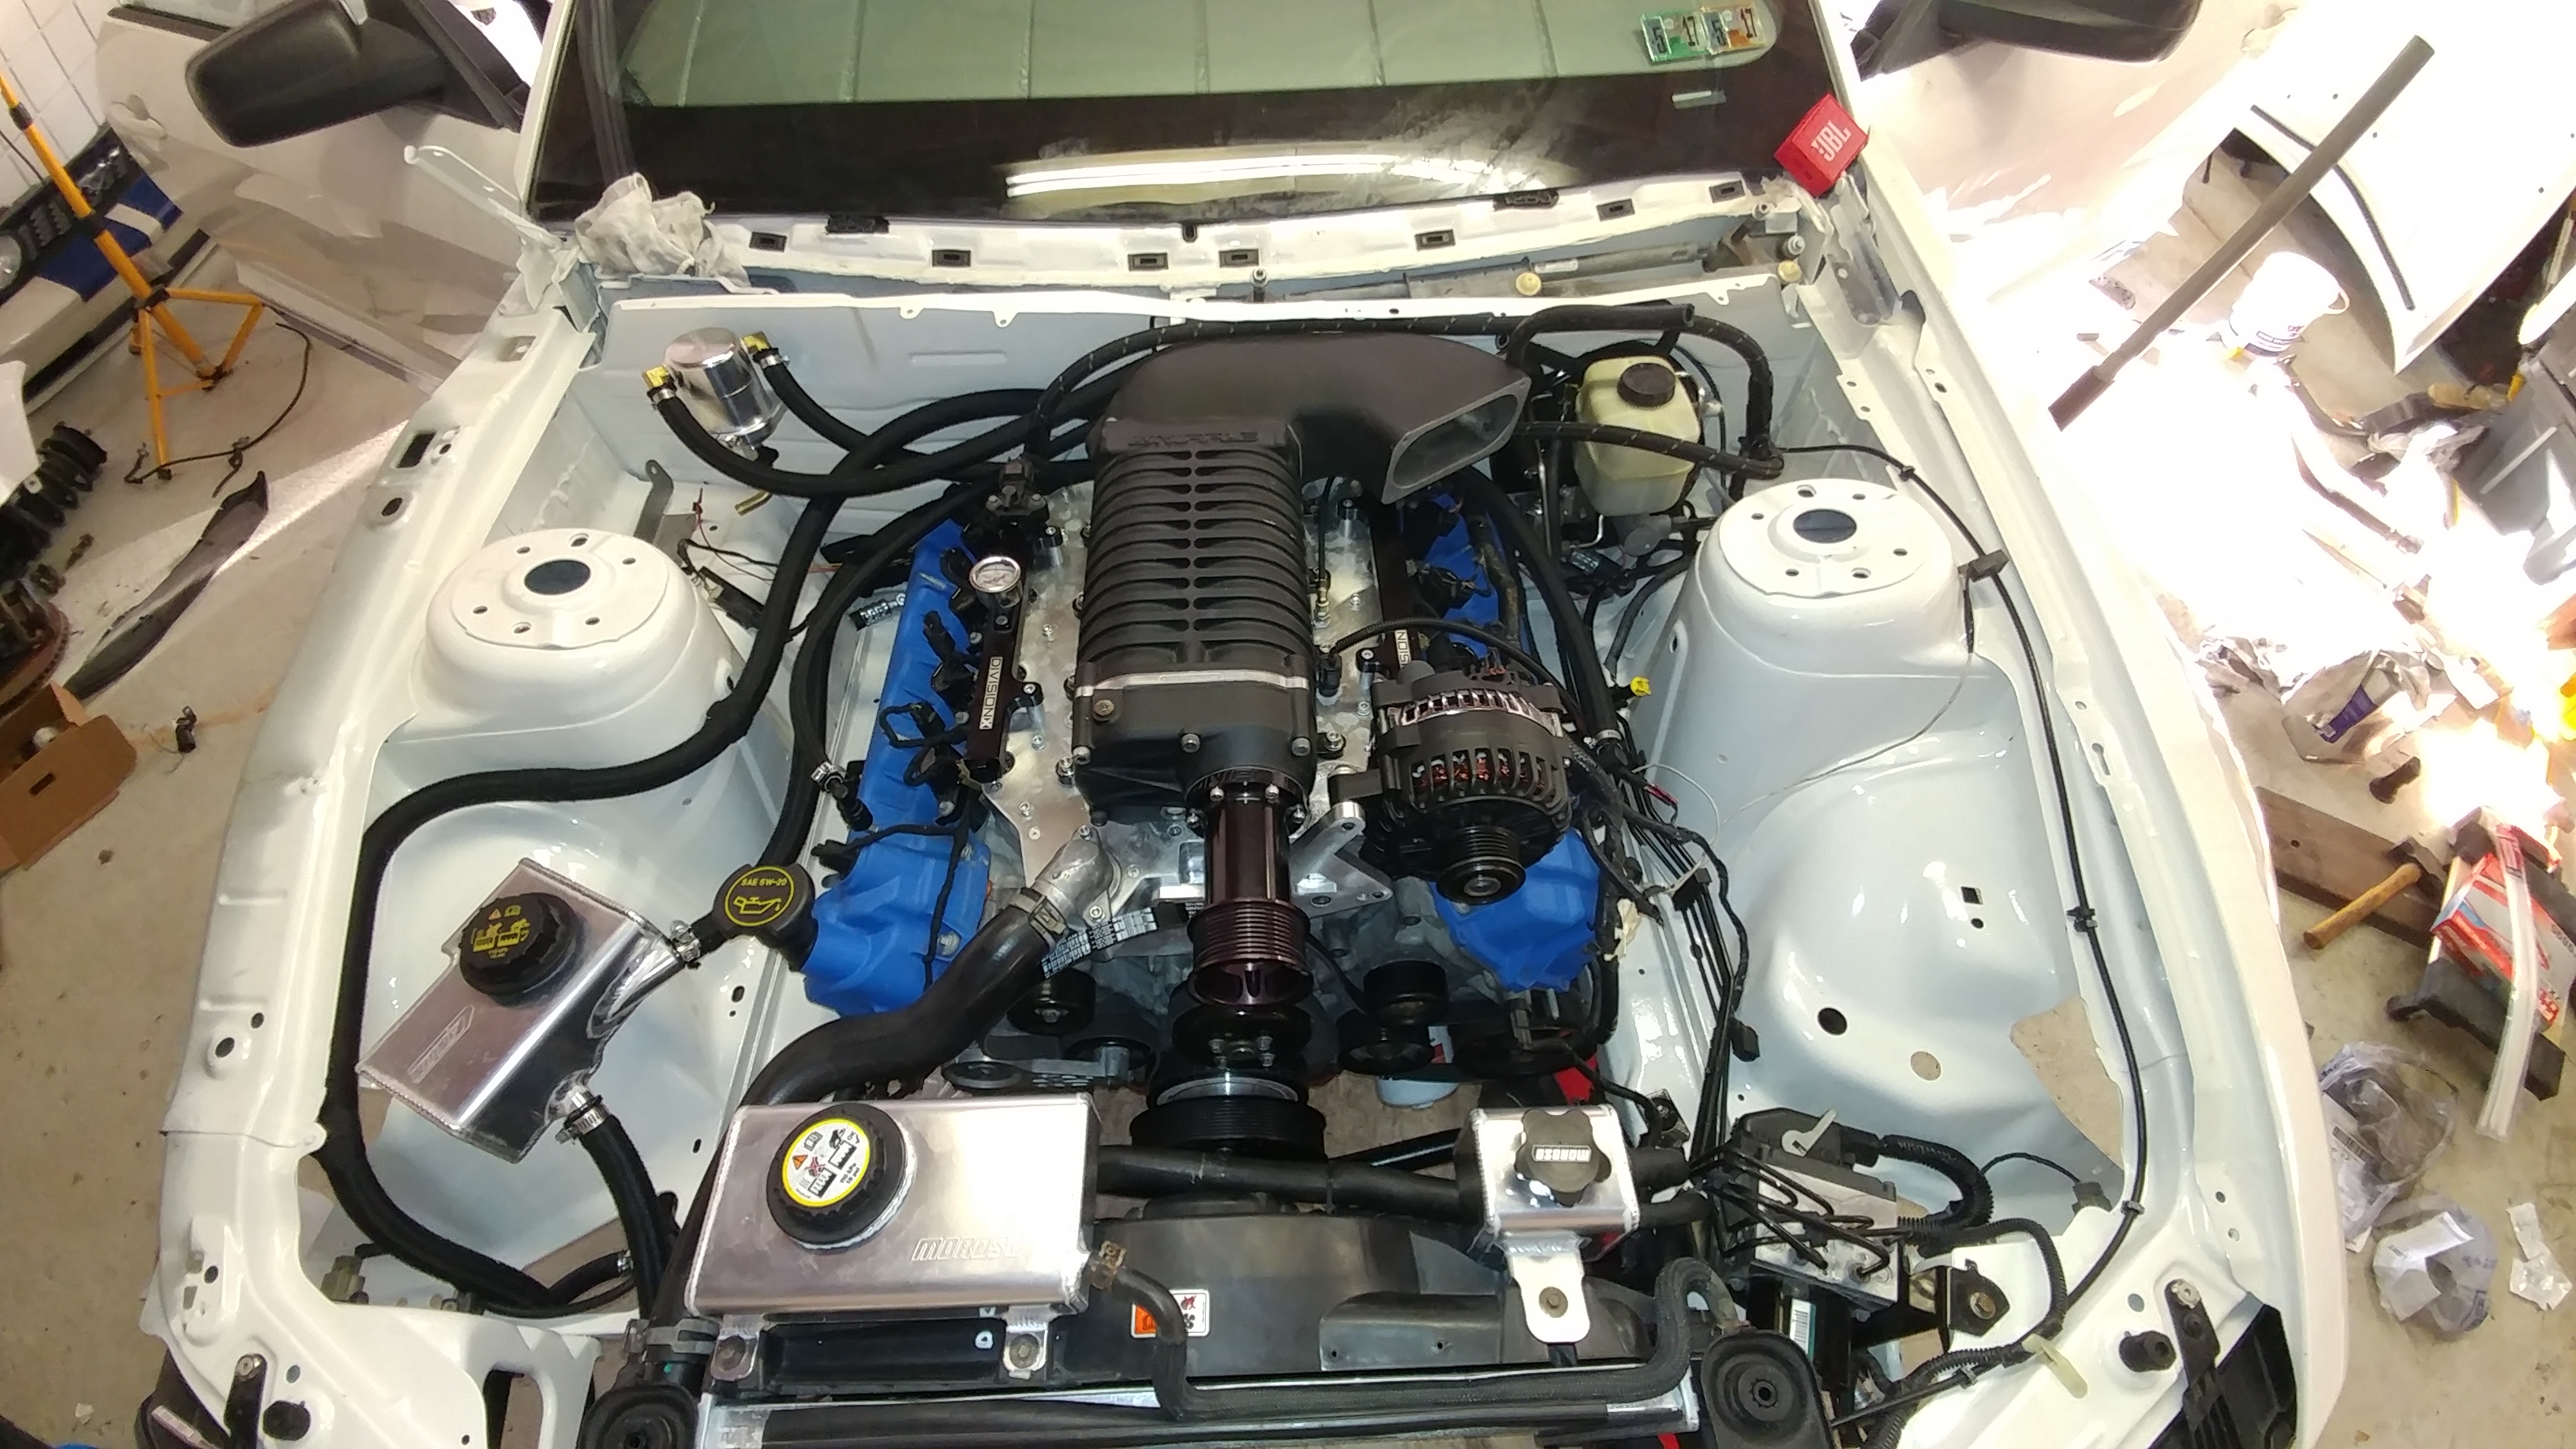
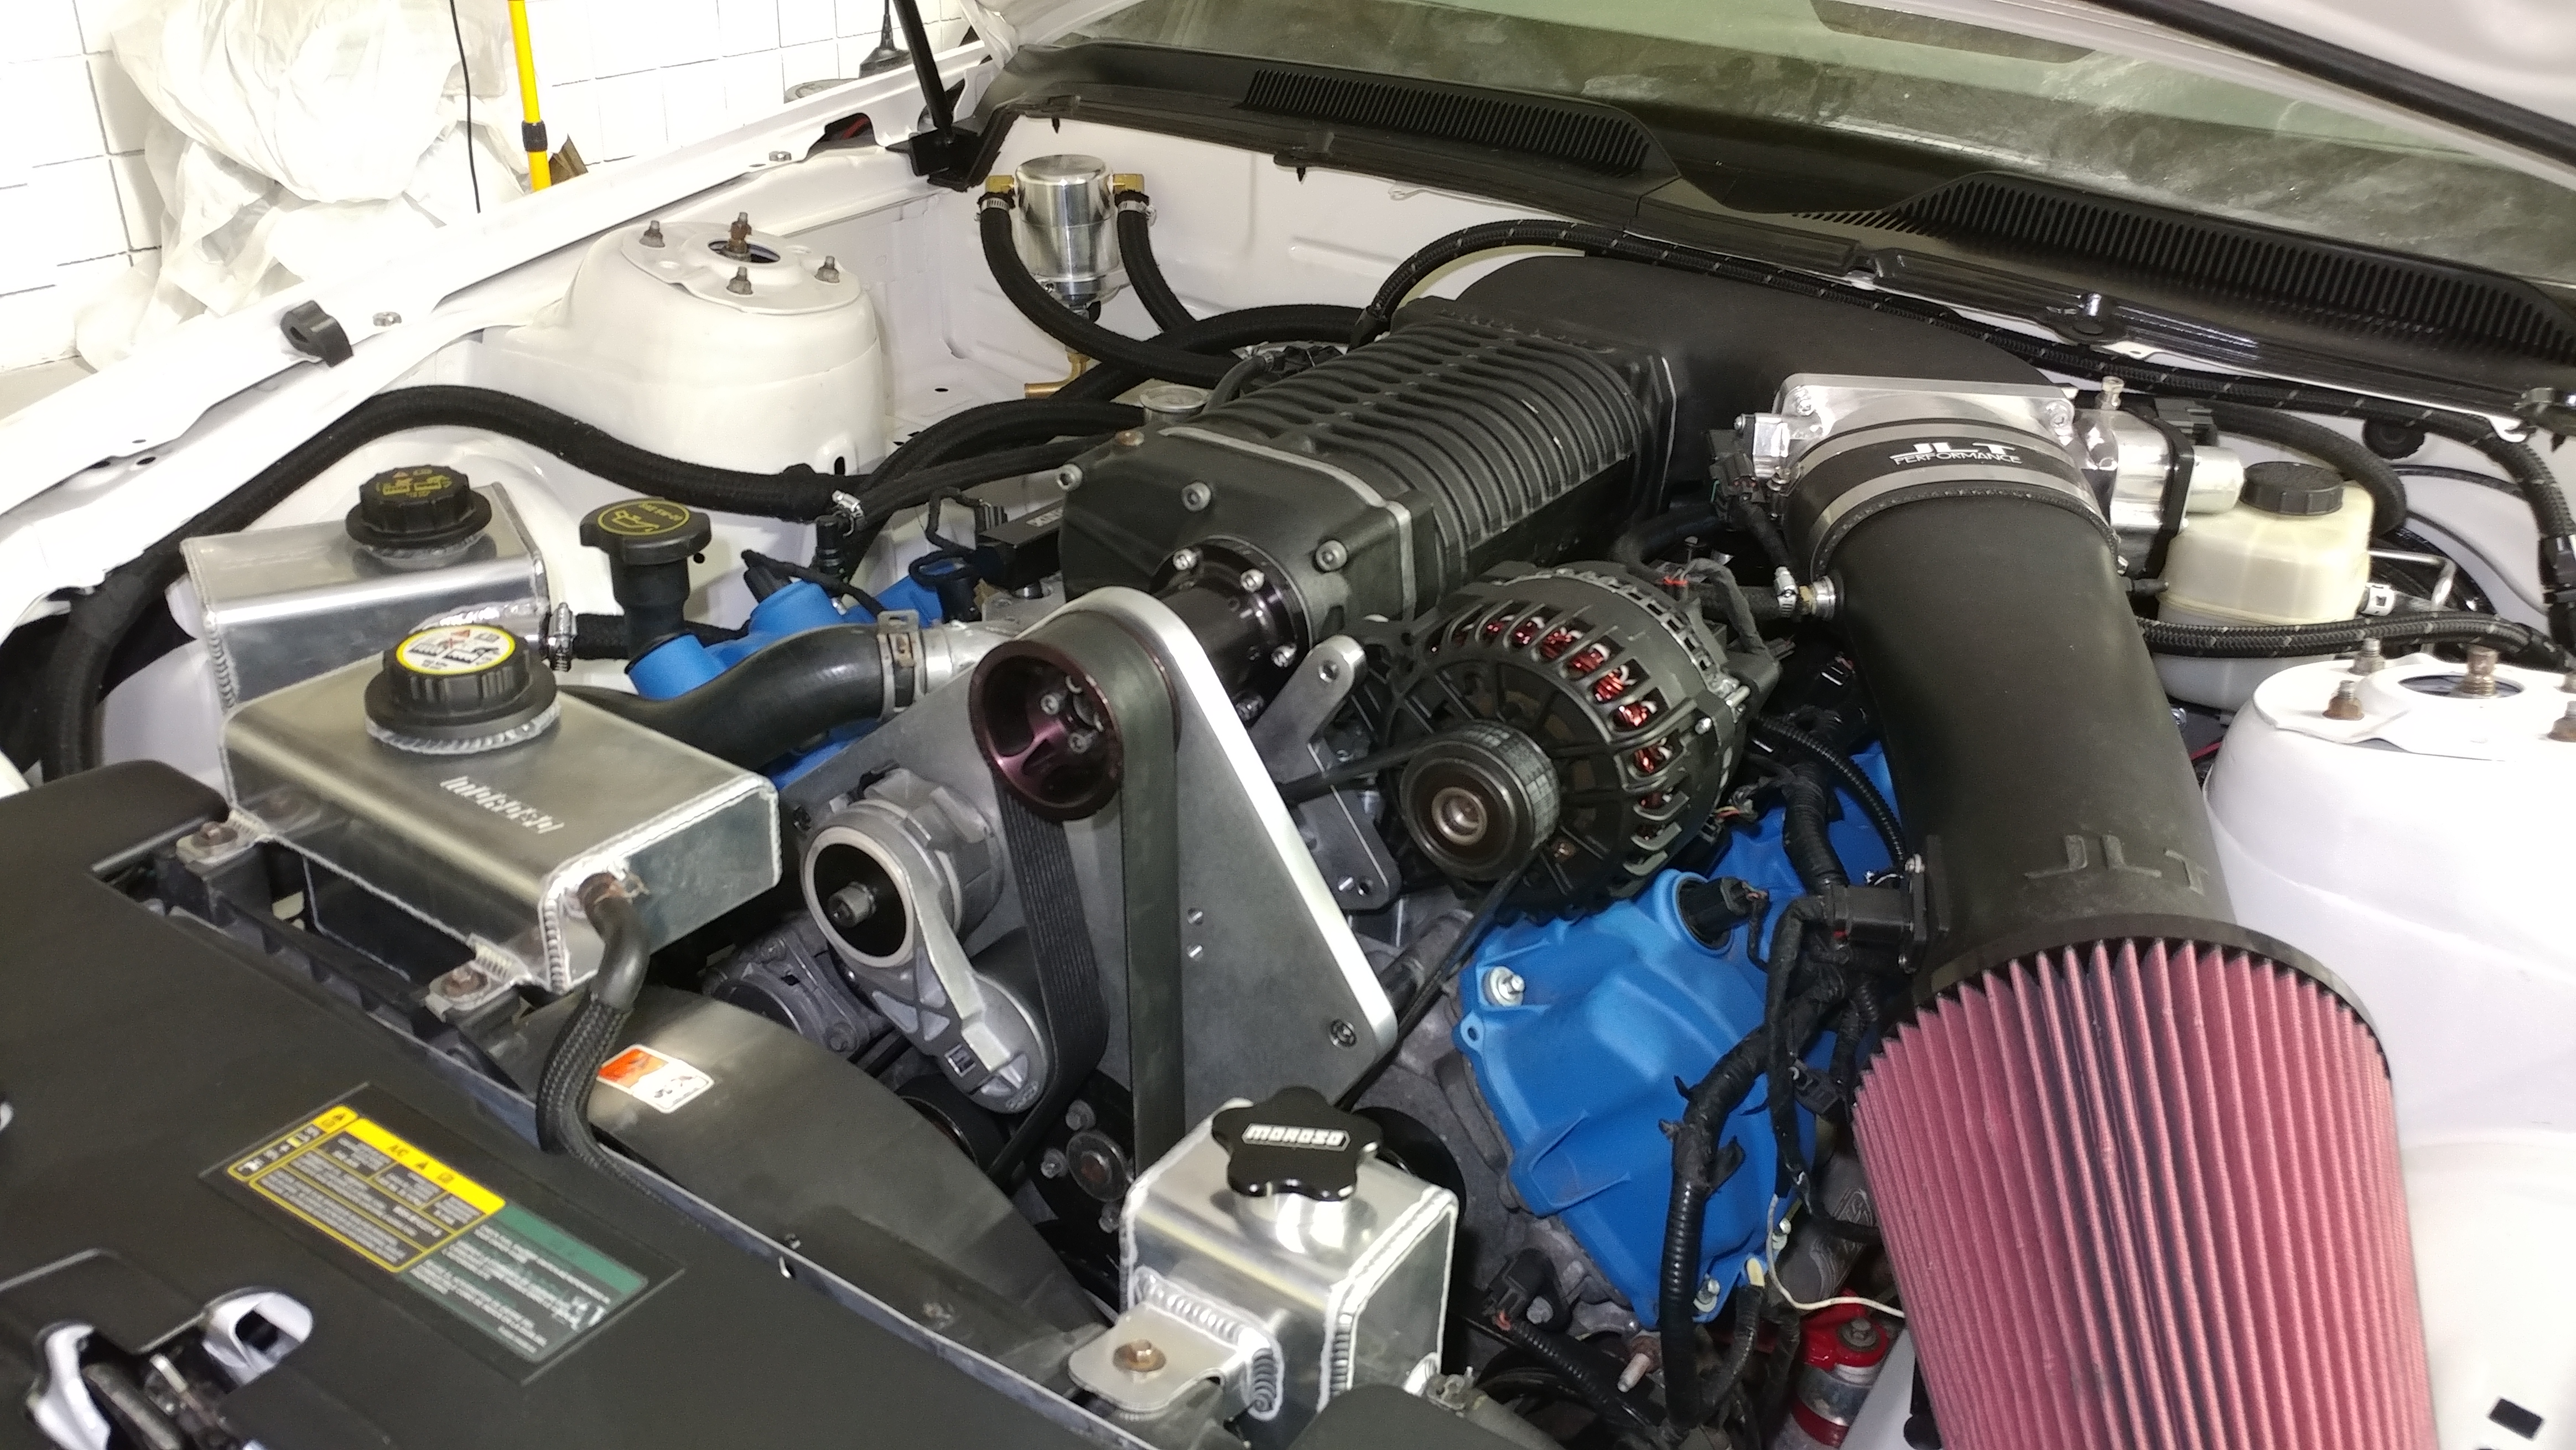
06 Mustang GT Build ROUND 2

palanza7

forum member
Joined
Apr 6, 2015
Posts
648
Reaction score
16
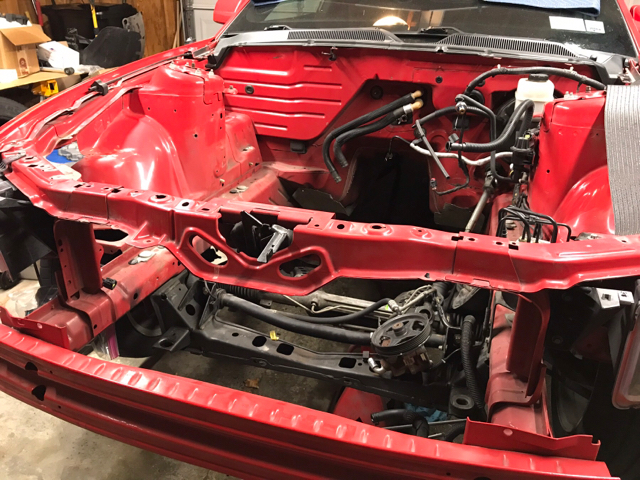
I’m very glad I read this. I am at this stage, prepping to paint, but my seams are slightly different and I want to clean them up. I’ve been talking on a body repair group on Facebook, and some recommended epoxy, but others said to weld it for strength.
Can you give a little more info about weakening it if welded?
52fdb5d99337f97fb395df69794612d0.jpg


Sent from my iPad using Tapatalk Pro


hey man just saw this sorry. honestly it seems to come down to its up to you if u want to risk it. i found a pretty big 50/50 split on people saying its no big deal, or that its bad. everyone agreed though that if you don't know what ur doing when welding you can cause a lot more damage by over heating.
 

RocketcarX

95% of my weight is fuel
Joined
Jul 19, 2011
Posts
2,738
Reaction score
220
Location
Colorado
hey man just saw this sorry. honestly it seems to come down to its up to you if u want to risk it. i found a pretty big 50/50 split on people saying its no big deal, or that its bad. everyone agreed though that if you don't know what ur doing when welding you can cause a lot more damage by over heating.
For perspective seam welding is standard issue stuff in road raced cars and even drag raced cars. The factory Ford FR500 cars were all seam welded.
 

raredesign

forum member
Joined
Apr 13, 2015
Posts
382
Reaction score
37
Location
Rochester, NY
hey man just saw this sorry. honestly it seems to come down to its up to you if u want to risk it. i found a pretty big 50/50 split on people saying its no big deal, or that its bad. everyone agreed though that if you don't know what ur doing when welding you can cause a lot more damage by over heating.

Thanks for the reply. No worries at all, as I’ve been doing a ton of reading the last few days and also opened up some discussions in auto body groups on Facebook, and found a retired industrial welder in my area that also does cars for our local track runners.

So apparently, if you weld, you need to weld the entire car to prevent creating stress points in the weaker areas. So if I weld the bay only, the next area back will flex even harder and can crack the windshield, etc. The next pointer is to stitch weld, which can be inch on inch off or inch on three inches off for instance.
Either way, the existing sealant would need to be ground out which can be a pain and then resealed.

Overall, I decided to not do it, and will just spot weld the holes I want closed, and grind off the evap valve bracket on the driver’s tower, then smooth out with some metal epoxy filler and spray with epoxy sealer. I am considering using seam sealer and then painting. Wish me luck.

Yours looks awesome!


Sent from my iPad using Tapatalk Pro
 

raredesign

forum member
Joined
Apr 13, 2015
Posts
382
Reaction score
37
Location
Rochester, NY
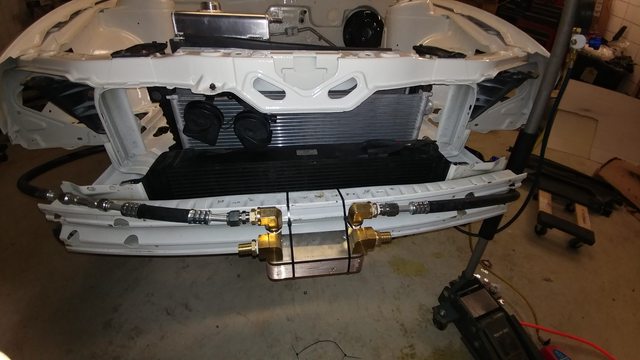
That’s fantastic! Is the chiller a replacement for the AC condenser? How does this work? Are you improvising on this or do you have an AC model you are going by?


Sent from my iPad using Tapatalk Pro
 

palanza7

forum member
Joined
Apr 6, 2015
Posts
648
Reaction score
16
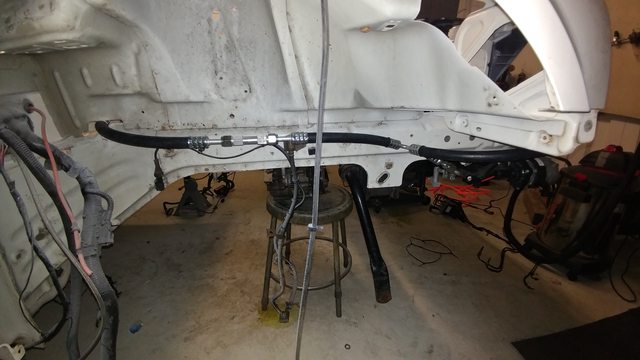
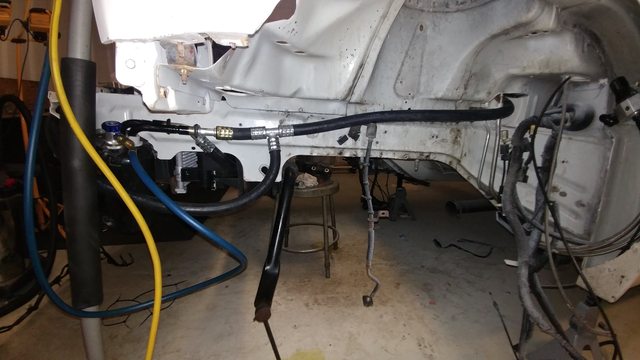
Lets just say i know why most people just rip out the entire a.c. system lol supreme pain in the ass so far. The chiller is tapped into my high side of the a.c. system in an effort to cool my intercooler fluid temps for my IATs. Obviously I got the idea from the killer chiller guys but I didn't want to pay 800 for their kit. I'm about 300 in materials. If it actually works is another story
 

palanza7

forum member
Joined
Apr 6, 2015
Posts
648
Reaction score
16
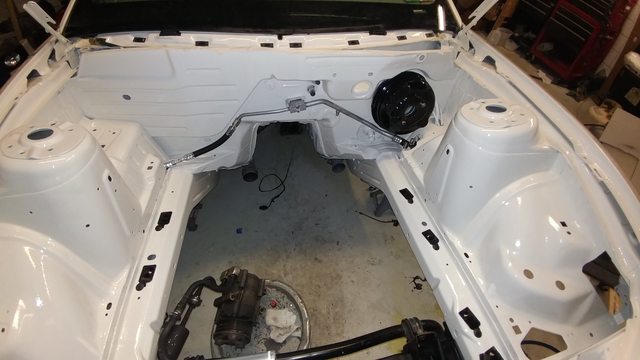
Been awhile working here and there on things. Finally got the A/C lines to seal up, was having a hell of a time with some poorly machined pipe fittings.
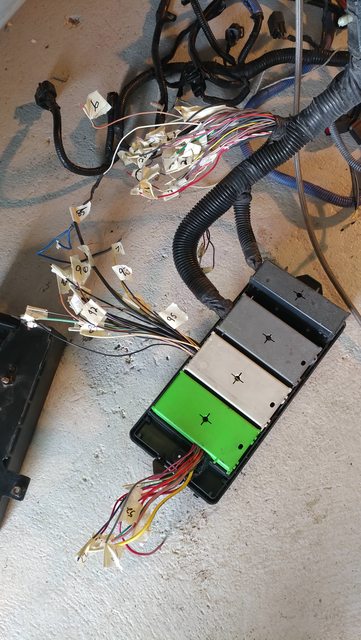
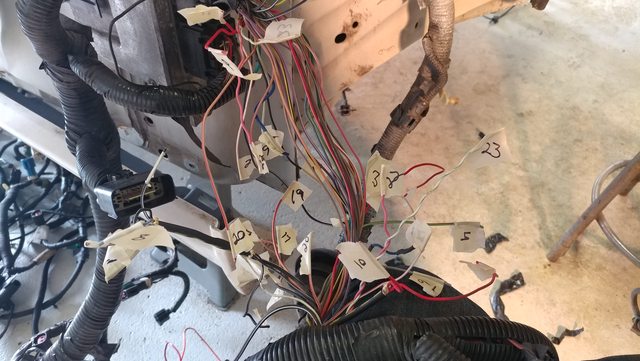
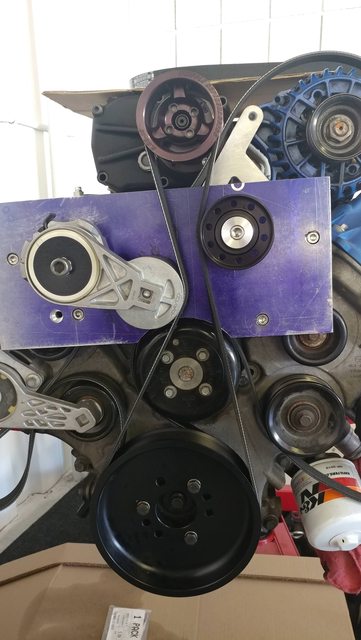
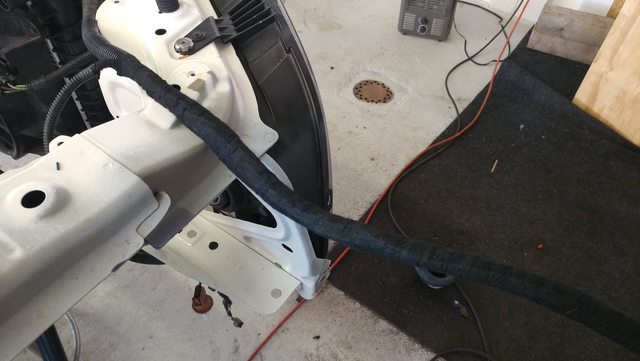
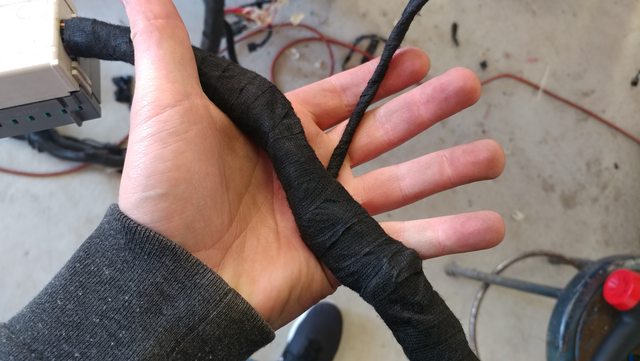
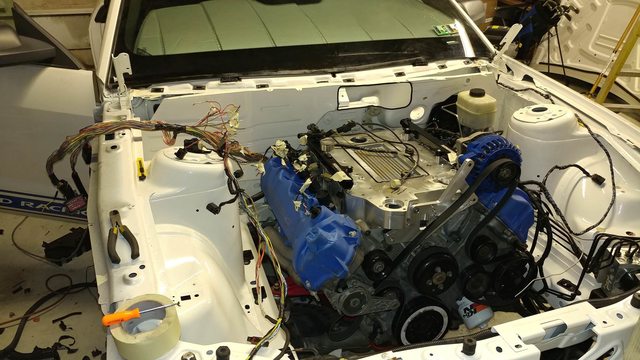
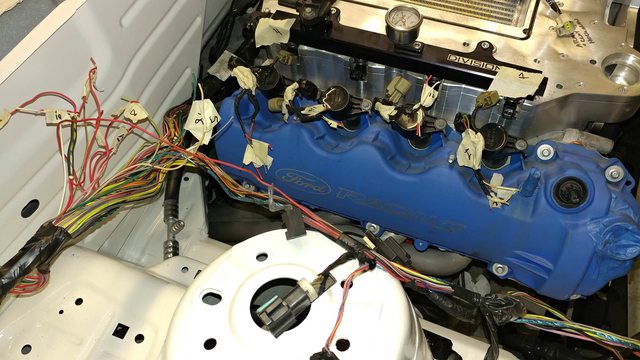
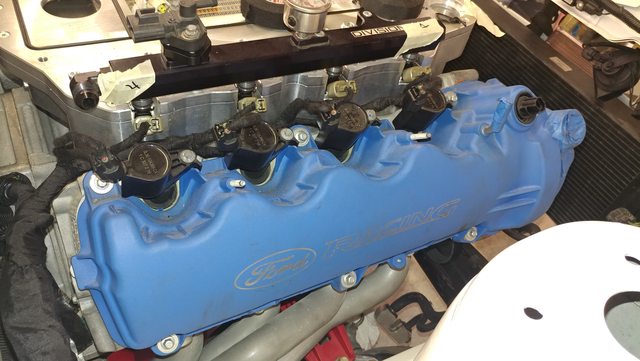
Began the wire tuck as well as the design of the plate to mount the 10-rib tensioner. One harness is done 3 more to go! haha

nPA51nDl.jpg


3rXO35kl.jpg

RktLCFHl.jpg

8KOFK51l.jpg

y07zX40l.jpg
 

palanza7

forum member
Joined
Apr 6, 2015
Posts
648
Reaction score
16
More wiretuck work going on now. Also you can see where I had to cut a hole in the firewall to clearance the 2.9 whipple lol

j4qQ3Qpl.jpg


ua8FkORl.jpg
 

palanza7

forum member
Joined
Apr 6, 2015
Posts
648
Reaction score
16
It's looking good so far. What's your time frame to have it on the street?

haha thats a good question. hopefully this summer, getting to the end of the wire tuck finally.

IaWjII5l.jpg

Still need to mount the battery in the trunk and then run power cables to the starter and fusebox as well as grounds to several places.
 

palanza7

forum member
Joined
Apr 6, 2015
Posts
648
Reaction score
16
motivation pic
i9OO0oc.jpg


Getting there! Put power to the battery terminals and nothing started burning so thats reassuring.
Have to clean up the wiring in the passenger side footwell now, install the battery box in the trunk, finish my custom s/c snout support and bolt everything up. Soon I'll be calling lito!! Ahh its exciting.

Few little issues along the way.. missing the retainer clip from the tranny clutch line, had to track that sucker down and order it, etc.
Can't wait to see if my A/C chiller works hah
 

palanza7

forum member
Joined
Apr 6, 2015
Posts
648
Reaction score
16
Alright shes all together. Custom DoB 450 2.9 Whipple S/C setup!! Just tuning now. Few little hiccups here and there but running strong. Looks like I have a leak in the transmission output shaft seal. Bummer but we will see how difficult the replacement is under the car.

EGxjIFC.jpg
 

palanza7

forum member
Joined
Apr 6, 2015
Posts
648
Reaction score
16
Did my first WOT tonight, 2k rpm to 4k rpm.. freaking hit 22 lbs of boost at 4k rpm. Shit. Not on e85 yet, whoops. Looks like I either gotta get a 4.0 pulley or just go for e85 now and send it lol
 

Latest posts

Support us!

Support Us - Become A Supporting Member Today!

Click Here For Details

Sponsor Links

Banner image
Back
Top