Deathstang II
Member
Want to first start off by saying hi! New to the forums and look forward to the many future forum threads.
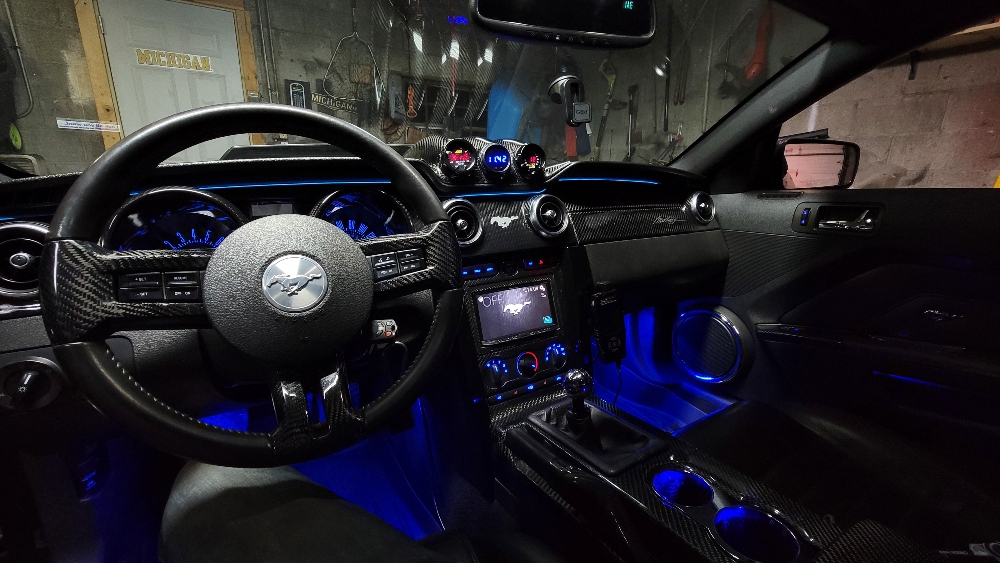
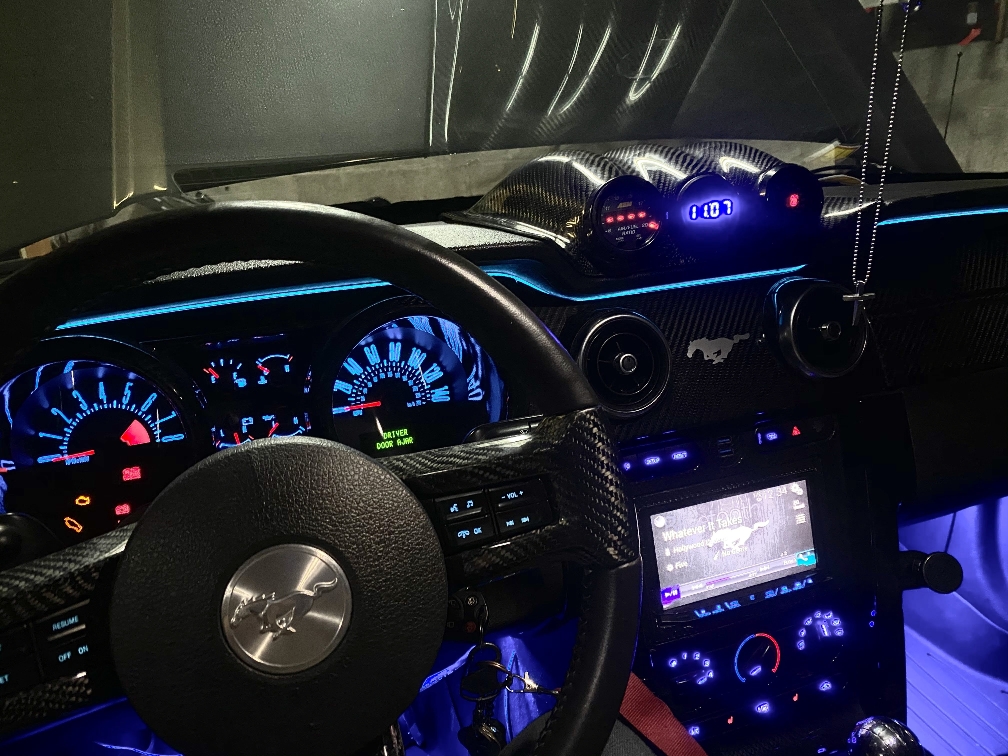
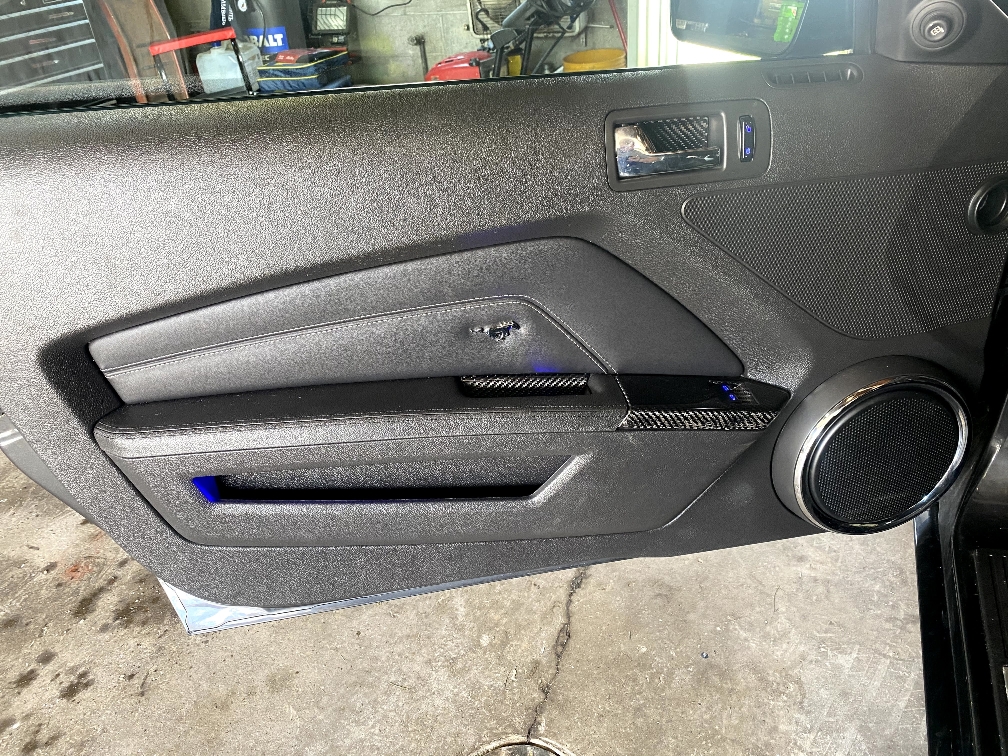
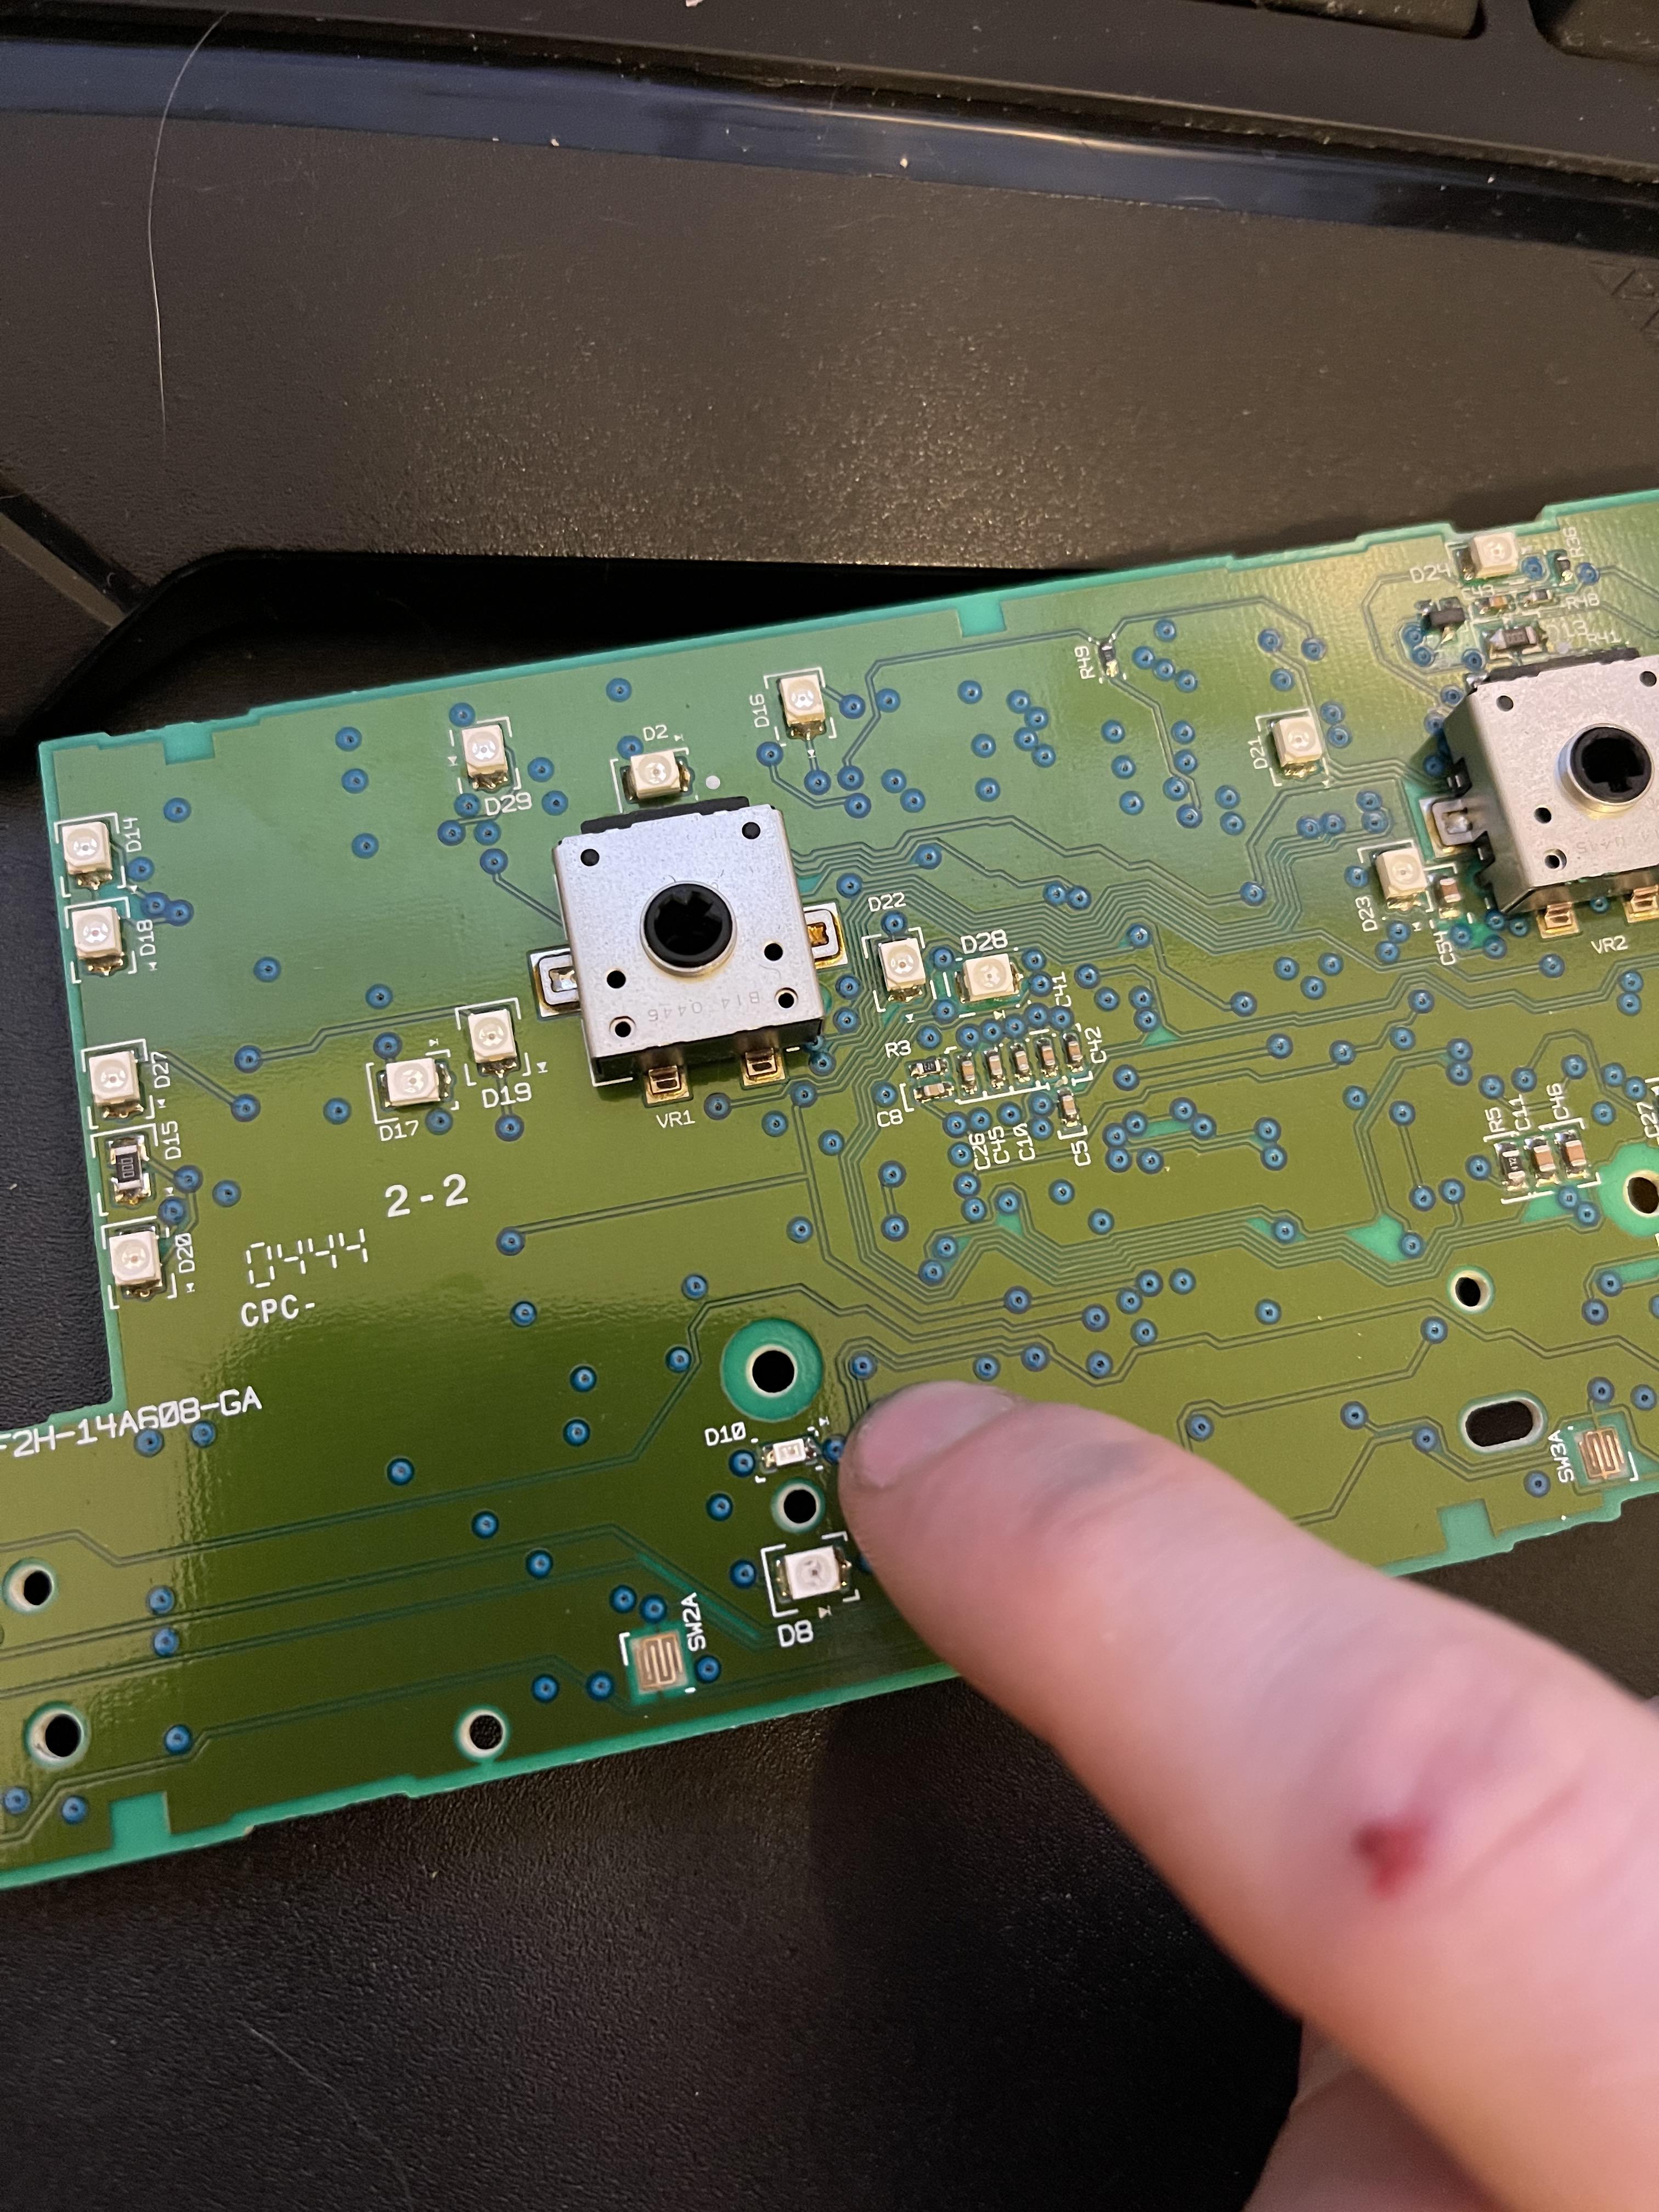
Been having this project I've been wanting to do for a while to change out the puke green interior lighting to Red in both the steering wheel controls, door locks, and HVAC. Only problem is for one I'm pretty low skilled with electrical than my mechanical work, so work with me here. Most extensive thing I've done was wired up fog lights on an old '98 Mustang I owned and even that was pretty tame.
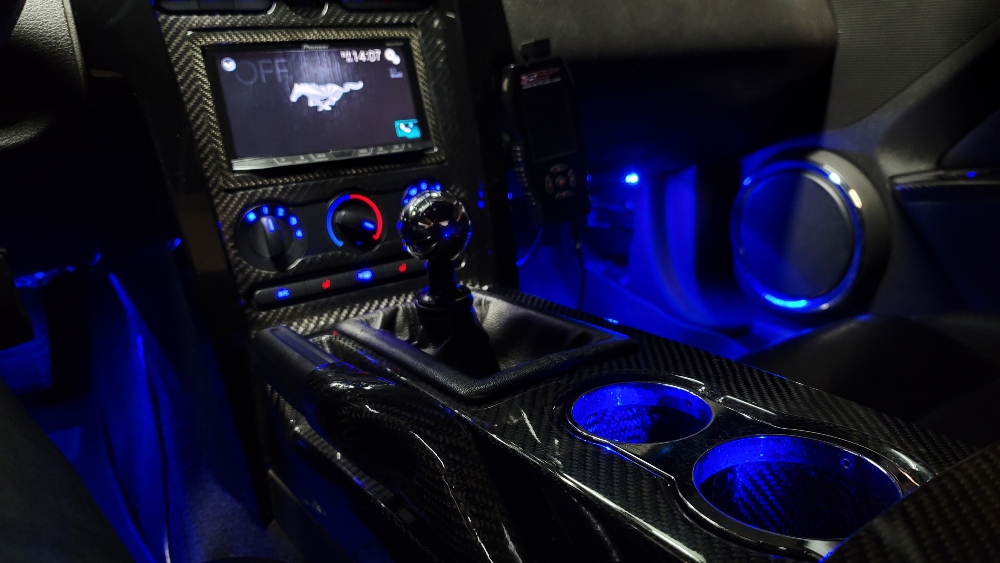
Now my '05 GT has the mycolor option if that helps any with this project and what I have to do. I also grabbed the processor module and wiring off a 2008 Mustang that's responsible for changing the colors in both the cup holders and ambient lightening in the footwells (if that'll help any as well).
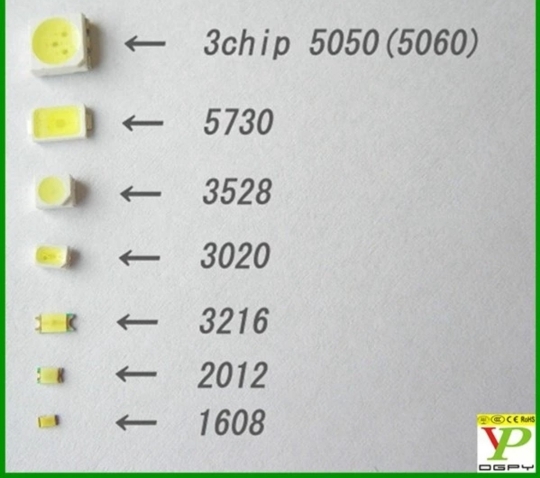
So really, I'm looking at possible options to do this. Any electrical brains out there know if it's possible to tap into the positive leads of saaaaay one of the lights in any of the above mentioned? (steering wheel controls, door locks, and HVAC) and wire it into the processor module of that 2008, or do I have to solder on new LED chips. Or hell is it possible to somehow program the mycolor crap to work. Thank you in advance.
Been having this project I've been wanting to do for a while to change out the puke green interior lighting to Red in both the steering wheel controls, door locks, and HVAC. Only problem is for one I'm pretty low skilled with electrical than my mechanical work, so work with me here. Most extensive thing I've done was wired up fog lights on an old '98 Mustang I owned and even that was pretty tame.
Now my '05 GT has the mycolor option if that helps any with this project and what I have to do. I also grabbed the processor module and wiring off a 2008 Mustang that's responsible for changing the colors in both the cup holders and ambient lightening in the footwells (if that'll help any as well).
So really, I'm looking at possible options to do this. Any electrical brains out there know if it's possible to tap into the positive leads of saaaaay one of the lights in any of the above mentioned? (steering wheel controls, door locks, and HVAC) and wire it into the processor module of that 2008, or do I have to solder on new LED chips. Or hell is it possible to somehow program the mycolor crap to work. Thank you in advance.