Hey guys. I'm new to posting on this forum, but I've read alot of you guys write ups before. I'm here today because I had posted on Facebook about me making a DIY Launch Control that doubled as a Wide Open Throttle shift. I'll list the parts i used then get on to how everything wired up. In this diy i used what i had laying around for really cheap.
Parts:
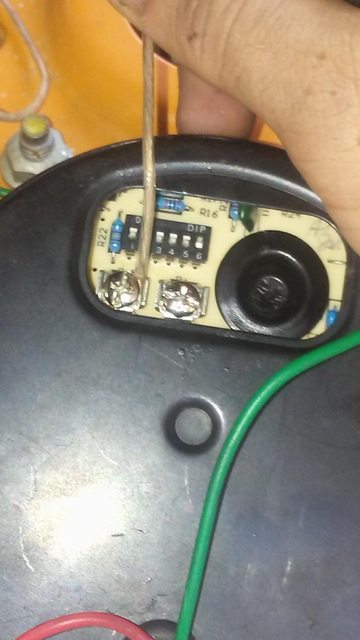
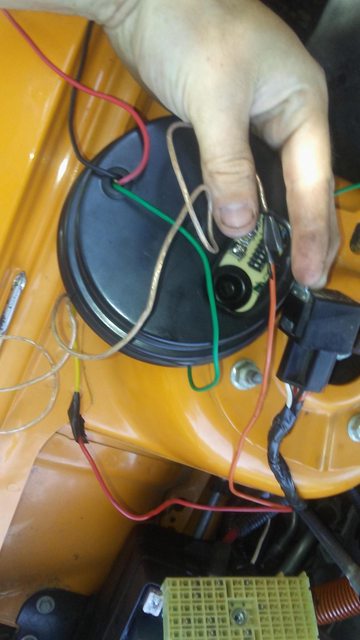
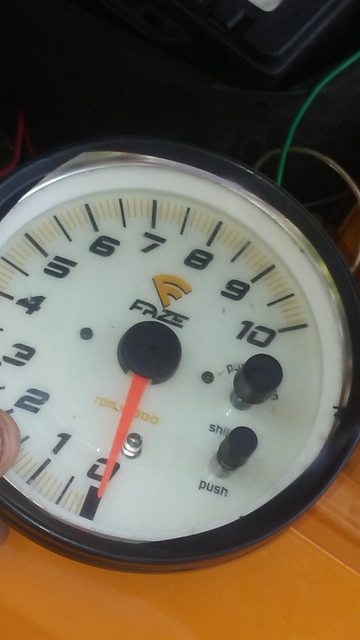
Faze 5" Shiftlight Tachometer*
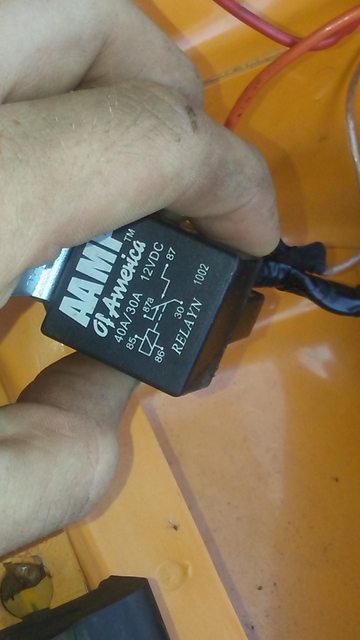
2 5pin relays (85,86 87/87a 30)
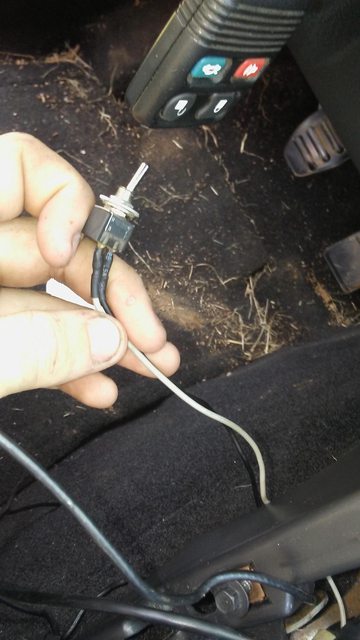
1 valet switch**
Lengths of wire.
Splice connectors
* any Shiftlight Tachometer will do
** any toggle will work
Alright guys now to the nitty gritty.
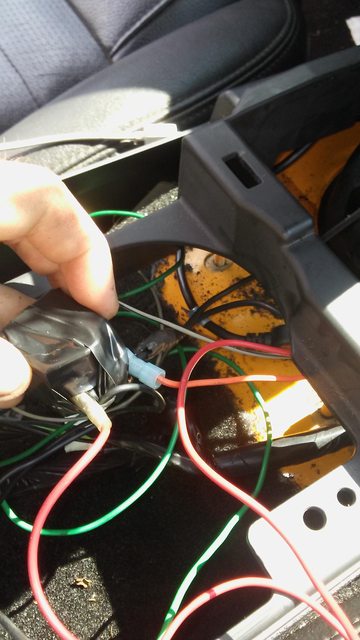
So if you have a tach adapter it would be better and more accurate if your connecting to a coil like you normally would, but i didnt have an adapter so i connected to a injector.
Phase one:
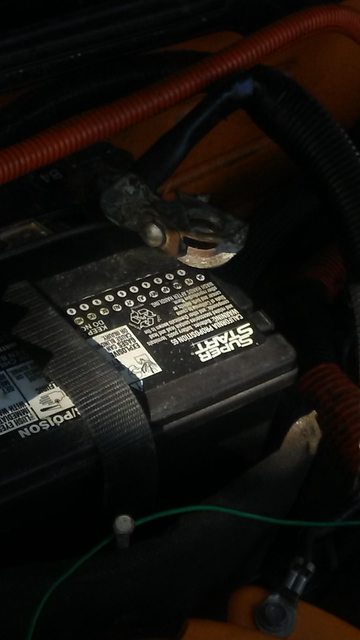
Step one- disconnect your battery
Step two- open your fuse box
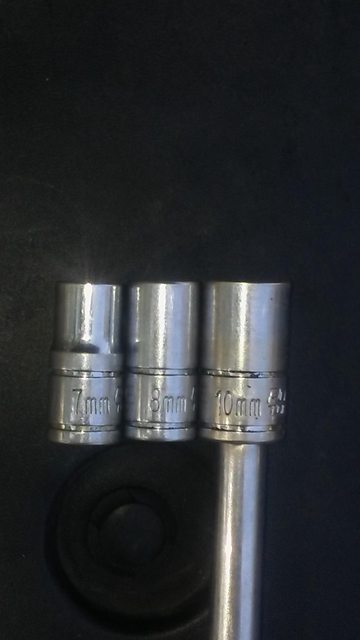
Step three- unbolt the 4 7mm bolt in the box
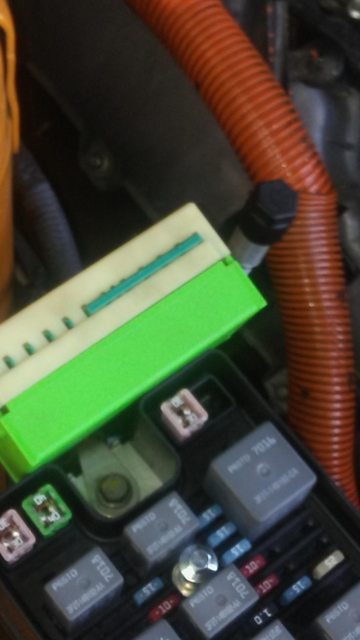
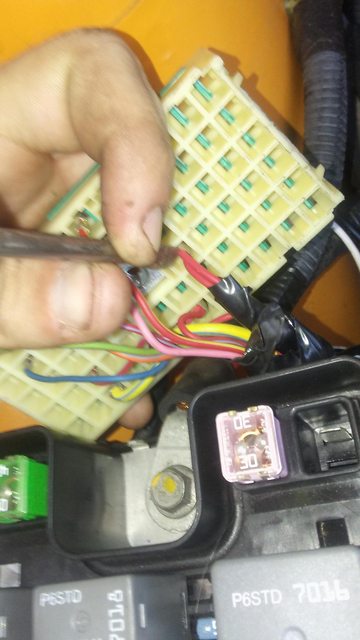
Step four- locate the lime green connector

Step five- open the connector box
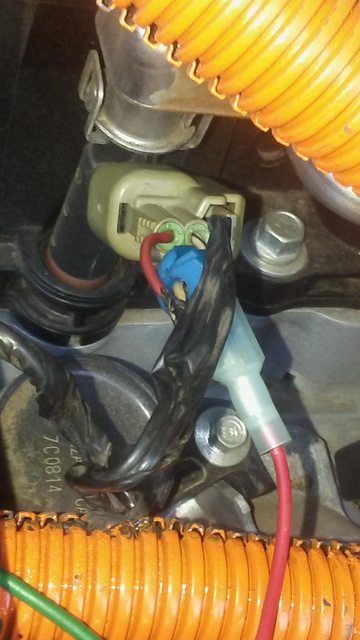
Step six- locate pin 31(right beside the bolt nut) it has 2 red wires joined together

Step seven- cut (with enough to splice) the two wires
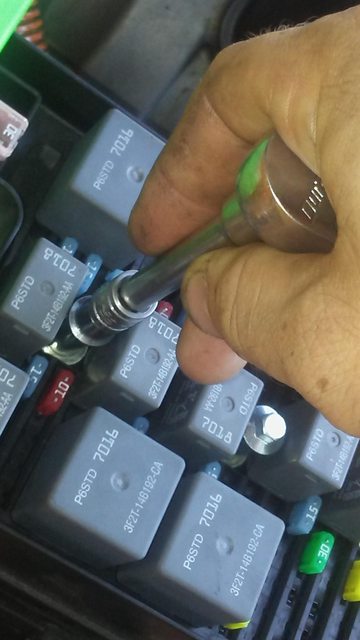
Step eight- take 1 relay locate pin30 and pin 87a..*
Step nine- the two wires to the fuse box need to be joined in a crimp conector to pin87a.**
Step ten- the two red wires to the harness need to be crimped to pin30**
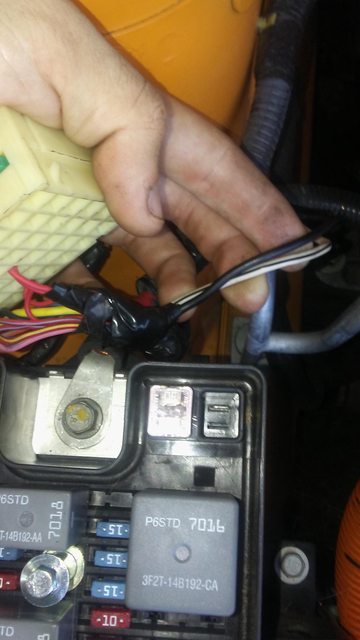
Step eleven- heat shrink both wires move everything out of the fuse box to just out side it and close the lime green connector reassemble the fuse box your through with it.
Step twelve- take the recently used relay (relay 1) and run wires to be used for the trigger(tach shiftlight) positive to 85 and negative to 86***
Alright that completes the first phase of the process take a break, collect your thoughts, grab a drink, and we'll move to phase 2 because this one is much harder. But here are some notes i made under my build:
* if you dont understand relays this is what this note is about. I chose pin30 for the harness side and 87a because when the relay is not powered that is its resting position so the car doesnt know its been tampered with.
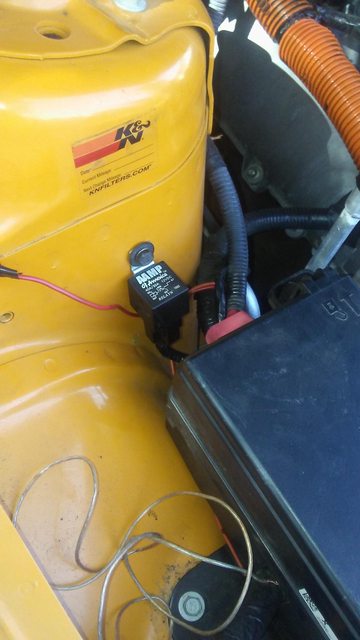
** i used about 8" of wire to move the relay a decent way from the fuse box to mount to the firewall. So when a cut the red wires i soldered 8" of wire to them then connected the crimp piece to the wire i added to move everything put of the way and hid the wires in the factory wire covers.
***on my tach my positive side was shot, but since my shiftlight is ground controlled i ran the ground to pin85 and pin86(positive) to the positive on the Tachometer to be powered on by the toggle.
Phase two:
Step one- find a signal wire to use for your tach(i used an injector because i could not get a steddy read off my coils negative.
Step two- run all your wires into the car(relay triggers, and tach signal.) connect tach signal then relay triggers to positive and negative for the shiftlight
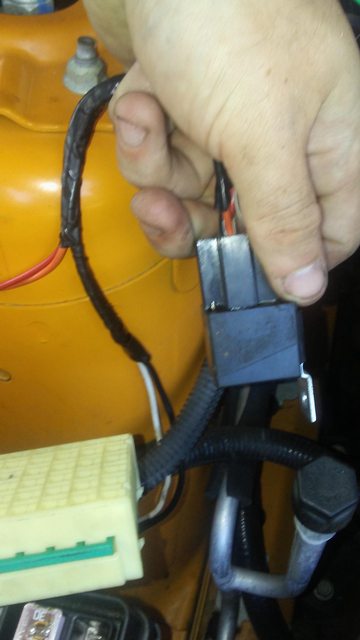
Step three- now grab relay 2 and crimp the tach ground to pin87a
Step four- find a good ground spot and ground a wire and run it to pin30
Step five- on the drivers side your clutch pedal has a cruise control switch(the one at the top of the pedal at the pivot point not the one against the wall) you need to splice into the white wire and run that wire to pin85 on the relay 2 this is your ground trigger to start launch control or to cut spark for wot shifting
Step six- run your toggle switch. Find a suitable auxiliary 12v power run it to one wire on the switch
Step seven- run relay 2 pin86 and the tach positive to the other end of the toggle.
Step eight- hide all your wires and relays.
Alright that should conclude phase 2. Im trying to proof read and make sure i am not forgetting anything. I didnt have any notes i dont think on phase 2 i do have a little side thought for those of you that do not want wot shifting and wish to make use of the tach i have thought of a wire diagram for it. Phase 1 would be the same. But i will update that part later for those that want it.
Phase 3:
Step one- set tach to where ever you want your launch rpm to be at.
Step two- find a road in Mexico��
Step three- toggle switch on
Step four- PUT YOU LEFT FOOT IN (clutch to the floor)
Step five- PUT YOU RIGHT FOOT IN ( gas to the floor)
Step six- TAKE YOUR LEFT FOOT OUT (dump clutch)
Step seven- ENJOY
Warning notes i ran into: if you hold launch control for longer then 5 seconds you will get a misfire cel, but dont worry MSD 2-step boxes give the same code on coyotes, 2v, 5.4, cobras, ect. Launch control is a controlled misfire.
Parts:
Faze 5" Shiftlight Tachometer*
2 5pin relays (85,86 87/87a 30)
1 valet switch**
Lengths of wire.
Splice connectors
* any Shiftlight Tachometer will do
** any toggle will work
Alright guys now to the nitty gritty.
So if you have a tach adapter it would be better and more accurate if your connecting to a coil like you normally would, but i didnt have an adapter so i connected to a injector.
Phase one:
Step one- disconnect your battery
Step two- open your fuse box
Step three- unbolt the 4 7mm bolt in the box
Step four- locate the lime green connector
Step five- open the connector box
Step six- locate pin 31(right beside the bolt nut) it has 2 red wires joined together
Step seven- cut (with enough to splice) the two wires
Step eight- take 1 relay locate pin30 and pin 87a..*
Step nine- the two wires to the fuse box need to be joined in a crimp conector to pin87a.**
Step ten- the two red wires to the harness need to be crimped to pin30**
Step eleven- heat shrink both wires move everything out of the fuse box to just out side it and close the lime green connector reassemble the fuse box your through with it.
Step twelve- take the recently used relay (relay 1) and run wires to be used for the trigger(tach shiftlight) positive to 85 and negative to 86***
Alright that completes the first phase of the process take a break, collect your thoughts, grab a drink, and we'll move to phase 2 because this one is much harder. But here are some notes i made under my build:
* if you dont understand relays this is what this note is about. I chose pin30 for the harness side and 87a because when the relay is not powered that is its resting position so the car doesnt know its been tampered with.
** i used about 8" of wire to move the relay a decent way from the fuse box to mount to the firewall. So when a cut the red wires i soldered 8" of wire to them then connected the crimp piece to the wire i added to move everything put of the way and hid the wires in the factory wire covers.
***on my tach my positive side was shot, but since my shiftlight is ground controlled i ran the ground to pin85 and pin86(positive) to the positive on the Tachometer to be powered on by the toggle.
Phase two:
Step one- find a signal wire to use for your tach(i used an injector because i could not get a steddy read off my coils negative.
Step two- run all your wires into the car(relay triggers, and tach signal.) connect tach signal then relay triggers to positive and negative for the shiftlight
Step three- now grab relay 2 and crimp the tach ground to pin87a
Step four- find a good ground spot and ground a wire and run it to pin30
Step five- on the drivers side your clutch pedal has a cruise control switch(the one at the top of the pedal at the pivot point not the one against the wall) you need to splice into the white wire and run that wire to pin85 on the relay 2 this is your ground trigger to start launch control or to cut spark for wot shifting
Step six- run your toggle switch. Find a suitable auxiliary 12v power run it to one wire on the switch
Step seven- run relay 2 pin86 and the tach positive to the other end of the toggle.
Step eight- hide all your wires and relays.
Alright that should conclude phase 2. Im trying to proof read and make sure i am not forgetting anything. I didnt have any notes i dont think on phase 2 i do have a little side thought for those of you that do not want wot shifting and wish to make use of the tach i have thought of a wire diagram for it. Phase 1 would be the same. But i will update that part later for those that want it.
Phase 3:
Step one- set tach to where ever you want your launch rpm to be at.
Step two- find a road in Mexico��
Step three- toggle switch on
Step four- PUT YOU LEFT FOOT IN (clutch to the floor)
Step five- PUT YOU RIGHT FOOT IN ( gas to the floor)
Step six- TAKE YOUR LEFT FOOT OUT (dump clutch)
Step seven- ENJOY
Warning notes i ran into: if you hold launch control for longer then 5 seconds you will get a misfire cel, but dont worry MSD 2-step boxes give the same code on coyotes, 2v, 5.4, cobras, ect. Launch control is a controlled misfire.
Last edited: