riored4v
Just Brew It
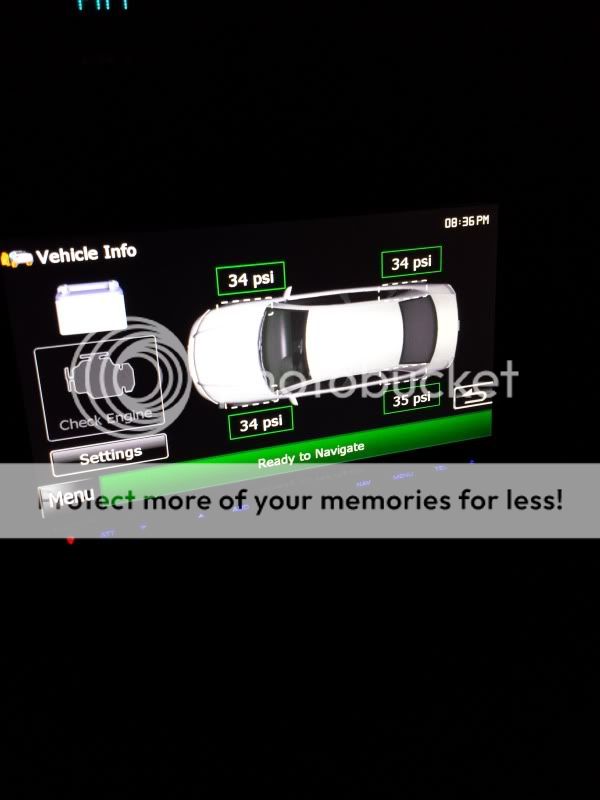
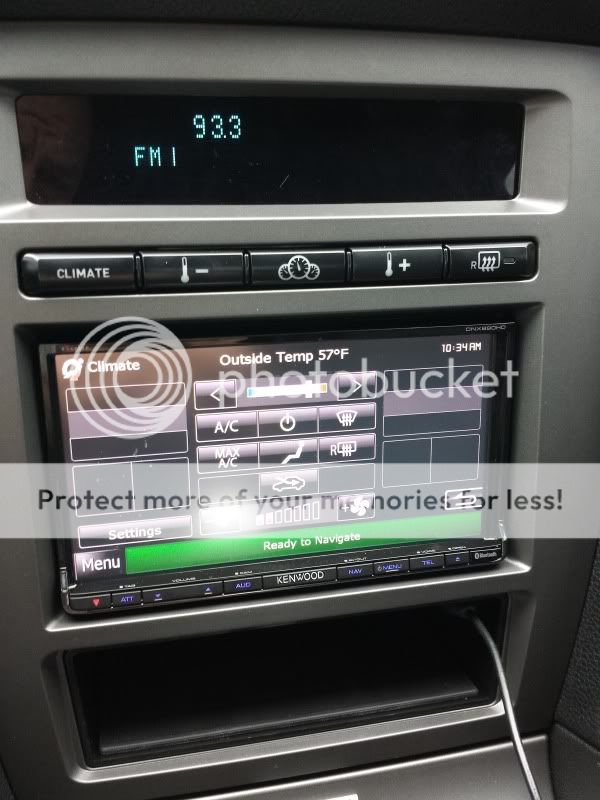
Picked up the new ADS Maestro, ADS dash kit and Kenwood DNX890HD for the mustang.
Install was pretty straight forward. Accessing the wire for SYNC and OBDII was a bit of a pain though. Really loving how much you can customize the setup and how much better the audio quality is.
CM5 kit was an mistake in the shipping, otherwise the other parts were all necessary. CM5 kit was actually supposed to be the RR Maestro unit.
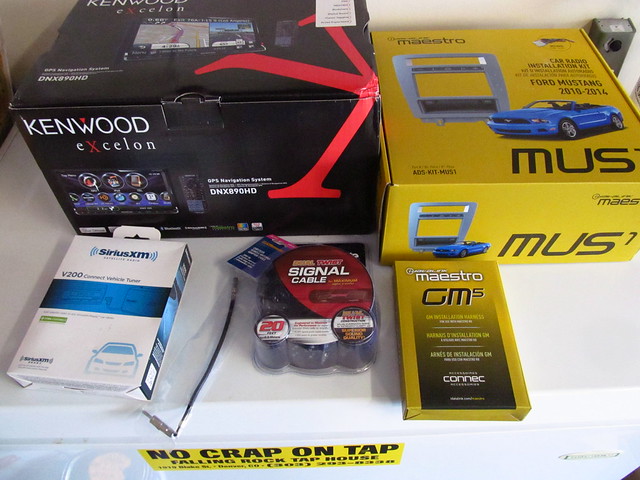
IMG_1016 by riored4v, on Flickr
Maestro RR
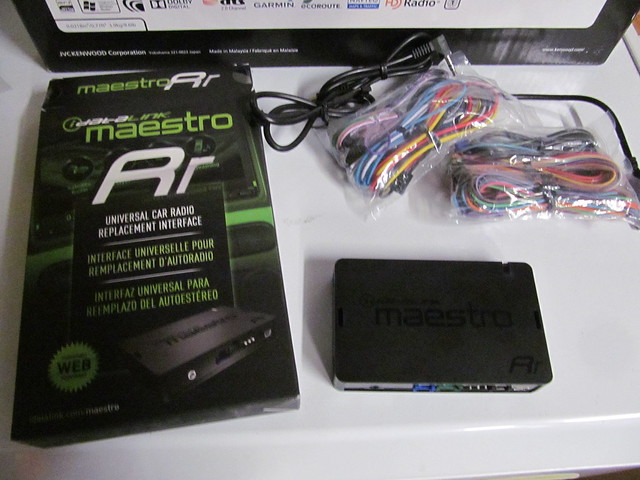
IMG_1027 by riored4v, on Flickr
Stock
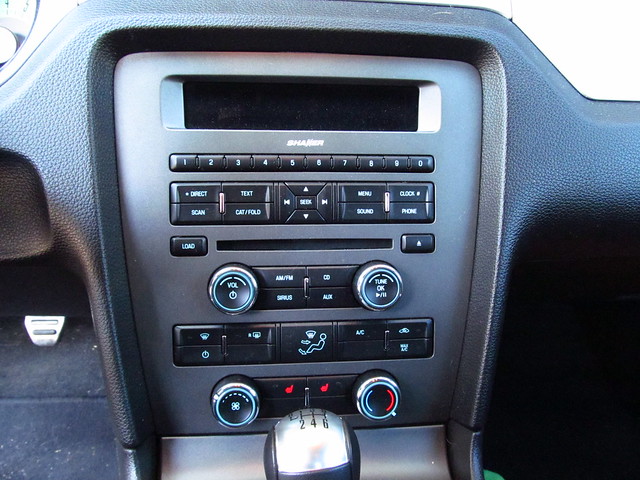
IMG_1017 by riored4v, on Flickr
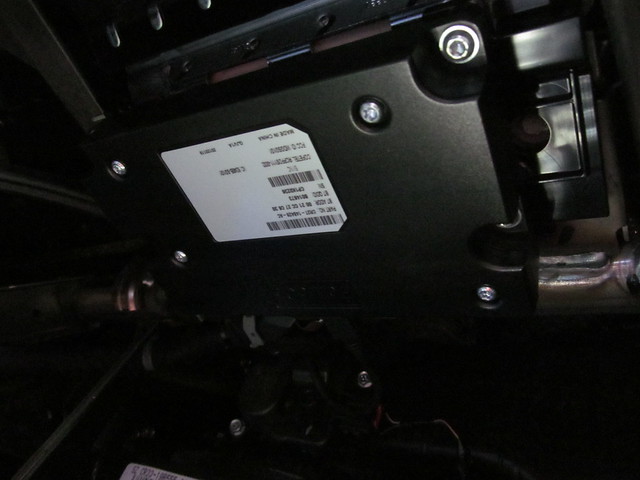
SYNC module located behind glove box
IMG_1020 by riored4v, on Flickr
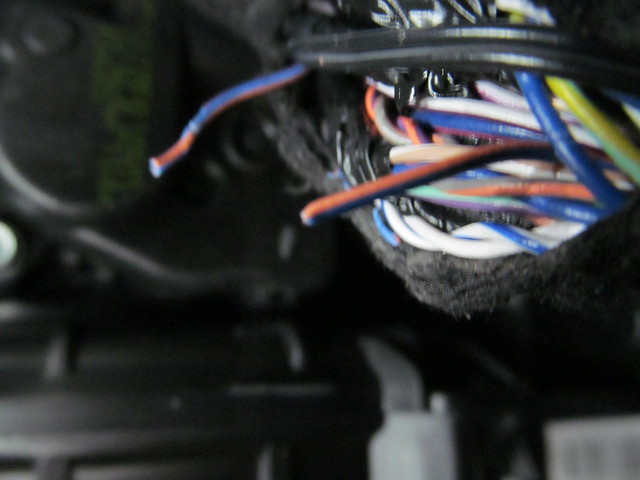
Sh1tty pic.. but the SYNC wire that needed to be tested. Should read 5v and then drop when the SYNC voice command button is pushed.
IMG_1021 by riored4v, on Flickr
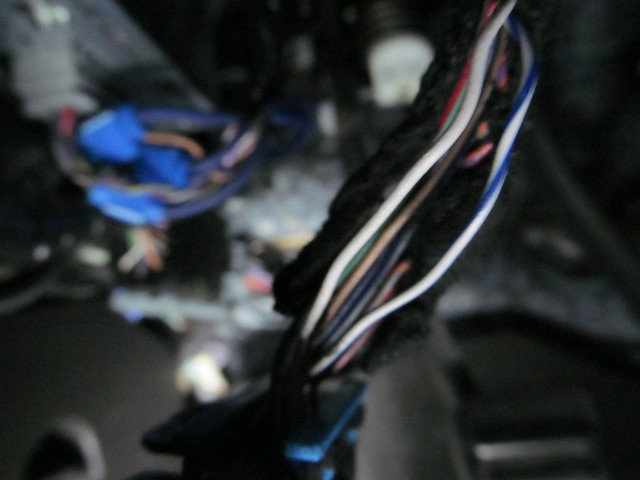
Pulled the OBD2 harness out from the clip and had to splice in to these 2 wires
IMG_1026 by riored4v, on Flickr
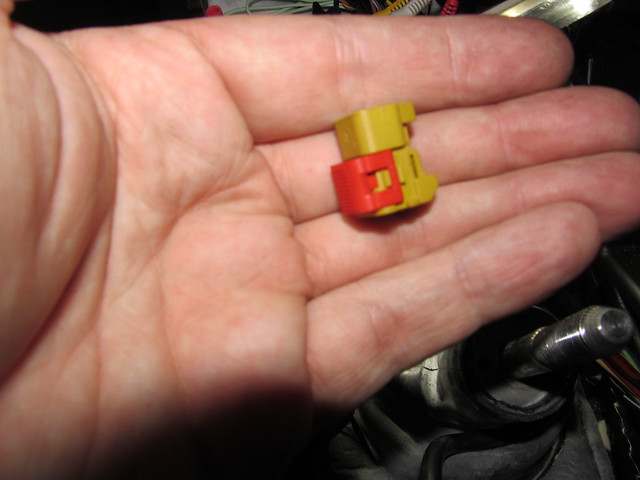
For splicing the factory SiriusXM antenna, you have to remove this clip after taking the cable out of the factory head unit
IMG_1024 by riored4v, on Flickr
You can then put it in the aftermarket tuner. Its a slightly loose fit, so some epoxy was used on the outside portion.
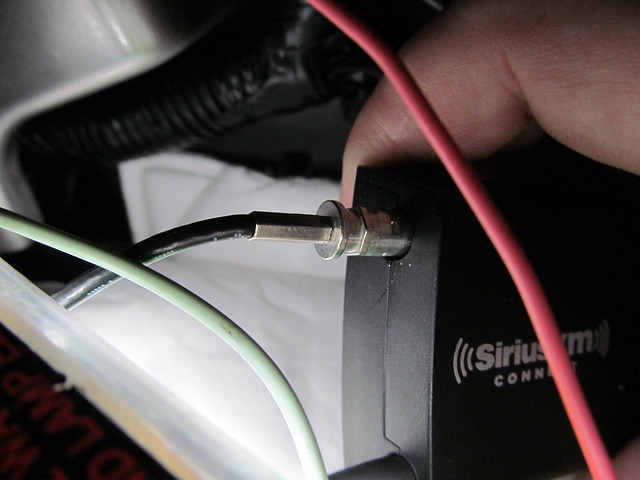
IMG_1023 by riored4v, on Flickr
Tuner in place
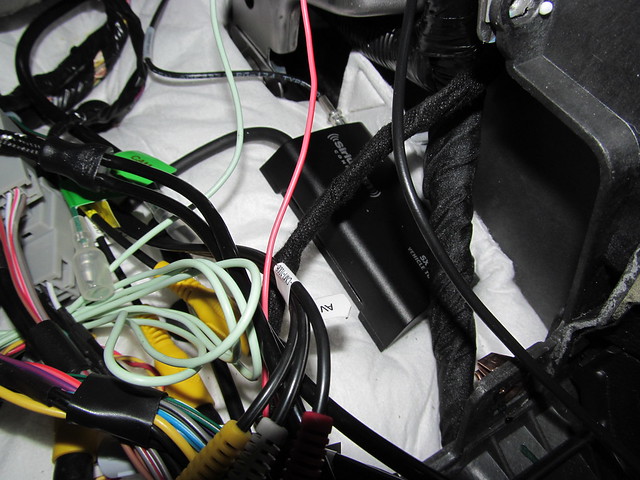
IMG_1025 by riored4v, on Flickr
Mess of wires from the ADS harness
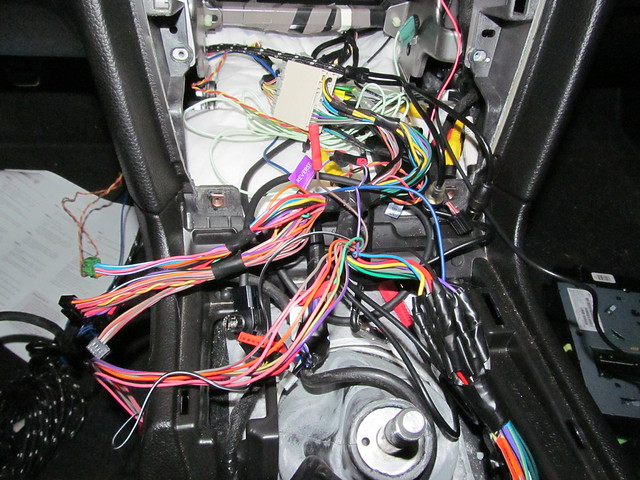
IMG_1022 by riored4v, on Flickr
Also had to run the GPS wire through the dash. Decided to mount mine in the middle of the dash in front of the light sensor

IMG_1037 by riored4v, on Flickr
Then you plug the RR module in to the computer, program it and flash it and it fires everything up.
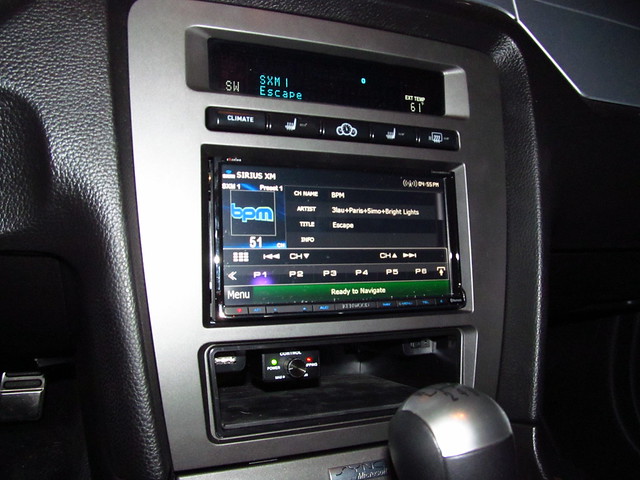
IMG_1031 by riored4v, on Flickr
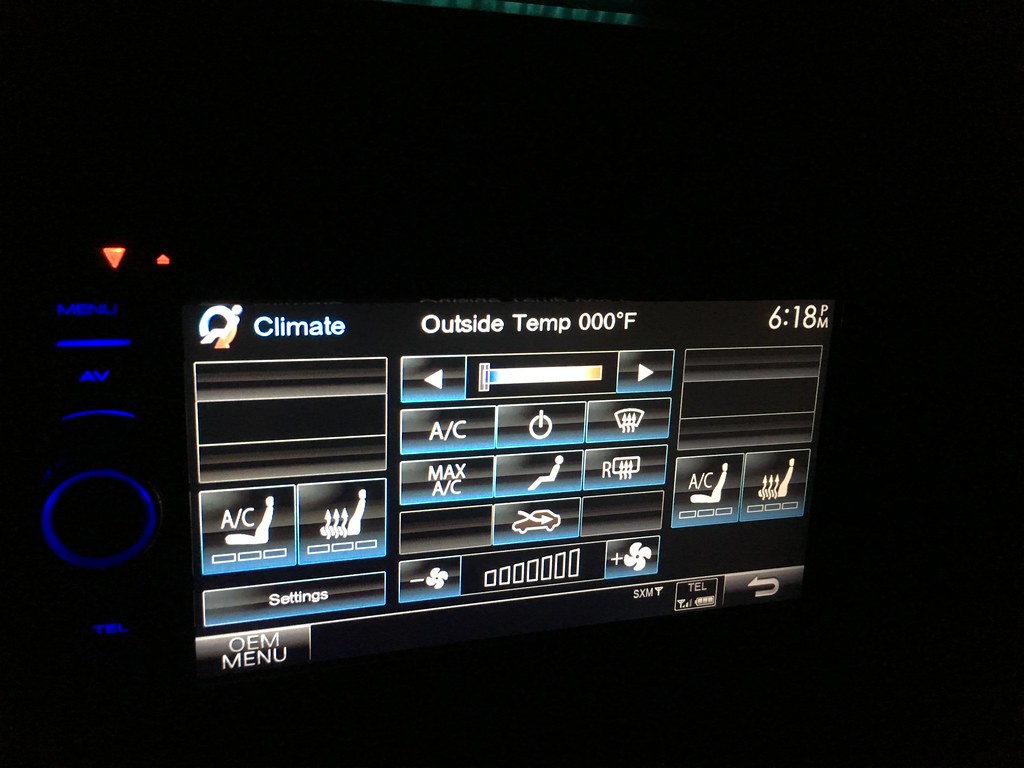
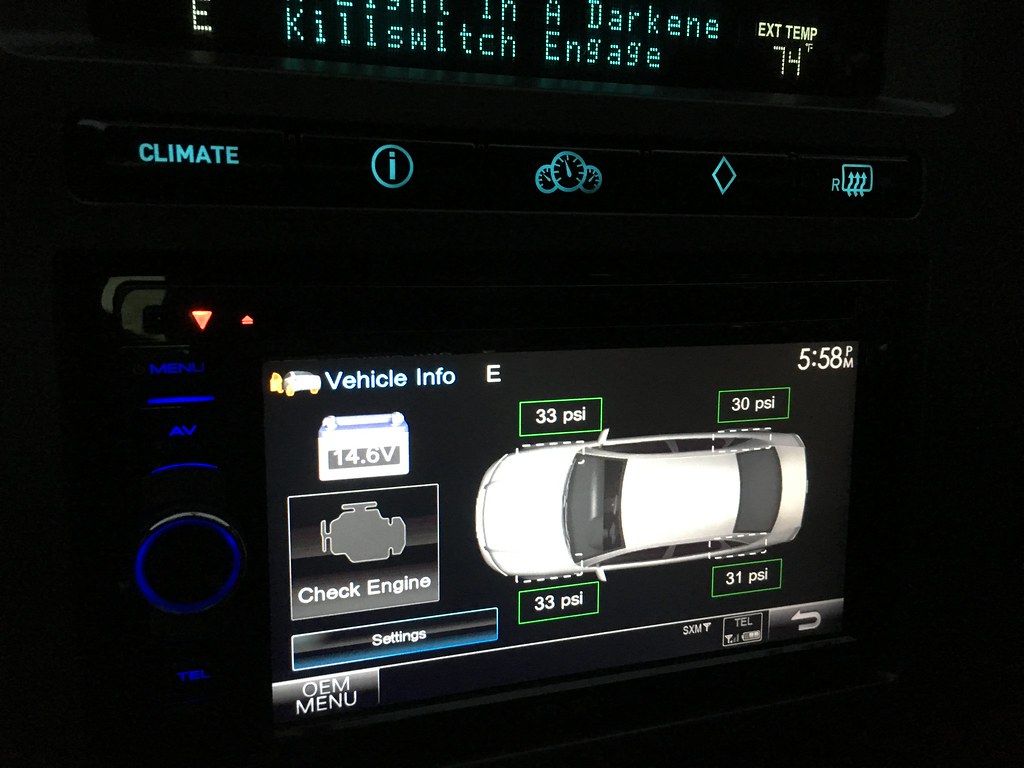
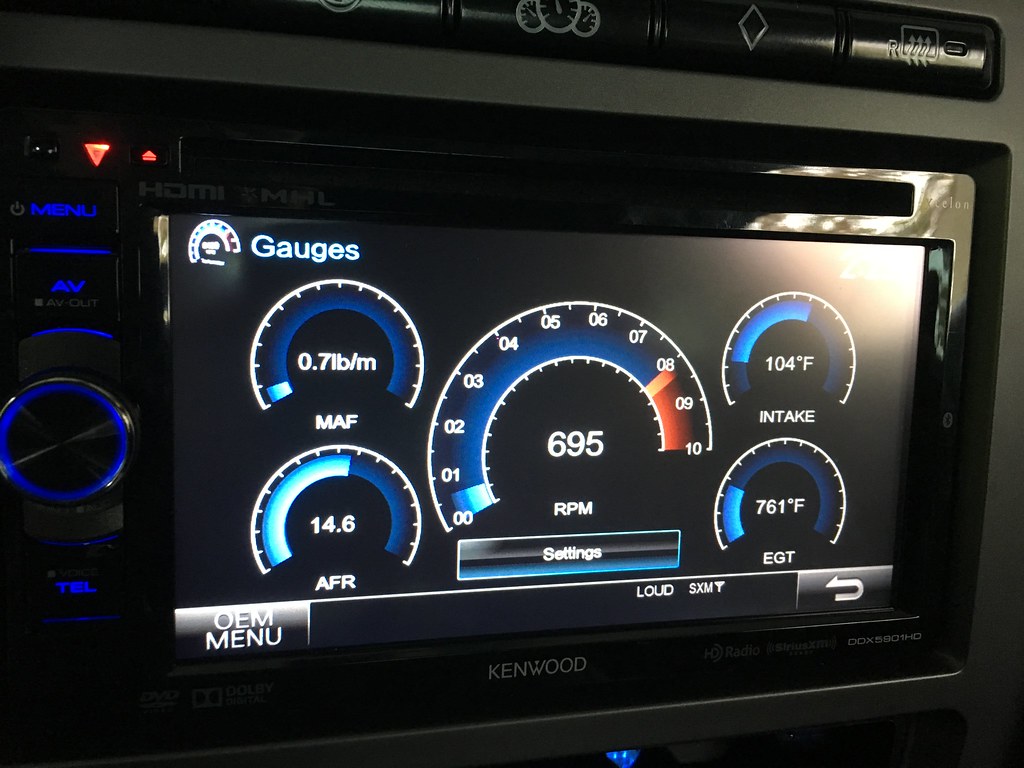
Unit come with a ton of different buttons so you can customize the layout of the dash kit.
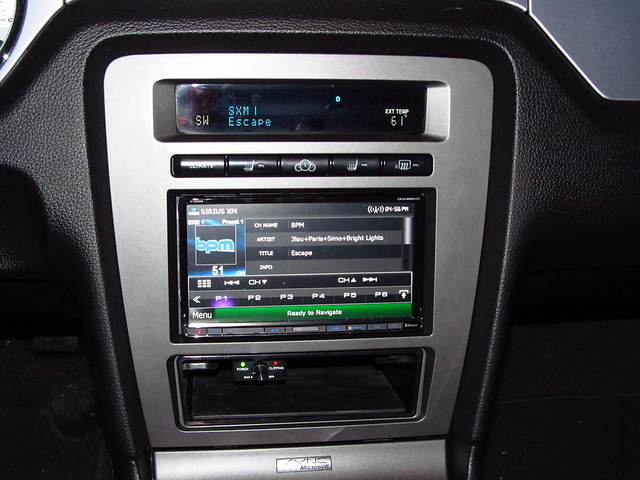
IMG_1034 by riored4v, on Flickr
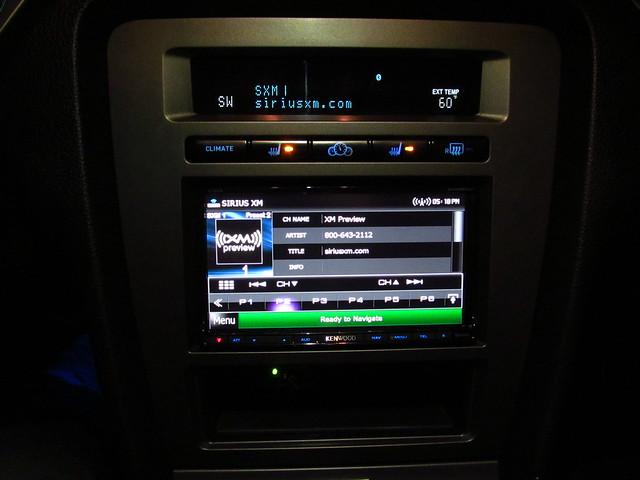
IMG_1043 by riored4v, on Flickr

IMG_1039 by riored4v, on Flickr
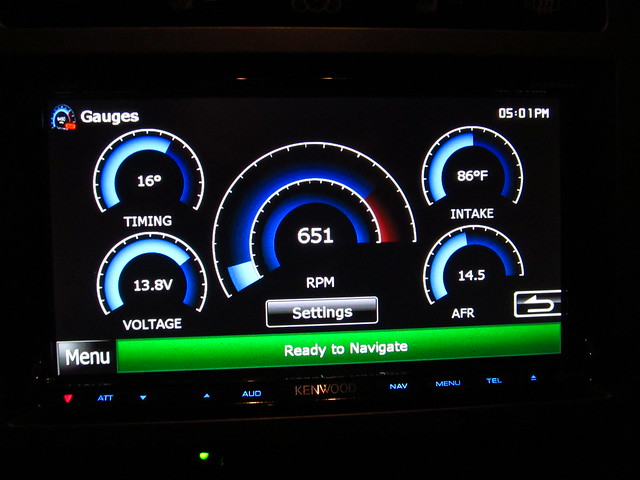
IMG_1038 by riored4v, on Flickr
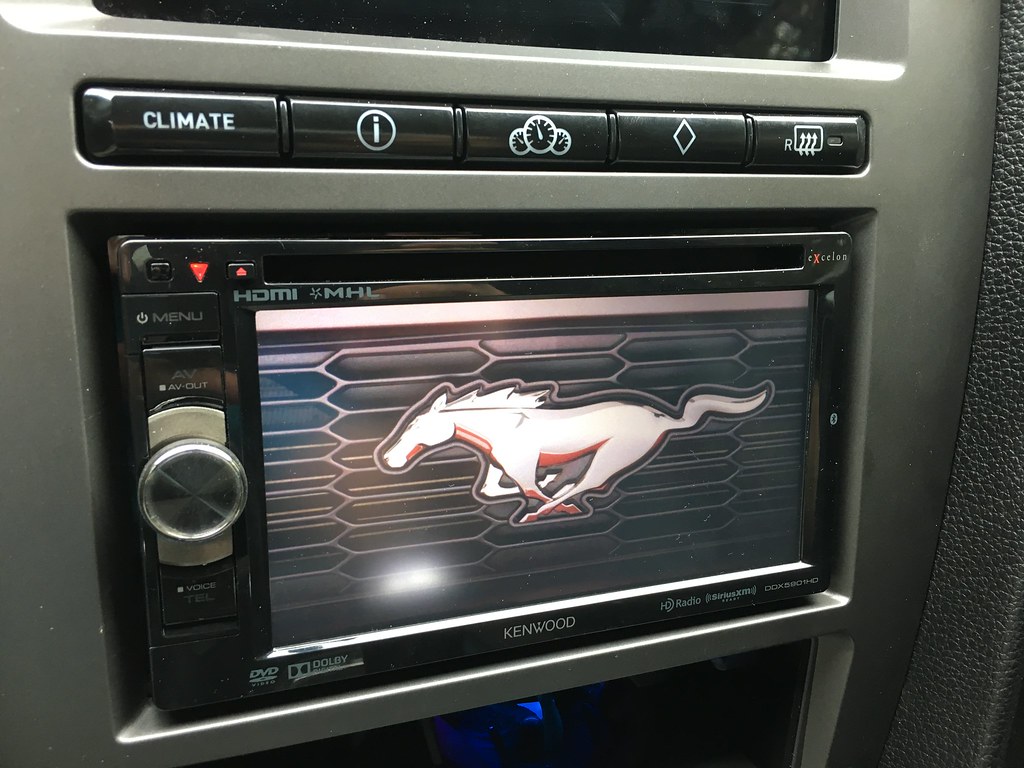
Also had to run RCA's back for rest of the stereo. So much nicer going through an aftermarket deck now.

IMG_1040 by riored4v, on Flickr
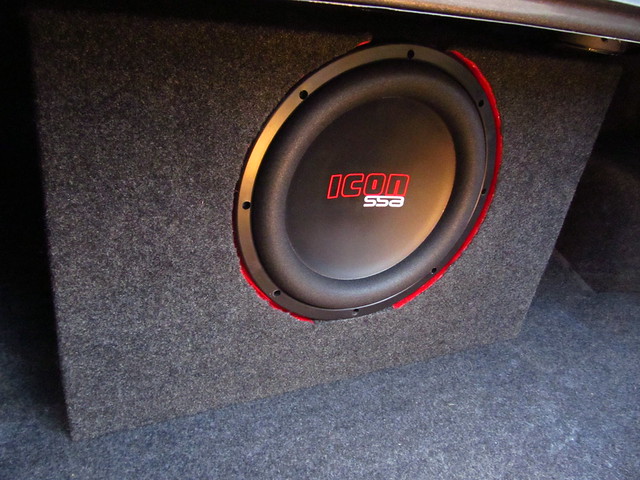
IMG_0300 by riored4v, on Flickr
Install was pretty straight forward. Accessing the wire for SYNC and OBDII was a bit of a pain though. Really loving how much you can customize the setup and how much better the audio quality is.
CM5 kit was an mistake in the shipping, otherwise the other parts were all necessary. CM5 kit was actually supposed to be the RR Maestro unit.
IMG_1016 by riored4v, on Flickr
Maestro RR
IMG_1027 by riored4v, on Flickr
Stock
IMG_1017 by riored4v, on Flickr
SYNC module located behind glove box
IMG_1020 by riored4v, on Flickr
Sh1tty pic.. but the SYNC wire that needed to be tested. Should read 5v and then drop when the SYNC voice command button is pushed.
IMG_1021 by riored4v, on Flickr
Pulled the OBD2 harness out from the clip and had to splice in to these 2 wires
IMG_1026 by riored4v, on Flickr
For splicing the factory SiriusXM antenna, you have to remove this clip after taking the cable out of the factory head unit
IMG_1024 by riored4v, on Flickr
You can then put it in the aftermarket tuner. Its a slightly loose fit, so some epoxy was used on the outside portion.
IMG_1023 by riored4v, on Flickr
Tuner in place
IMG_1025 by riored4v, on Flickr
Mess of wires from the ADS harness
IMG_1022 by riored4v, on Flickr
Also had to run the GPS wire through the dash. Decided to mount mine in the middle of the dash in front of the light sensor
IMG_1037 by riored4v, on Flickr
Then you plug the RR module in to the computer, program it and flash it and it fires everything up.
IMG_1031 by riored4v, on Flickr
Unit come with a ton of different buttons so you can customize the layout of the dash kit.
IMG_1034 by riored4v, on Flickr
IMG_1043 by riored4v, on Flickr
IMG_1039 by riored4v, on Flickr
IMG_1038 by riored4v, on Flickr
Also had to run RCA's back for rest of the stereo. So much nicer going through an aftermarket deck now.
IMG_1040 by riored4v, on Flickr
IMG_0300 by riored4v, on Flickr