
superslow86
Senior Member
So I decided it was time to get and apply Opti-Coat 2.0 and here is my experience/procedure on applying it.
Opti-Coat is a permanent coating, so proper prep is key to a nice looking finish. Opti-coat seems scary to apply since it is "permanent" but it can always be polished away if it has to be, so why not give it a shot. I watched several videos on how to apply it and what not to do, as well as what to watch for when applying it. Optimum has a great video on their site on how to apply it as well. My initial opinion was that it was sticky. When you try to rub it on the paint, the applicator wants to grab the paint and roll. I applied a little more opti-coat and applied way less pressure and this def seemed to help. They also are not kidding when they say a little goes a long way, it does and can easily be applied to heavy. I still have to do the windshield, rear glass and wheels but wanted to get the paint done first. I used about 7cc's of the 20cc tube so I should have enough to do another car as well.
My procedure:
1 - Foam cannon with CG Citrus wash to help strip the dirt and sealant on the car.
2 - Washed with CG Citrus to get all the remaining dirt off.
3 - Speedy prep towel to rid the paint of contaminants and get a nice smooth surface (Clay baring)
4 - Polished with Menzerna SF4500 (PO85rd) on an Ornage Hydro Tech pad with my Flex 3401 DA. (My paint was in great shape for being 1.5 years old so it did not need a heavy polish or compound, others may need something more aggressive) and I like ho SF4500/PO85rd finishes so there was no need for another step.
5 - IPA wipe down to get the surface as clean as possible and make sure nothing was left on the paint to interfere with the opti-coat's bond.
6 - Apply opti-coat 2.0. (Start in the middle of a panel/roof and work your way outwards, it helps you keep product from building up along the edges and gives you great control on spreading it evenly).
7 - Grab a beer and admire
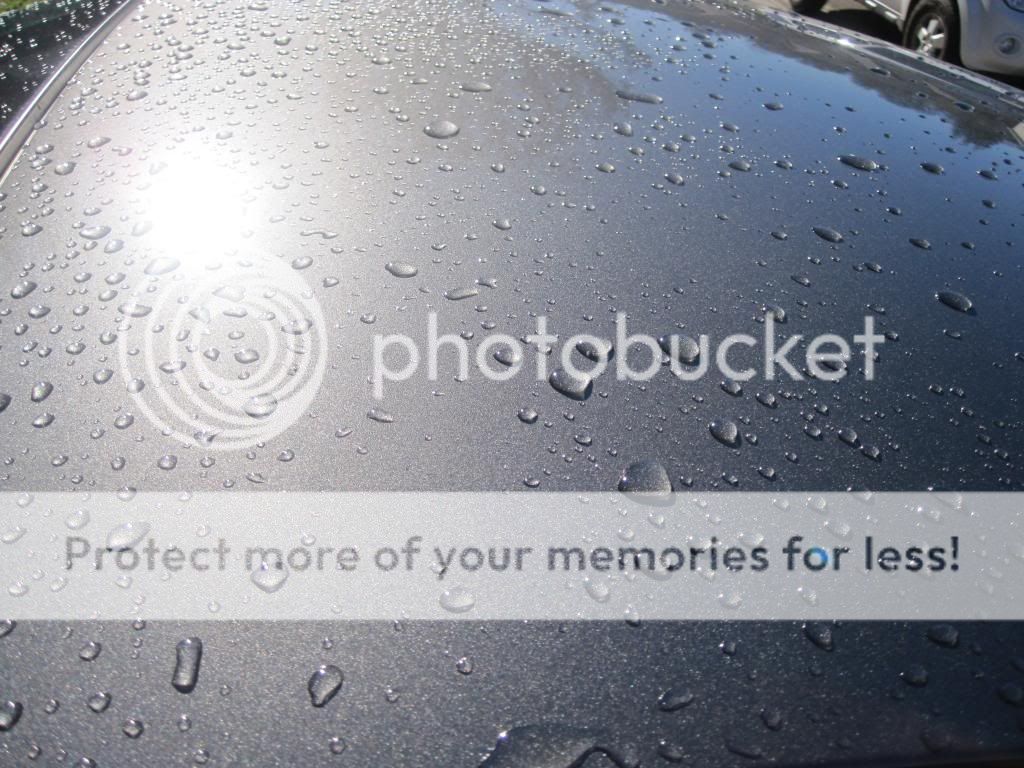
Before anything - sealed with DG 501/105/601 - beading
Letting the foam run:

Getting taped up:

Making sure the SF4500/PO85rd and orange pad would do the trick:
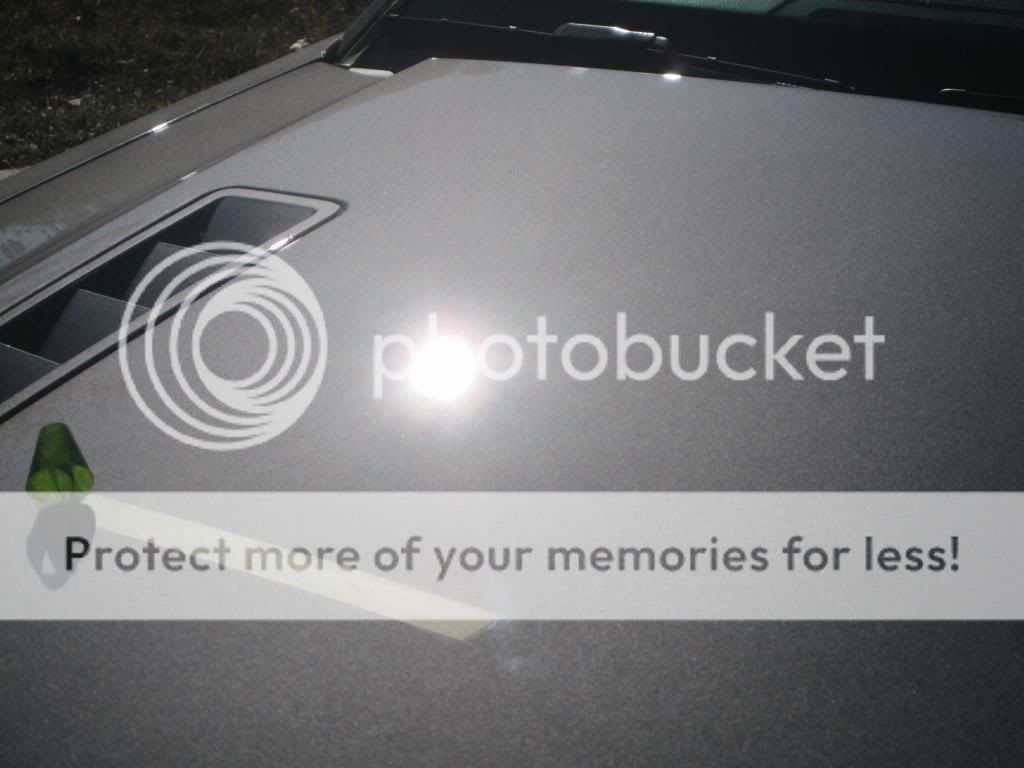
The next day, opti-coat covered (The sun was not out but tomorrow I can get some sun shots)


Updated:
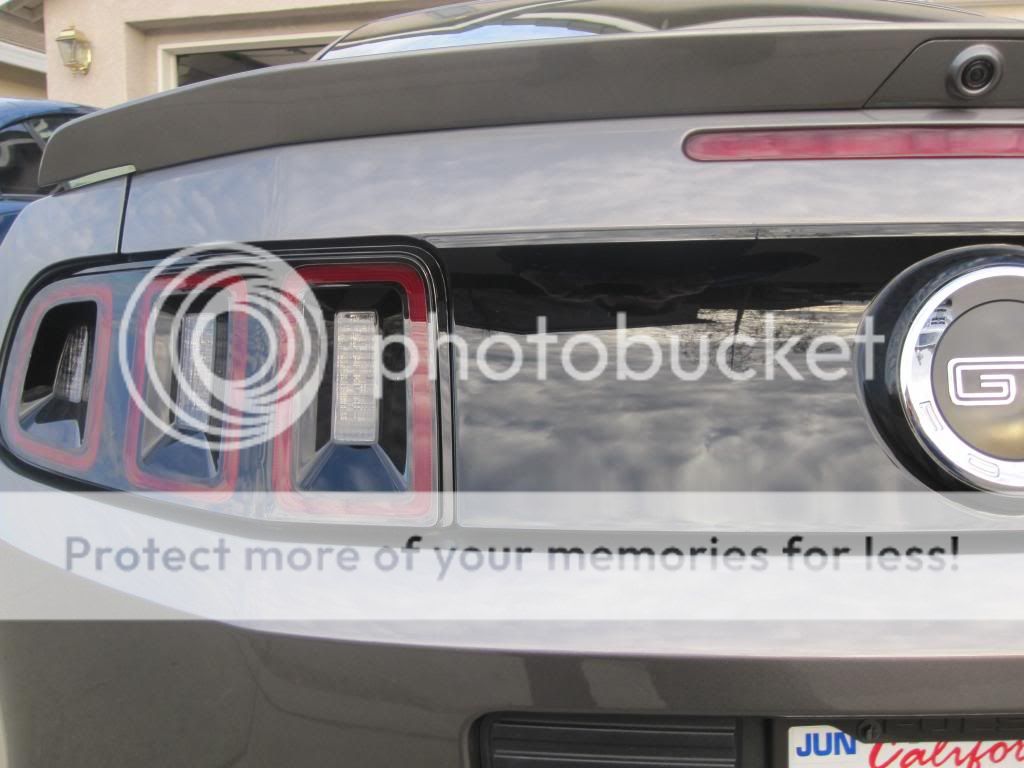
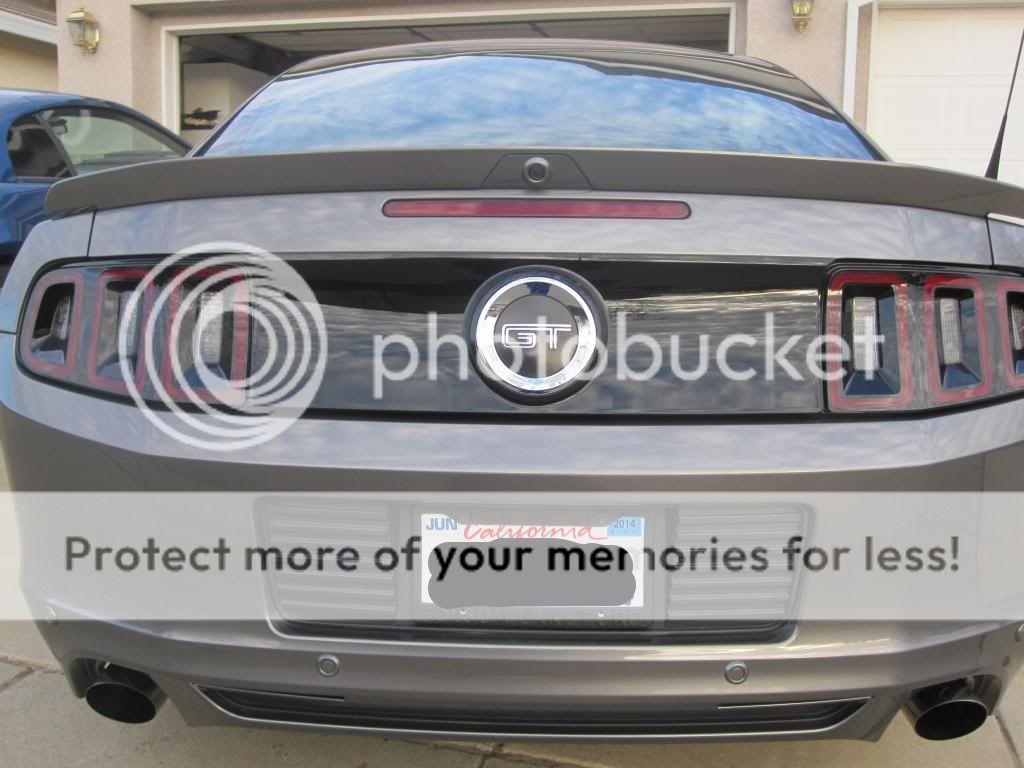
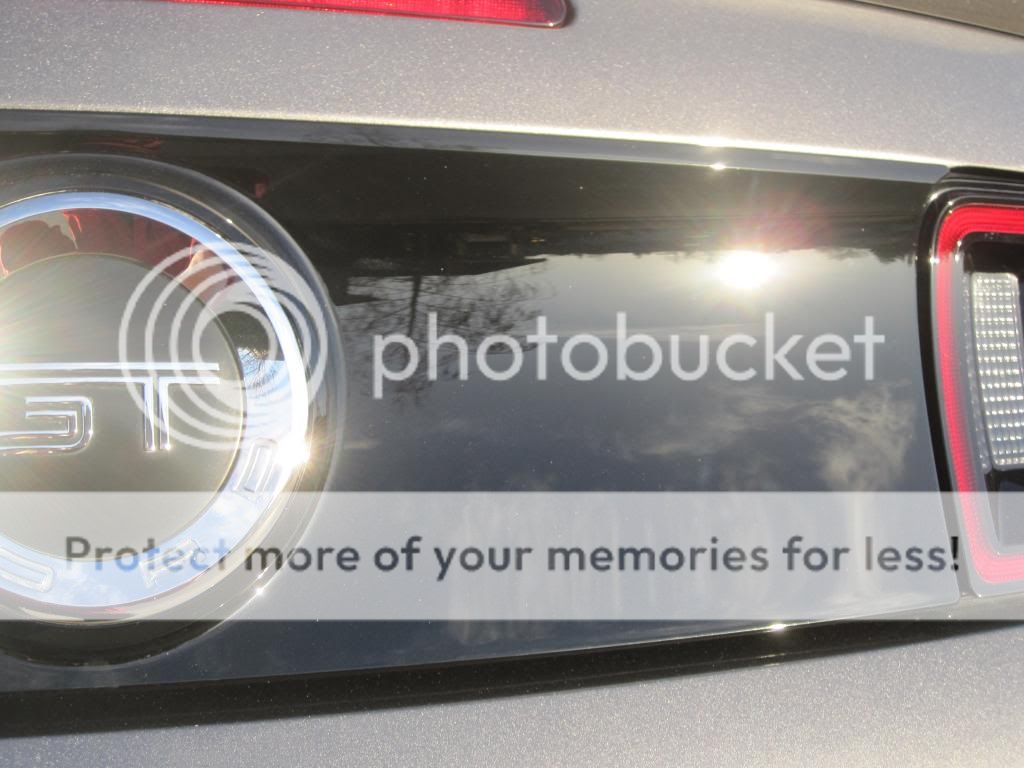
3rd day - sun shots:
The sun was getting low by the time I got home so the angels are kind of weird but you get the idea


A few with my Brinkmann swirl finder light from the hood, trunk lid and rear quarter panel:


Opti-Coat is a permanent coating, so proper prep is key to a nice looking finish. Opti-coat seems scary to apply since it is "permanent" but it can always be polished away if it has to be, so why not give it a shot. I watched several videos on how to apply it and what not to do, as well as what to watch for when applying it. Optimum has a great video on their site on how to apply it as well. My initial opinion was that it was sticky. When you try to rub it on the paint, the applicator wants to grab the paint and roll. I applied a little more opti-coat and applied way less pressure and this def seemed to help. They also are not kidding when they say a little goes a long way, it does and can easily be applied to heavy. I still have to do the windshield, rear glass and wheels but wanted to get the paint done first. I used about 7cc's of the 20cc tube so I should have enough to do another car as well.
My procedure:
1 - Foam cannon with CG Citrus wash to help strip the dirt and sealant on the car.
2 - Washed with CG Citrus to get all the remaining dirt off.
3 - Speedy prep towel to rid the paint of contaminants and get a nice smooth surface (Clay baring)
4 - Polished with Menzerna SF4500 (PO85rd) on an Ornage Hydro Tech pad with my Flex 3401 DA. (My paint was in great shape for being 1.5 years old so it did not need a heavy polish or compound, others may need something more aggressive) and I like ho SF4500/PO85rd finishes so there was no need for another step.
5 - IPA wipe down to get the surface as clean as possible and make sure nothing was left on the paint to interfere with the opti-coat's bond.
6 - Apply opti-coat 2.0. (Start in the middle of a panel/roof and work your way outwards, it helps you keep product from building up along the edges and gives you great control on spreading it evenly).
7 - Grab a beer and admire
Before anything - sealed with DG 501/105/601 - beading

Letting the foam run:

Getting taped up:

Making sure the SF4500/PO85rd and orange pad would do the trick:

The next day, opti-coat covered (The sun was not out but tomorrow I can get some sun shots)


Updated:
3rd day - sun shots:
The sun was getting low by the time I got home so the angels are kind of weird but you get the idea


A few with my Brinkmann swirl finder light from the hood, trunk lid and rear quarter panel:


Last edited:


