Well it is time to make one of these so I can feel cool n stuff.
Heres a little background:
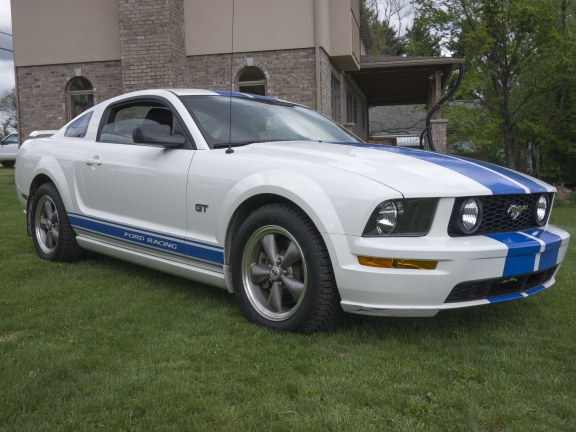
Bought my 06 GT almost 3 years ago with 60k miles on it for 13k. Loved the look in the parking lot and couldn't walk away. It came with some ford racing upgrades (control arms, cat back exhaust).
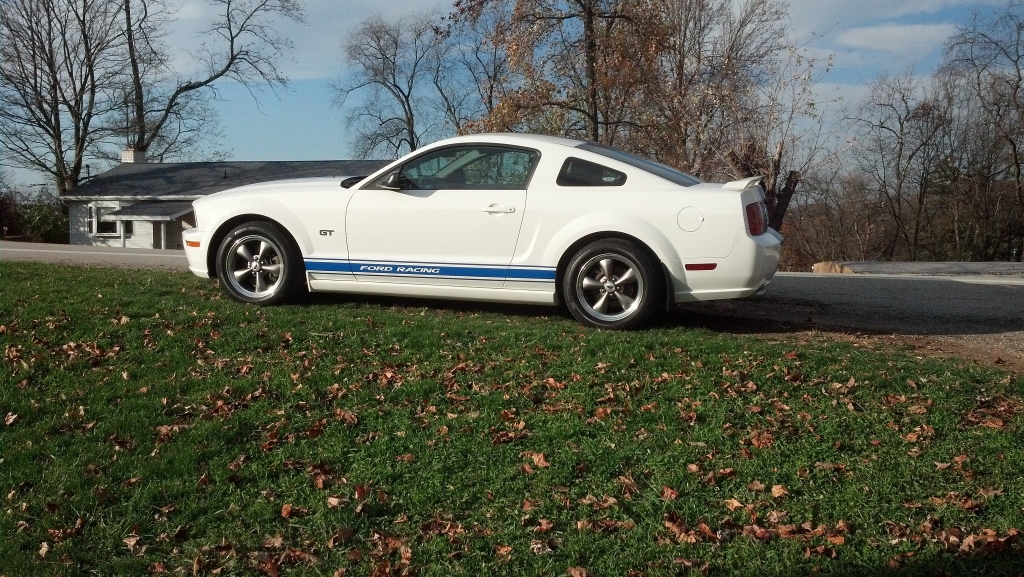
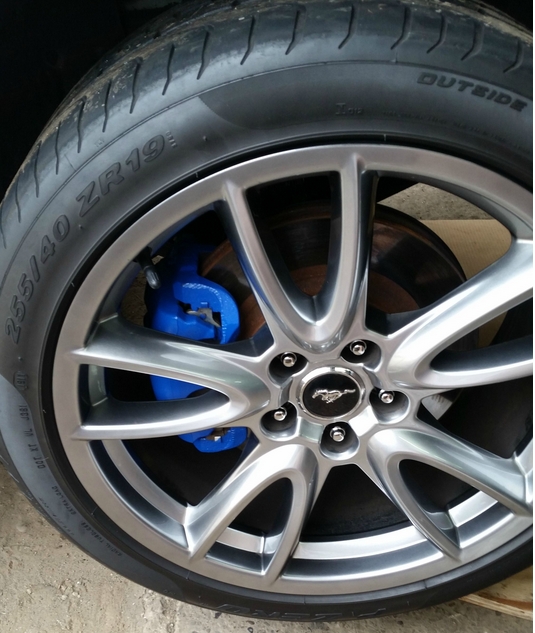
Yeah thats winter tires boiz
First mod for a time was a insane subwoofer setup. 2K watts, single 18 ported 18, why not lol


After murdering my right ear drum, I sold off the equipment and decided I wanted to go faster someday.
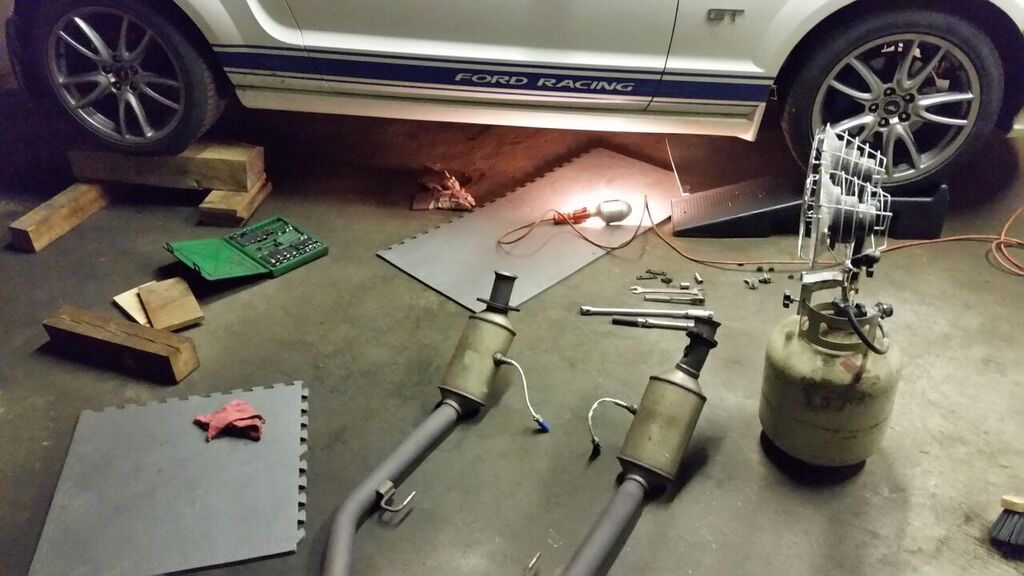
Car has 138k miles, the build begins.
------------------------------------------------------
Take off low milage 3v heads (my valves were shot)
FRPP 60# Fuel Injectors M-9593-LU60
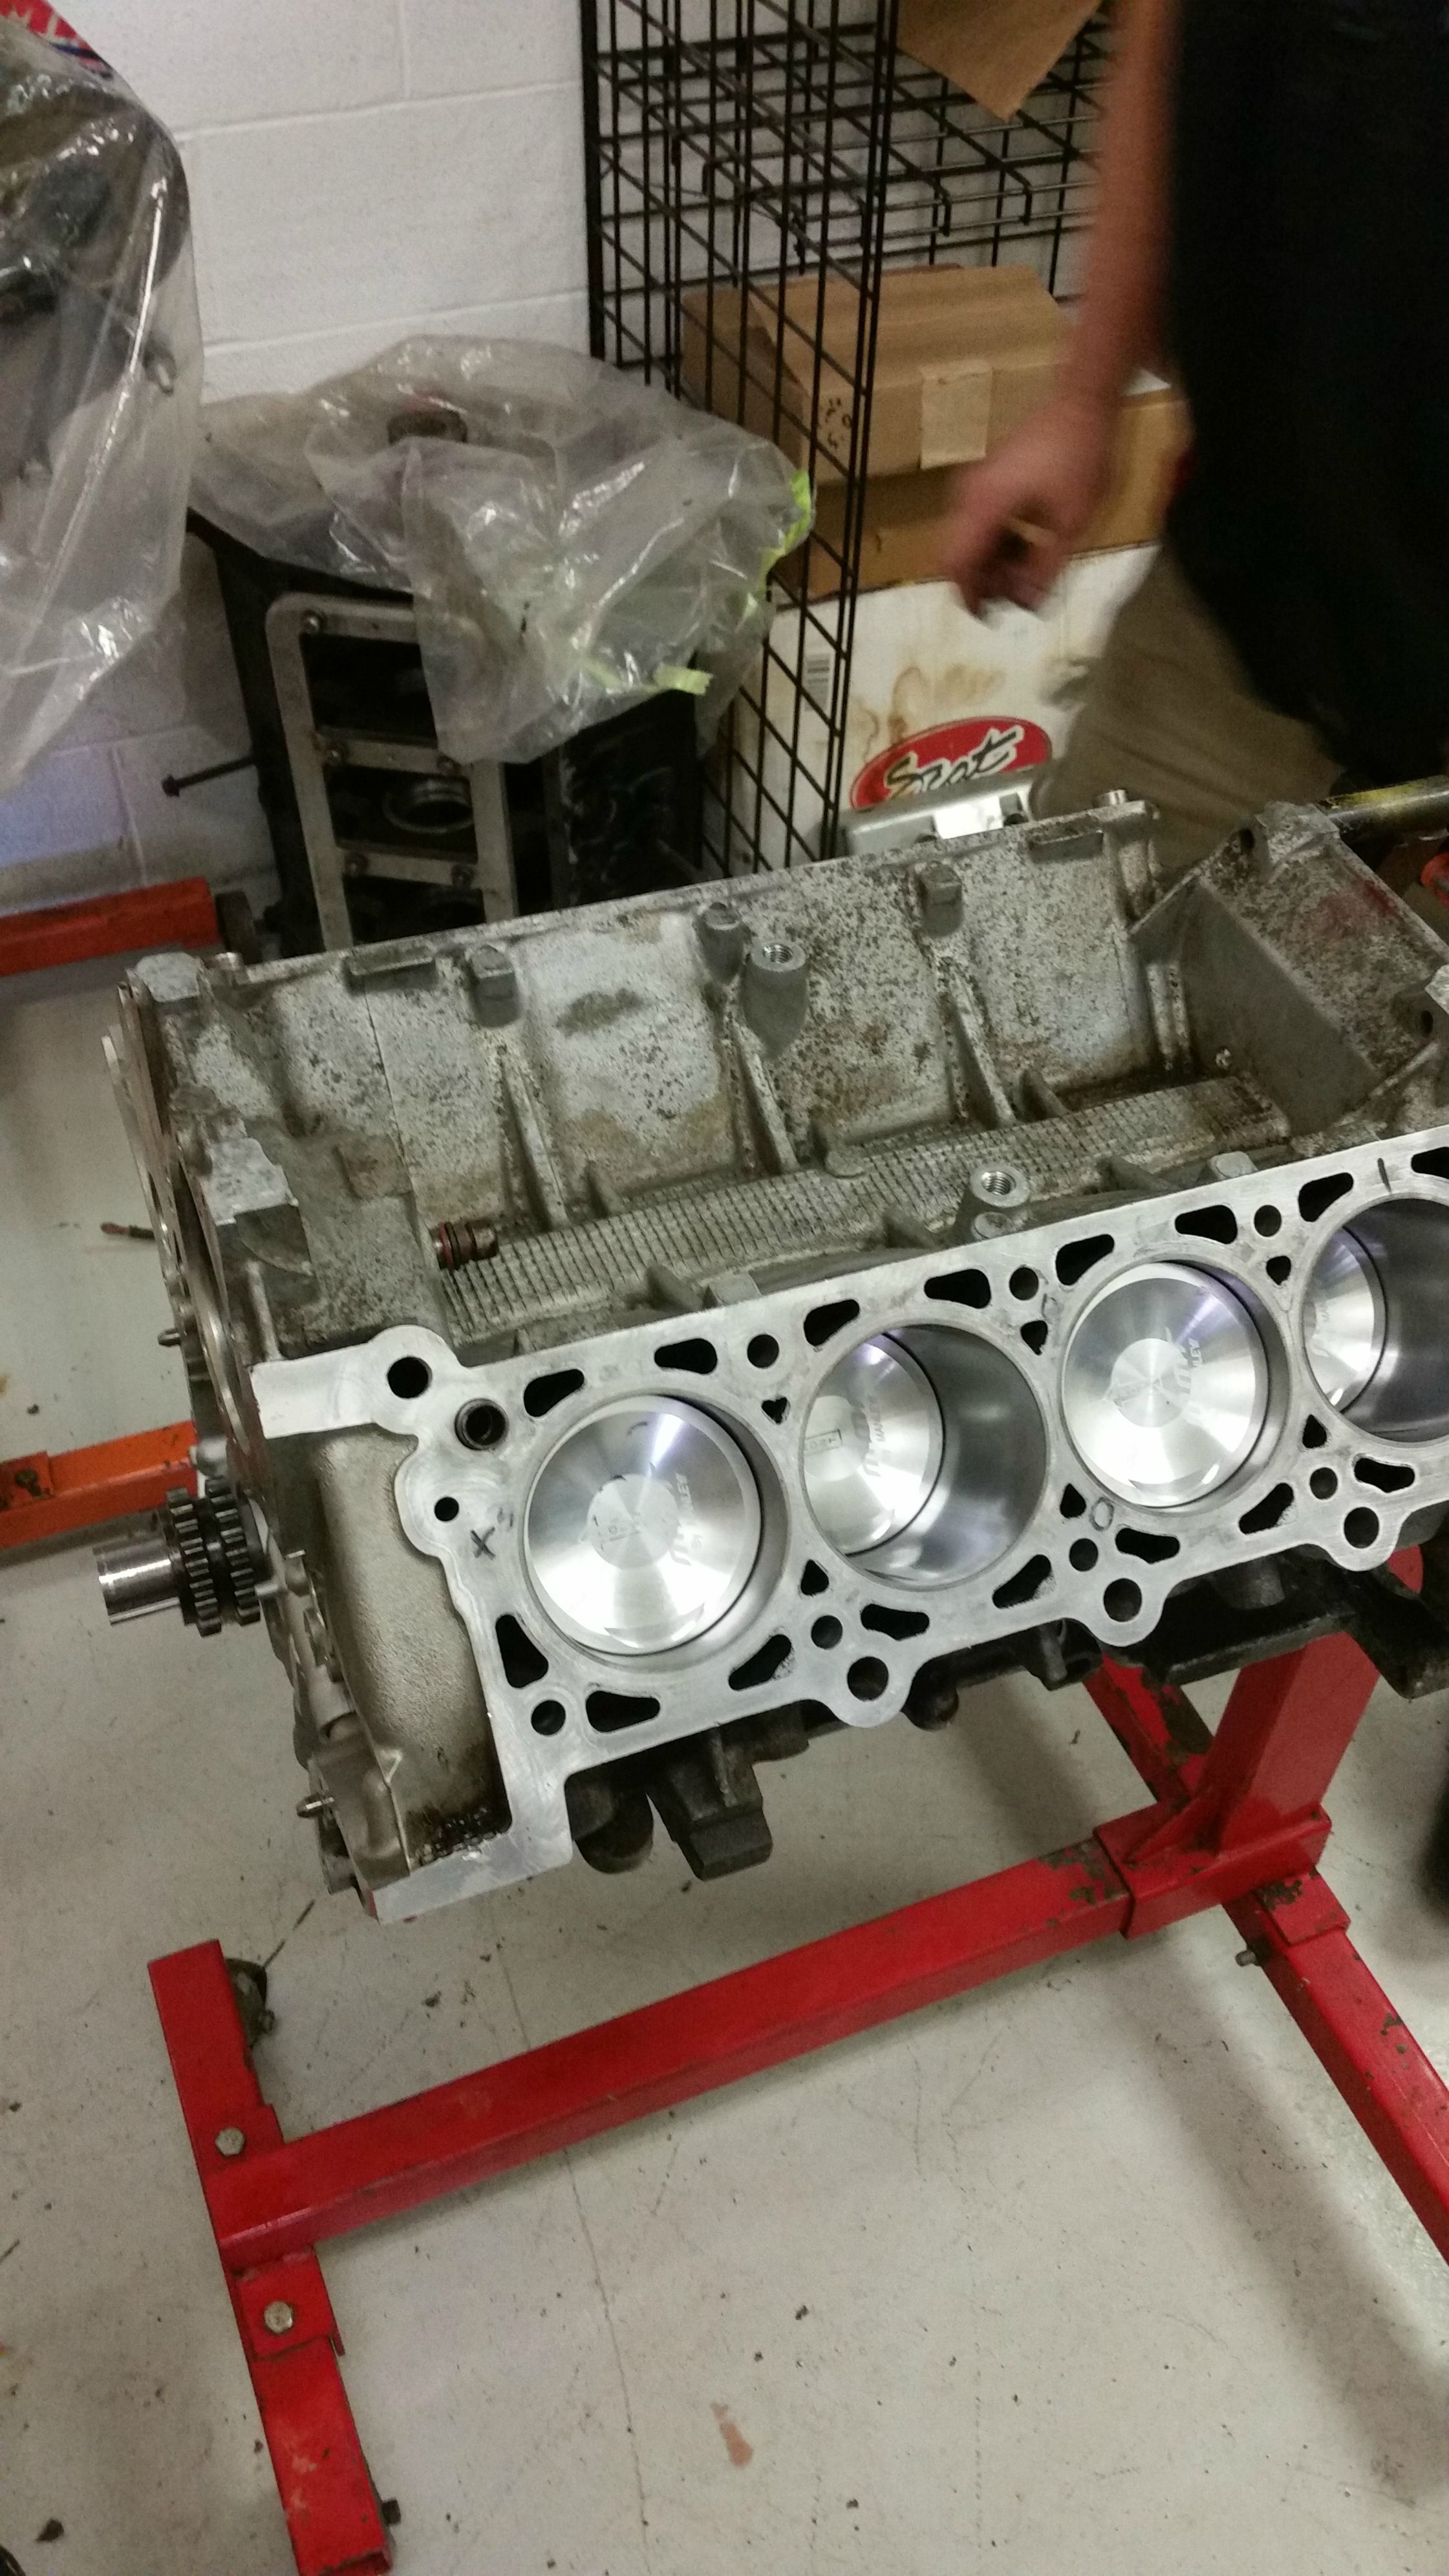
MMR 900SE 4.75 Rotating Assm. (fully forged)
Teksid Alum Block
ARP All Around
Billit Oil Gear
Ford HV Oil Pump
Teksid Mount Adapters
Prothane Motor Mounts
Innovators West 10% OD 8-Rib Balancer
8-Rib Pully Set for Conversion
DOB Stage III Supercharger Kit (minus the m122)
2.65 Pully
2013 2.3L TVS Supercharger
2013 GT500 Heat Exchanger
GT500 TB
123mm JLT CAI
New Water Pump
Set of new Mud Flaps (lol)
PLX DM-100 Multi-gauge
PLX Vac/Boost Sensor
PLX DM-6 Wideband A/F Gauge/sensor
Vent Pods
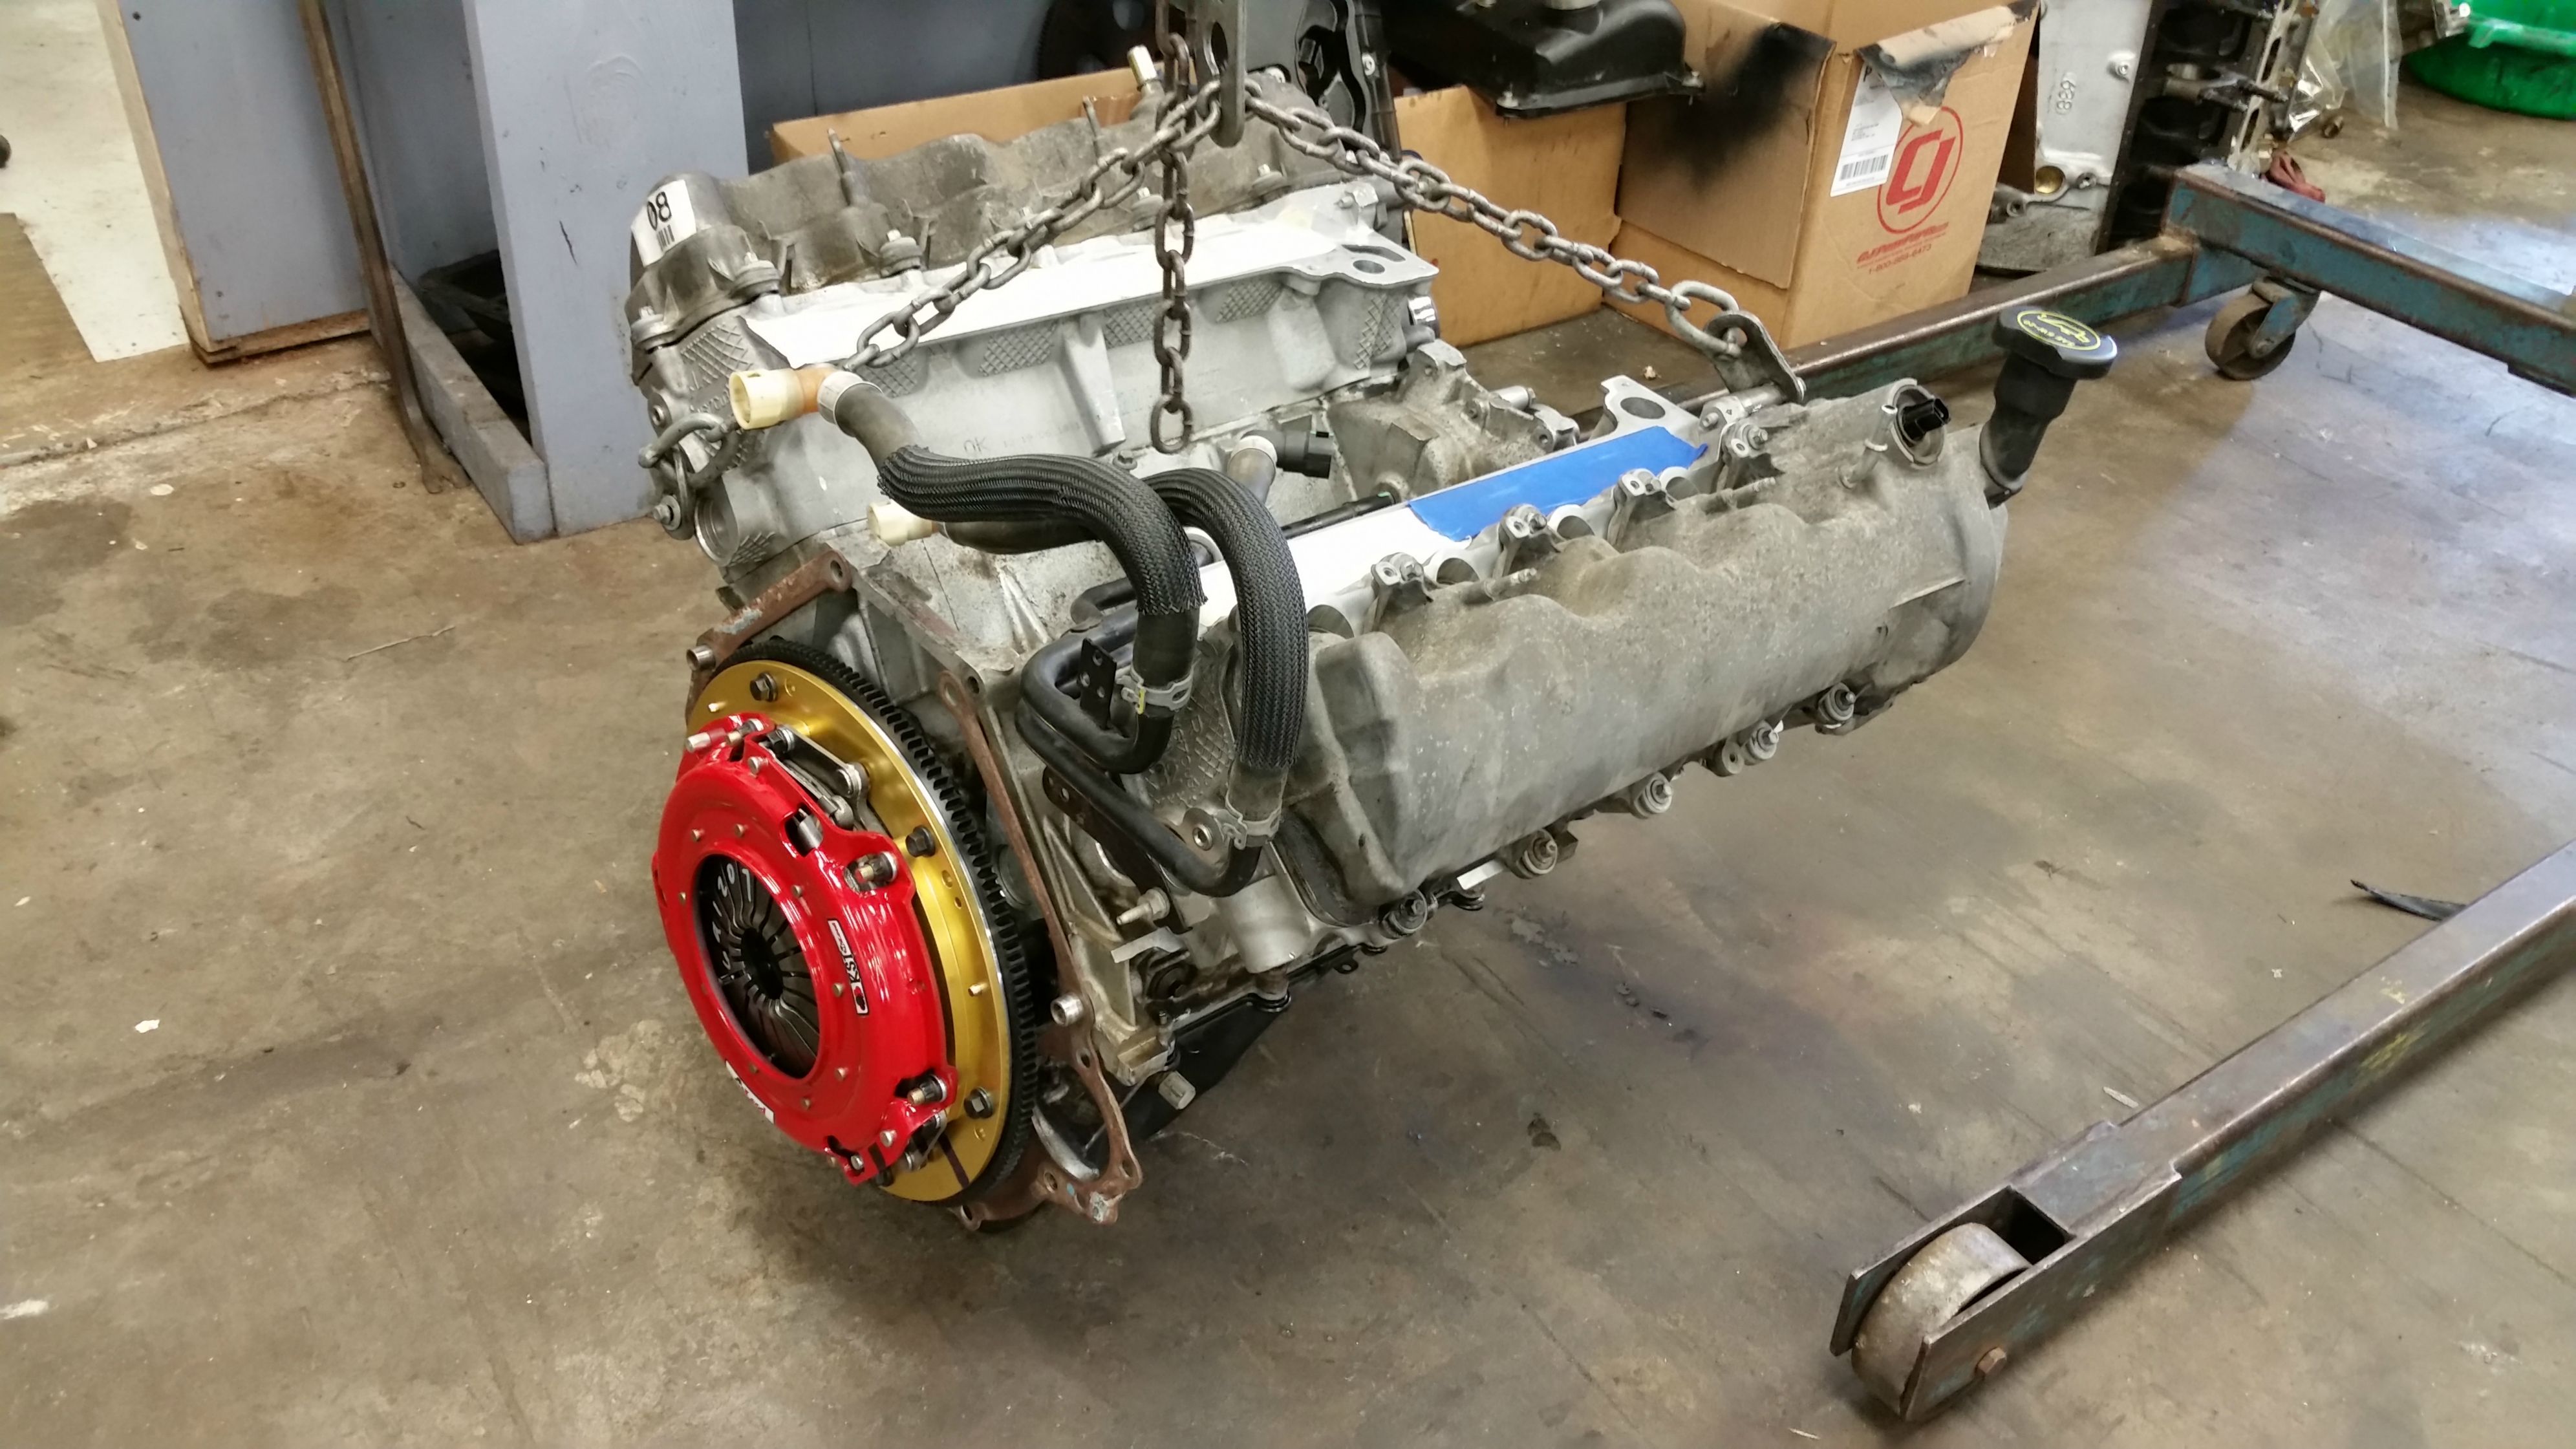
Mcleod RST + Steel Flywheel
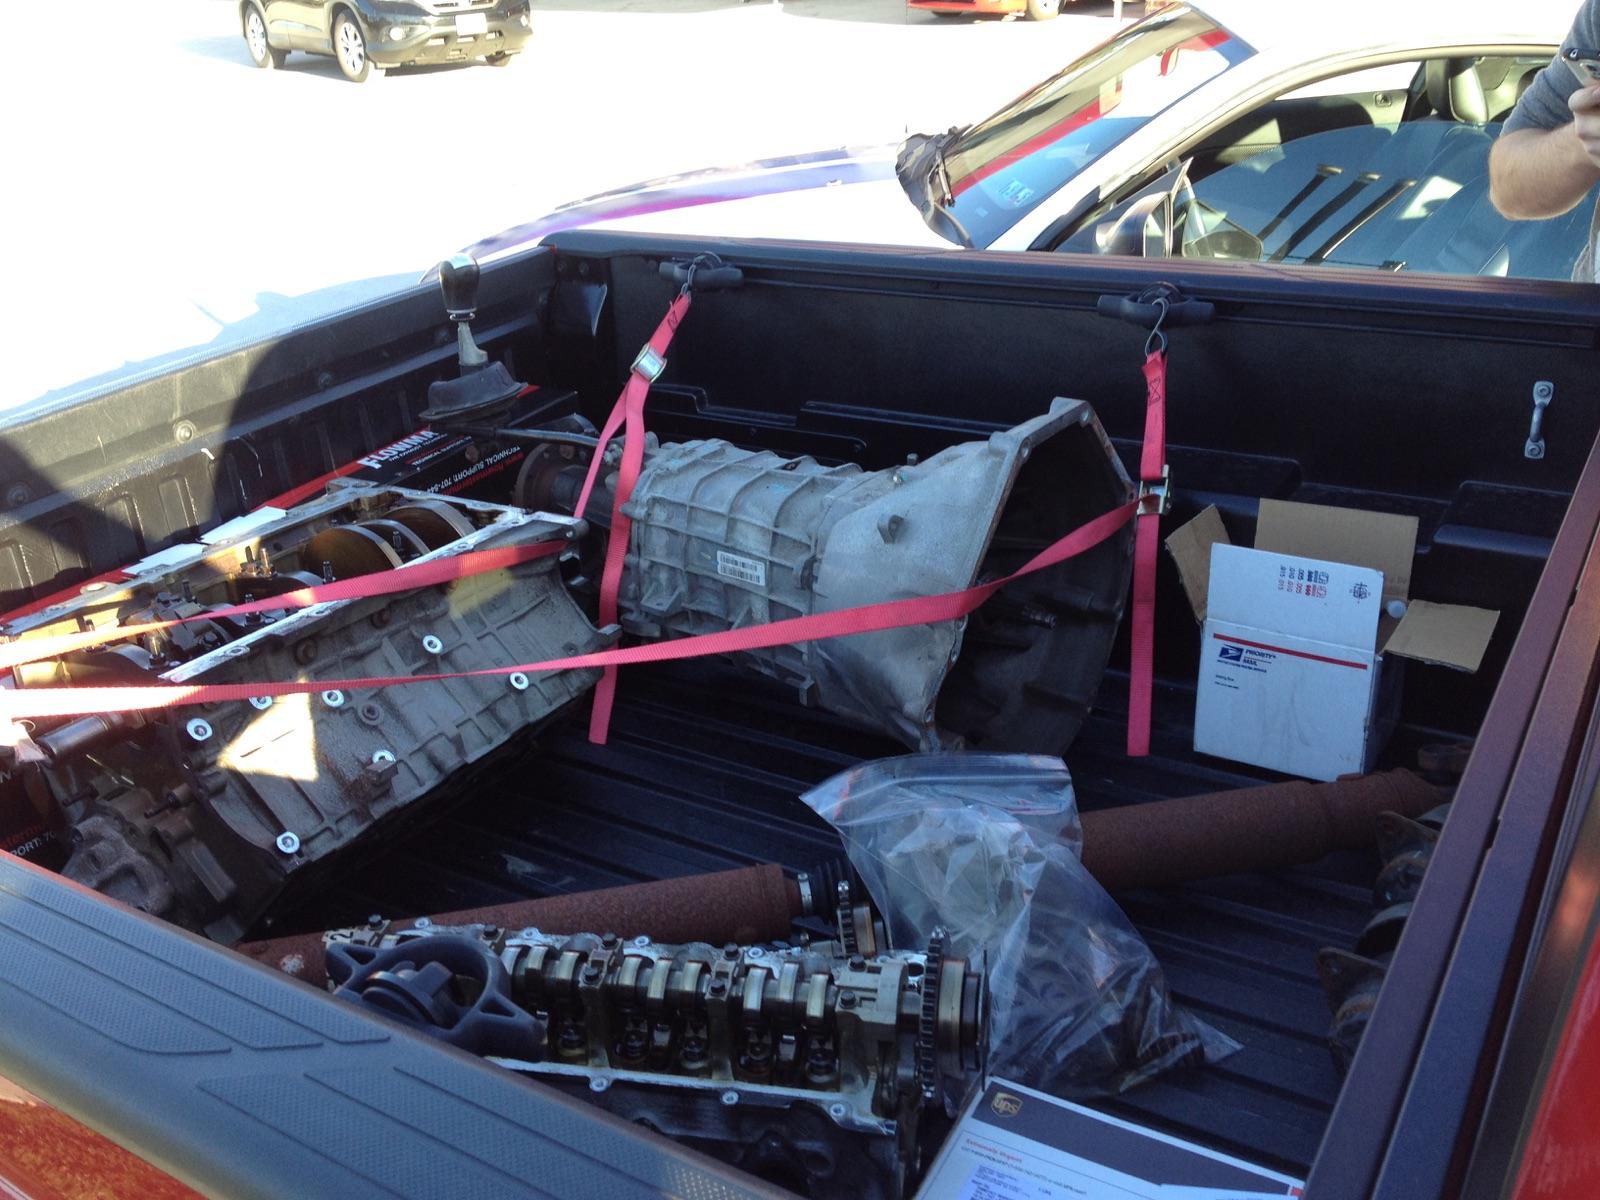
GT500 TR6060 Transmission
GT500 Driveshaft
GT500 Blue Stripe Shifter (looks sick)
SLP Linelock Kit
Blue Painted Calipers
S&H Walboro 400 LPH FuelHat/Wire Upgrade Kit
KB BAP
Ford Timing Rebuild Kit
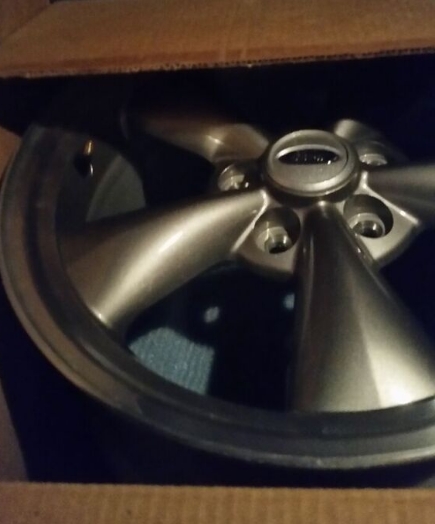
Brand new in box set of OEM blade 17's off craigslist!
M&H 275/50R17's + two 245/50zr17 Continental DWS fronts
Handfuls of MISC parts that end up costing too much money.
I know my way around an engine but I've never actually built one from the ground up. Not wanting to FUBAR a significant amount of money I decided to have a local guy do the work on assembling the engine.
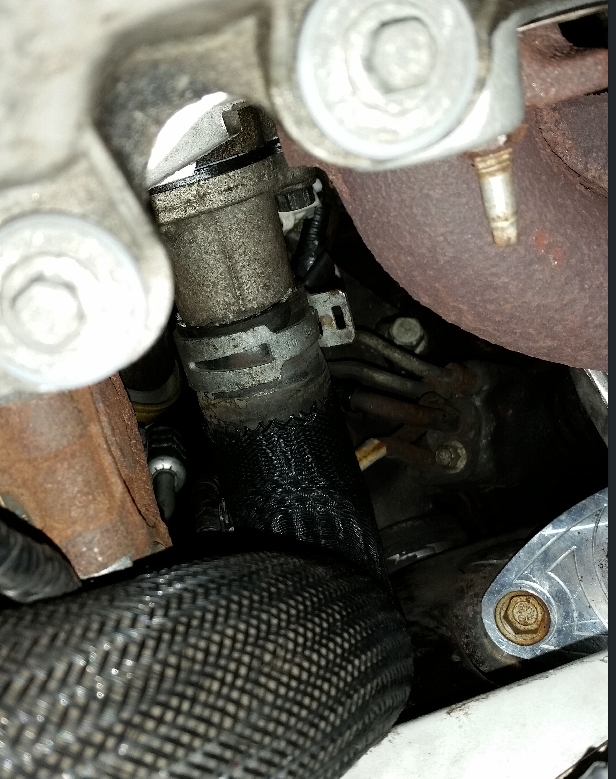
I decided on the teksid block due to at the time not being able to find any reasonably priced 3v 05-09 blocks. This turned into a major pain in the ass as no simple swap is ever simple. Had to come up with thread adapters for knock sensors, had to take 3/8 off my stock motor mounts, had to drill a water flow hole in the block and had to shave off a section of the block for the adapter to clear on one side.
All that to save 300-350 bucks? No thanks not worth lol
Crank was slightly bent and had to get straightened.
Otherwise engine came together well.
My busy season really hit me hard at work and with running out of time I told the shop to just swap the engine. While they were down there they put the clutch/tranny in as well. No major issues.
I'll be starting on putting the supercharger on myself here soon.
Currently breaking it in, twin disk clutch took a little to get used to - doesn't grab until its about 75% of the way out. If I hit everything right no chatter. Only chatters when I shift like a dummy.
Hit 500 miles with the break in oil, going to do a change tomorrow.
Prob wont bother mounting the tires/wheels as no where to drive the car anytime soon. Thinking of going with LITO for the tune, seems more cost effective long term.
FUTURE PLANS:
E85? Return Fuel Setup ($$$)
VMP TB?
ID1000 Injectors?
That would round out the build entirely. But for now the car fund is at a solid 0 so any of that will have to wait. Would love to break 650 at the wheels without the e85 and vmp tb but idk if that will be possible.
Goals of build? Cool factor, being able to hang with all the newer cars in my area - love the look of the 05-09 body style and going to the drag strip sounds like a hell of a good time next year.
Well that wraps it up!

Heres a little background:
Bought my 06 GT almost 3 years ago with 60k miles on it for 13k. Loved the look in the parking lot and couldn't walk away. It came with some ford racing upgrades (control arms, cat back exhaust).
Yeah thats winter tires boiz
First mod for a time was a insane subwoofer setup. 2K watts, single 18 ported 18, why not lol
After murdering my right ear drum, I sold off the equipment and decided I wanted to go faster someday.
Car has 138k miles, the build begins.
------------------------------------------------------
Take off low milage 3v heads (my valves were shot)
FRPP 60# Fuel Injectors M-9593-LU60
MMR 900SE 4.75 Rotating Assm. (fully forged)
Teksid Alum Block
ARP All Around
Billit Oil Gear
Ford HV Oil Pump
Teksid Mount Adapters
Prothane Motor Mounts
Innovators West 10% OD 8-Rib Balancer
8-Rib Pully Set for Conversion
DOB Stage III Supercharger Kit (minus the m122)
2.65 Pully
2013 2.3L TVS Supercharger
2013 GT500 Heat Exchanger
GT500 TB
123mm JLT CAI
New Water Pump
Set of new Mud Flaps (lol)
PLX DM-100 Multi-gauge
PLX Vac/Boost Sensor
PLX DM-6 Wideband A/F Gauge/sensor
Vent Pods
Mcleod RST + Steel Flywheel
GT500 TR6060 Transmission
GT500 Driveshaft
GT500 Blue Stripe Shifter (looks sick)
SLP Linelock Kit
Blue Painted Calipers
S&H Walboro 400 LPH FuelHat/Wire Upgrade Kit
KB BAP
Ford Timing Rebuild Kit
Brand new in box set of OEM blade 17's off craigslist!
M&H 275/50R17's + two 245/50zr17 Continental DWS fronts
Handfuls of MISC parts that end up costing too much money.
I know my way around an engine but I've never actually built one from the ground up. Not wanting to FUBAR a significant amount of money I decided to have a local guy do the work on assembling the engine.
I decided on the teksid block due to at the time not being able to find any reasonably priced 3v 05-09 blocks. This turned into a major pain in the ass as no simple swap is ever simple. Had to come up with thread adapters for knock sensors, had to take 3/8 off my stock motor mounts, had to drill a water flow hole in the block and had to shave off a section of the block for the adapter to clear on one side.
All that to save 300-350 bucks? No thanks not worth lol
Crank was slightly bent and had to get straightened.
Otherwise engine came together well.
My busy season really hit me hard at work and with running out of time I told the shop to just swap the engine. While they were down there they put the clutch/tranny in as well. No major issues.
I'll be starting on putting the supercharger on myself here soon.
Currently breaking it in, twin disk clutch took a little to get used to - doesn't grab until its about 75% of the way out. If I hit everything right no chatter. Only chatters when I shift like a dummy.
Hit 500 miles with the break in oil, going to do a change tomorrow.
Prob wont bother mounting the tires/wheels as no where to drive the car anytime soon. Thinking of going with LITO for the tune, seems more cost effective long term.
FUTURE PLANS:
E85? Return Fuel Setup ($$$)
VMP TB?
ID1000 Injectors?
That would round out the build entirely. But for now the car fund is at a solid 0 so any of that will have to wait. Would love to break 650 at the wheels without the e85 and vmp tb but idk if that will be possible.
Goals of build? Cool factor, being able to hang with all the newer cars in my area - love the look of the 05-09 body style and going to the drag strip sounds like a hell of a good time next year.
Well that wraps it up!


")