Planning a Ford Racing “Aluminator” Build with associated mods over the winter

Scott

Senior Member
S197 Team Member
Joined
Nov 17, 2009
Posts
2,337
Reaction score
43
Location
King City, Ontario, Canada
Back on Sunday August 20th I attended the 10th Annual DaSilva Racing Charity Car Show in support of Sick Kids Hospital. Joe DaSilva and his son Matt (MattD here) put on a show that gets bigger and better every year. Last year they collected $40,000 and this year with a goal of $50,000 Joe reported the day after the show they has collected $49,300 so far.

The show uses a very unique form of judging as every year a group of volunteer children select the winning cars for each category. In the eight years of attending the event I have never been selected by the kids until this year. This year I was surprised and delighted to win the “Best Retro” trophy. All I can think of it must have been the severed hand sticking out from under my Mustang that put me over the top this year.

yETf8Qf.jpg


AyZHPVH.jpg


It was also pretty cool when I realized my car was on the event T-Shirt.

BM7IO2r.jpg
 

tigerhonaker

Senior Member
S197 Team Member
Joined
Apr 11, 2009
Posts
6,516
Reaction score
29
Location
TN
Scott,

I'll 2nd what Tim posted above ^^^

Nice going buddy. :clap:


Terry
 

Scott

Senior Member
S197 Team Member
Joined
Nov 17, 2009
Posts
2,337
Reaction score
43
Location
King City, Ontario, Canada
^^ Congrats Scott! Well deserved for sure!

Scott,

I'll 2nd what Tim posted above ^^^

Nice going buddy. :clap:


Terry

Awesome work on the seats. Wow, they look great as well.

Congrats on another show win, especially that one, and for getting on the event t-shirt!

A very long overdue thank you Gentlemen!

I am very remiss in keeping this thread updated. Pretty sure it has something to do with the new and unfamiliar format and of course the challenges with PhotoBucket. I did manage to locate a plug-in for Chrome which makes most of my PhotoBucket images visible.

To catch up, took in a couple more car shows last fall.

Won “Ridgehill Ford Pick Mustang Best of Show”, this was truly an honour as there were 480 awsome Mustangs in attendance September 18th at Ridgehill Ford.

WKSARN9.jpg


clBAKlz.jpg


LxjYBSE.jpg


Placed 2nd in Custom Modern /Car Truck class at the Woodbridge Fair in October.

gHCcwen.jpg


Ankf7VL.jpg


And the new Recaro seats.

Ndqz1nQ.jpg
 

Scott

Senior Member
S197 Team Member
Joined
Nov 17, 2009
Posts
2,337
Reaction score
43
Location
King City, Ontario, Canada
Rear Brake Rotor Upgrade

Love the 20” wheels but not a fan of how OEM size rear brake rotors look with all that open space.

FFEFRsd.jpg


The OEM rotors look great with the 15” Race Stars.

3wa7hD6.jpg


Hoping to be a little different I investigated dual caliper rear brakes that use the OEM size rotors. This would allow me to readily switch back and forth from the 20” Vossen’s to the 15” Race Star wheels. Looked at brakes from Strange Engineering, Baer Brakes and Aerospace. Had it narrowed down to Baer but the cost to covert was getting out of hand as a master brake cylinder swap was also required. While the Baer dual caliper brakes said they were designed for C-Clip eliminators, the pictures in the install instructions showed a regular housing end. This was also a contributing factor for ruling them out. Next I looked at 14” brakes that used the OEM calipers with an adapter bracket. With this configuration I can swap back to the OEM size rotors to use with the 15” Race Stars by removing the calipers, Baer brackets, compressing the piston, replacing the 14” rotor with the 11.8” and reinstalling the calipers. Key point here is that it is not necessary to discount the brake lines and therefore eliminating the need to bleed the brakes. I expect I will not do the swap often, but at least it can be done without too much bother.

Collected the pieces for a clean install:

Baer EradiSpeed +1 Rotor Upgrade part number 226219.

Left side two-piece rotor

NL5zaT1.jpg


The off the shelf adapter brackets from Baer were not designed to work with Strange C-Clip Eliminator housing ends but thanks to five stainless steel M12 washers used as spacers (between C-Clip housing ends and Baer bracket) and 10.9 M12x 50mm bolts I was able to align the Baer caliper bracket where they needed to be. If for some reason the washer do not work in practice I will have the Baer bracket machined to fit.

XaRWHUi.jpg


Two OEM hardware kits

jJZLop1.jpg


One OEM pad attach kit

JFqm0eM.jpg


Silicone Brake Caliper Grease

lJhdglm.jpg


Started the install by removing the caliper with a 13mm ratchet wrench and removing the OEM caliper bracket from the C-Clip Eliminator housing end with a 15mm ratchet wrench. All ready for the install.

uAi6qWS.jpg


Trial fitted the Baer bracket, you can see the bracket sticks out beyond the surface of the Strange C-Clip Eliminator housing end.

7VSBeVt.jpg


Added washers between the C-Clip Eliminator housing end and the Baer bracket to move the face of the Baer bracket even with the C-Clip Eliminator housing end. Applied a little blue medium strength Loctite to the threads and tightened the Bare brackets to 85 ft-lbs with a 19mm socket.

DY2Dn2X.jpg


Sprayed the new rotor with brake cleaner and dried it off. Applied some high-temp silver anti-seize around the hub. Placed the rotor on, added a 1/8” Maximum Motorsports spacer and held the rotor in place with three wheel nuts.

rWklXjB.jpg


Positioned the brake caliper bracket and secured it in place with the bolts provided by Baer after adding a little blue medium strength Loctite to the threads. Tighten the bolts to 75 ft-lbs (103 Nm) with a 19mm socket and a short torque wrench.

HNtcrOO.jpg


Installed the brake pads into the caliper brackets on either side of the rotor.

KJQKoBc.jpg


Carefully compressed the brake caliper piston into the bore by repeatably rotating the tool clockwise and once compressed aligned the notches in the piston vertically to correctly mate with the inner pad.

Removed the boots and guide pins, lubricated the caliper guide pins with Silicone Brake Caliper Grease. Slide the guide pins with the boots attached into the caliper brackets, slipped the boots into the caliper brackets and aligned the guide pins to accept the caliper.

Positioned the caliper over the caliper bracket and secured with the OEM caliper bolts. According to the service manual, tighten the RH top bolt to 33 Nm (24 ft-lbs) then tighten the bottom bolt to 33 Nm (24 ft-lbs) using a 13mm socket and short torque wrench.

Installed the wheel and repeated the process on the left-hand driver’s side.

Before

y8fUJlT.jpg


After (please pardon the very dirty car!)

XHETCVF.jpg
 

travelers

Senior Member
Joined
Apr 6, 2007
Posts
3,028
Reaction score
79
Location
Eastern Pa
Very nice write up and pics on the upgrade. With the 20s that makes a big difference in proportion. Congrats.

Me being old school I like the larger side wall tires like you have on the race stars. But your car looks great with either wheels.
 

Scott

Senior Member
S197 Team Member
Joined
Nov 17, 2009
Posts
2,337
Reaction score
43
Location
King City, Ontario, Canada
My car will have it’s tenth birthday on May the 5th. It is hard to believe but the Center Console top has been abused over the years and does contain a few battle scares (most of which occurred I am sure when the car was a daily rental). LOL!!! Time for a Carbon Fiber replacement.

Removed the OEM console top by opening the cover door, removing the two Philips screws, removing the shifter trim ring, engaging the parking brake and then carefully pulling the top up and off.

Side by side old and new.

DA1UMVO.jpg


Pulled the six clips of the OEM top with a couple of small screwdrivers. Getting the little clips off was the hardest and most time-consuming part of the install.

pXACL7O.jpg


Installed the six clips on the CF top.

kdO94CM.jpg


Slipped the CF top over the parking brake and shifter, pressed it down evenly and gently to engage the clips and replaced the two Philips screws. Voila done.

De8p8Pq.jpg


It was not possible to transfer the rubber gasket from the OEM console that surrounds the parking brake lever. Still need to come up with a method of filling the open space without the rubber gasket.
 

Scott

Senior Member
S197 Team Member
Joined
Nov 17, 2009
Posts
2,337
Reaction score
43
Location
King City, Ontario, Canada
Continuing on with the Carbon Fiber interior theme I replaced the OEM plastic exterior mirror switch covers with Trufiber CF ones.

Original drivers side.

61e8Nnq.jpg


CF drivers side.

oVwu45u.jpg
 

Scott

Senior Member
S197 Team Member
Joined
Nov 17, 2009
Posts
2,337
Reaction score
43
Location
King City, Ontario, Canada
So under the car I discovered my coolant temperature and transmission temperature harness 1/4" split loom coverings were melted or burnt off because of proximity to the ARH long tubes.

I found this shielding by Heatshield Products on Amazon and while designed for brake lines I think it is going to do the trick.

Claims to be good to a continuous 1200F.

https://www.amazon.ca/gp/product/B00...?ie=UTF8&psc=1

The coolant temp was be far the worst and I am starting to think now that it may have been the cause of the erratic gauge functioning.

UFZ4Q7F.jpg


New and old trans temp harness.

KpnSmSW.jpg
 

travelers

Senior Member
Joined
Apr 6, 2007
Posts
3,028
Reaction score
79
Location
Eastern Pa
I know the cars are full of the plastic loom, but it is what it is. As I add stuff that's the kind of loom I use.
 

Scott

Senior Member
S197 Team Member
Joined
Nov 17, 2009
Posts
2,337
Reaction score
43
Location
King City, Ontario, Canada
cWhQ747.jpg


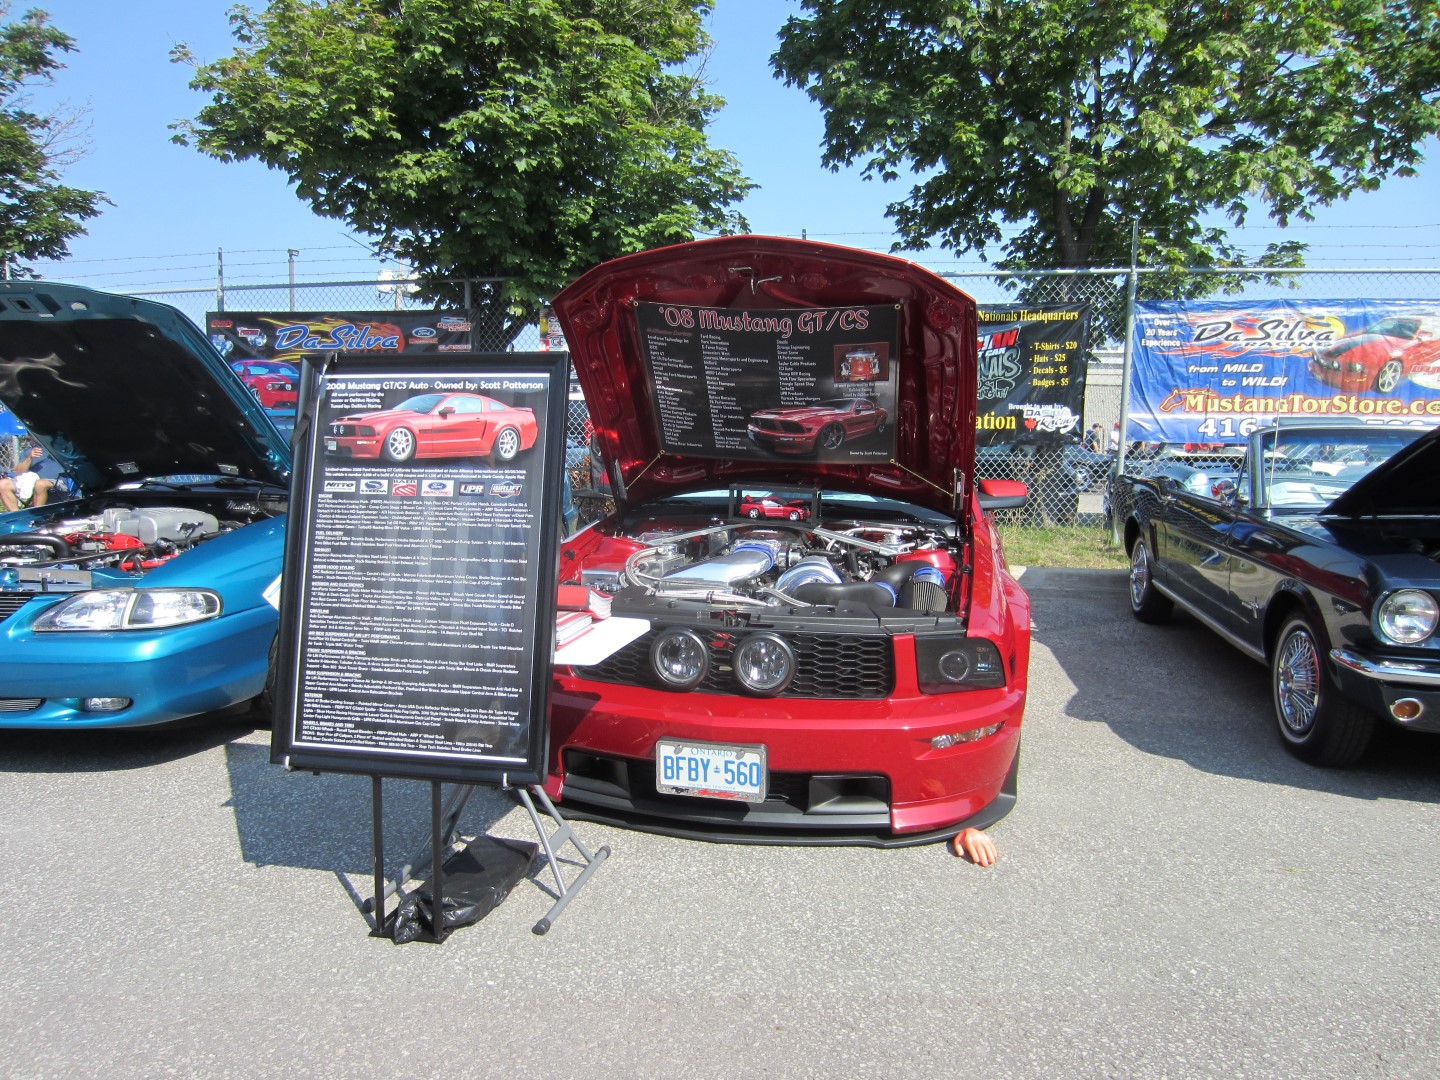
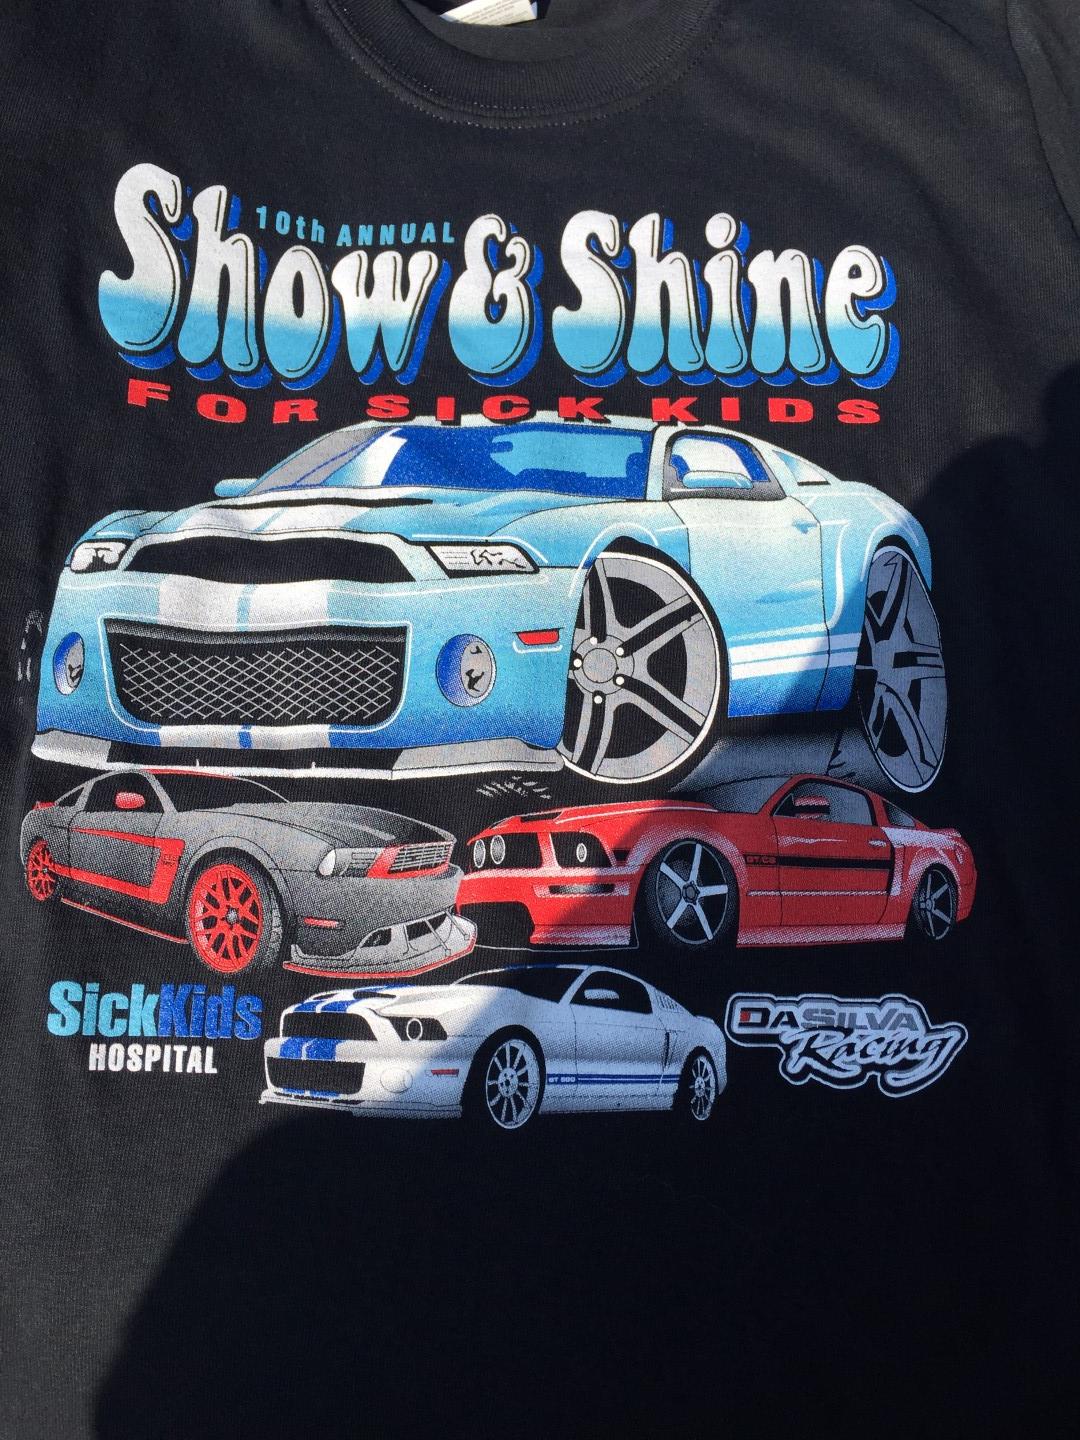
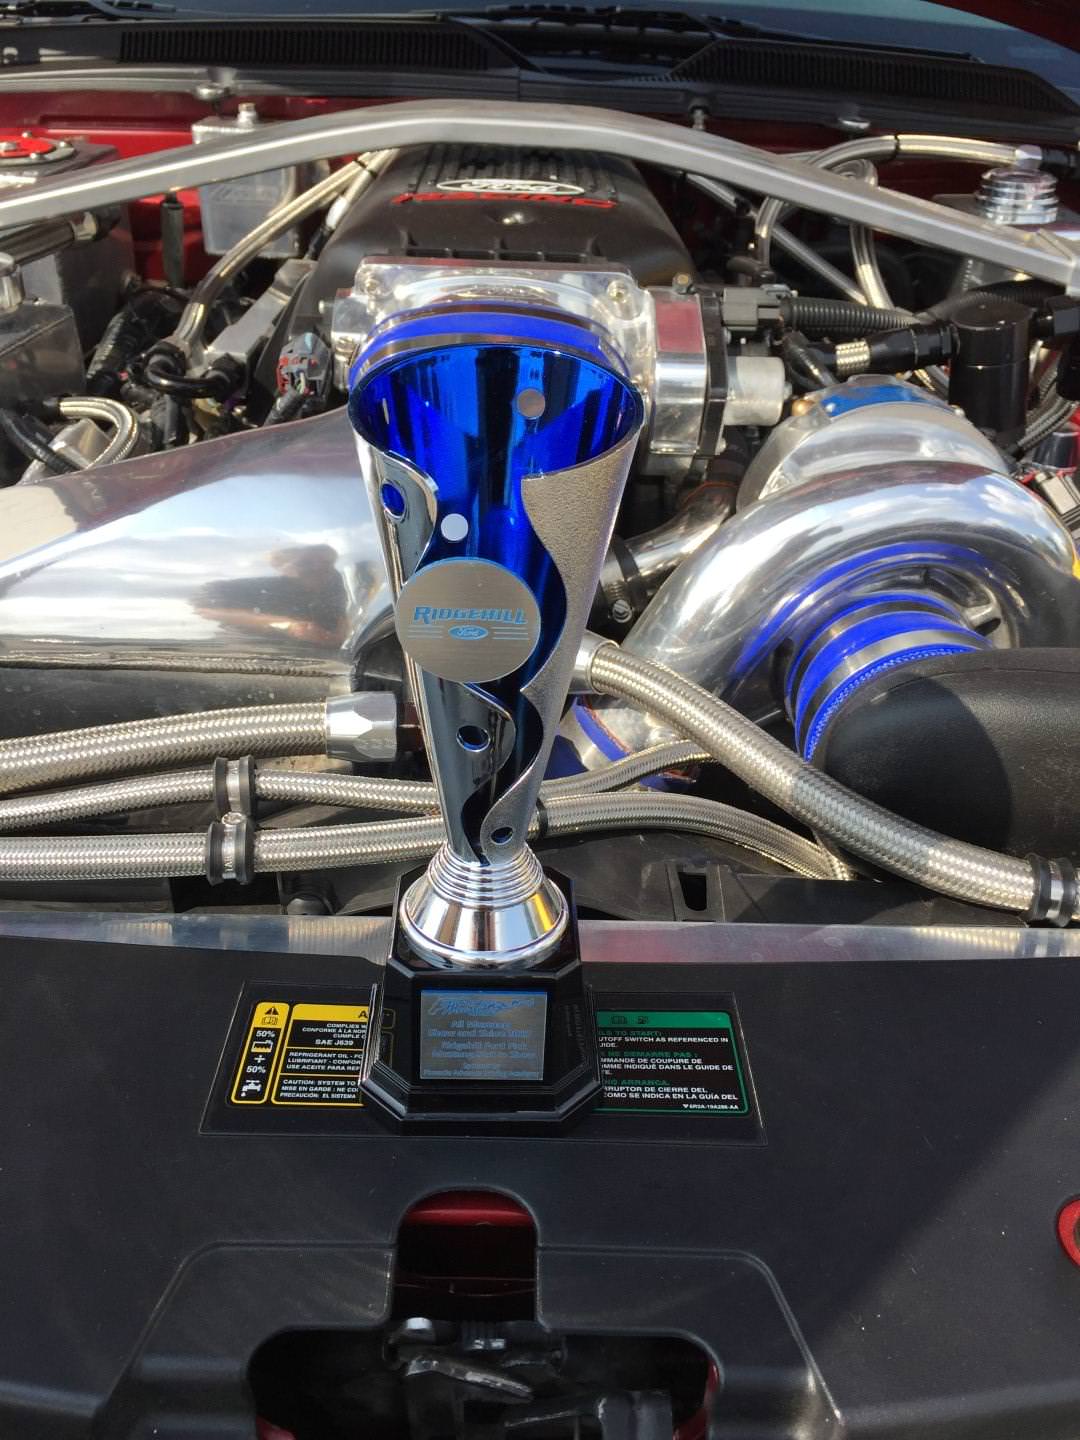
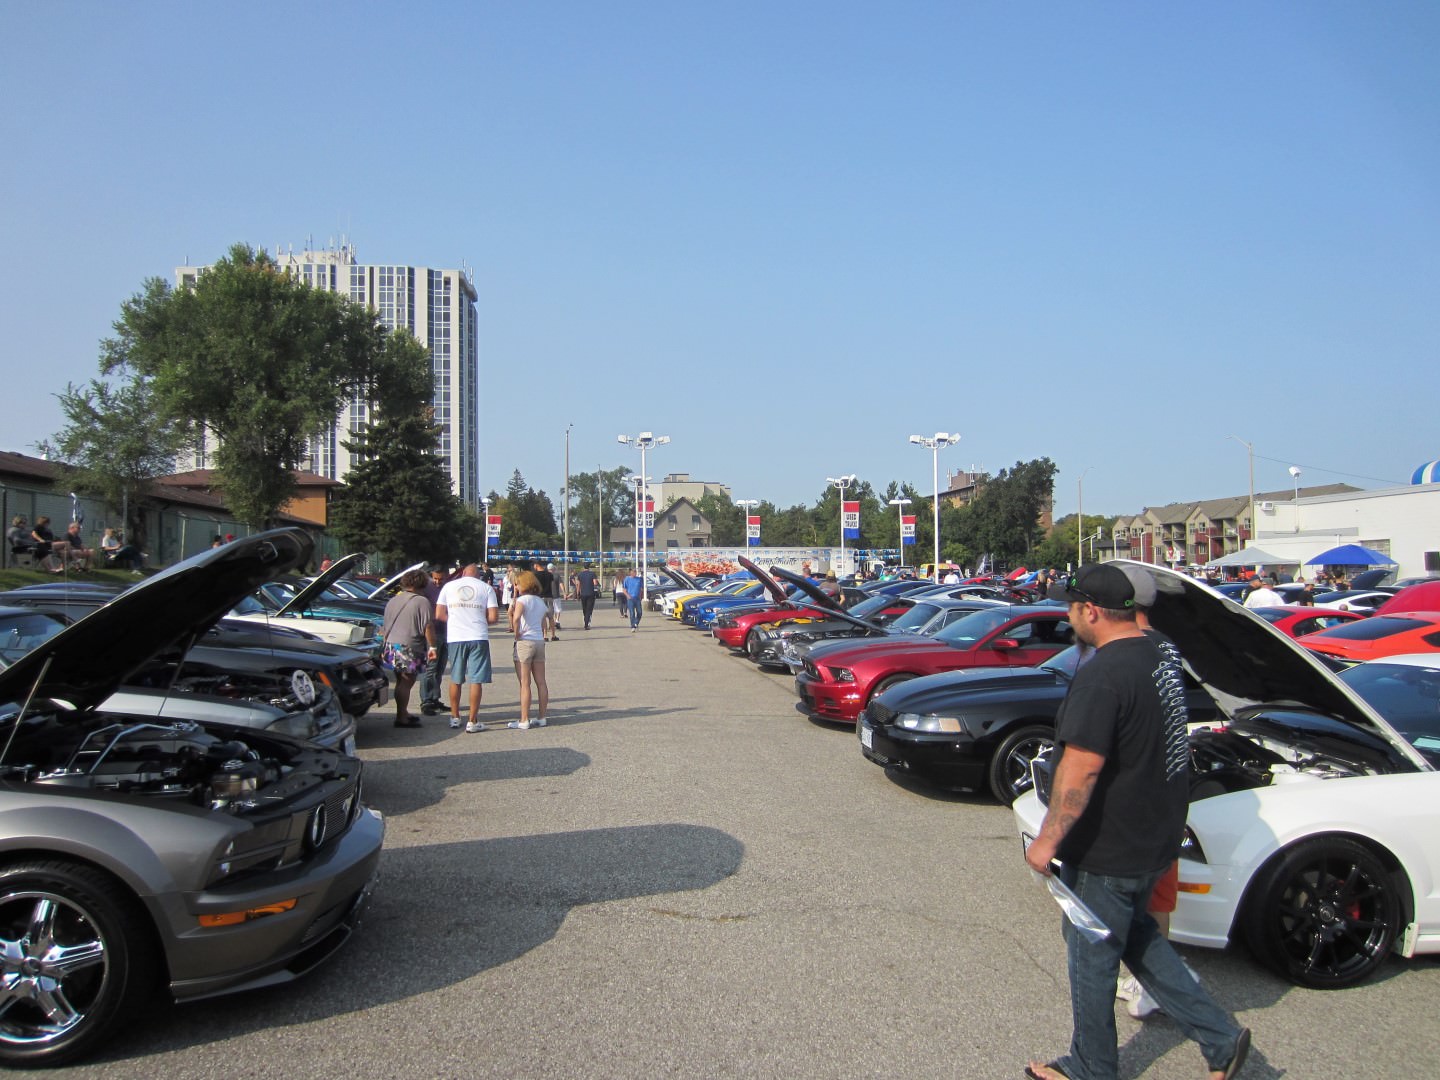
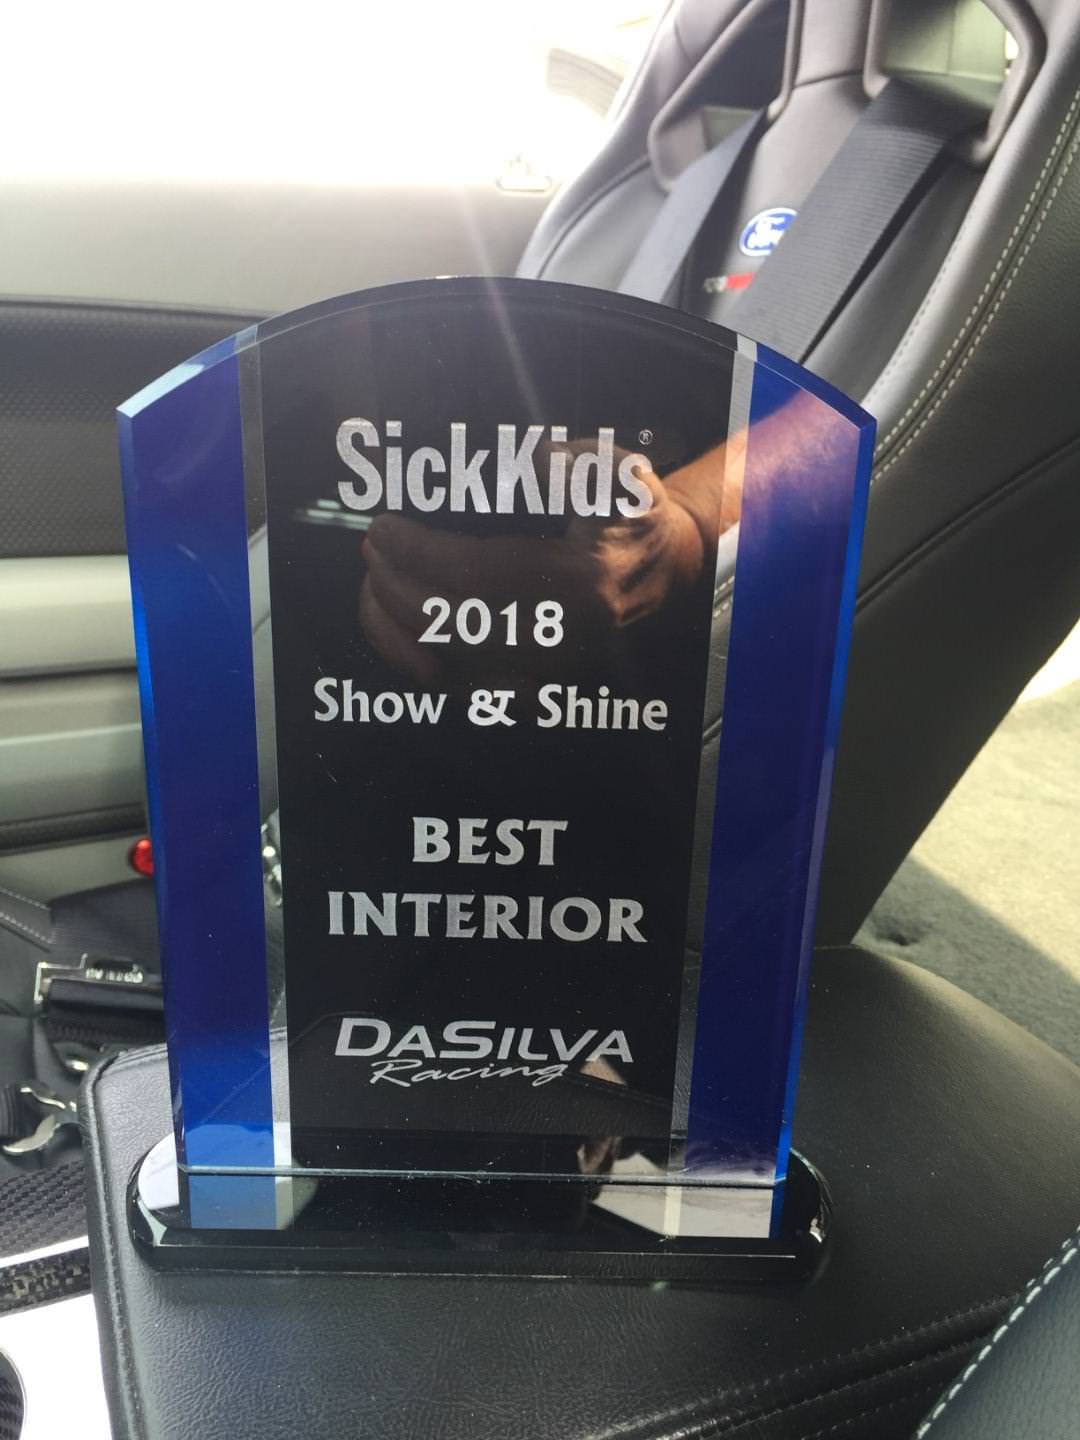
What does it take to win a “Best Interior” Trophy at a car show? Well here is what it took for me to win at the 2018 DaSilva Racing’s Car Show in support of Sick Kids Hospital.

· AeroForce Interceptor Scan Gauge
· AEM Digital Gauges: Fuel Pressure, Wideband Air/Fuel Ratio, Vacuum/Boost, Oil Pressure, Coolant Temperature and Transmission Temperature
· Pioneer Electronics In-Dash Navigation Receiver with 7” WVGA Capacitive Touchscreen Display AVIC-8000NEX
· Amustangrocksleather ¾ Length Leather E-Brake Arm Cover
· Amustangrocksleather Padded Leather Arm Rest Cover
· Arkon Seat Rail iPhone/Air Lift Performance 3P Controller Mount
· Black Accent Trim Welt on Doors
· Blackvue Dash Cams DR650GW-2CH
· Classic Design Concepts GT/CS Illuminated Door Sills
· Corbeau Harness Bar
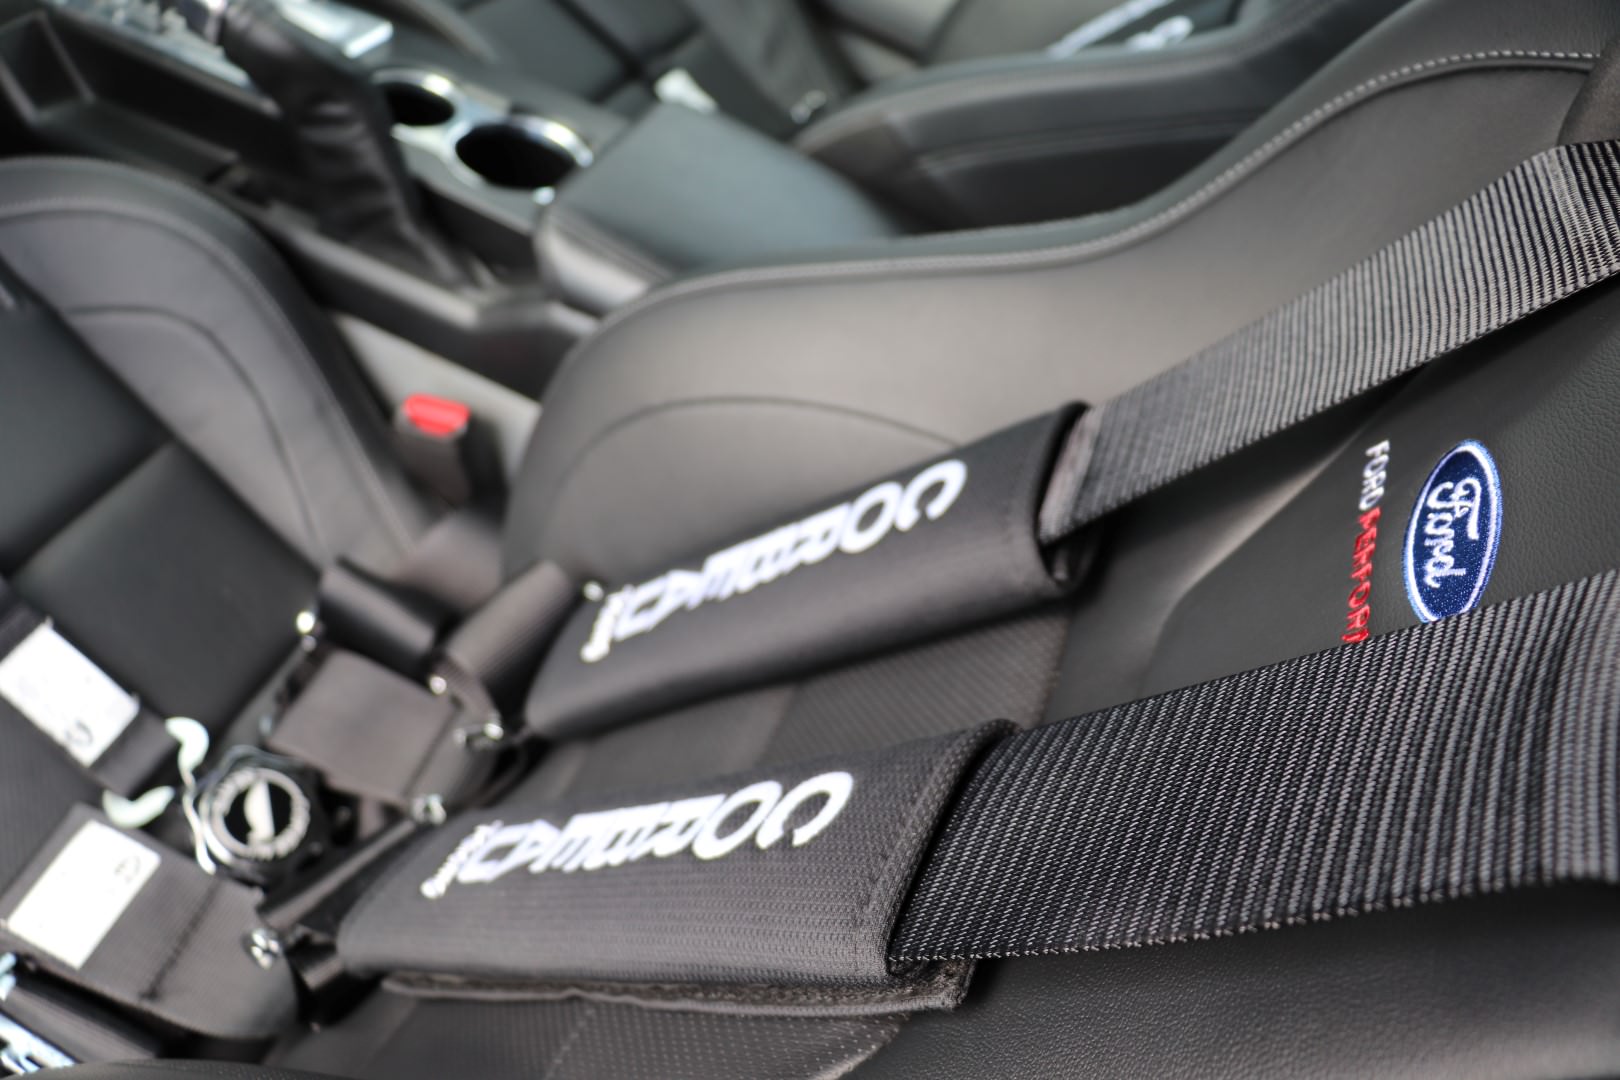
· Corbeau 3” 5-Piont Camlock Harnesses
· Diode Dynamics Custom GT/CS Aluminium Door Handle Plates
· Ford Performance Leather Recaro 15+ Seats
· Ford Racing Logo Floor Mats
· Ford Racing GT500 Leather Wrapped Steering Wheel
· Ford Racing Boss 302 X-Brace and Rear Seat Delete
· Glove Box Trunk Release Push Button
· MMS “Bright” White LED Map Lights
· Pioneer Electronics Front Speakers TS-D6802R
· Pioneer Electronics Parcel Shelf Speakers TS-D6892R
· Pioneer Electronics ND-BC6 Backup Camera
· Roush Performance Vent Gauge Pod
· Scott Drake Fire Extinguisher Mount and H3R Performance Maxout Dry Chemical Fire Extinguisher
· Shelby Performance Parts GT500KR Trunk Lid Liner
· Speed of Sound Dove Gray “A” Pillar Triple Gauge Pod
· Speed of Sound Center Dash Triple Gauge Pod
· Steeda Billet Pedal Covers and Dead Pedal
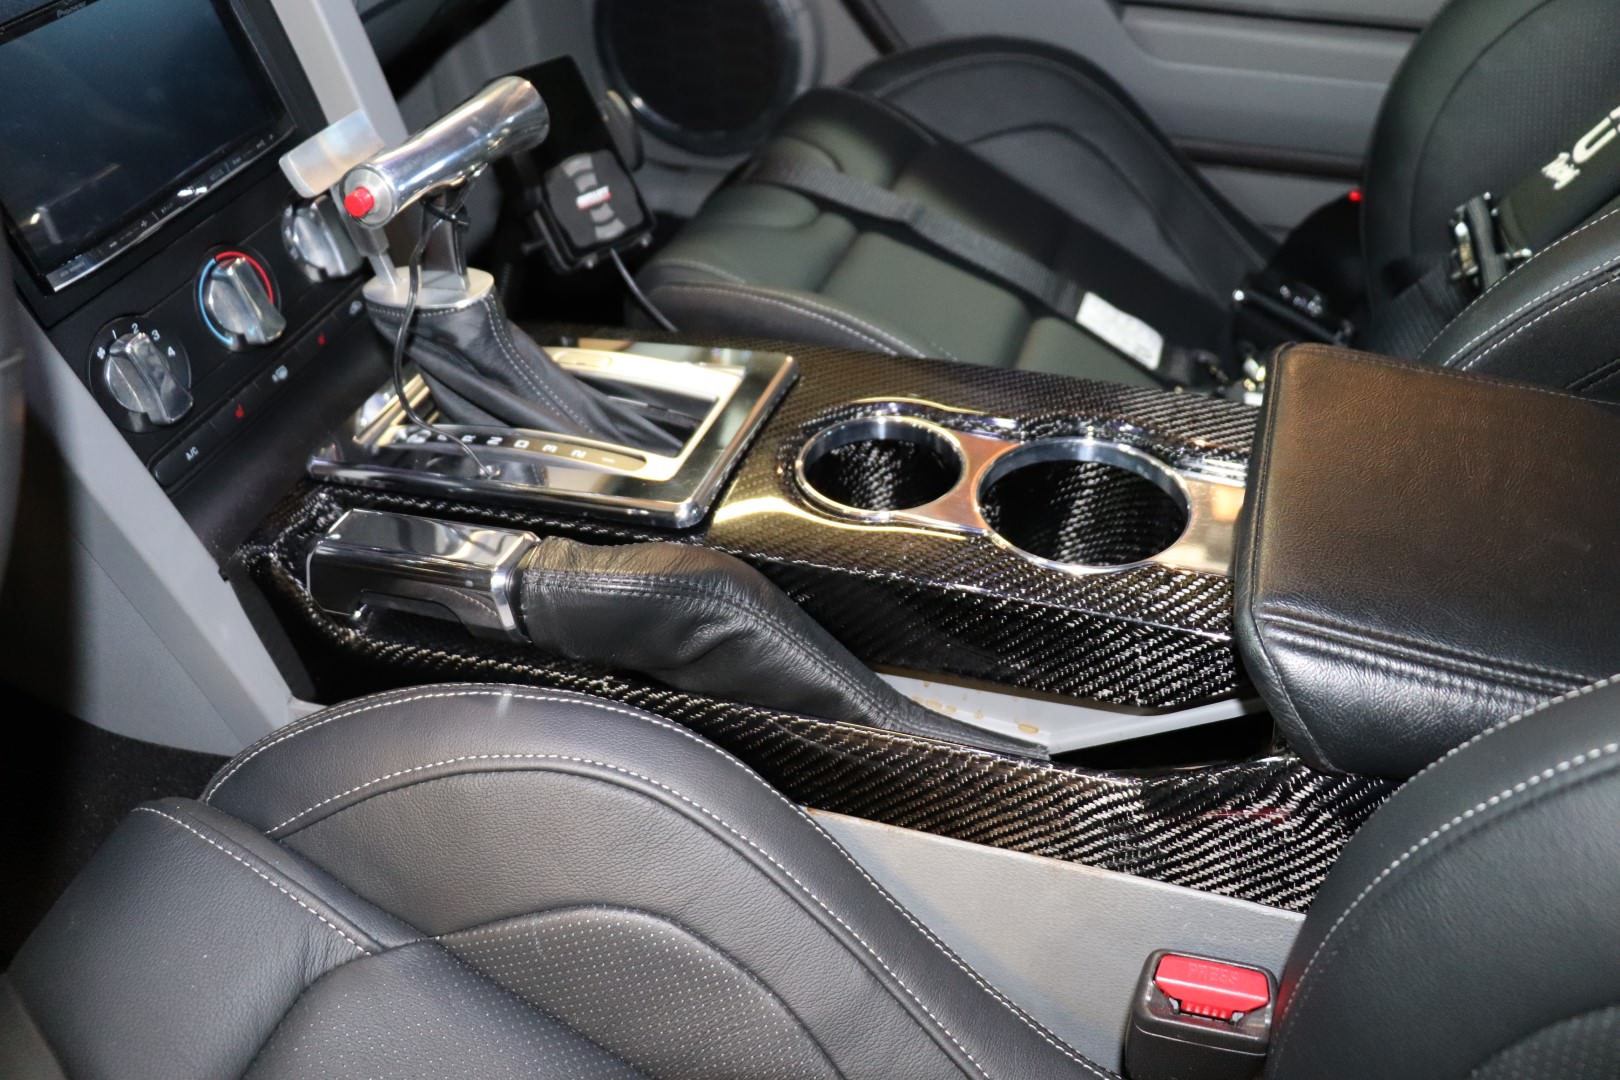
· TCI Auto StreetFighter Ratchet Automatic Shifter with Hurst Push Button T-Handle
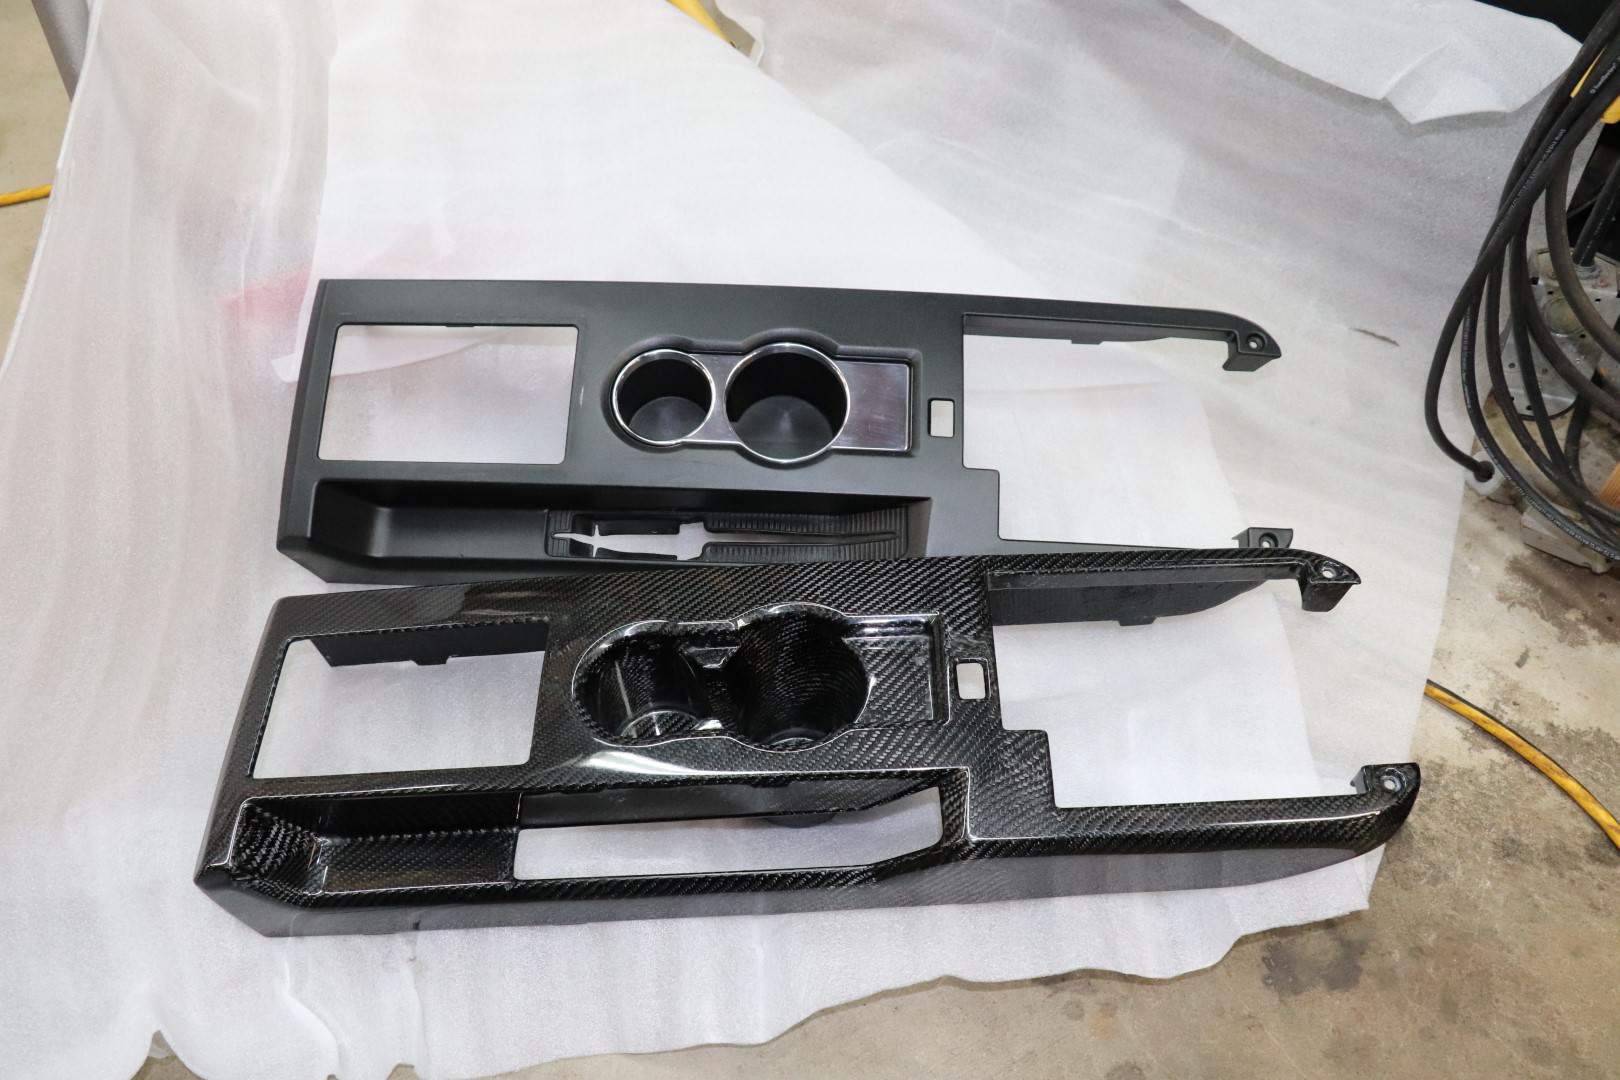
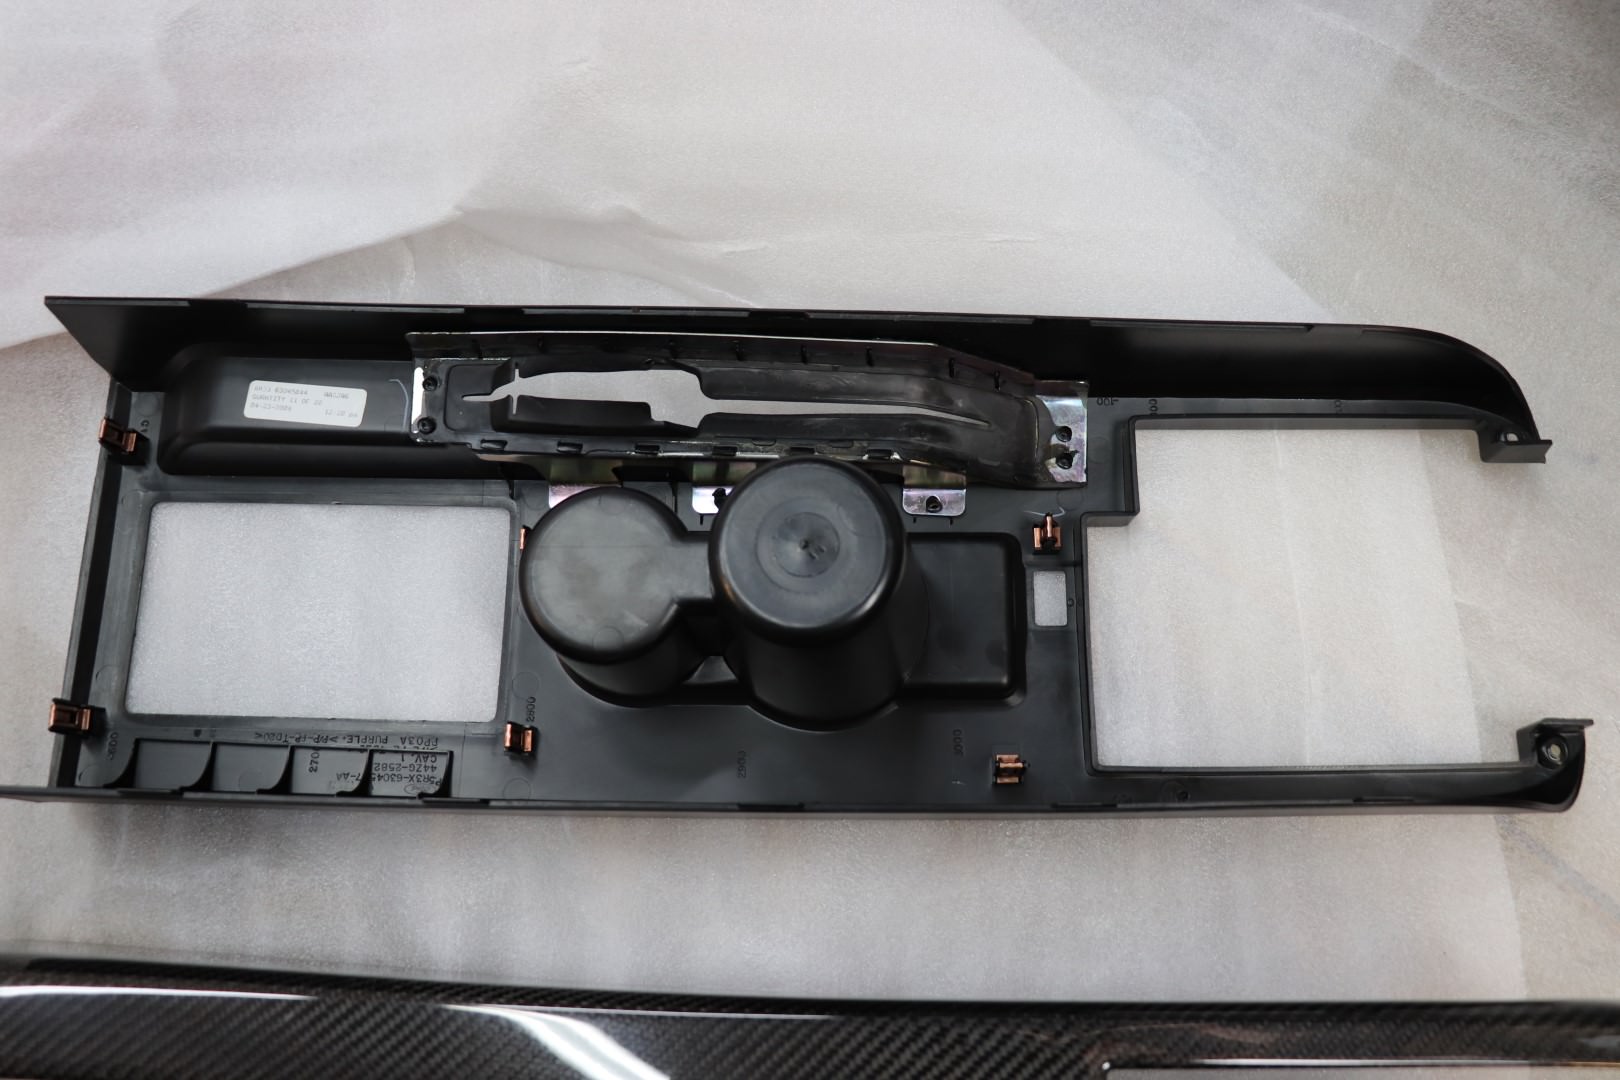
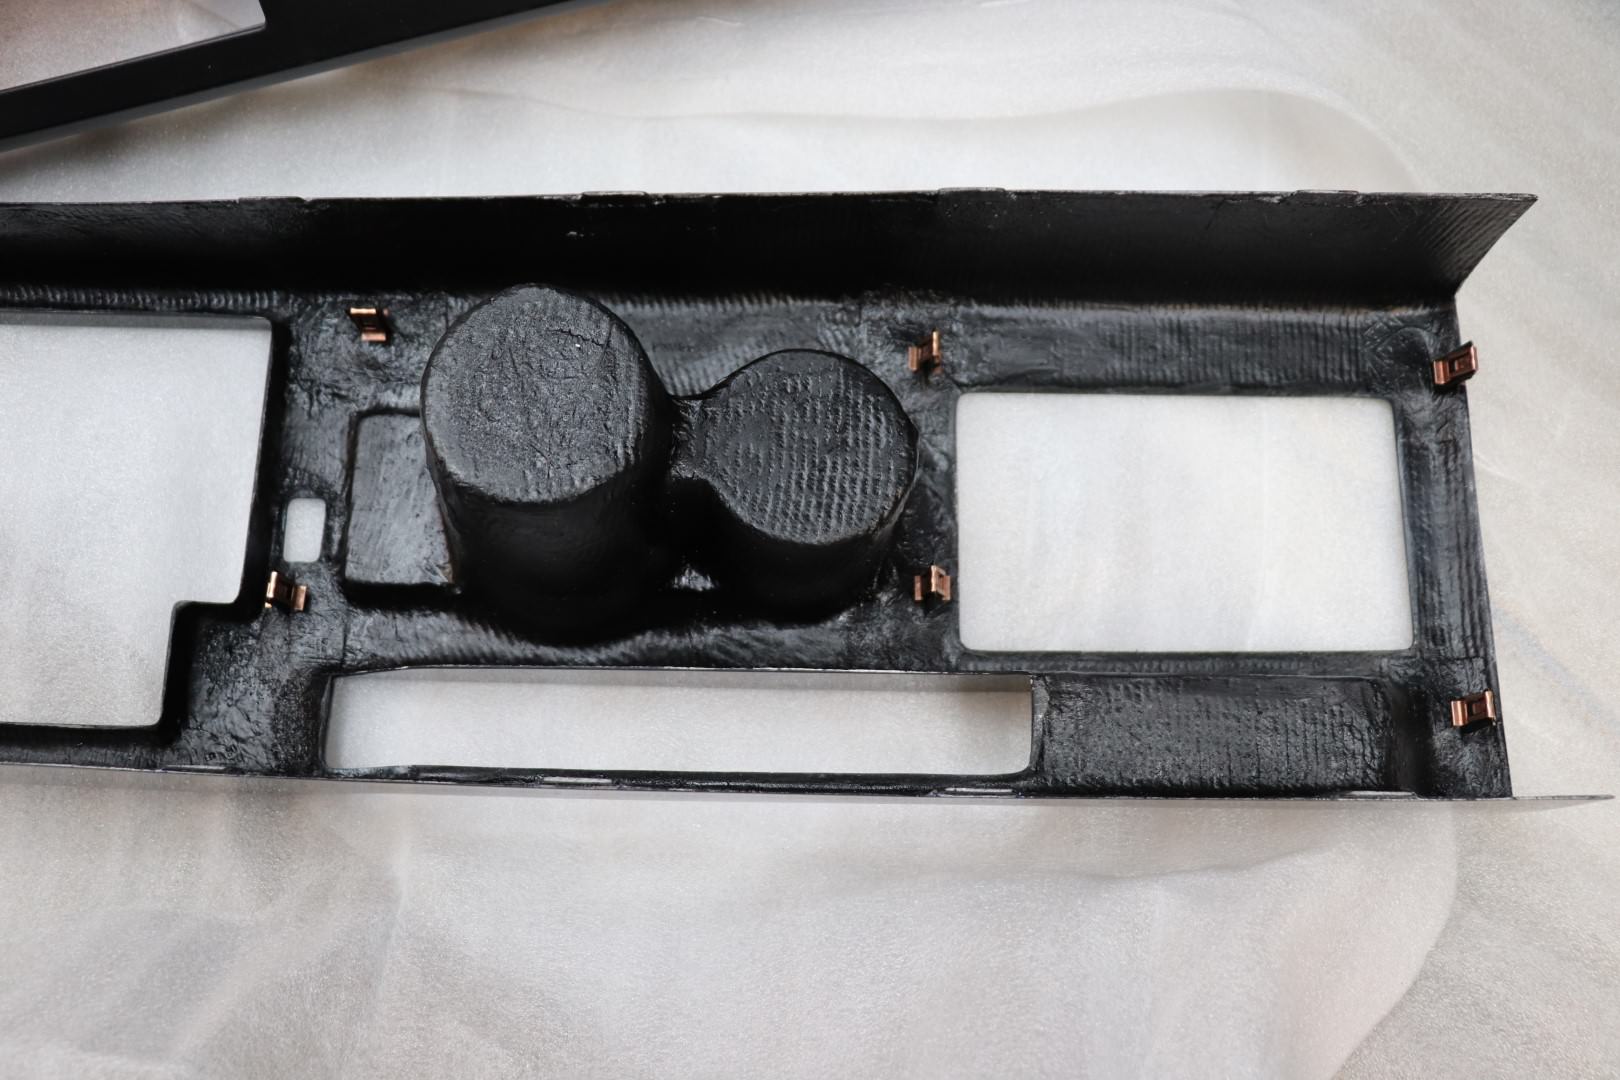
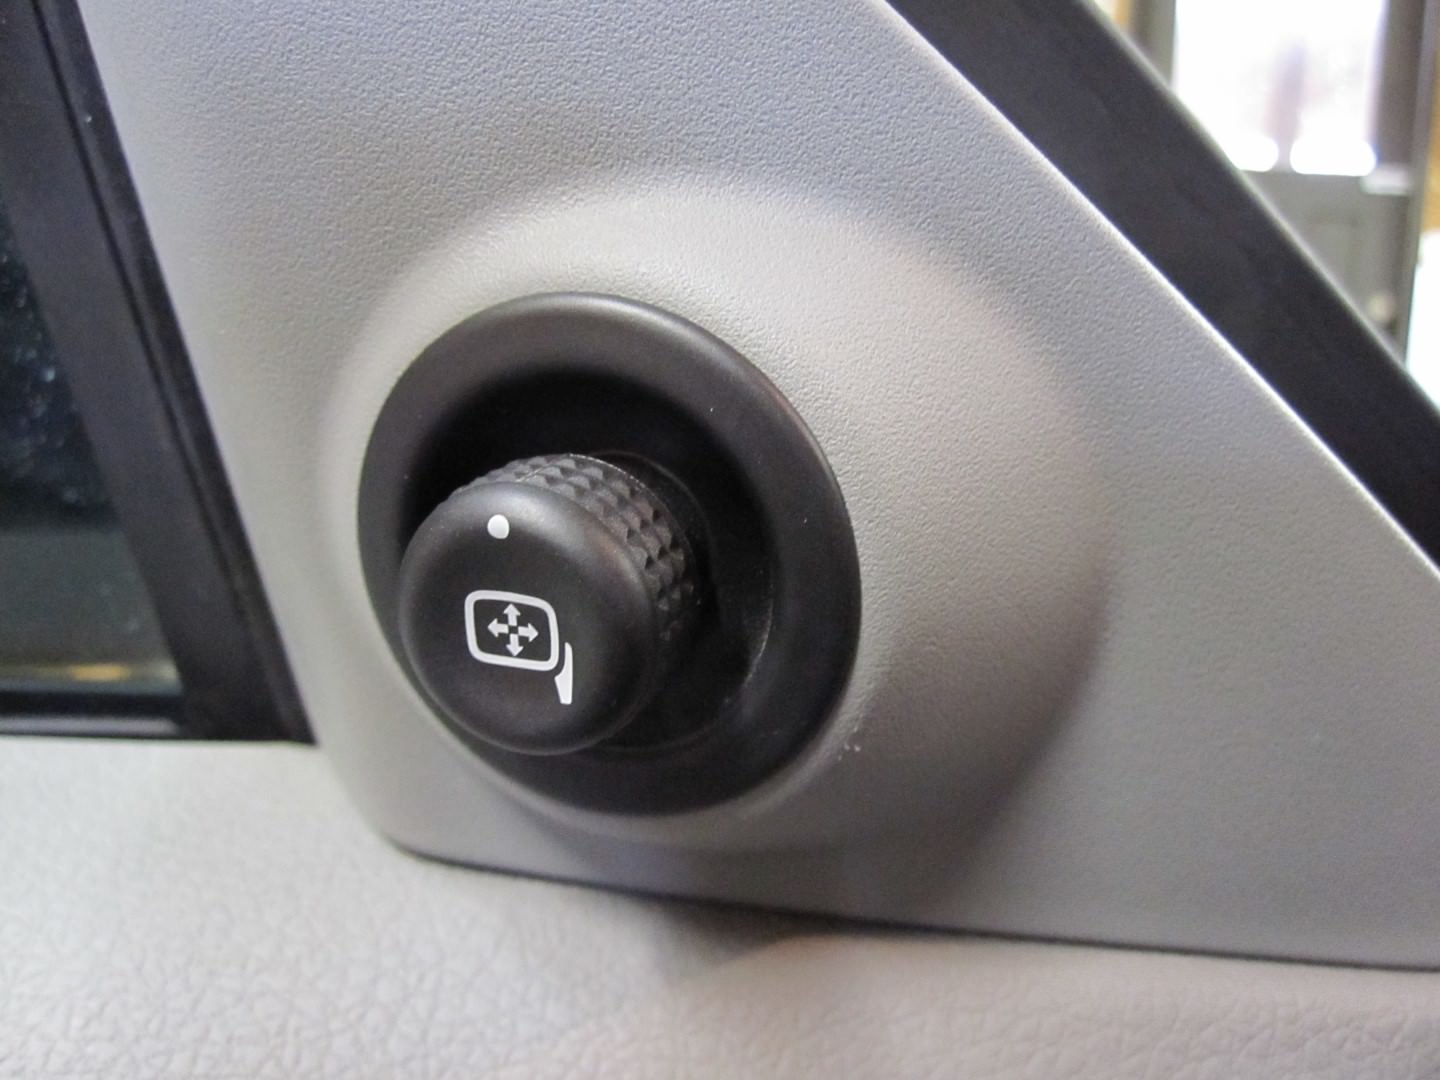
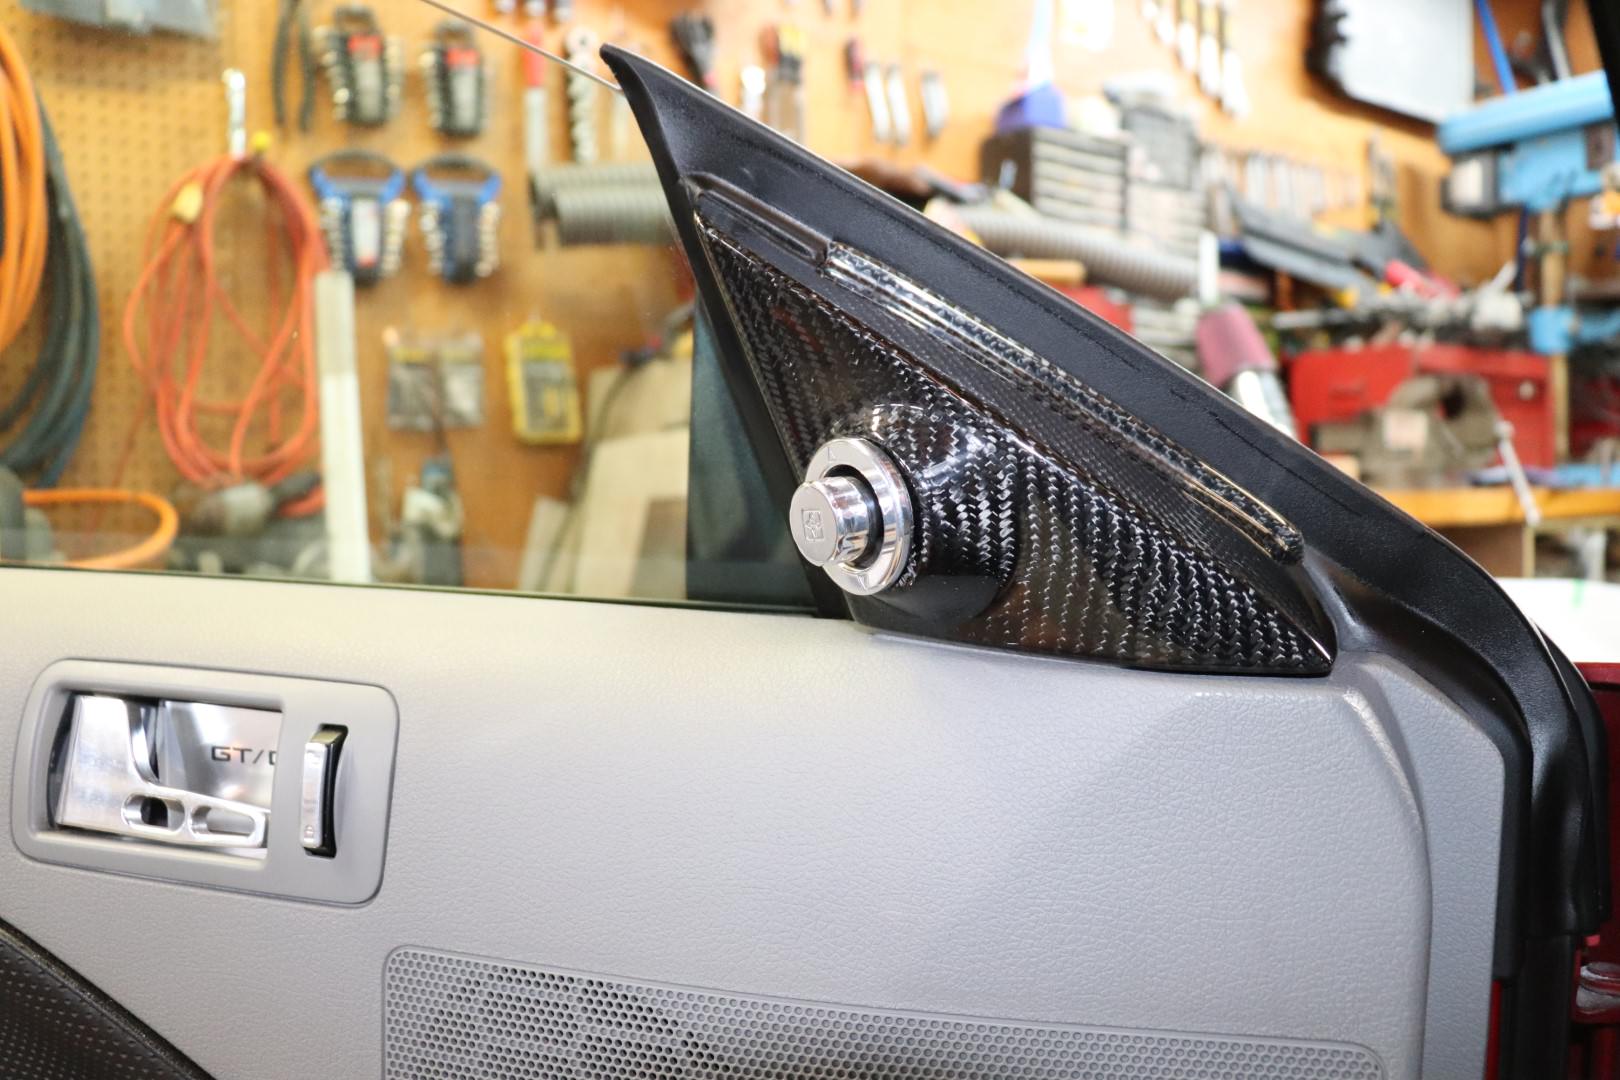
· Trufiber Carbon Fiber Console and Mirror Switch Covers
· UPR Polished Billet Front Speaker Rings
· UPR Polished Billet Mirror Control Knob & Bezel
· UPR Polished Billet Door Pins
· UPR Polished Billet E-Brake Handle
· UPR Polished Billet Power Plug
· UPR Polished Billet Cup Holder
· UPR Polished Billet Ultra Light Door Handles
· UPR Polished Billet Designer Door Pin Bezels
· UPR Polished Xtreme Billet Window Switch Plates
· UPR Polished Billet Map Light Buttons
· UPR Polished Billet Headlight Knob Cover
· UPR Polished Billet AC Knob Covers
· UPR Polished Billet Large Oval Clothes Hangers
· UPR Polished Billet Lock Switch Covers
 
Back
Top