raredesign
Member
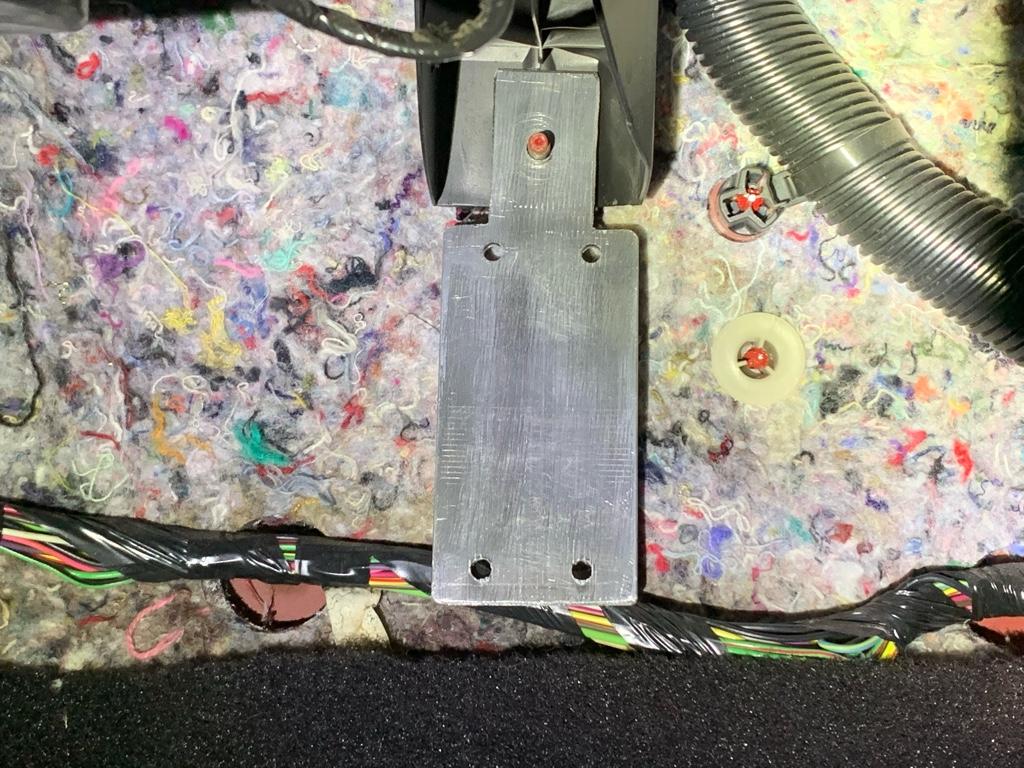
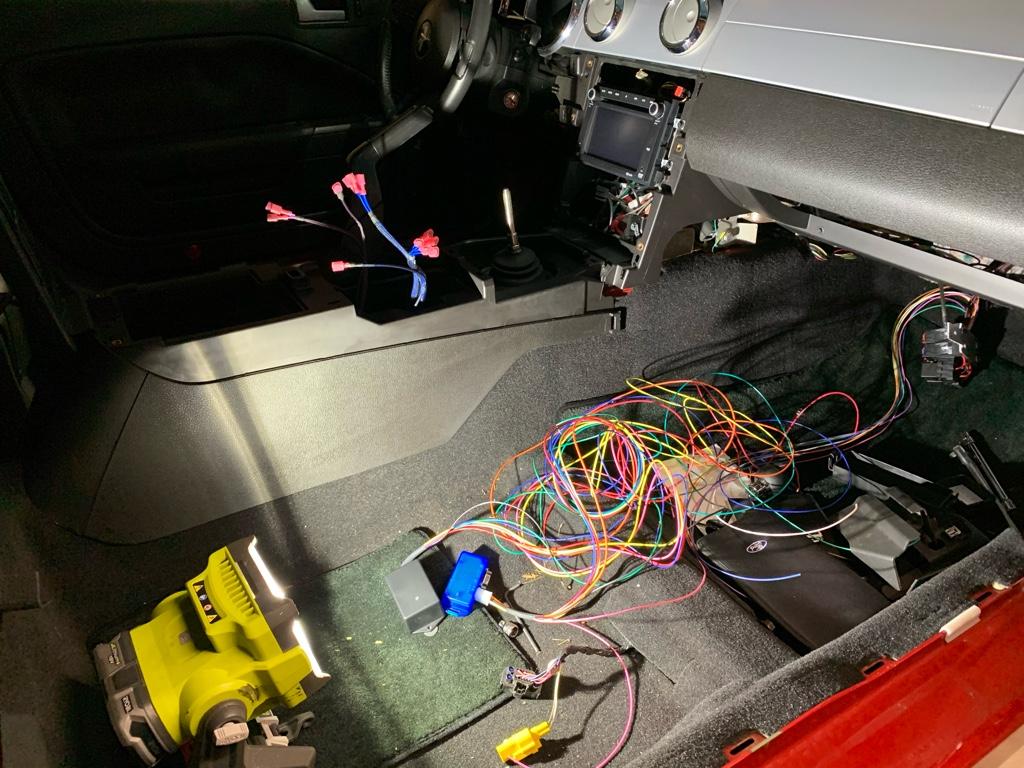
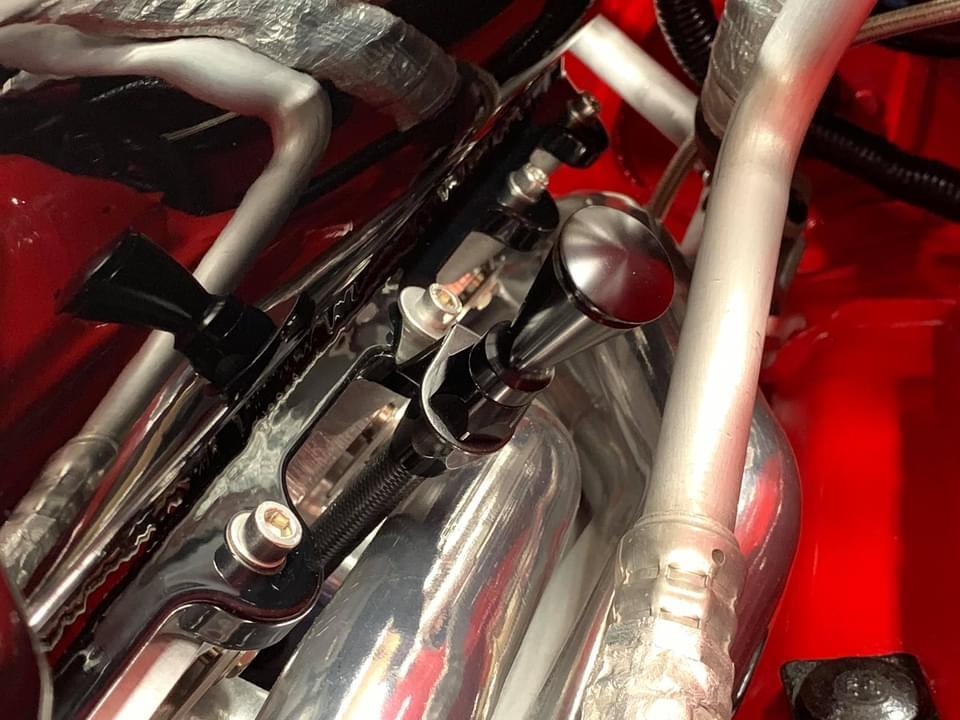
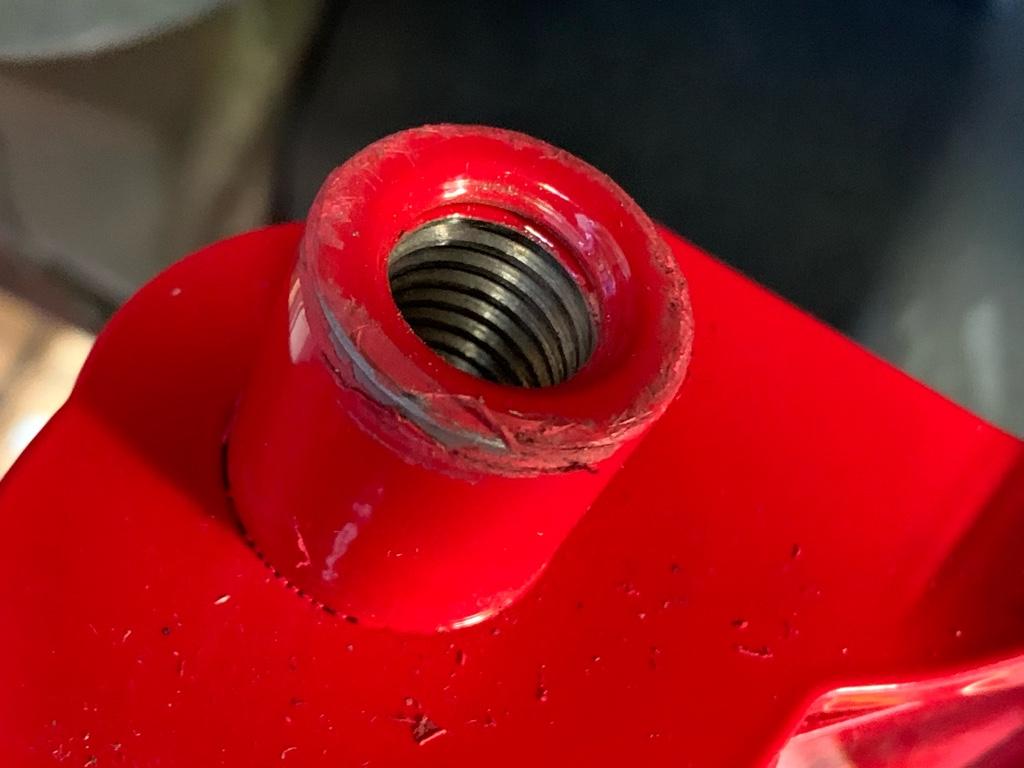
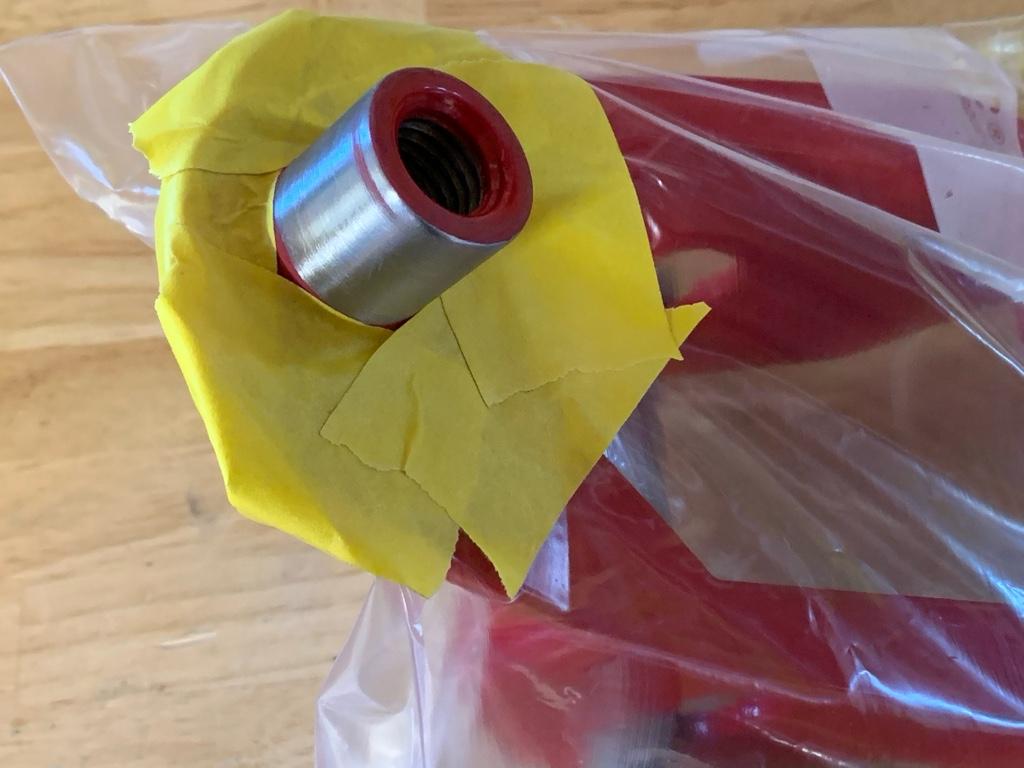
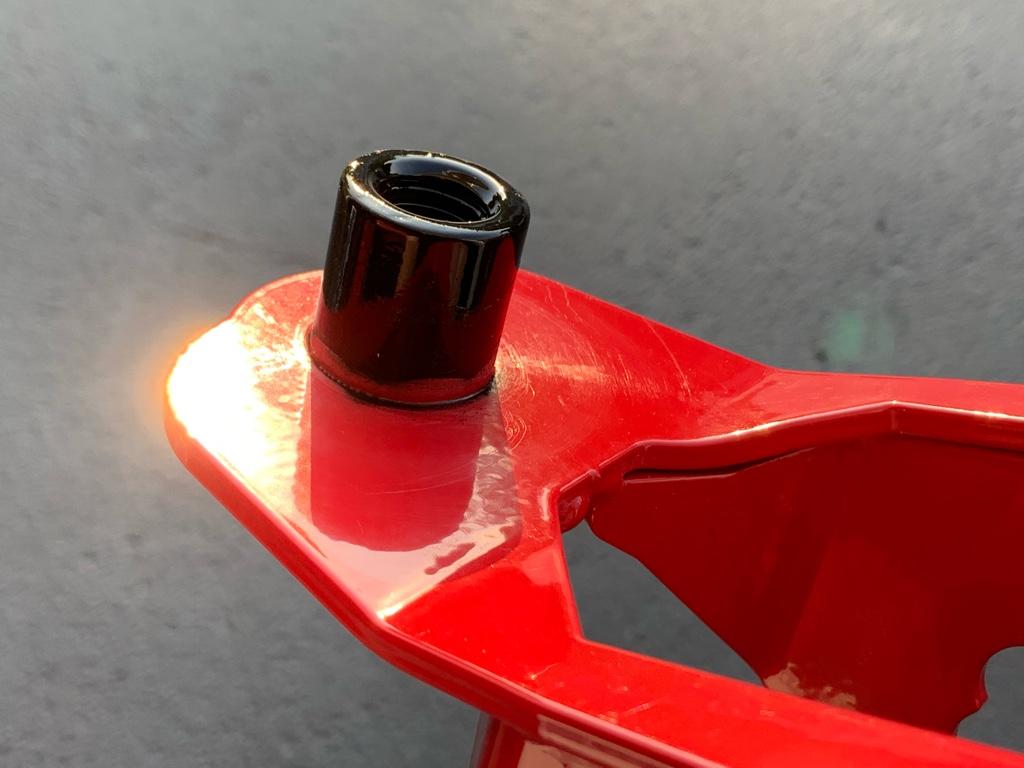
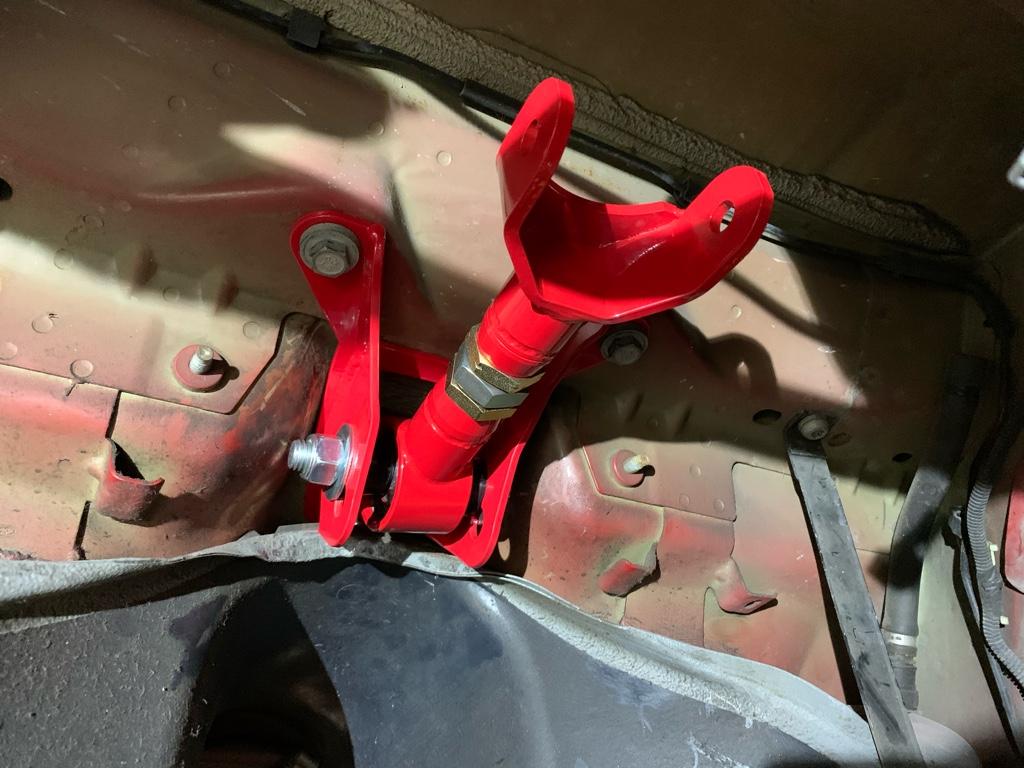
Installed the MGW GT500 shifter with Blowfish Racing bracket. [emoji106]


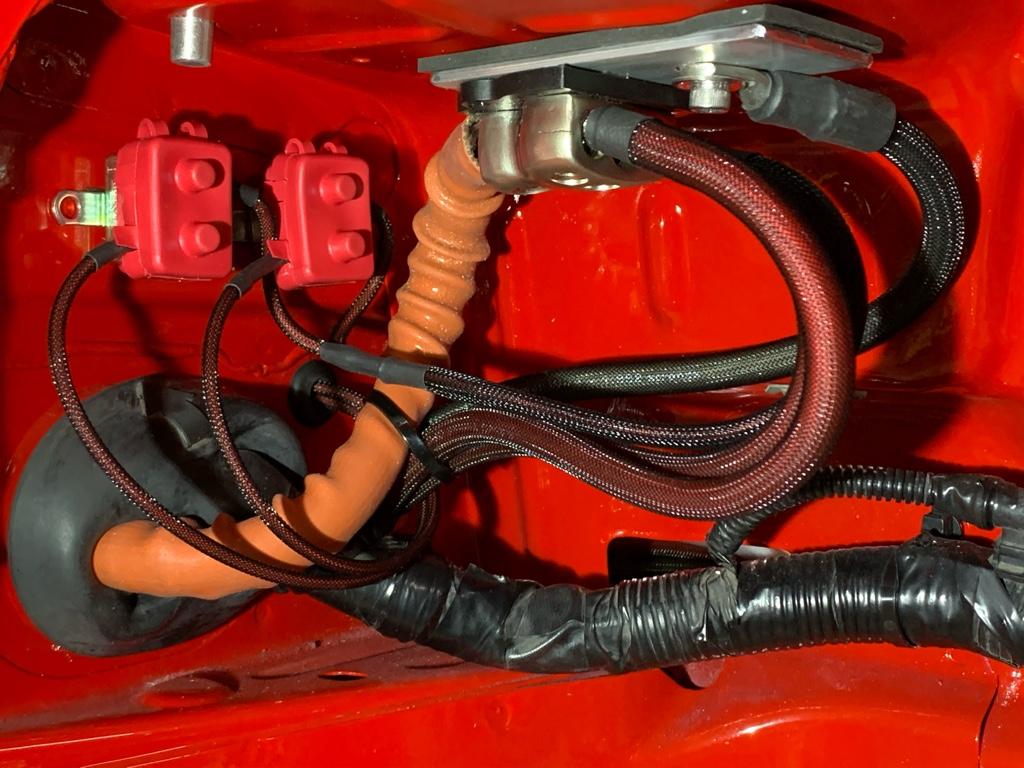
I'd imagine that you've done your research and you have used high quality lines but I would not run braided lines from the ABS block all the way to the caliper as there is still expansion in a braided hose.
Think of the difference in feel when you replace 4 ft of reinforced rubber brake lines with braided lines from the hard lines to the calipers (~1ft at each caliper). This is a good illustration of how much a small amount of flex of the lines impacts the system. Now that there are several ft lengths of hard lines replaced with a more flexible material, you may have issues with brake pedal feel.


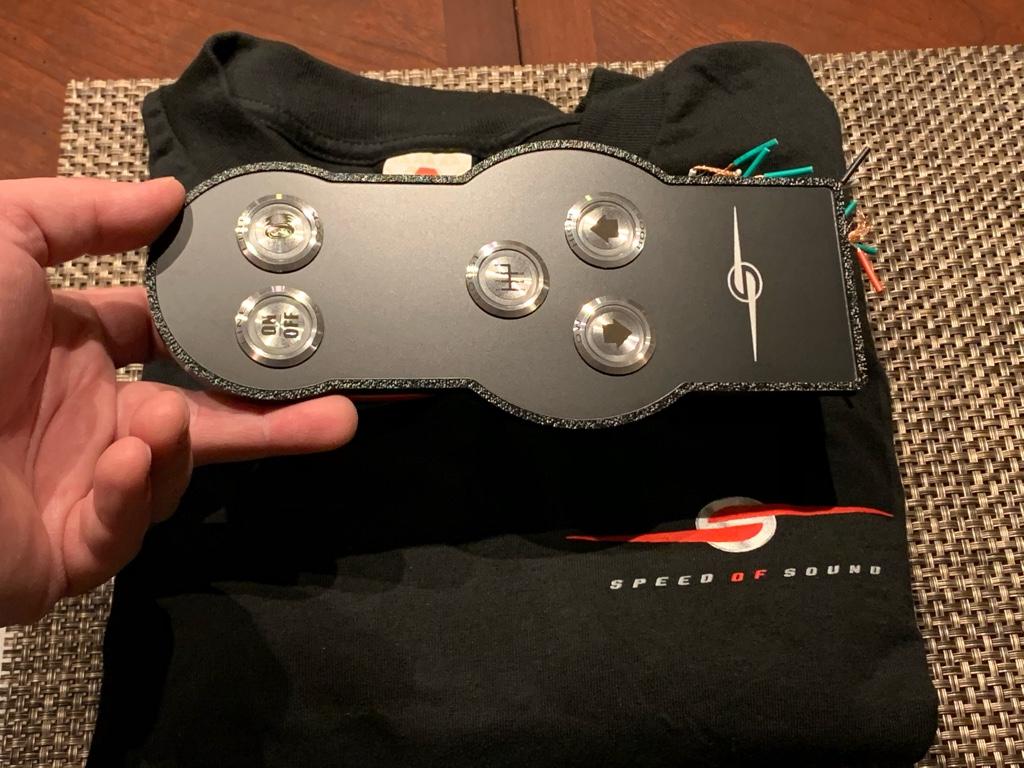
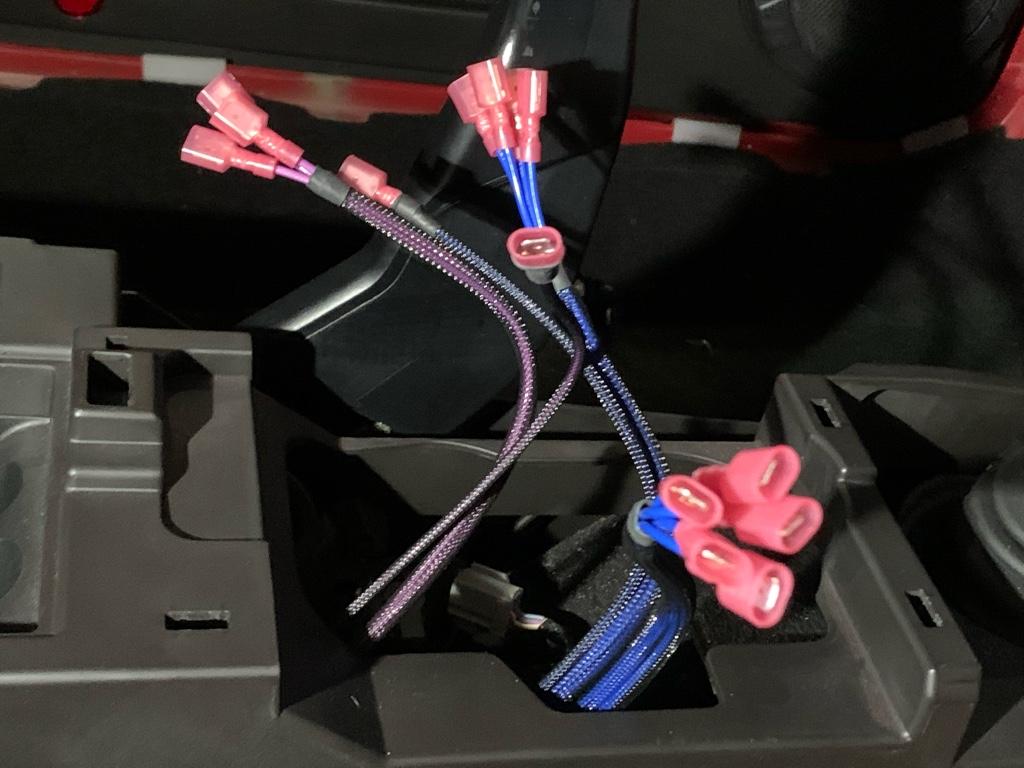
He's one of the best!Alan at Speed of Sound did an excellent job mirroring the center console template I sent him and the placement was spot on.
wow,, just wow,,,,,,,,,,,,,,,,,,,,,,,,,,,,,,,,,,,,,, whats the total so far you spent on the engine ,body parts ect ext?
also , whats your hp numbers looking like (planned hp) when you get the turbo going
i think the car is beautiful,,, so much infact id be scared to drive it due to drunk drivers and idiots ,,lol ,,like thats alot of money and time ,, dont get me wrong tho,, if i had the funds , id be right there with you lol
He's one of the best!