2007 Mustang GT Turbo Build

raredesign

forum member
Joined
Apr 13, 2015
Posts
382
Reaction score
37
Location
Rochester, NY
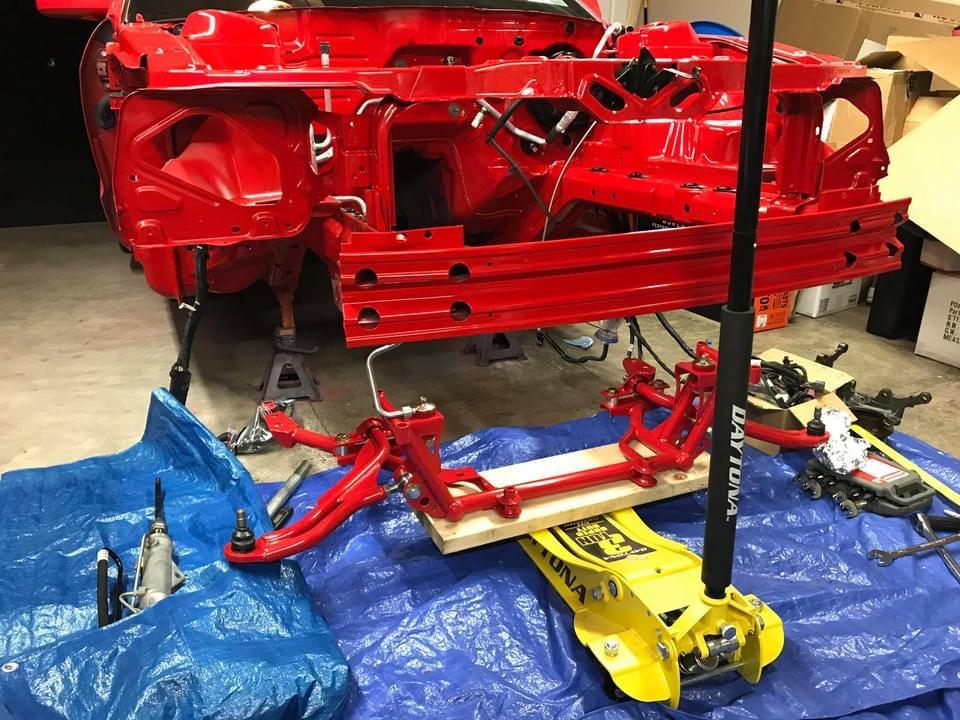
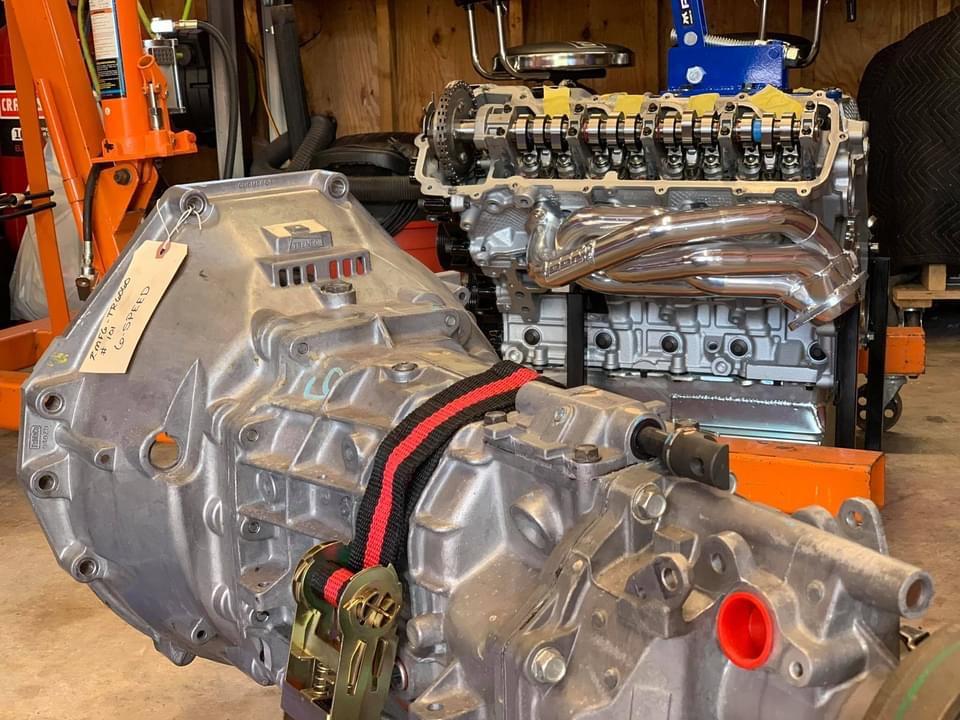
I did not keep up with posts here while finishing the build, so I thought I would try to summarize and catch up.

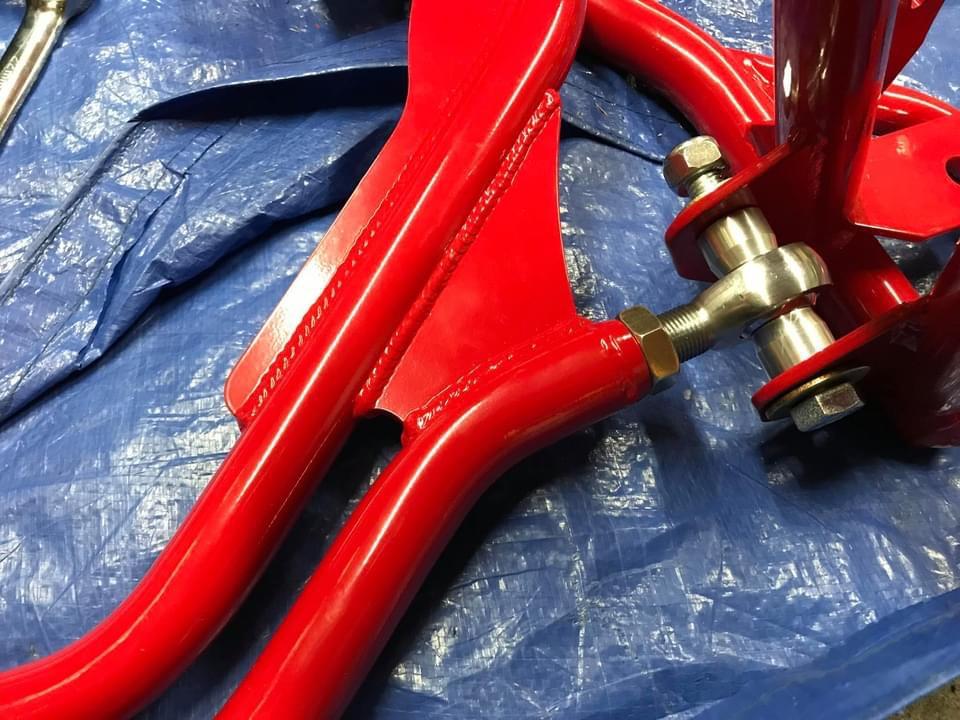
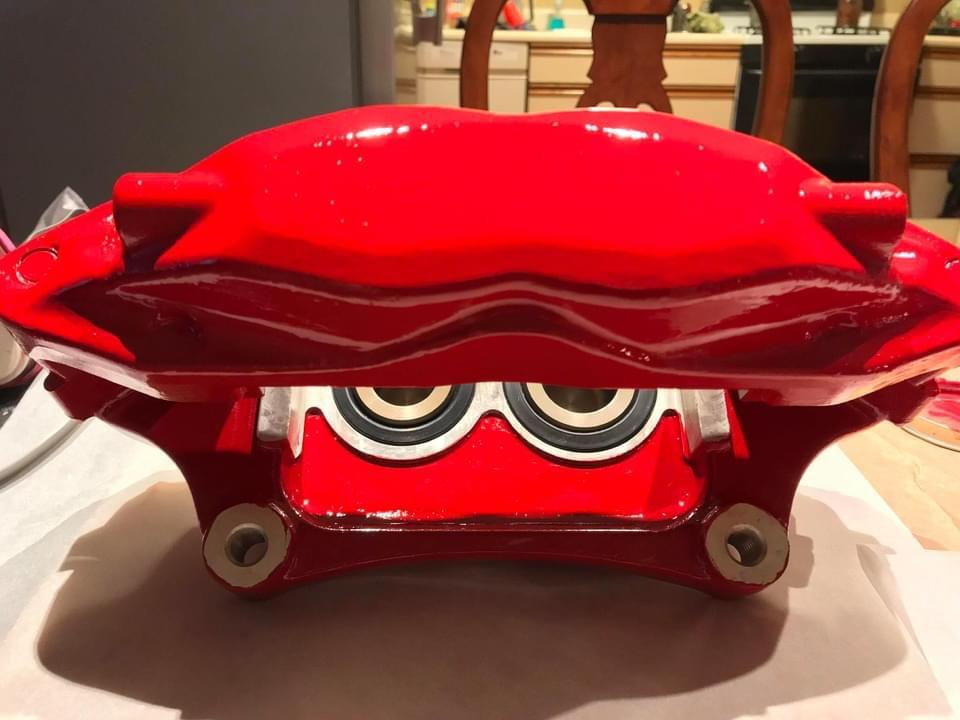
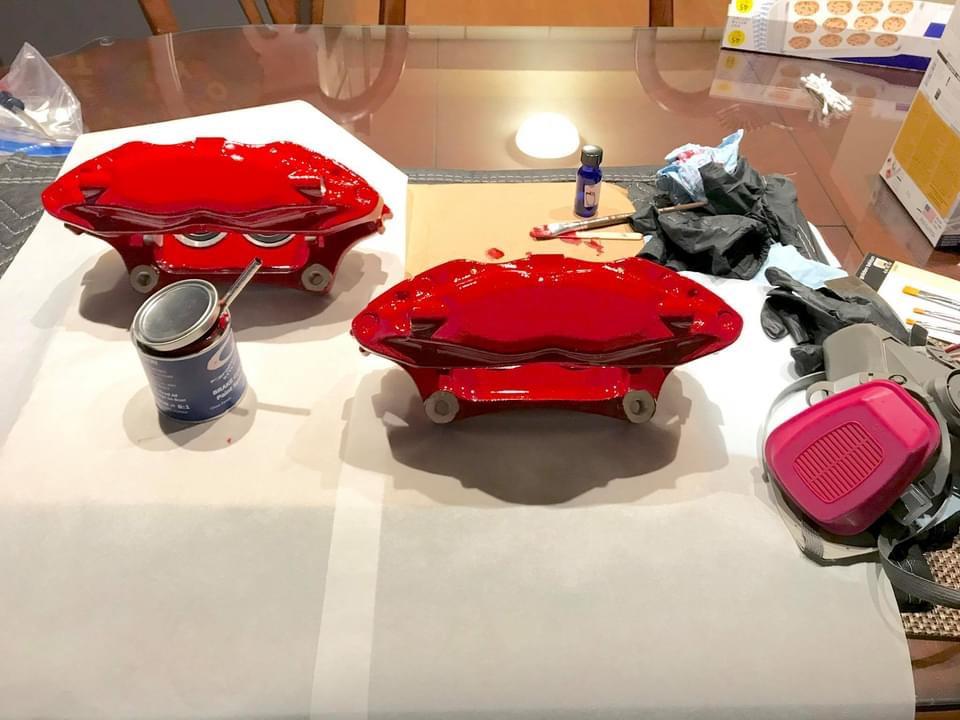
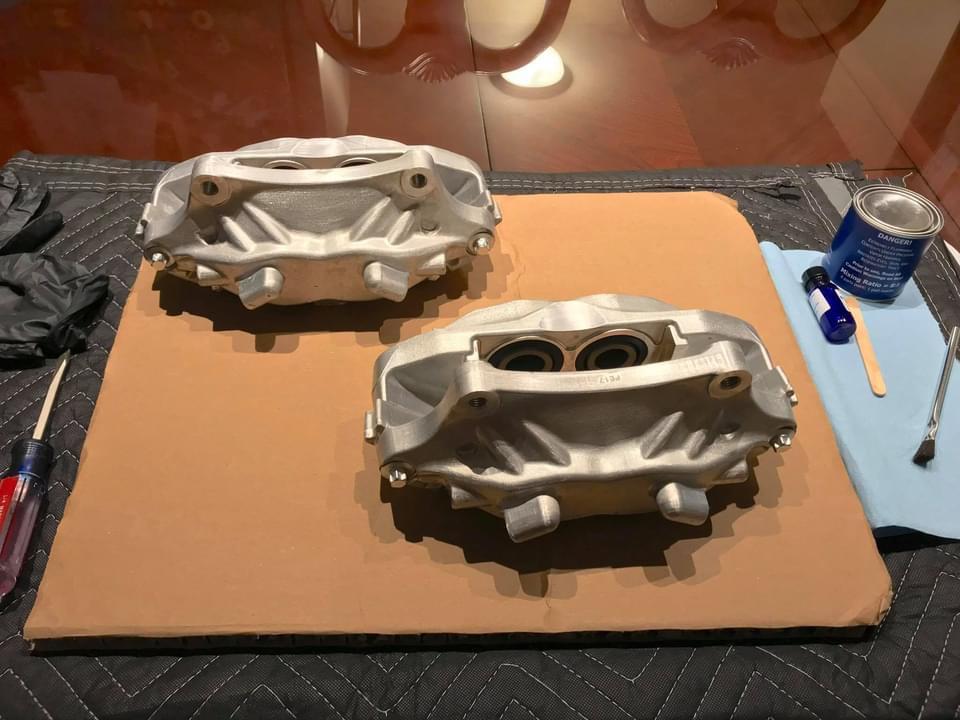
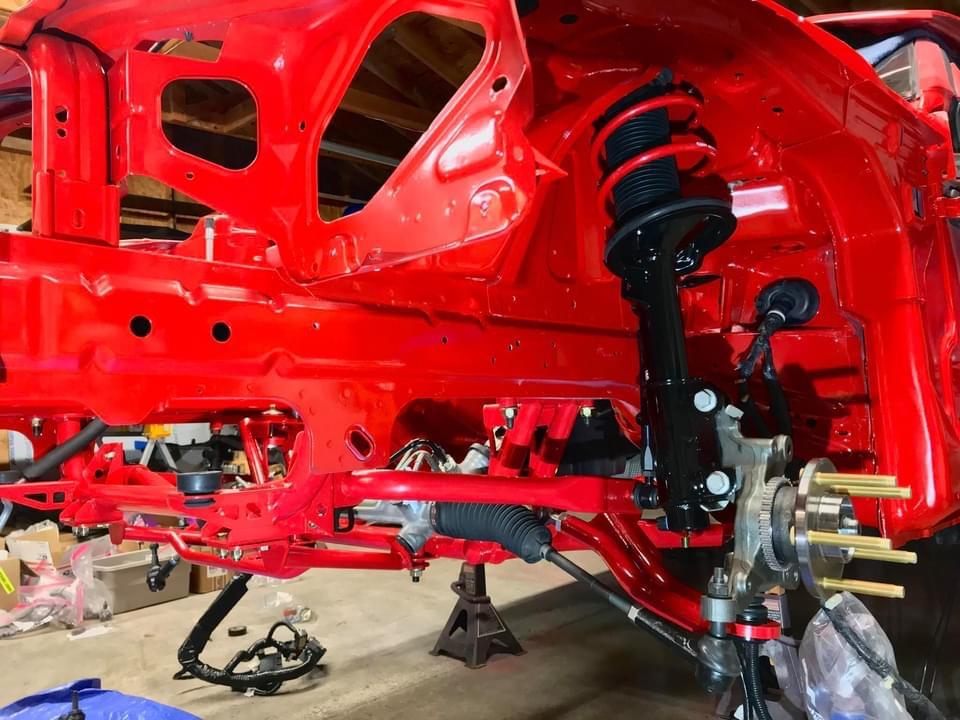
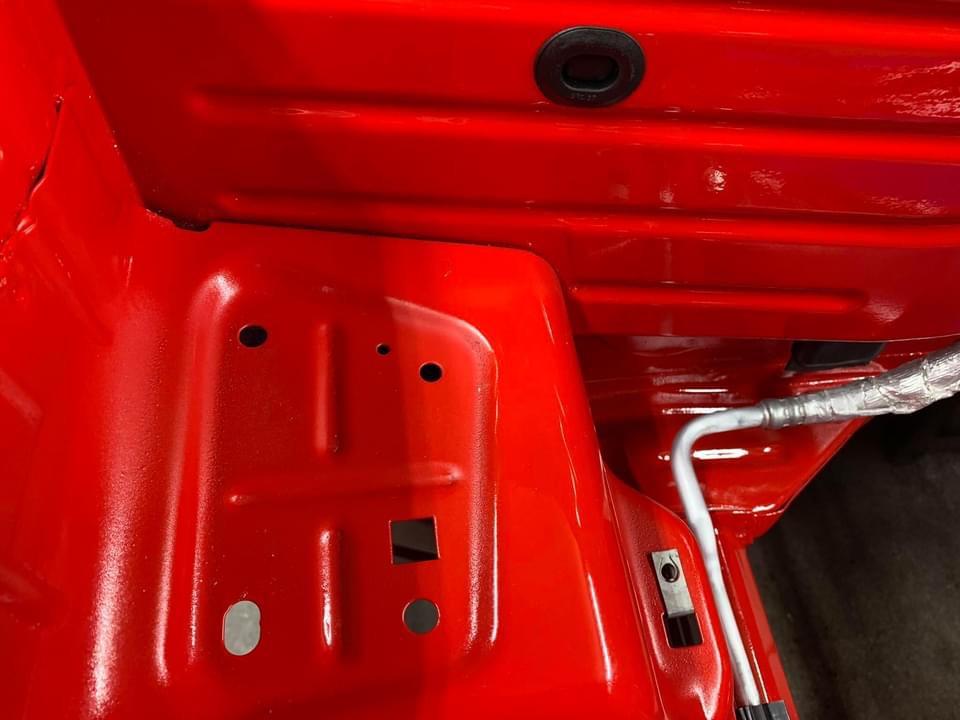
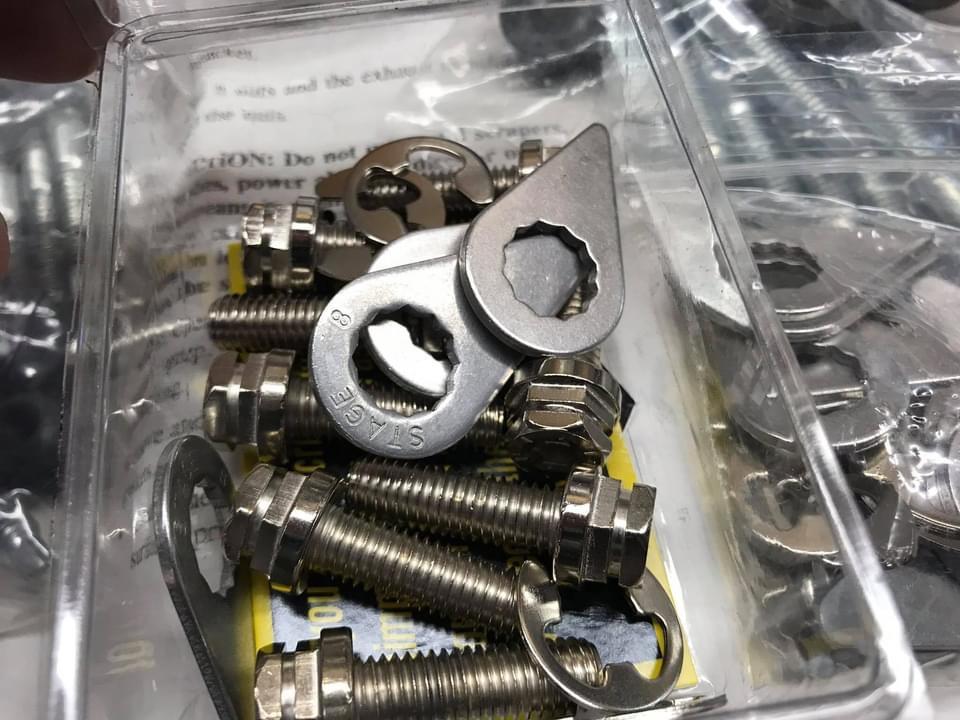
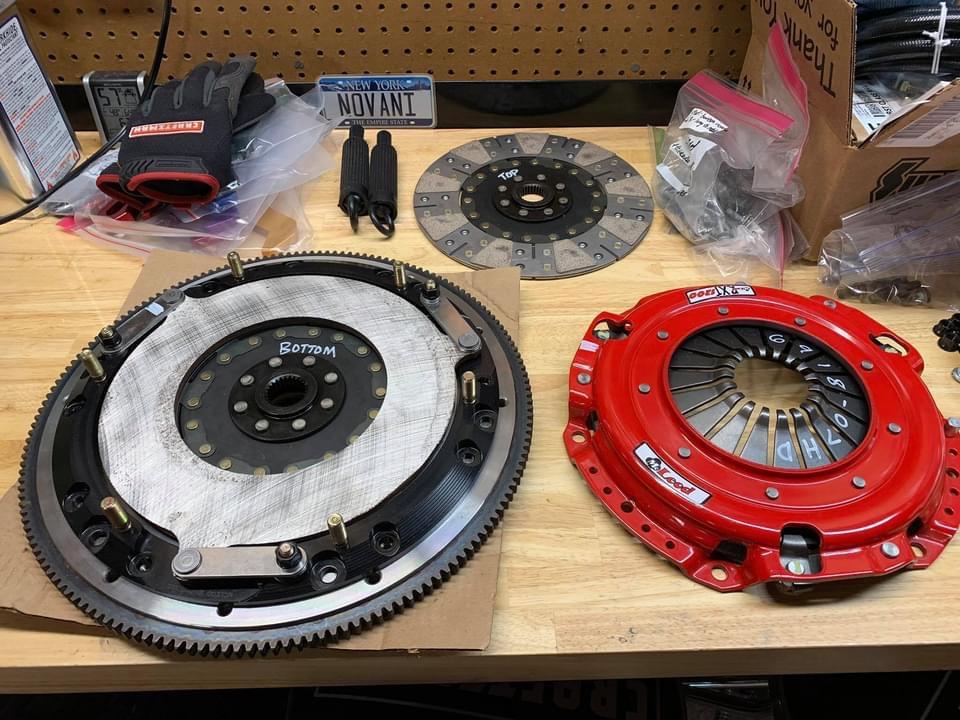
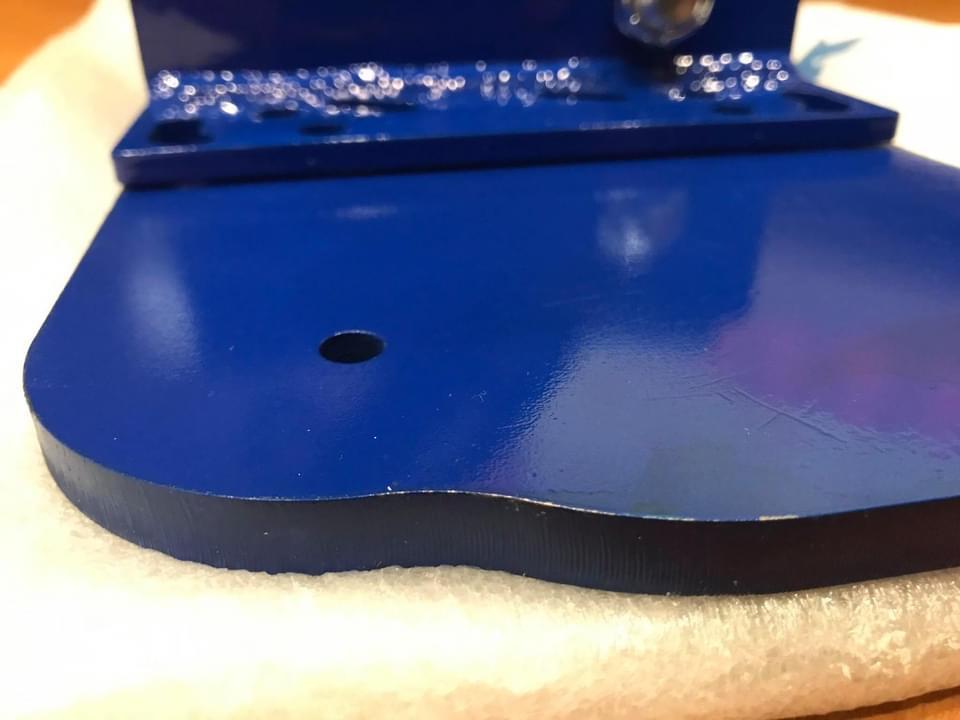
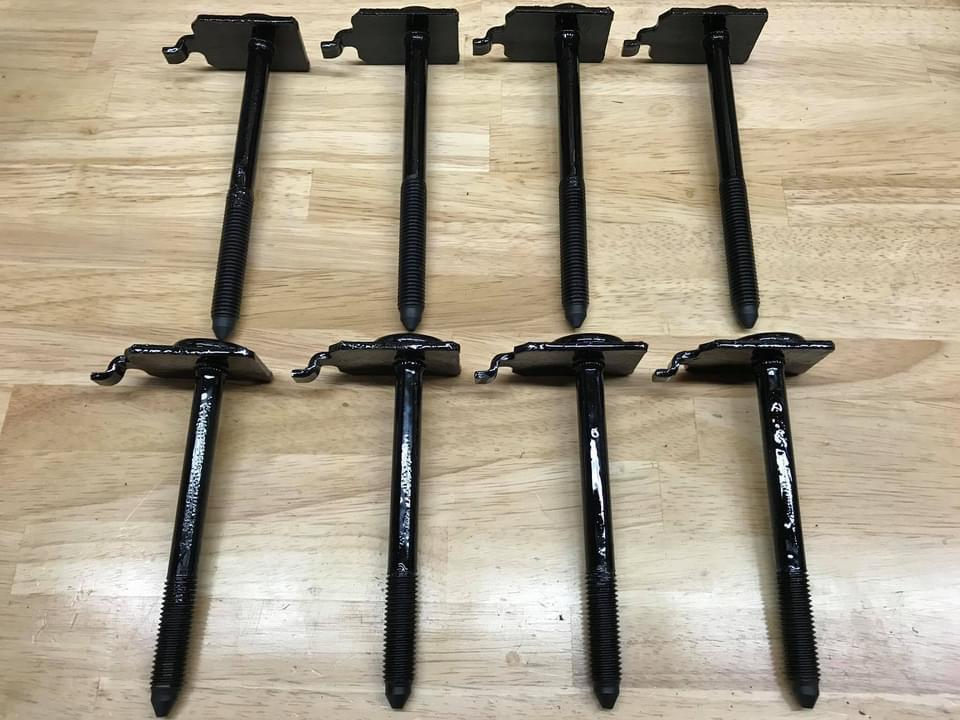
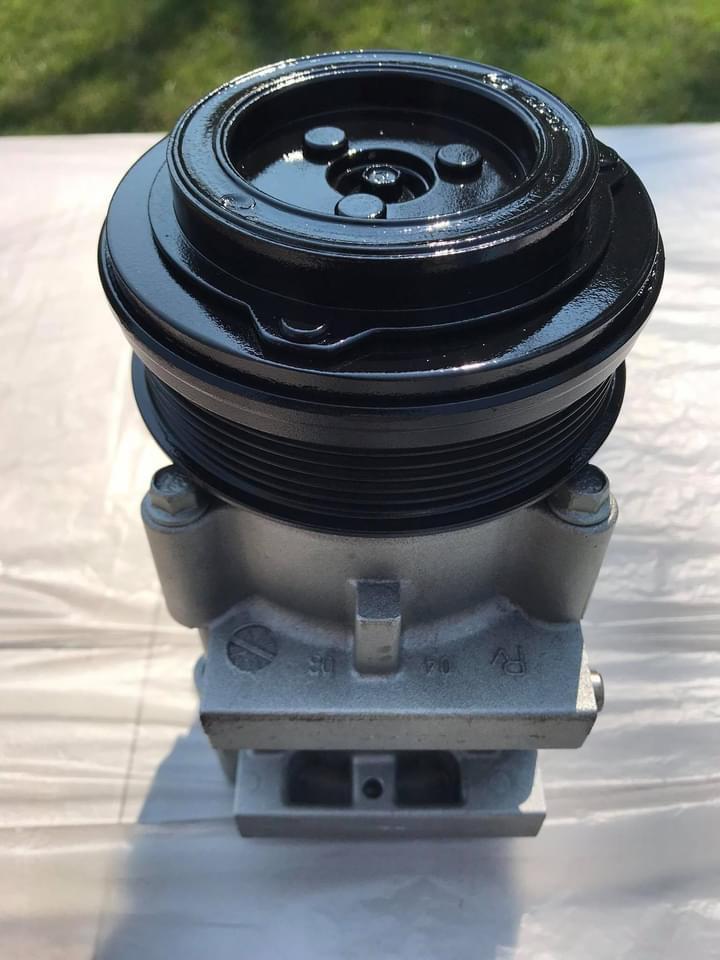
A lot of time went into reconditioning parts I kept. Proper prep and repaint, as well as stripping bolts and black oxide converting them and/or coating in POR15.
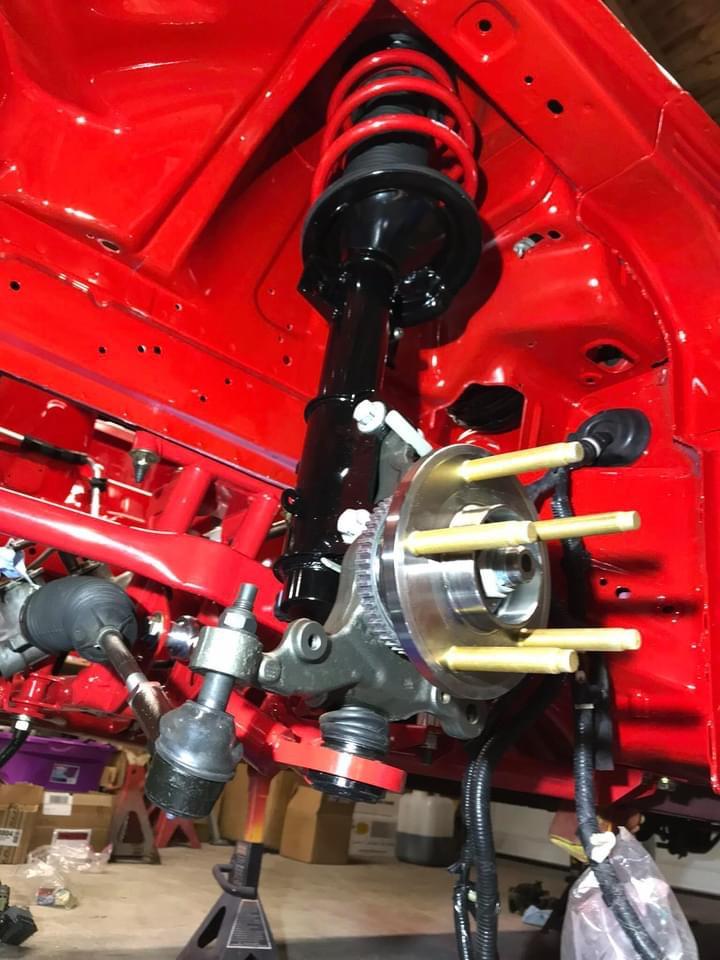
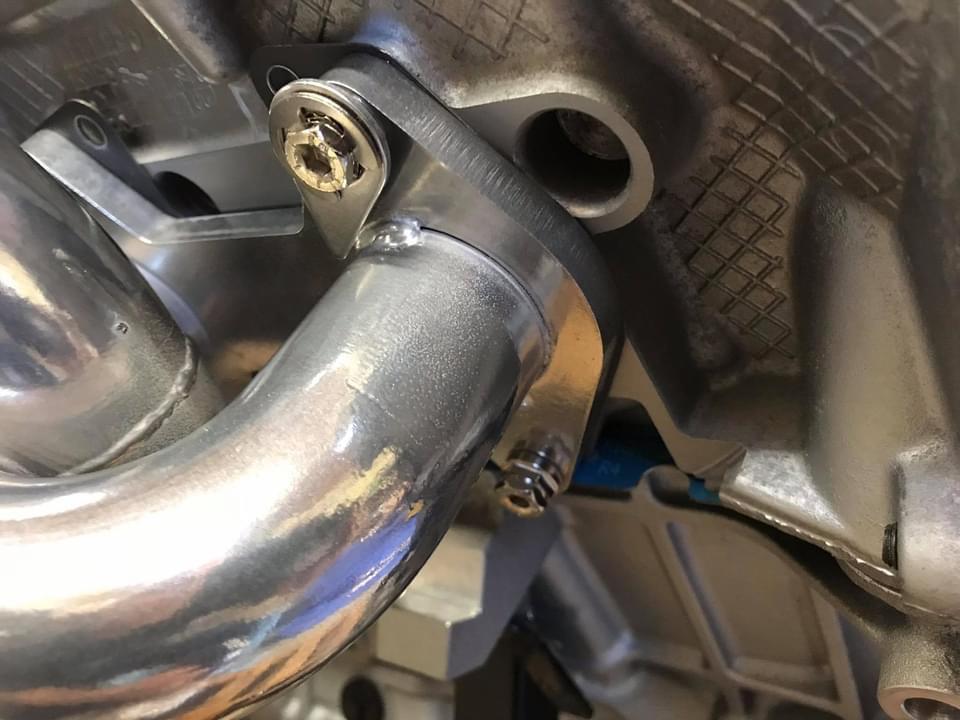
The old zinc hardware that was kept was stripped with citric acid, yes, the kind you buy at a grocery store, and if there was any rust, I soaked them in Evapo Rust. Afterward, I used Black Oxide concentrate to quickly convert the surface, then soaked in WD40 extended rust prevention oil. The shafts and heads of the hanger bolts were coated in POR15.
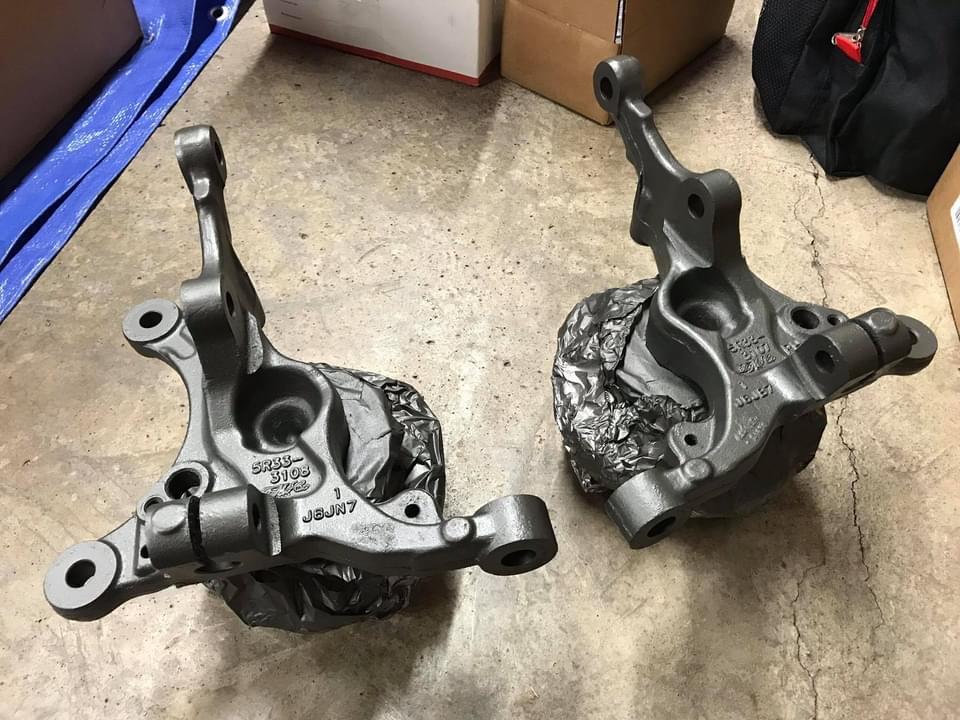
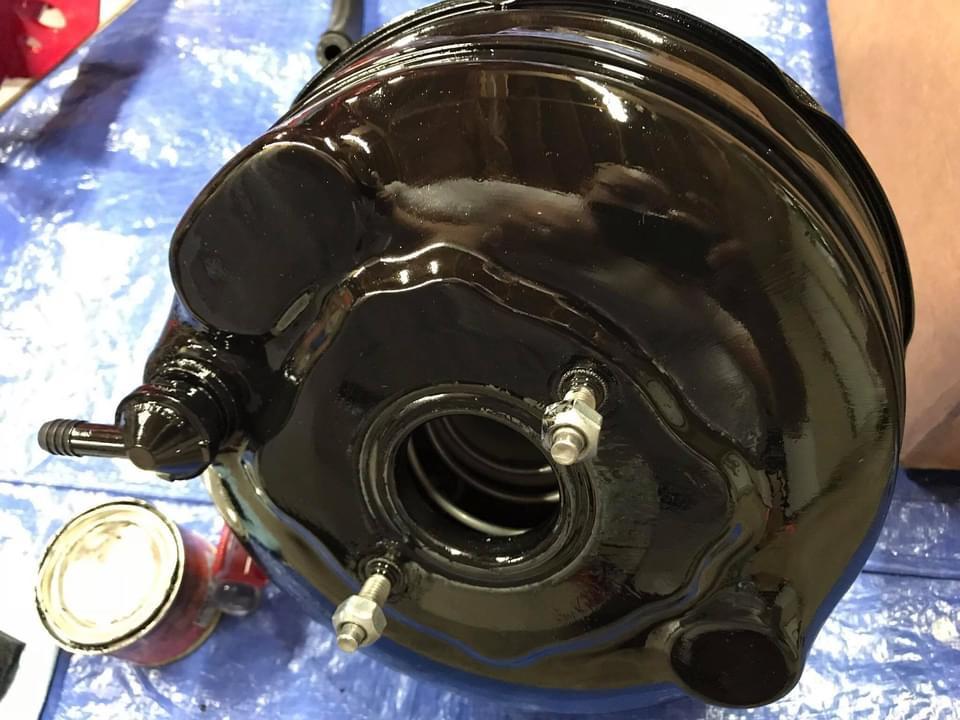
427d901b7bcfed89c68f6860d110fc0e.jpg
4a3f41e2b463793296671e764f21b814.jpg
54939ce353c93b27a0f53d500ef56a46.jpg
efc3504d7a72909a22b8f0121d93061b.jpg
bd3ea2cf8ad212dd30521705556b4ca8.jpg
f3d720575a49430ad3e4fdc5398daeda.jpg
1b9c59f3016e04acb610db2c6d4ea420.jpg
 

raredesign

forum member
Joined
Apr 13, 2015
Posts
382
Reaction score
37
Location
Rochester, NY
Engine bay looks great! Did you smooth and Bondo the spot welds on the aprons? It looks super clean

Thanks. Yes, back in post #44 I have some photos. I used 3M Platinum and Evercoat Glaze which are polyester fillers.


Sent from my iPad using Tapatalk Pro
 

raredesign

forum member
Joined
Apr 13, 2015
Posts
382
Reaction score
37
Location
Rochester, NY
13-14 GT500 clutch master cylinder upgrade, Mishimoto radiator, and prepping the valve cover for install. The dowels are installed by machine, and the holes did not measure the same, so a little cleaning up was needed. This part is DR3V-7A543-AA, but the OEM has now changed it to DR3Z-7A543-A.
71492c60d555a7149e06d2f0ed7cbde0.jpg
6d73eff4e1cfd1e805c2bbb4a0604b88.jpg
e149818e034cb5b5a080f86586c11085.jpg
9269c439570a7840cdbe95f0baa9f2ac.jpg
8a1672c154ddc11012d9e7a38df3412a.jpg
269bb73aaa994d597e501b1df190be1c.jpg
f506dc374c0cec89c4ec9cb6b757bd45.jpg
d77ae3d492c77c33fa69975185c2d3e7.jpg
2c86b2ebbd52d483c5b2cae97d4e9215.jpg
 

raredesign

forum member
Joined
Apr 13, 2015
Posts
382
Reaction score
37
Location
Rochester, NY

raredesign

forum member
Joined
Apr 13, 2015
Posts
382
Reaction score
37
Location
Rochester, NY
BMR all the things!
Well made parts that are stronger, save weight, and look great!

Also seen here are BMR GT500 springs on Strange struts.
77637e8068bc78463cbaa808f057ebd6.jpg
8b64ea089d68ee46077c05d7c51ff5c7.jpg
c1f8db808e94575cfe503fc692b7f1fb.jpg
5b3051e5a81dacef74693975b593667f.jpg
70ee882e229e63940420ee313acd5632.jpg
2dadc4796d7aa3471b0d254713a21b5e.jpg
764d1de0630363e9a3ca5a7307617f09.jpg
2039fed0b3c6c3ed8f96c80f7d8ee0eb.jpg
 

raredesign

forum member
Joined
Apr 13, 2015
Posts
382
Reaction score
37
Location
Rochester, NY
Save a bunch of money on #Brembo calipers by purchasing the factory GT500 remans/clones
3fac8049af9884b993300d008eb7acf6.jpg
3e47fb15b18c7fcb64ad182757bce536.jpg
7eba5e44997a65d5578f99688b697fca.jpg
80d1429b8810d7251ed52c07c49e0b97.jpg
from a number of retailers. These were purchased through NAPA under the Eclipse name. G2 brush-on epoxy caliper paint in PR4.
 

raredesign

forum member
Joined
Apr 13, 2015
Posts
382
Reaction score
37
Location
Rochester, NY
Mistakes do happen and parts need to be repaired.
I had made a mistake or two when spraying, and either grease or solvent in the strut tower bolt holes had blown up and out onto the top when spraying under the tower. That, combined with 4 coats of clear made for a horrifying day as I torqued the nuts down and watched the paint twist, crack, and lift. Thankfully the delamination from contamination was limited to the immediate area, as I verified by peeling it back until it reached a rock hard chem-bonded area.
Painting in the winter is no fun in an unfinished garage, so I picked up a cheap infrared lamp on Amazon to do the job.
92852abb26db0df0211a0539eb937789.jpg
588a6082bd5d6b90593e9561ba84bb6c.jpg
86229a4b517466b098036c4bd4ea3eff.jpg
59b8e7e829bc08882e47d880bcb188f6.jpg
ab614f1a68779a83de4ee88bd7e3903e.jpg
 

raredesign

forum member
Joined
Apr 13, 2015
Posts
382
Reaction score
37
Location
Rochester, NY
Real carbon fiber and leather! Thanks to Mike Pykra for selling me his old wheel. [emoji41][emoji106]
I sent it to a shop in China that appeared to make custom wheels for other US suppliers, and for $350 they did a fantastic job!
e067fe9cae7c294de3f796c16c43c379.jpg
2e9227bc87549e1204e7377a7d86a01a.jpg
949e35d9701f7b4f709bcea4e6a5d387.jpg
b504413e94a612d95fcf837e223ca796.jpg
1b1e8d2d59b52b2287c0031142fd74c0.jpg
 

tjm73

of Omicron Persei 8
S197 Team Member
Joined
Jun 9, 2010
Posts
12,092
Reaction score
1,638
Location
Rush, NY
Was just thinking about you the other day. Wondering how the project has been going. Looking great!
 

raredesign

forum member
Joined
Apr 13, 2015
Posts
382
Reaction score
37
Location
Rochester, NY
Was just thinking about you the other day. Wondering how the project has been going. Looking great!

Thanks! It's actually running, but I just wanted to update this thread, so I'll be making posts as I am able. Currently working with Lito on tuning.
 

raredesign

forum member
Joined
Apr 13, 2015
Posts
382
Reaction score
37
Location
Rochester, NY
-3AN and -4AN stainless braided teflon lines can handle 12,000 burstable PSI and 3,000 continuous PSI.

Originally, I purchased stainless tubing and fittings, but even with a professional flare tool, the seem on the tube would not smooth properly. I’m glad that happened, because switching entirely to stainless braided teflon and AN fittings was the absolute best move!

Want to do your own? Here are the details!

Lines:
4 lines are -3AN: These are the lines on the ABS unit that face the firewall.
2 lines are -4AN: These are the feed lines to the rear.

Fittings:
6 fittings are -3AN to M10 x 1.0
4 fittings are -3AN to M12 x 1.0
2 fittings are -4AN to M12 x 1.0

2 inner most facing the firewall are -3AN to M10
2 outer facing the firewall are -3AN to M12
2 facing the front of the vehicle are -4AN to M12

Both front caliper feeds under the fender are -3AN to M10

Master Cylinder has 2 fittings that are -4AN to M12

The 2 fittings for the rear feeds (mounted under the fender below the Master Cylinder), are -3AN to M10, but are fed by the -3AN to M12 at the ABS end.

Sources:
90* -3AN swivel
PN: FIT-690903
https://www.racetronix.biz/product.asp?ic=fit-690903

90* -4AN swivel
PN: FIT-690904
https://www.racetronix.biz/product.asp?ic=fit-690904

-3 AN Stainless Braided Teflon Hose
PN: TFT1167-03B
https://www.racetronix.biz/product.asp?ic=tft1167-03b

-4 AN Stainless Braided Teflon Hose
PN: TFT1167-04B
https://www.racetronix.biz/product.asp?ic=tft1167-04b

Earl’s -3AN to M12x1.0
PN: 592053ERL
https://www.summitracing.com/oh/parts/ear-592053erl

Earl’s -4AN to M12x1.0
PN: 592054ERL
https://www.summitracing.com/oh/parts/ear-592054erl

Earl’s -3AN to M10x1.0
PN: 592032ERL
https://www.summitracing.com/oh/parts/ear-592032erl/
b6038989fd9703a6d427e25205c8beeb.jpg
77f59ef783c48c4f73dbb71403127c62.jpg
df8a797f7f80f591e1ec5c19f96ec5b5.jpg
e60c6051606d680eb059b0904d4ab29f.jpg
8cbd3b6e8877f38fd7e602c8405c48b0.jpg
 

raredesign

forum member
Joined
Apr 13, 2015
Posts
382
Reaction score
37
Location
Rochester, NY
FatHouse Fabrications #FatFab racing oil catch can is a brilliant design! It fits comfortably in the factory battery location. I’ll relocate the battery to the trunk later.
The bottom dowel would not fit in the stock hole, so I shaved down the dowel rather than drill the hole, since that would cause rust.
85376b67eae35eb8511d90fc81d85e2f.jpg
29b7ef8c1027732fca13c751c0f829b0.jpg
ac0c5c02ae66b03c527d2d1a55edc0d7.jpg
753b25061484a0fb648a8a806118e77d.jpg
41a4e29881ca197fe1bd91b0694f8982.jpg
f8fa3208a3d4b6eb3b446da5daacb32b.jpg
5437d574b9a430a536c3ecaaeb13a56c.jpg
b2860be6719ff5d31d4eabbaeb47794d.jpg
 

raredesign

forum member
Joined
Apr 13, 2015
Posts
382
Reaction score
37
Location
Rochester, NY
BBK ceramic coated shorty headers will match up nicely with the S&H Performance turbo plumbing.
Thanks to Josh Jernigan for recommending the Stage 8 locking header bolts.
Also seen here is the 2008, 2.97 1st, TR6060.
9dc06ae994ba16ed491a60c4fe1755dd.jpg
4c2ce5e2a3e72346940b81e68c4e3f60.jpg
f90a8e481b7d1fcbcad9466d137380cf.jpg
fffeee02b0eab957490992d9cdb0d9da.jpg
000736c7161af8b7c516f6a495d96aab.jpg
6c7545216e0e32d810a1981da62a0500.jpg
a70041310e7b507c017d667537017cf0.jpg
 

raredesign

forum member
Joined
Apr 13, 2015
Posts
382
Reaction score
37
Location
Rochester, NY
METCO pulleys paired with a similarly made March Performance water pump pulley and cover, and a UPR billet tensioner arm.
Thanks Jason Labelle for the great deal on the UPR tensioner. I spent a little time that evening polishing it and it was good as new!
7ea603bacb0a7c1fbe25a8056d313834.jpg
b8858affd944996aa89f360c24cee346.jpg
c44f74e596ce5d2abd4aa97032b102c8.jpg
 

raredesign

forum member
Joined
Apr 13, 2015
Posts
382
Reaction score
37
Location
Rochester, NY
Look at those stunning custom Moroso valve covers powdered in Pacific Coast Powder Coatings signature triple black!
So cool that my awesome wife, Chantel helped me install the motor!
Also seen here is the Mac’s Pivot and plate that made a huge difference in solid handling...no swinging chains needed.
Originally, their plate only used 4 bolts, but they were receptive to the suggestion and extended the plate for another set of bolts for added support.
c4d1499bd1b9cfff6a0f451de95b0acd.jpg
b2c25aa66b985550d3be4b68222e9630.jpg
baa0edfc4137ba18c6f0e24017d2076b.jpg
ba3ef9cada22d42109b4d8dfff70eb07.jpg
76dfedc512d1922e0030ea5b88011a4b.jpg
78fe4b49bc1085a907c3c66c341a9719.jpg
2771c7eb5fd92cde6a573c02733e8252.jpg
734324d280733f17705d44fa8f230c98.jpg
 

Latest posts

Support us!

Support Us - Become A Supporting Member Today!

Click Here For Details

Sponsor Links

Banner image
Back
Top