- Joined
- Jul 30, 2012
- Posts
- 1,456
- Reaction score
- 36
Are you planning on paint all those doors teal or just the one door is going to be teal?
Are you planning on paint all those doors teal or just the one door is going to be teal?
")


Since you're going to need it anyway, my suggestion is to hit Harbor Freight and pick up an engine hoist (and probably an engine stand as well). Stuff like that is cheap and you can resell it on Craigslist after you're done with it and recoup 50-75% of your cost.
You can get the 2 ton new from HF for 110 bucks if you wait for the coupon. Legs fold up, and the arm goes in far enough to not make it a big pain storing it. I had to buy the 2 ton one to clear the hood of my trans am since my 1 ton's arm wouldn't extend far enough even when trying to load in from the side with fender removed.
Gabe, its not your project? Who's is it?


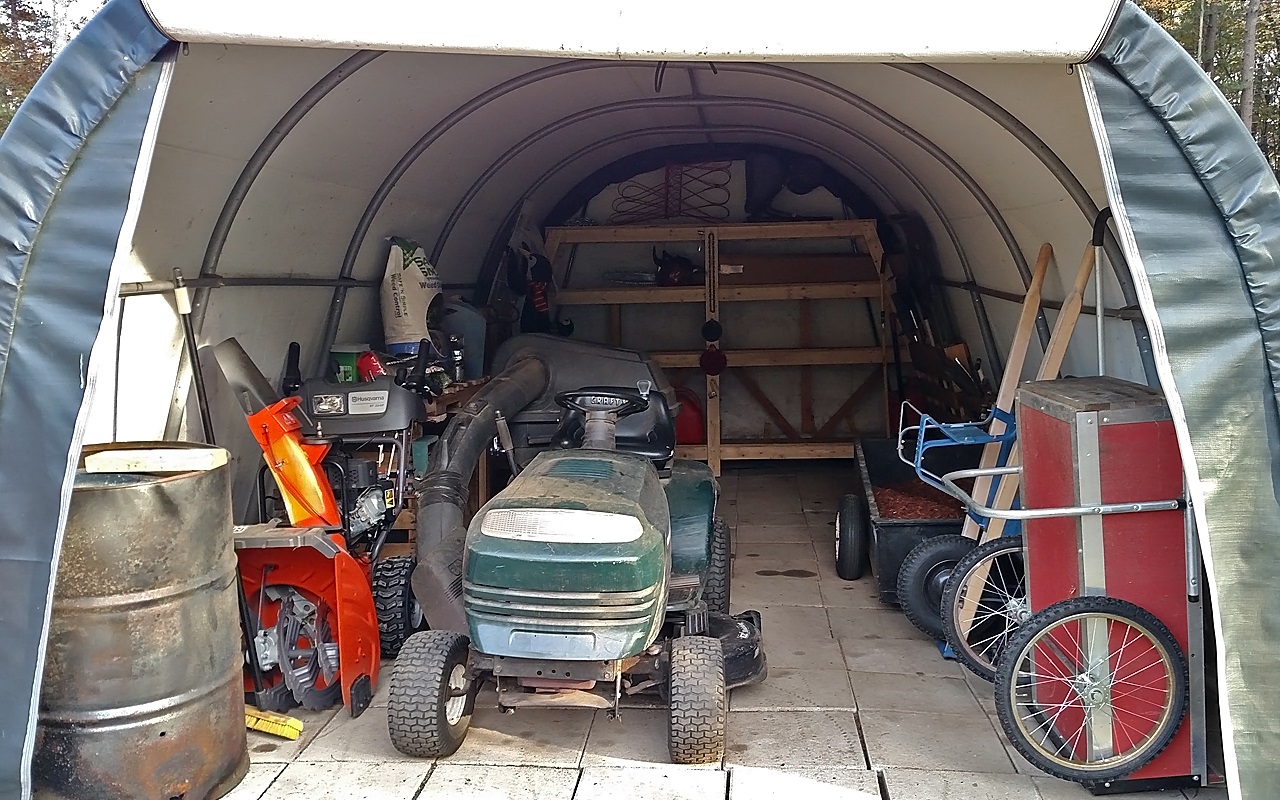
Not bad, I should do something better with tire storage. Although in general I want to do a row of high shelving and/or cabinets to get as much off the floor as possible.. truck, mustang, snowblower, tractor with plow, generator, etc. is killing floor space. Was thinking same when I do tire rack, get it up near ceiling (yes back breaking but again out of way).
Meh, they're only about 60 lbs, not that bad, lol.
Today I built up a small hanger thingy for the weed wacker, didn't take any pictures.
Also re-did the cat tree since the evil bastards haven't used it at all. Re-did a couple of the shelves to make it less intimidating.
We'll see if they use it now.