SLOW, Slow, slow, progress that actually still feels like i'm moving backwards lol...
Love seeing this, Thank you sir!
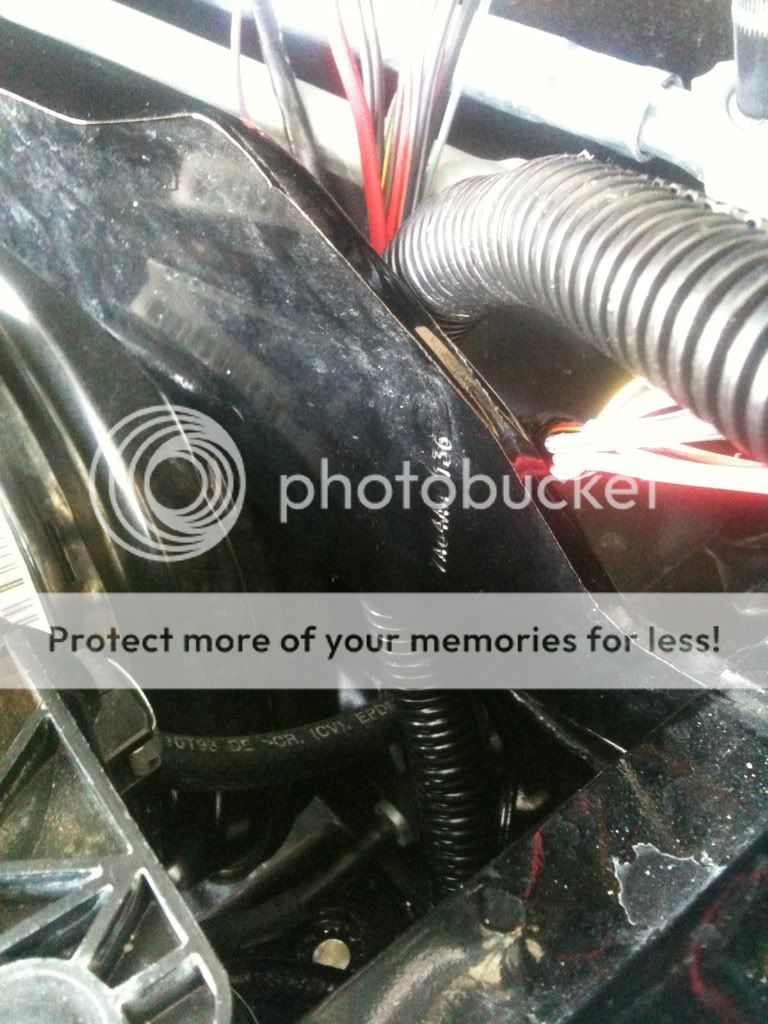
Dejavu! You have a lot of work ahead of you,lol.....looking great! If you haven't done it yet, you can also reroute your hood release cable to the inside of the driver fender, and the big nasty windshield wiper harness can be cut, then routed into the bottom of the cowl by the brake fluid resevoir instead of out in the open.
When I yanked all the harnesses I actually yanked the wiper motor and all we were devising a plan on how to enter even more discreetly then that hole. I may be patching that hole and drilling another one lower and closer to the wires entrance to the engine bay.
Damn man, you are putting alot of effort into this. It will be badass when its all done...
I hope so. I hope it doesnt just get over looked with all the new Body styles coming out.
Which part of it lol.
if you need any more info please right back

Thanks man

Bought my Break in Oil (carquest) 5w30 non synthetic made by valvoline and my new rear diff fluid.
Welded all the templates I made in and filled all the holes and indents so there will not be much filling needed when it comes to painting.
Where the stock battery tray used to sit and where I had relocated my antifreeze overflow, but seeing as it will be visible not I want it to look perfect.
I cut it out from the bottom. Then I used an angle grinder to smooth the edges and shape it to something manageable.
Then I cut my template and spot welded it in.
Brake booster has been leaking and has to get painted regardless.
Found the culprit... Time for a new one...


")