If you go to the next picture, you can see it's Chumlee from Pawn Stars installing the DS.
HAHAHAHA!!! I actually have that exact article open and didn't even catch that!
If you go to the next picture, you can see it's Chumlee from Pawn Stars installing the DS.

 Thank you both very much for the how-to steps and for the opinions about doing the swap with the car on jackstands. I am looking forward to getting this done (of course, I have to buy a driveshaft first, lol).
 Wicked_GT:
Thanks for the updates and the road test report. I noticed that you installed an UCA so are you thinking that the pinion angle needs tweaking to eliminate that tiny bit of vibration or is everything good-to-go?
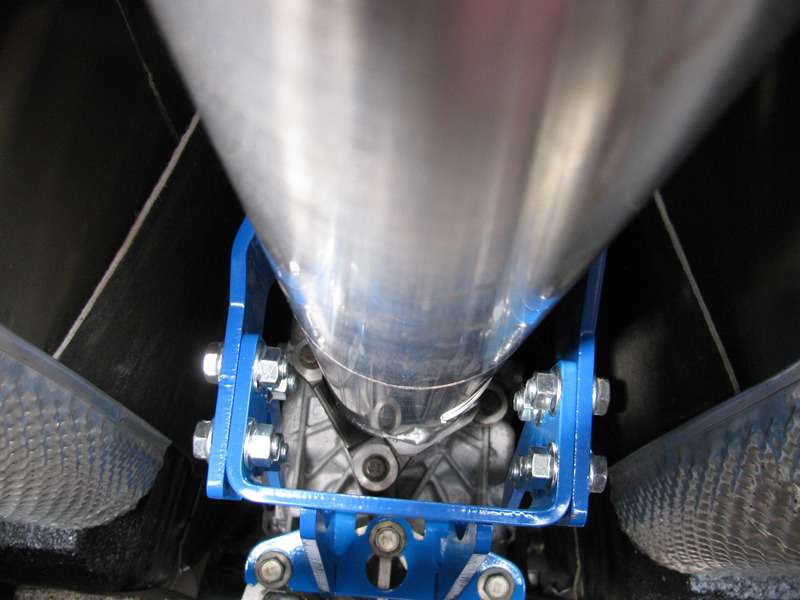
I like that Blowfish bracket/driveshaft loop, too, and the fact that NVH is not an issue. Bracket is on my list but I'm waiting to see MGW's Gen3 shifter. Call me Mr. Indecisive, lol.
Thanks for the info - it's all appreciated.
Chris