Nastystang06
forum member
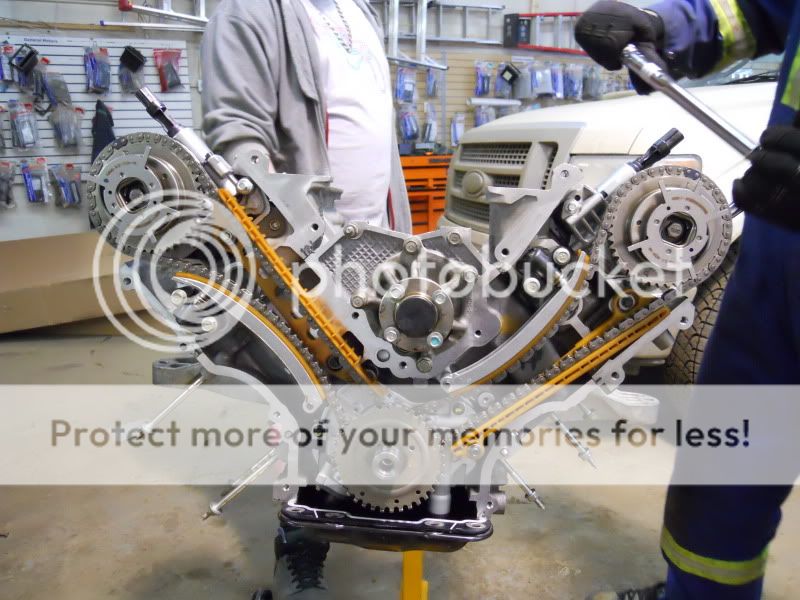
Ok so unlike the 3v the cams have to come off to removed the heads
I took both cams off as one single piece and tried not to let the chain slip on each side so the intake vs. Exhaust cams should still be timed but I want to double check
Anyone know how to time these motors
Any help would be greatly appreciated
And on a side note if anyone wants to help me upload pics pm me I wanna start a build thread but I use a damn DROID
I have pics of my broken #8
And the teardown
and lots of comments on the way this motor is built and lots of tips for anyone needing help
Im doing this myself lol