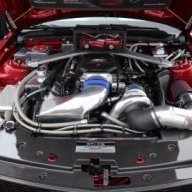
Planning a Ford Racing “Aluminator” Build with associated mods over the winter

Scott

Senior Member
Joined
Nov 17, 2009
Posts
2,337
Reaction score
44
Location
King City, Ontario, Canada
I hope the surgery and recovery go well for you. I've known a few people who have had total replacements and all of them are much better now.

Thanks, your well wishes are greatly appreciated! Both my wife and I are looking forward to big things after recovery. Hmmmm....I am looking forward to getting more done on the car and she is looking forward to more progress on the house and cottage. lol
 

Scott

Senior Member
Joined
Nov 17, 2009
Posts
2,337
Reaction score
44
Location
King City, Ontario, Canada
Thanks Terry!

Any target date on when you are getting your car back from Brenspeed? I am very much looking forward to information on your build.
 

tigerhonaker

Senior Member
Joined
Apr 11, 2009
Posts
6,516
Reaction score
30
Location
TN
Thanks Terry!

Any target date on when you are getting your car back from Brenspeed? I am very much looking forward to information on your build.
Hi Scott,

Short answer is ........ "No" I don't have a Clue.

I think it will be maybe before the end of this year just guessing though.

Terry
 

Scott

Senior Member
Joined
Nov 17, 2009
Posts
2,337
Reaction score
44
Location
King City, Ontario, Canada
Finally got the radiator shoe horned in today. Only -6C degrees in the garage.

Started with transferring the 8 “U” nuts from the OEM radiator to the AFCO radiator.


Fastened the Transmission Cooler to the AFCO radiator with the supplied M6 x 16MM bolts provided and connected the cooler lines with new stainless steel hose clamps. Removed the ECU connectors for extra space.


Installed the AFCO radiator on an angle at first down towards the driver’s side and lowered it into the bottom bushings of the radiator support.


Scott

Senior Member
Joined
Nov 17, 2009
Posts
2,337
Reaction score
44
Location
King City, Ontario, Canada
Return Style Fuel System Build

Pretty much collected all of the components for the Return Style Fuel System.

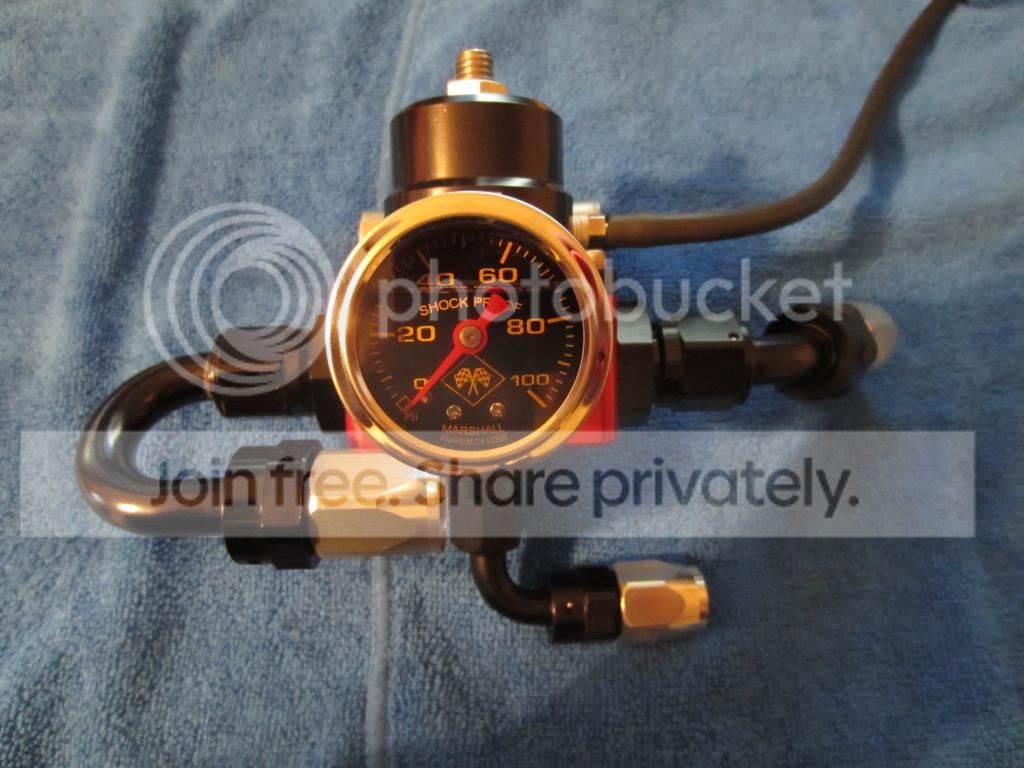
Regulator Components (not sure where the regulator will be mounted yet, so the fittings could change):

• 1 @ Aeromotive A1000 Injected Bypass Regulator, part number 13101
• 2 @ Aeromotive ORB-10 to AN-08 fittings, part number 15610
• 1 @ Aeromotive ORB-06 to AN-06 fitting, part number 15649
• 1 @ Russell -8AN 180 Degree Full Flow Swivel Hose End Black/Silver, part number 613163
• 1 @ Russell -8AN 45 Degree Full Flow Swivel Hose End Black/Silver, part number 613513
• 1 @ Russell -6AN 90 Degree Full Flow Swivel Hose End Black/Silver, part number 613103
• 1 @ Russell Fuel Pressure Gauge 0 to 100 PSI, part number 650320
• 1 @ 6’ Length 1/8” I.D. Black Vacuum Line


Fuel Rail Components:

• 1 @ Fore Precision Clear Satin Fuel Rails, part number S-197 3V

Started with stripping the clear anodized coating off of the fuel rails. Couple of soakings in Oven Cleaner than progressive sanding with 400, 600, 800, 1000 and 2000 grit paper. Then a few turns on the buffing wheel followed by a couple of hand applications of Mother's Mag and Wheel polish.

Coating still on:


Passenger side completed:


Driver side completed and fittings installed.


• 2 @ Russell -8AN 180 Degree Full Flow Swivel Hose End Black/Silver, part number 613163
• 2 @ Fore -8AN Male to -8 O-Ring Flare Adapter, part number unknown


• 2 @ -8AN Male to O-Ring (ORB) -8 Male Swivel 90 Degree Billet Fitting, part number unknown


Fuel Line Components:

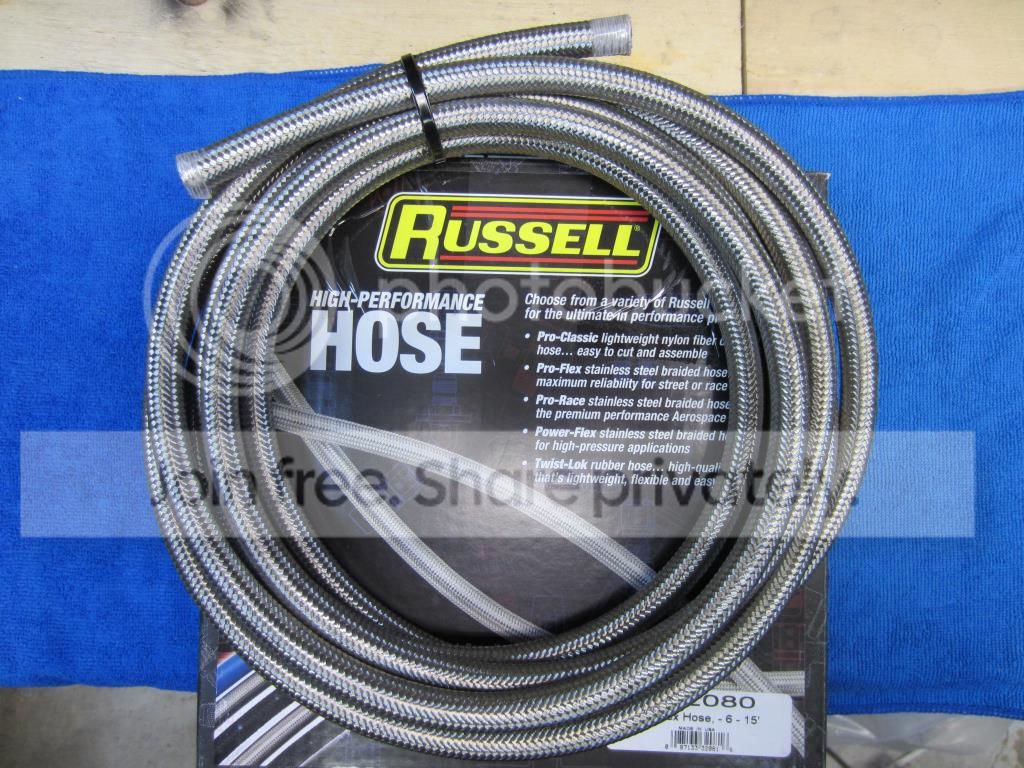
• 1 @ Russell ProFlex Stainless Steel -8AN 15’, part number 632130


• 1 @ Russell ProFlex Stainless Steel -6AN 15’, part number 632080


• 1 @ Fore Billet 2-1 Y-Block with NPT Ports Dual -6AN Fittings to Single -8AN Fitting
• 1 @ Russell Straight Full Flow Hose Ends AN-08 Red/Blue, part number 610030
• 2 @ Russell Straight Full Flow Hose Ends AN-06 Red/Blue, part number 610020


• 1 @ Fore Billet 2-1 Y-Block with O-Ring all -8AN Fittings, part number Fore Y-Block with O-Ring Ports all -8AN Option
• 3 @ Russell Straight Flow Hose Ends AN-08 Black/Silver, part number 610033


Fuel Filter Components:

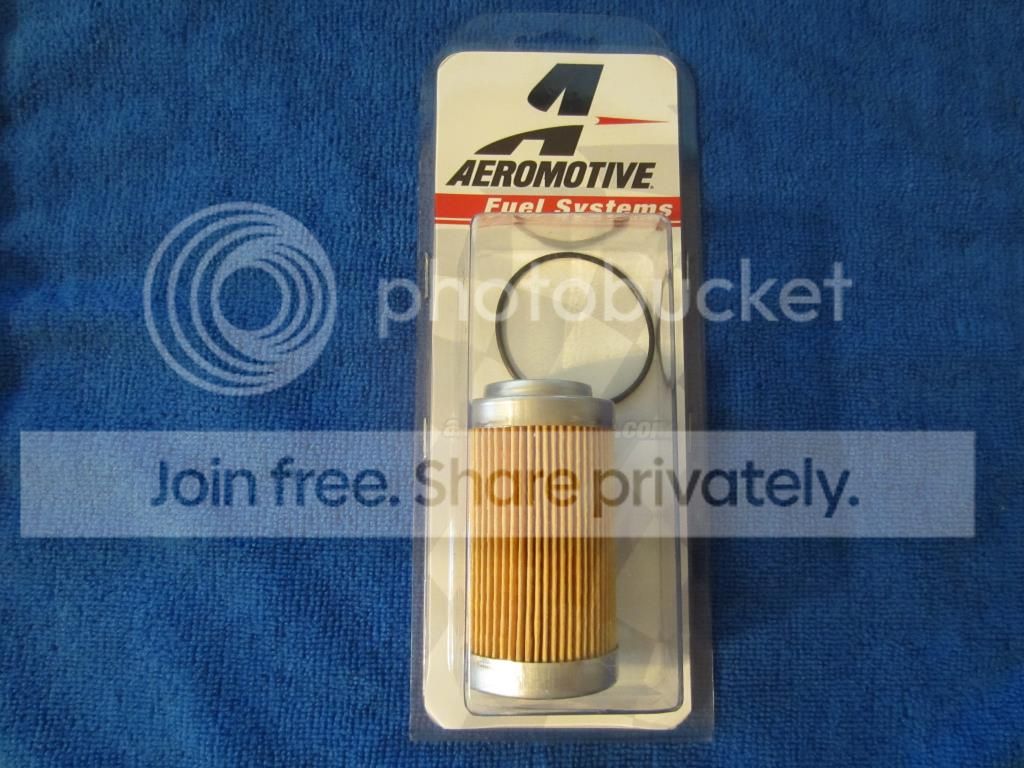
• 1 @ Aeromotive Fuel Filter (AN-10) 10 Micron Fabric Element, part number 12301
• 2 @ Russell Straight Full Flow Hose Ends AN-08 Red/Blue, part number 610030


• 1 @ Aeromotive Replacement 10 Micron Element for ORB-10 Fuel Filters, part number 12601


Fuel Hat and Pump Components:

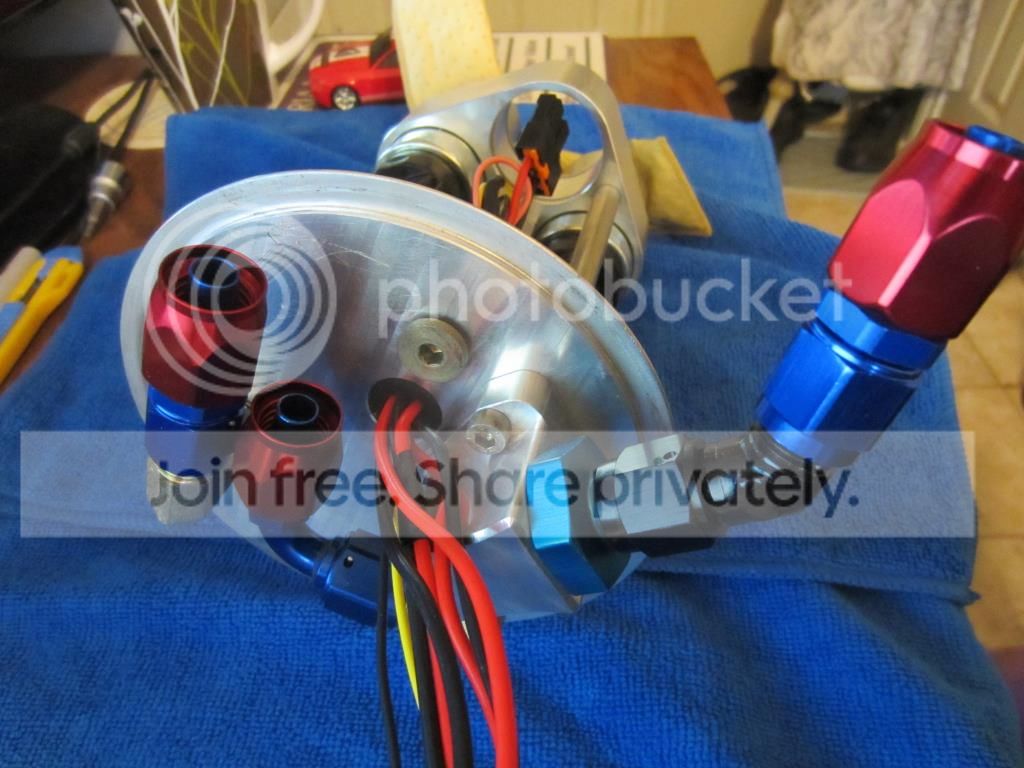
• 1 @ Fore Precision Triple Pump Fuel Hat, part number unknown
• 2 @ Walbro Fuel Pumps 255L/HR with filters, part number GS342


• 2 @ Fore -6AN 90 Degree Fittings, part number unknown
• 1 @ Fore -6AN Billet Return Line Adapter with Cap Screws, part number unknown
• 2 @ Russell Straight Full Flow Hose Ends AN-06 Red/Blue, part number 610020
• 1 @ Russell 90 Degree Full Flow Hose Ends AN-06 Red/Blue, part number 610160


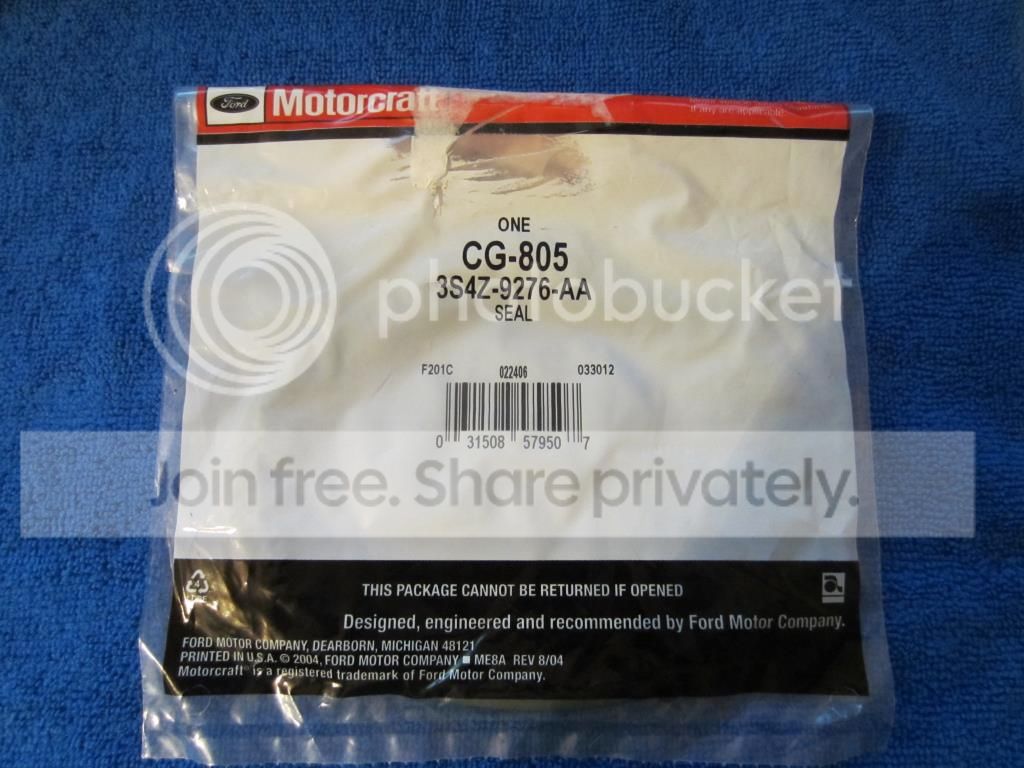
• 1 @ Ford Fuel Pump Seal, part number (CG-805) 3S4Z-9276-AA


Fuel Hat Wiring Components:

• 1 @ Fore Dual Pump Controller, part number FC2


• 1 @ 10 Feet of 6 AWG Red Power Wire, part number unknown
• 1 @ 6 Feet of 6 AWG Black Ground Wire, part number unknown
• 1 @ 50 AMP Inline Fuse Holder and Fuse, part number unknown

 

Scott

Senior Member
Joined
Nov 17, 2009
Posts
2,337
Reaction score
44
Location
King City, Ontario, Canada
Hose Assembly

Here is my story .....not sure if my luck is any better or worse at cutting stainless steel lines than yours, but no matter how I try to cut it I always end up with frayed ends. In the past after securely wrapping a couple rounds of electrical tape I have tried a single fine tooth hacksaw blade, two fine tooth hacksaw blades installed in different directions and a large electrician’s cable cutter. Always I end up with the same results; frayed ends and one hell of a time inserting the hose into the fitting with blood donor free results. Well the other day while walking through Princess Auto I saw a 6” cut off saw with a very thin metal cutting abrasive wheel and a little light went on in my old brain. Tried the saw and I am very pleased with the cut. Non load speed of the wheel is 7,400 RPM and I went slowly. Pictured here with tape removed.


So with a clean cut it was easy to assemble a couple of 26" 6AN hoses to run from the fuel hat to the under car Y-Block.

A little assembly lube was applied to all the threads and the hose I.D.


Hose was screwed counter clockwise into the fitting hose end until it bottoms out.


Adapter end was screwed on as far as possible by hand.


And then finished off in a soft jawed vice with a 6AN wrench.


Completed hoses.


skwerl

tree hugger
Joined
Aug 6, 2011
Posts
16,348
Reaction score
1,334
Location
central Florida
You can also use a thin metal cutting blade on an angle grinder if you have a steady hand. The tape helps a lot.
 

one eyed willy

Pizzle fo shizzle
Joined
Jul 1, 2008
Posts
7,533
Reaction score
26
Location
Lakeland FL
looks good, i HATE making those hoses, i would use a grinder with a cutt off wheel when i did mine.....just around the outside,then i would use a razor on the rubber part so i wouldnt be getting trash all inside the hose. it worked great. i have since retired to nothing but push loc fittings and fragola hose with the cloth on the outside as the braid.
 

05stroker

Never enough power guy!
Joined
Mar 2, 2008
Posts
13,089
Reaction score
100
Location
Bullard Tx.
You can also use a thin metal cutting blade on an angle grinder if you have a steady hand. The tape helps a lot.
This is how I do it. I then rinse the final hose with gasoline before installation.
 

Scott

Senior Member
Joined
Nov 17, 2009
Posts
2,337
Reaction score
44
Location
King City, Ontario, Canada
Hip was killing me last week, but not too bad so far this week. Managed to complete a couple of "Heavy Duty" mods to the interior. lol

Added black door welt:


Swapped out the OEM map light bulbs for a pair of "bright" white LED bulbs, thanks to JP at MMS:


And now that the battery was connected snapped a picture of the 2013 style Raxoim tail lights with the lights on:


Scott

Senior Member
Joined
Nov 17, 2009
Posts
2,337
Reaction score
44
Location
King City, Ontario, Canada
Cut a piece of aluminum for a mounting bracket to attach the fuel pressure regulator to the little tab on the driver’s side shock tower as Timmbo and BlownGTvert have suggested. Not sure if all the fittings I have are going to work yet, but we will see. I had previously purchased an Earl’s 1/8” NPT 45 Degree Elbow Adapter for the fuel pressure gauge, but because of the mess in the garage I may not find it before spring.


Timmbo

Senior Member
Joined
Jan 17, 2011
Posts
2,067
Reaction score
0
Location
TN
^^ Nice bracket! I noticed you purchased an FC2 controller as well and are running dual pumps. With the FC2 both those pumps will be running full time all the time which will really heat up your fuel. The FC3 controller lets you stage on pumps 2 and 3 via a Hobbs switch so when your cruising around your only running one pump. Don't know if you've looked into that but just thought I would suggest it. Your build is looking great!
 

Scott

Senior Member
Joined
Nov 17, 2009
Posts
2,337
Reaction score
44
Location
King City, Ontario, Canada
^^ Nice bracket! I noticed you purchased an FC2 controller as well and are running dual pumps. With the FC2 both those pumps will be running full time all the time which will really heat up your fuel. The FC3 controller lets you stage on pumps 2 and 3 via a Hobbs switch so when your cruising around your only running one pump. Don't know if you've looked into that but just thought I would suggest it. Your build is looking great!

Tim now you tell me! lol

I didn't even consider the FC3 as I have not even in my wildest dreams considered making the kind of power that would require 3 pumps (even though I have a triple hat). Consequently, until you mentioned it I never even looked at the description of the FC3. Live and learn I guess!
 

Timmbo

Senior Member
Joined
Jan 17, 2011
Posts
2,067
Reaction score
0
Location
TN
Tim now you tell me! lol

I didn't even consider the FC3 as I have not even in my wildest dreams considered making the kind of power that would require 3 pumps (even though I have a triple hat). Consequently, until you mentioned it I never even looked at the description of the FC3. Live and learn I guess!

Sorry man lol. I just noticed your hat this morning with the two pumps. The way the FC3 works is pretty simple. You of course have the 4 ga power and ground feeding the FC3. Then splice into the white wire going the the OEM FPDM. Again I said "splice". Don't take the FPDM out of the circuit. It will cause issues. This new wire splice will be your 12V power feed to remote pump 1 on the FC3. To activate your second pump get a Hobbs switch. Run both leads from the Hobbs switch back to the FC3. Place one of the Hobbs switch leads to "remote pump 1" and the other Hobbs switch lead to "remote pump 2/3". Now when you go into boost the Hobbs switch will close and send the 12 V power from "remote pump 1" over to "remote pump 2/3" which will activate your second pump. The Hobbs switches from Fore engage/close at approximately 2 lbs of boost. This is really the way to go IMO.
 

blownGTvert

Senior Member
Joined
Feb 24, 2011
Posts
775
Reaction score
0
Location
Zeeland, MI
Cut a piece of aluminum for a mounting bracket to attach the fuel pressure regulator to the little tab on the driver’s side shock tower as Timmbo and BlownGTvert have suggested. Not sure if all the fittings I have are going to work yet, but we will see. I had previously purchased an Earl’s 1/8” NPT 45 Degree Elbow Adapter for the fuel pressure gauge, but because of the mess in the garage I may not find it before spring.


I have a patent on that bracket! Lol. Looks great!
 

Scott

Senior Member
Joined
Nov 17, 2009
Posts
2,337
Reaction score
44
Location
King City, Ontario, Canada
Just Tinkering....

My hip replacement surgery is a week today and the last little while I have just been tinkering on the car and planning the mods for after recovery.

Did get some Raxiom Halo Fog Lights.

Street Scene Center Fog Grille with OEM Fogs (front and back views)


OEM Fogs removed with a T-25 TORX Screw Driver:


OEM Fogs removed from their mounting brackets:


Raxiom Halo Fogs out of the box:


Raxiom Halo Fogs popped into the OEM mounting brackets:


Raxiom Halo Fogs back in the Grille (back and front views):


Silvania Silverstar H10 Bulbs (9145ST)


Bulbs installed in the Grille with the new Fogs and when I am able, ready to go back in the car for the wiring:


Also managed to slip the SVT Performance Cooling Fan in, part number M-8C607-SVT


Have new Mishimoto Upper and Lower Silicone Hoses to go with the new radiator. Part number for the hose kit is MMHOSE-GT-07


Cut the upper hose to suit the Vortech 90 Degree elbow where it passes by the SC and Alternator:


Support us!

Support Us - Become A Supporting Member Today!

Click Here For Details

Back
Top