Here are the instructions minus pics. I will add them before i send to customers
2005-2010 mustang gt S&H Performance twin turbo kit
Parts list
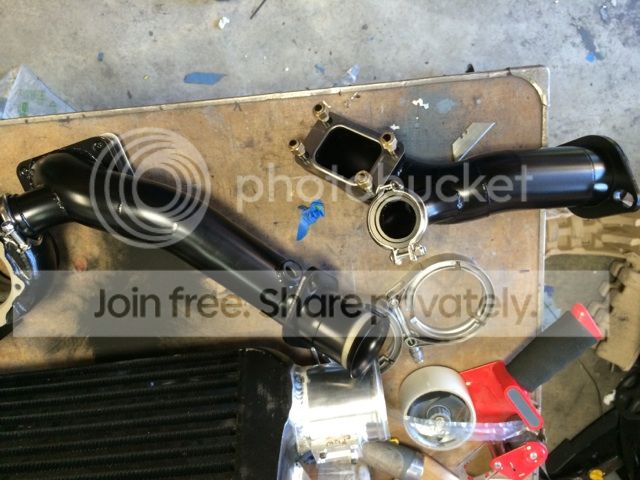
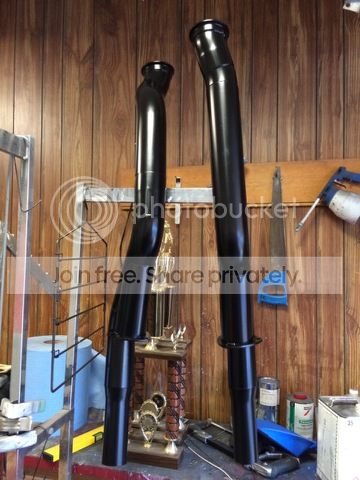
1-driver side turbo pipe
2- passenger side turbo
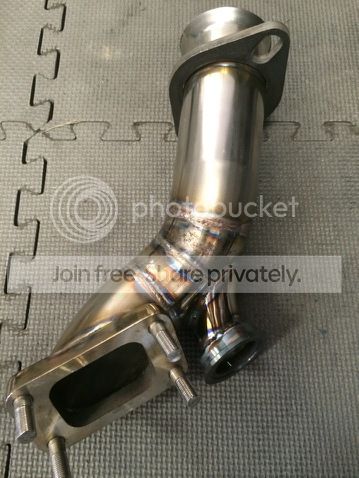
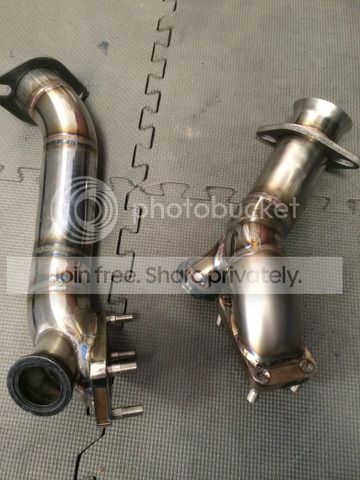
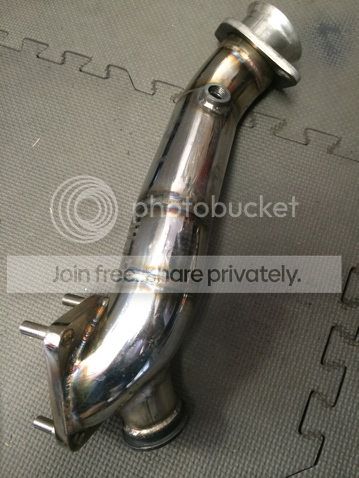
3- driver side down pipe
4- passenger side down pipe
5- 2 comp oiless turbos
6- 1 S&H Performance blow off valve kit
7- 2 38mm Tial waste gate kits
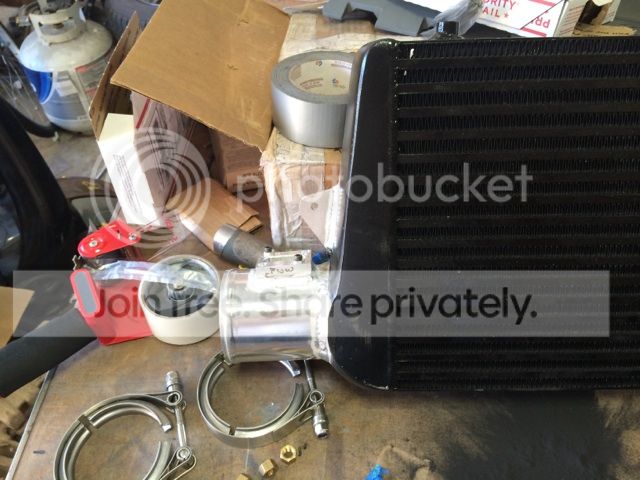
8- intercooler with bolts
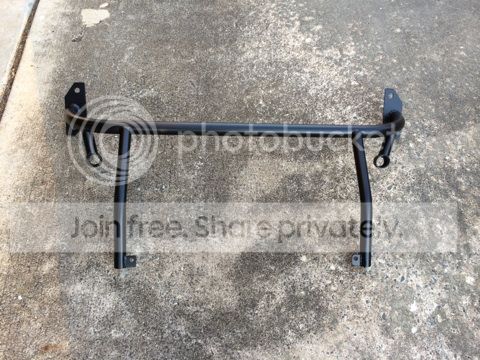
9- radiator/intercooler support brace
10- hpx mass air meter and extension
11- 1 radiator hose adapters
12- 4.5" to 3.5" 90deg coupling- 1
13- 3.5" 90deg coupling- 1
14- 3.5" strait coupling- 1
15- 3" 90deg coupling- 1
16- 3" strait coupling- 4
17- 2.25" to 2" coupling- 2
18- 4.5" clamp- 1
19- 3.5" clamp- 5
20- 3"- clamp- 10
21- 2.25"clamp- 4
22- 2"clamp- 2
23- fiberglass wrap 25'
24- T3 turbo blanket- 2
24- 6an water line
25- 6an 3/8 fittings- 2
26- 6an y fittings- 2
27- 6an hose fittings- 12
28- t3 turbo gaskets- 2
29- 3.5" intercooler pipe from throttle body
30- 3.5" intercooler pipe to intercooler
31- 3" intercooler pipe with blow off valve flange
32- 3" intercooler pipe with y on it
33- Spectra filters- 2
34- short bend intake tube
35- s bend intake tube
36- 90 deg bend intake tube
37- 6an to 1/2" fitting- 4
Disassembly
1- take off h pipe. Keep all clamps for reuse.
2- support radiator. Take off stock radiator and sway bar. Keep rubber bushings to be used later.
3- take off intake tube and air box if it is on the car still.
4- notch passenger side a-arm mount cover to give you room for the turbo and piping if needed.
5- drain radiator and set to the side for reuse later.
Assembly
1- disconnect battery before doing anything
2- bolt the turbos and the waste gates to the short pipes that connect to the manifolds. (Be sure to put on the 3/8 to-6an fittings,turbo gaskets, turbo blankets, and what ever wastegate spring you want to run at this time. Also use anti-seize on turbo flange studs.) Passenger side will have the o2 bung in it. Screw on passenger side o2 sensor.
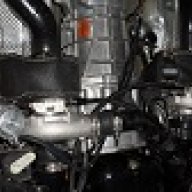
3- slide in the down pipes before putting on the pipes with the turbos on them. Leave them hanging freely from the hangers on the trans mount.
4- bolt up the pipes with the turbos and connect the down pipe with the supplied 2-3" v-band clamps and tighten it up. (This may take two people to do.) adjust down pipe to correct location and tighten up the stock clamps on the over axel pipes.
5- put mass air meeter into the flange (use a little silicone to seal up the flange. Dont use too much). slide intercooler into place in front of the radiator and support it. Take radiator support supplied in the kit and place stock rubber bushings in the holes and bolt it to the car and the intercooler. Also if needed bolt on power steering line extension brackets.
6- on the driver side of the intercooler place a 3.5" 90deg coupling and tee bolt clamp on the intercooler and on the passenger side of the intercooler place a 3" 90deg coupling and tee bolt clamp on as well. The pipe with the blow off valve flange will go on next. Be sure to put on the blow off valve before installation. On the driver side of the intercooler put the 3.5" 90deg pipe on (this can only go on and fit one way). Next put the 4.5" to 3.5" 90 deg coupling with tee bolt clamps on the throttle body but do not tighten them. Take the 3.5" long pipe and connect it to the lower pipe and the throttle body. The next pipe is the 3" pipe with the y on it. Connect it using supplied couplings and clamps to the pipe going to the intercooler that has the blow off valve on it. Plug in the supplied mass air meter extension wire to the meeter and the stock wiring harness. The other pipes without the bead roll or welded tits are the intake pipes that the filters hook to. The shortest pipe is the passenger side filter adapter. The other two pipes are the passenger side pipes. The s bend pipe goes to the turbo and the 90deg pipe angles back towards the center of the car and the filter connects to it.
7- take the supplied radiator adapters and put on the supplied 3/8 to -6an fitting. cut the upper radiator hose where ever you would like and slid in the supplied radiator adapter and tighten clamps. On the driver side of the block there is a plug. Take out the plug and put the 3/8 to 6an fitting and screw it into the block. Plum your water lines to the supplied -6an y fittings. One y fitting for the upper and one for the lower radiator hose. Then plum the lines from the upper radiator y fitting to one side of the passenger turbo and one to the driver side turbo. (Side doesnt matter, there inst a supply or return side on the turbo) do the same for the lower radiator hose. The pluming is complete.
8- plum in you vacuum line for the waste gates and the blow off valve. If you are going to be using a wideband install it at this time.
9- double check that all v-band clamps, tee bolt clamps, hose clamps, and any other bolts and nuts are tight. Put the coolant back in the car that us saved earlier. Check for leeks. If all is tight and no leeks then you are complete. Take the car to your tuner to get a tune.
*Things you may need/need to do prior to install
Anti seize
An wrenches
(If running the rear o2 sensors the you will need o2 extensions)
Drain pan
Jack stands or lift
Jack
Basic hand tools
Razor blade
Vacuum line
Zip ties
Wrap pipes that the turbos connect to with fiberglass wrap
Friend to help